
As an Amazon Associate I earn from qualifying purchases.
St. Patrick’s Day Dollar Store Crafts bring cheerful green details into homes without a heavy budget.
Bright shamrocks, glittery coins, simple rainbows, and cozy candle glow can transform a countertop or mantle into a festive corner with thrifted charm, soft textures, and a touch of playful luck.
I remember rummaging through a dollar store bin and finding a tiny green pom-pom that started a weekend of St. Patrick’s Day Dollar Store Crafts.
The small discoveries felt like tiny celebrations, sparking ideas with bright greens and metallic flashes.
Twinkling shamrock mason jar lanterns for mantle
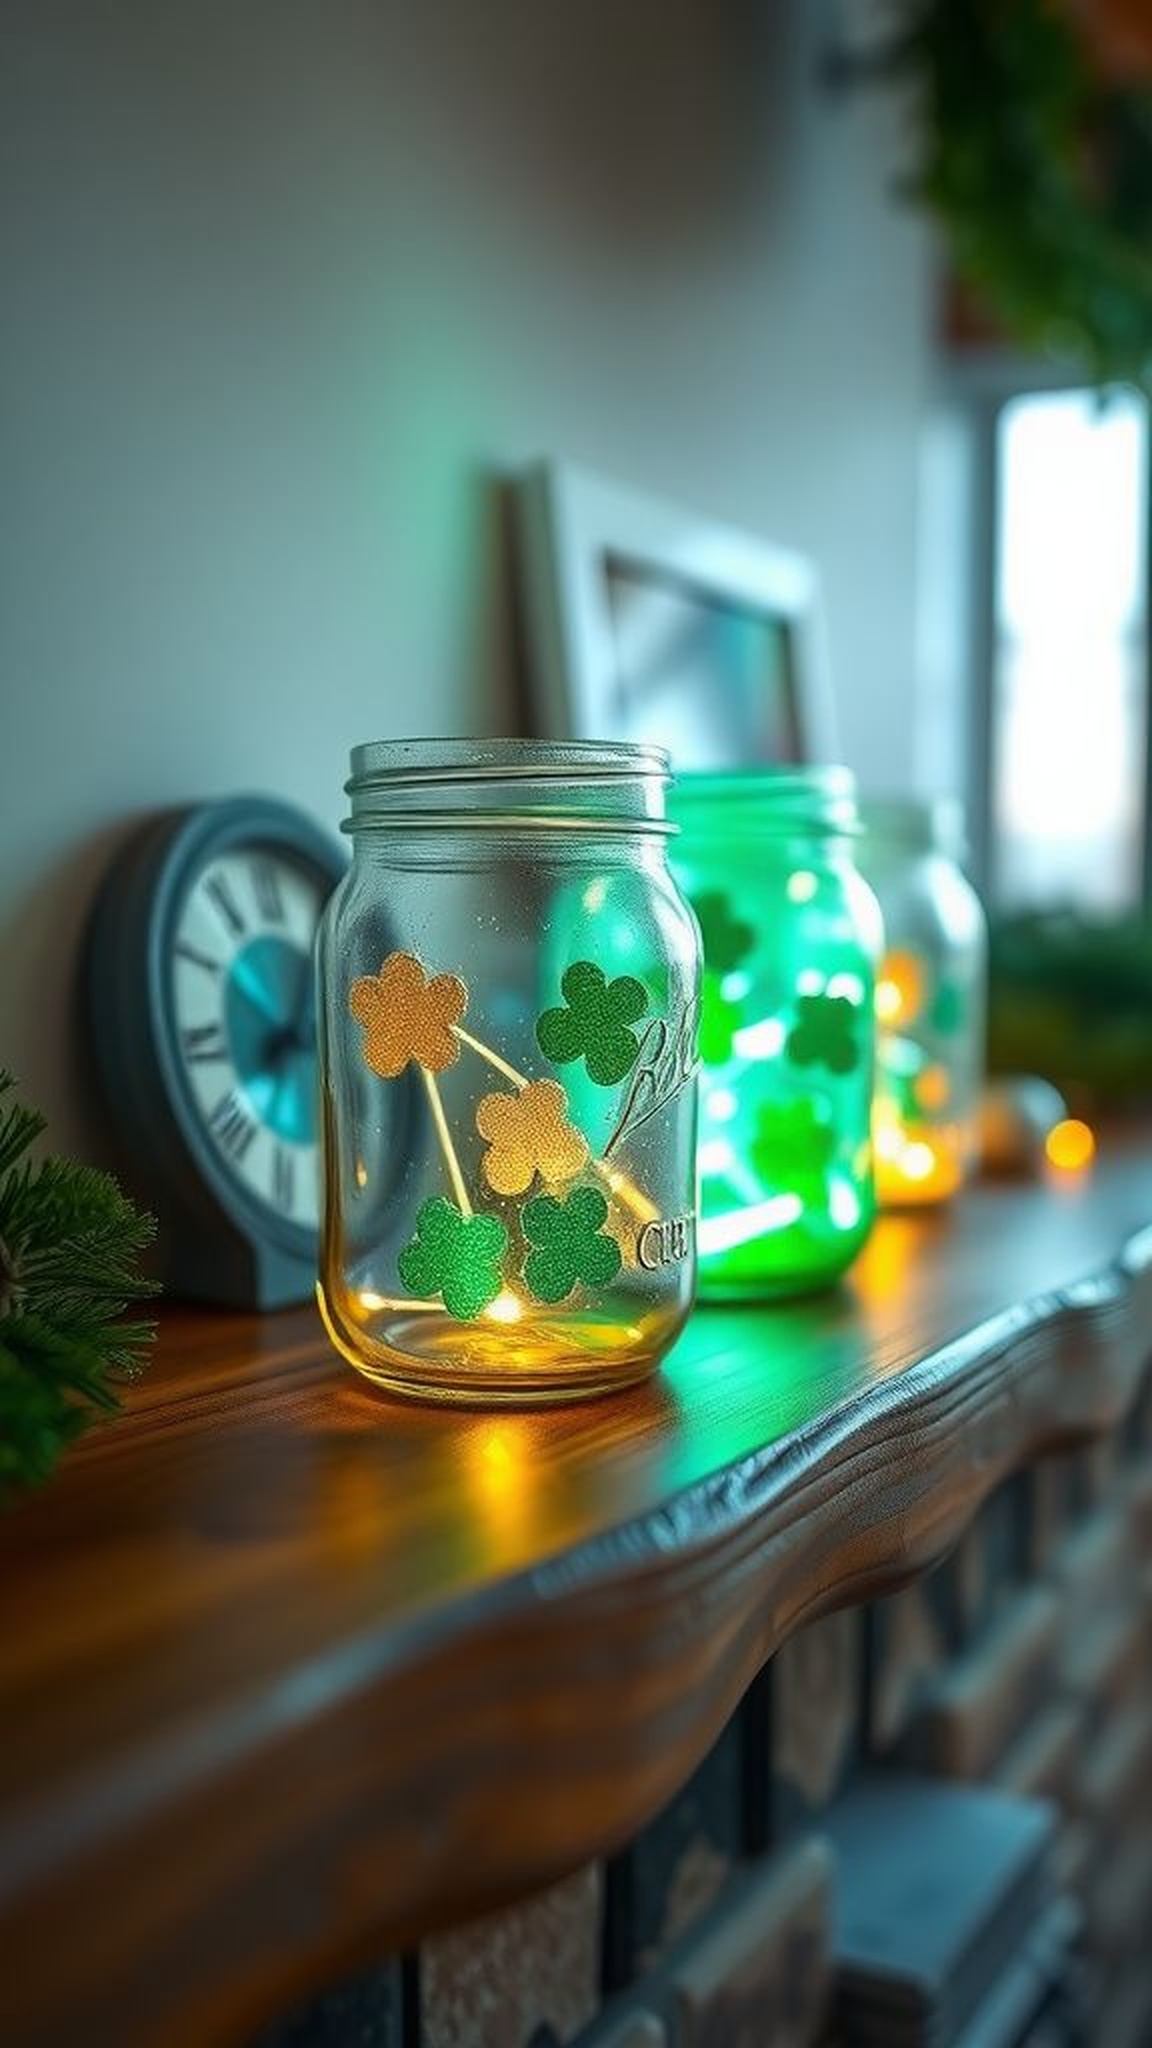
A row of mason jars with soft green light became a favorite on a chilly evening, the glass catching flecks of glitter like scattered coins. I loved the way a simple ribbon wobble and a hand-cut shamrock silhouette played with shadows.
The jars smelled faintly of wax and citrus from leftover candles, and setting them on a wooden shelf made the green glow feel warm rather than sharp. Friends paused to admire the gentle shimmer and the cozy, thrifted personality the jars added to the room.
Steps
- Gather clean mason jars, battery tealights, green tissue paper, shamrock cutouts, and ribbon.
- Place a tealight inside each jar and line the interior with crumpled green tissue for diffuse color.
- Affix a shamrock cutout to the outer glass using double-sided tape and tie ribbon around the neck.
- Arrange jars on a tray or shelf and switch on the tealights for soft ambient glow.
Rainbow yarn wreath with playful color bands
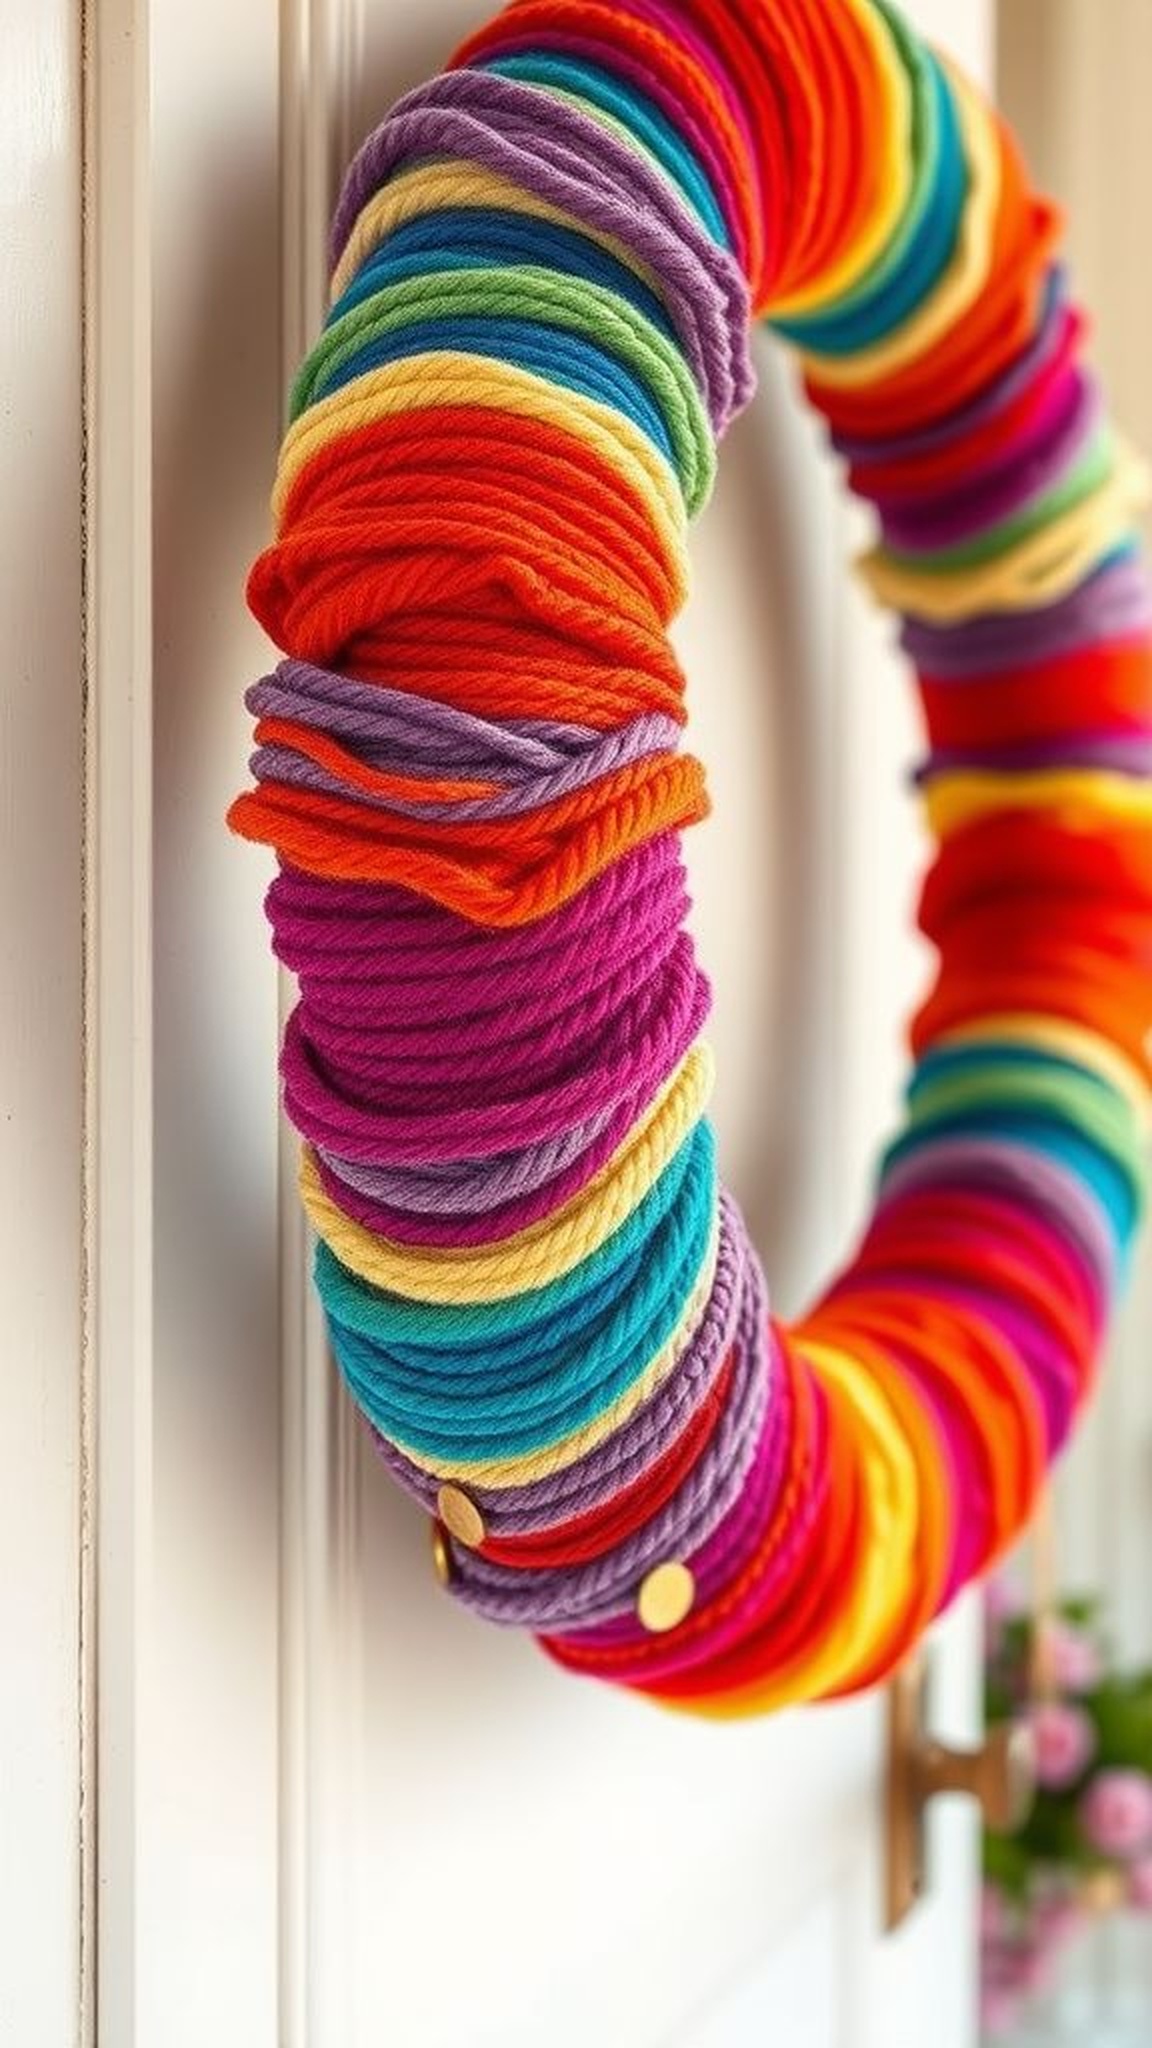
The wreath felt cheerful and tactile, every yarn wrap adding a little more bouncy texture to the circle. Running a hand over the surface brought a comforting fuzz, and the bright spectrum leaned into a childlike joy.
Small metallic coins tucked near the base added a satisfying clink when the door swung in a breeze. Mounting it on a plain door made the colors pop, and neighbors smiled when they walked by.
It had that thrift-store charm where the yarn strands suggested afternoons of gentle crafting and chat.
Steps
- Collect a foam wreath base, multiple yarn colors, hot glue, and small gold coin accents.
- Wrap yarn tightly around sections of the wreath, changing colors to create rainbow bands.
- Secure yarn ends with glue and tuck coins into gaps, securing them with adhesive.
- Add a loop of yarn for hanging and place on an entry door for a bright welcome.
Little pot of gold treat bags for guests

Small black bags with clusters of shiny coins felt like joyful mini surprises on the table. The paper crinkled with a cozy sound when lifted and the coins flashed gold against dark paper.
A touch of green tissue peeking out added freshness, while a tiny tag scribbled with a name made each bag feel personal. Setting them near plates created a playful pause before dessert, and the rustle of paper and metallic clink made conversations grin.
It was a small, festive detail that carried bright energy across the table.
Steps
- Gather small black paper bags, gold foil coins, green tissue paper, and name tags.
- Place a few coins and a folded piece of tissue inside each bag.
- Fold over the top and attach a handwritten name tag with tape or twine.
- Arrange the bags at each place setting for a lively table accent.
Save time and printer ink with 50+ printable templates and step-by-step instructions in one ad-free guide.

Just $19.99 — lifetime access
Mini leprechaun hat treat boxes with charm
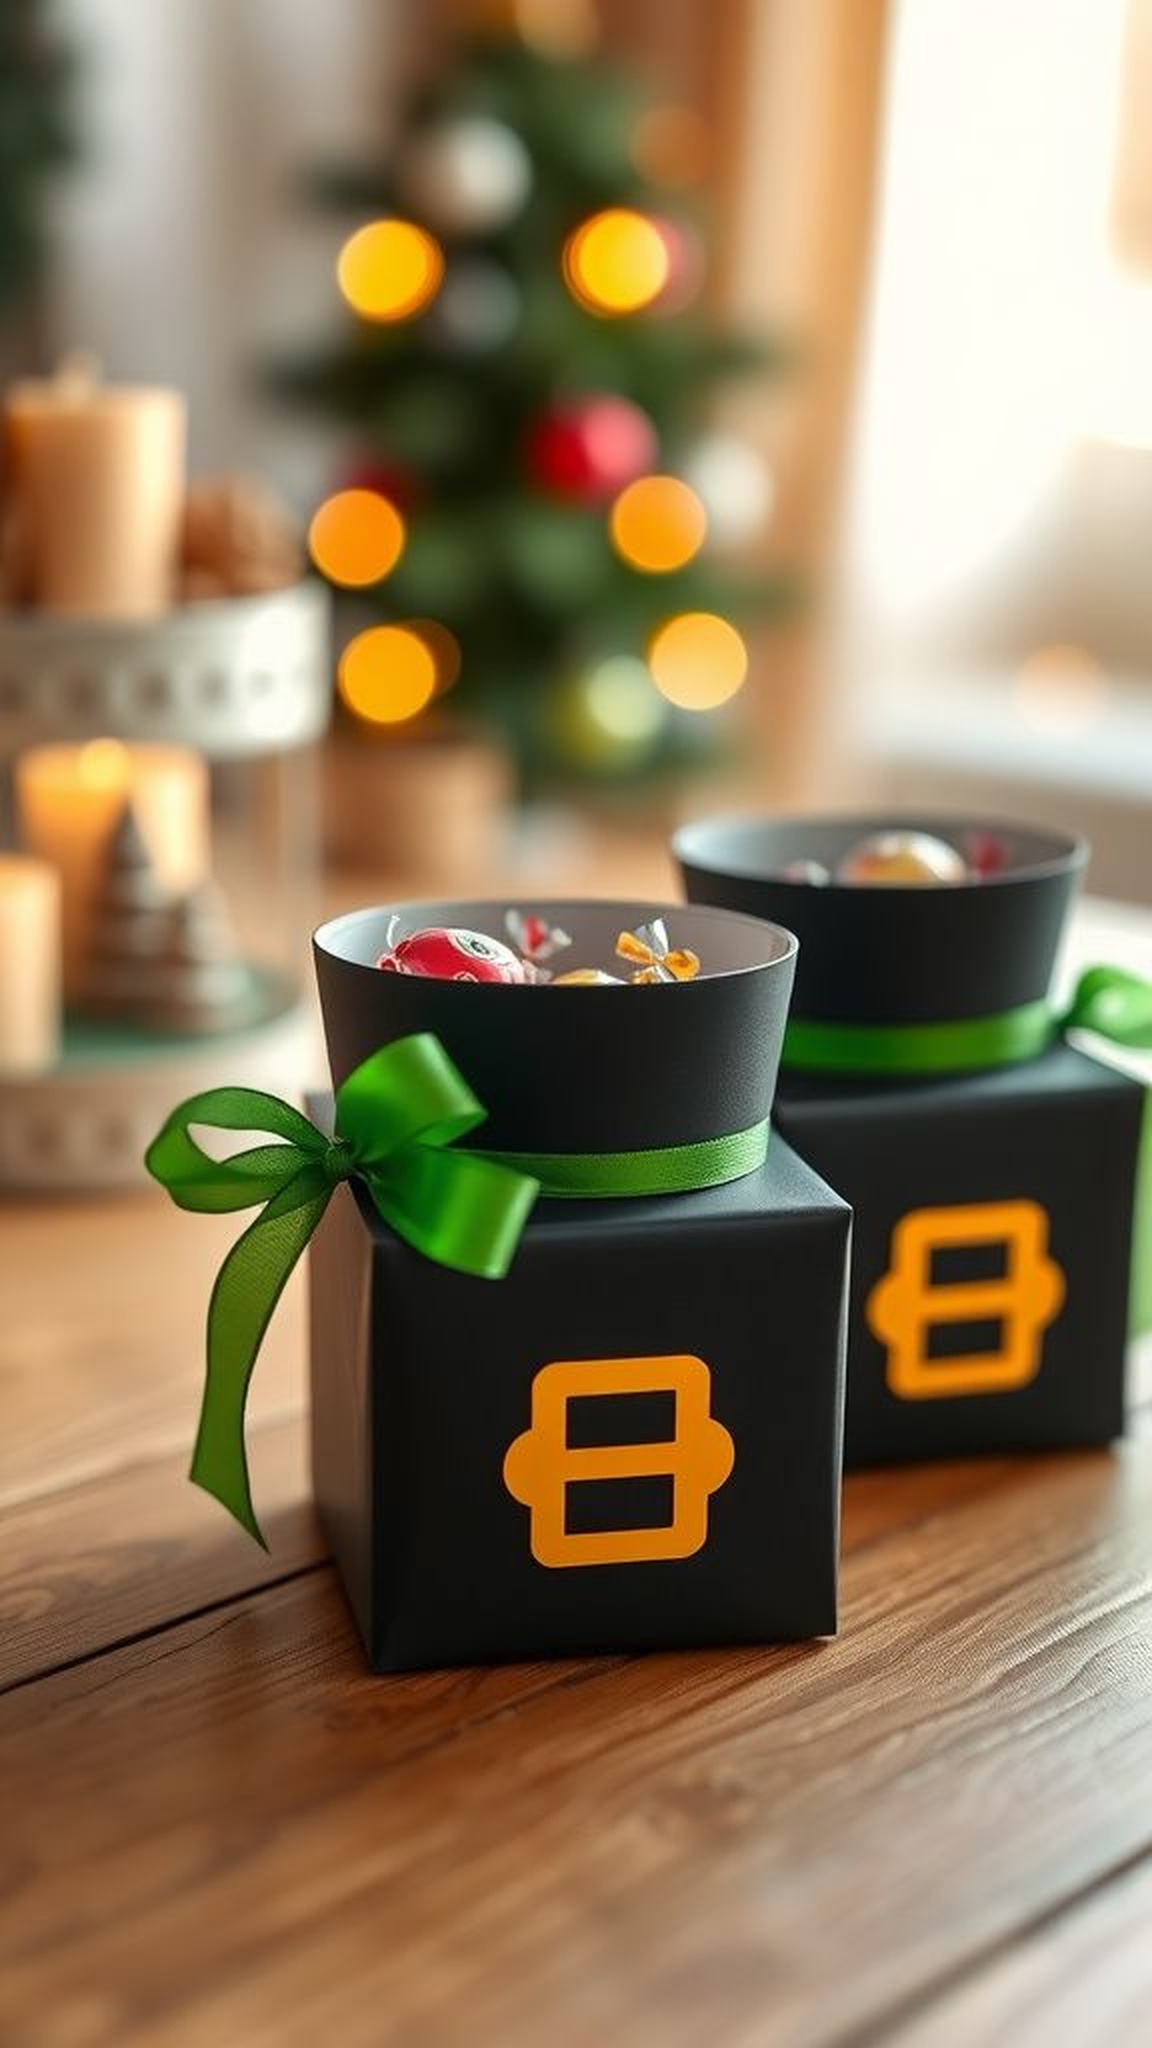
The tiny top hats had a whimsical silhouette that sparked laughs from guests, their little brims catching glints of ribbon and brass buckle stickers. Holding one felt pleasantly weighty from the tucked candies, and the matte black surface contrasted nicely with glossy green embellishments.
They seemed to carry a sense of mischief, as if a small visitor had left a playful gift. Placed on a console or clustered as a centerpiece, the hats created a mood both nostalgic and spirited, like childhood holidays reimagined on a small, crafty scale.
Steps
- Find small black paper hat boxes or assemble boxes from cardstock, plus ribbon and buckle stickers.
- Decorate the box brim with a green ribbon and attach a faux buckle for contrast.
- Fill each hat with wrapped candies or trinkets and close securely.
- Display the hats in a cluster on a table or shelf for a whimsical touch.
Sparkly shamrock garland to drape the shelf
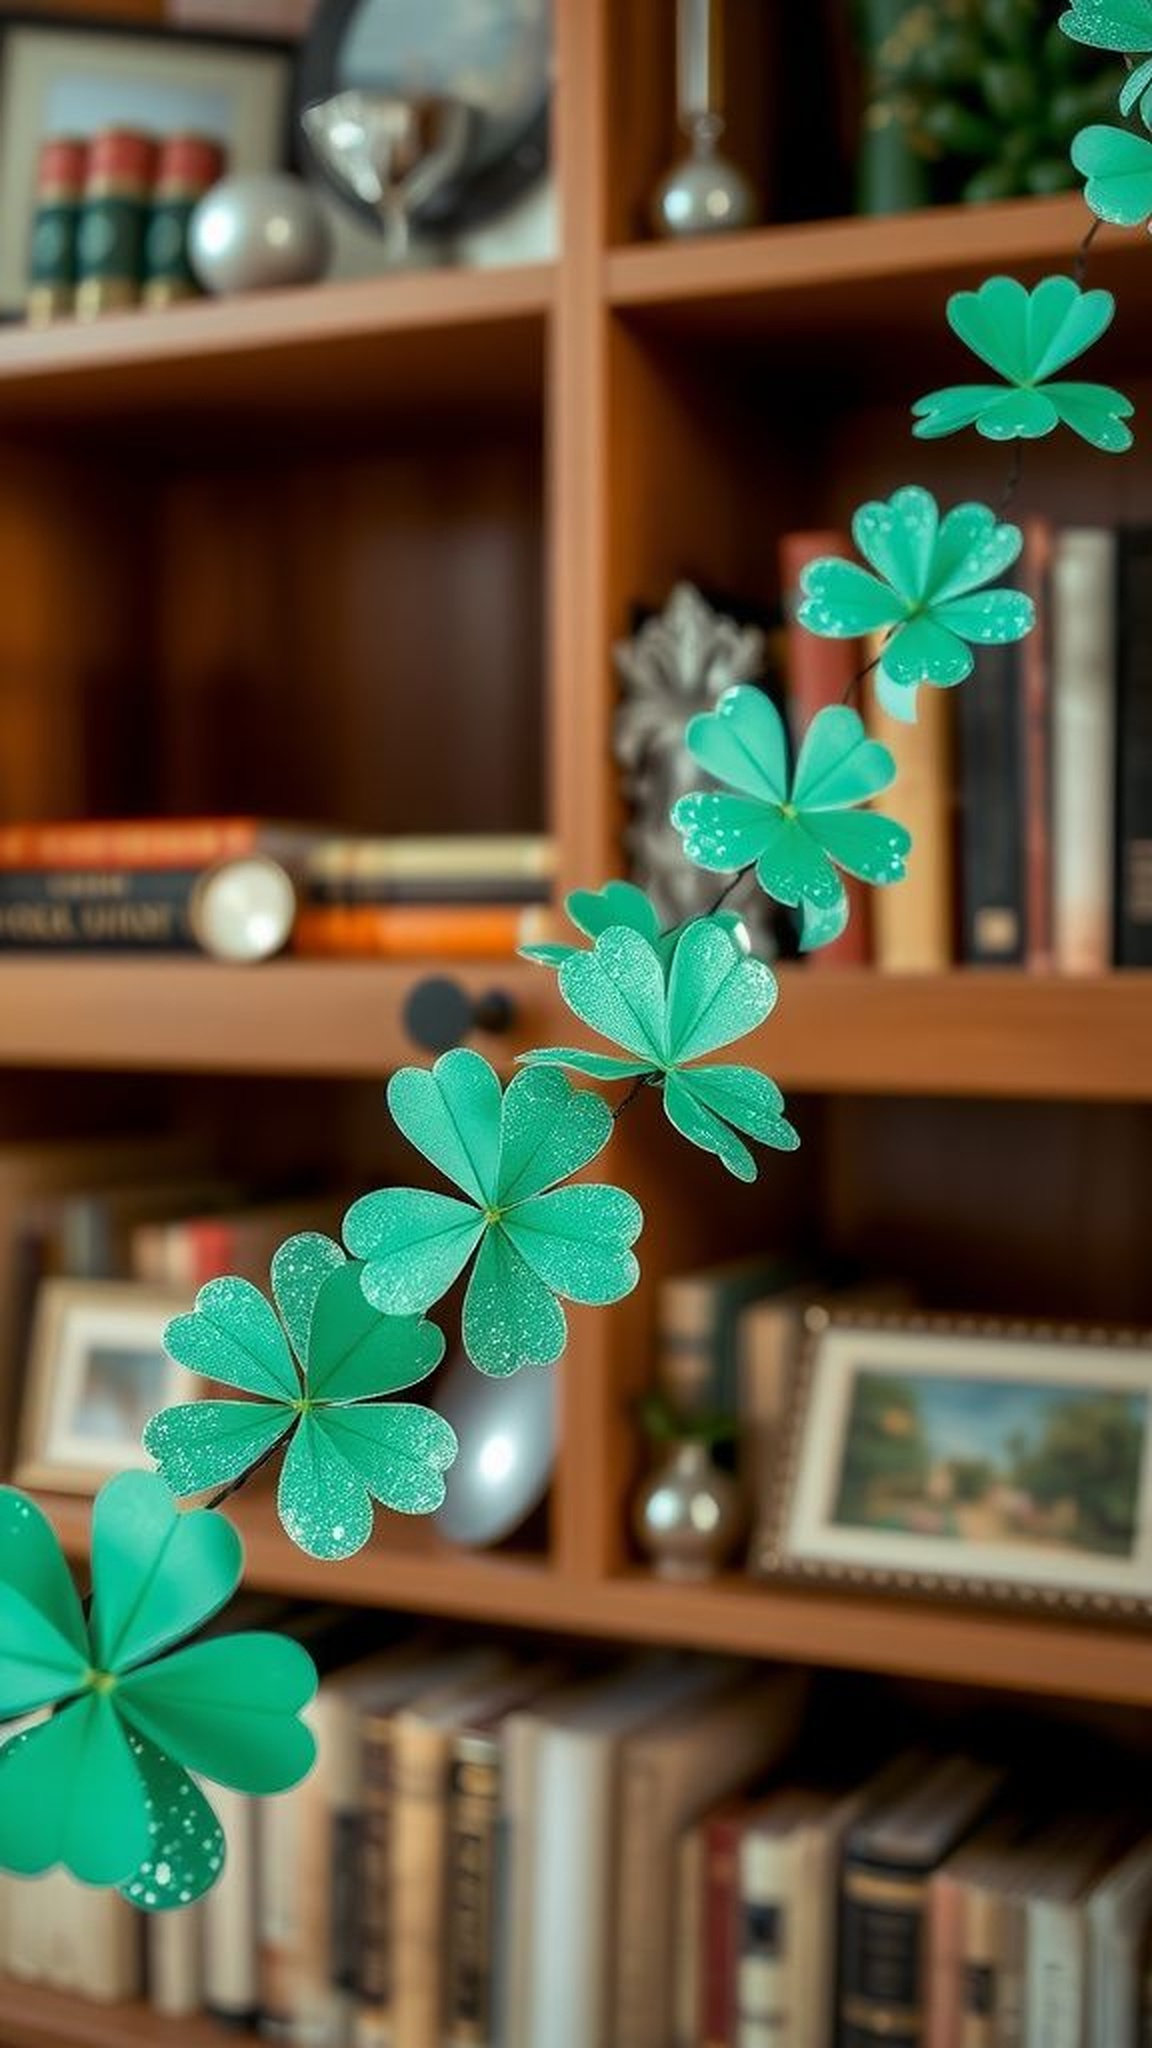
A strip of glittery shamrocks created a playful rhythm when draped across a bookcase, each shape catching light and throwing tiny reflections. The glitter texture felt gritty under fingertips but charmingly festive from a distance.
Colors ranged from deep emerald to lighter mint, and the slight weight of the garland made it hang with a relaxed curve. It softened the rigid lines of stacked books and made the shelf feel curated rather than plain.
People paused to run their fingers along it when passing, smiling at the sparkle and simple cheer.
Steps
- Collect pre-cut shamrock shapes or cutouts, lightweight string, glue, and glitter if desired.
- Attach each shamrock to the string at even intervals using adhesive and allow any glitter to set.
- Trim excess string and leave loops at the ends for hanging.
- Drape the garland across a shelf, mantle, or doorway for festive shimmer.
Hand-painted lucky rocks with tiny clover faces
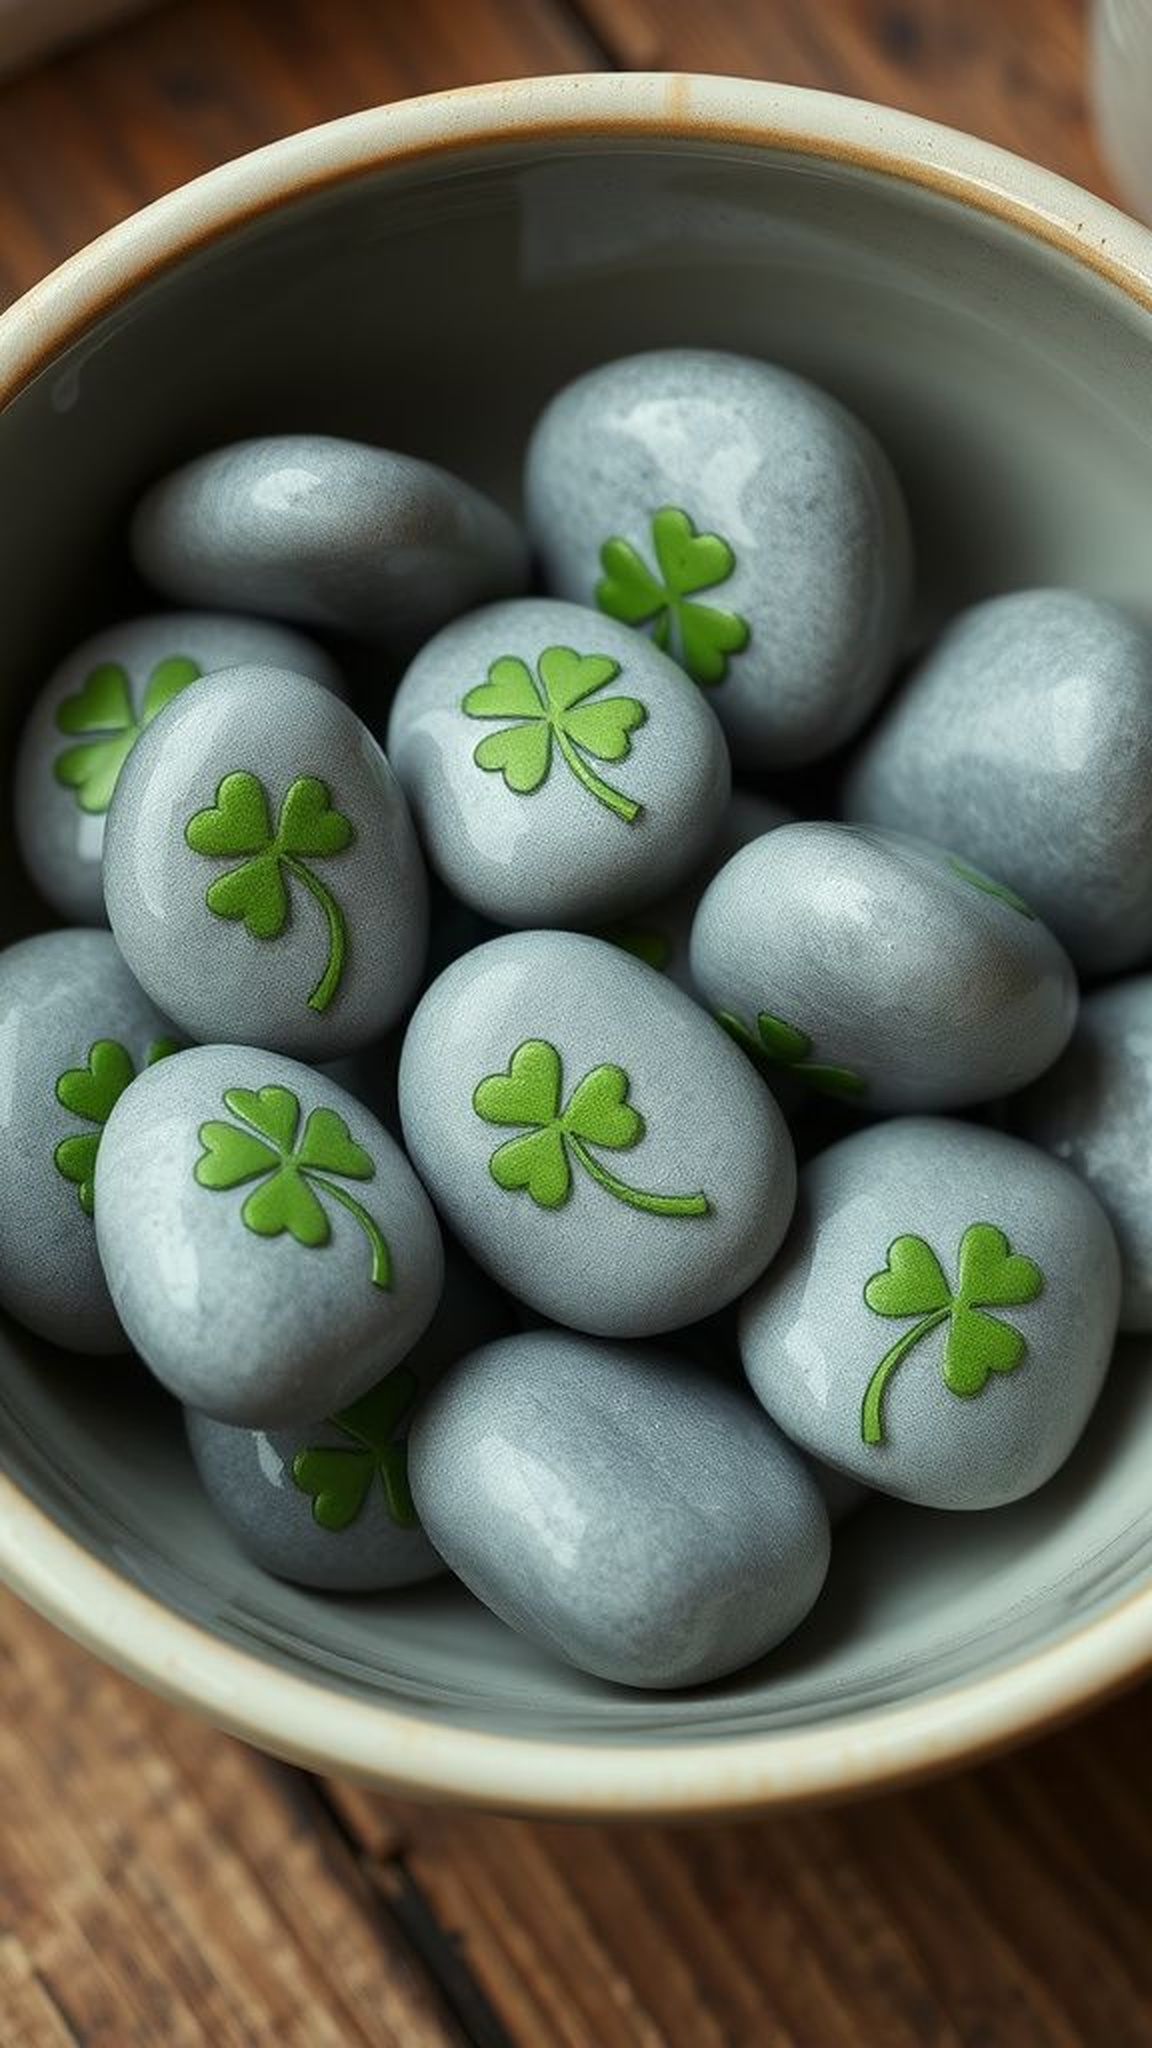
Smooth river stones picked up from a dollar store bin turned into little tokens, each one warm from being held. Painted clovers and tiny smiles added personality, and the slight gloss of paint made colors pop against the gray stone.
Arranging them in a shallow bowl created a tactile centerpiece, perfect for guests to pick up and admire. The stones felt grounding in a literal way, weighty in the palm and slightly cool to the touch.
They brought a natural, earthy counterpoint to all the glitter and ribbon.
Steps
- Choose smooth stones and clean them to remove dust and dirt.
- Paint small clover shapes and cheerful faces using acrylic paints and fine brushes.
- Allow paint to dry and apply a clear sealer for shine and protection.
- Place the painted rocks in a bowl or scatter them along a table runner.
Gold coin centerpiece in a low rustic tray

A low wooden tray filled with shining coins and green sprigs created a rich table focal point without feeling heavy. The coins chimed gently when moved, and their warm metallic sheen contrasted with the matte leaves.
Tiny felt shamrocks tucked between coins added soft texture and a playful pop of color. Guests reached across to admire the sparkle, fingers leaving faint fingerprints on the foil.
The arrangement felt grounded and celebratory, a small altar to the holiday where light and texture played together in a comfortable, informal way.
Steps
- Find a shallow wooden tray or platter and gather gold foil coins and faux greenery.
- Layer coins across the tray base and nestle sprigs of greenery among them.
- Tuck felt shamrocks or other soft accents into gaps for texture contrast.
- Place the tray in the center of the table as a low centerpiece.
Emerald candle holders with ribbon accents
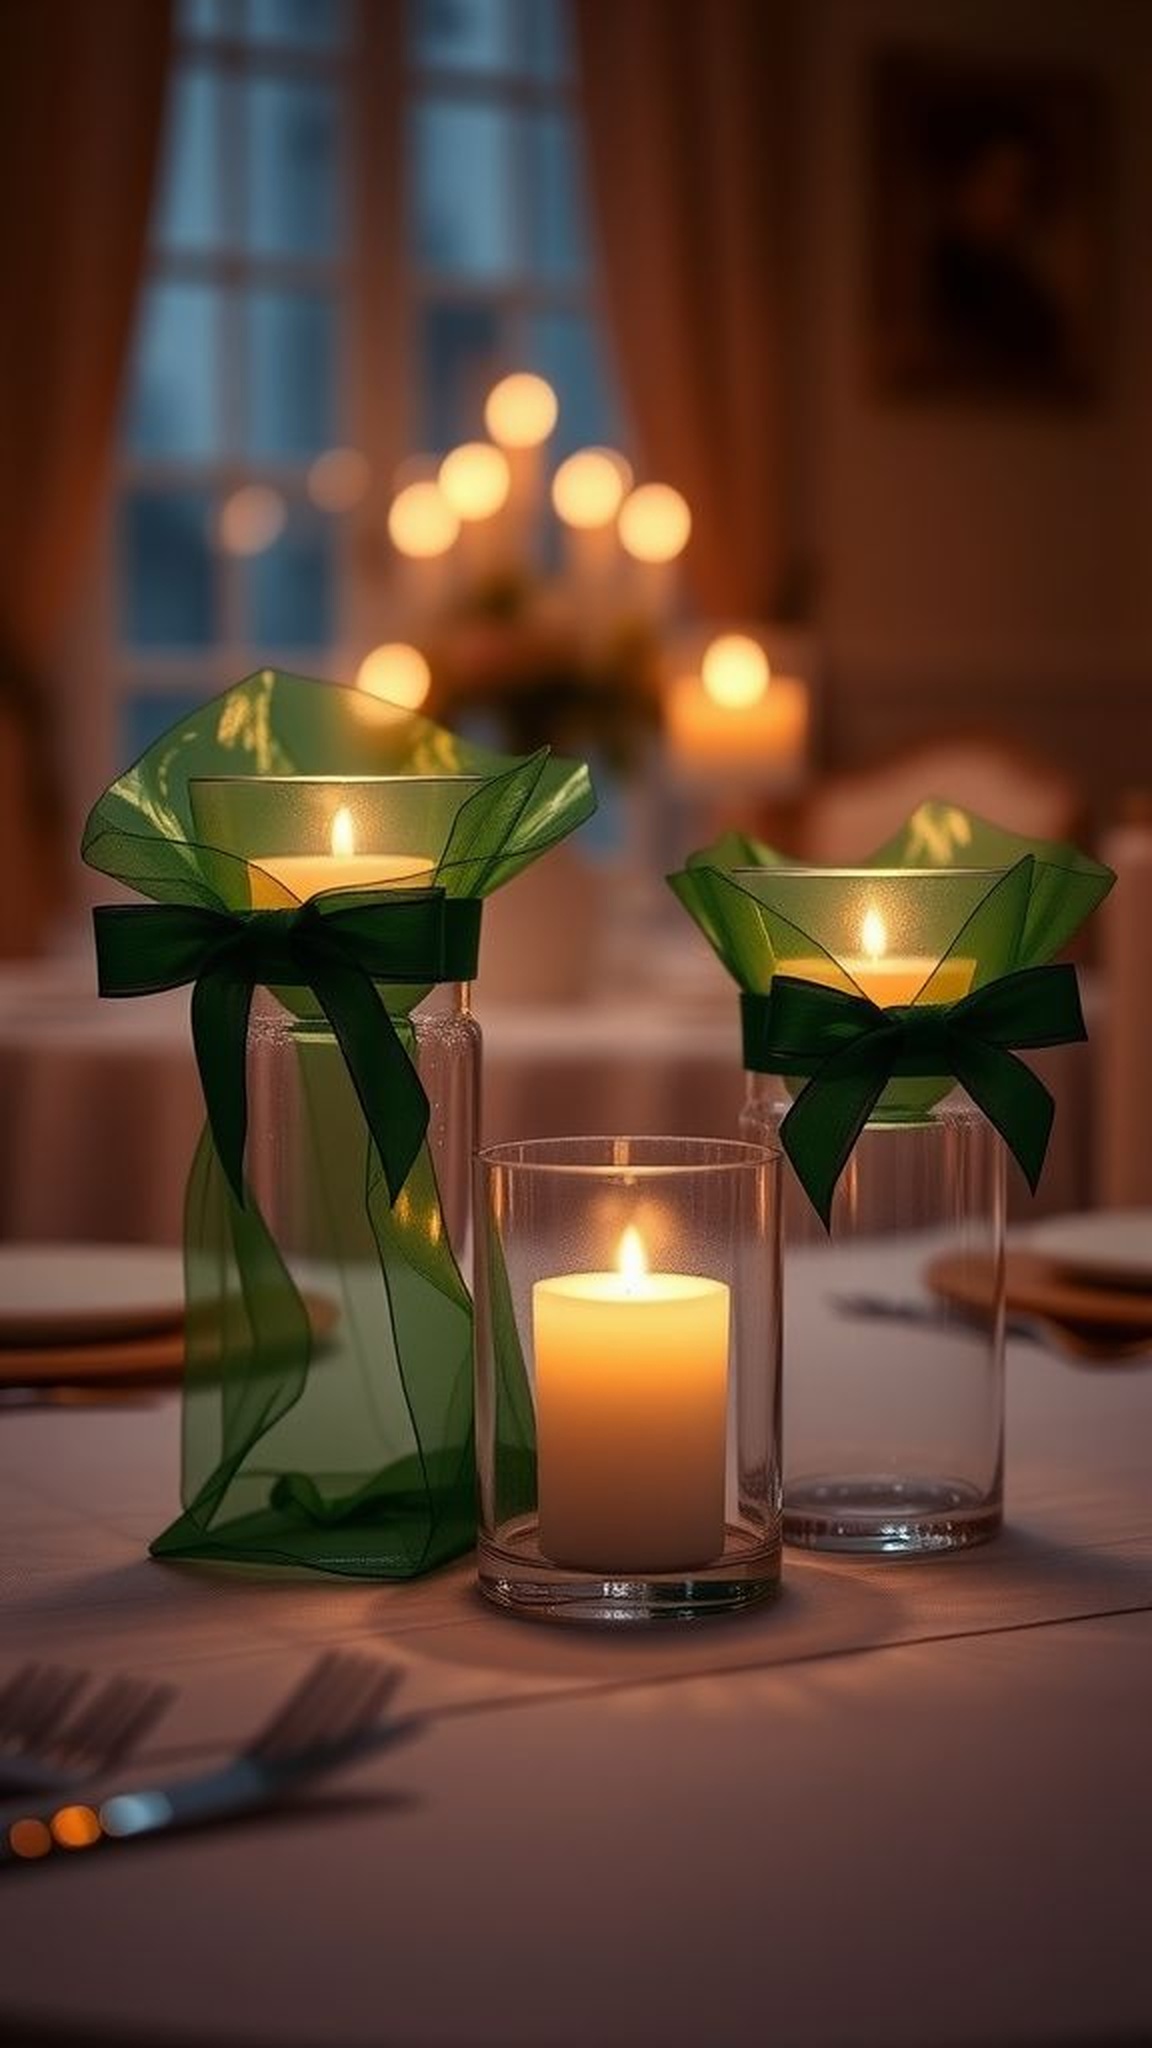
Clear candle holders wrapped in green cellophane threw a diffused, jewel-toned light that felt unexpectedly elegant. A ribbon band around the middle added a soft contrast, and the candle flame hummed gently against the translucent surface.
The scent of wax mixed with the faint perfume of ribbon when placed near a bouquet, and the green tint made ordinary candles look festive. The overall effect was subtle rather than loud, offering a pleasant, almost contemplative atmosphere when the lights were dimmed and the small green pools of light gathered along the table.
Steps
- Collect glass candle holders, green cellophane or tissue, ribbon, and tea lights.
- Wrap the exterior of each holder with green cellophane and secure lightly with tape.
- Tie a ribbon band around the center and place a tea light inside.
- Position candle holders along a table or mantle and light for soft emerald tones.
Shamrock button magnets brightening the fridge
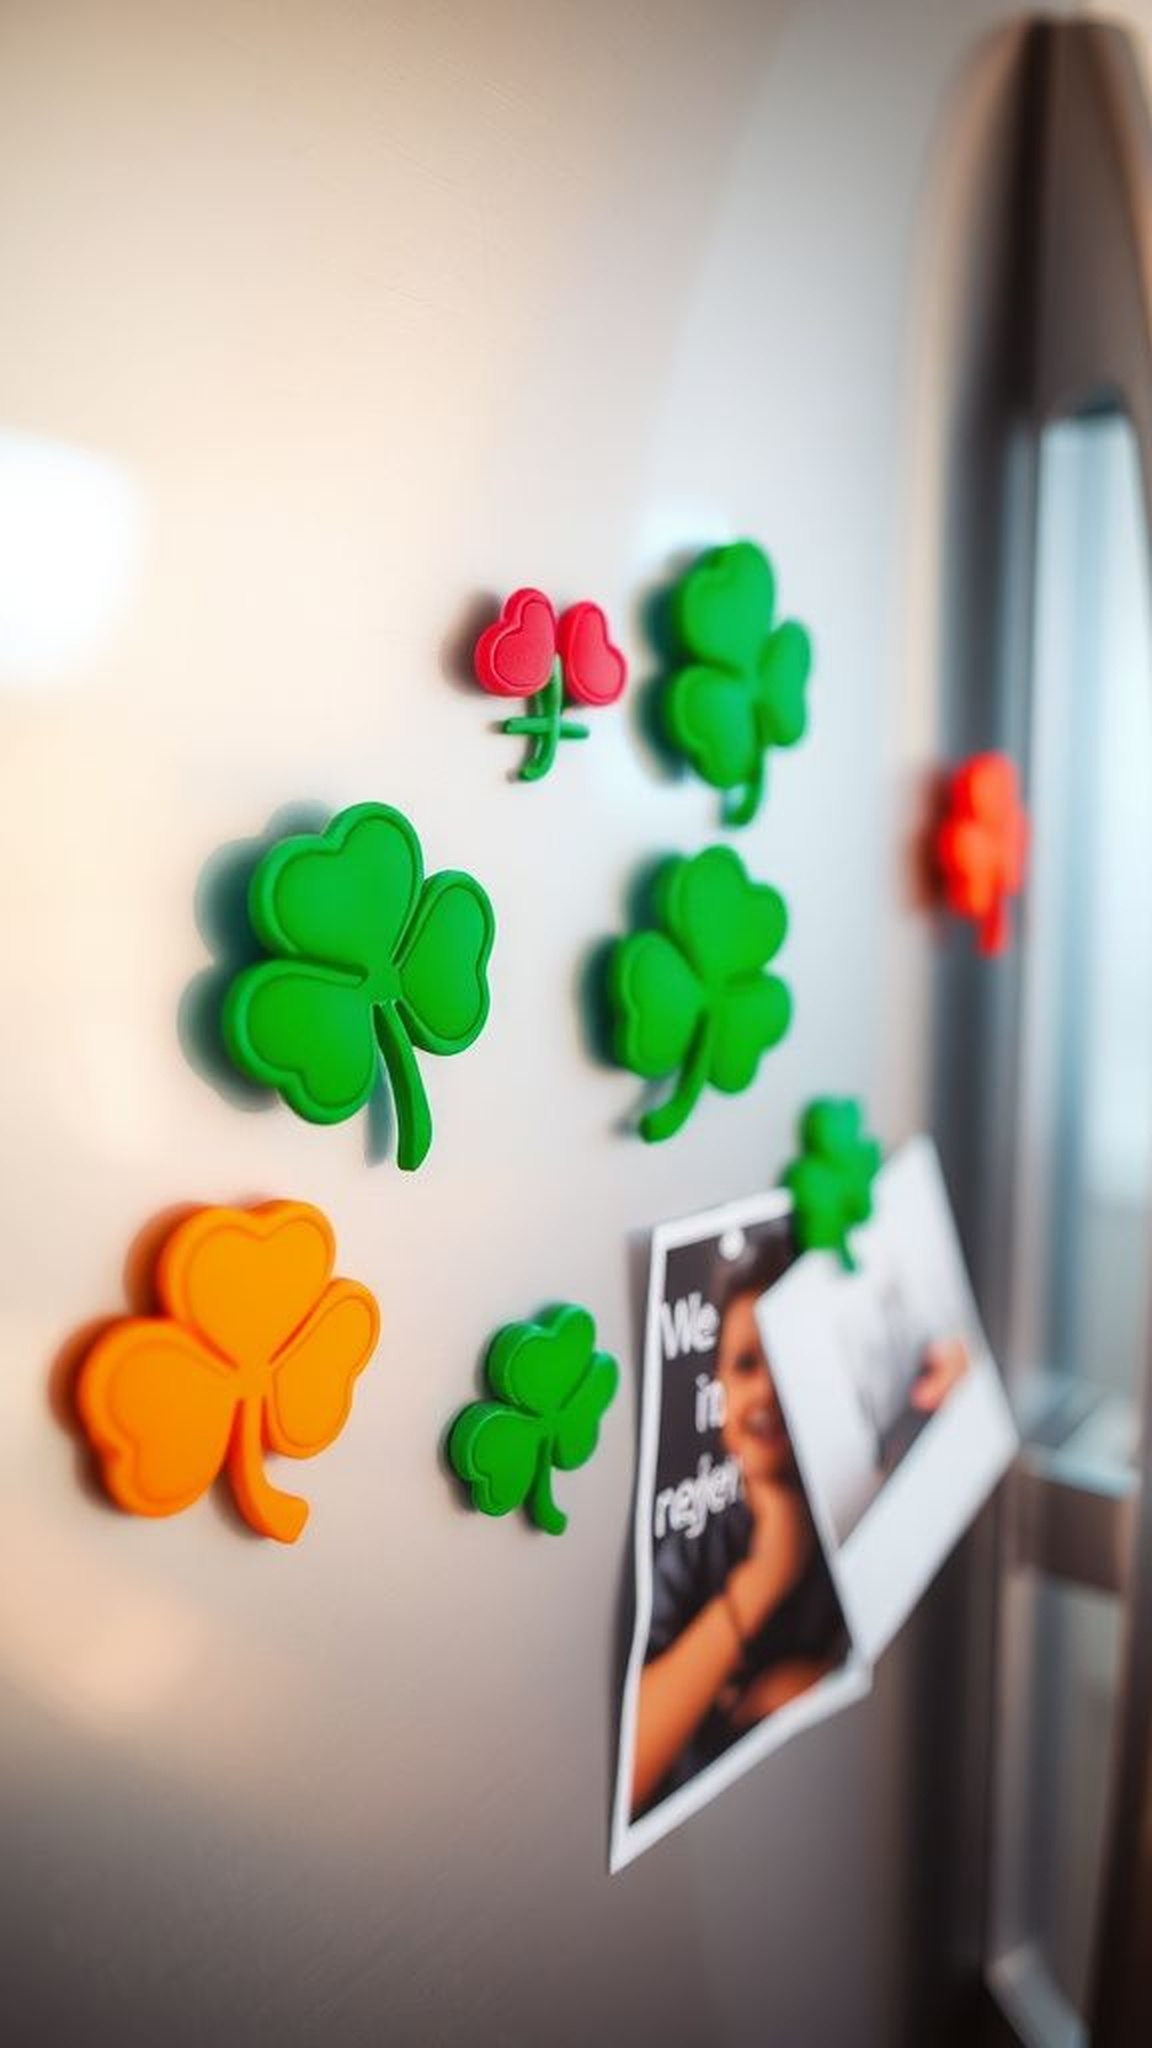
A cluster of tiny button magnets on the refrigerator door cheered up grocery lists and postcards, each button reflecting light with a glossy sheen. The tactile click of a magnet meeting metal has a small, satisfying sound that felt unexpectedly soothing.
Colorful shamrock designs and metallic backs mixed with family photos created a layered, lived-in look. Holding a magnet between thumb and forefinger revealed raised texture and the faint smell of plastic and ink.
They made the kitchen feel festive in a subtle way, a daily reminder of holiday spirit amidst routine.
Steps
- Gather flat buttons or discs, printed shamrock designs, glue, and small round magnets.
- Adhere designs to the button faces and allow to dry thoroughly.
- Affix a magnet to the back of each button with strong adhesive.
- Place the magnets on the fridge to hold notes and add cheer.
Felt shamrock headbands for playful party wear
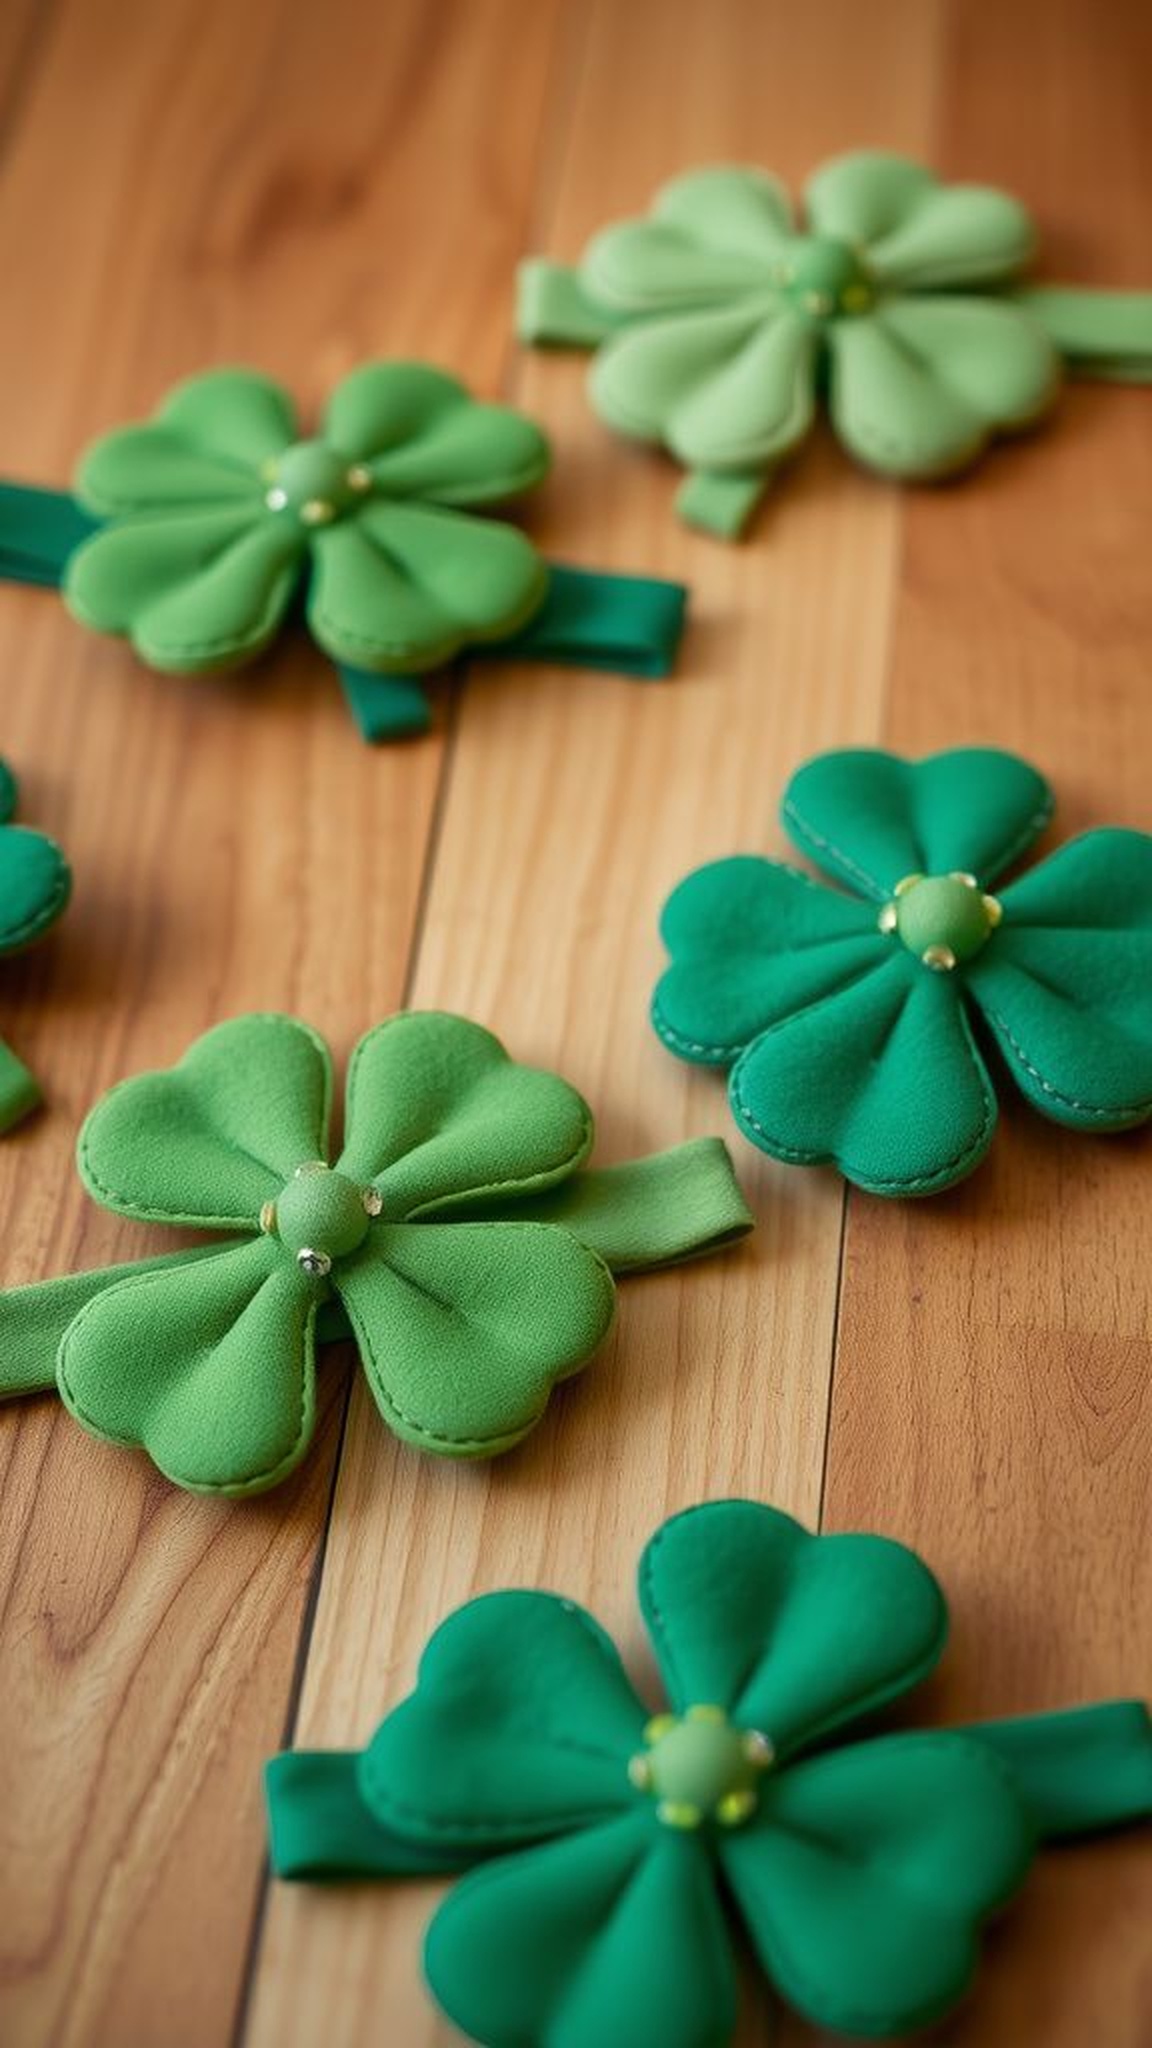
The headbands had a soft, cozy feel against the forehead, the felt shamrocks lending a whimsical silhouette above hairlines. Wearing one brought a light-hearted grin in mirrors and drew chuckles from friends.
The texture felt woolly and comforting, and the green tones ranged from deep forest to lively chartreuse when viewed in different lights. They made photographs feel spontaneous and fun, an easy way to nudge a gathering into a celebratory mood.
Even after being worn for an hour, they sat comfortably without pinching, a small accessory that carried a cheerful attitude.
Steps
- Collect plain headbands, green felt sheets, glue, and small decorative accents.
- Cut shamrock shapes from felt and layer them for depth, securing with adhesive.
- Attach the shamrocks to the headbands and allow glue to set.
- Place headbands on guests as they arrive for playful party wear.
Rainbow paper plate spinners for kids’ delight
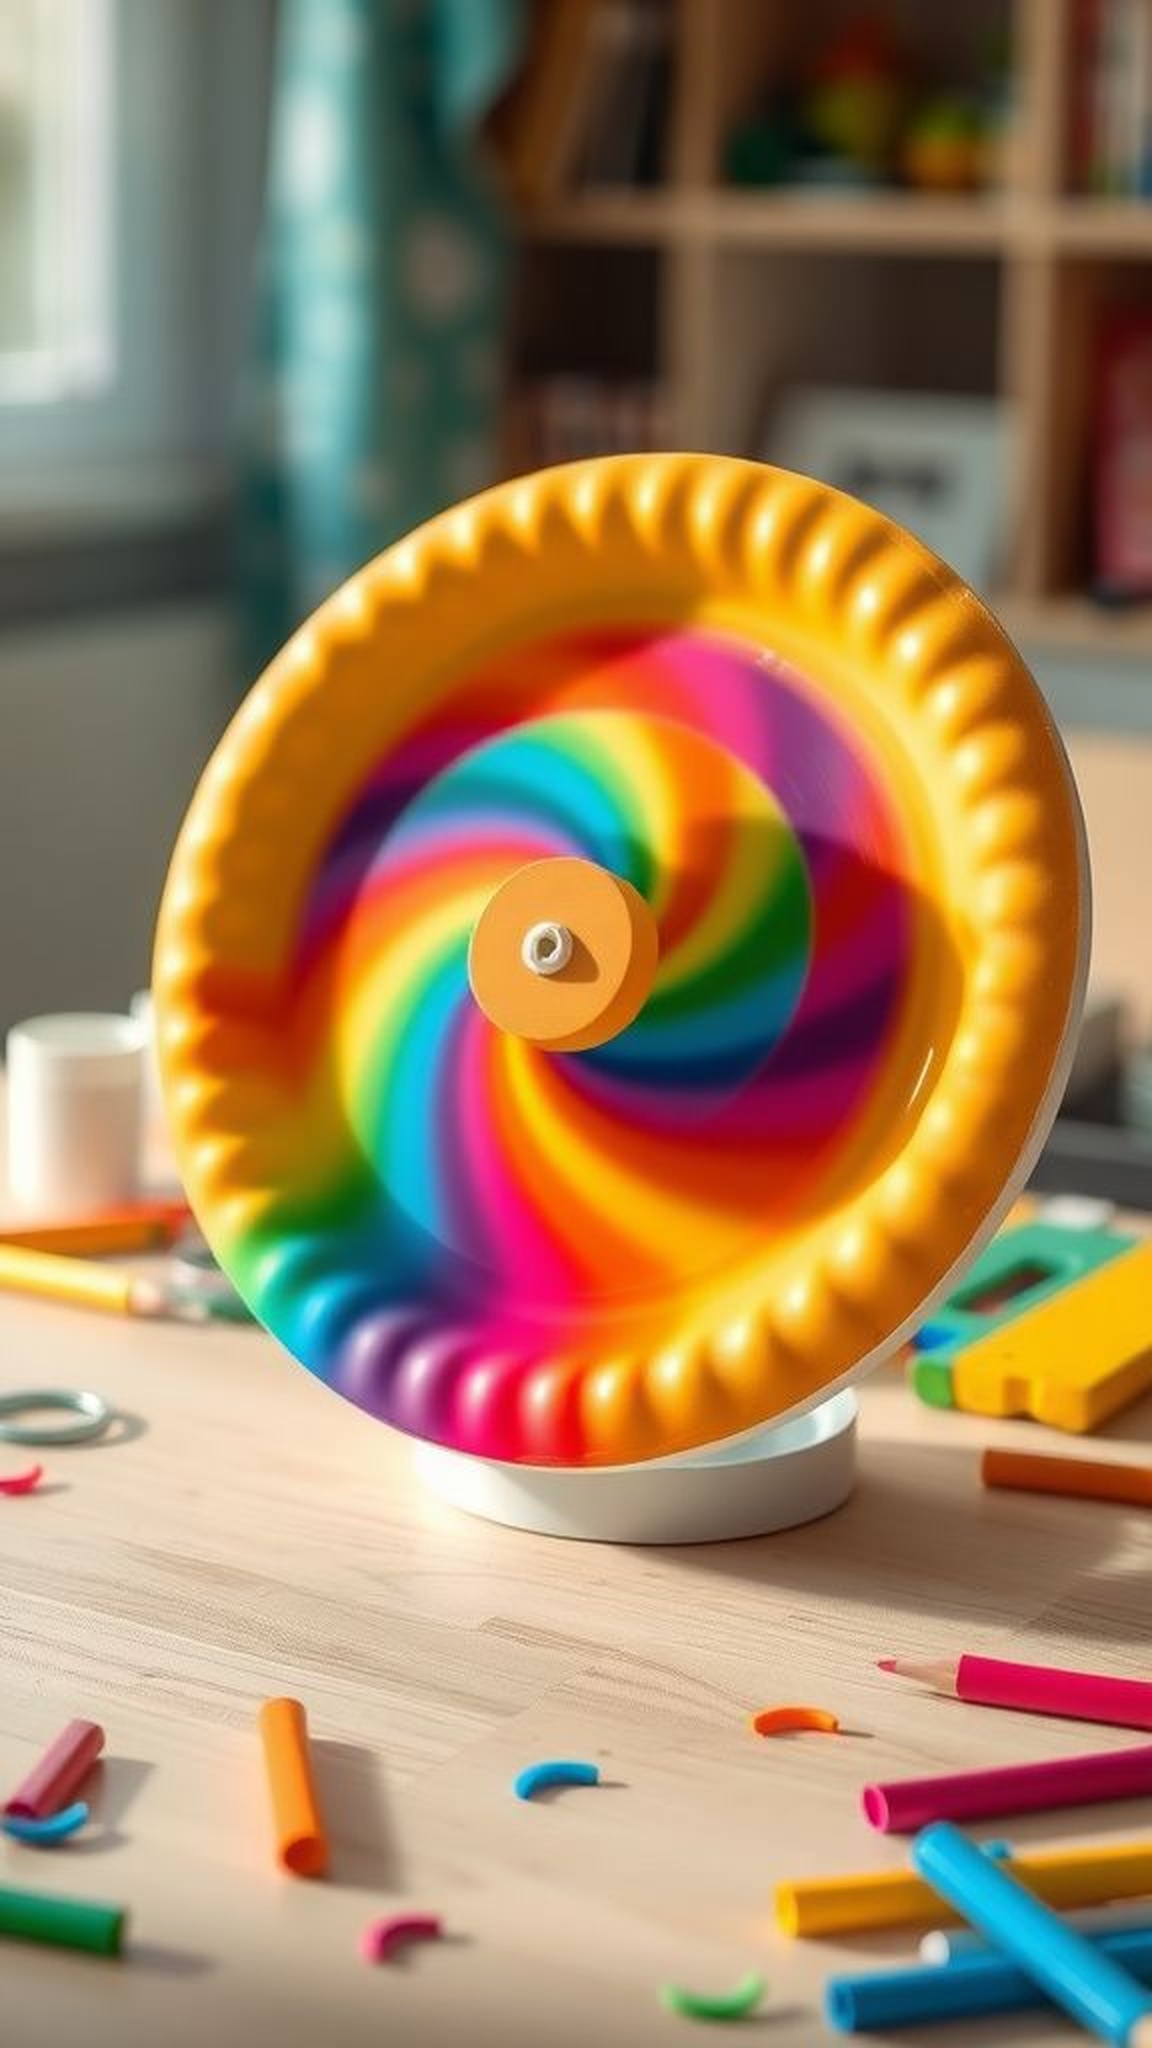
Color-splashed paper plates became kinetic art when mounted as spinners, the colors mixing into a bright blur when set in motion. The paper made a soft rustling sound as it turned, and the painted bands smelled faintly of craft paint and glue.
Watching the hues blend together felt almost hypnotic, a small moment of calm in a bustling gathering. Children clustered around, fingers sticky from treats, eyes wide as the colors smeared into a joyful haze.
The activity left behind an easy mess but a cheerful memory of bright motion and laughter.
Steps
- Gather sturdy paper plates, bright markers or paints, a brad fastener, and a pencil for a hole.
- Decorate the plate with concentric rainbow bands and color variations.
- Pierce the center and attach to a small stick or straw with a brad so it can spin.
- Hold or place the spinner and watch colors blend as it turns.
St. Patrick’s Day bookmarks with ribbon tassels
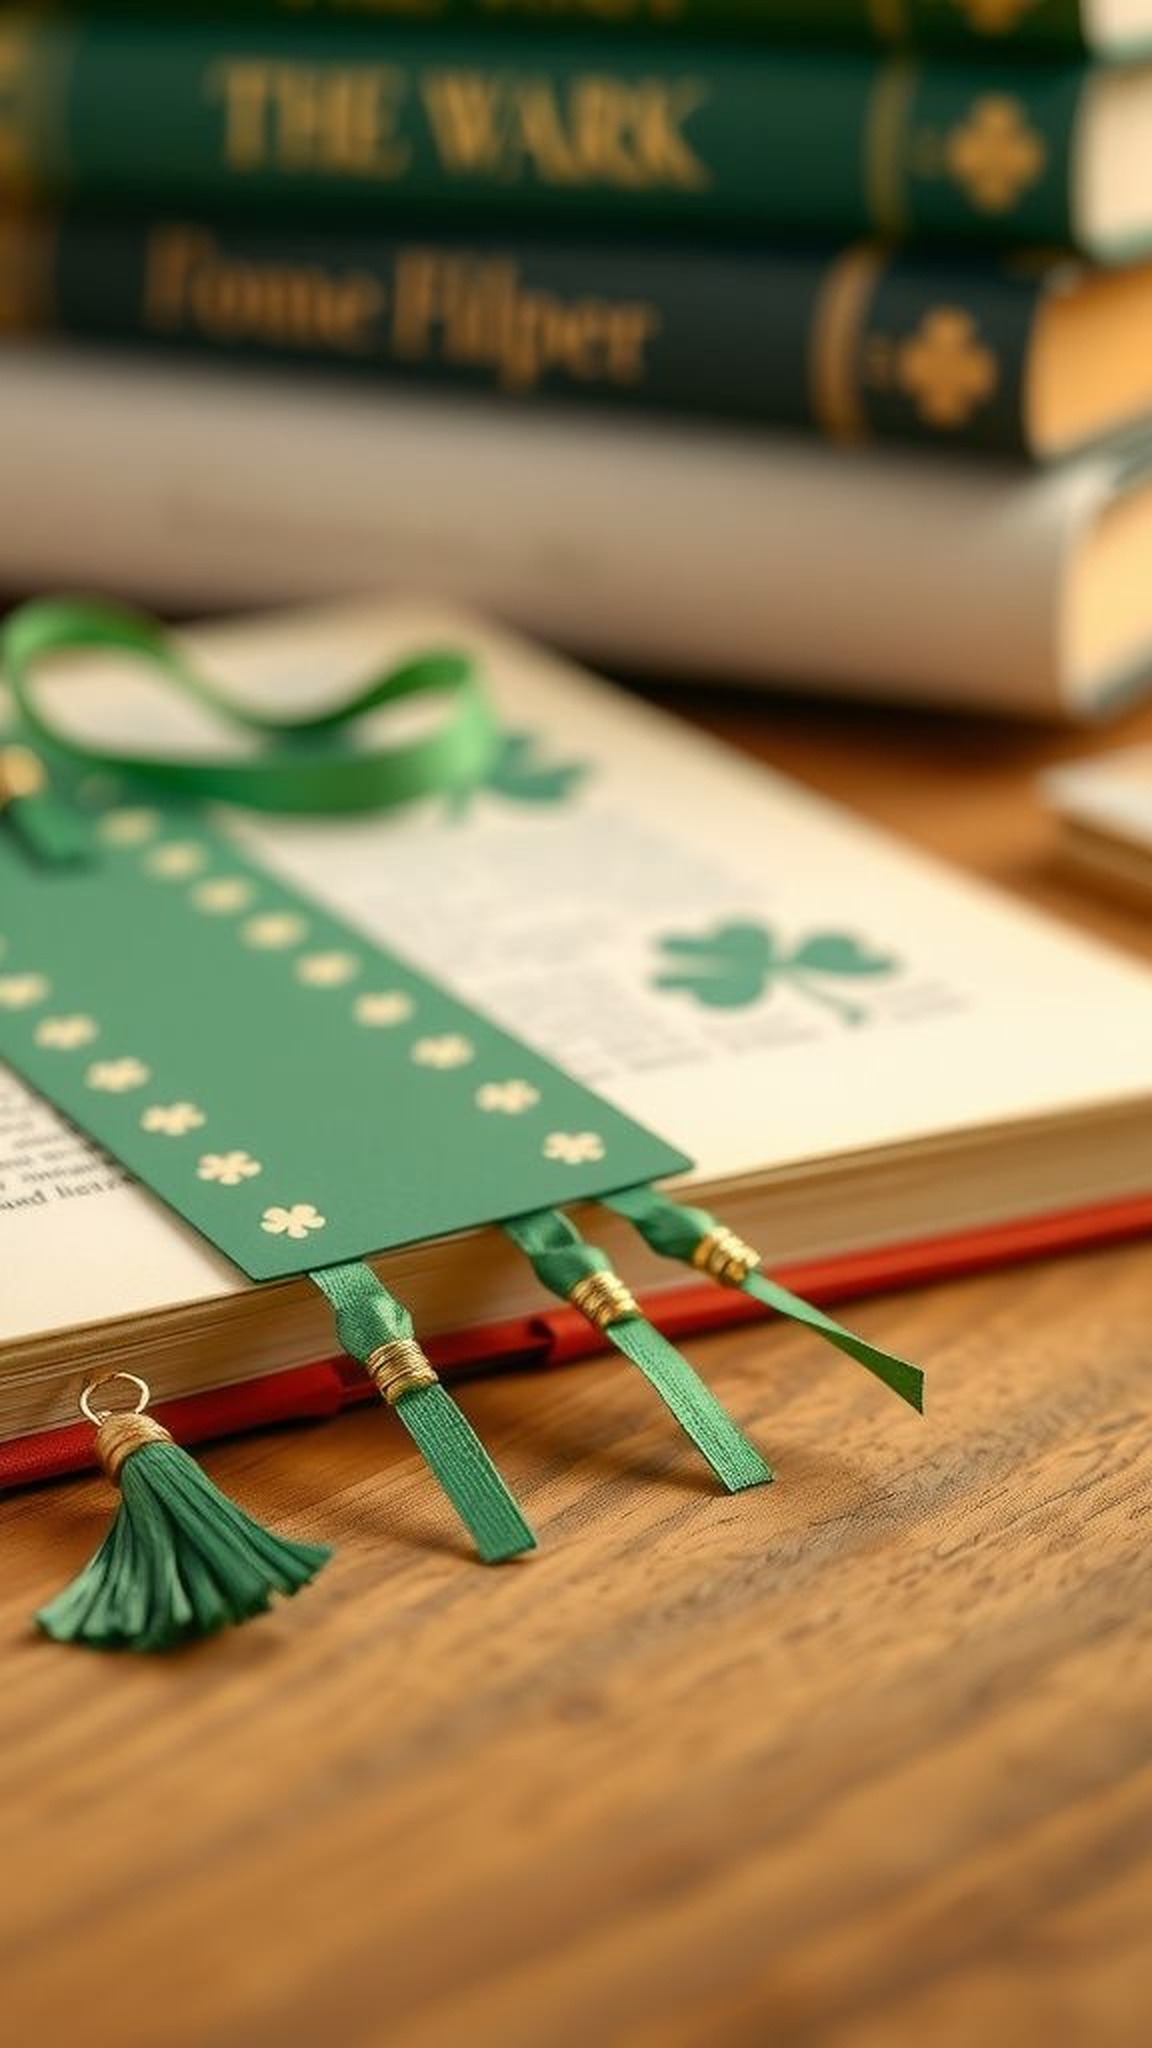
Thin cardstock bookmarks with tiny shamrock corners felt light and useful, sliding into books without bulk. The ribbon tassels made a soft whisper when the book was reopened, and the slight bend of the paper suggested many pages turned over time.
Green ink and gold accents caught the light, creating a small, elegant contrast. Gifting one felt personal because it promised another quiet moment with a favorite novel.
On the bedside table they looked tidy and hopeful, a tiny reminder of slow reading and the pleasures of crossing a page with a gentle marker.
Steps
- Cut cardstock into bookmark-sized strips and round the corners if desired.
- Decorate with shamrock stamps, stickers, or hand-drawn accents and let dry.
- Punch a hole at the top and tie a ribbon tassel through it.
- Slip bookmarks into books for a thoughtful holiday touch.
Clover cloth napkin rings for an elevated table
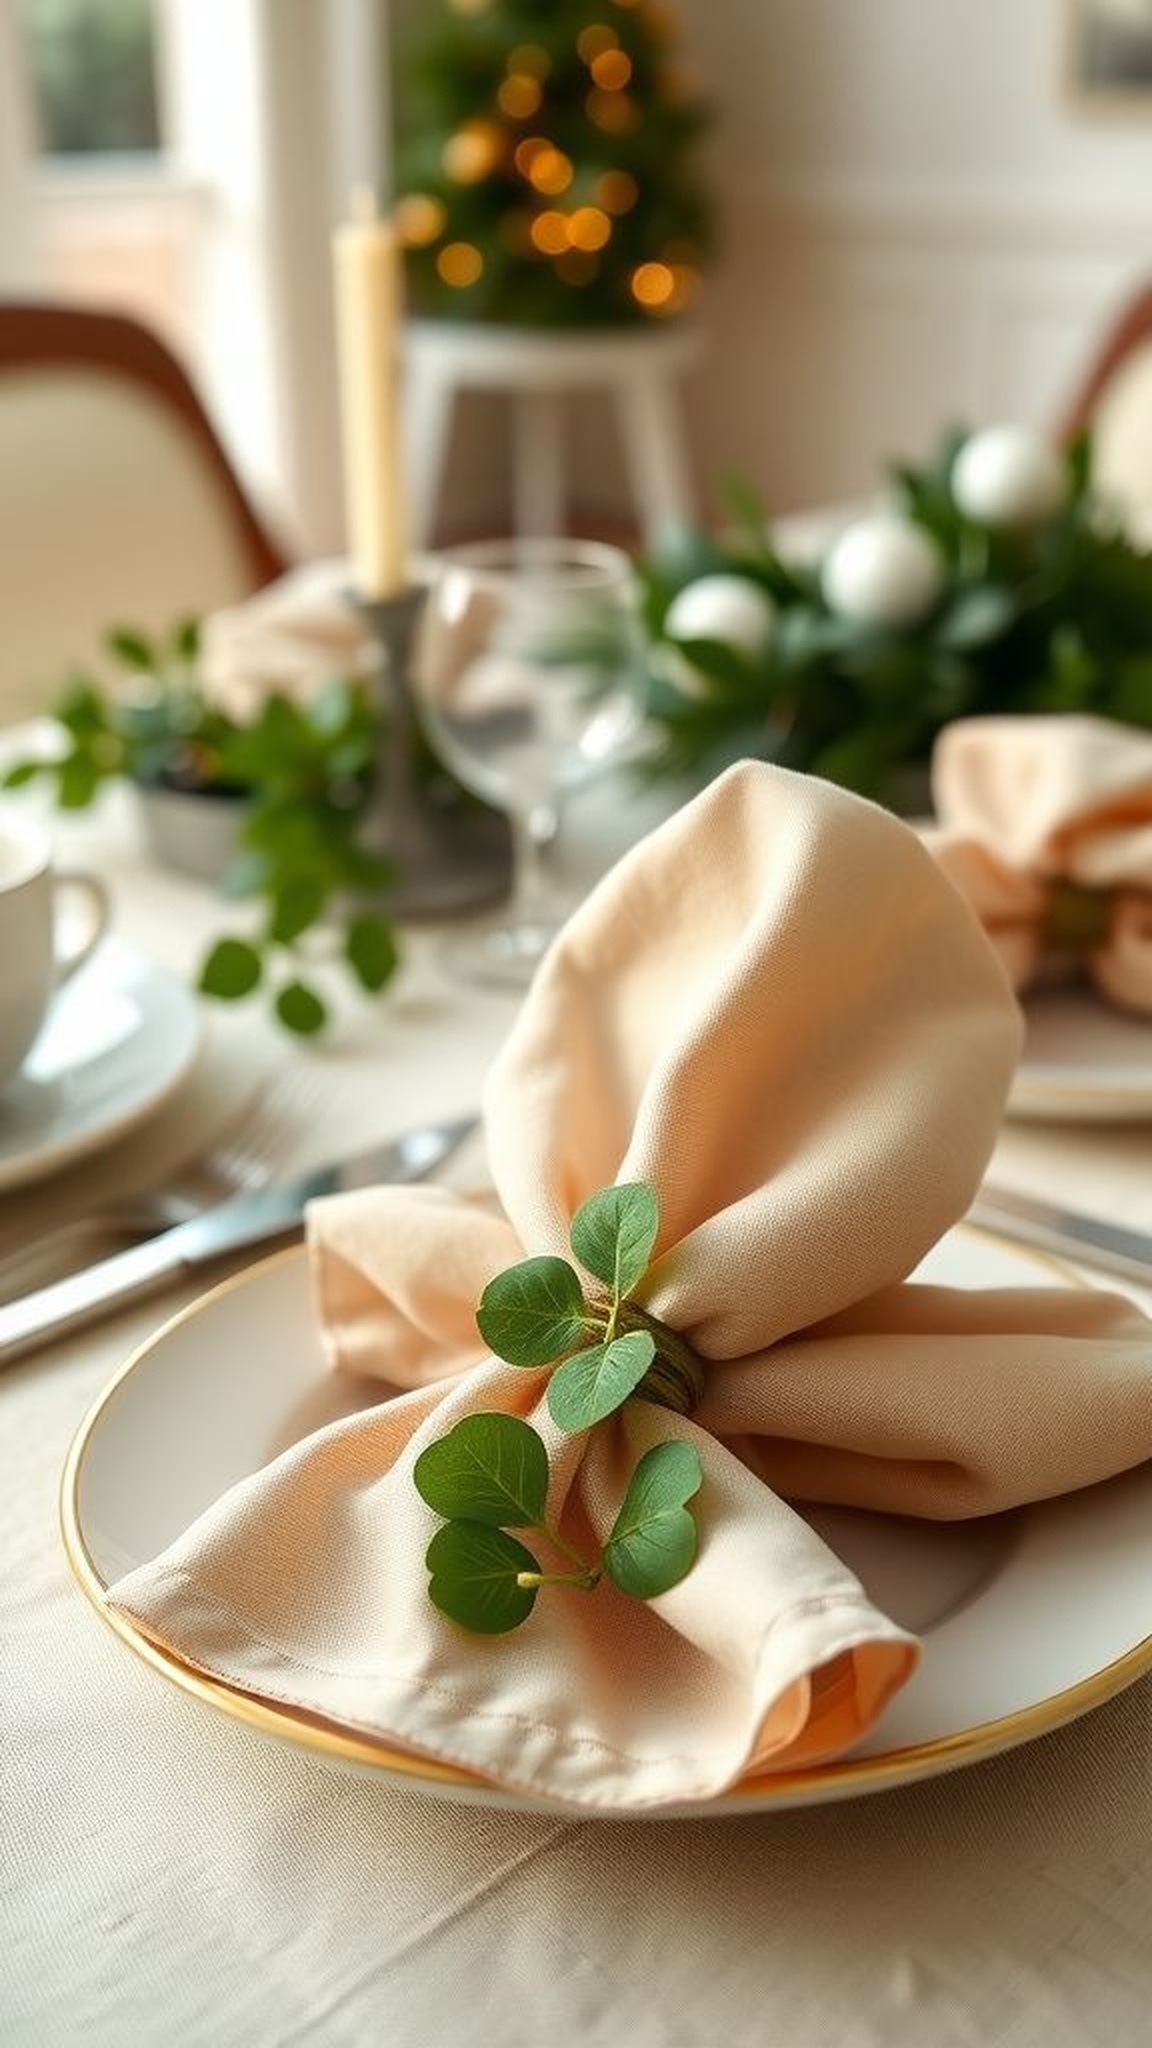
Simple rings clasped around fabric napkins and upgraded the table with quiet charm, the clover motif lending a polished nod to the day. The napkins felt linen-soft beneath fingertips, and the rings added a faint metallic coolness in contrast.
When guests lifted napkins, the rings chimed gently, adding a small sound that felt celebratory without fuss. The overall table setting appeared curated rather than crowded, the clover detail acting as a unifying accent across place settings.
Someone commented on the cohesive feeling, calling the table warm and intentionally put together.
Steps
- Source plain napkin rings or create rings from sturdy cardstock, plus clover cutouts.
- Attach clover shapes to the rings with adhesive and allow them to set.
- Slide rings onto folded cloth napkins and place them at each setting.
- Adjust napkin folds so the clover motif faces outward for visual cohesion.
Glittered glass bottles for rustic mantel display
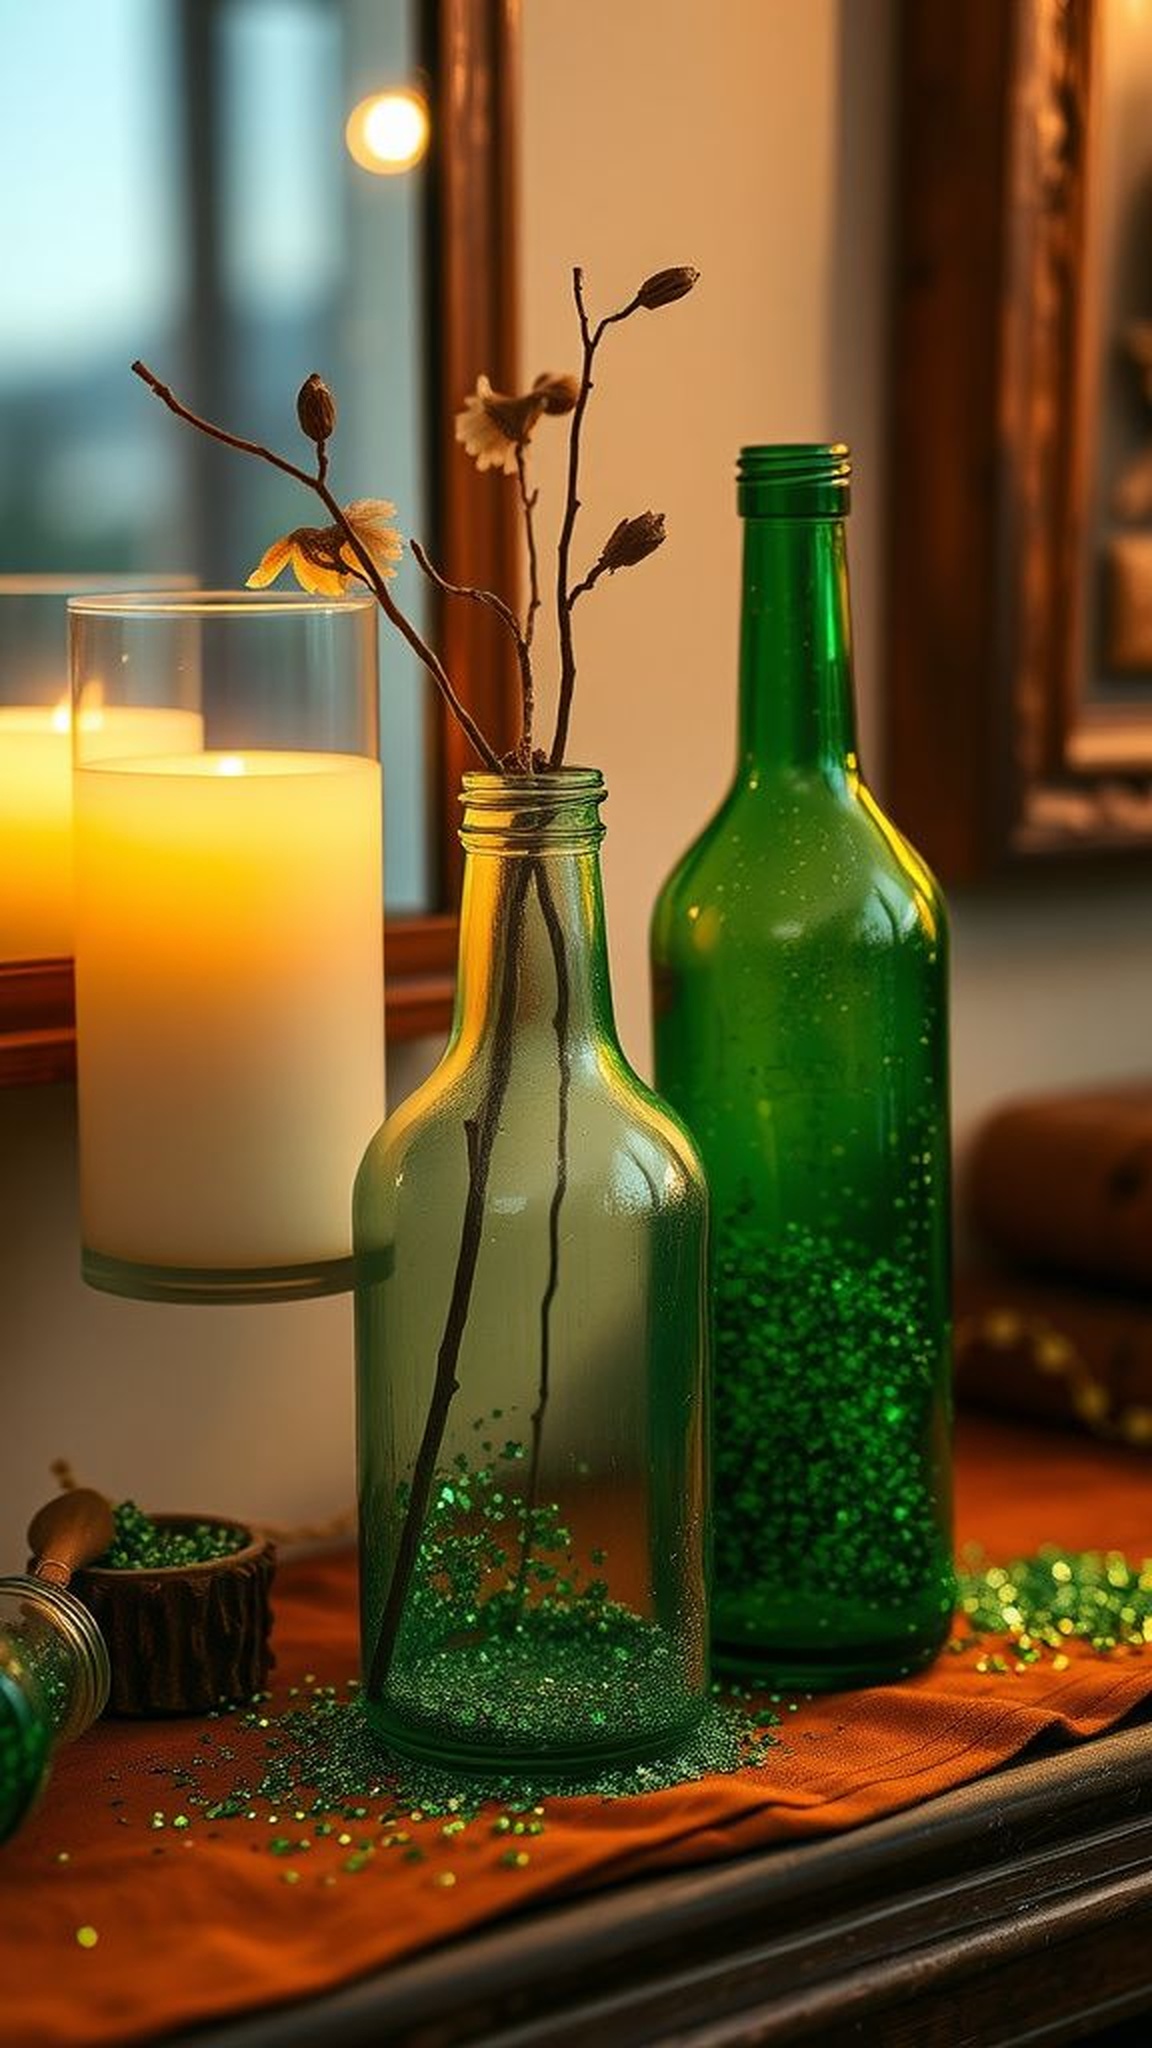
Empty glass bottles dusted with green glitter created a reflective cluster that felt artisanal and relaxed. The glitter texture caught light in speckles, and fingerprints left a faint trail on the smooth necks.
Placing dried stems into the tallest bottle added a whisper of natural texture, and the collection looked like a thrifted find even when made in a single afternoon. The sound of a bottle being nudged against another had a delicate clink, and the sparkle from the glitter cast tiny flecks of light across the wall that felt quietly celebratory.
Steps
- Collect empty glass bottles, craft glue, green glitter, and optional dried stems.
- Apply glue to bottle surfaces and sprinkle glitter evenly, shaking off excess.
- Let bottles dry fully and place stems in the tallest piece for height variation.
- Group the bottles on a mantel or shelf for a glittered vignette.
Lucky charm wind chimes with soft metallic tones

A cluster of small charms and coins strung to jingle produced a soft musical murmur on breezy afternoons. The metal pieces chimed with a mellow tone that felt soothing rather than loud, and beads added tiny pops of color between the brass sounds.
Hanging near an open window the chime caught both light and air, and the movement created a relaxed, rhythmic companionship to conversation. It felt a little bit like inviting a playful spirit to linger nearby, with each gentle ring punctuating moments in a friendly, unobtrusive way.
Steps
- Source small metal charms, beads, thin twine, and a wooden ring or driftwood piece for the top.
- Tie charms and beads onto lengths of twine and attach them evenly to the ring.
- Secure a hanging loop at the top and trim excess twine for a neat finish.
- Hang the chime near a window or porch to enjoy its soft tinkling sounds.
Mini terrarium with faux coins and moss base
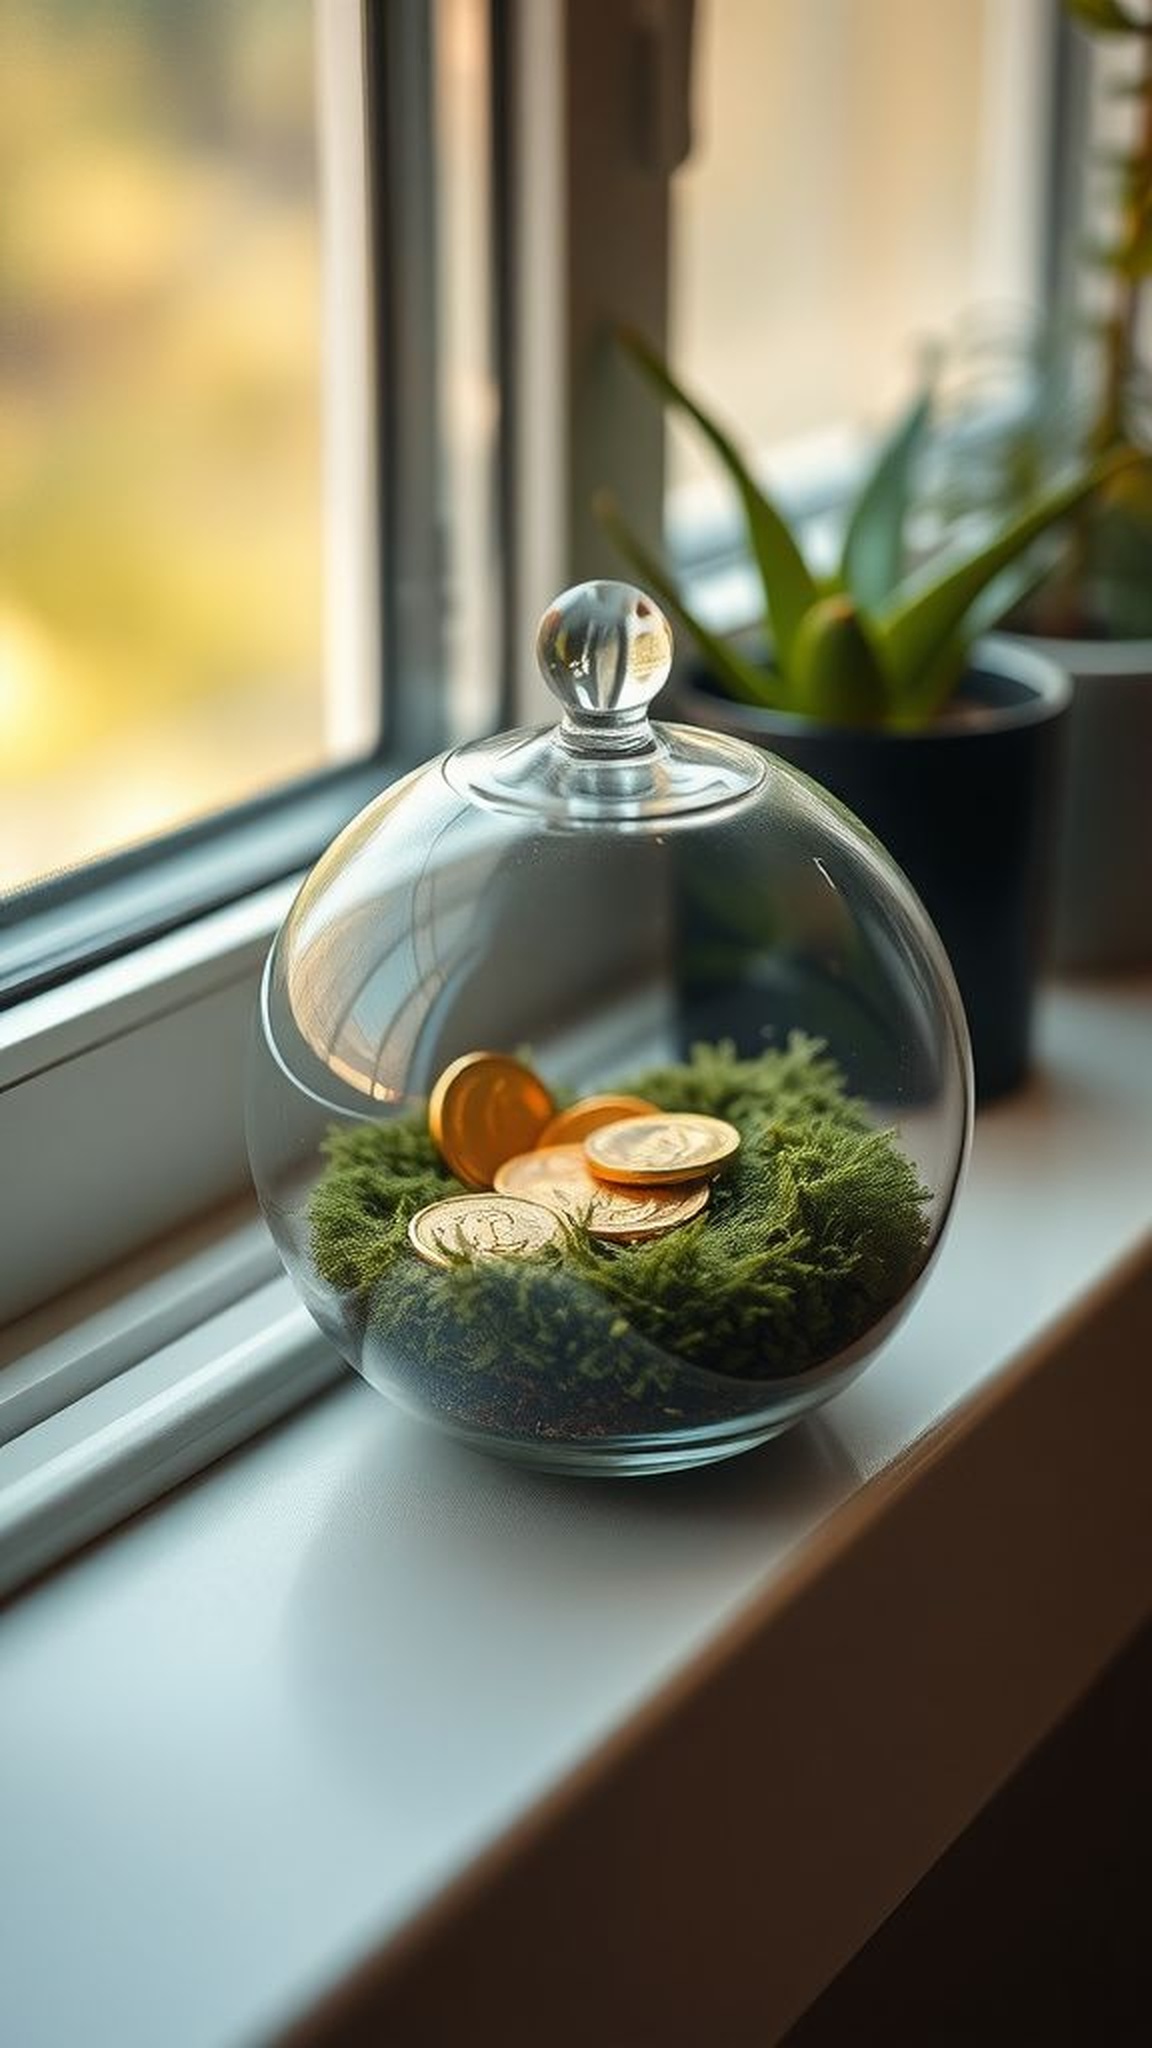
A small glass globe held tiny details that felt like a pocket-sized world, the faux moss offering a soft cushion beneath shining coins. The coins reflected a warm metallic flash against the cool glass, and the enclosed light created miniature shadows that felt intimate.
Peering inside invited a quiet moment of focus, fingers hovering over the smooth surface as if trying not to disturb the tiny landscape. The terrarium sat on a windowsill and caught early morning light, throwing a tiny green glow into the room that was quietly delightful.
Steps
- Choose a small clear glass globe or jar, faux moss, miniature gold coins, and small pebbles.
- Layer pebbles for drainage, add a cushion of faux moss, and nestle coins on top.
- Close the globe and wipe the glass clean for clear viewing.
- Place the terrarium on a windowsill or shelf to catch gentle light.
Chalkboard sign with hand-drawn shamrock message

A small chalkboard propped on an easel offered a welcoming note with the warmth of shaky hand-lettering and a freshly sketched shamrock. The matte black surface contrasted with the chalk’s dusty texture, and fingers left faint smudges when adjusting the frame.
The scent of damp chalk dust mingled with room air, bringing a faint schoolroom nostalgia. Switching the message felt delightfully low-pressure, and guests enjoyed the casual honesty of a handwritten greeting.
The chalkboard anchored a corner with approachable charm, looking both improvised and thoughtfully personal.
Steps
- Find a small framed chalkboard and a set of colored chalks.
- Sketch a shamrock and write a short greeting, adjusting lines until satisfied.
- Place the chalkboard on a small easel or lean it against a stack of books.
- Refresh the message as needed to match the mood of the gathering.
Salt dough shamrocks with textured painted finish
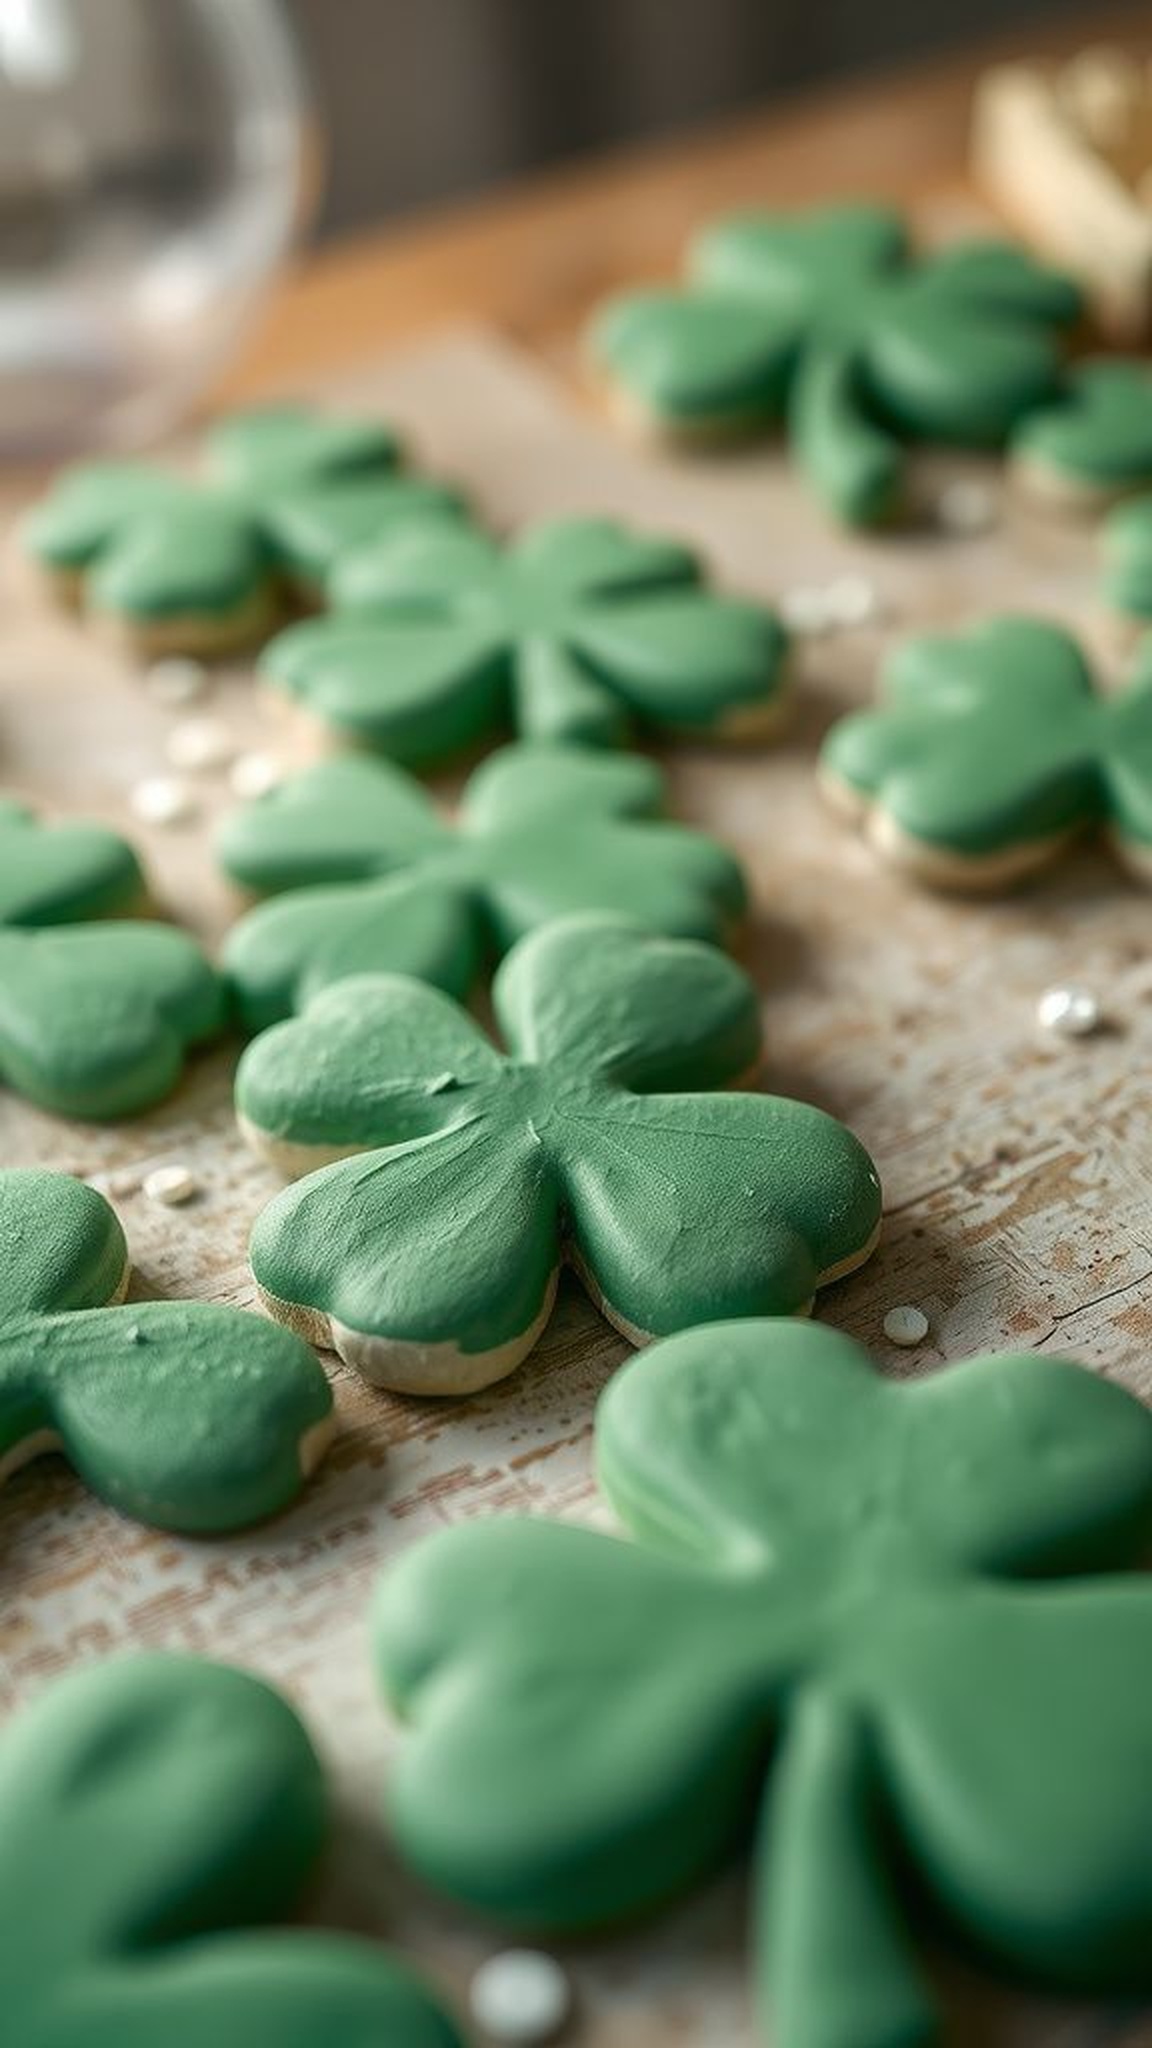
Hand-pressed salt dough shamrocks carried a tactile warmth and a slight grainy surface that felt honest and homemade. The painted finishes ranged from glossy emerald to matte sage, absorbing light differently and adding depth.
Laying them across a table runner produced a quiet, earthy scatter that matched simple tableware. When held, they were light and pleasantly cool, the edges slightly rough from baking.
Someone running a thumb across a vein of the clover noticed the subtle texture and laughed softly at the handmade imperfection, which somehow made them feel more charming.
Steps
- Mix flour, salt, and water to form a pliable dough and roll it out to desired thickness.
- Press shamrock shapes with a cutter or template and bake until dry and firm.
- Paint each piece in shades of green and add a protective sealer when dry.
- Scatter the shamrocks along a table runner or cluster them in a bowl.
Rainbow photo display on a string of clothespins

A line of printed snapshots clipped to a bright string felt like a small parade of memories, each photo framed by a tiny clothespin colored in rainbow order. The paper corners curled slightly, lending a soft lived-in quality, and the string sagged just enough to give the display a relaxed curve.
Light falling across the photos created warm highlights and the occasional glossy glare. Guests lingered to read captions and point out smiles, and the display turned a plain wall into a lively gallery of everyday moments with a festive twist.
Steps
- Print small photos or mementos and gather colored clothespins and twine.
- Stretch twine across a wall or between two points and secure ends.
- Clip photos to the twine using the clothespins in rainbow sequence.
- Adjust spacing for an even, cheerful display that invites viewing.
Pot of gold piñata as a playful centerpiece surprise
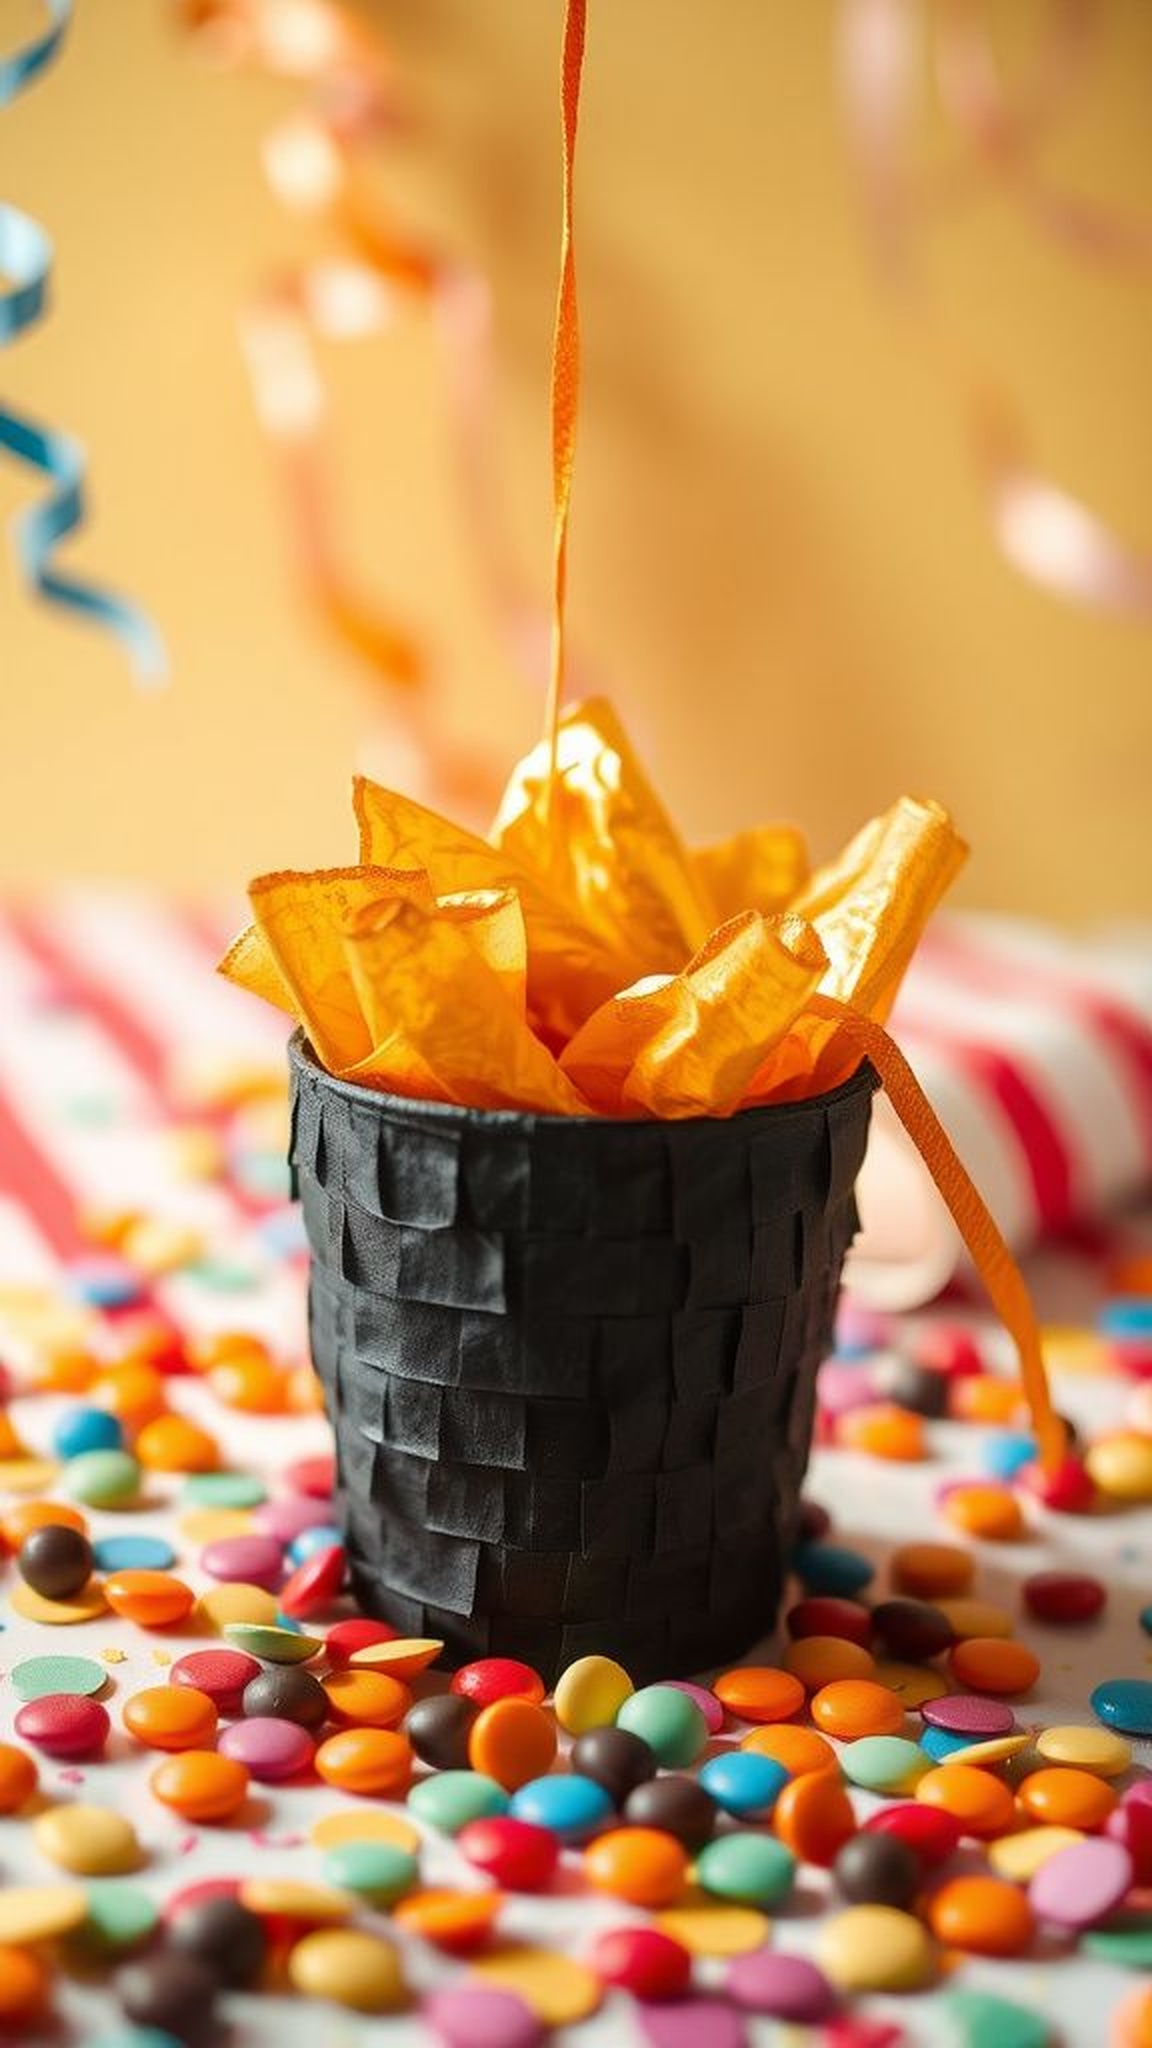
A small paper piñata shaped like a black pot shimmered with a gentle fringe and promised a moment of silly anticipation. The outer paper had a crinkly texture that made a soft rustle when touched, and the gold tissue spilling from the top caught every flash of light.
Children circled around with bright eyes, voices lowering in conspiratorial hush before a gentle tug revealed the treats. The piñata’s burst created a rain of candy and confetti, a bright, messy punctuation mark that left sticky little smiles across faces and a table strewn with colorful bits.
Steps
- Form a small pot shape from cardboard or a pre-made paper container and cover with black crepe paper.
- Fill the pot with wrapped candies, small toys, and gold tissue fringe for visual effect.
- Seal the top and add a loop for hanging or a tab for easy opening.
- Place the piñata at the center of the table and let guests gently access the treats when ready.
Leprechaun trap diorama with tiny whimsical details
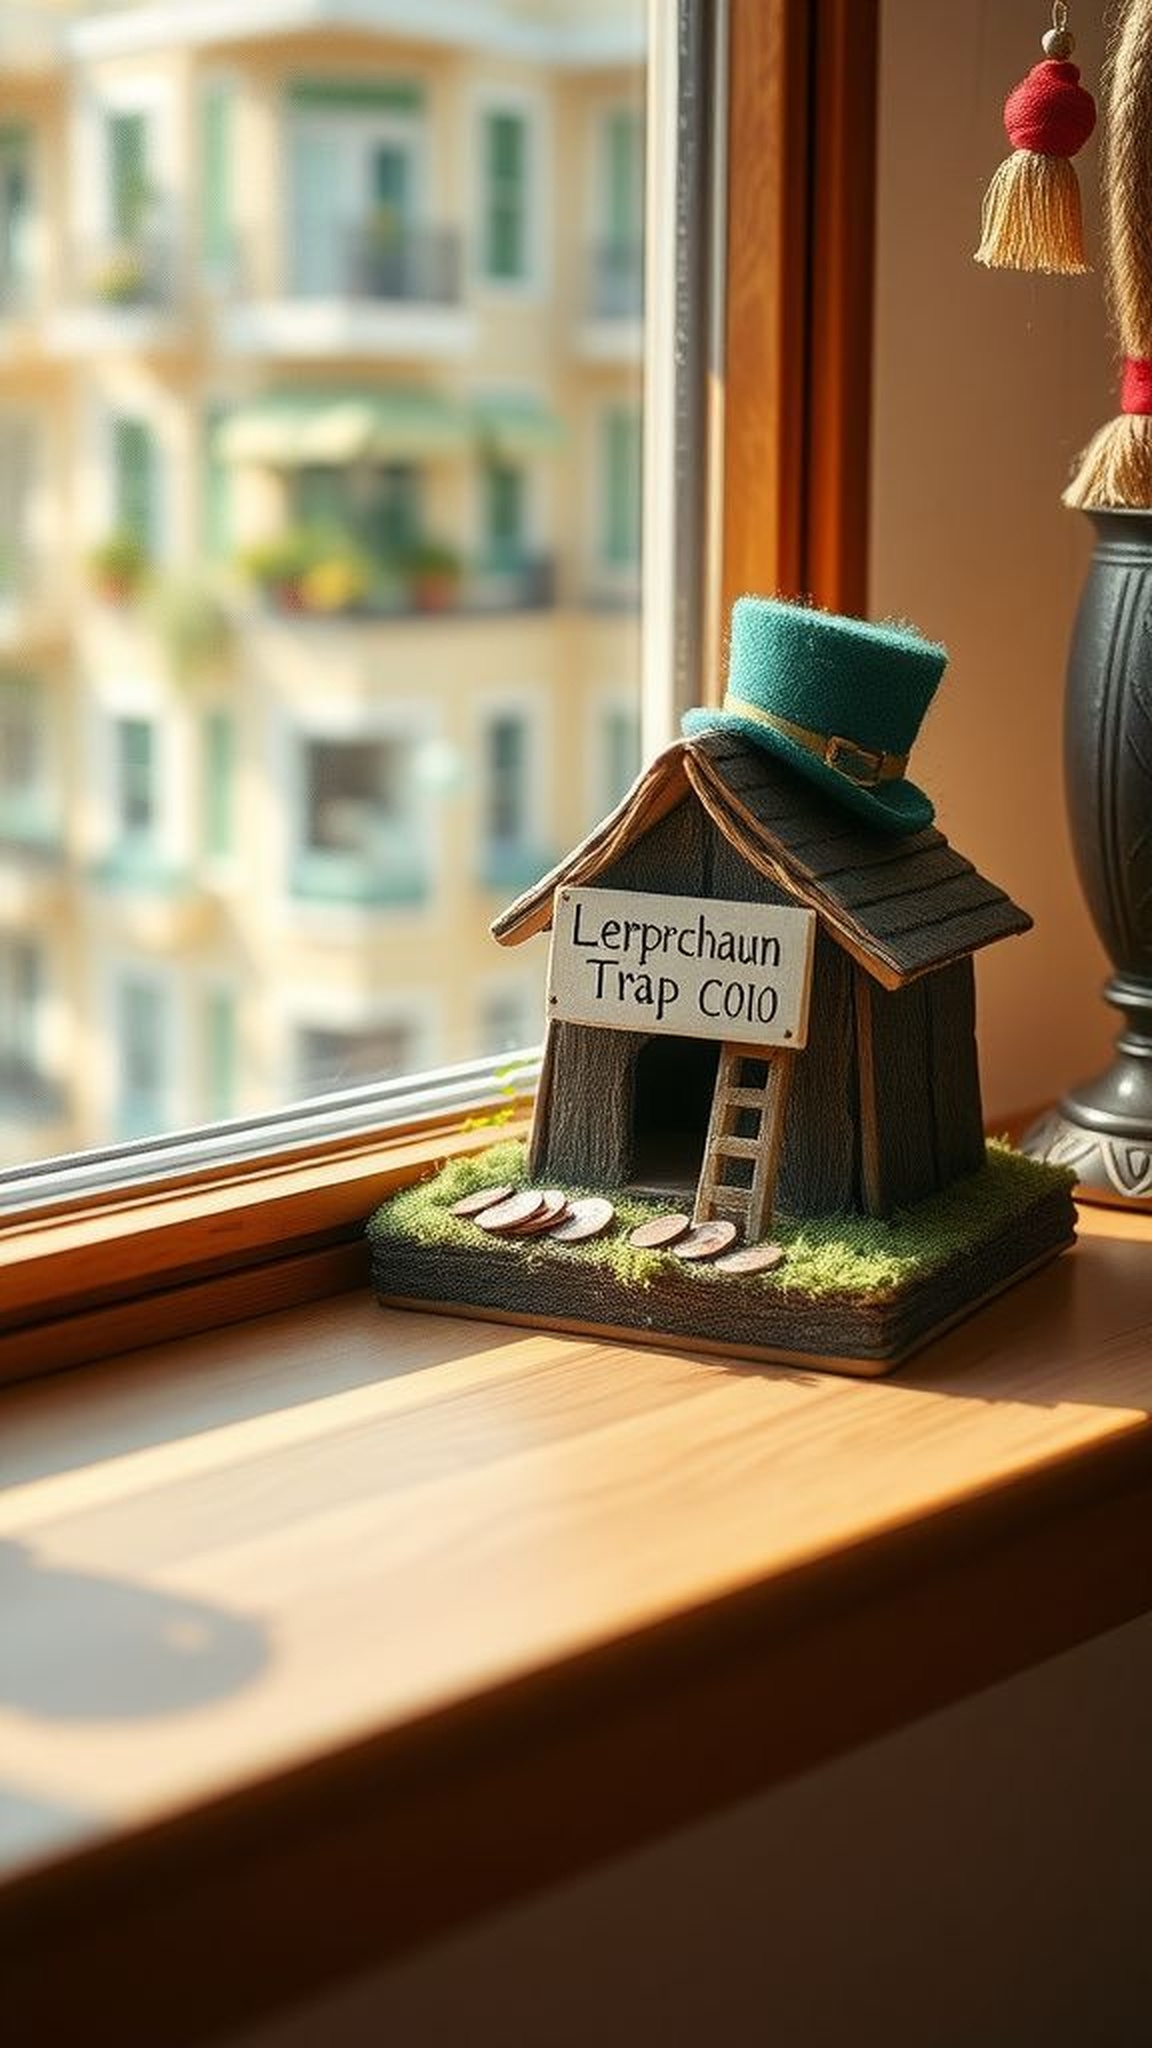
A tiny diorama housed curious miniature elements: a small ladder, sparkly coin pile, and a tiny handwritten sign that felt both mischievous and earnest. The scene evoked afternoons of play where imagination and tiny objects combine into a quiet story.
The cardboard base smelled faintly of glue and ink, and the small props had a pleasing handmade wobble. When placed on a windowsill, sunlight exaggerated the gold and green contrasts, making the scene feel alive despite its modest size.
Kids peered in with wide eyes, whispering plans and giggling at the idea of a visiting trickster.
Steps
- Use a shallow box or tray as the base and gather tiny props like toy ladders, coins, and paper signs.
- Arrange props to suggest a playful trap, securing pieces with glue as needed.
- Add textured elements like moss, fabric scraps, or glitter for interest.
- Place the diorama on a shelf or windowsill where small observers can enjoy the scene.
