As an Amazon Associate I earn from qualifying purchases.
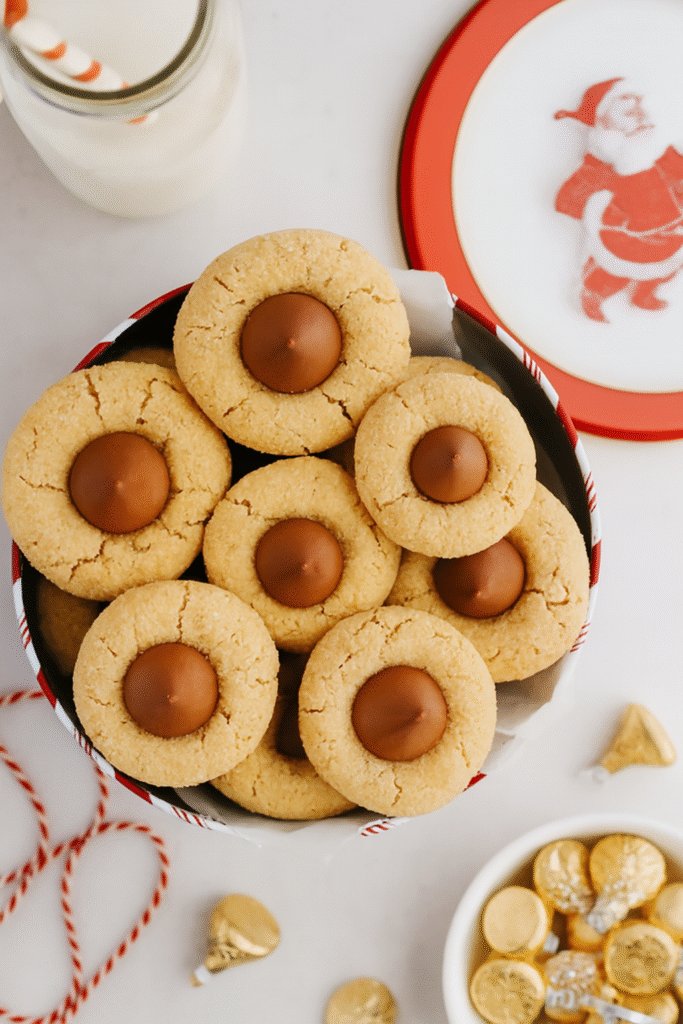
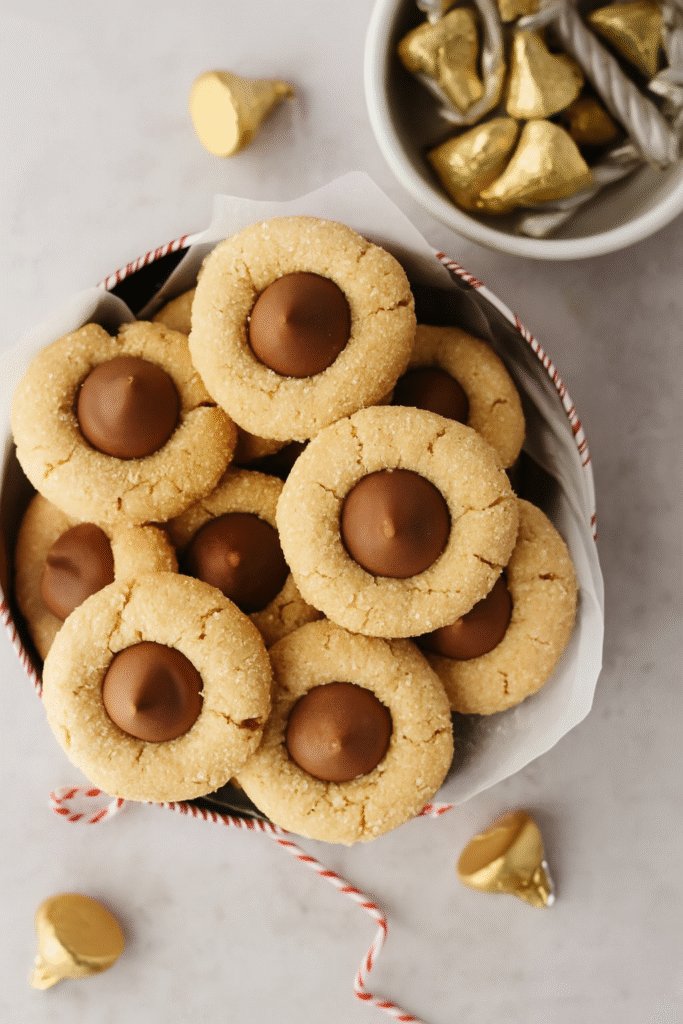
These charming peanut butter blossom cookies might just become your next obsession! Soft, melt-in-your-mouth biscuits encrusted in sugar and topped with a silky chocolate kiss — absolute bliss in each mouthful. Prepared in roughly ten minutes and combined in a single bowl!
Reasons you’ll adore these peanut butter blooms
- Fast to Assemble: These snacks are easy to create — the batter requires about 10 minutes to combine, followed by a one-hour chill in the refrigerator. The chocolate fillings also need a brief hour in the freezer, ensuring everything syncs up just right.
- No Soft Centers: Freezing the chocolate chunks prior to baking ensures they maintain their form and won’t dissolve into a puddle on your newly baked cookies.
- Cupboard Essentials: You will require just a few common baking ingredients — around 11 altogether — many of which are probably already in your kitchen.
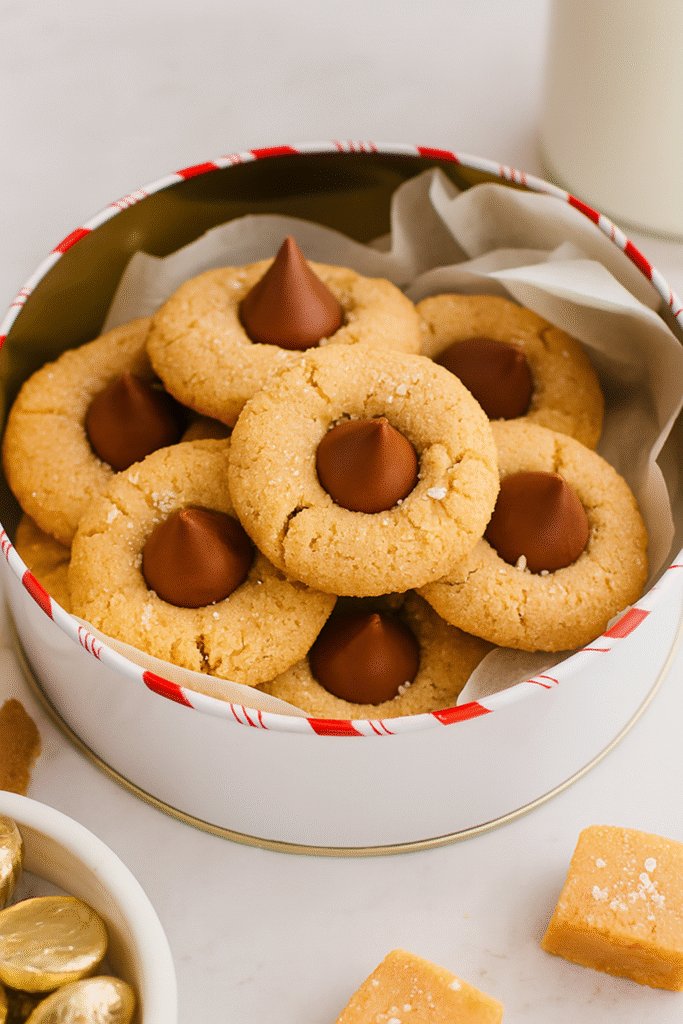
- Celebration Classics: While they sparkle during the festive season, these peanut butter blossom cookies are a treat to enjoy all year round!
Ingredient Notes
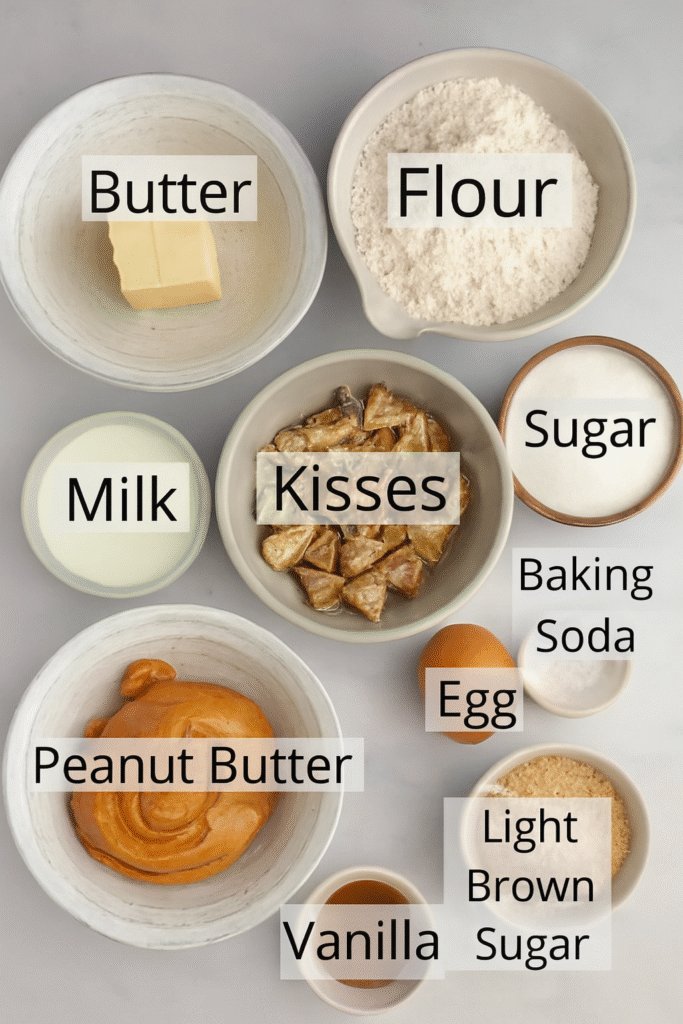
- Flour: For this iteration, I chose standard all-purpose flour. I have not tried any gluten-free options so far, so outcomes might vary if you decide to use them.
- I opt for unsalted butter to control the seasoning according to my preference. My choice leans towards the European variety due to its more robust flavor and creamier consistency.
- Chocolate Kisses: For this variation, I opted for milk chocolate Kisses, but feel free to use any flavor you prefer. I’ve also created them with mini Kisses — they come out super cute!
- Peanut Butter: Ensure you opt for smooth, creamy peanut butter instead of the natural variety that tends to separate. The oily type may influence the cohesion of the cookies.
- Sweetener: A combination of granulated sugar and light brown sugar provides these cookies with optimal taste and texture. Additionally, some granulated sugar will be required to coat the dough balls prior to baking.
Guidelines in Sequential Order
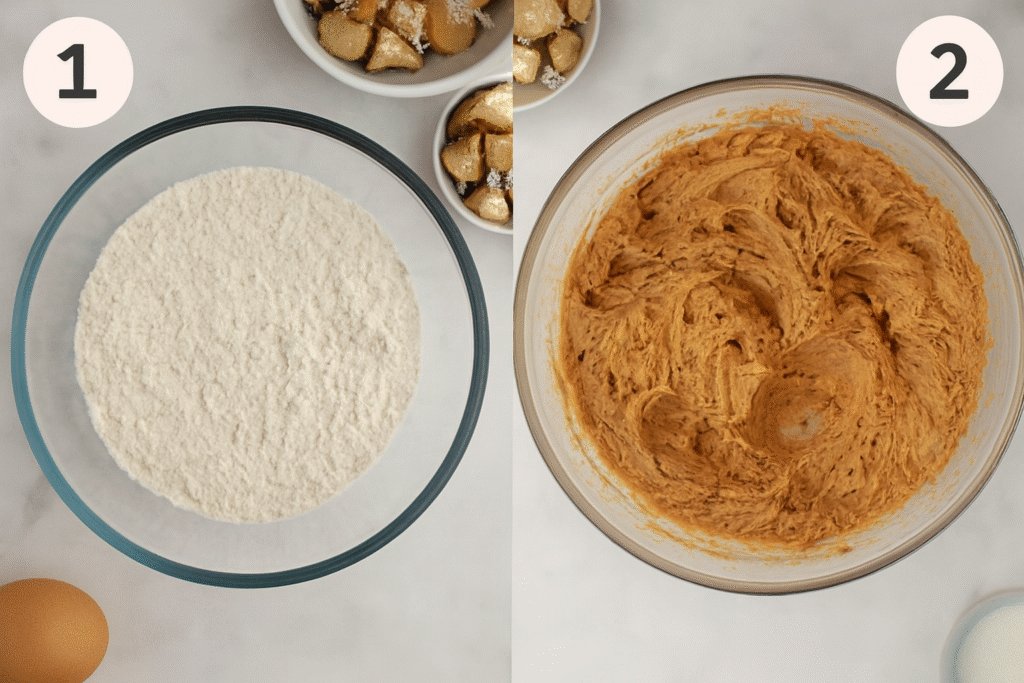
Step 1: In a different mixing bowl, mix together the dry components—flour, baking soda, and salt. Line two trays with parchment paper and set them aside for future use.
Phase 2: Utilizing either a stand mixer equipped with a paddle attachment or a handheld mixer, combine the softened butter, peanut butter, white sugar, and brown sugar until the blend is smooth and light in color. Add the egg, vanilla extract, and milk, and keep mixing until all ingredients are thoroughly combined.
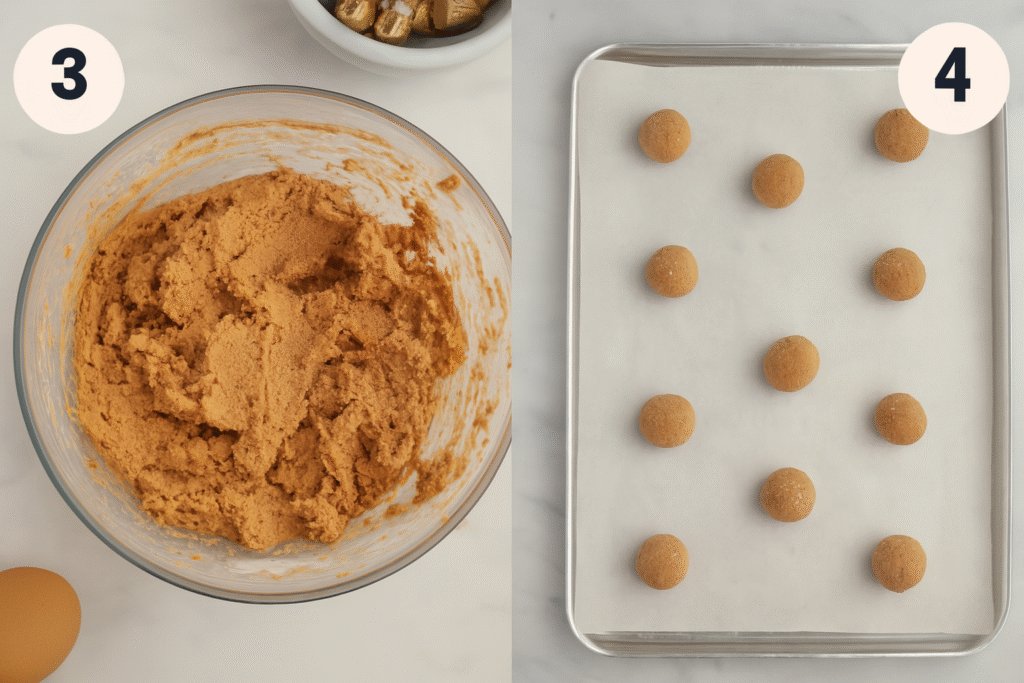
Phase Three: Carefully merge the dry ingredients with the wet ones until the mixture is uniformly combined and no traces of flour are present. Utilize a silicone spatula and mix by hand to maintain the dough’s softness and prevent excessive mixing. Wrap the dough and chill it in the refrigerator for a minimum of 1 hour, or up to 48 hours if necessary. As the dough cools, take off the wrappers from the Hershey’s Kisses and place them in an airtight container or freezer bag. Store them in the freezer for approximately an hour—this precaution prevents them from melting when pressed onto the hot cookies later.
Phase Four: Preheat your oven to 375°F (190°C) and prepare your baking sheets by lining them with parchment paper or a silicone mat. Take the chilled dough out. If it has been in the refrigerator for over an hour, allow it to sit at room temperature for approximately 20 minutes to make scooping easier. Portion out roughly 1½ tablespoons of dough for each cookie, rolling each piece into a smooth sphere using your hands. Coat each dough sphere in granulated sugar, then place them on the baking sheet, ensuring they are spaced about 2–3 inches apart. Keep shaping cookies until all the dough is utilized.
Put the cookie mixture in the oven and allow it to bake for approximately 10 to 12 minutes. As they complete baking, take the chocolate treats out of the freezer. Once the cookies appear slightly golden and show tiny fissures on the surface, remove them from the oven. Gently press one candy into the center of each soft cookie, then let them cool completely before serving.
Professional Advice & Techniques
- Precise Measurement – Consistently use a digital kitchen scale and measure all ingredients in grams rather than utilizing cups or spoons. Accurate measurements guarantee uniform, flawlessly textured baked goods each time!
- Gently Scoop Your Flour – If you lack a scale and choose to measure with cups, lightly mix your flour to aerate it, then spoon it into the measuring cup and level it off. You can find the correct method online. Incorporating too much flour results in cookies that are hard and crumbly rather than soft and delicate.
- Allow Ingredients to Reach Room Temperature – Prior to combining, let butter, eggs, and any other chilled ingredients rest until they attain room temperature. This ensures a more uniform mixture for a creamier dough. Remove them from the refrigerator about an hour in advance.
- Tiny Cookies – Have some mini Hershey’s Kisses or tiny chocolate chips? Form your cookie dough into small pieces and place those on top. They’re cute and perfectly sized for little festive assistants!