
As an Amazon Associate I earn from qualifying purchases.
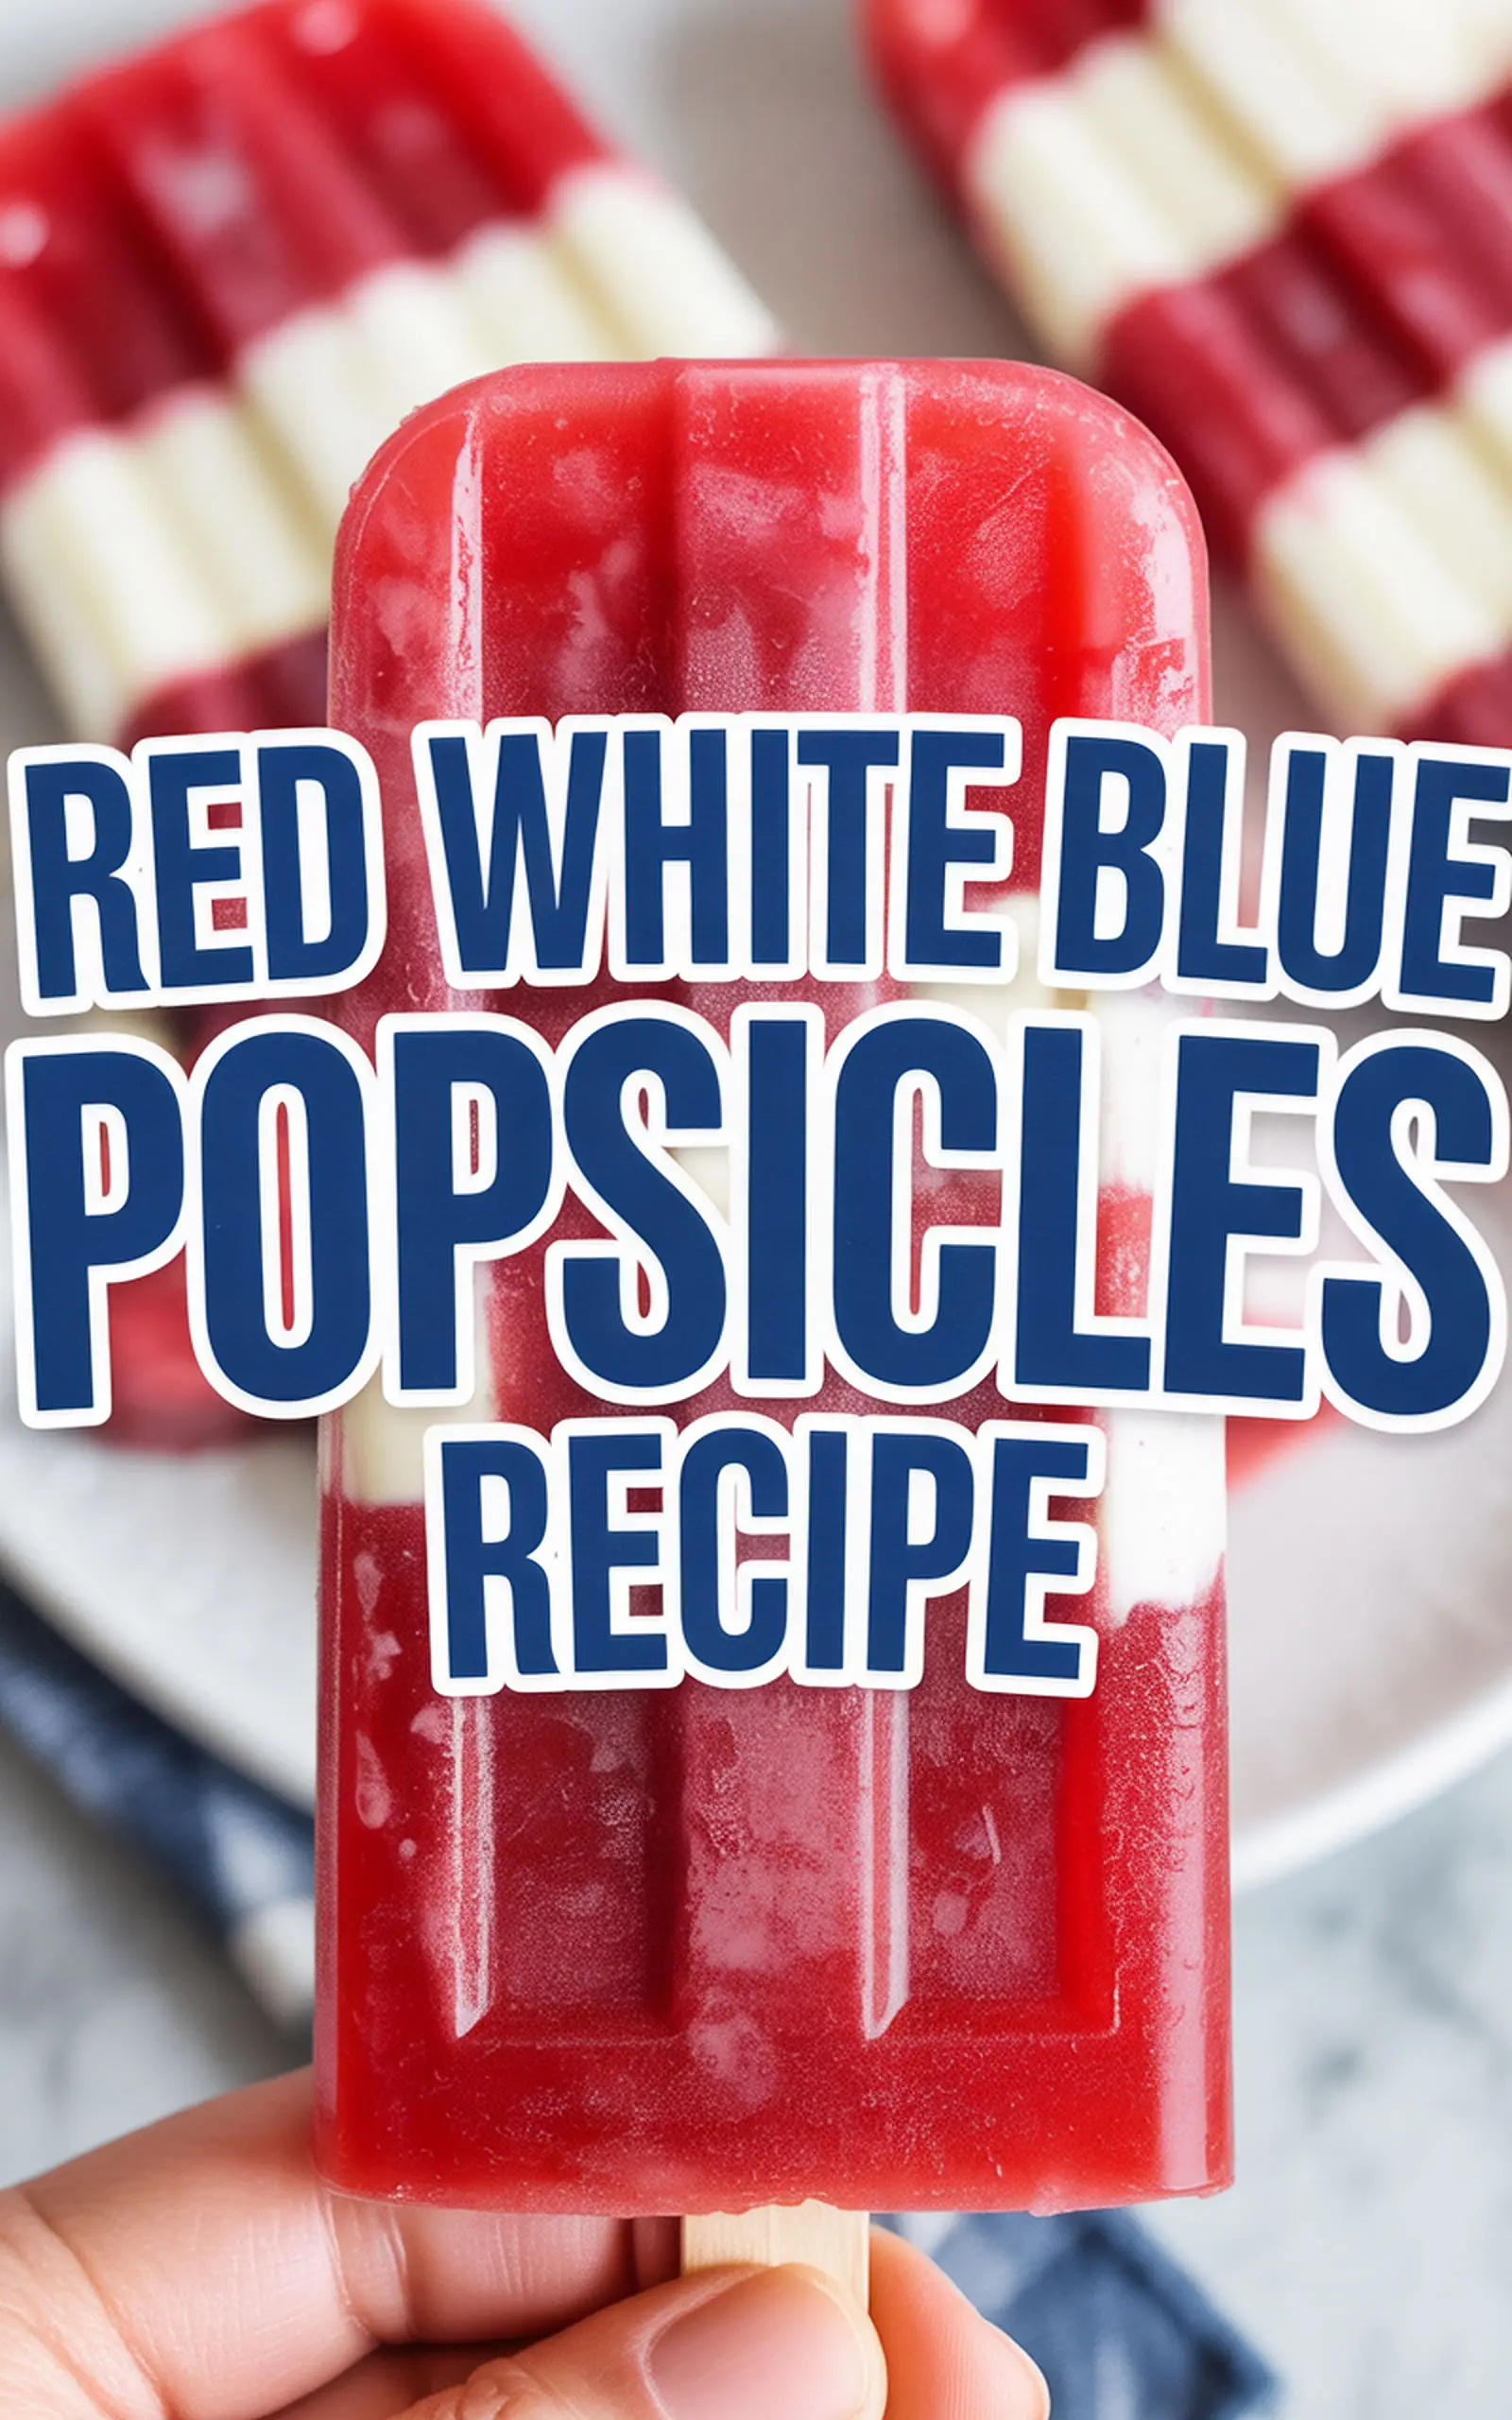
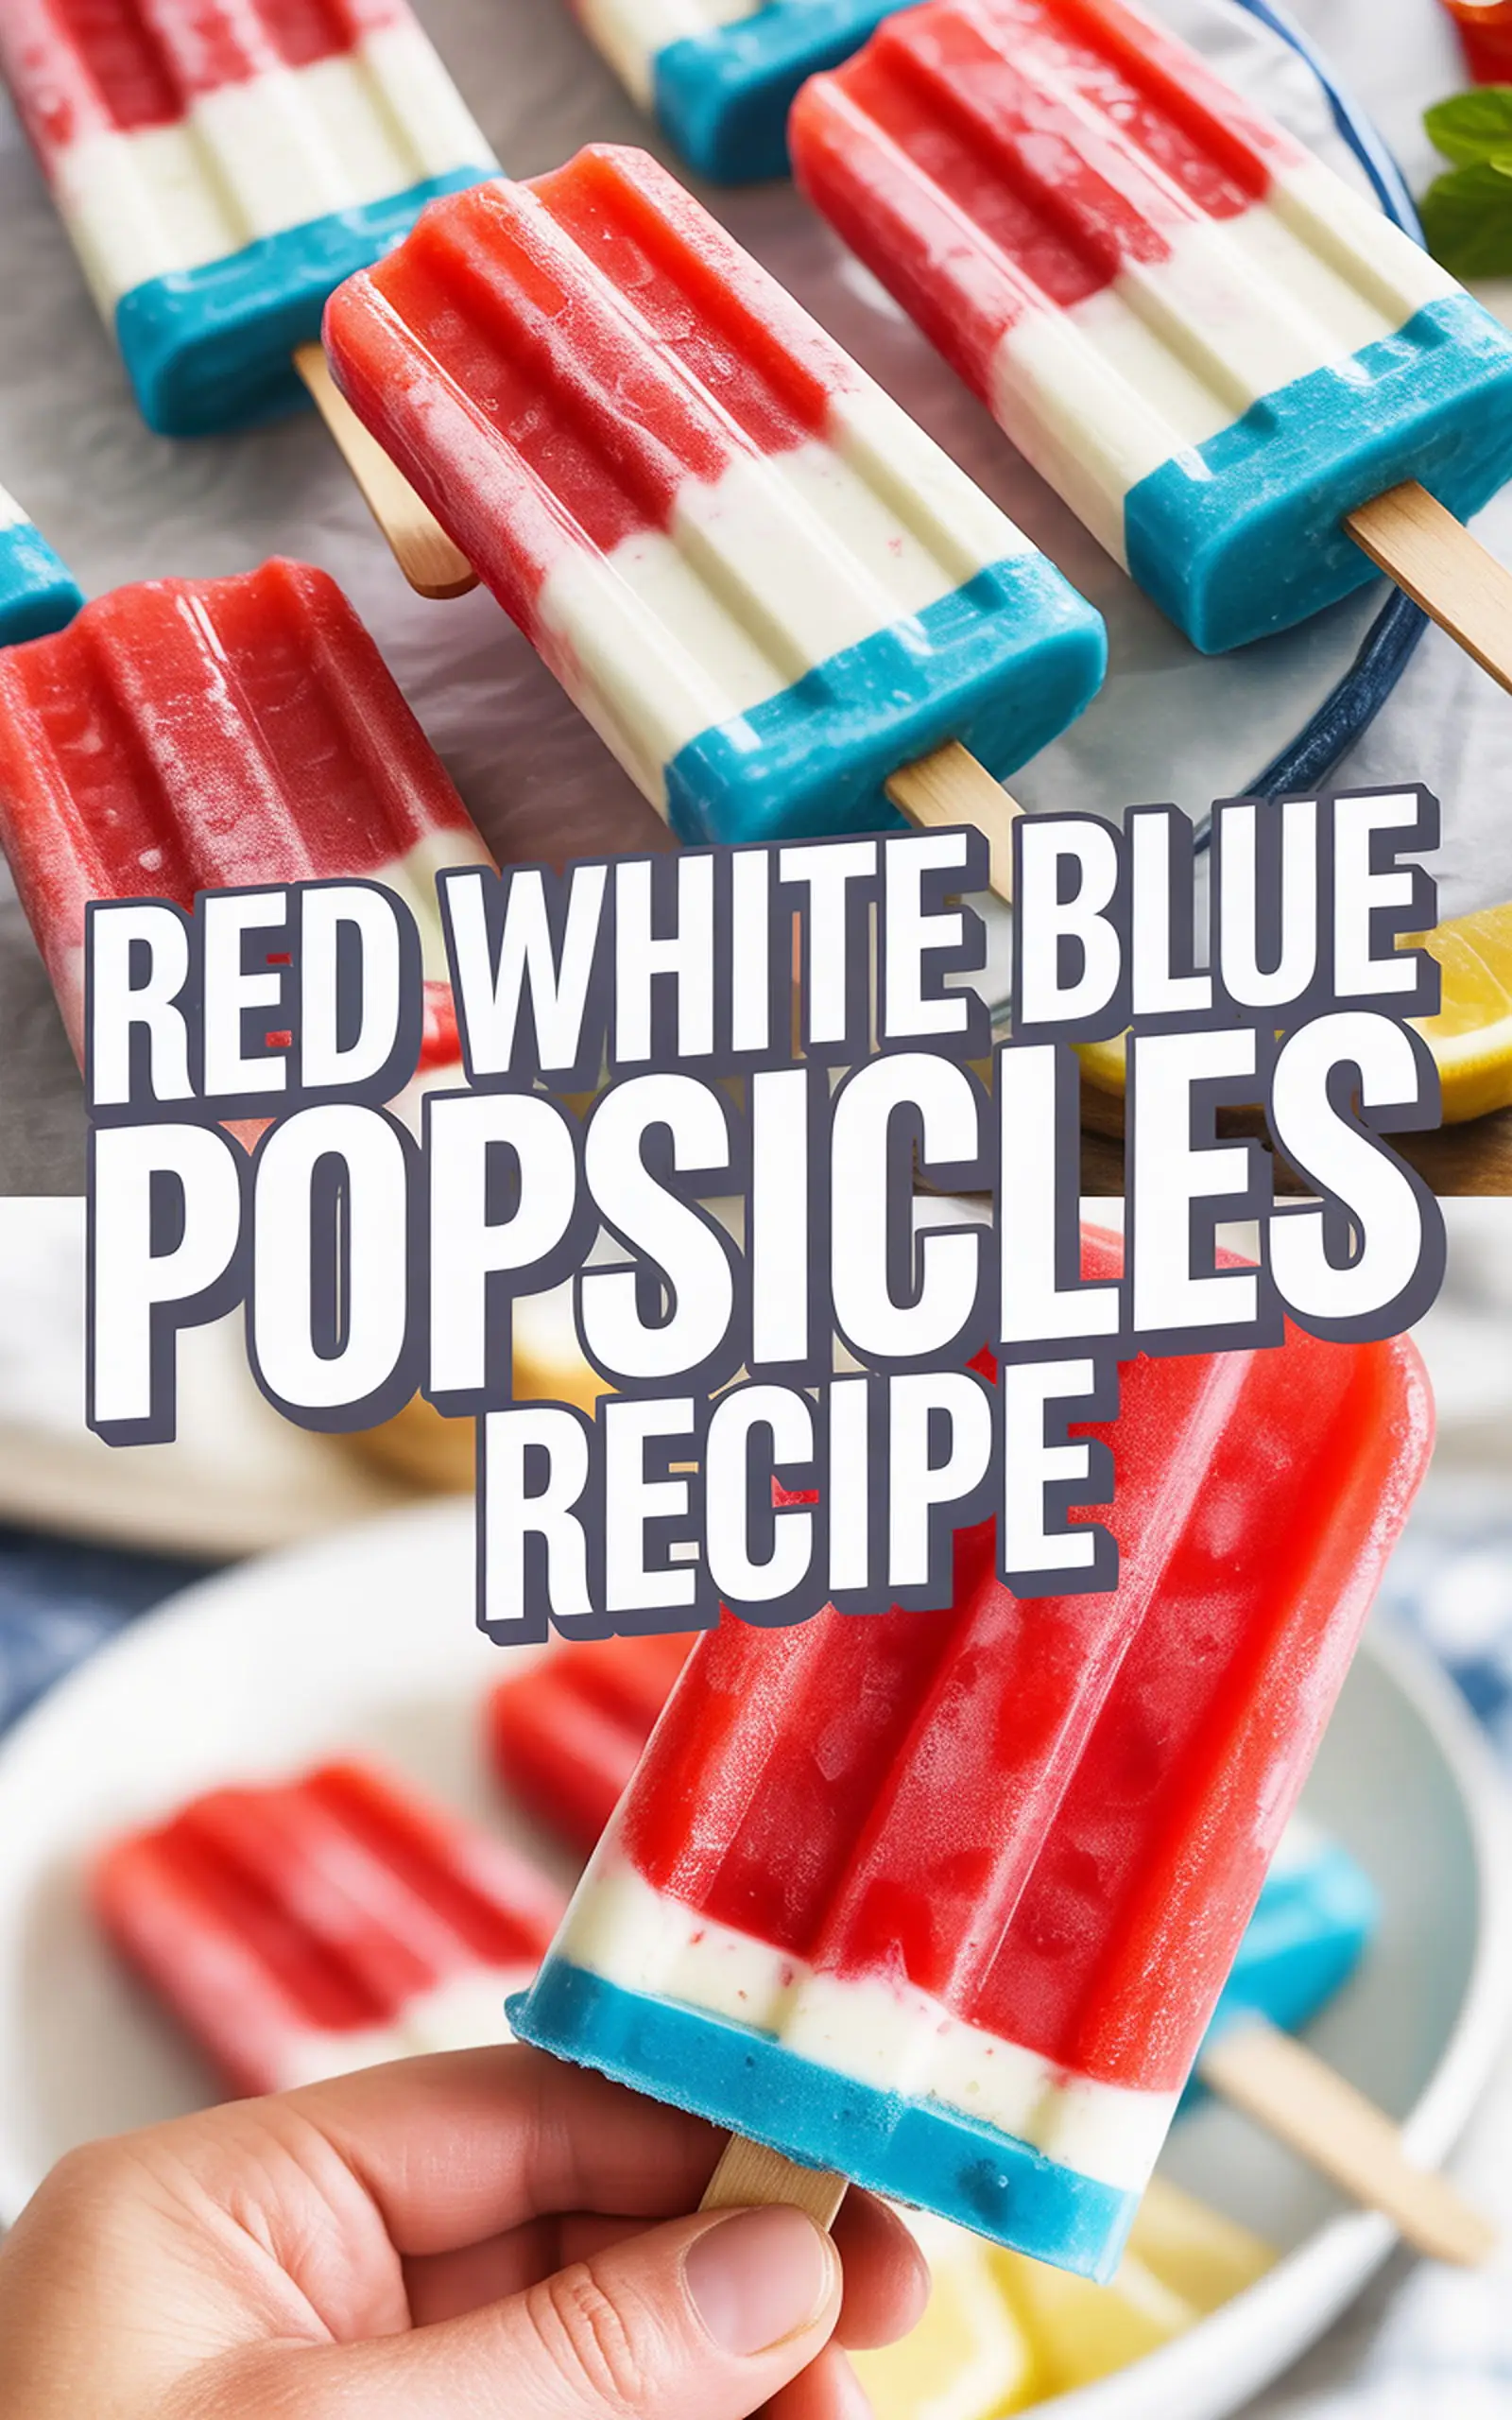
This layered Red White Blue Popsicles recipe uses fresh fruit and creamy coconut milk for a naturally sweet, dairy-free treat. Perfect for summer celebrations, it requires minimal prep and no cooking, making it an easy and colorful dessert option.
Refreshing, patriotic popsicles with natural fruit flavors—perfect for summer gatherings and easy to make.
Celebrate warm days with these colorful, layered popsicles that combine fresh fruit and creamy coconut milk. They’re a fun, healthy way to cool off and enjoy natural sweetness without added artificial ingredients. Perfect for family gatherings or a simple treat, these popsicles are easy to make and visually impressive.
Recipe Overview
Why This Recipe Works
Here’s why this Red White Blue Popsicles Recipe recipe has become a go-to favorite.
Why We Love It
- Made with natural fruit and no artificial colors or flavors.
- Dairy-free and suitable for many dietary preferences.
- Quick and simple preparation with minimal ingredients.
- Visually appealing layers that kids and adults enjoy.
- Perfect portion size for controlled snacking.
- Great for summer parties, holidays, or everyday treats.
Shop the tools used in this recipe
Key Ingredients
Using full-fat coconut milk is essential for the creamy white layer—it provides the rich texture and subtle sweetness without overpowering the fruit flavors. Fresh or frozen berries ensure vibrant color and natural sweetness in the red and blue layers.
Gather these simple ingredients to create your vibrant, layered popsicles. Fresh or frozen fruit works well, and full-fat coconut milk ensures creamy texture.
Ingredient Notes
- 1 cup fresh or frozen strawberries, hulled
- 2 tablespoons honey or maple syrup (optional)
- 1 cup full-fat coconut milk
- 1 teaspoon vanilla extract
- 1 tablespoon powdered sugar or sweetener of choice
- 1 cup fresh or frozen blueberries
- 1 tablespoon lemon juice
- Popsicle molds and sticks
Get 100+ step-by-step, printable recipe cards with lifetime access—no more endless scrolling through blog posts.
Equipment Needed
Step-by-Step Instructions
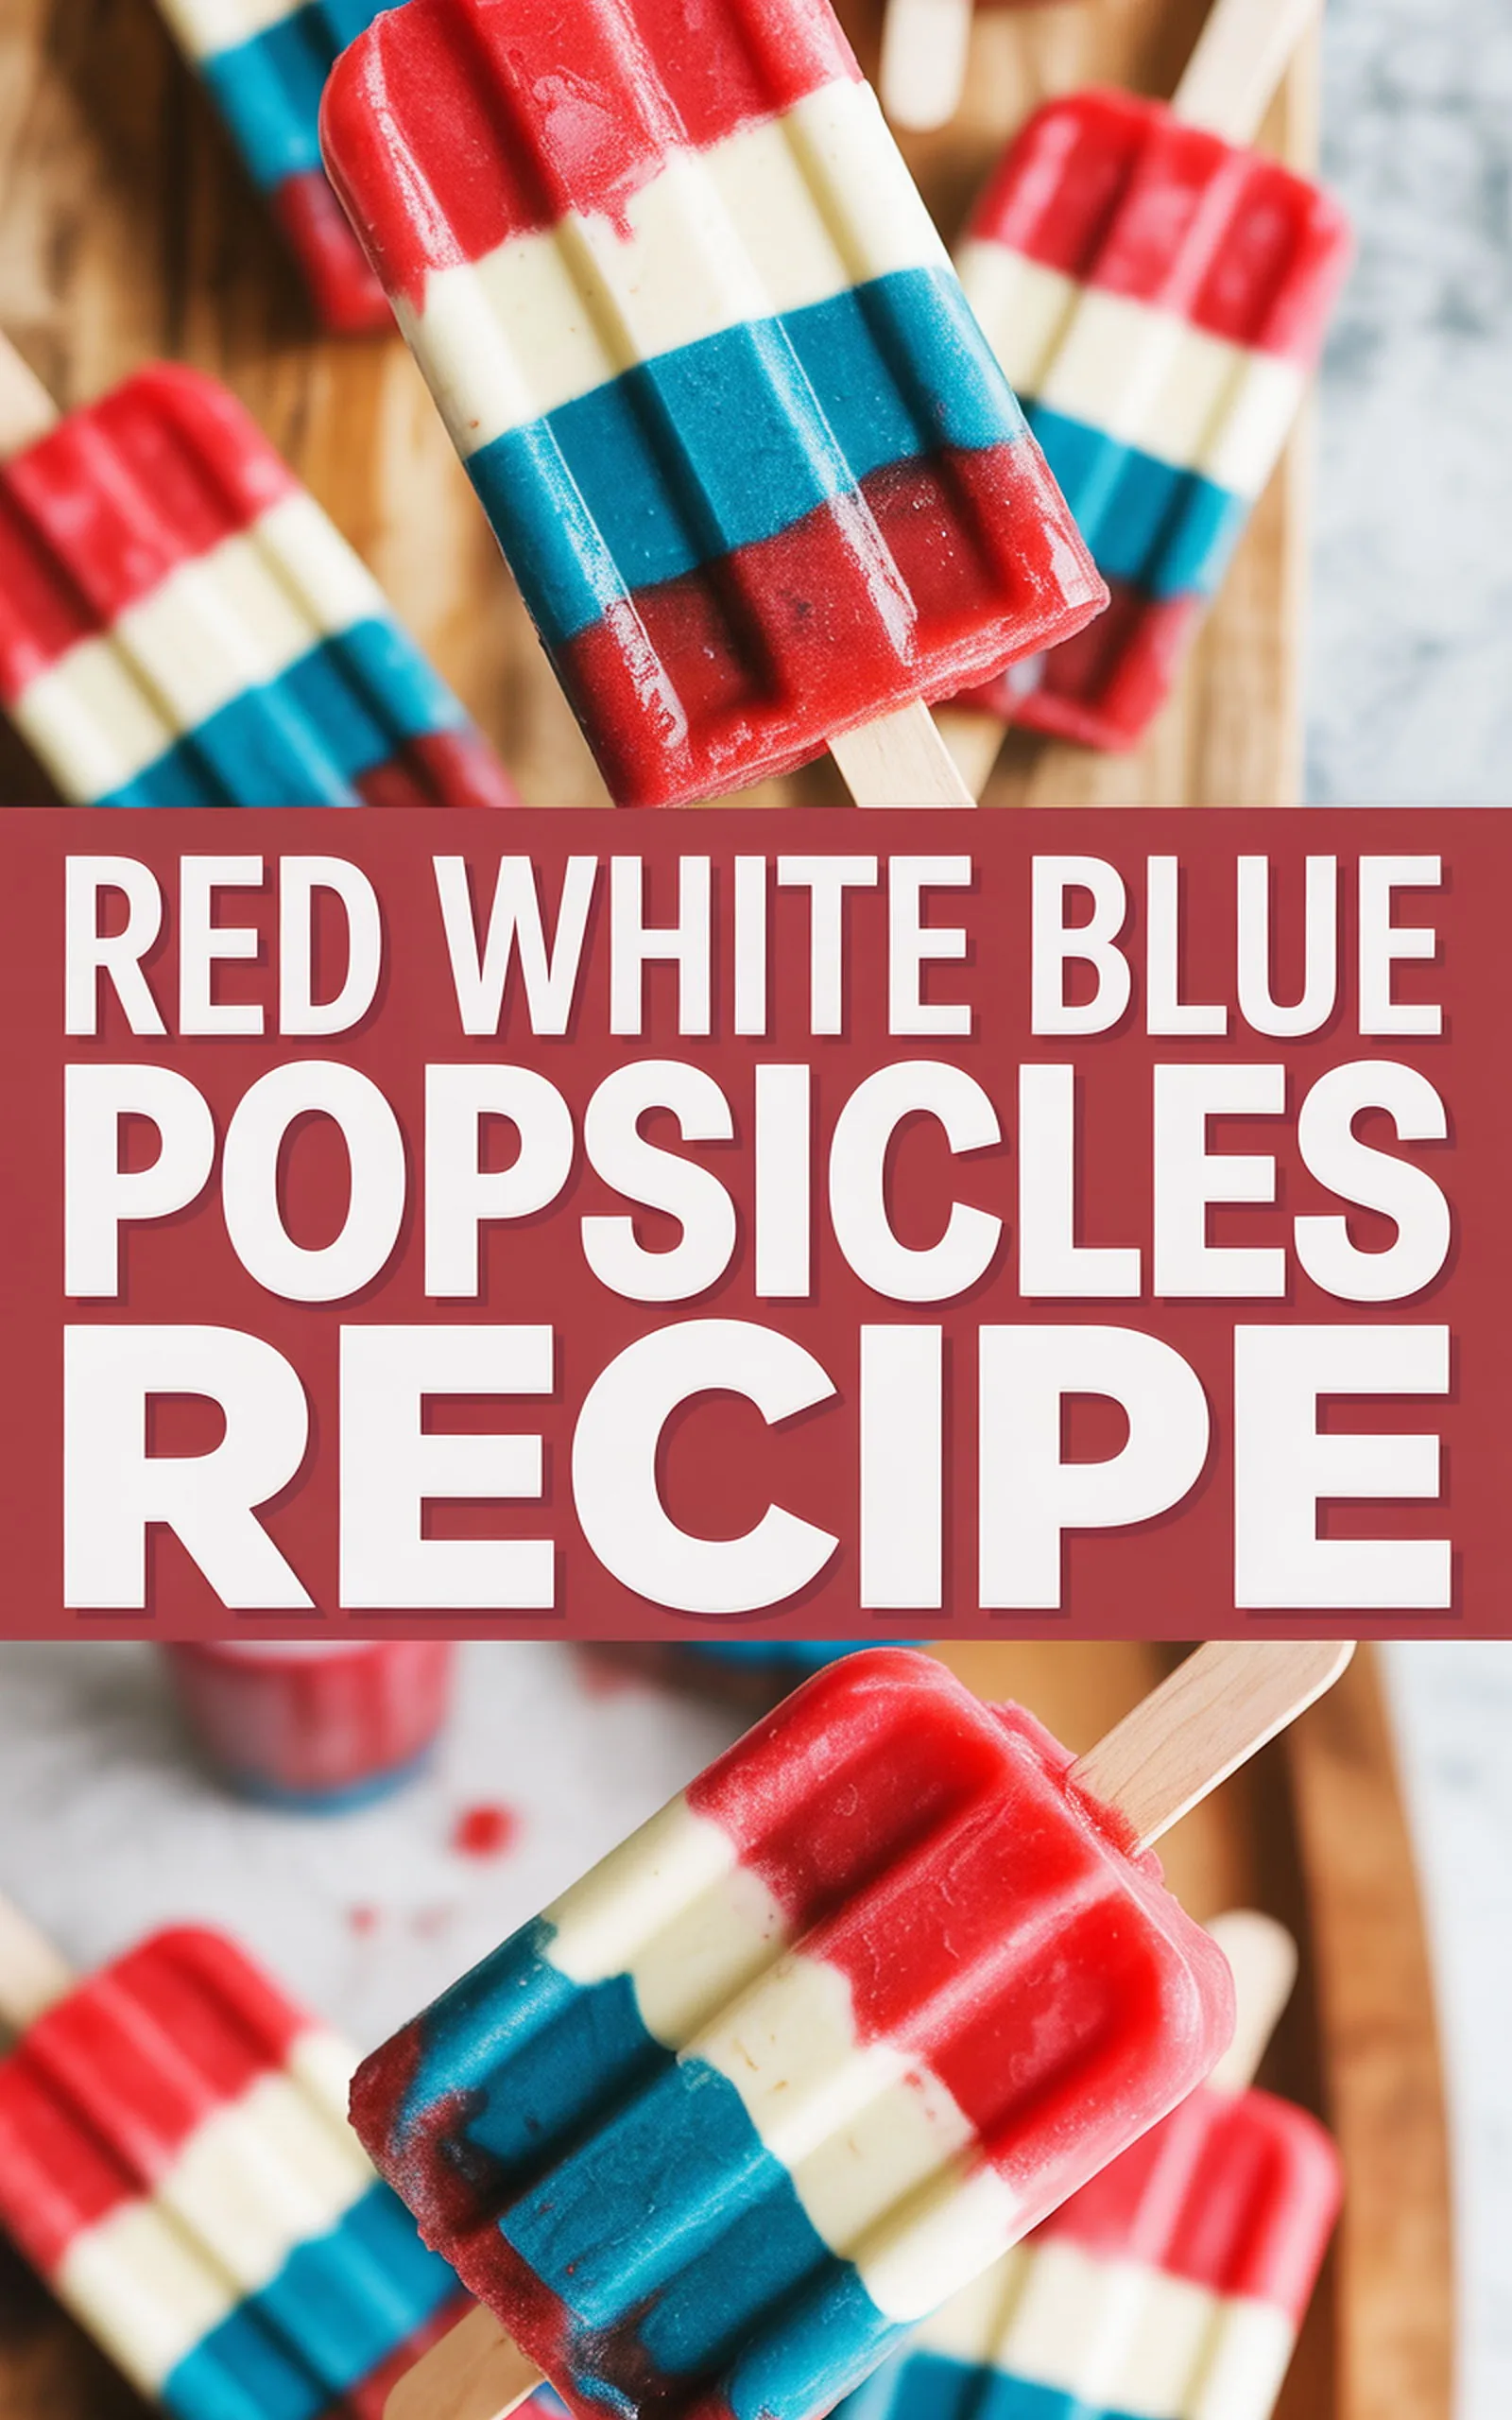
Follow these steps to layer and freeze your popsicles perfectly for a crisp, colorful finish.
Pro Tip
Allow each colored layer to partially freeze before adding the next to maintain distinct, sharp layers without mixing.
Success Tips
- Use ripe berries for natural sweetness and vibrant color.
- Freeze each layer partially to keep layers distinct and prevent mixing.
- Shake or stir coconut milk well if separated before mixing.
- Adjust sweetness based on the tartness of your fruit.
- Dip molds in warm water briefly to release popsicles easily.
Ingredient Swaps
If you need alternatives, consider these ingredient swaps that still deliver great results.
Best Substitutions
- Greek yogurt can replace coconut milk for a tangier white layer.
- Raspberries or watermelon can substitute strawberries for the red layer.
- Blackberries or purple grapes work well instead of blueberries.
- Agave or brown rice syrup can replace honey or maple syrup.
- Almond milk with coconut extract is a good alternative if avoiding coconut milk.
Frequently Asked Questions
Q: Can I freeze these popsicles for longer than 4 hours?
A: Yes, they can be frozen for up to one month. Just be sure to store them in airtight containers to prevent freezer burn.
Q: Can I use fresh fruit instead of frozen?
A: Absolutely. Fresh fruit works well and may provide a brighter flavor, but frozen fruit can make blending easier and chill the mixture faster.
Q: Is it possible to make these popsicles vegan?
A: Yes, simply use maple syrup or agave instead of honey to keep the recipe fully vegan.
Q: Can I skip the sweetener?
A: You can omit added sweeteners if your fruit is very ripe and sweet, but a little helps balance tartness and enhances flavor.
Storage Tips
To keep your popsicles fresh and tasty, follow these storage guidelines.
Storage & Reheating
- Keep popsicles in airtight containers or freezer bags to avoid freezer burn.
- Store in the coldest part of your freezer for best texture.
- Consume within one month for optimal freshness and flavor.
- Avoid refreezing melted popsicles to maintain their texture.
Red White Blue Popsicles Recipe
Ingredients
- ☐ 1 cup fresh or frozen strawberries, hulled
- ☐ 2 tablespoons honey or maple syrup (optional)
- ☐ 1 cup full-fat coconut milk
- ☐ 1 teaspoon vanilla extract
- ☐ 1 tablespoon powdered sugar or sweetener of choice
- ☐ 1 cup fresh or frozen blueberries
- ☐ 1 tablespoon lemon juice
- ☐ Popsicle molds and sticks
Instructions
- 1 Puree the strawberries with 1 tablespoon honey (if using) until smooth. Pour evenly into popsicle molds to fill one-third. Freeze for about 1 hour until firm but not completely frozen.
- 2 Mix the coconut milk with vanilla extract and powdered sugar in a bowl until smooth. Pour this mixture gently over the frozen strawberry layer to fill the next third. Freeze again for 1 hour until partially set.
- 3 Blend the blueberries with lemon juice and remaining honey until smooth. Pour over the coconut layer to fill the molds. Insert popsicle sticks and freeze for at least 2 more hours or until fully solid.
- 4 Remove popsicles from molds by running warm water briefly over the outside. Serve immediately or store in freezer bags for later.
Did You Make This Red White Blue Popsicles Recipe?
We’d love to hear how it turned out. Leave a rating and comment below.
