The best 7-in-1 hair styler for drying and styling
DREAME AirStyle Pro 7-in-1 Hair Styler
Combines a powerful dryer with multiple attachments. Lightweight and easy to use. A reader favorite.
Shop on Amazon →As an Amazon Associate, we earn from qualifying purchases.
Low-Maintenance Travel Hairstyles make packing light and mornings faster while keeping hair polished on the road. These travel hairstyles focus on easy upkeep, fast styling, and comfortable wear during long days away from home.
Ideas range from simple buns and braids to scarf-wrapped looks that hold up through transit and sightseeing. The collection highlights travel-friendly styles that work for different hair lengths, textures, and climates without extra upkeep.
Each style was chosen to reduce touch-ups and speed up routines while still looking camera-ready for vacation photos. Expect quick tutorials, wearable tips, and compact-product suggestions to keep low-maintenance hair neat while traveling.
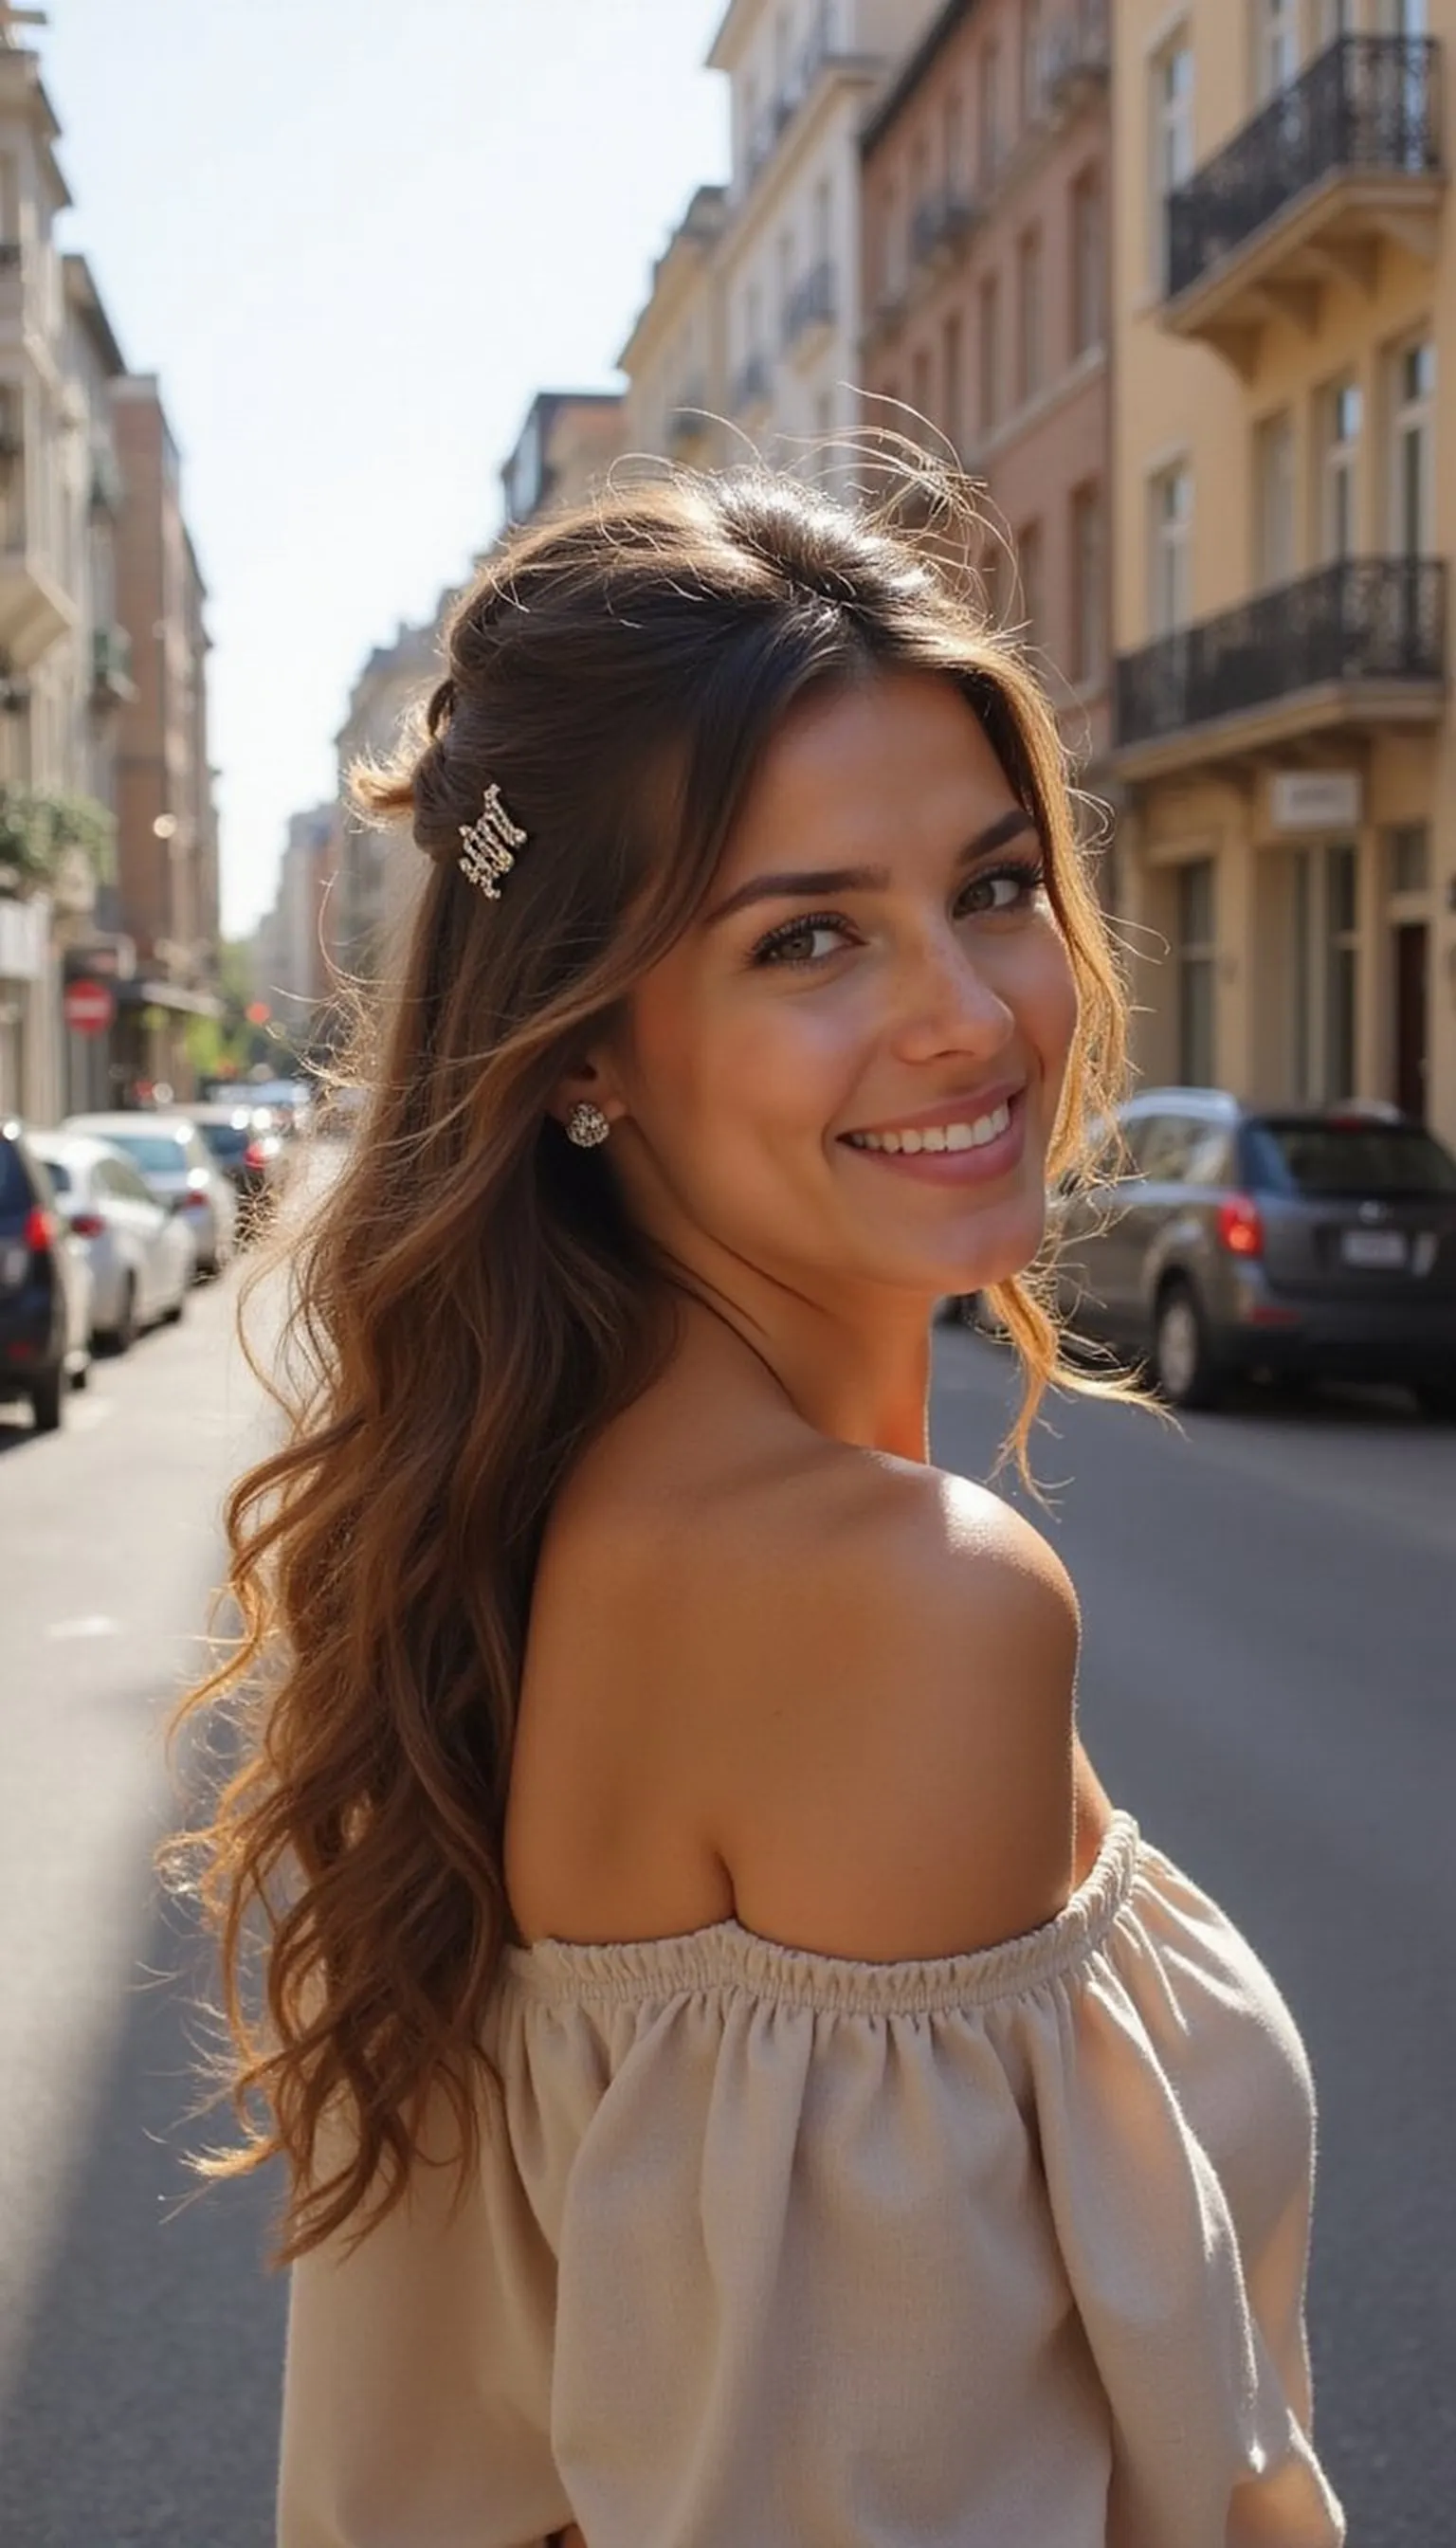
Effortless Messy Bun For On The Go
⏱️ 5 min · 🟢 Beginner

This messy bun is perfect for quick airport transitions and sightseeing days when mornings are rushed. It keeps hair off the face while still feeling relaxed and stylish during travel.
Create a low, loose knot with a soft scrunchie and tuck the ends for an undone, secure finish. The look hides frizz and suits air-dried or lightly textured hair, so mornings feel faster.
The bun compresses neatly into a carry-on and bounces back with minimal restyling on the road. Adjust height to suit hats or helmets and swap a scrunchie for bobby pins when needed.
Styling Tips
- Loosely wrap hair twice for volume before securing with a scrunchie.
- Tuck stray ends with hidden bobby pins for a tidy silhouette.
- Ruffle the bun gently after pinning to loosen the shape.
Pro Tip: Use a soft scrunchie and a few bobby pins to secure loose pieces without flattening the bun.
Avoid: Pulling hair too tight creates headaches and a stiff look that defeats the relaxed vibe. Avoid over-twisting or the bun will sit too flat.
Try Also: Try a braided low bun or a wrapped top knot with a travel scarf for a more polished take. Swap scrunchie color to instantly change the mood.
Products & Materials
Items Used
“Effortless messy bun for quick, stylish travel days.”
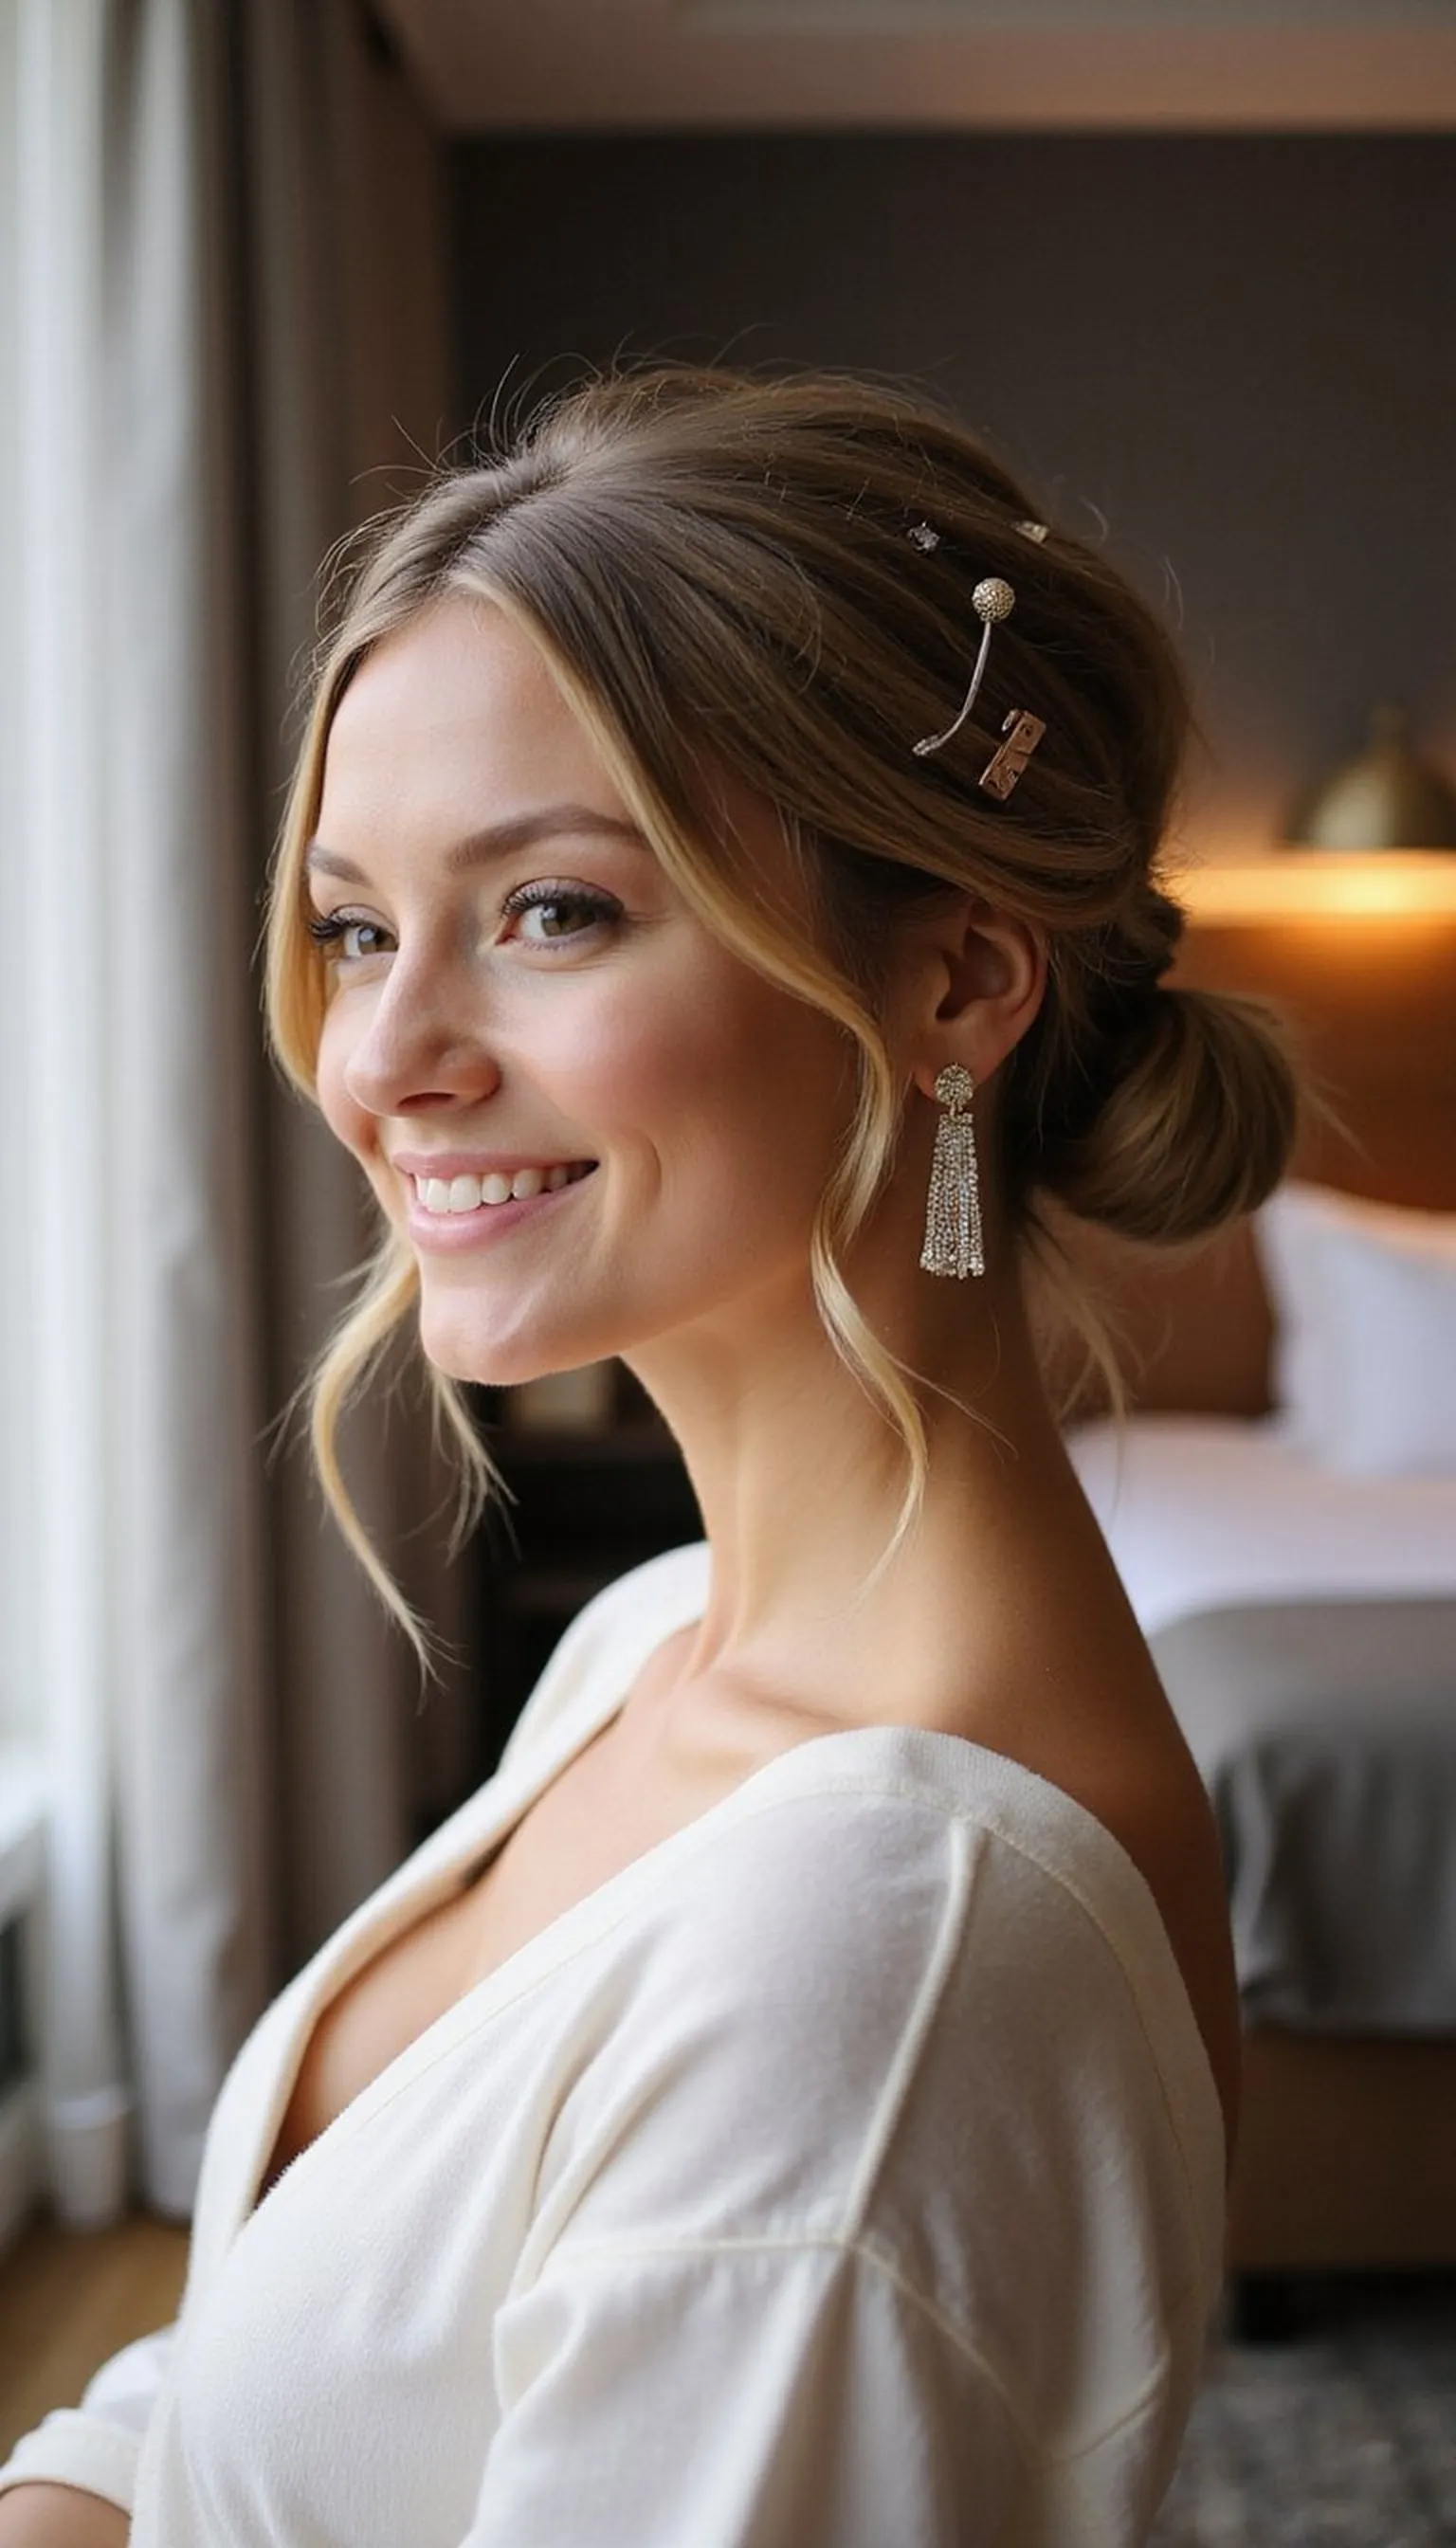
Low Sleek Ponytail With Hidden Elastic
⏱️ 7 min · 🟢 Beginner

This low sleek ponytail looks polished while needing almost no upkeep throughout the day. It keeps hair tidy under coats and scarves and works well for business travel or evenings out.
Smooth hair back with a quick brush, secure near the nape with a hair elastic, and wrap a small section of hair around to hide the band. The result reads neat without sticky products or prolonged styling time.
It sits comfortably under collars and layers and stays sleek even on long flights when humidity is low. Add a few bobby pins to anchor the wrapped piece for longer wear.
Styling Tips
- Use a soft-bristled brush to smooth hair before tying.
- Wrap a thin hair strand around the elastic and pin underneath for a clean finish.
- Lightly mist with anti-frizz spray if humidity is expected.
Pro Tip: Tuck a thin strand around the elastic and secure with a single bobby pin for instant polish.
Avoid: Using a tight elastic flattens hair at the crown and hurts after long wear. Opt for a gentle band to keep the look smooth and comfortable.
Try Also: Wear the ponytail higher for a sportier feel or braid the tail for extra texture. Swap the wrapped strand for a silk scarf for a playful twist.
Products & Materials
Items Used
“Sleek low ponytail that stays tidy and travel-ready.”
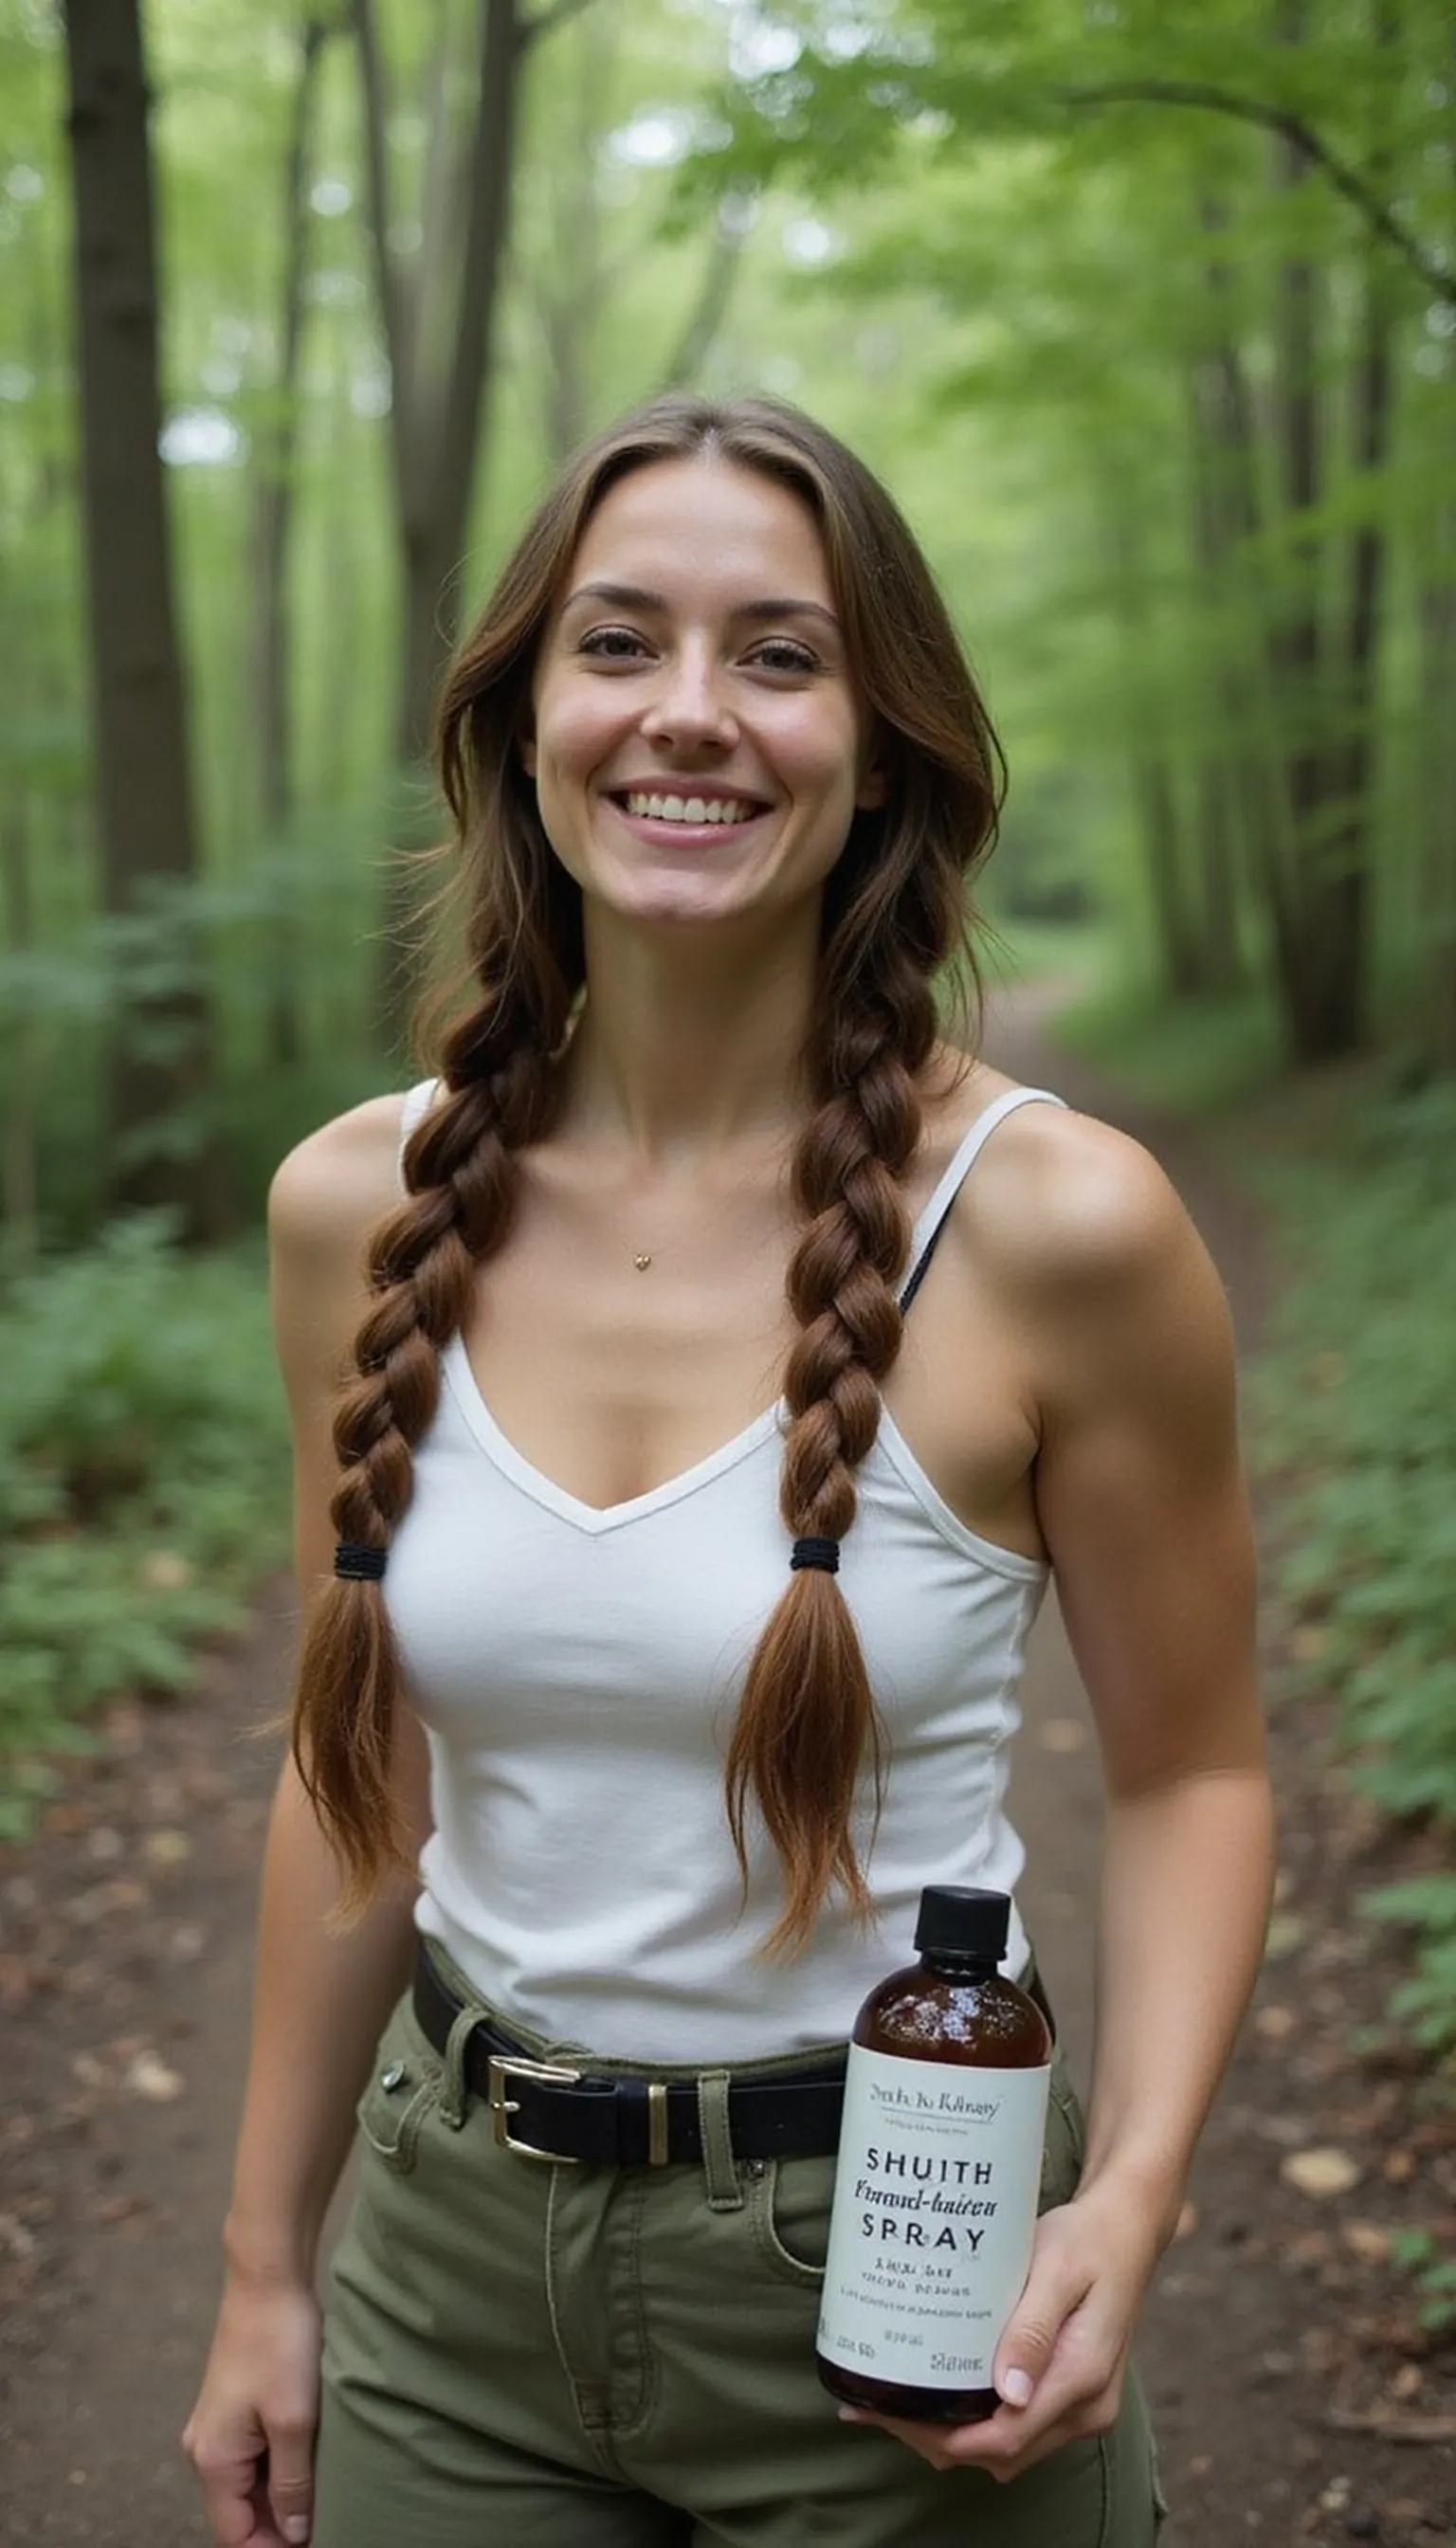
Quick Braided Ponytail That Stays Tidy
⏱️ 10 min · 🟠 Intermediate
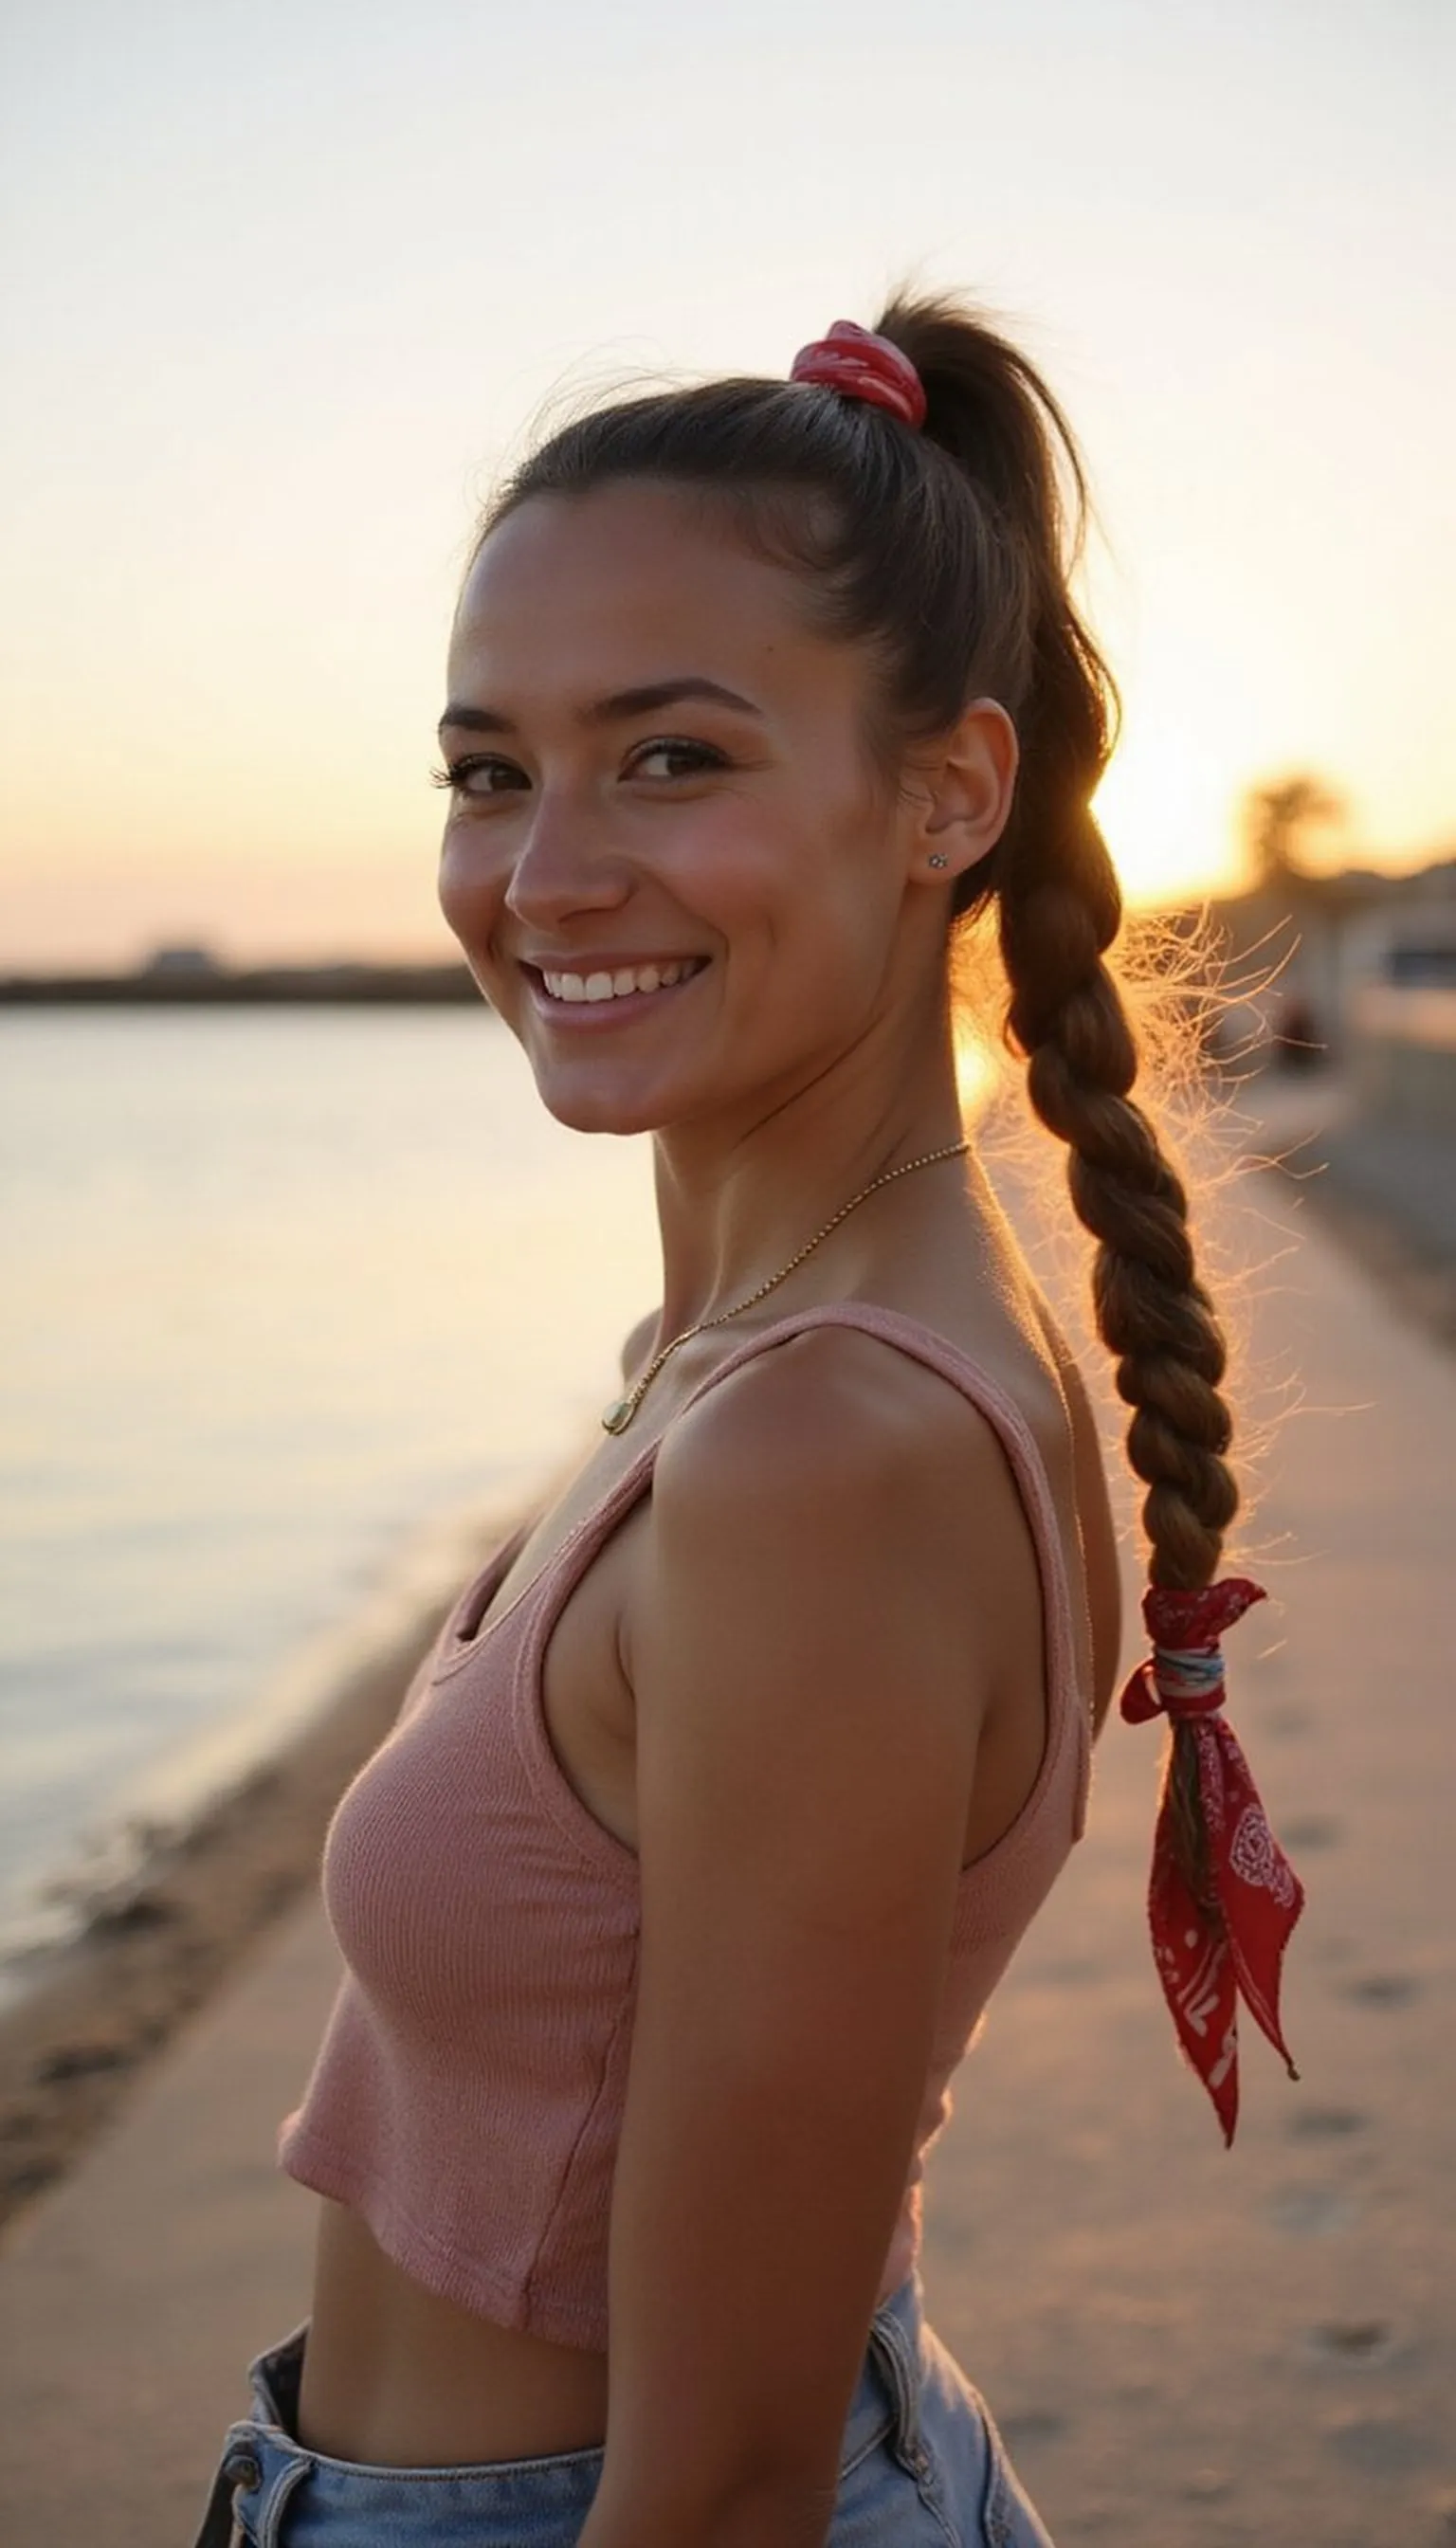
A braided ponytail keeps hair controlled during long days of exploring without needing constant attention. The braid locks ends together so splays and flyaways stay managed through humidity and activity.
Create a simple three-strand or loose French braid starting at the crown and finish with a small elastic at the end. Loosen links slightly for a softer, lived-in texture that reads intentional rather than tight.
This style fits under hats and tucks neatly into bags, making it ideal for multi-destination trips. Add a scarf tied over the kick of the ponytail for added sun protection and style.
Styling Tips
- Start with lightly textured hair for better grip when braiding.
- Secure the end with a tiny elastic and hide it with a ribbon or scarf.
- Pull outer sections gently to loosen the braid for volume.
Pro Tip: Spritz braid with salt spray before braiding to boost texture and ensure it holds longer throughout travel days.
Avoid: Braiding hair that is too slippery makes the style fall apart quickly. Add texture with dry shampoo or salt spray first.
Try Also: Swap a three-strand braid for a fishtail or a Dutch braid along the side for varied looks. Finish with a colorful ribbon instead of an elastic for flair.
Products & Materials
Items Used
- hair elastic
- scarf
“Braided ponytail that locks in place for active travel days.”
Get 75+ ad-free, high-resolution printable tutorials for salon-quality results every single morning.
Twisted Half Updo With Minimal Fuss
⏱️ 6 min · 🟢 Beginner

The twisted half updo lifts hair away from the face while leaving length free for versatility. It balances polish and effortlessness, great for days of walking tours or museum runs.
Twist two front sections toward the back and secure with a decorative clip or a small elastic, letting the rest fall naturally. This creates instant structure without heat styling and works on second-day texture too.
The style pairs well with sunglasses and lightweight scarves, staying secure during brief drizzle or wind. Swap the clip for bobby pins for a subtler hold if preferred.
Styling Tips
- Start with slightly dry hair to help twists hold without slipping.
- Anchor the twist with bobby pins underneath the clip for extra security.
- Add a touch of texturizing spray to the ends for soft movement.
Pro Tip: Twist sections away from the face and secure with a decorative clip, hiding bobby pins beneath for extra hold.
Avoid: Placing the clip too high makes the twist slip out during the day. Pin lower at the crown for longevity.
Try Also: Create two twisted sections for a braided effect or add small accent braids before twisting. Swap the clip for a claw clip for easier hands-free wear.
Products & Materials
Items Used
- decorative clip
- bobby pins
“Simple twisted half updo that stays pretty with almost no effort.”
Classic Low Bun With Scarf Accent
⏱️ 8 min · 🟢 Beginner
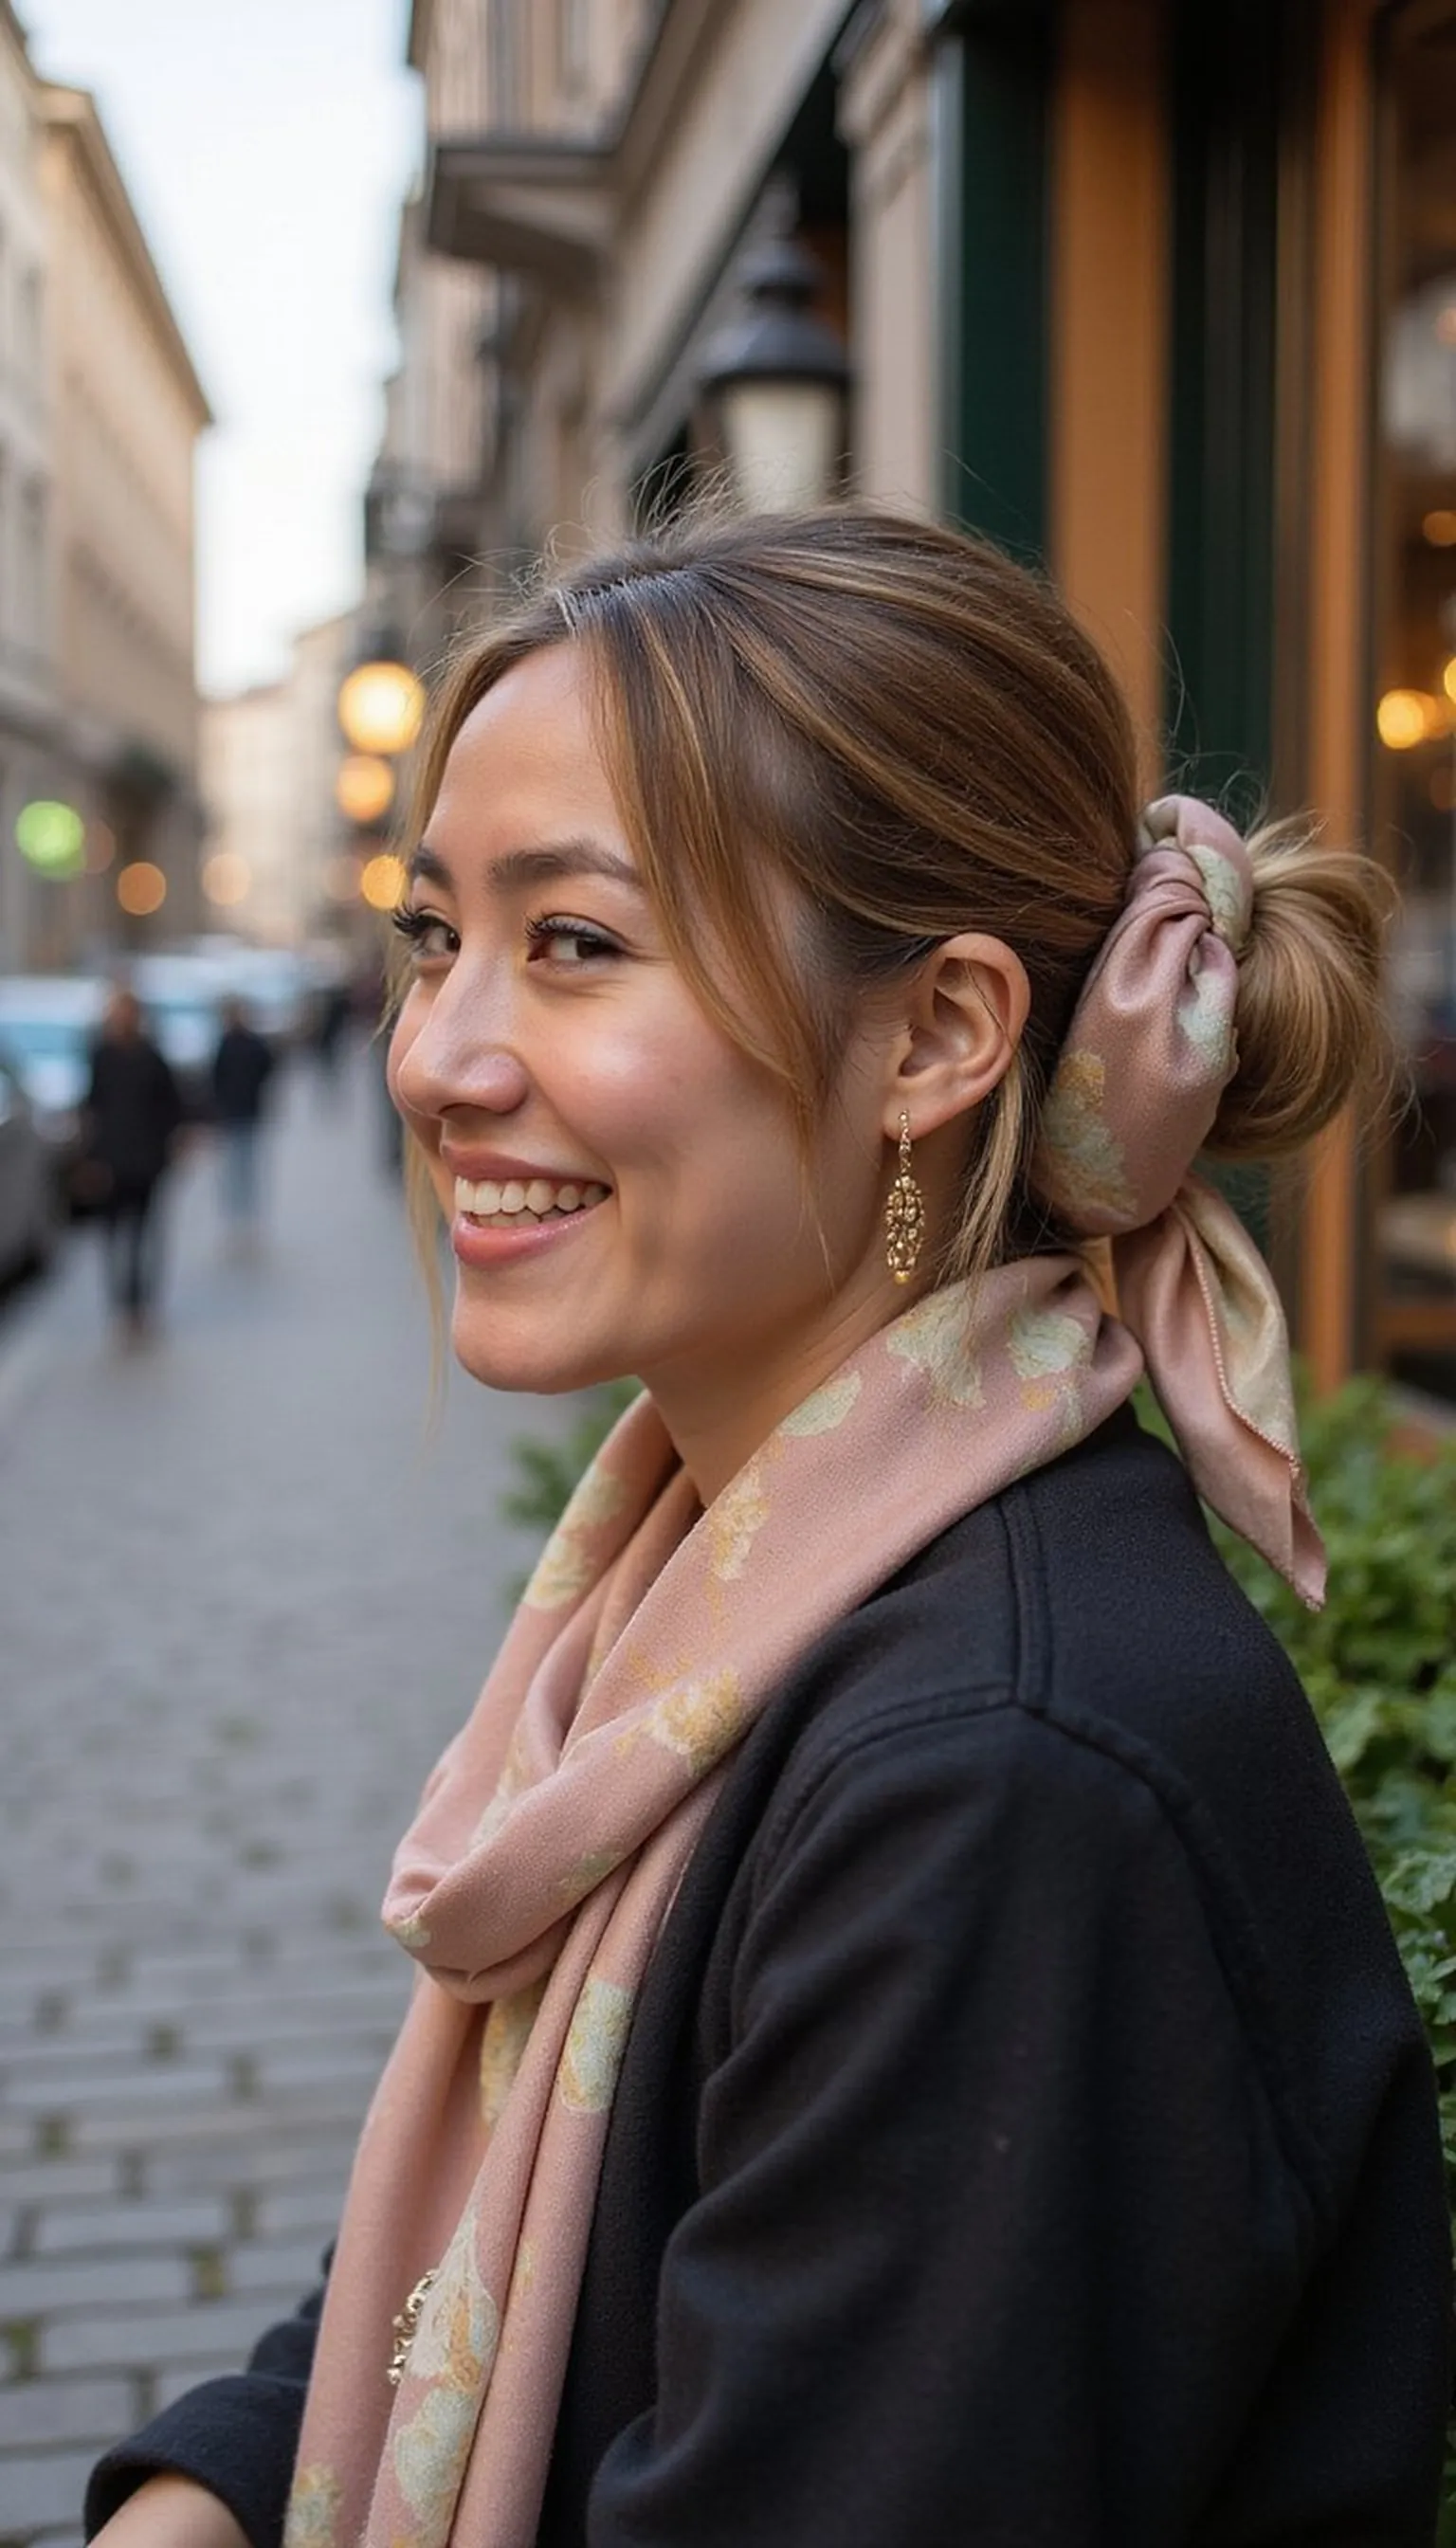
The classic low bun paired with a scarf adds instant charm and keeps hair tucked neatly for long travel days. It protects ends from chafing in collars and keeps the neck cooler in warm climates.
Create a low bun, then wrap a narrow silk scarf around the base or knot it at the side for a vintage-inspired finish. The scarf also doubles as a quick face-covering or sweat wipe when needed on the road.
This look translates well from day sightseeing to evening dinners with minimal tweaks. Choose a scarf print to coordinate with multiple outfits for pack-friendly styling.
Styling Tips
- Secure the bun with a soft elastic and hide the band with the scarf wrap.
- Use a silk or lightweight scarf to avoid bulk in luggage.
- Tuck loose pieces under the scarf for a neater outline.
Pro Tip: Pick a narrow silk scarf to wrap once around a low bun for comfort and instant outfit coordination.
Avoid: Using a bulky scarf can weigh hair down and look heavy. Opt for thin silk or cotton blends for travel ease.
Try Also: Try a high bun with a knotted bandana for a casual vibe or wrap the scarf through a braid for detail. Switch scarf colors to refresh the same bun.
Products & Materials
Items Used
“Classy low bun with a scarf for polished, travel-friendly style.”
Easy Top Knot With Soft Face Framing Pieces
⏱️ 7 min · 🟢 Beginner

The top knot keeps hair off the neck while face-framing pieces soften the look and add femininity. This balance feels casual and flattering in photos without extra styling time.
The top knot tucks under hoodie hoods easily and fits under light hats if needed. For extra hold, wrap a thin scarf around the base or spray lightly with flexible hold mist.
Styling Tips
- Create volume by teasing the crown slightly before tying.
- Loosen the knot and pull out face-framing strands for a soft finish.
- Secure with hidden bobby pins to keep the knot in place all day.
Pro Tip: Pull small front strands out and curl them slightly with fingers to frame the face without heat tools.
Avoid: Making the knot too tight causes scalp tension and flattens natural volume. Keep it relaxed for comfort and shape.
Try Also: Turn the top knot into two mini knots for a playful look or wrap a bandana for extra texture. Leave more face pieces out for a boho vibe.
Products & Materials
Items Used
- hair elastic
- bobby pins
“Top knot with soft face pieces for comfy, camera-ready travel.”
Braided Crown For Windy Travel Days
⏱️ 12 min · 🟠 Intermediate
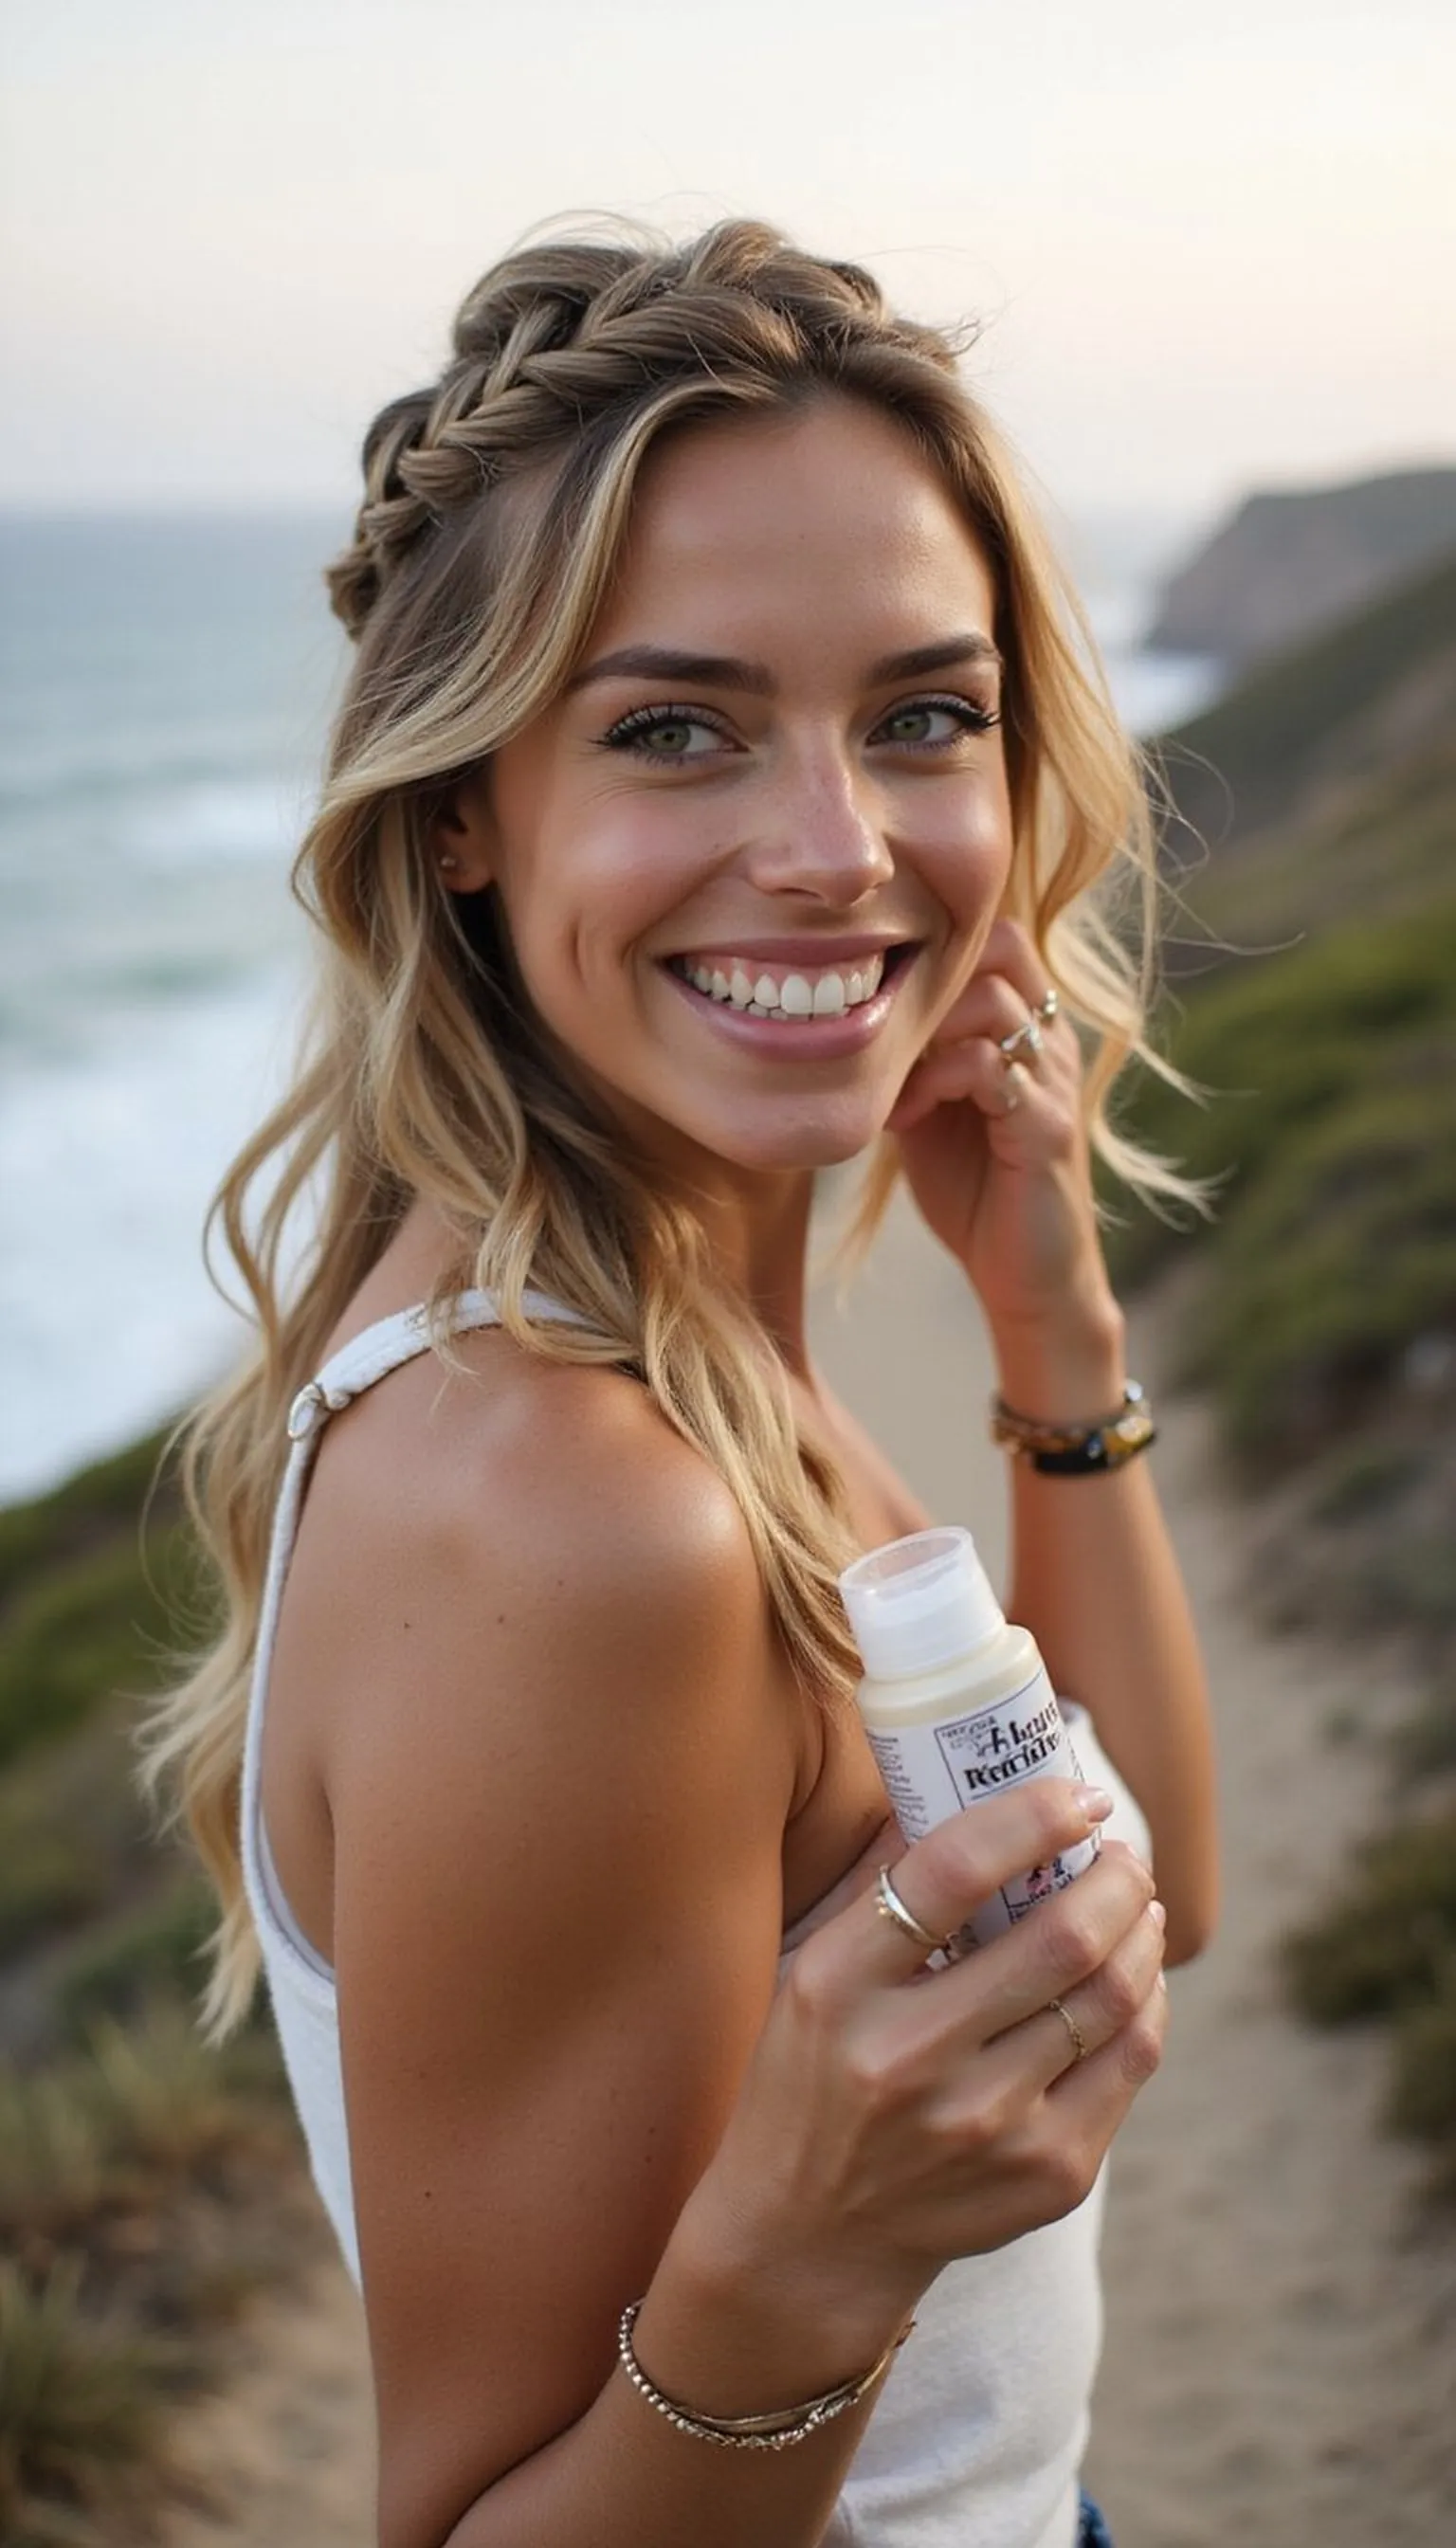
The braided crown keeps hair secure and frames the face while resisting wind and movement. This style feels deliberate yet low-maintenance once the braid is in place for the afternoon.
Create two front-to-back braids and pin them across the crown, or braid along the hairline for an entwined halo. Use a few bobby pins and a touch of texturizing spray for hold without stiffness.
This hairstyle stays neat under hats and is great for coastal or breezy destinations where flyaways are common. It also looks elegant in travel photos without extra touch-ups.
Styling Tips
- Leave ends loose for a softer, more relaxed crown braid.
- Secure intersections with hidden bobby pins and a dab of styling paste.
- Add a small floral clip or scarf knot for a vacation-ready accent.
Pro Tip: Start braiding with lightly roughened hair so the braid grips better and stays intact longer in wind.
Avoid: Making braids too tight can create tension and a stiff appearance. Aim for a relaxed braid for both comfort and style.
Try Also: Try a single halo braid or two Dutch braids wrapped across the crown for different textures. Add a thin scarf threaded through the braid for color.
Products & Materials
Items Used
“Braided crown that holds up beautifully in windy travel weather.”
Slick Back Wet Look For Busy Mornings
⏱️ 8 min · 🟠 Intermediate
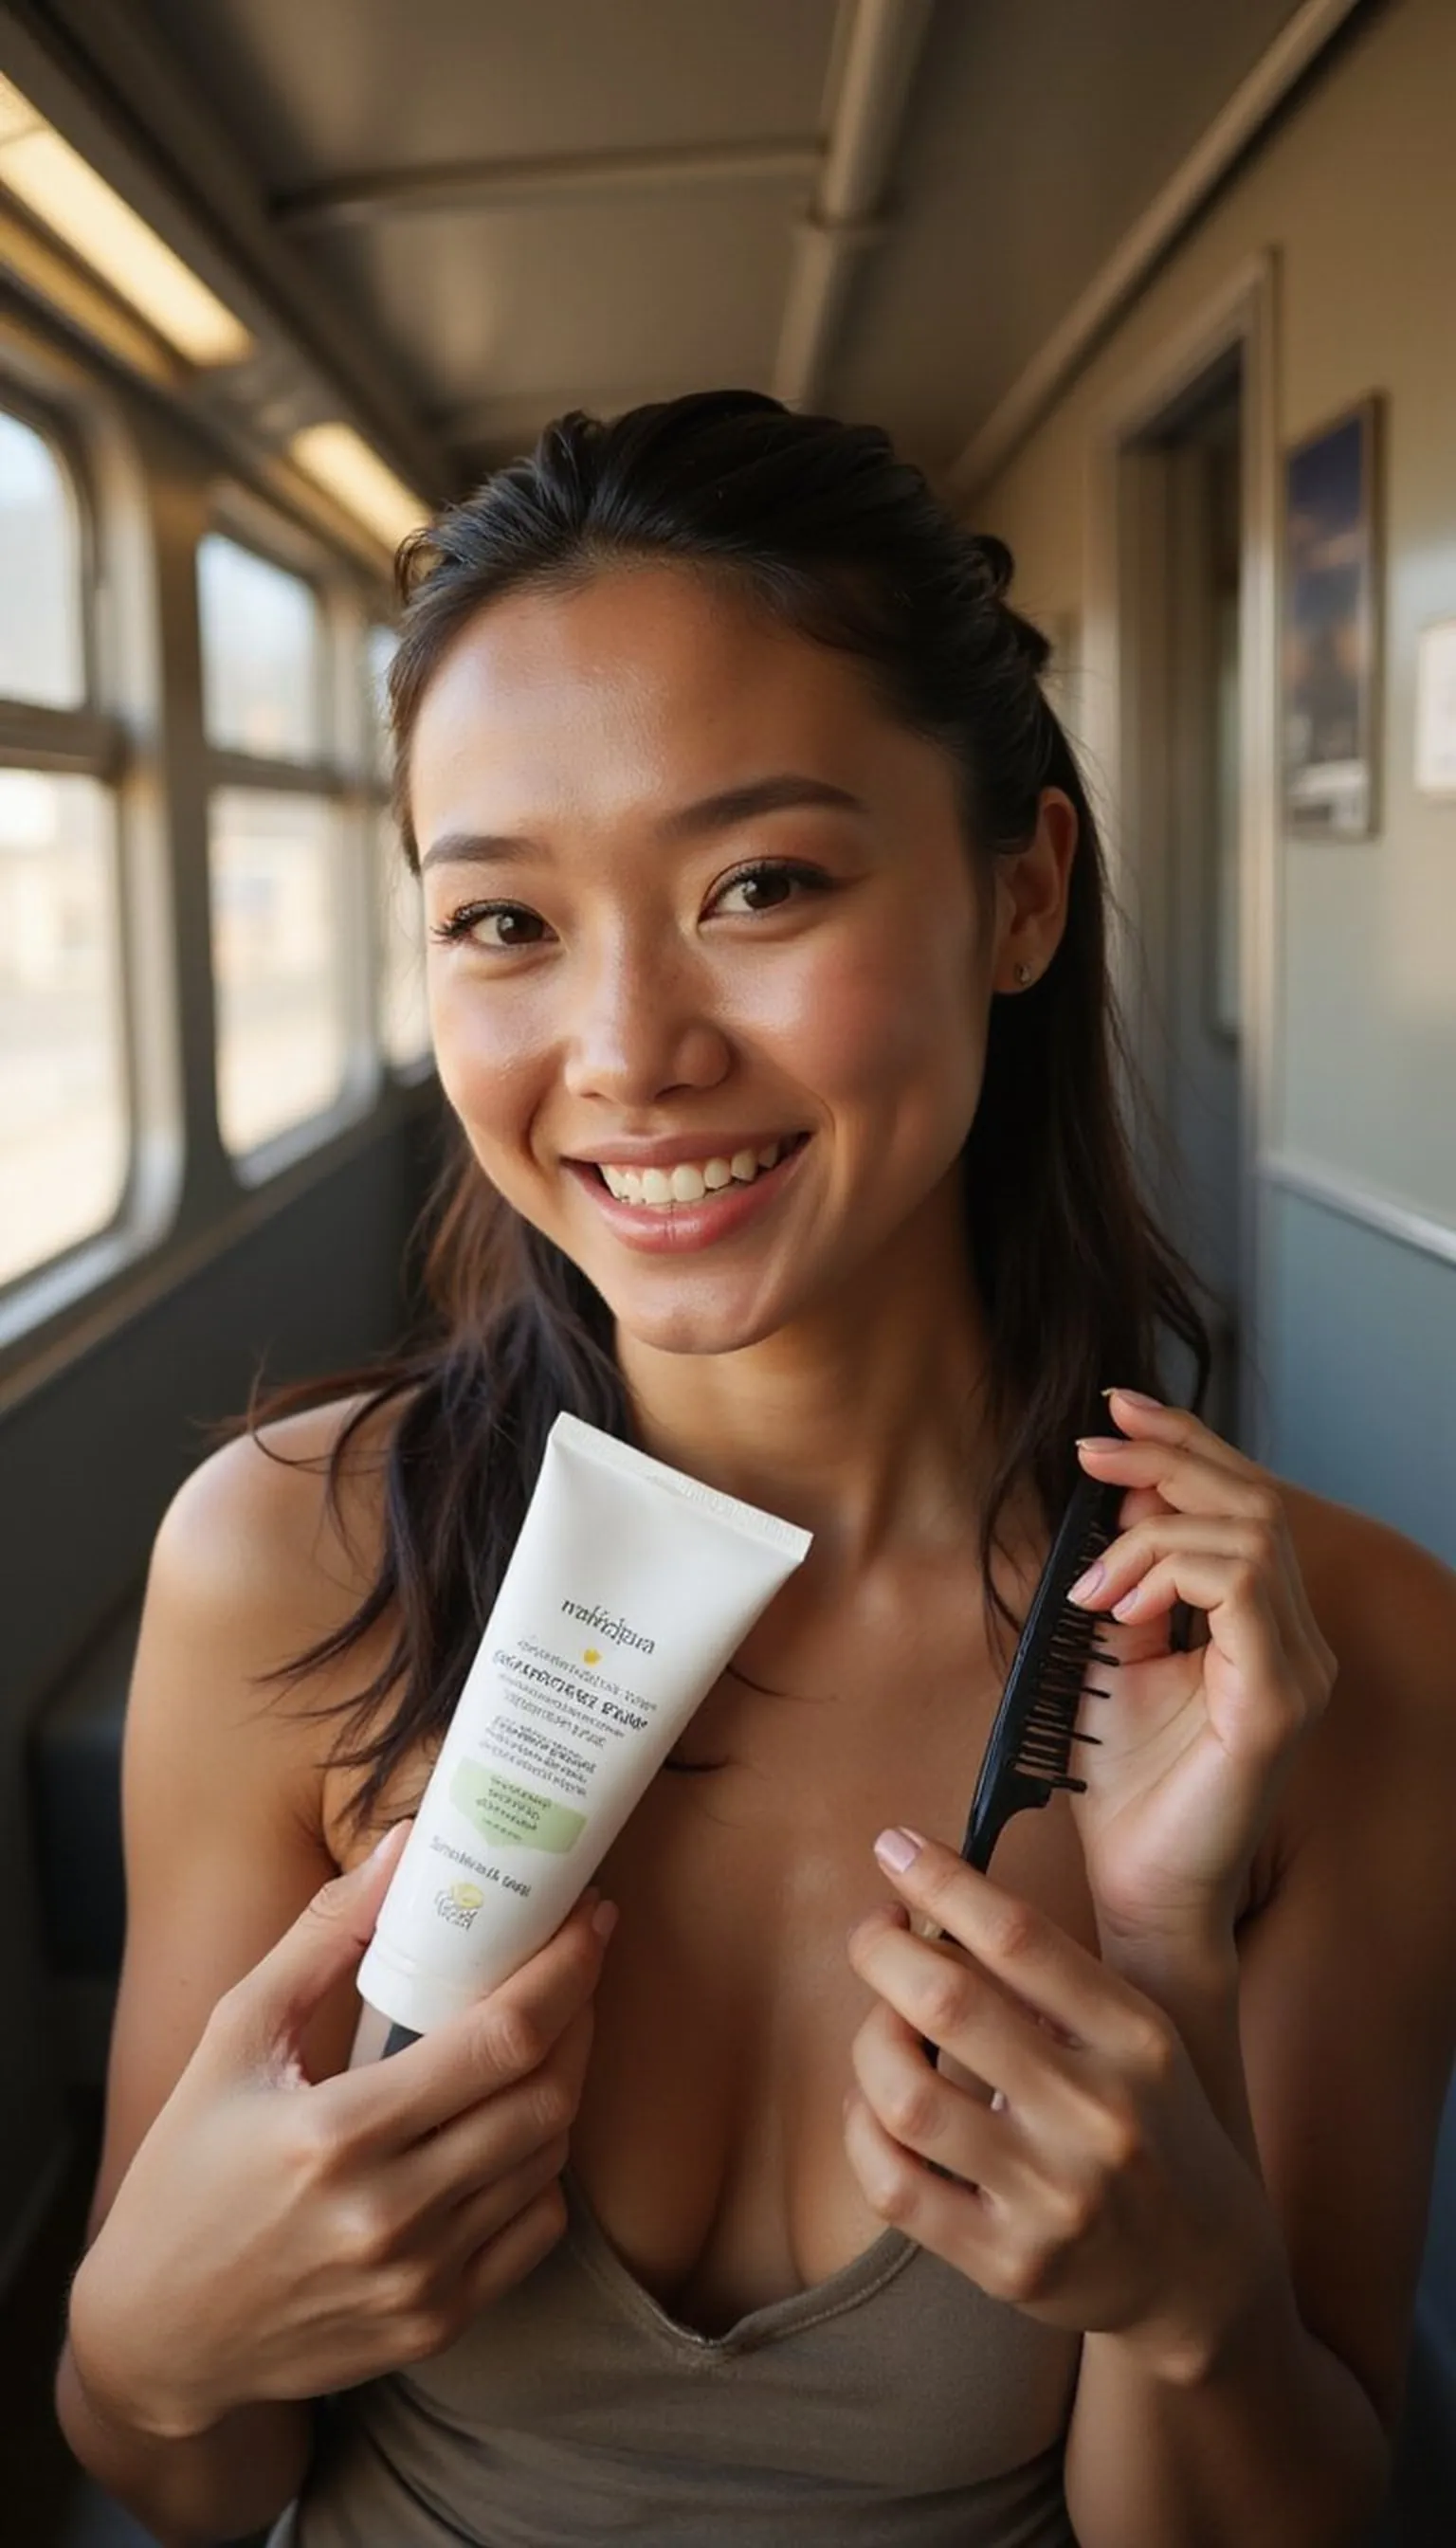
The slick back wet look feels modern and keeps hair secure during tight schedules and transit. It offers a chic silhouette that requires only a comb and a small amount of styling product.
Apply a lightweight gel or cream to damp hair and comb hair back into a low ponytail or bun, smoothing edges as you go. This creates a glossy, controlled finish that resists frizz and humidity briefly after application.
This style works well for short to medium lengths and stays comfortable under travel headrests. Pair with bold earrings or sunglasses to elevate the minimalist vibe for outings.
Styling Tips
- Work gel through damp hair with a comb for even distribution.
- Use a toothbrush sprayed with product to smooth baby hairs without stickiness.
- Dry naturally or with a quick blast from a travel dryer for extra hold.
Pro Tip: Work product from roots to mid-lengths on damp hair and comb back for a long-lasting, sleek finish without fuss.
Avoid: Applying too much gel makes hair gummy and heavy; start small and add only if needed. Overworking the product can cause flaking.
Try Also: Wear it as a slick low bun for formal looks or as a slick high ponytail for sporty energy. Add a decorative clip at the nape for detail.
Products & Materials
Items Used
- styling gel
- comb
“Slick back wet look that keeps hair sleek and travel-proof.”
Low Twist Chignon That Packs Small
⏱️ 12 min · 🟠 Intermediate
The low twist chignon offers a compact, tidy style that tucks neatly under collars and shawls. It keeps hair protected and reduces tangles when moving between planes and trains.
Create two gentle twists from each side and join into a small bun at the nape, securing with bobby pins and a tiny elastic. The finished silhouette is elegant but not fussy, and it hides split ends well during longer trips.
This chignon is easy to touch up with a few pins and looks great with scarves or statement earrings. It works well for medium to long hair and keeps the neck comfortable during flights.
Styling Tips
- Use a soft elastic to anchor twists then pin the bun firmly with bobby pins.
- Apply a dab of pomade to smooth flyaways without stiffness.
- Keep the bun low for easier resting on pillows while traveling.
Pro Tip: Anchor the chignon with a small elastic before pinning so it holds shape with minimal adjustments throughout travel.
Avoid: Over-twisting makes the bun too tight and uncomfortable for long journeys. Keep twists relaxed for comfort and a softer look.
Try Also: Make a braided twist for extra texture or add a small scarf knot around the bun for a pop of color. Leave a few strands loose for softness.
Products & Materials
Items Used
“Compact low twist chignon that tucks neatly into travel life.”
Beachy Waves With Headband For Flights
⏱️ 10 min · 🟢 Beginner
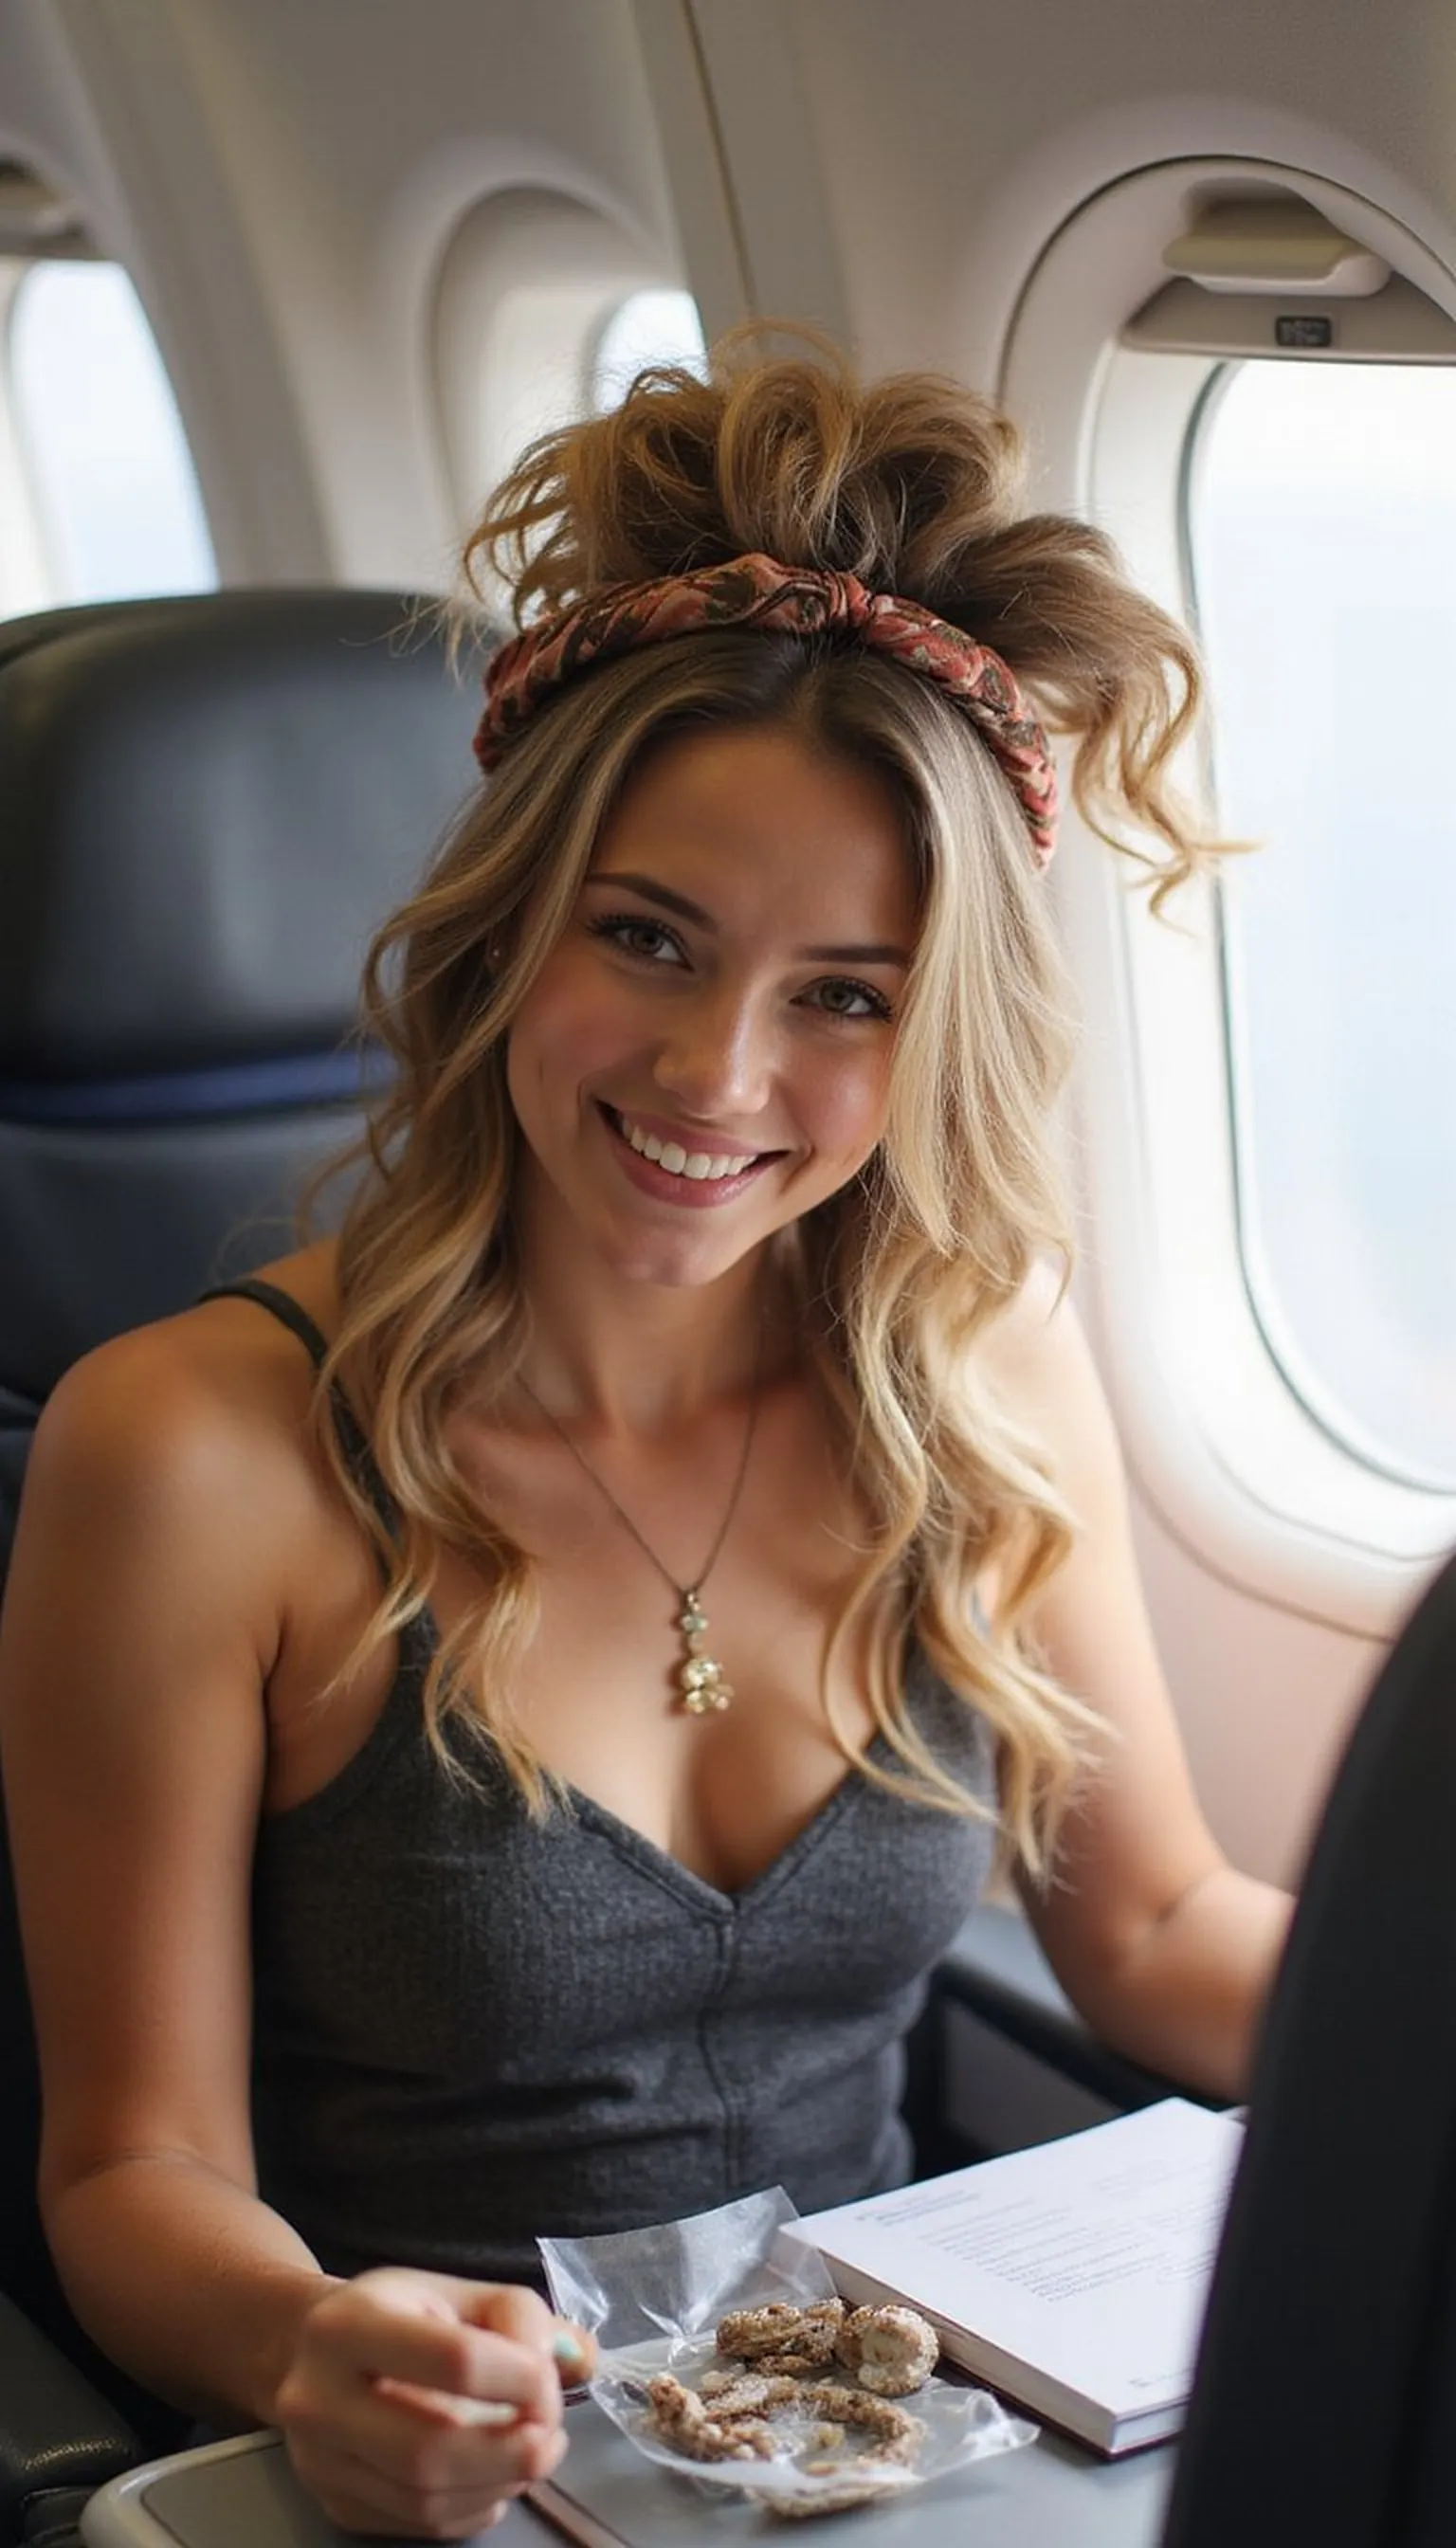
Beachy waves paired with a headband create a relaxed, put-together look that hides second-day texture. The headband keeps hair away from the face on long plane rides and adds instant polish.
Create loose waves by twisting damp hair and letting it air-dry or using a quick heatless method before slipping on a headband. Choose a wide fabric headband to hold the style and disguise any flattening from travel.
This combination is comfortable for overnight journeys and looks fresh off the plane with minimal effort. Swap headband styles to match outfits or choose a neutral for maximum versatility.
Styling Tips
- Create texture with braid- or twist-based heatless waves the night before travel.
- Choose a wide fabric headband to disguise roots and add comfort under headphones.
- Loosen waves with fingers for a natural, windswept finish.
Pro Tip: Make waves the night before using braids or twists, then slide on a wide headband to keep hair tidy during flights.
Avoid: Putting on a headband too tight flattens volume and causes headaches. Opt for a gentle stretch for comfort and lift.
Try Also: Swap a thin metal headband for a fabric wrap for different vibes, or pin one side back with a decorative clip. Wear loose waves as a half updo with the same headband.
Products & Materials
Items Used
- headband
- hair ties
“Beachy waves and a headband for relaxed, flight-friendly hair.”
Double Dutch Braids For Active Travel Days
⏱️ 15 min · 🟠 Intermediate
Double Dutch braids keep hair fully contained for active travel days and outdoor adventures. They distribute weight evenly and prevent hair from getting in the way during hikes or bike rides.
Create two neat Dutch braids from the hairline to the nape and finish with small elastics, tucking ends under or leaving them loose. The style stays in place for hours and is easy to refresh with a quick tightening at the base.
The look pairs well with caps and headscarves and reduces tangling during long transit. Add a light coating of salt spray for texture and added grip if hair feels too silky.
Styling Tips
- Work on slightly damp or textured hair for better braid grip.
- Secure ends with small, no-slip elastics and tuck loose tails if needed.
- Loosen the braid edges slightly for a fuller appearance without sacrificing hold.
Pro Tip: Prep hair with a touch of salt spray or dry shampoo to improve grip and keep Dutch braids intact longer.
Avoid: Starting braids on overly silky hair makes them slip out during activity. Add texture first for a stronger hold.
Try Also: Try one large Dutch braid down the center or convert tails into a low bun at the nape for variety. Add ribbon woven through for color.
Products & Materials
Items Used
- hair elastics
- salt spray
“Double Dutch braids that stay put through hikes and travel days.”
Claw Clip Half Up For Instant Polish
⏱️ 3 min · 🟢 Beginner
A claw clip half up style offers instant polish and takes only a few seconds to secure. It lifts hair from the face while still letting length flow freely for a relaxed travel aesthetic.
Gather the top half of hair, twist lightly, and secure with a medium claw clip, letting the rest hang loose. This method works on most lengths and textures and is forgiving of imperfect drying or bedhead.
The clip stores flat in luggage and can be swapped for smaller or larger sizes depending on hair amount. It also doubles as a quick updo for sudden evening plans.
Styling Tips
- Twist hair once before clipping to create a neater silhouette.
- Use a medium-sized claw for medium-length hair, or double up for thicker hair.
- Position the clip slightly off-center for a casual, modern look.
Pro Tip: Twist the top section once before securing with a claw clip to create better hold and a cleaner shape instantly.
Avoid: Using a clip too small for hair amount causes slipping and frustration. Choose clip size to match hair volume for secure wear.
Try Also: Try a sleek half up with a metal barrette for dressier moments or two small clips for a playful twin-clip look. Wrap a scarf around the clip for added color.
Products & Materials
Items Used
“Claw clip half up for instant polished travel hair.”
Low Pony With Wrapped Scarf Quick Style
⏱️ 5 min · 🟢 Beginner

The low pony wrapped with a scarf feels pulled together and guards hair from rubbing on bag straps. It creates a chic, travel-ready silhouette with minimal effort and no heat styling.
Tie hair at the nape with a gentle elastic, then wrap a narrow scarf around the base or knot it to one side for color. This hides the band and secures hair in place while adding sun protection to the neck area.
The style transitions well from daytime exploring to an evening meal with a simple scarf swap. Choose neutral scarves to coordinate with multiple outfits and save luggage space.
Styling Tips
- Use a no-slip elastic to anchor the ponytail firmly without pulling hair.
- Wrap the scarf once and knot it to the side for a subtle accent.
- Keep the ponytail low to sit comfortably under jackets and backpacks.
Pro Tip: Wrap a narrow scarf around the ponytail base and knot it at the side to hide the elastic and add instant outfit coordination.
Avoid: Tying the scarf too tightly can pull at the hairline and cause discomfort. Keep the knot gentle for comfort and movement.
Try Also: Braid the ponytail and wrap the scarf through the braid for texture, or tie the scarf into a bow for a sweeter look. Wear the pony higher for sportier energy.
Products & Materials
Items Used
“Low pony with a wrapped scarf for chic, easy travel style.”
Mini Top Knots For Short Hair Travel
⏱️ 4 min · 🟢 Beginner

Mini top knots are perfect for short hair that still needs to be kept off the face during active days. They add whimsy and control without requiring long lengths or complicated steps.
Create one or two small knots at the crown using tiny elastics and tuck ends under with bobby pins for neatness. This look holds up well under neck pillows and light hats, keeping hair comfortable on the move.
Mini knots are quick to redo and easy to refresh after naps or long transfers. Add a decorative clip or bandana for a playful, photo-ready touch.
Styling Tips
- Use small elastics to secure mini knots without breaking short strands.
- Tuck ends under and pin to create the illusion of more length.
- Loosen knots slightly for a softer, lived-in finish.
Pro Tip: Use small, snag-free elastics and tuck ends under with bobby pins to secure mini top knots on short hair.
Avoid: Tying knots too tightly can break short strands and feel uncomfortable. Keep tension gentle for safety and comfort.
Try Also: Create a single center knot for a modern look or two side knots for playful symmetry. Add a bandana tied around the head for color and hold.
Products & Materials
Items Used
- small hair elastics
- bobby pins
“Cute mini top knots for short hair that travel well.”
Sleek Folded Bun For Airplane Comfort
⏱️ 10 min · 🟠 Intermediate
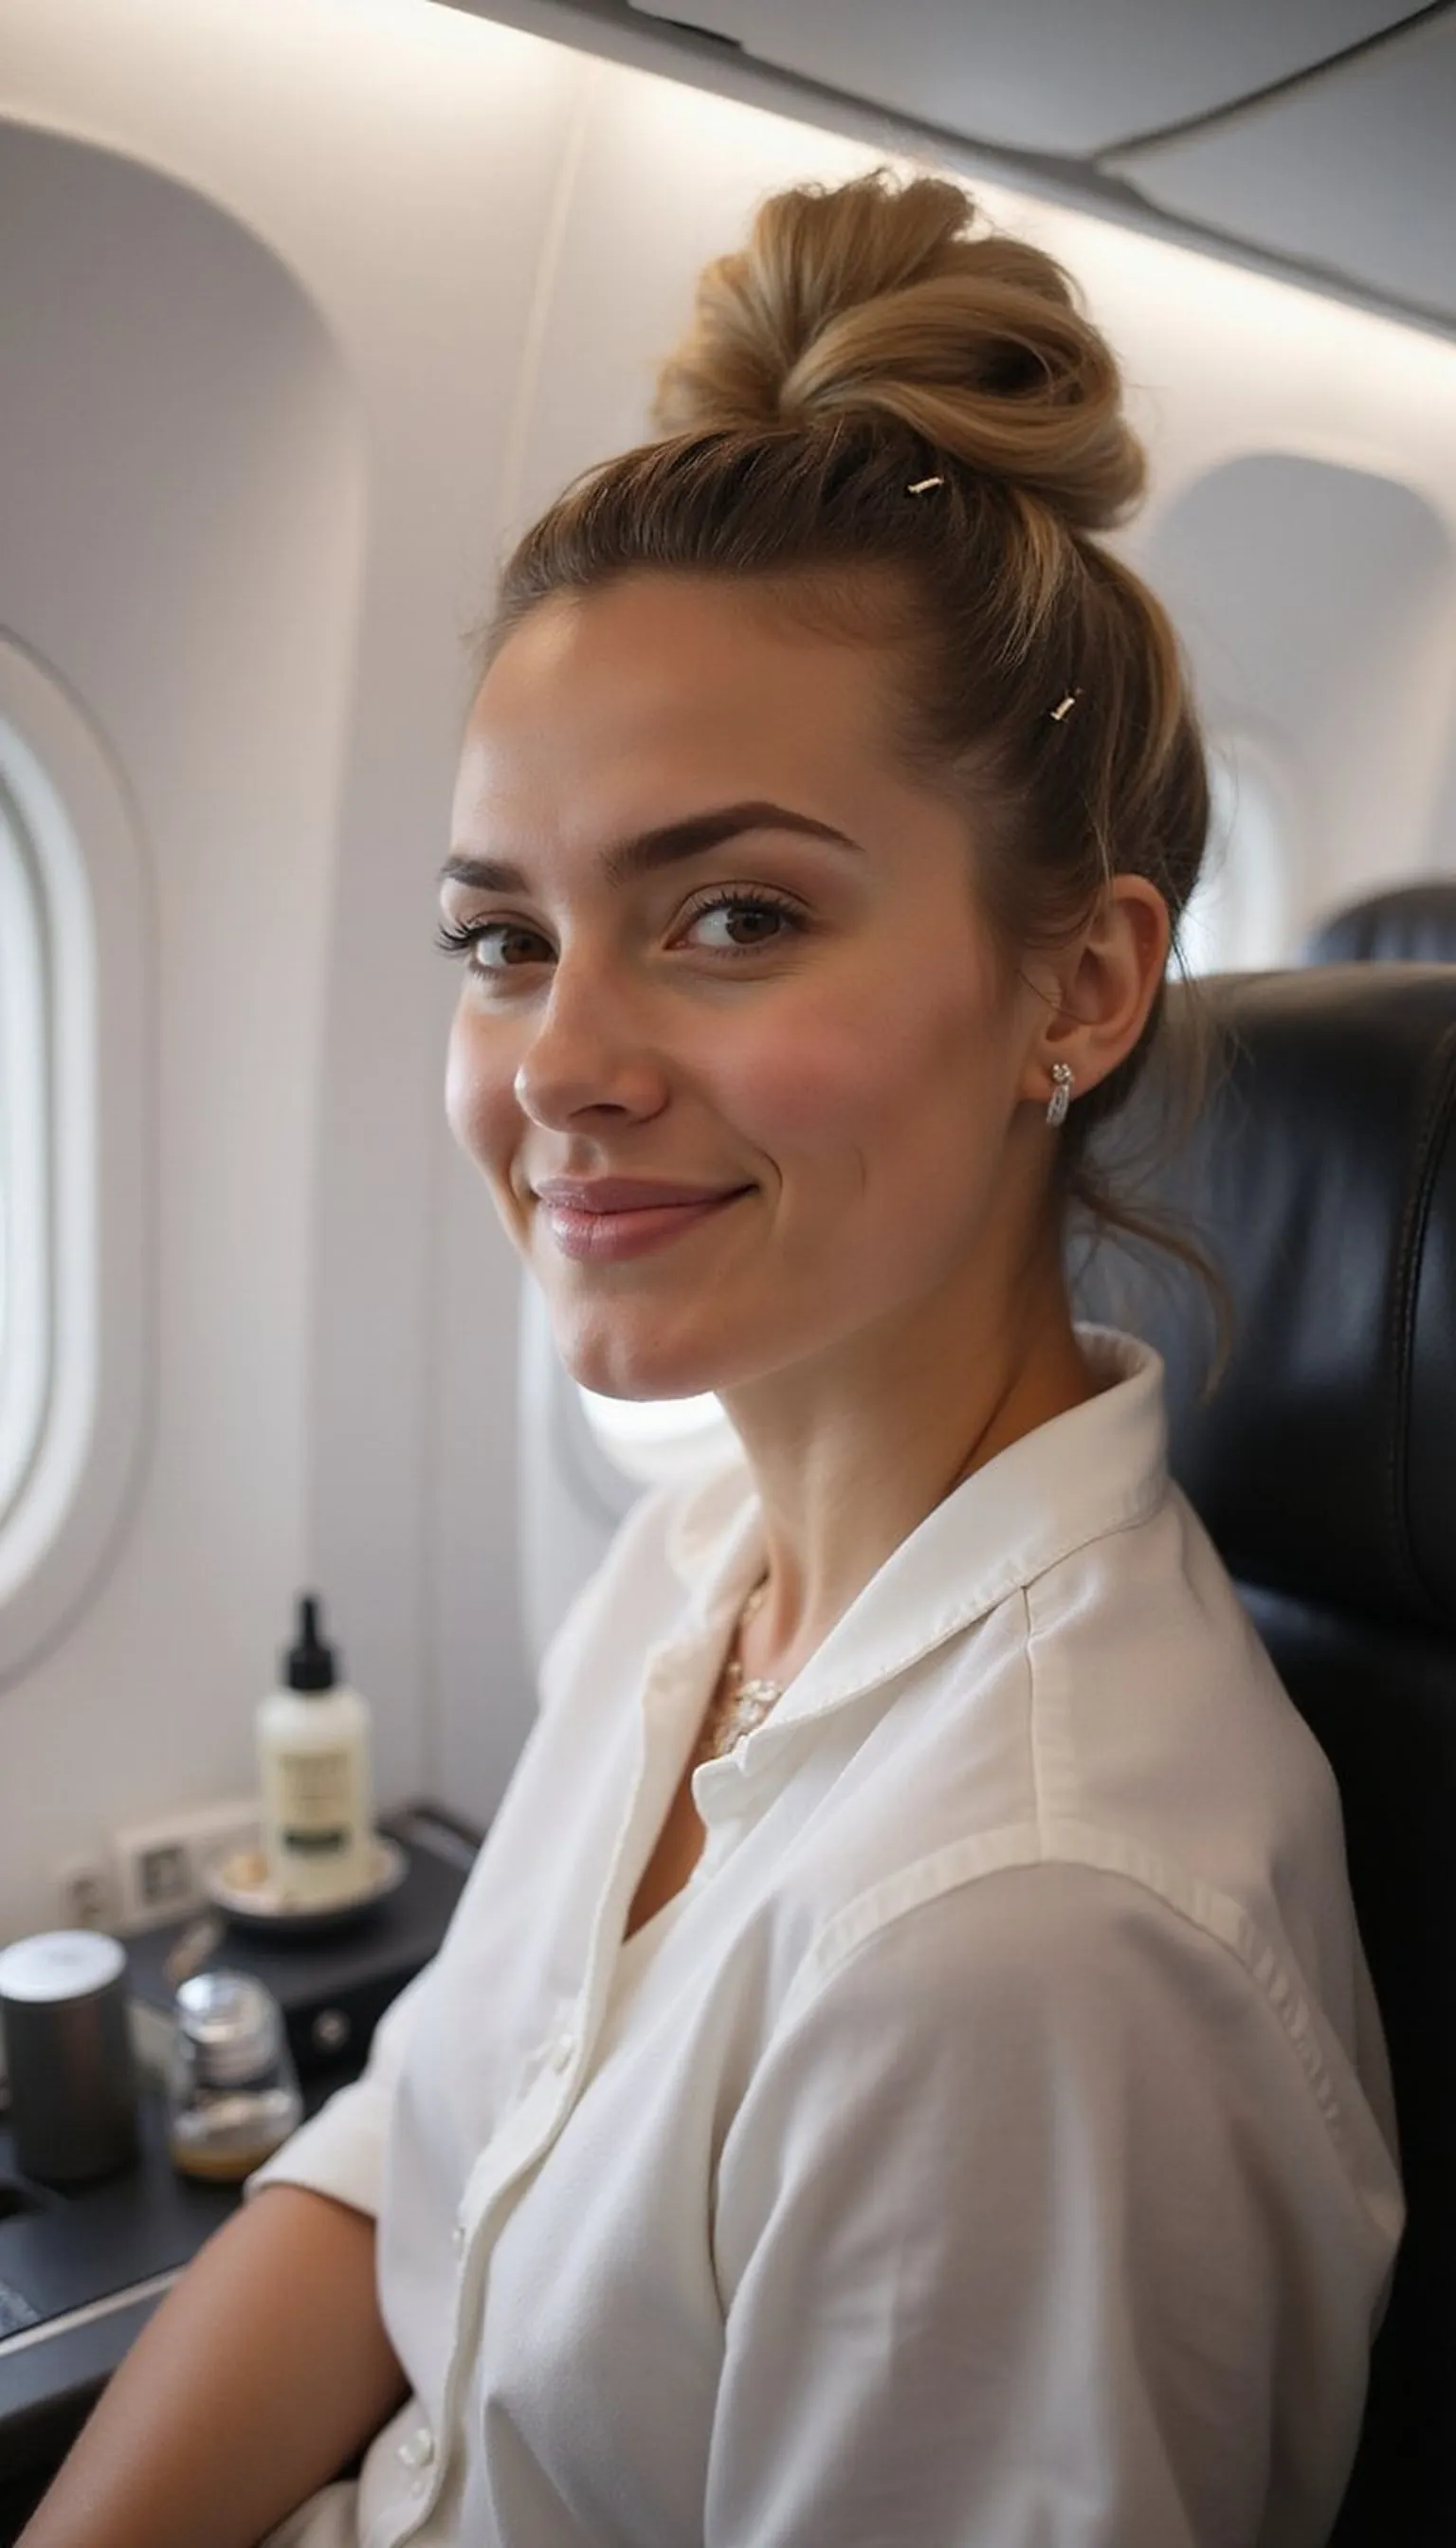
The sleek folded bun lies flat against the head making it comfortable for reclining seats and naps on planes. It reduces friction and keeps hair smooth while moving between time zones.
This approach works especially well with medium to long hair and looks refined with simple accessories. Loosen the edges slightly upon arrival for a softer, day-ready version of the same style.
Styling Tips
- Create a flat base with a low ponytail before folding into the bun for stability.
- Pin the bun evenly around the base to prevent gaps and slipping.
- Apply a small amount of smoothing serum to control flyaways without greasiness.
Pro Tip: Fold the ponytail flat against the nape and secure with bobby pins for a low-profile bun that stays comfortable during flights.
Avoid: Pinning the bun unevenly can cause it to come loose during sleep. Distribute pins around the base for balance.
Try Also: Turn the folded bun into a low knot with a scarf wrap for evening wear or loosen for a soft, romantic look. Add a decorative pin for quick glamour.
Products & Materials
Items Used
- bobby pins
- smoothing serum
“Sleek folded bun that stays flat and comfy on long flights.”