
As an Amazon Associate I earn from qualifying purchases.
Air Dry Clay DIY Crafts bring playful, hands-on charm to everyday making, and air dry clay DIY crafts invite cozy afternoons exploring texture and color. Air dry clay DIY crafts and air dry clay crafts offer quick wins for giftable projects, while air-dry clay projects open room for tiny sculptures, home accents, and wearable pieces. These air dry clay creations work well for relaxing sessions and small batch crafting, keeping materials simple and results delightfully tactile.
Tiny Pinch Pot trio for morning cups
⏱️ 45 min · 🟢 Beginner
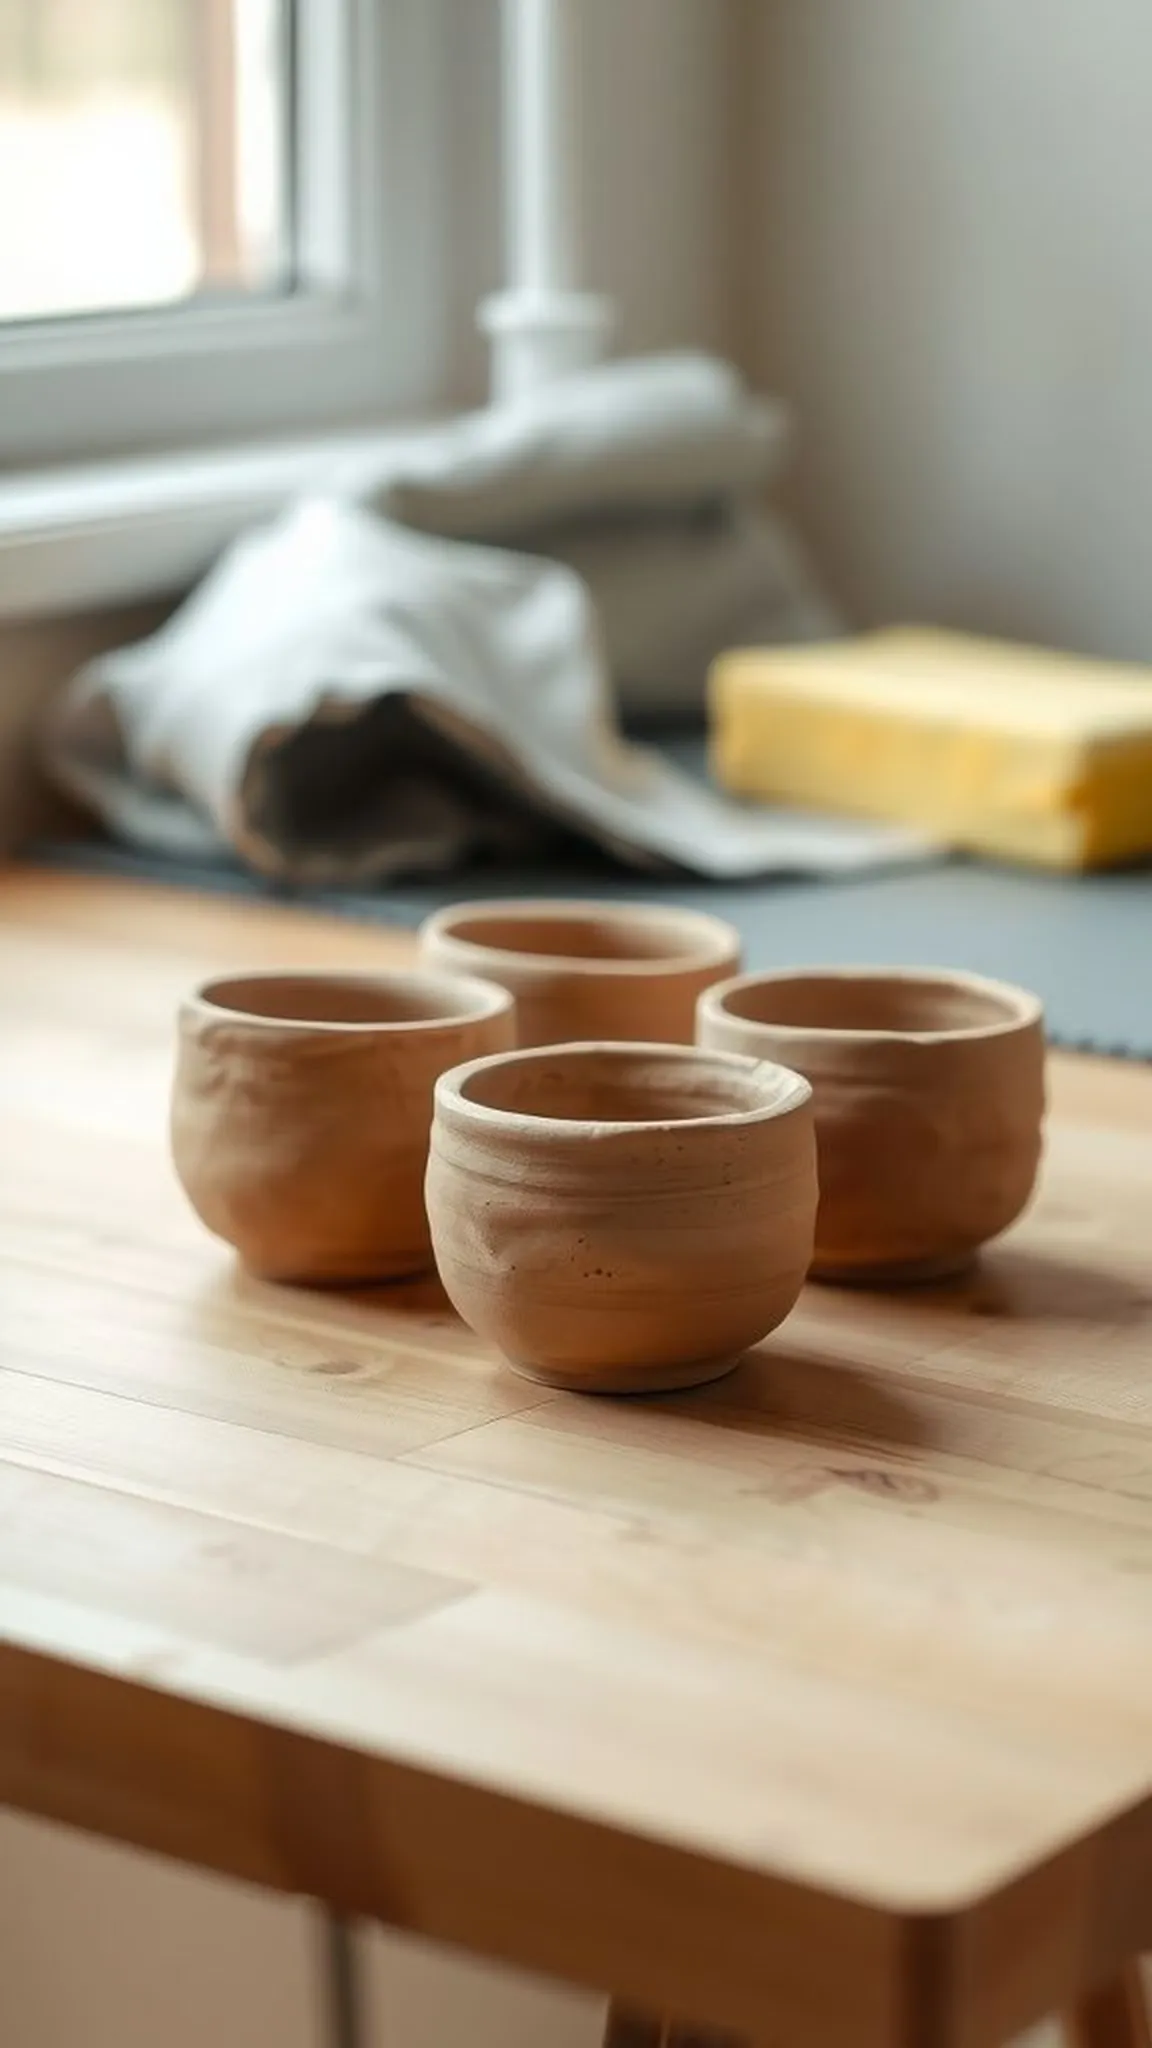
I remember the calm of fingers coaxing tiny cups into being, each pinch pot showing subtle thumb ridges and a warm matte surface. The trio felt cozy on the windowsill, each one a little different in contour and thickness. The clay held faint lines from fingertips and a soft earthen smell lingered as they dried.
The finished set caught morning light in a gentle way, bowls small enough for salt, soy, or teeny treasures, and pleasingly imperfect when held.
📋 How to Make This ▶
- Gather a golf-ball sized amount of air dry clay and soften it until pliable.
- Form three small rounded cups by pressing and hollowing the clay with fingertips.
- Smooth rims lightly with a damp fingertip and texture outer walls with a simple tool.
- Allow cups to dry fully on a flat, breathable surface before any light sanding or finishing.
⚠️ Avoid: A frequent misstep is rushing the drying, which can cause thin walls to crack. Patience during cure saves tiny pieces.
🔄 Try Also: A single larger cup can be made for jewelry, and the set can follow a color theme by adding pigment to each lump of clay.
🛒 Products & Materials ▶
📌 “Sweet trio of tiny pinch pots with imperfect, tactile charm.”
• • •
Marbled bead garland with soft neutrals
⏱️ 1 hour · 🟠 Intermediate
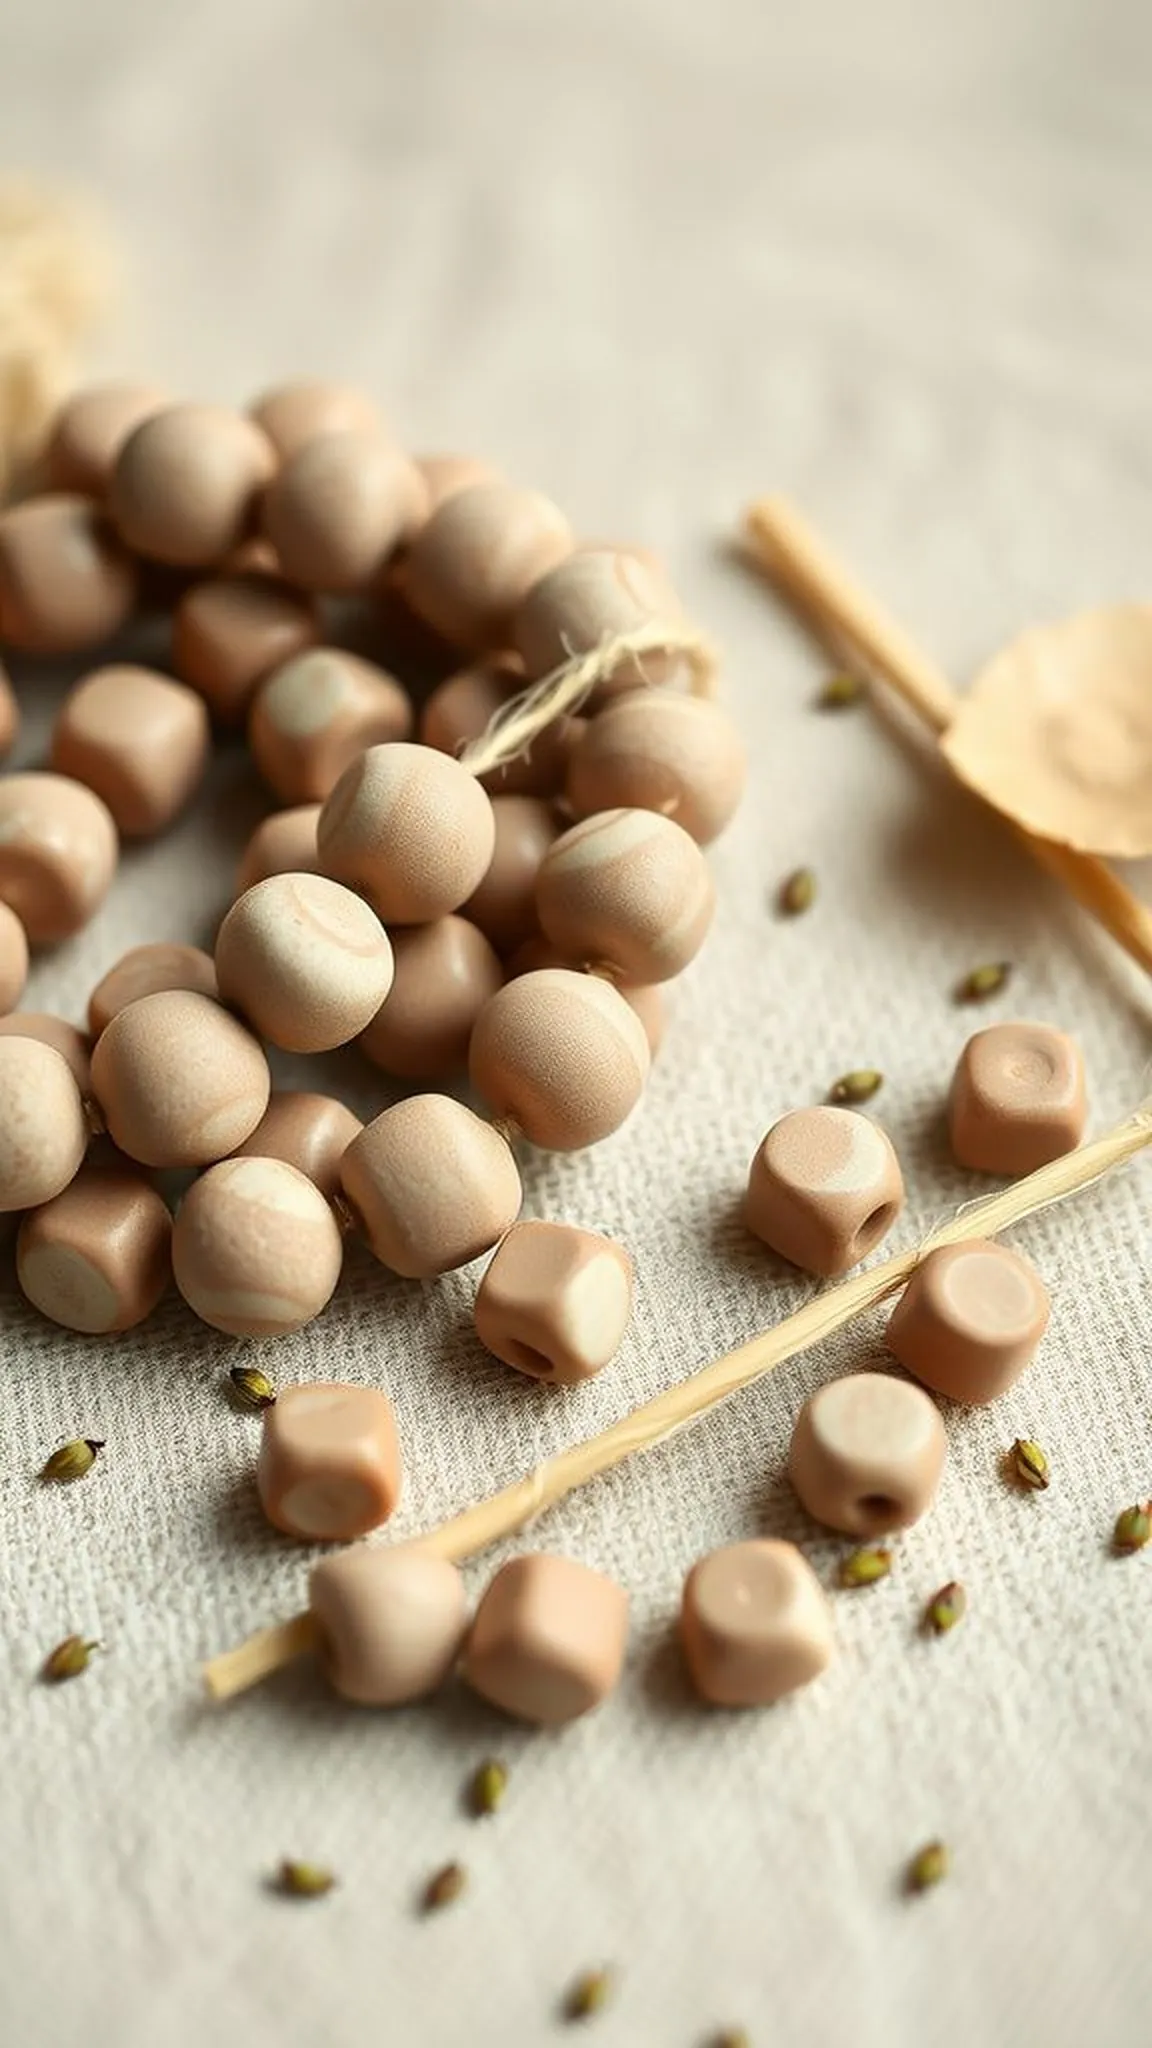
I loved how gentle streaks of color mingled when two tones of clay were blended, each bead becoming a tiny planet with swirls and veins. The tactile roundness invited fingers to roll and feel the faint seam where tones met. Once left to dry, the beads had a satiny surface and a satisfying weight for stringing.
The finished garland hung with a casual curve, warmth coming from the handmade rhythm of similar but never identical beads.
📋 How to Make This ▶
- Prepare two or three small portions of colored air dry clay and gently press them together without fully mixing.
- Roll the combined lump into a log and slice off short segments, then form each slice into a bead shape.
- Pierce each bead with a toothpick or small skewer to create a hole for threading.
- Allow beads to dry thoroughly, then string them onto twine or cord to make the garland.
⚠️ Avoid: Overworking the colors can create a muddy look rather than distinct veins; a light touch keeps patterns lively.
🔄 Try Also: Try bolder color contrasts for graphic beads or add tiny metallic flakes for subtle shimmer in each bead.
🛒 Products & Materials ▶
Items Used
- air dry clay blocks in multiple colors
- wooden skewers
- cotton twine
📌 “Soft marbled beads turned into a cozy, tactile garland.”
• • •
Textured plant markers with leaf impressions
⏱️ 30 min · 🟢 Beginner
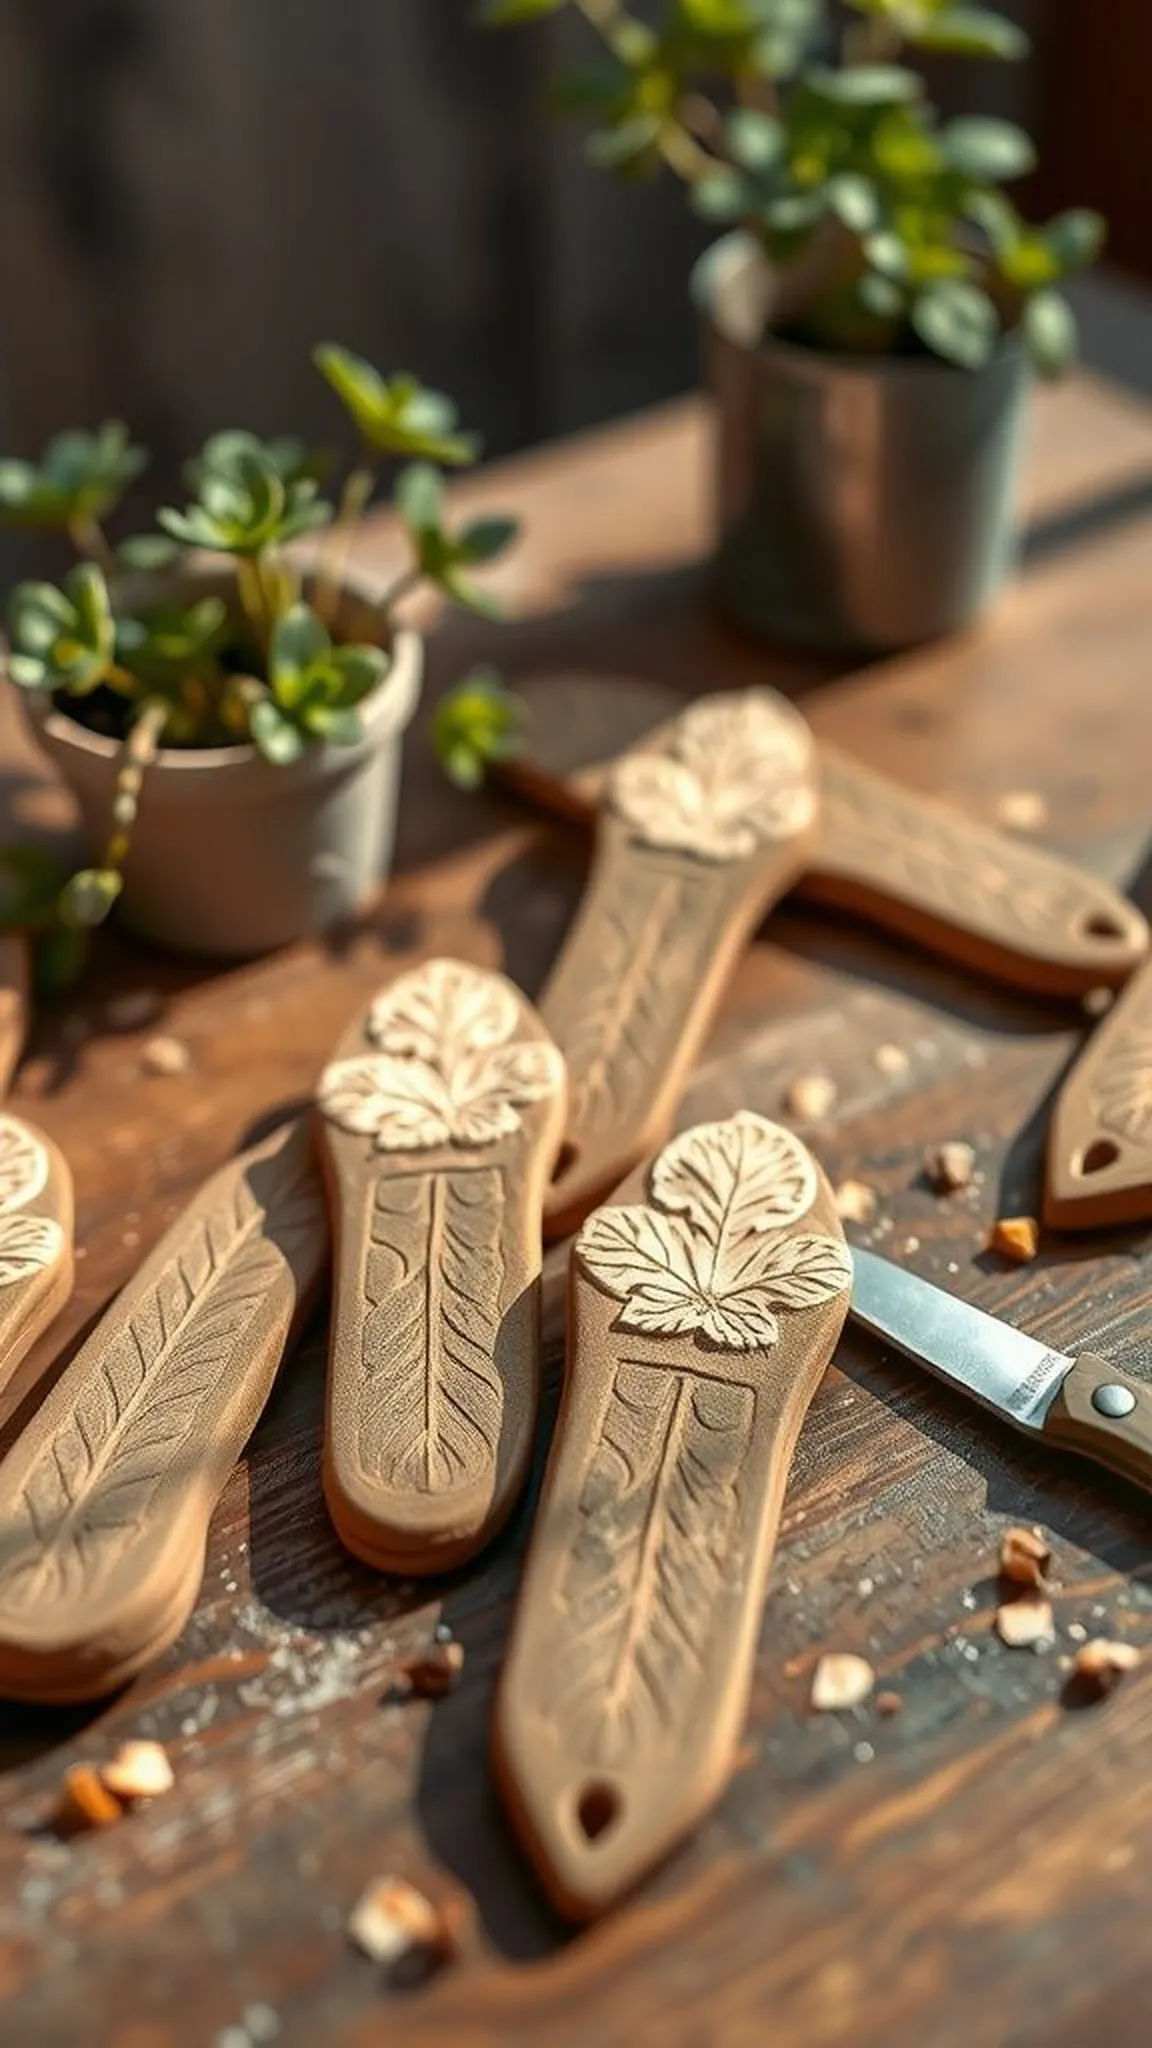
There was a quiet joy in pressing fresh leaf edges into thin clay strips, the imprint holding every vein and serration. The markers felt both delicate and earthy, cool to the touch with a pale, raw finish before any color was introduced. They sat next to soil in small pots, labels blending naturally with green growth.
Edges were slightly uneven, which made them feel handmade, and the impressed patterns caught little pools of shadow in soft morning light.
📋 How to Make This ▶
- Roll out thin slabs of air dry clay to an even thickness on a nonstick surface.
- Cut strips into marker shapes using a small craft cutter or knife and press a leaf into each strip.
- Smooth edges lightly and add a small hole at the top for optional twine.
- Allow markers to dry completely before placing into soil.
⚠️ Avoid: Leaves left too long against damp clay can stick or tear the impression when removed; gentle and quick lifting helps.
🔄 Try Also: Create round labels for herb jars or longer stakes for outdoor pots, and try different foliage for distinct textures.
🛒 Products & Materials ▶
Items Used
- air dry clay block
- small craft cutter
- fresh leaves
📌 “Leaf-impressed clay markers bring garden charm to potted plants.”
• • •
Save time and printer ink with 50+ printable templates and step-by-step instructions in one ad-free guide.

Just $19.99 — lifetime access
Mini animal figurines for shelf displays
⏱️ 2-3 hours · 🟠 Intermediate

Building small animal companions became a soothing ritual, each ear and snout bringing a little personality. The figures held faint tool marks that read like fingerprints, and the clay’s surface warmed under gentle sanding after cure. Sitting together they formed a tiny herd, playful stances and whimsical proportions making each one smile-inducing.
The palette leaned soft, with muted pigments adding life without overpowering the raw texture. Holding them felt like holding miniature stories.
📋 How to Make This ▶
- Begin with a compact core for the body and add smaller lumps for head and limbs, blending seams with fingertips.
- Refine facial features with loop tools and add surface texture with a toothpick or needle tool.
- Let figures firm to leather-hard before gentle sanding to refine edges.
- Leave figures to dry fully on a flat surface before optional painting or finishing.
⚠️ Avoid: Attaching heavy limbs to soft cores can lead to sagging; letting parts gain some firmness first helps structural integrity.
🔄 Try Also: Make a set themed by forest or sea creatures, or create a tiny scene with a base and multiple companions.
🛒 Products & Materials ▶
📌 “Tiny clay animals with personality for sweet shelf displays.”
• • •
Rustic pendant necklace with matte charm
⏱️ 1-2 hours · 🟠 Intermediate
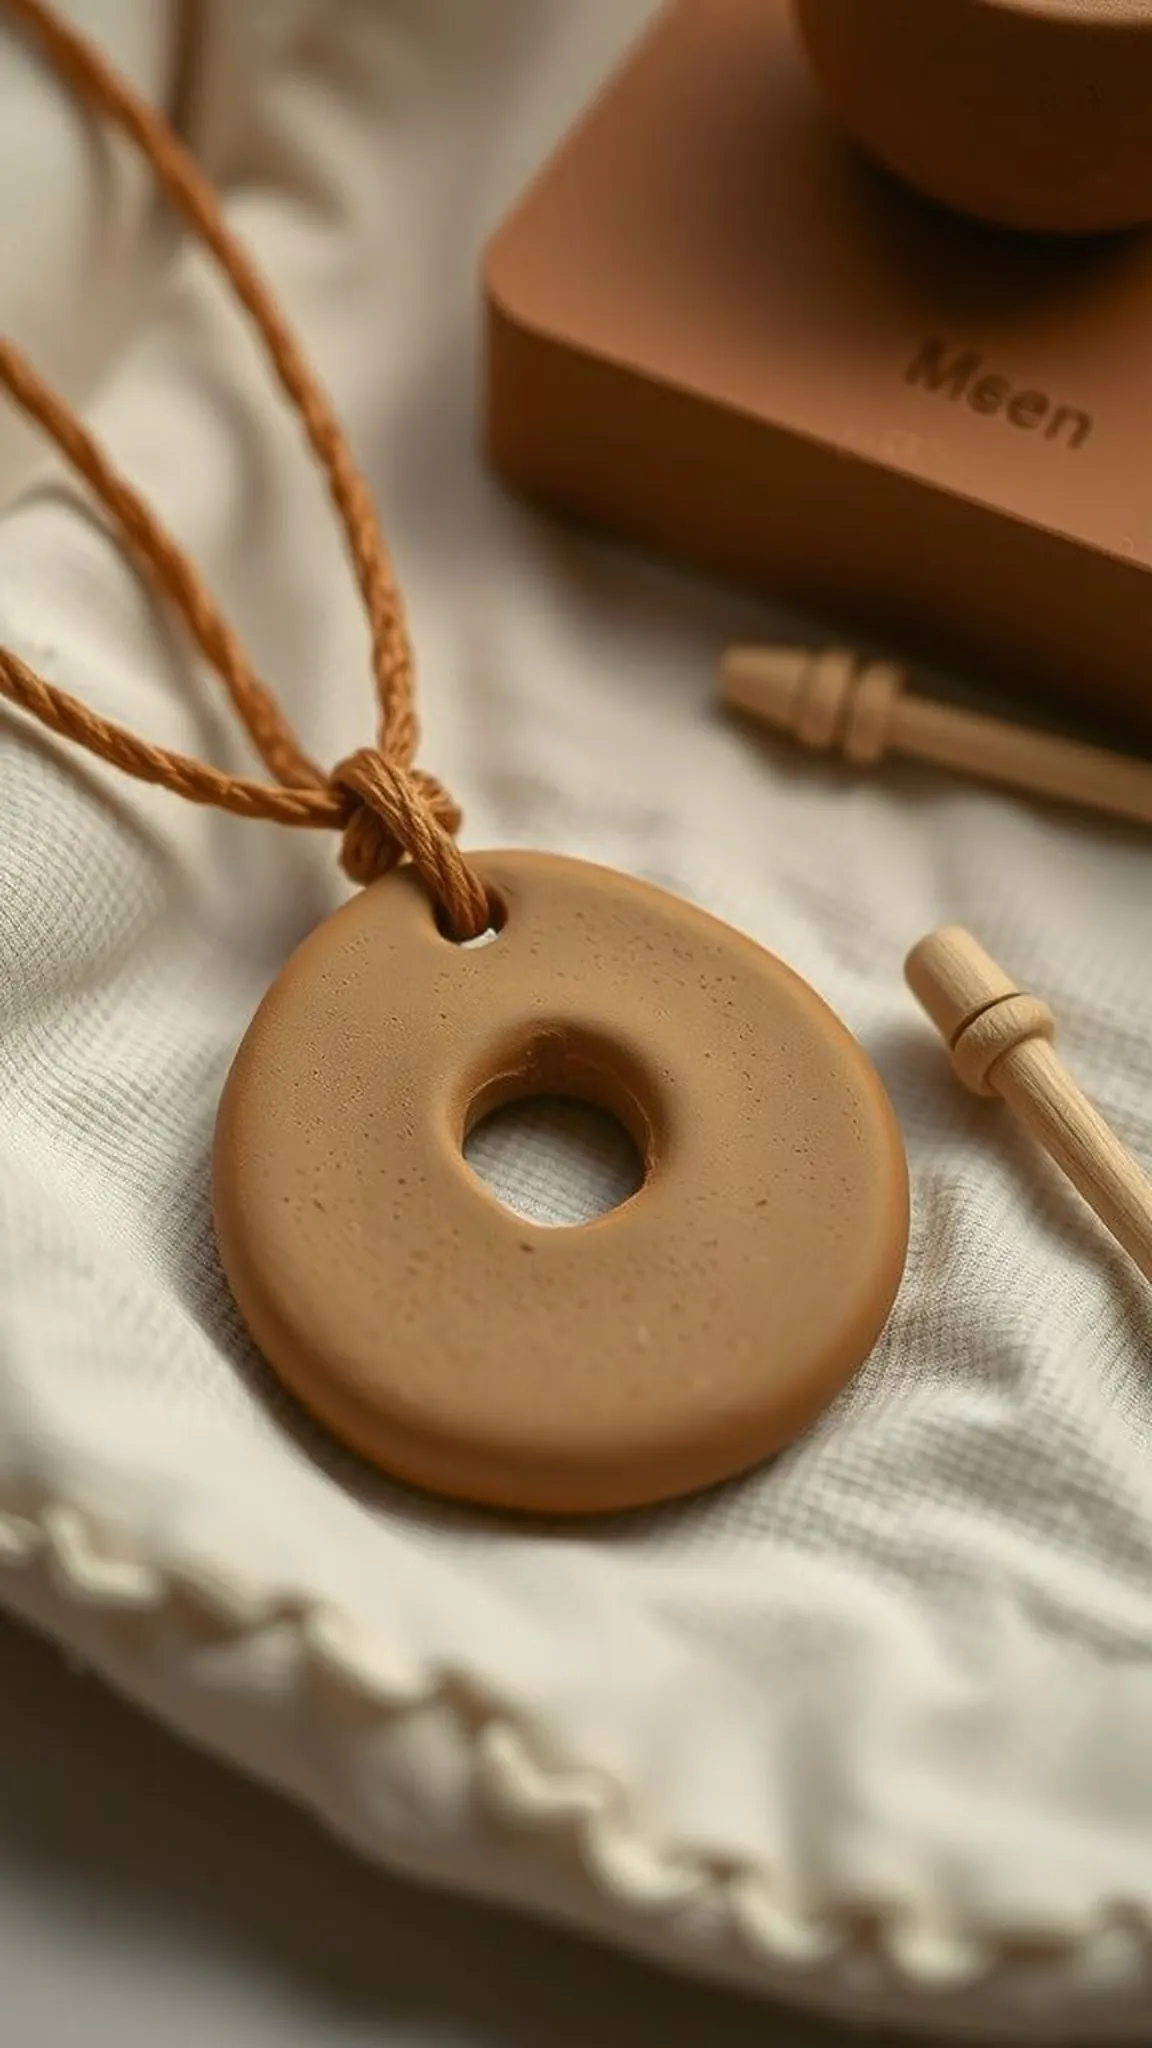
The pendant felt pleasantly weighty against the fingertips, clay toned with a muted pigment that softened as it dried. An organic edge and a shallow thumb indentation made it look handcrafted and intimate. The matte surface accepted a whisper of sheen from a waxed cord, creating a balanced contrast.
When held near the neck it read like a quiet statement, textured and slightly imperfect in a way that felt calm and personal.
📋 How to Make This ▶
- Flatten a small slab of air dry clay to an even thickness and cut out the pendant shape.
- Create a neat hole for the cord and add gentle surface texture or a thumb indentation.
- Allow the piece to dry fully and lightly sand any rough edges before threading onto a cord.
⚠️ Avoid: Making the pendant too thin can cause bending during drying; a modest thickness keeps it flat and sturdy.
🔄 Try Also: Try geometric shapes, tiny inlaid beads, or pair two pendants on a double strand for layered looks.
🛒 Products & Materials ▶
Items Used
- air dry clay
- waxed cotton cord
- small hole punch tool or skewer
📌 “Handmade matte clay pendant with intimate, rustic character.”
• • •
Playful refrigerator magnets with charm
⏱️ 40 min · 🟢 Beginner
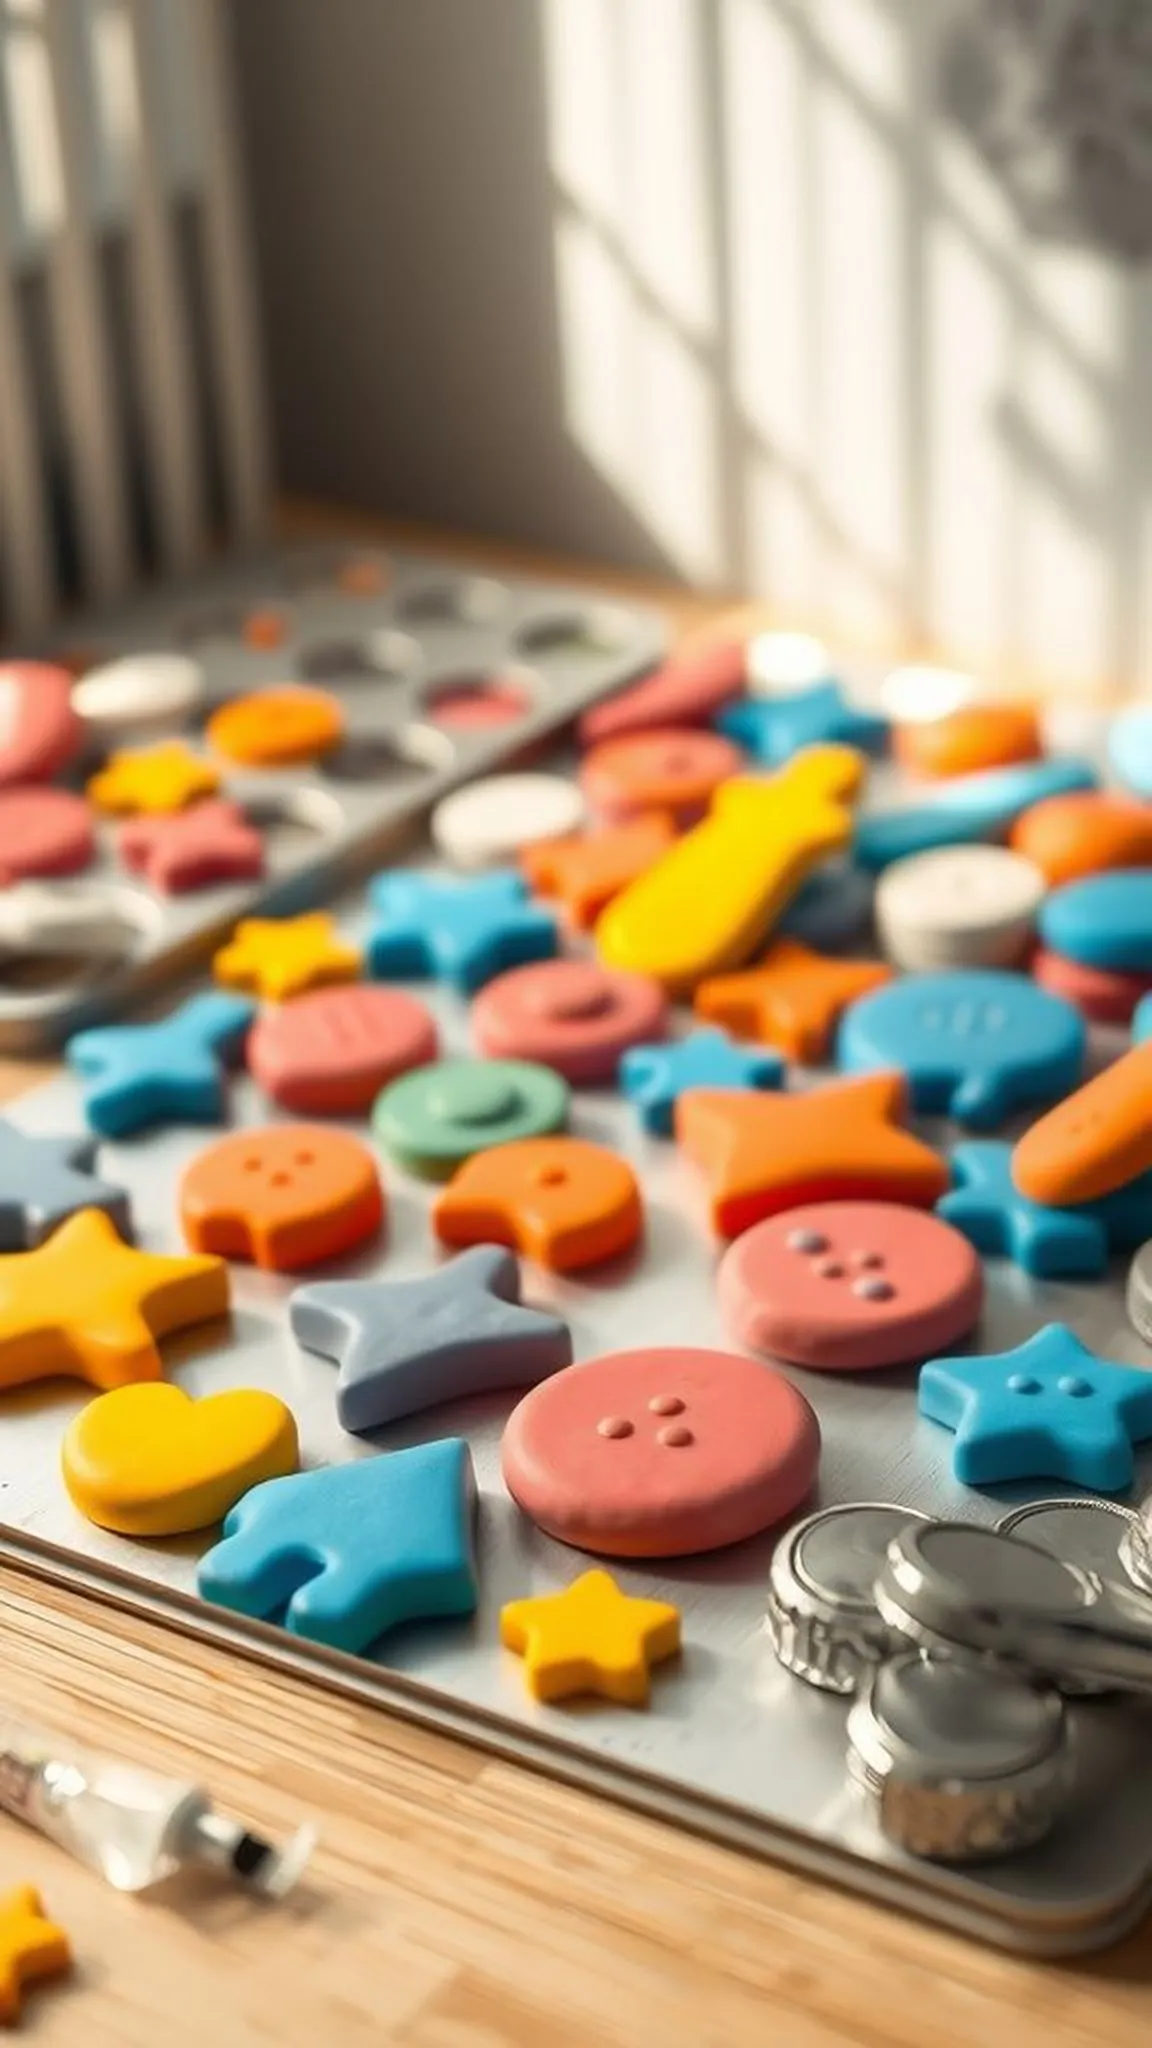
Making small magnets felt like crafting tiny characters that brighten a plain fridge surface. Each magnet had idiosyncratic edges and thumb-sized flaws that added to their personality. The backs were flat and the fronts featured simple raised shapes with a faint textural finish.
Placed on a magnetic board they made a casual constellation of color and form, and retrieving a note felt more joyful when a handmade piece was the grab point.
📋 How to Make This ▶
- Form small motifs from air dry clay and flatten their backs for good adhesion.
- Attach small round magnets to the back with a strong craft adhesive after full drying.
- Allow adhesive to set thoroughly before placing magnets on metal surfaces.
⚠️ Avoid: Gluing magnets to semi-dry clay can lead to poor bonds; waiting for complete cure improves hold.
🔄 Try Also: Mix geometric tiles with tiny face motifs or make themed sets like fruits, animals, or initials.
🛒 Products & Materials ▶
Items Used
- air dry clay
- small strong magnets
- craft adhesive glue
📌 “Cheerful handmade clay magnets to brighten kitchen surfaces.”
• • •
Botanical relief wall tiles for small gallery
⏱️ 3 hours · 🔴 Advanced

Creating relief tiles felt like composing tiny paintings in low relief, each botanical element casting subtle shadows. The clay captured crisp leaf edges and gentle veins, while the tile faces retained a smooth, almost stone-like finish. Laying several tiles together formed a quiet panel that read like an editorial mood piece rather than a craft project.
The finished tiles had a weight to their silence, each relief catching the light differently across the afternoon.
📋 How to Make This ▶
- Roll out a thick slab of air dry clay and cut uniform tile shapes.
- Press botanical elements into each tile to create relief and refine edges with a soft tool.
- Dry tiles fully on a flat, supportive surface and sand lightly if needed before mounting.
⚠️ Avoid: Tiles drying on uneven surfaces can bow; maintaining flat support prevents distortion.
🔄 Try Also: Create a monochrome panel for subtlety or alternately add gentle pigments to individual tiles for a stitched color effect.
🛒 Products & Materials ▶
📌 “Elegant botanical relief tiles for a calm small wall gallery.”
• • •
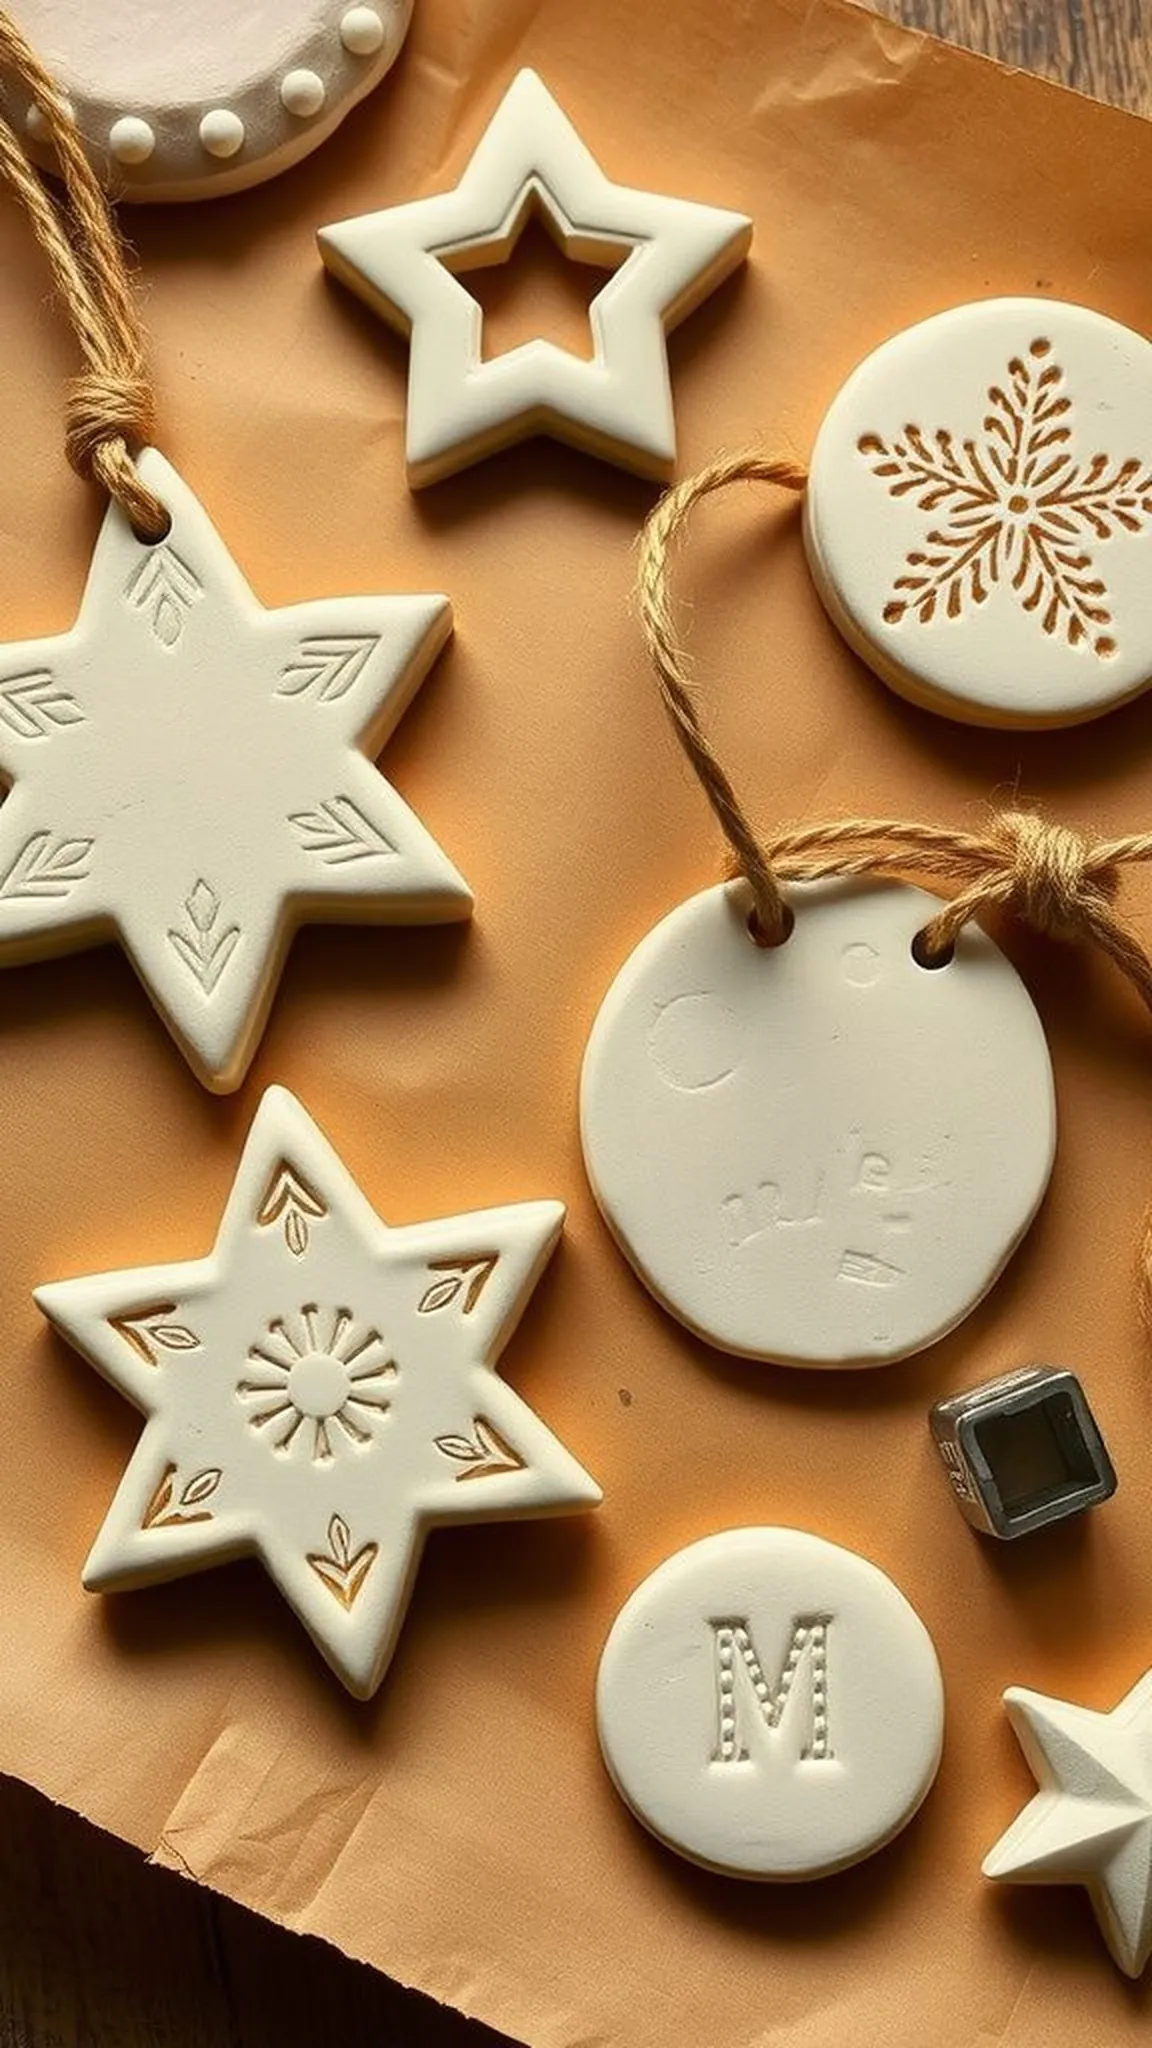
Personalized name tags for gift wrapping
⏱️ 30 min · 🟢 Beginner
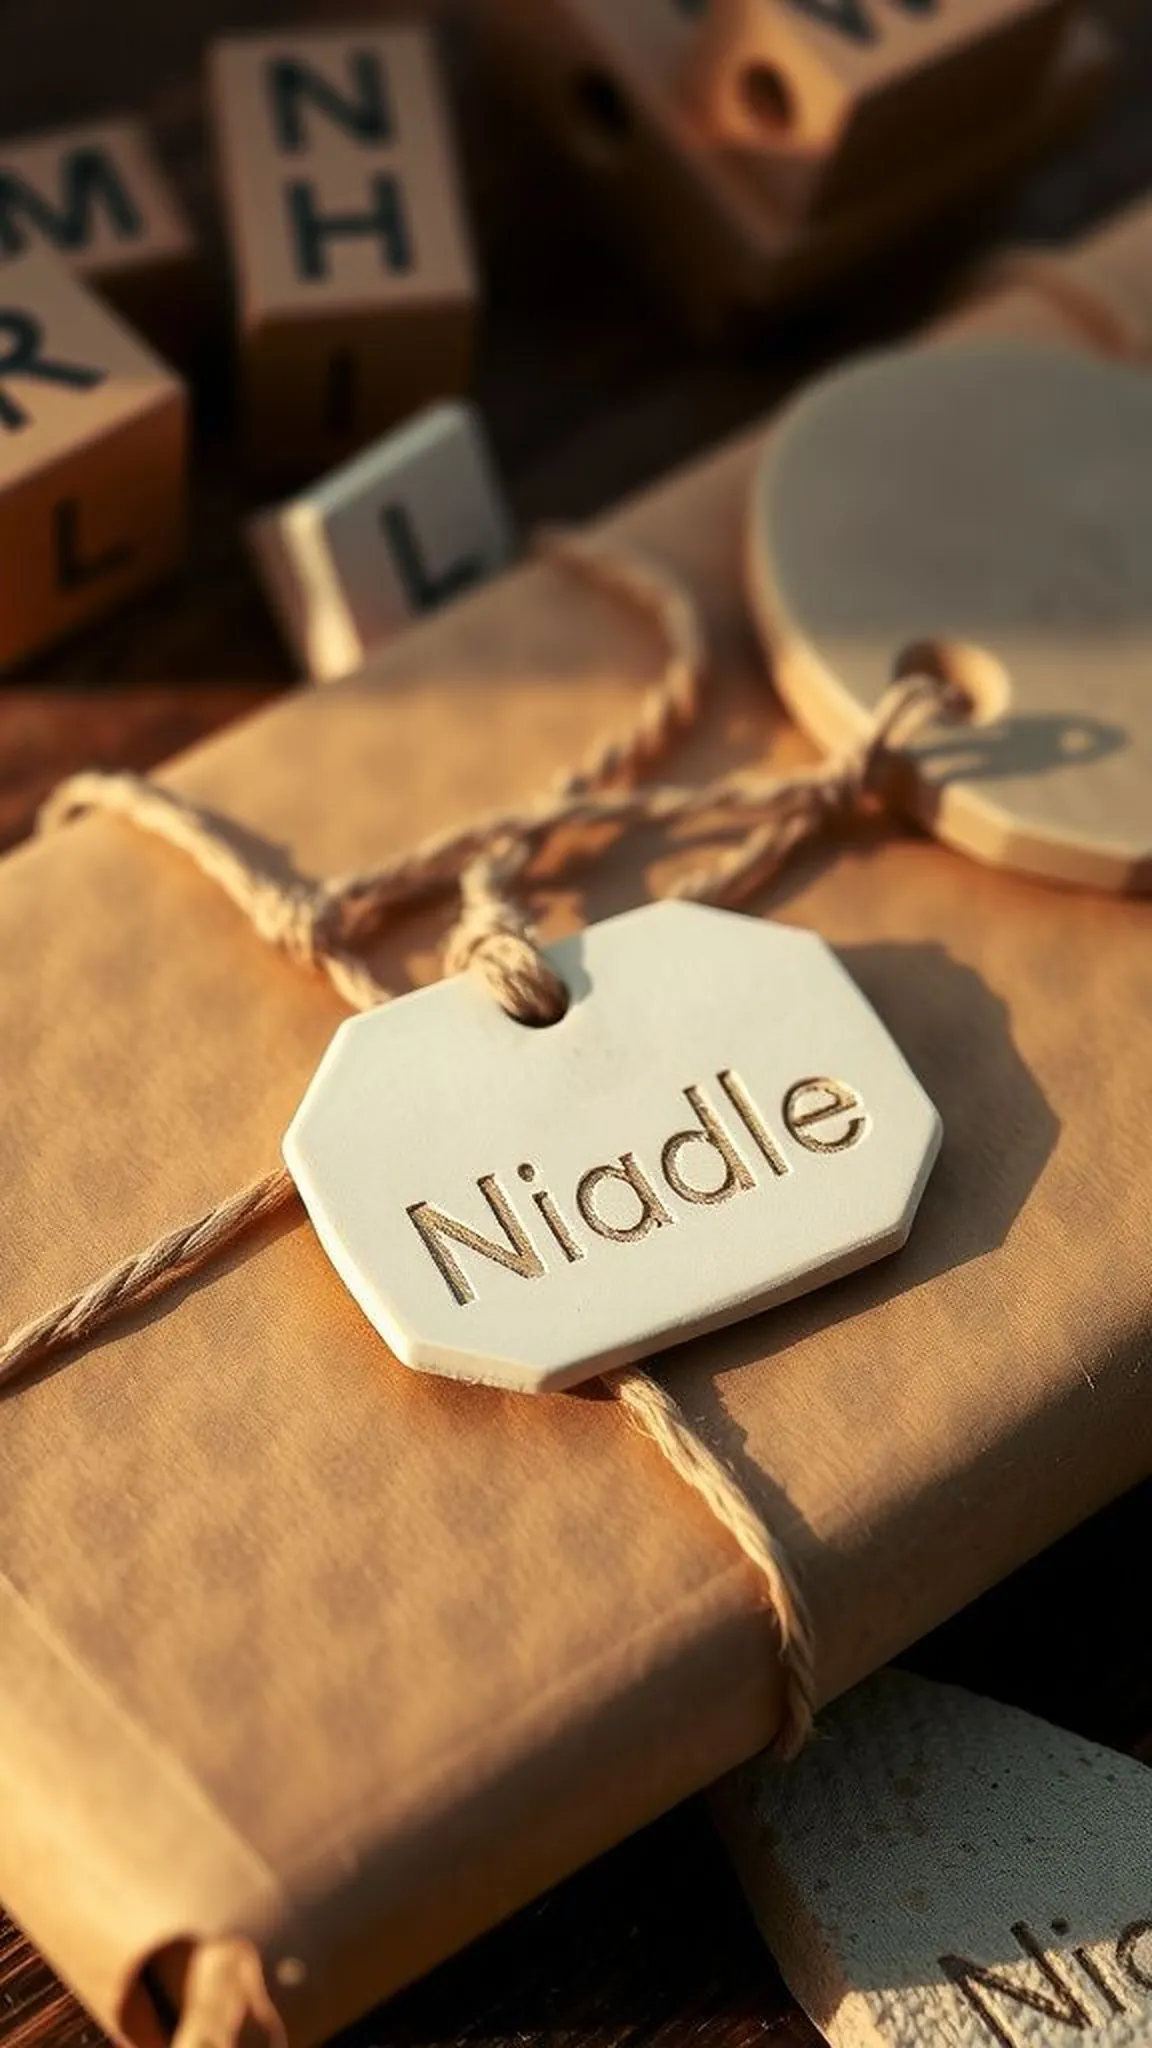
Handmade name tags added an intimate touch to wrapped presents, the letters holding faint tool marks that felt charming. Each tag had a small hole for ribbon and edges that were slightly soft to the touch. Typography varied from rounded to crisp, giving each tag a distinct voice on the package.
These small clay rectangles sat atop paper with a tactile contrast that made unwrapping feel more deliberate and cared for.
📋 How to Make This ▶
- Roll a thin slab of air dry clay and cut into small rectangular tags.
- Impress names using alphabet stamps or a pointed tool, then create a hole for threading ribbon.
- Dry tags fully before threading onto ribbon and tying to packages.
⚠️ Avoid: Impressing letters too deeply can weaken the tag; shallower impressions hold shape better.
🔄 Try Also: Make round tags for a softer look or add tiny painted accents after thorough drying for subtle color.
🛒 Products & Materials ▶
Items Used
- air dry clay
- alphabet stamp set
- ribbon or twine
📌 “Handmade clay name tags add warmth to gift wrapping.”
• • •
Little succulent planters with drainage flair
⏱️ 2 hours · 🟠 Intermediate
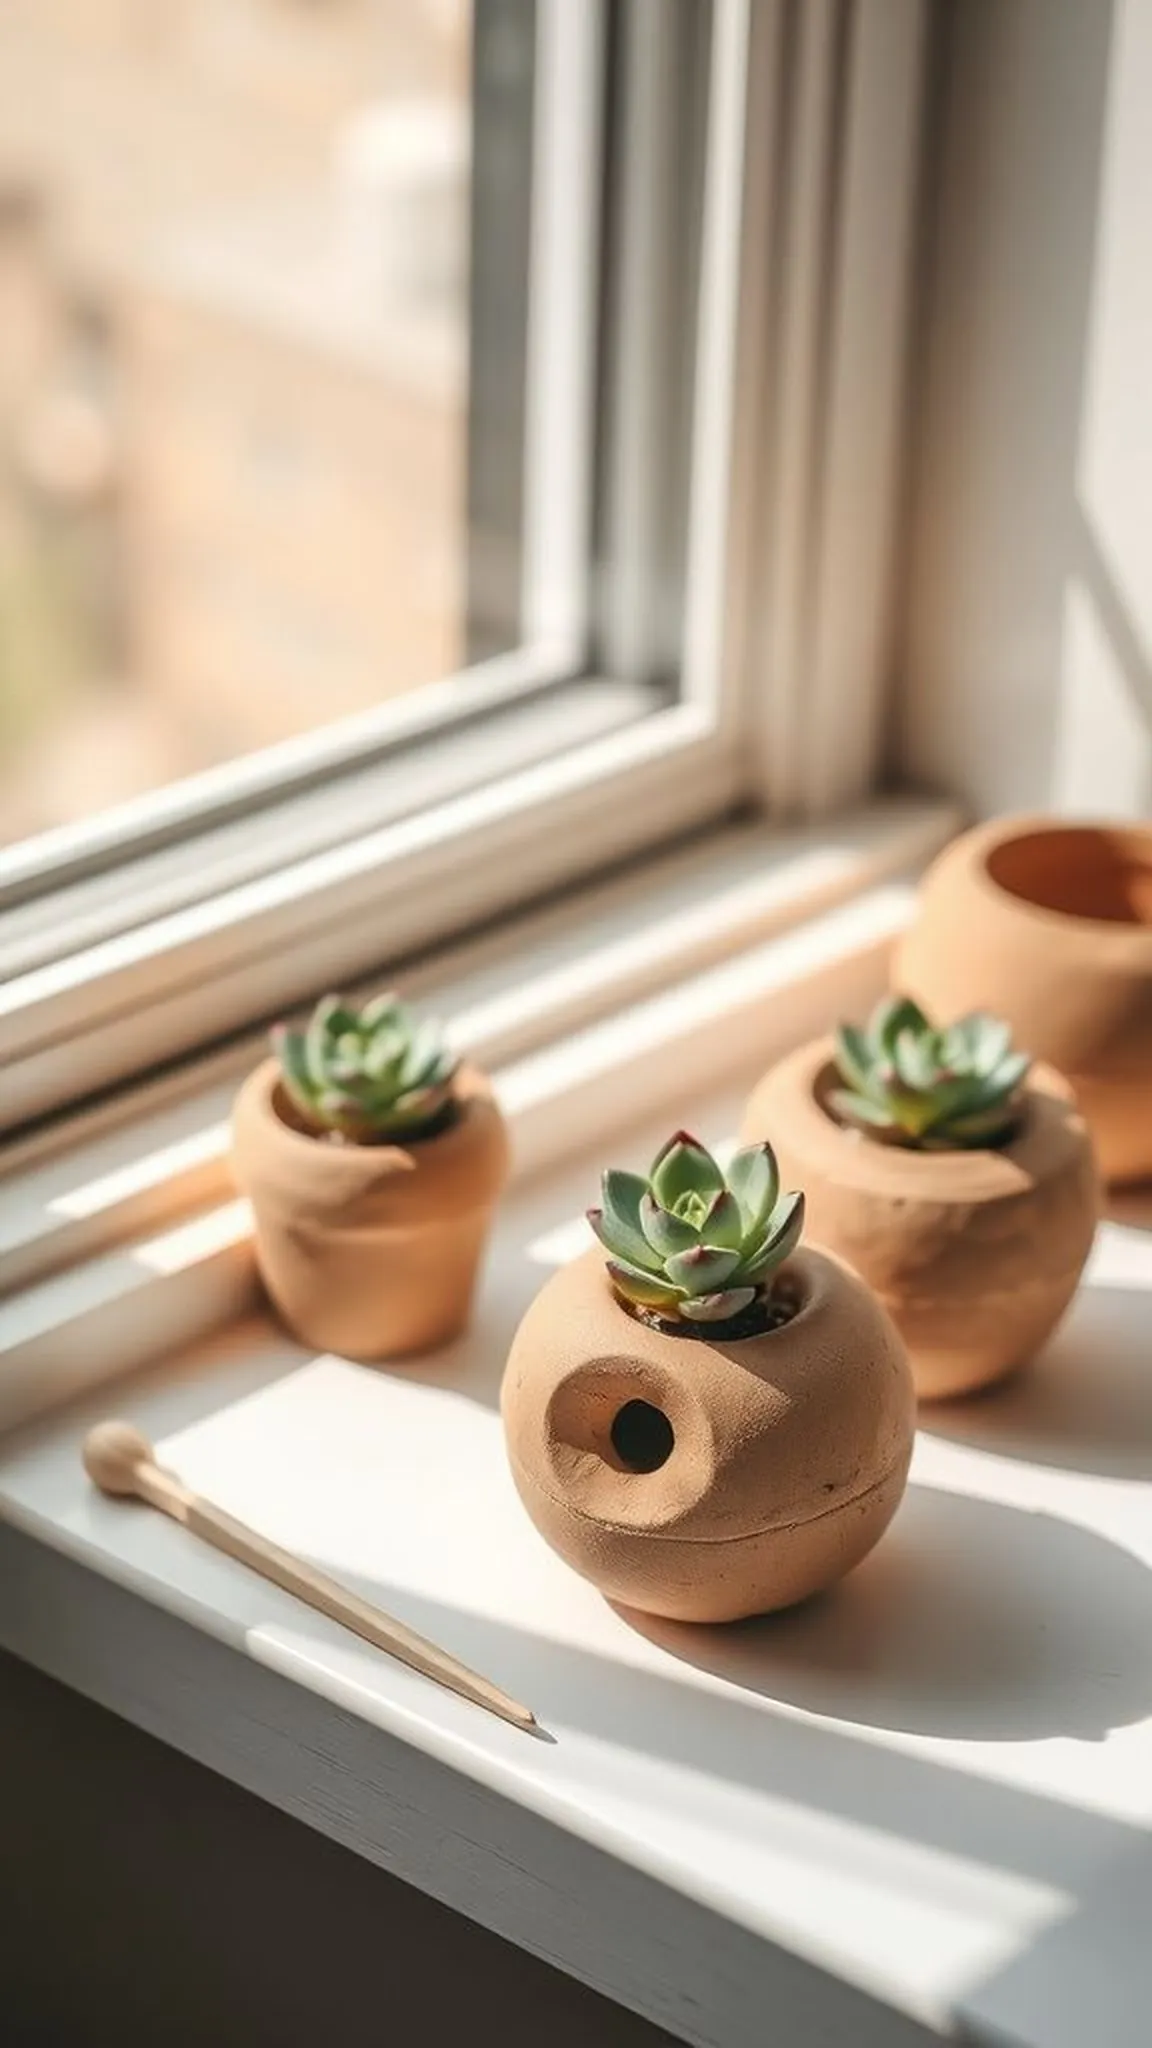
Creating tiny planters felt satisfying as each hollow took form, the rim carrying thumb-made irregularities that made them feel organic. The inner surfaces were slightly rough, which seemed to help soil nest in place. Paired with small succulents, the planters looked at home on a sunny sill, their pale clay tones complementing green leaves.
The idea of tiny miniature gardens had a calming effect, and the planters made a gentle, handmade backdrop for living bits.
📋 How to Make This ▶
- Form a compact base and press inward to create a hollow interior for the planter.
- Refine the rim and add a small drainage hole at the base.
- Dry planters fully, then add soil and a small succulent once completely cured.
⚠️ Avoid: Planters made too thin at the base risk cracking; keeping a modest base thickness improves longevity.
🔄 Try Also: Make a set in graduated sizes or press subtle textures on the exterior for visual interest.
🛒 Products & Materials ▶
📌 “Charming small planters made for tiny succulent arrangements.”
• • •
Decorative spoon rests with subtle curve
⏱️ 2-3 hours · 🔴 Advanced
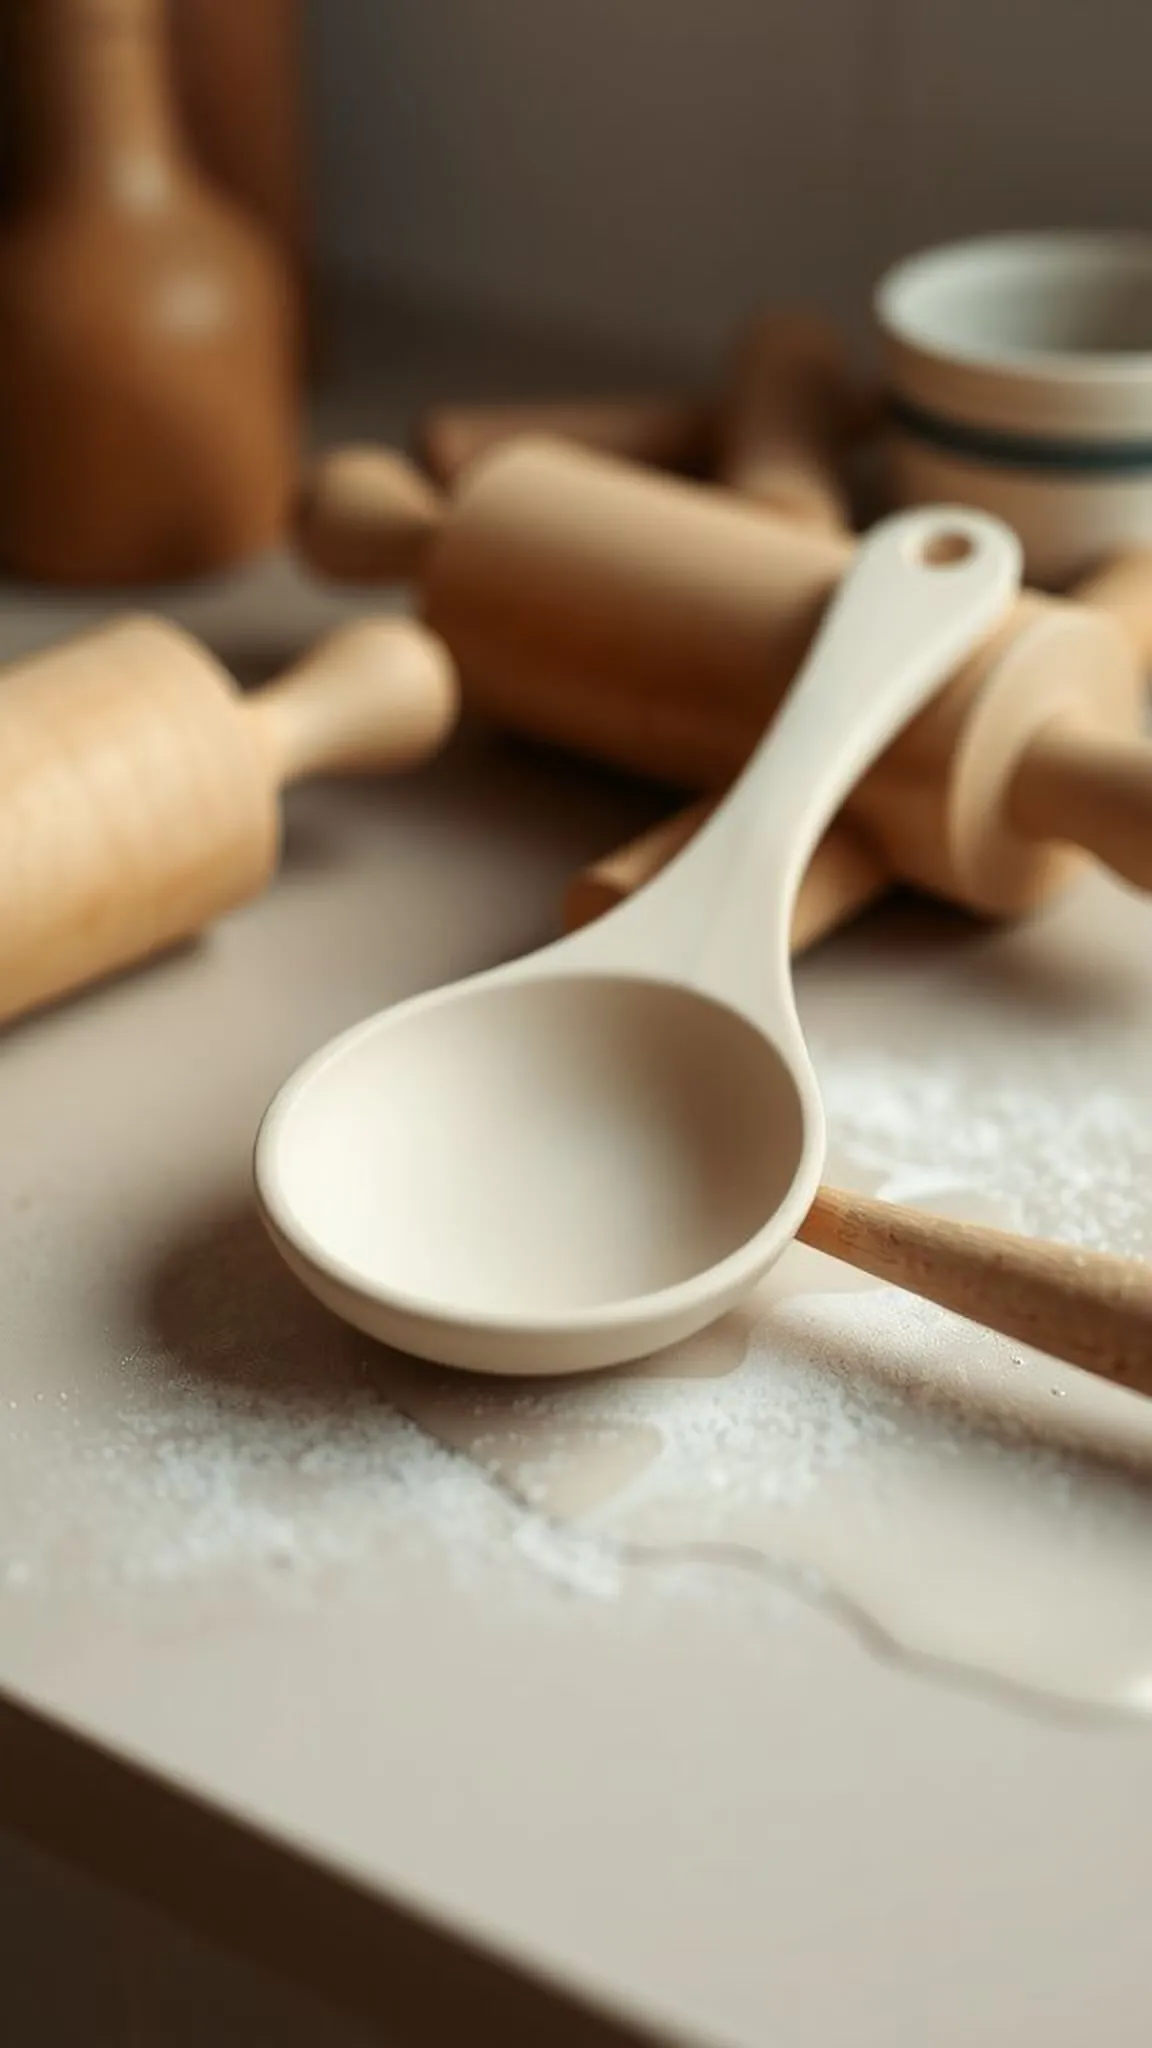
A spoon rest developed into a sculptural object, the clay settling into a gentle concave that caught drips with quiet dignity. Surface texture gave the piece a lightly worn, ceramic feel even before any finish. When set near the stove it presented a calm focal point, neutral tones grounding surrounding cookware.
The resting ridge fit most spoons comfortably, and the overall presence felt studio-made rather than mass produced, with little imperfections adding to its character.
📋 How to Make This ▶
- Roll a thick slab of air dry clay and cut an oval outline for the spoon rest.
- Gently form a shallow concave in the center and refine edges for a smooth lip.
- Allow the piece to dry slowly and flat, then sand gently to refine the surface.
⚠️ Avoid: Uneven thickness leads to stress and cracks during drying; even mass keeps the piece stable.
🔄 Try Also: Make a pair with complementary textures or create an inset groove for larger utensils.
🛒 Products & Materials ▶
Items Used
- air dry clay large
- rolling pin
- fine grit sandpaper
📌 “Sculptural clay spoon rest with soft curve and studio charm.”
• • •
Air dry clay ornaments with pressed patterns
⏱️ 1 hour · 🟢 Beginner
Holiday crafting felt gentle when ornaments were made in small batches, each one carrying a pressed pattern that read like a tiny fossil. The clay took impressions cleanly, and the shapes hung with light twine that nodded slightly with any breeze. The raw finish showed faint tool lines, which gave each a handmade honesty.
Hung together they created a modest garland of shapes that moved softly with air currents and invited a closer look at textures.
📋 How to Make This ▶
- Roll a thin slab of clay and cut out ornaments with cookie cutters or a knife.
- Press patterns or stamps into the surface and create a hanging hole near the top.
- Dry ornaments fully before threading twine and hanging them.
⚠️ Avoid: Cutting ornaments too thick prolongs drying and can cause uneven curling; thin pieces dry more reliably.
🔄 Try Also: Mix round shapes with stars and add tiny painted accents after full cure for a festive set.
🛒 Products & Materials ▶
Items Used
📌 “Pressed-pattern clay ornaments for a simple, tactile holiday look.”
• • •
Minimalist ring dishes with gentle slope
⏱️ 50 min · 🟢 Beginner

Ring dishes felt like tiny altars, each with a faintly curved bowl that held jewelry with quiet clarity. The inner surface was smooth, the outer edge slightly textured from a fingertip run. Small color accents looked subtle against the pale clay, and the dishes resisted appearing precious; they were everyday helpers.
Sliding a ring into one felt satisfying, and the objects read as both practical and considered, a small pause of craftsmanship on a dresser.
📋 How to Make This ▶
- Start with a flattened disc of air dry clay and form a shallow bowl by pressing the center.
- Refine the rim and smooth the interior gently with a damp fingertip.
- Dry the dish fully on a flat surface before any light sanding or finishing touches.
⚠️ Avoid: Making the dish too shallow can cause jewelry to slip; a modest depth keeps items secure.
🔄 Try Also: Create matching pairs for a bedside set or add a tiny impressed initial for personalization.
🛒 Products & Materials ▶
Items Used
- air dry clay
- silicone smoothing sponge
- fine sandpaper
📌 “Clean, minimalist ring dishes that cradle jewelry with calm design.”
• • •
Whimsical stamped magnets for fridge smiles
⏱️ 35 min · 🟢 Beginner
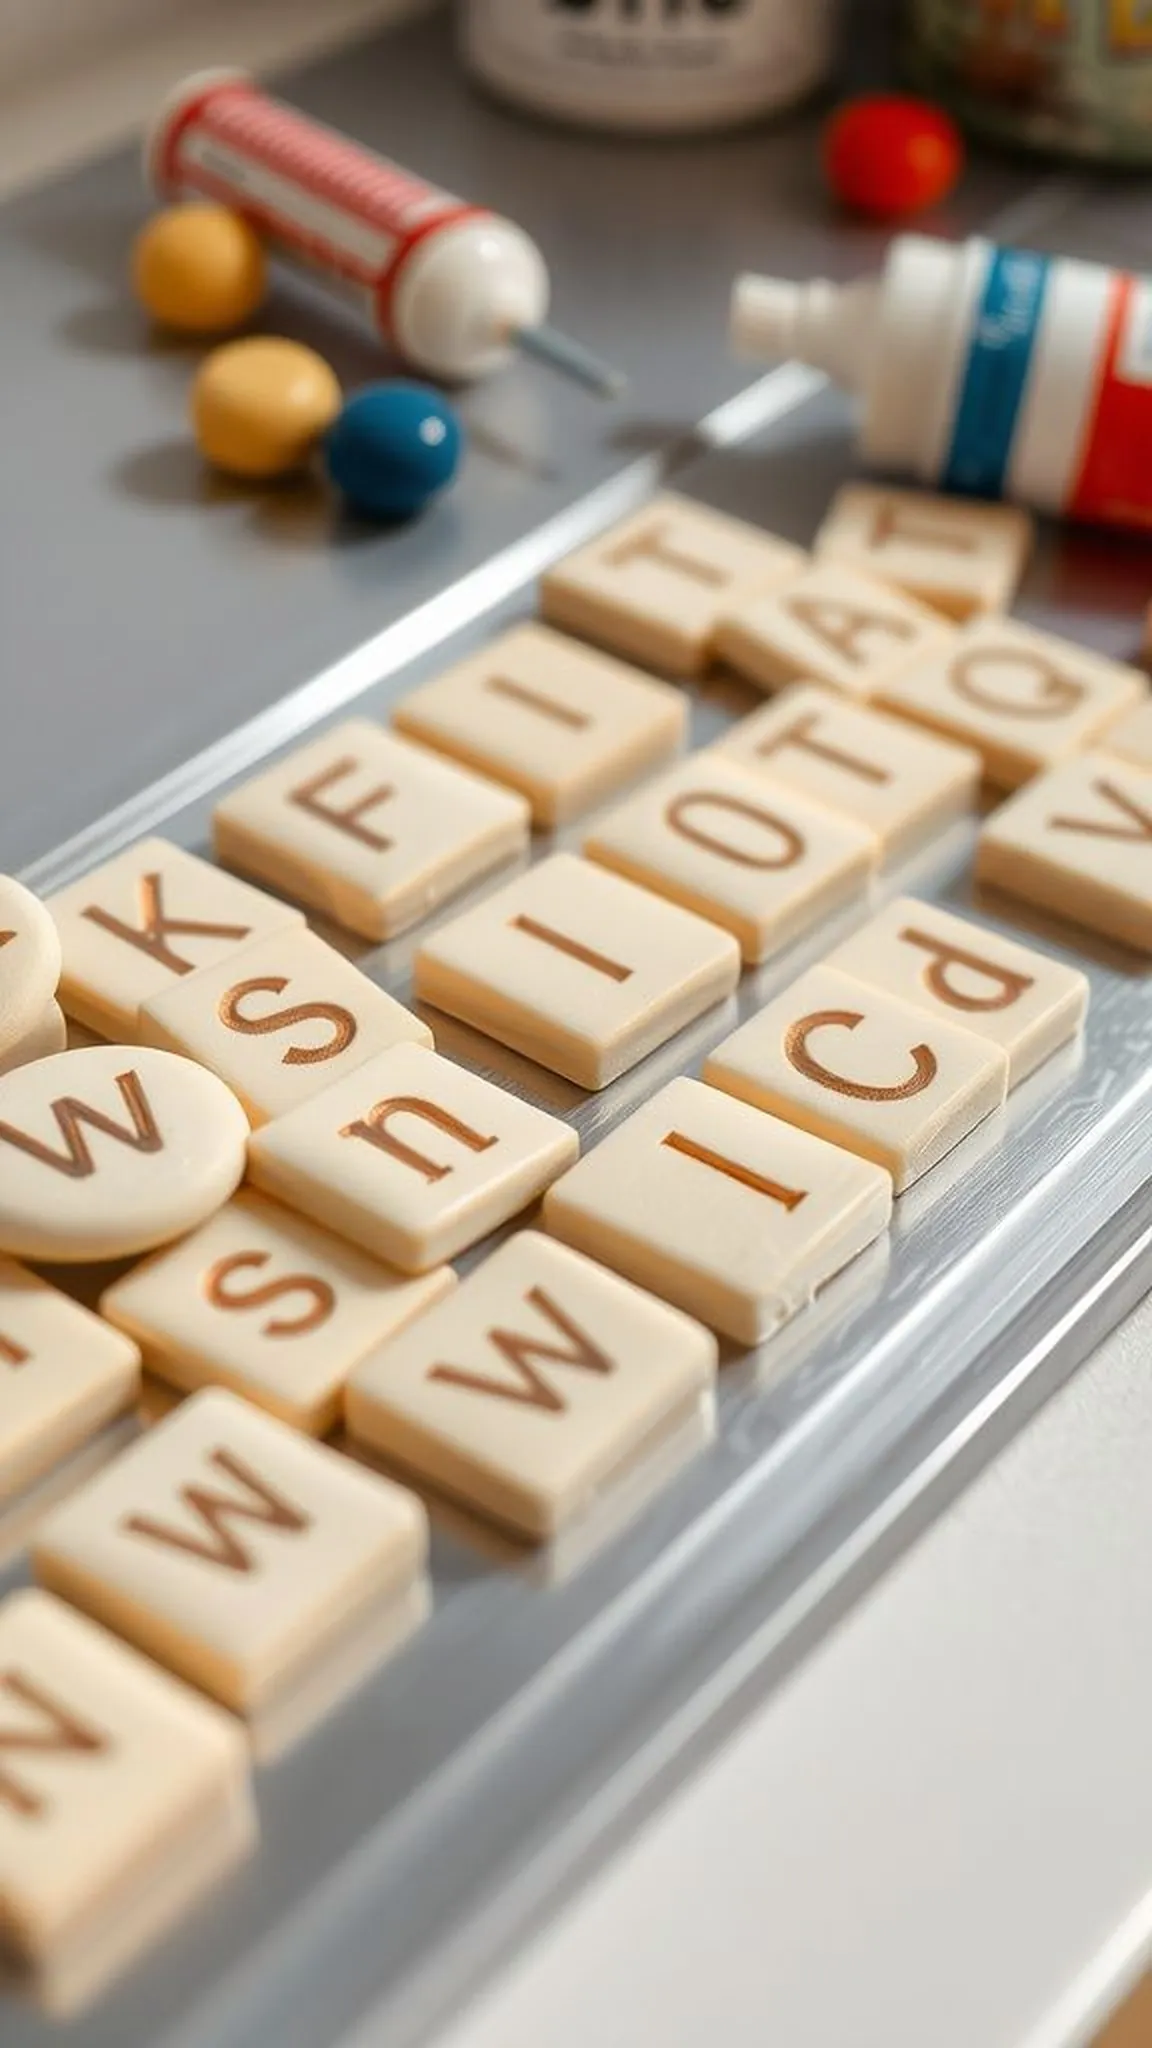
Making tiny stamped tiles felt lighthearted, each impression catching ink or pigment in its grooves and creating contrast against the pale clay. The shapes were playful, edges soft, and the finished magnets added a little narrative to the kitchen. They had a tactile quality that invited fingertips to trace letters or faces, and grouping them on metal created a friendly scene.
Their smallness made them ideal quick gifts, tucked into a pocket or tucked atop a card.
📋 How to Make This ▶
- Cut small flat tiles from a rolled slab of air dry clay.
- Press alphabet or motif stamps into each tile and create a flat back for magnet adhesion.
- Dry tiles completely and then affix small magnets with a strong craft adhesive.
⚠️ Avoid: Lifting stamps at an angle can blur impressions; a steady vertical lift keeps details sharp.
🔄 Try Also: Make mini word sets for notes or create themed motif packs like fruits or faces for series display.
🛒 Products & Materials ▶
📌 “Playful stamped clay magnets that add personality to any fridge.”
• • •
Smooth pebble coasters with tactile texture
⏱️ 1-2 hours · 🟠 Intermediate
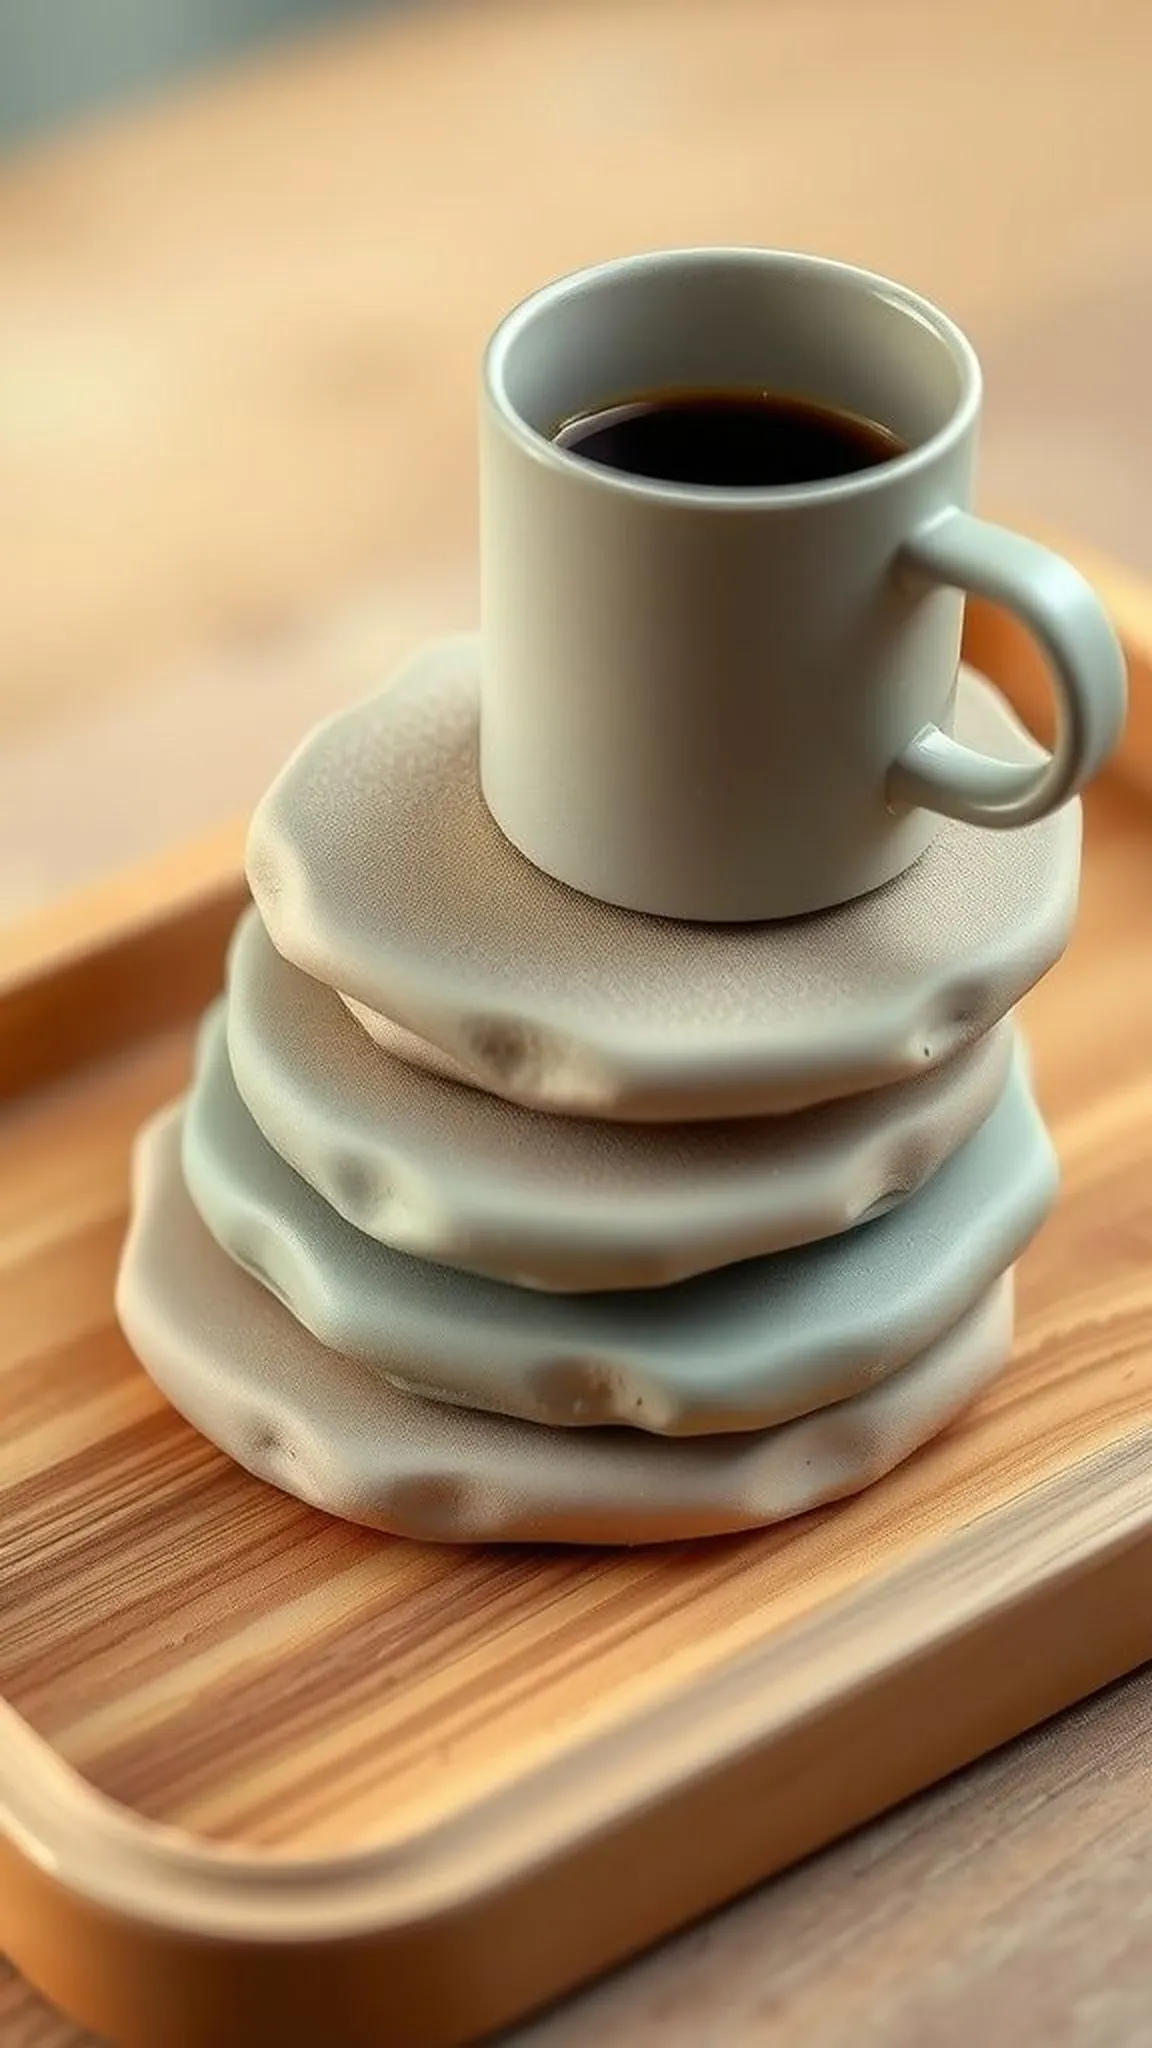
Coasters modeled like river stones felt soothing, each one with soft contours and a sanded finish that invited a hand to linger. The surface held faint horizontally brushed textures that caught light in subtle bands. When placed beneath a mug they read like small stones on a tray, neutral and calming.
The weight and presence of the coasters grounded a coffee moment, and their muted hues complemented wood and ceramic without competing for attention.
📋 How to Make This ▶
- Flatten a slab of air dry clay to the desired coaster thickness and cut round or organic shapes.
- Refine edges and texture the surface with gentle brushing or a textured fabric.
- Dry coasters fully and sand lightly for a smooth finish before sealing if desired.
⚠️ Avoid: Edges left too thin can chip during drying or handling; keeping a sturdy profile prevents damage.
🔄 Try Also: Make a mixed set with one glossy accent or press a leaf into one for a unique focal piece.
🛒 Products & Materials ▶
Items Used
- air dry clay
- textured fabric for impressions
- sandpaper
📌 “Pebble-like clay coasters with soft texture and calming presence.”
• • •
Clay-stamped leather bookmarks with cord loop
⏱️ 1 hour · 🟠 Intermediate
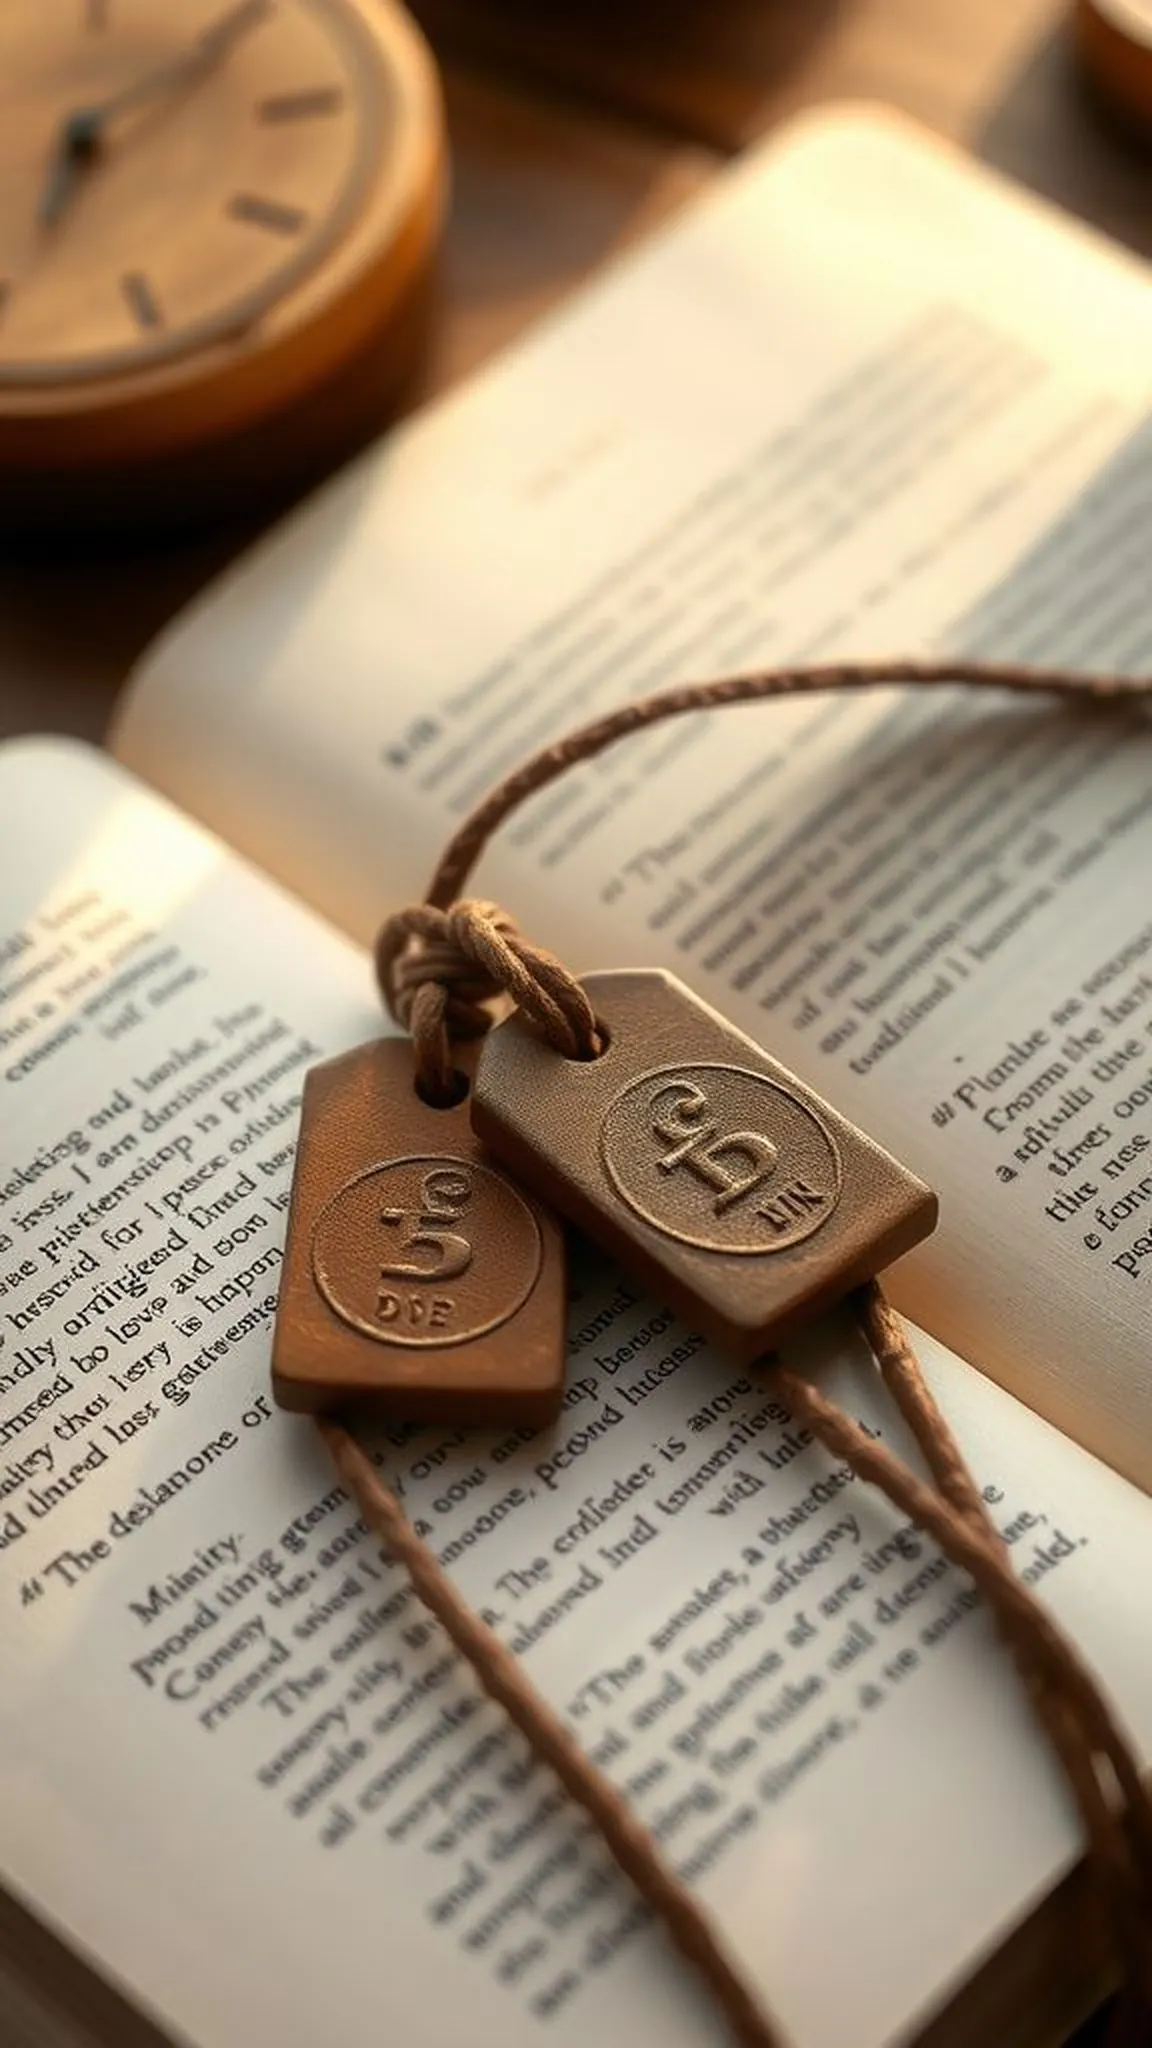
Small clay tags paired with leather cords felt like quiet bookmarks with character. The stamped surface held crisp impressions and the leather added a tactile contrast that was pleasing to hold. The clay tags were thin and slightly cool to touch, and tied to the cord they added a handcrafted accent to a paperback.
Together they made reading feel a touch more intentional, and slipping the cord between pages became a small ritual.
📋 How to Make This ▶
- Roll a thin slab of clay and cut small tag shapes suitable for bookmarks.
- Stamp motifs or initials into each tag and create a hole for the leather cord.
- Dry tags completely and then thread leather cord through the hole for finishing.
⚠️ Avoid: Creating holes after drying can crack the tag; forming the hole while pliable avoids breakage.
🔄 Try Also: Swap leather for colored cord or add a tiny bead to the loop for a decorative accent.
🛒 Products & Materials ▶
📌 “Handmade clay tags paired with leather for cozy bookmarks.”
