
As an Amazon Associate I earn from qualifying purchases.
Zoom-ready hairstyles for camera-shy mornings make grooming fast and flattering so video calls start with calm confidence. These camera-ready looks focus on clean lines, soft movement, and minimal fuss to keep attention on the face.
Morning Zoom hair routines should be quick and photo-friendly while hiding bedhead and taming flyaways before the first meeting. Simple tweaks like clipping hair back, adding a headband, or softening edges with a brush change how hair appears on screen.
Short how-tos and easy accessory choices help camera-shy people feel put-together without long styling sessions. The right clip, tie, or pins are small details that lift a look in under five minutes.
Sleek Low Bun With Face-Framing Tendrils
⏱️ 10 min · 🟢 Beginner
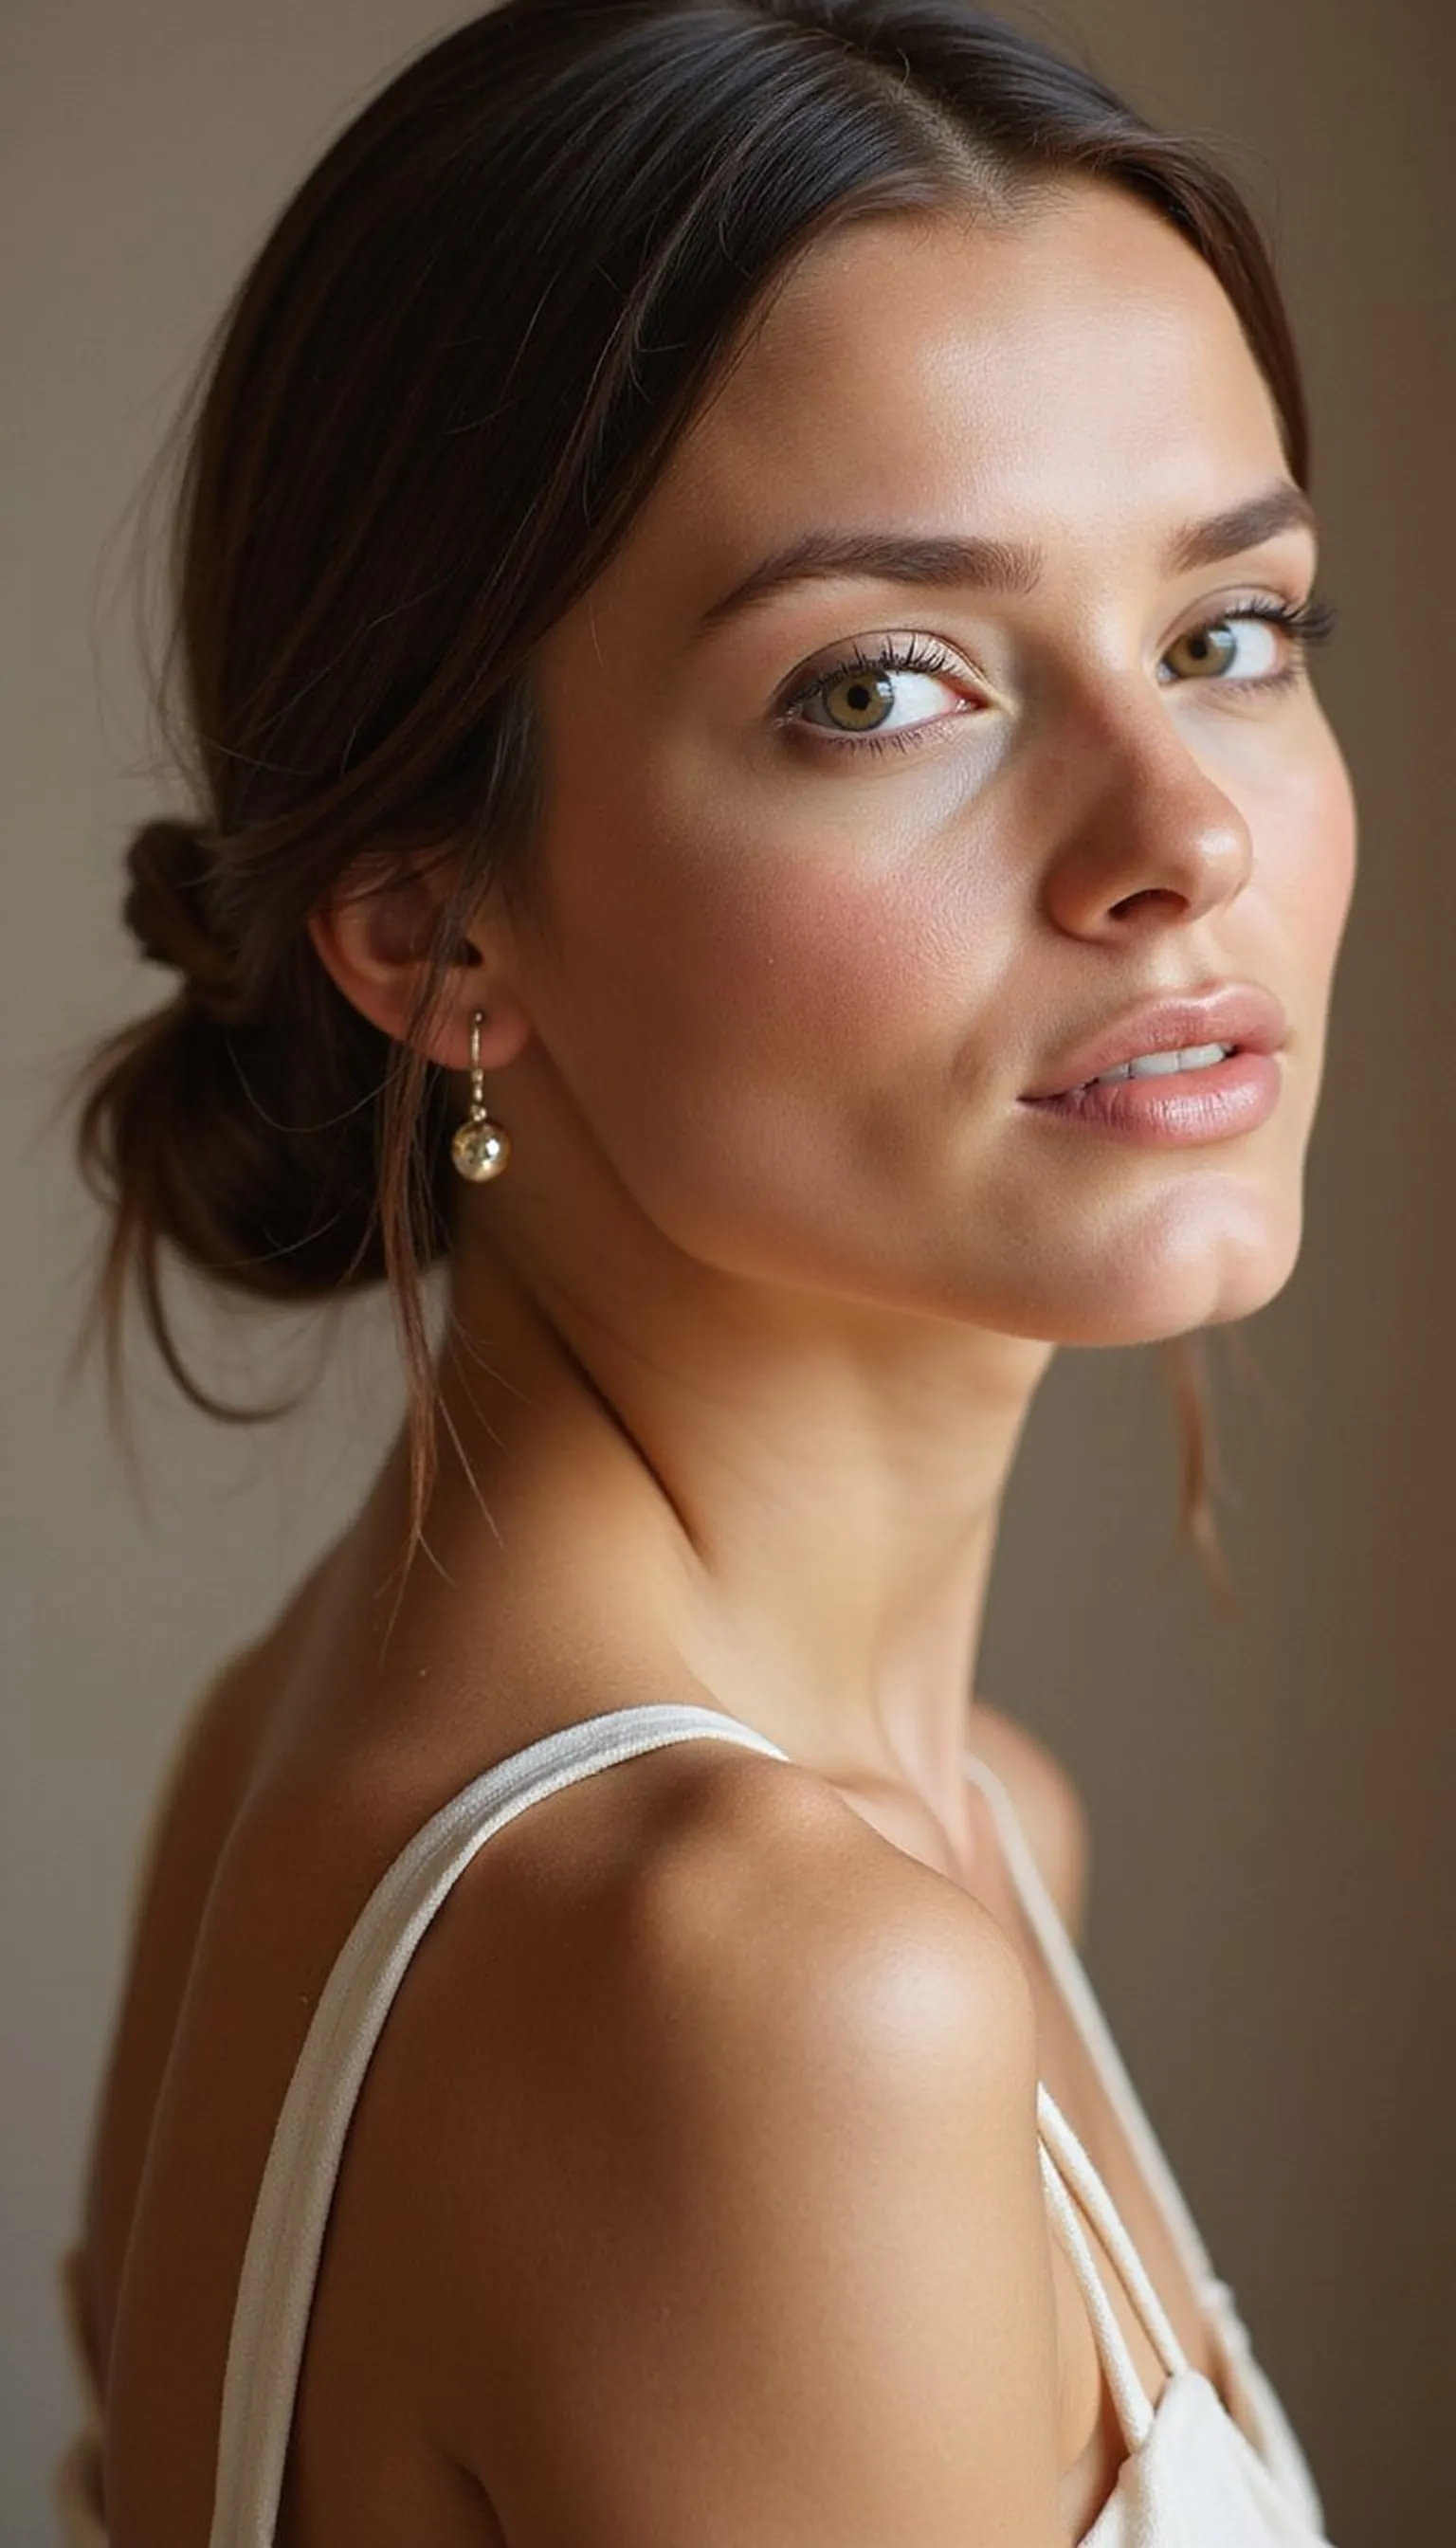
A sleek low bun reads tidy on camera and helps hide frizz near the hairline with minimal effort. Soft face-framing tendrils keep the style relaxed so it never looks too severe on a video call.
Gather hair at the nape and twist into a neat coil, securing with a discreet hair tie before tucking ends into the base. Slide in bobby pins where needed to lock the shape without extra bulk at the crown.
Light mist of shine spray clears up dull strands and cuts glare under ring lights. The low silhouette works great with collars and scarves seen during meetings.
Styling Tips
- Use a boar bristle brush for a smooth finish.
- Leave two small face pieces for softness around the eyes.
- Secure with flat bobby pins for a low-profile hold.
Pro Tip: Smooth a pea-sized amount of styling cream into tendrils to shape without weighing hair down or causing shine hotspots.
Avoid: Over-tightening the bun can pull at the temples and look strained; keep some softness for a natural hairline. Avoid piling pins visibly at the back where light hits during video calls.
Try Also: Swap the bun for a low ponytail or wrap a silk scarf around the base for instant polish. Try a slightly off-center placement to flatter different jawlines.
Products & Materials
Items Used
- bobby pins
- hair tie
“Polished low bun with soft tendrils for instant Zoom polish.”
Effortless Messy Top Knot With Claw Clip
⏱️ 5 min · 🟢 Beginner
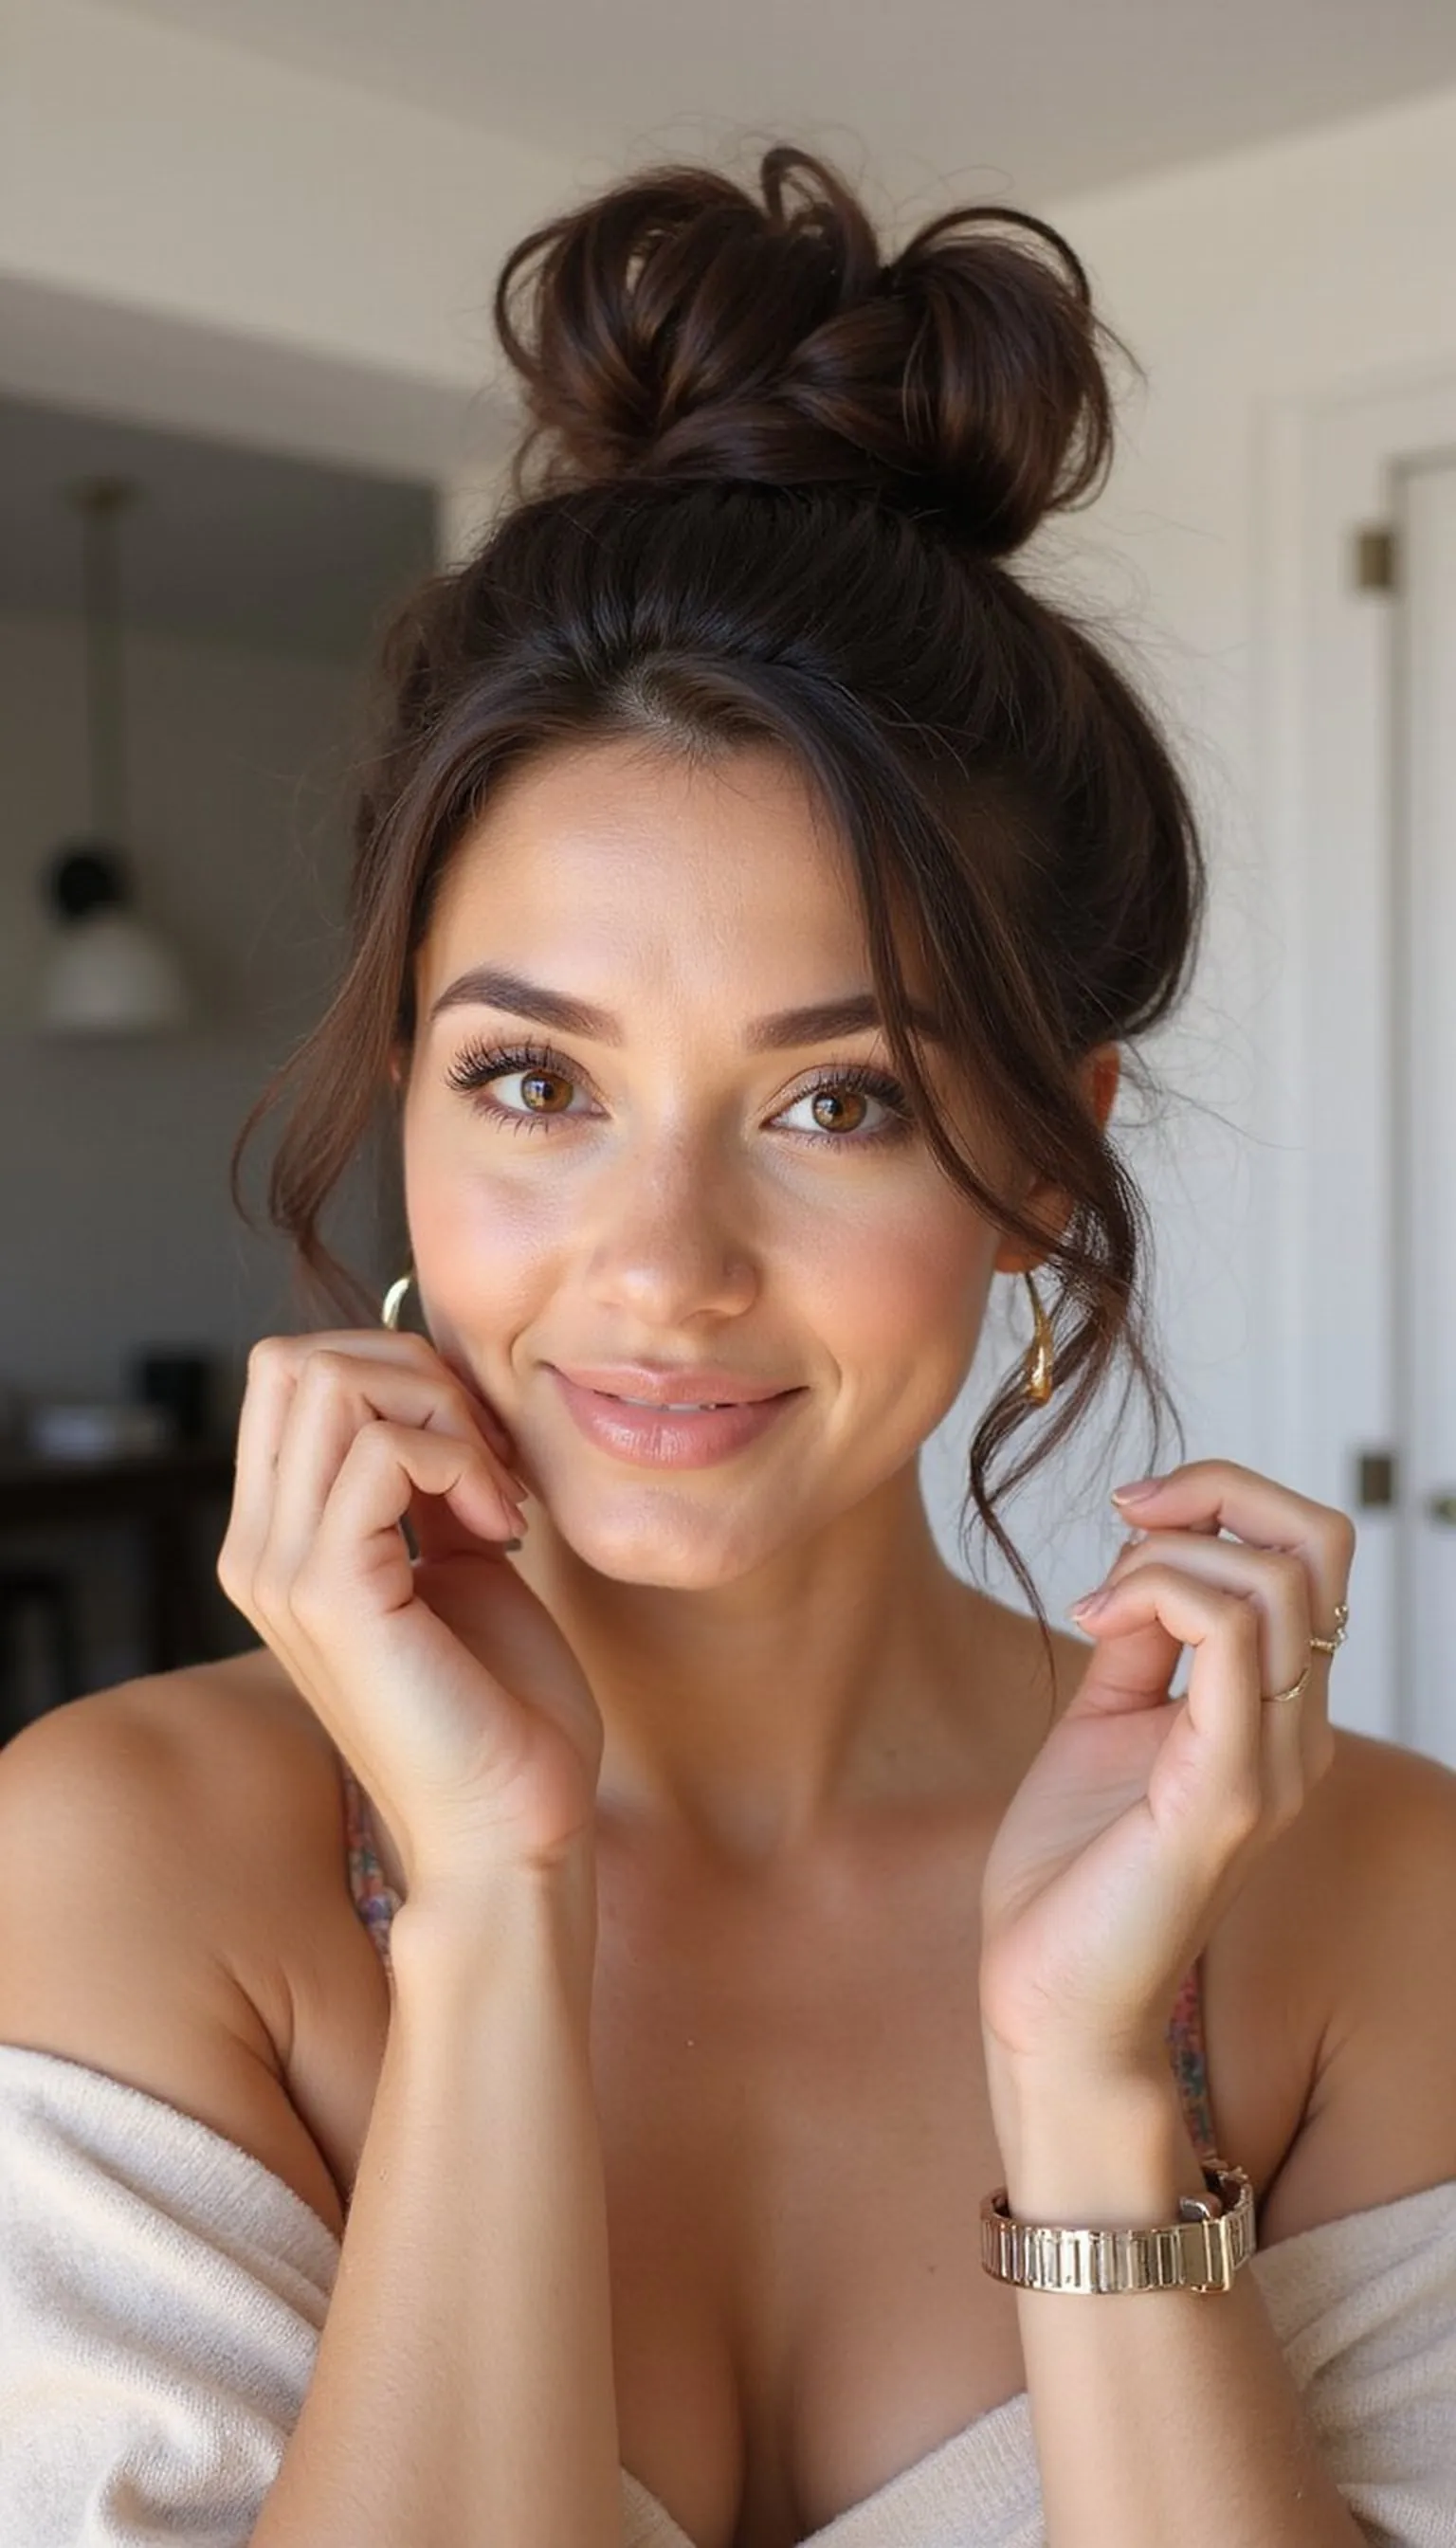
A messy top knot works for rushed mornings and keeps hair off the face during back-to-back calls. The lived-in texture reads natural on camera and hides second-day oil at the roots.
Gather hair at the crown, twist loosely, and secure the coil with a medium claw clip so ends peek out for an undone vibe. Tug gently at the crown to boost lift and soften the silhouette for flattering angles.
This look pairs well with glasses and statement earrings that show on video. Dry shampoo at the roots extends wear and adds grip for the clip.
Styling Tips
- Rough-dry or tease the roots for extra grip.
- Use a medium claw clip to keep things lightweight.
- Pull out a few strands around the face to soften the top knot.
Pro Tip: Crush a bit of texturizing powder into the roots before clipping to secure the knot without tight twisting.
Avoid: Making the knot too tight can look harsh and feel uncomfortable; keep the twist loose for movement. Avoid using an oversized clip that flattens the crown.
Try Also: Place the knot slightly off-center or low at the back for a different silhouette. Swap the claw clip for a decorative barrette for a dressier call.
Products & Materials
Items Used
“Quick messy top knot clipped in under five minutes.”
Half-Up Twisted Knot With Decorative Barrette
⏱️ 8 min · 🟢 Beginner
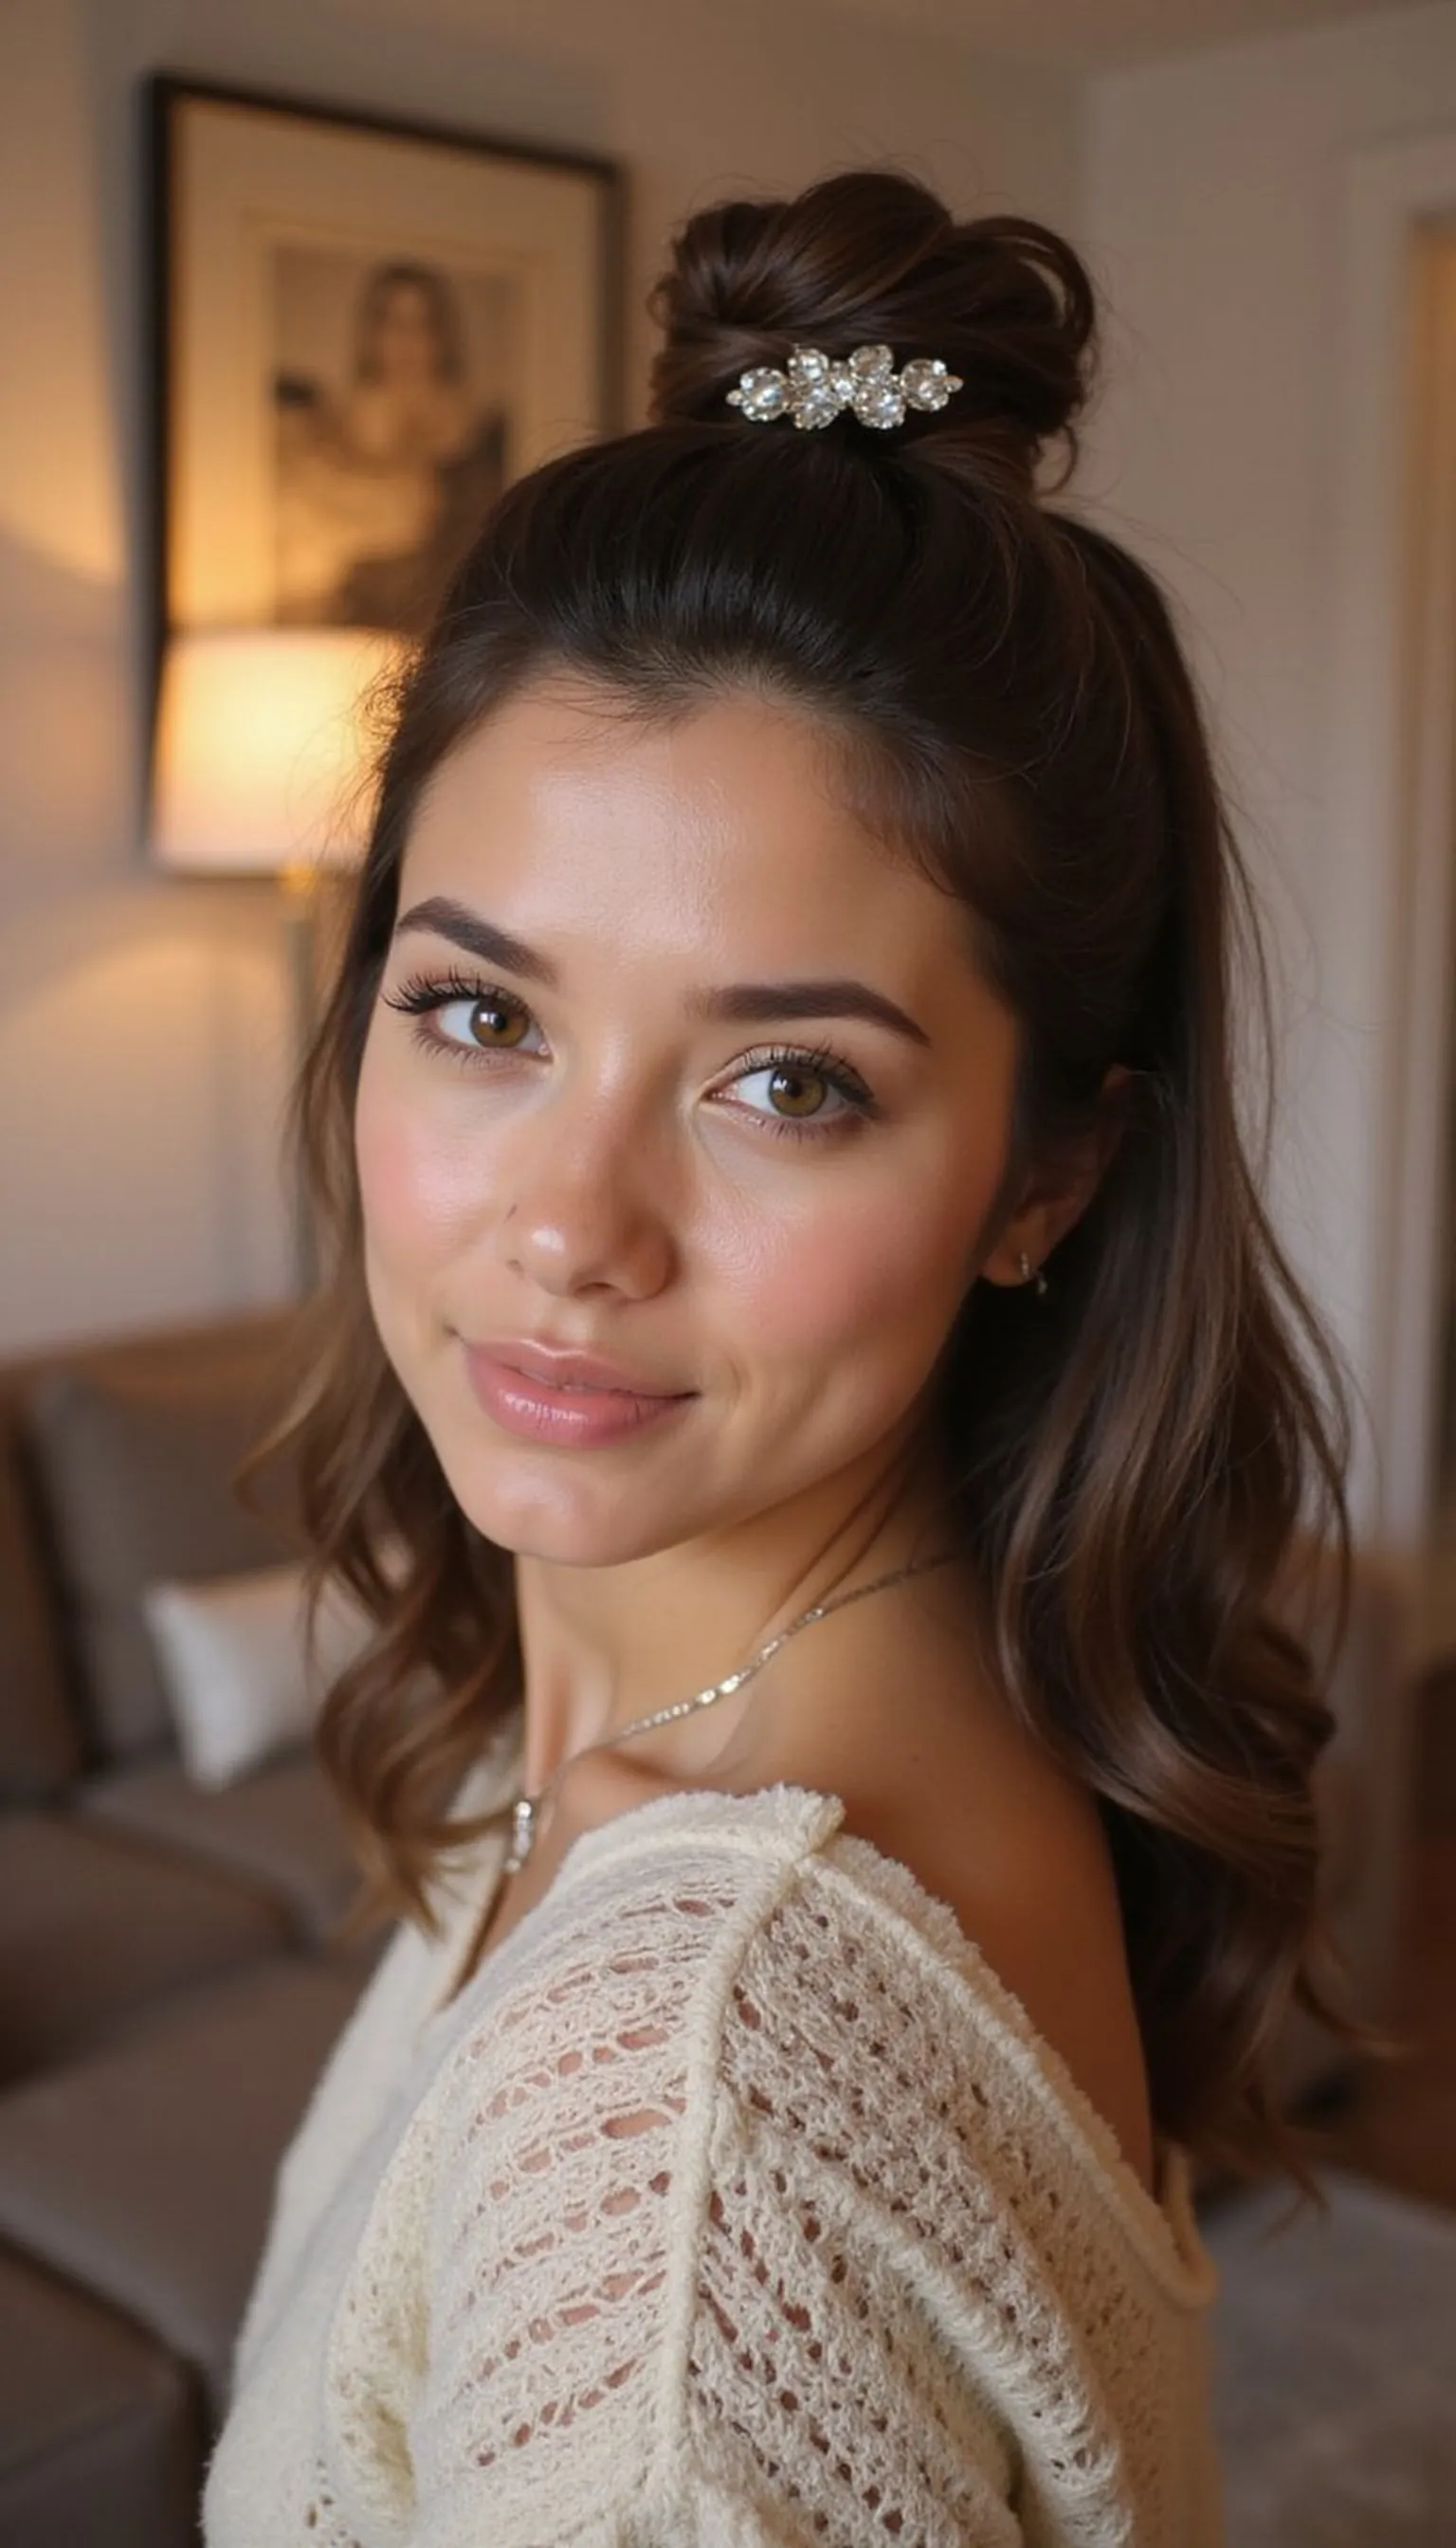
The half-up twisted knot keeps hair away from the face while showing off natural texture for soft movement on camera. A decorative barrette adds a focal point just above the forehead for a polished finish.
Create two small twists from each temple, join them at mid-back, and secure the knot with an attractive barrette. Loosen the twists slightly to let gentle waves frame the cheeks for a flattering video-friendly shape.
This style lifts the eye line and works well with drop earrings and collared tops. Touch up flyaways with a small amount of serum to avoid glare under bright lights.
Styling Tips
- Rotate the barrette so it sits at a flattering angle.
- Leave soft pieces around the ears to avoid a severe look.
- Use medium-hold pins if the barrette needs extra support.
Pro Tip: Anchor the twist with a tiny clear elastic before clipping to prevent slipping during long calls.
Avoid: Clipping too low can hide the face and look bulky; aim for mid-back placement. Avoid over-tightening twists which can pull at the temples.
Try Also: Swap the barrette for a jeweled clip or a minimalist metal slide for different moods. Try a small braid instead of a twist for added texture.
Products & Materials
Items Used
- decorative barrette
- small clear elastic
“Pretty half-up twist with a statement barrette for video calls.”
Get 75+ ad-free, high-resolution printable tutorials for salon-quality results every single morning.
One printable guide · $19.99 · yours forever
Side-Swept Low Pony With Smooth Headband
⏱️ 7 min · 🟢 Beginner
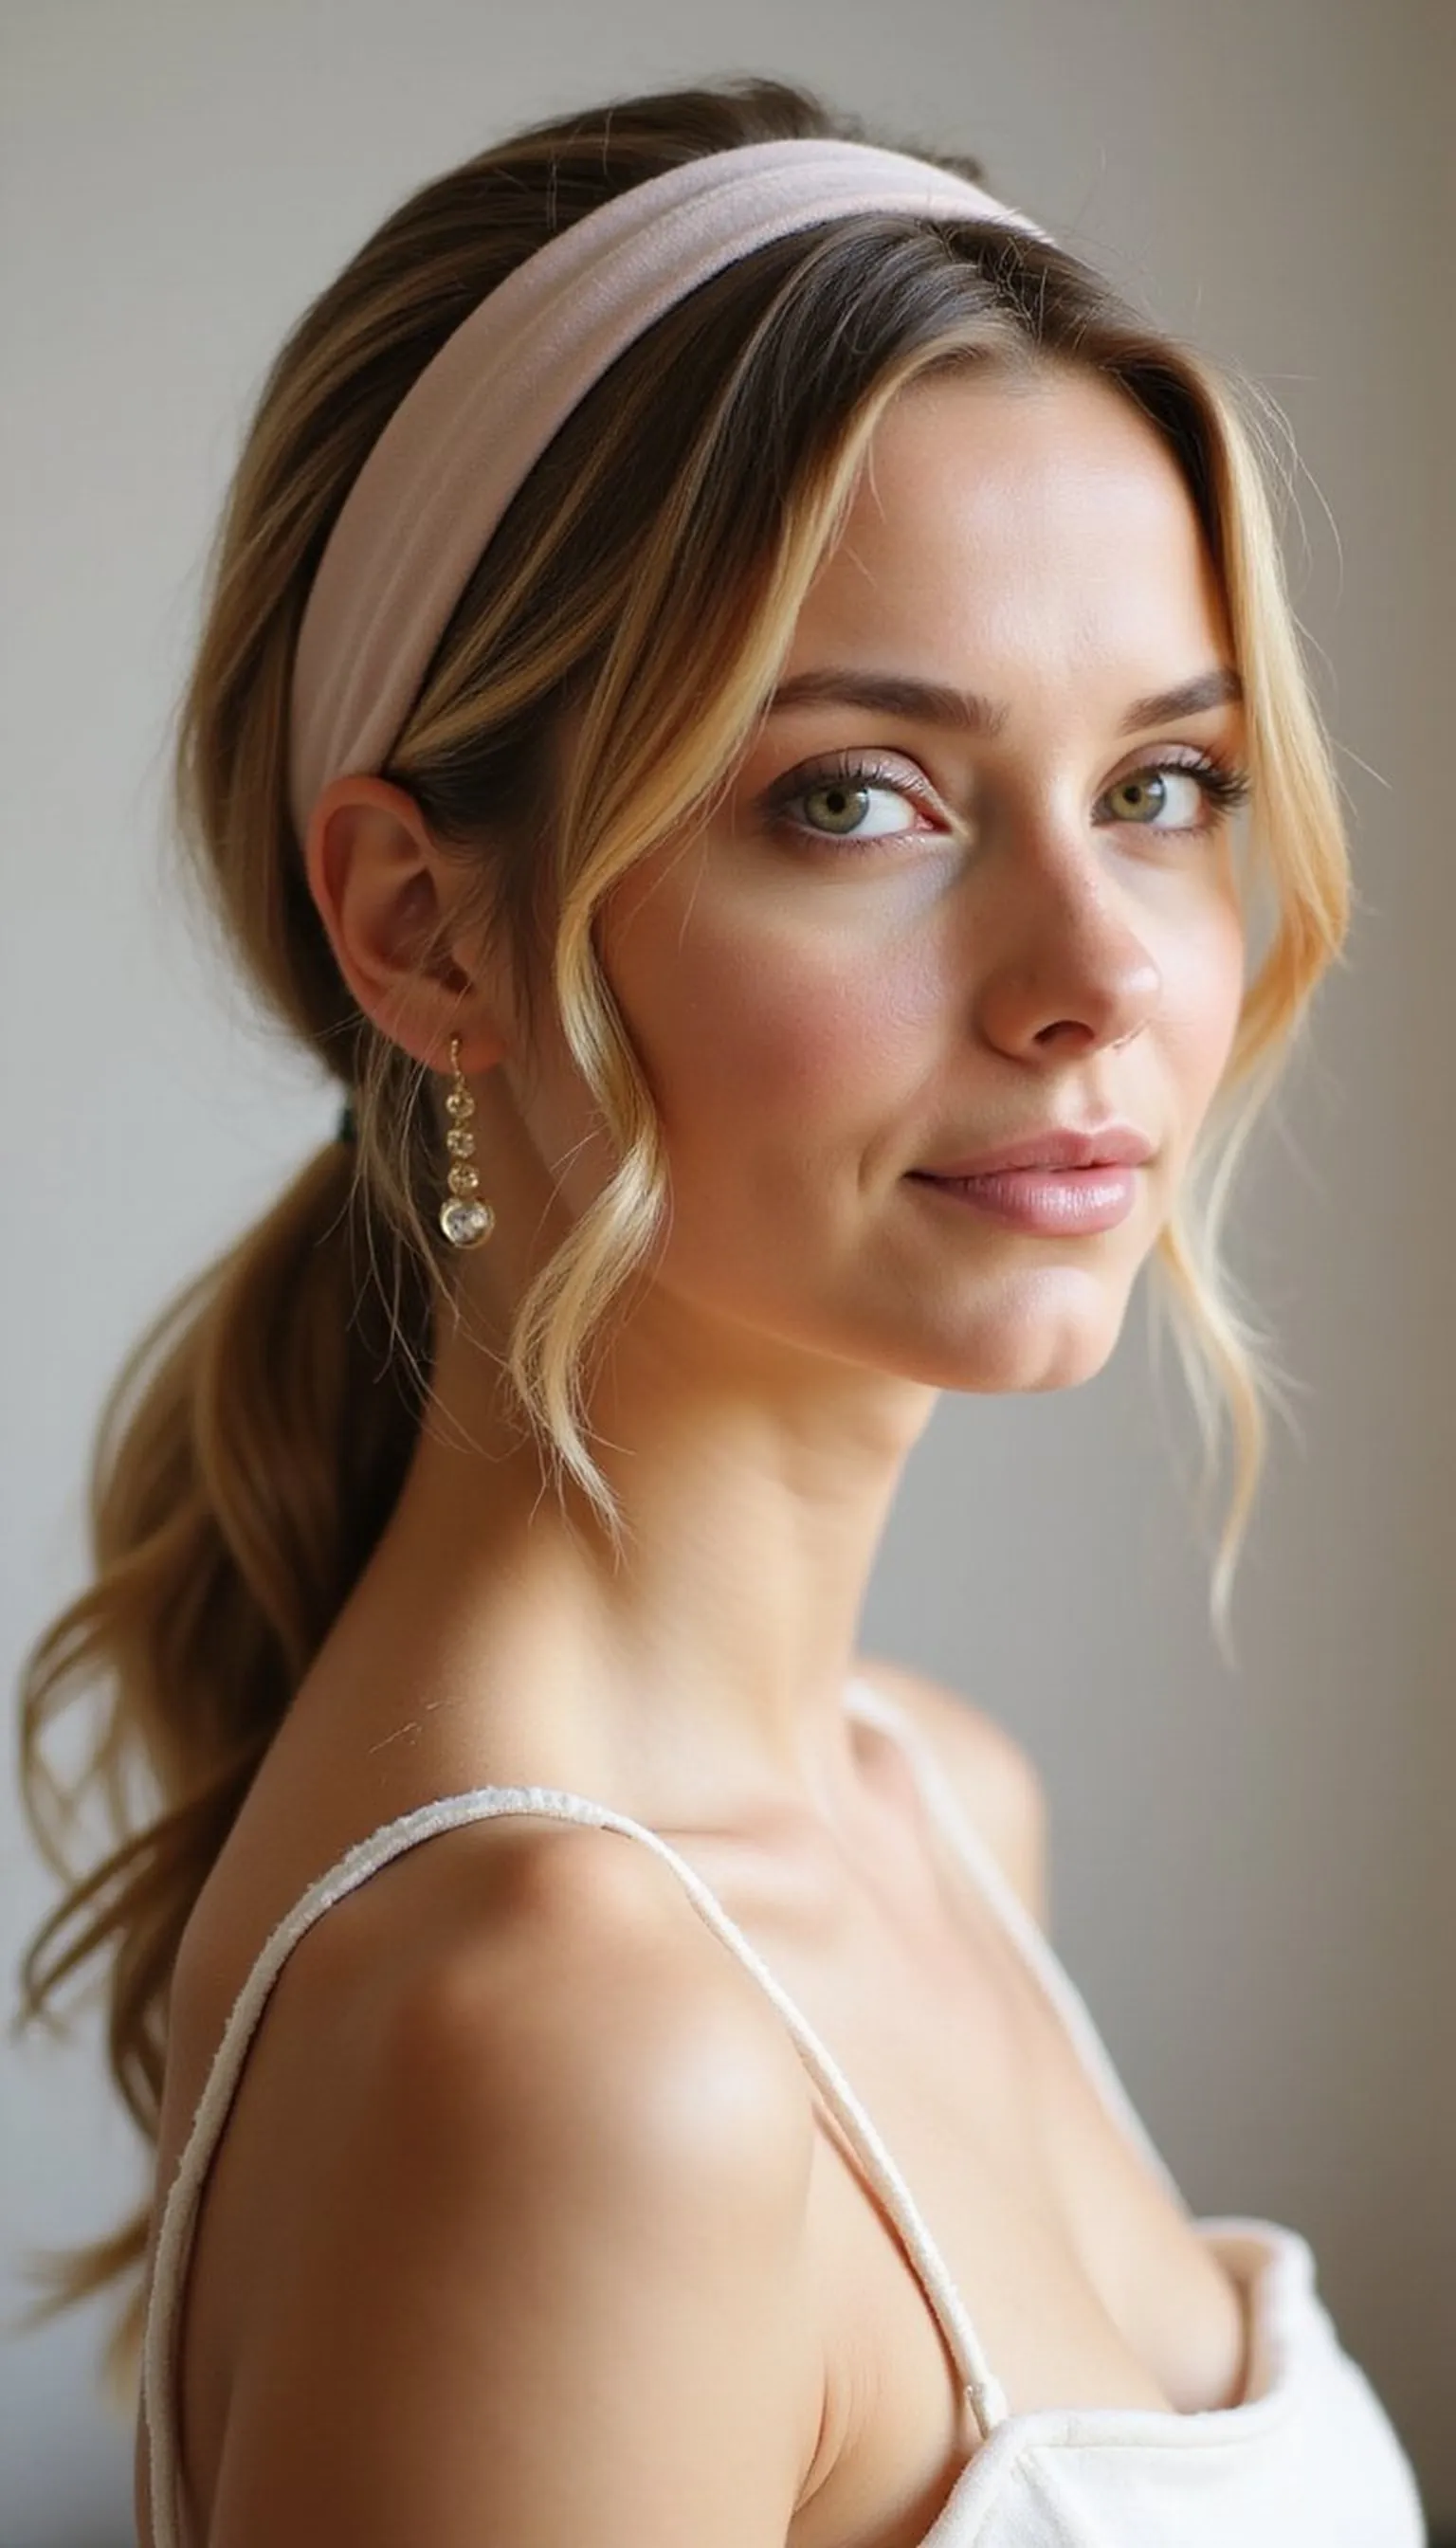
A side-swept low pony creates a graceful line that flatters the profile on video and keeps hair controlled. Adding a smooth headband lifts the hairline and frames the face for instant polish.
Part hair to one side and sweep the larger section over the shoulder before securing the pony at the nape with an elastic. Finish by tucking stray pieces behind the ears and slipping the headband on for clean edges that read well on camera.
This arrangement softens strong jawlines and works with turtlenecks or boat necks worn in calls. Carry a spare elastic in the desk drawer for quick mid-day refreshes.
Styling Tips
- Choose a flexible headband to avoid pressure behind the ears.
- Use a smoothing brush to lay baby hairs flat.
- Place the pony slightly to one side for a relaxed look.
Pro Tip: Wrap a small strand around the base of the pony to hide the elastic and add a boutique finish that looks great on camera.
Avoid: Putting the headband too far back can flatten the crown and distort angles on video. Avoid using brittle headbands that create dents over time.
Try Also: Swap the headband for a thin silk scarf or move the pony higher for more lift. Try a low twisted rope pony for texture.
Products & Materials
Items Used
“Side-swept pony with a sleek headband for video-friendly polish.”
Braided Crown That Keeps Hair Off Face
⏱️ 20 min · 🟠 Intermediate
A braided crown wraps hair away from the forehead for a neat, feminine silhouette that looks lovely on camera. This style lifts the face and keeps attention on facial expressions during meetings.
Create two Dutch braids starting at the temples and join them at the back, pinning the ends under for a crown effect. Tuck and secure with bobby pins so the braid shape reads smoothly at every angle under soft lighting.
The braided crown pairs well with subtle makeup since the face is unobstructed. Use light-hold hairspray to avoid stiffness while keeping flyaways in check.
Styling Tips
- Loosen the braid edges for a softer, modern look.
- Anchor the crown with several flat bobby pins for secure wear.
- Add small decorative pins for a camera-ready detail.
Pro Tip: Prep hair with a touch of texturizing spray to give the braid grip without making strands crunchy on camera.
Avoid: Starting the braid too tight can pull at the scalp and look severe on video. Avoid uneven tension that makes the crown sit lopsided on screen.
Try Also: Turn the braids into a single halo braid or stop halfway for a braided half-crown. Add tiny pearl pins for a polished meeting-ready moment.
Products & Materials
Items Used
“Elegant braided crown that keeps hair off the face for clear video.”
Low Pony With Silk Scarf Bow Accent
⏱️ 6 min · 🟢 Beginner
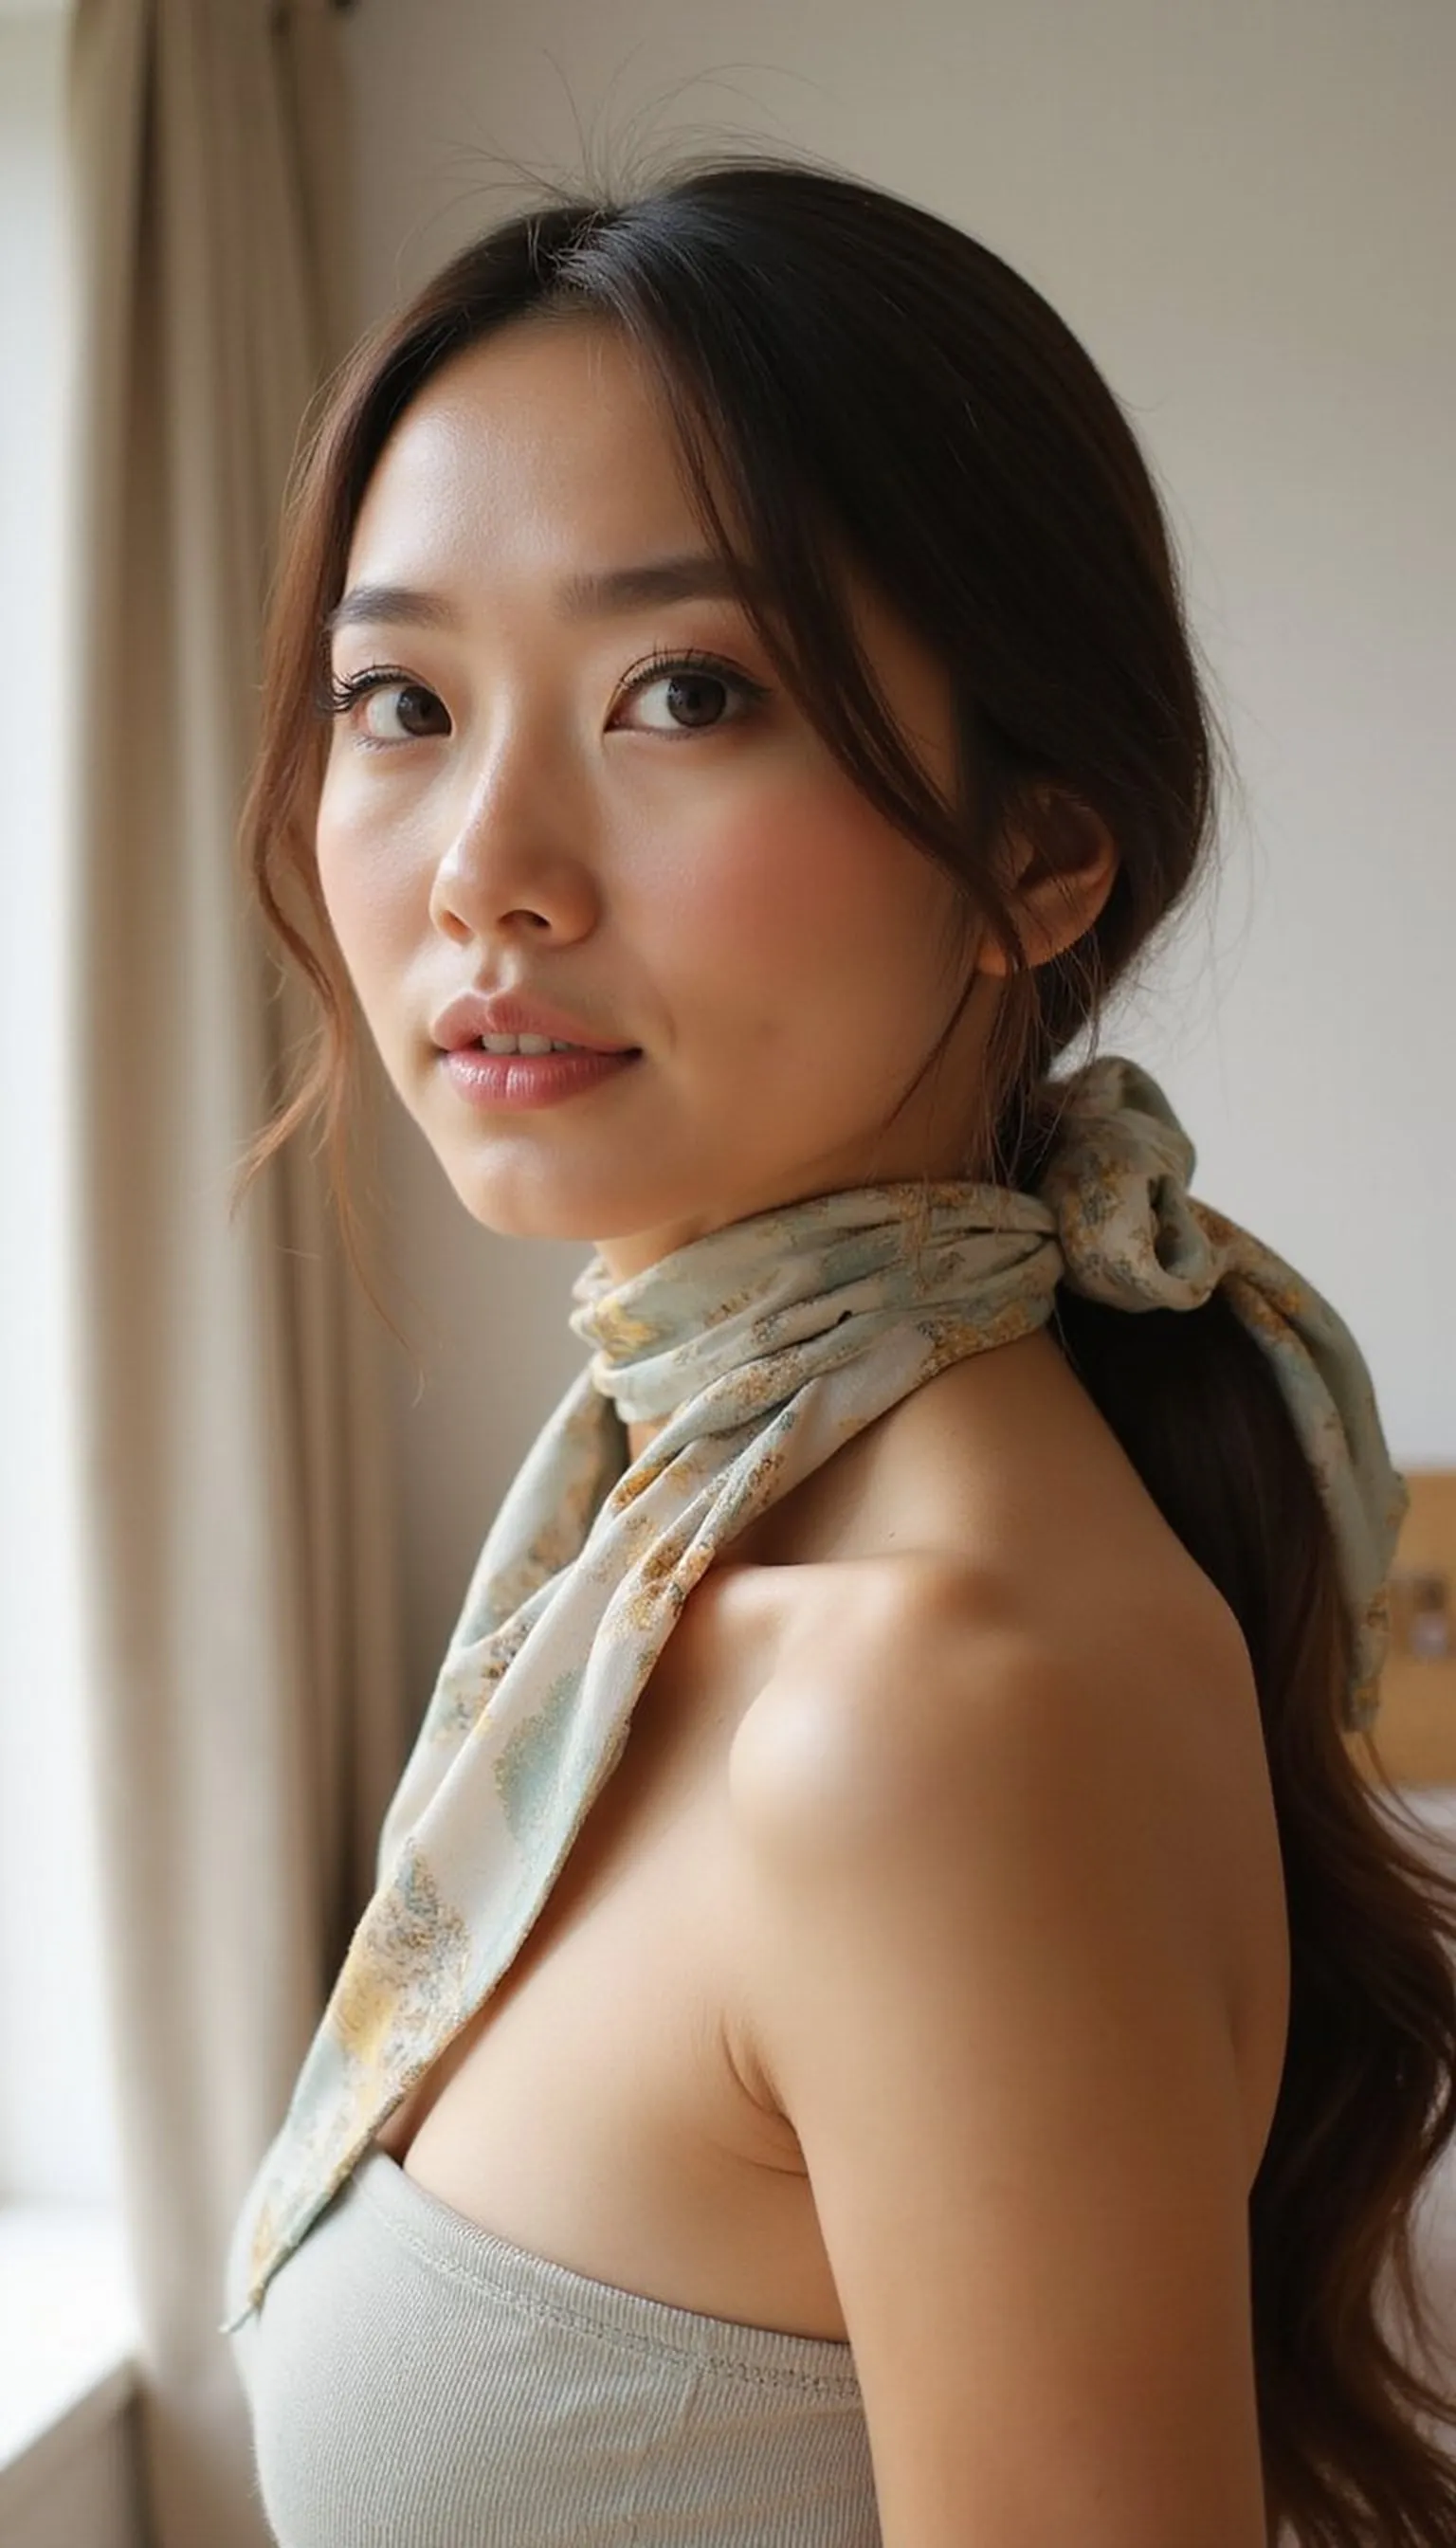
A low pony tied with a silk scarf bow reads elevated and keeps hair tidy for front-facing calls. The scarf adds color and motion that shows up well on laptop cameras.
Secure a smooth low pony at the nape, then thread a long silk scarf through the elastic and tie in a loose bow. Let ends hang or loop them around the pony for a neat, intentional finish that flatters most necklines.
This accent works on second-day hair and brightens a neutral work-from-home top. Use a soft elastic to avoid kinks when removing the scarf later.
Styling Tips
- Choose a narrow silk scarf to prevent bulk at the base.
- Secure the knot loosely so the bow keeps its shape on camera.
- Smooth baby hairs for a clean, professional frame.
Pro Tip: Tuck a short section of hair under the scarf knot to hide the elastic and create a seamless, salon-ready finish.
Avoid: Tying the scarf too tightly can crease hair and create unwanted dents. Avoid thick scarves that overwhelm the pony on screen.
Try Also: Use a printed scarf for playful meetings or a solid color for formal calls. Twist the scarf around the pony for a wrapped look.
Products & Materials
Items Used
“Chic low pony finished with a silk scarf bow for instant style.”
Soft Waves For Subtle Movement On Camera
⏱️ 25 min · 🟠 Intermediate
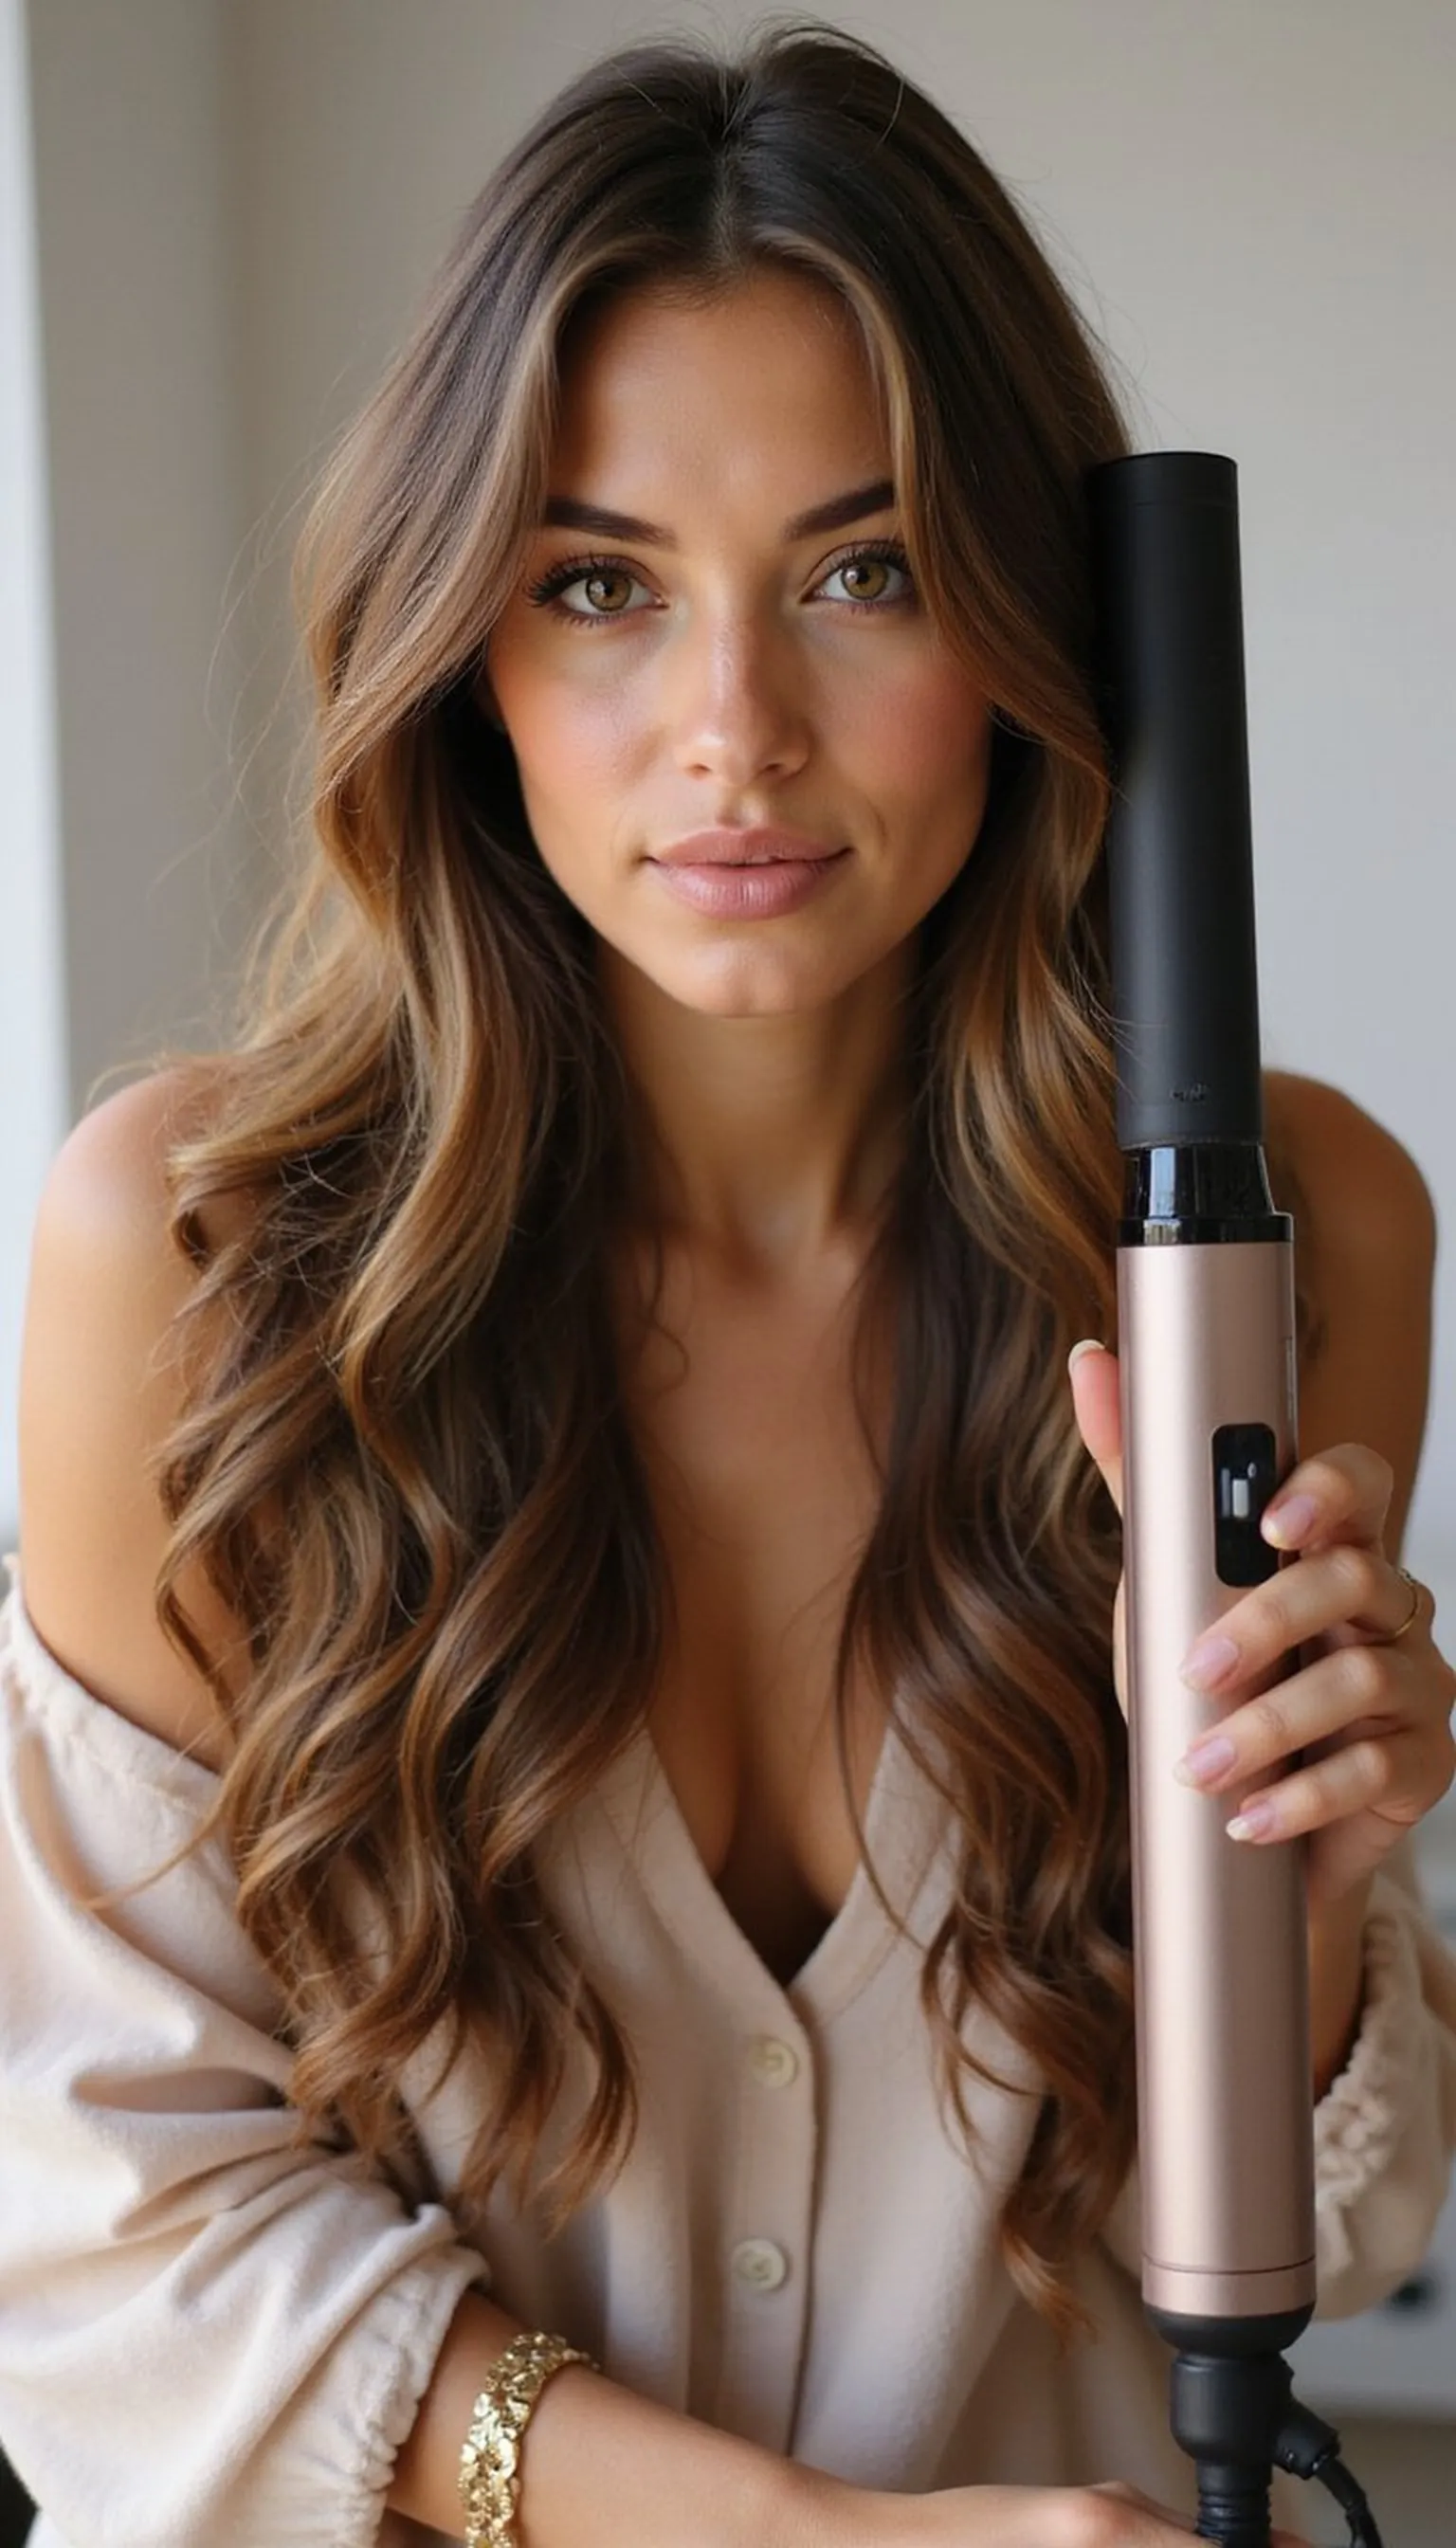
Soft waves add gentle movement that catches light without stealing focus from the face on video calls. Loose texture reads natural while helping hair avoid a flat, lifeless appearance under artificial lighting.
Create waves with a large barrel curling iron or a heatless overnight method, then brush through to relax the coils into soft S-shape waves. Finish by smoothing the top layer with a lightweight serum applied sparingly to avoid shine glare on screen.
Part slightly off-center to let waves frame the face for flattering angles. This style works well with open collars and gives a polished but relaxed presence during meetings.
Styling Tips
- Use a large barrel for softer, camera-friendly waves.
- Comb through with fingers instead of a brush for preserved texture.
- Apply serum lightly to tame frizz without reflecting light.
Pro Tip: Set waves with a soft hairspray from arm’s length to keep movement while preventing stiff, crunchy strands that look unnatural on camera.
Avoid: Over-applying product creates a shiny film that reflects ring lights and washes out features. Avoid tight curling which reads too formal for casual video calls.
Try Also: Try heatless braiding for gentle waves or add a deep side part for extra volume. Clip back one side with a decorative pin for an asymmetrical look.
Products & Materials
Items Used
- large barrel curling iron
- lightweight serum
“Soft, camera-friendly waves that bring natural movement to on-screen looks.”
Textured Bob Tucked Behind The Ear Trick
⏱️ 4 min · 🟢 Beginner
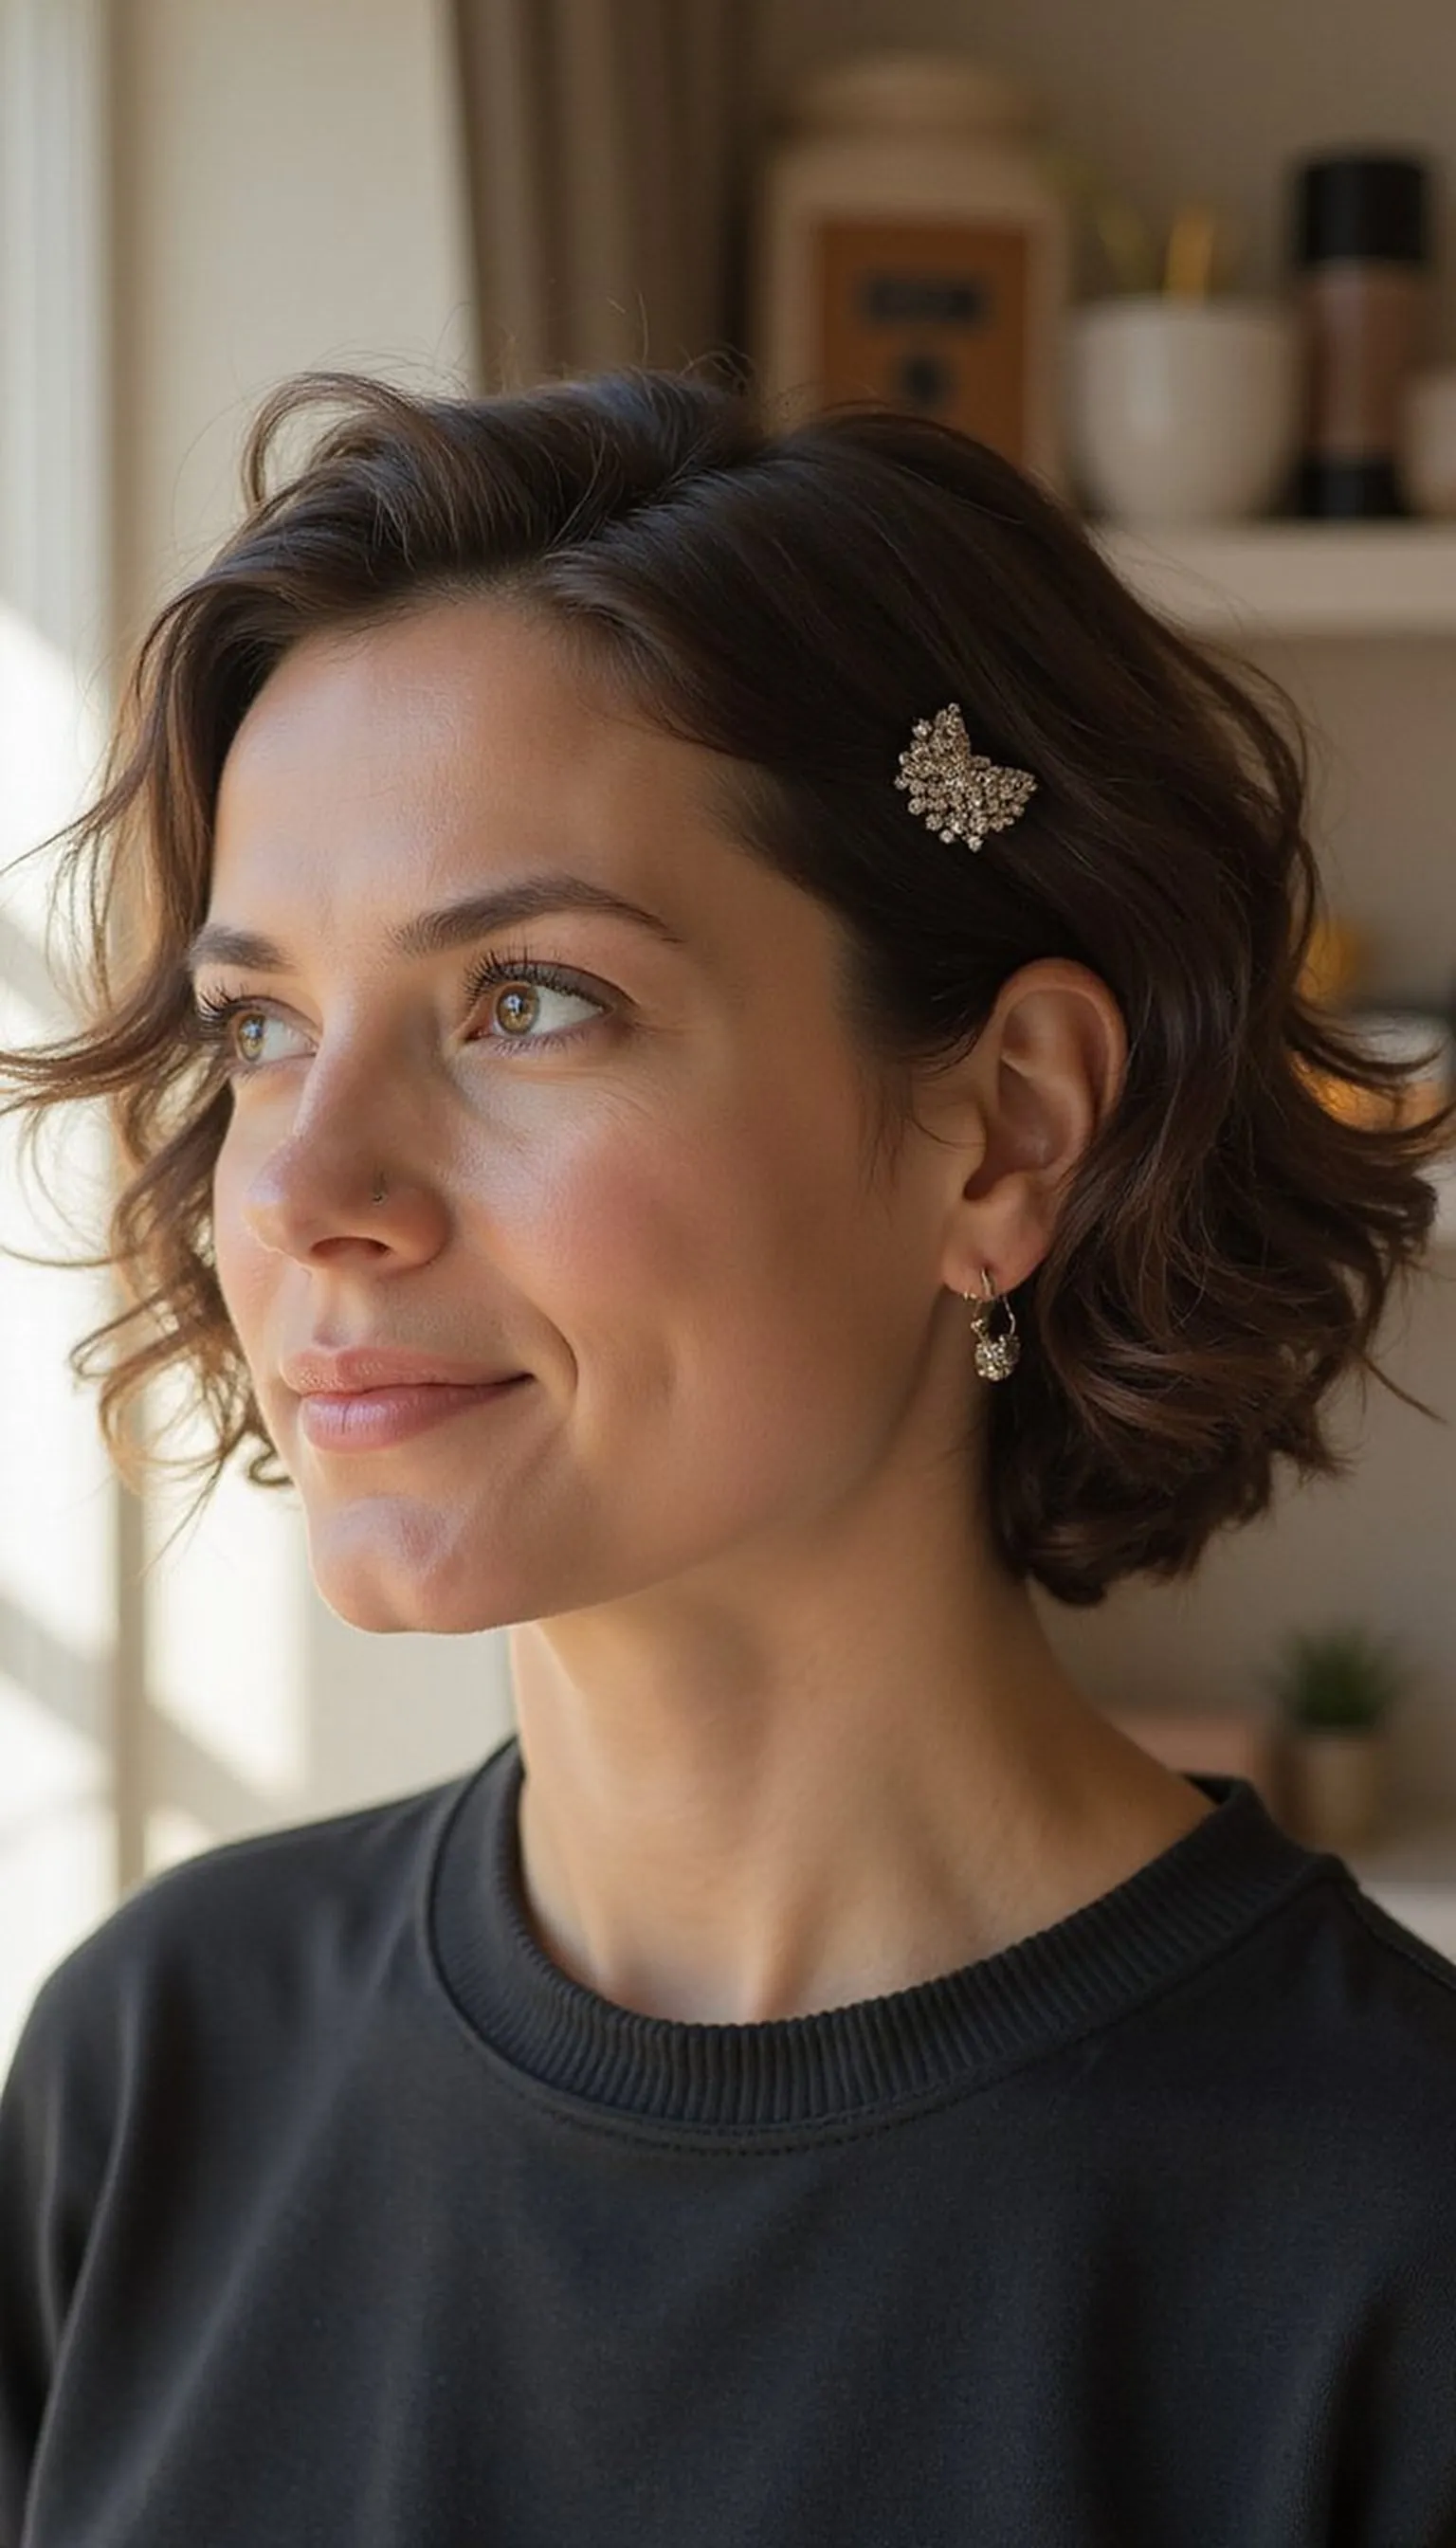
Tucking a textured bob behind one ear instantly sharpens the jawline and looks clean on video. The simple motion creates an asymmetrical frame that flatters most face shapes on camera.
Add a touch of texturizing spray and tousle through, then tuck the front section neatly behind the ear and pin with a small clip if needed. This keeps hair out of the eyes while allowing natural movement at the ends for an approachable on-screen presence.
The tucked look pairs well with minimalist jewelry and crisp collars for meetings. A quick brush across the part completes the polished, low-effort style.
Styling Tips
- Use a small decorative clip to anchor the tuck if hair is slippery.
- Spritz texturizing spray close to the roots for lift.
- Comb the tucked piece flat for a neat line around the ear.
Pro Tip: Carry a tiny compact clip to snap in place for security when hair is too fine to stay tucked naturally.
Avoid: Leaving the tucked section messy can look accidental rather than intentional; smooth it slightly before pinning. Avoid heavy product that flattens the bob.
Try Also: Try tucking both sides for a sleeker shape or add a headband for extra hold. Slight waves give a softer cuff around the ear.
Products & Materials
Items Used
- small decorative clip
- texturizing spray
“Quick bob tuck behind the ear for instant on-camera polish.”
Faux Bangs Secured With Bobby Pins
⏱️ 6 min · 🟢 Beginner
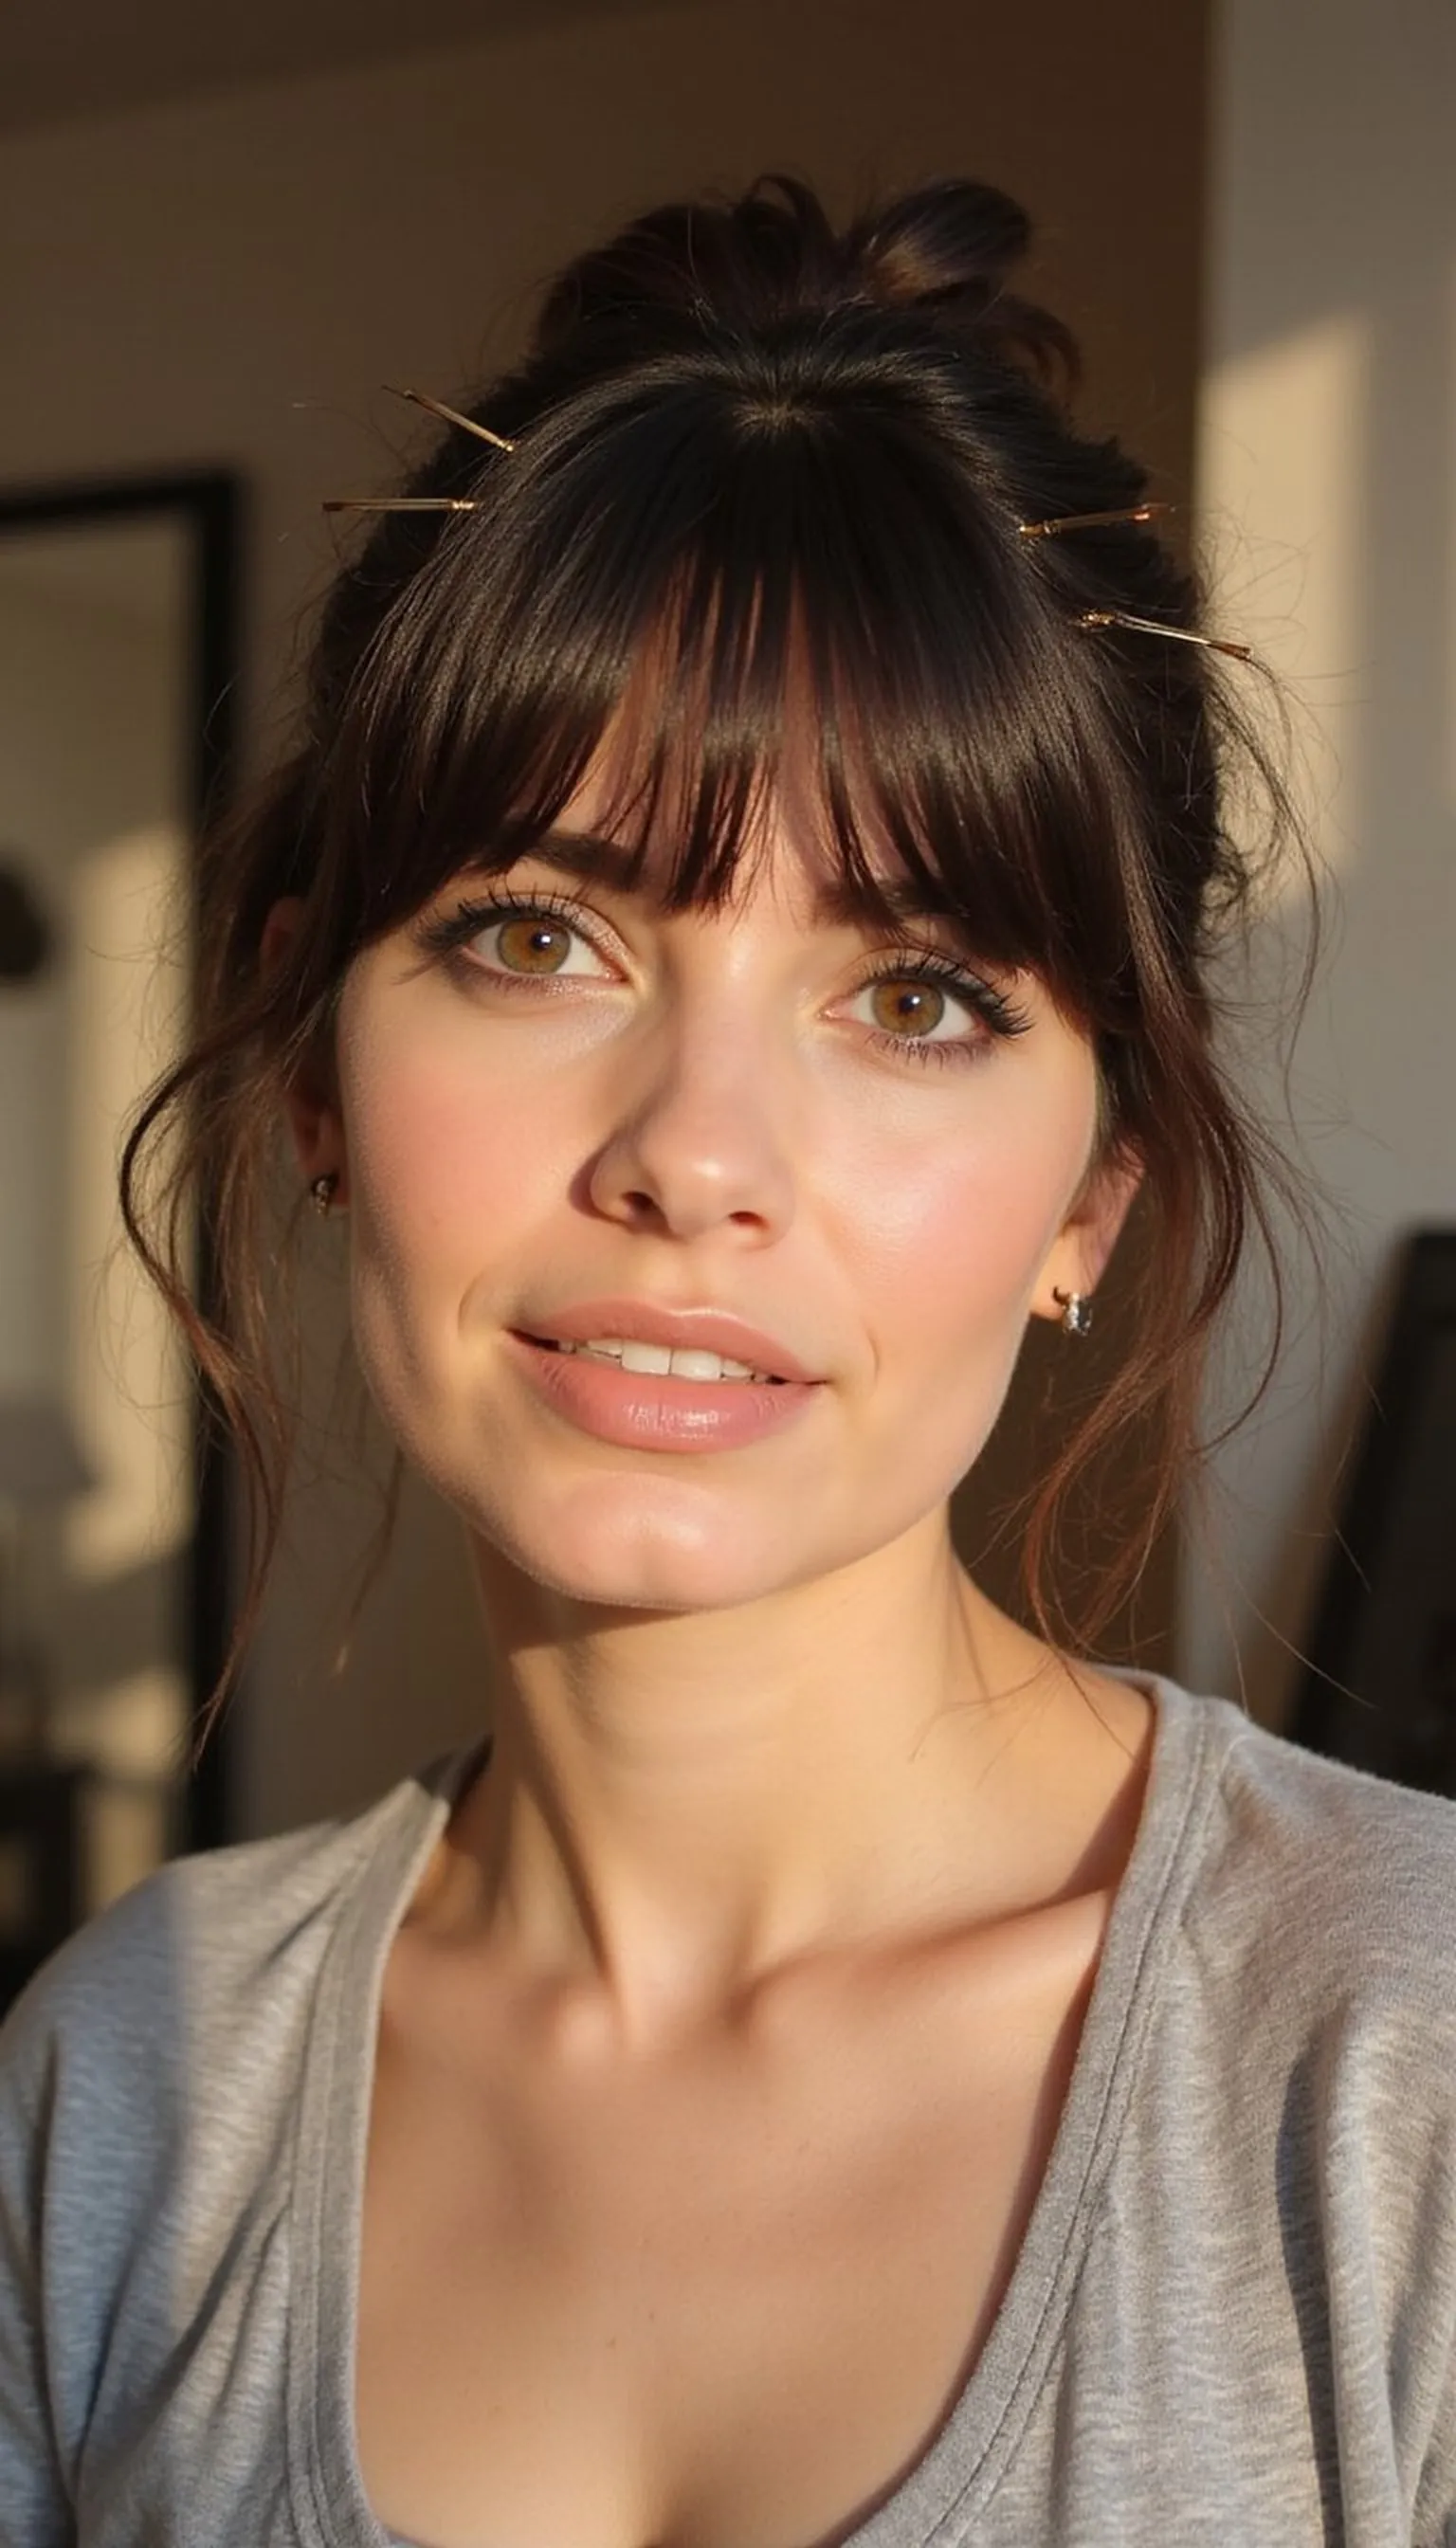
Faux bangs created by sweeping front sections forward and pinning them create a flattering forehead frame without a cut. This trick softens a high forehead and reads well through webcams and phone cameras alike.
Take a triangular section from the front, smooth it forward, and fold gently before anchoring with bobby pins beneath the section so pins stay invisible. Loosen the fold to create a natural curtain and mist lightly to set the shape without stiffness.
Faux bangs can be released later for a quick refresh or pinned back for a different look between calls. The technique works on both straight and slightly wavy textures for camera versatility.
Styling Tips
- Place bobby pins under the fold so they’re hidden from the front.
- Use a round brush for slight curvature before pinning.
- Mist with flexible-hold spray to keep motion natural.
Pro Tip: Anchor faux bangs with two bobby pins in an X formation beneath the fold for discreet, lasting hold during long calls.
Avoid: Pinning too many visible pins across the forehead looks messy on camera; hide pins under the section. Avoid heavy product that makes the faux bangs appear flat.
Try Also: Try a softer curtain by sweeping sections from either side for an airy fringe. Clip one side back for an asymmetrical effect.
Products & Materials
Items Used
“Quick faux bangs pinned for soft forehead framing on video.”
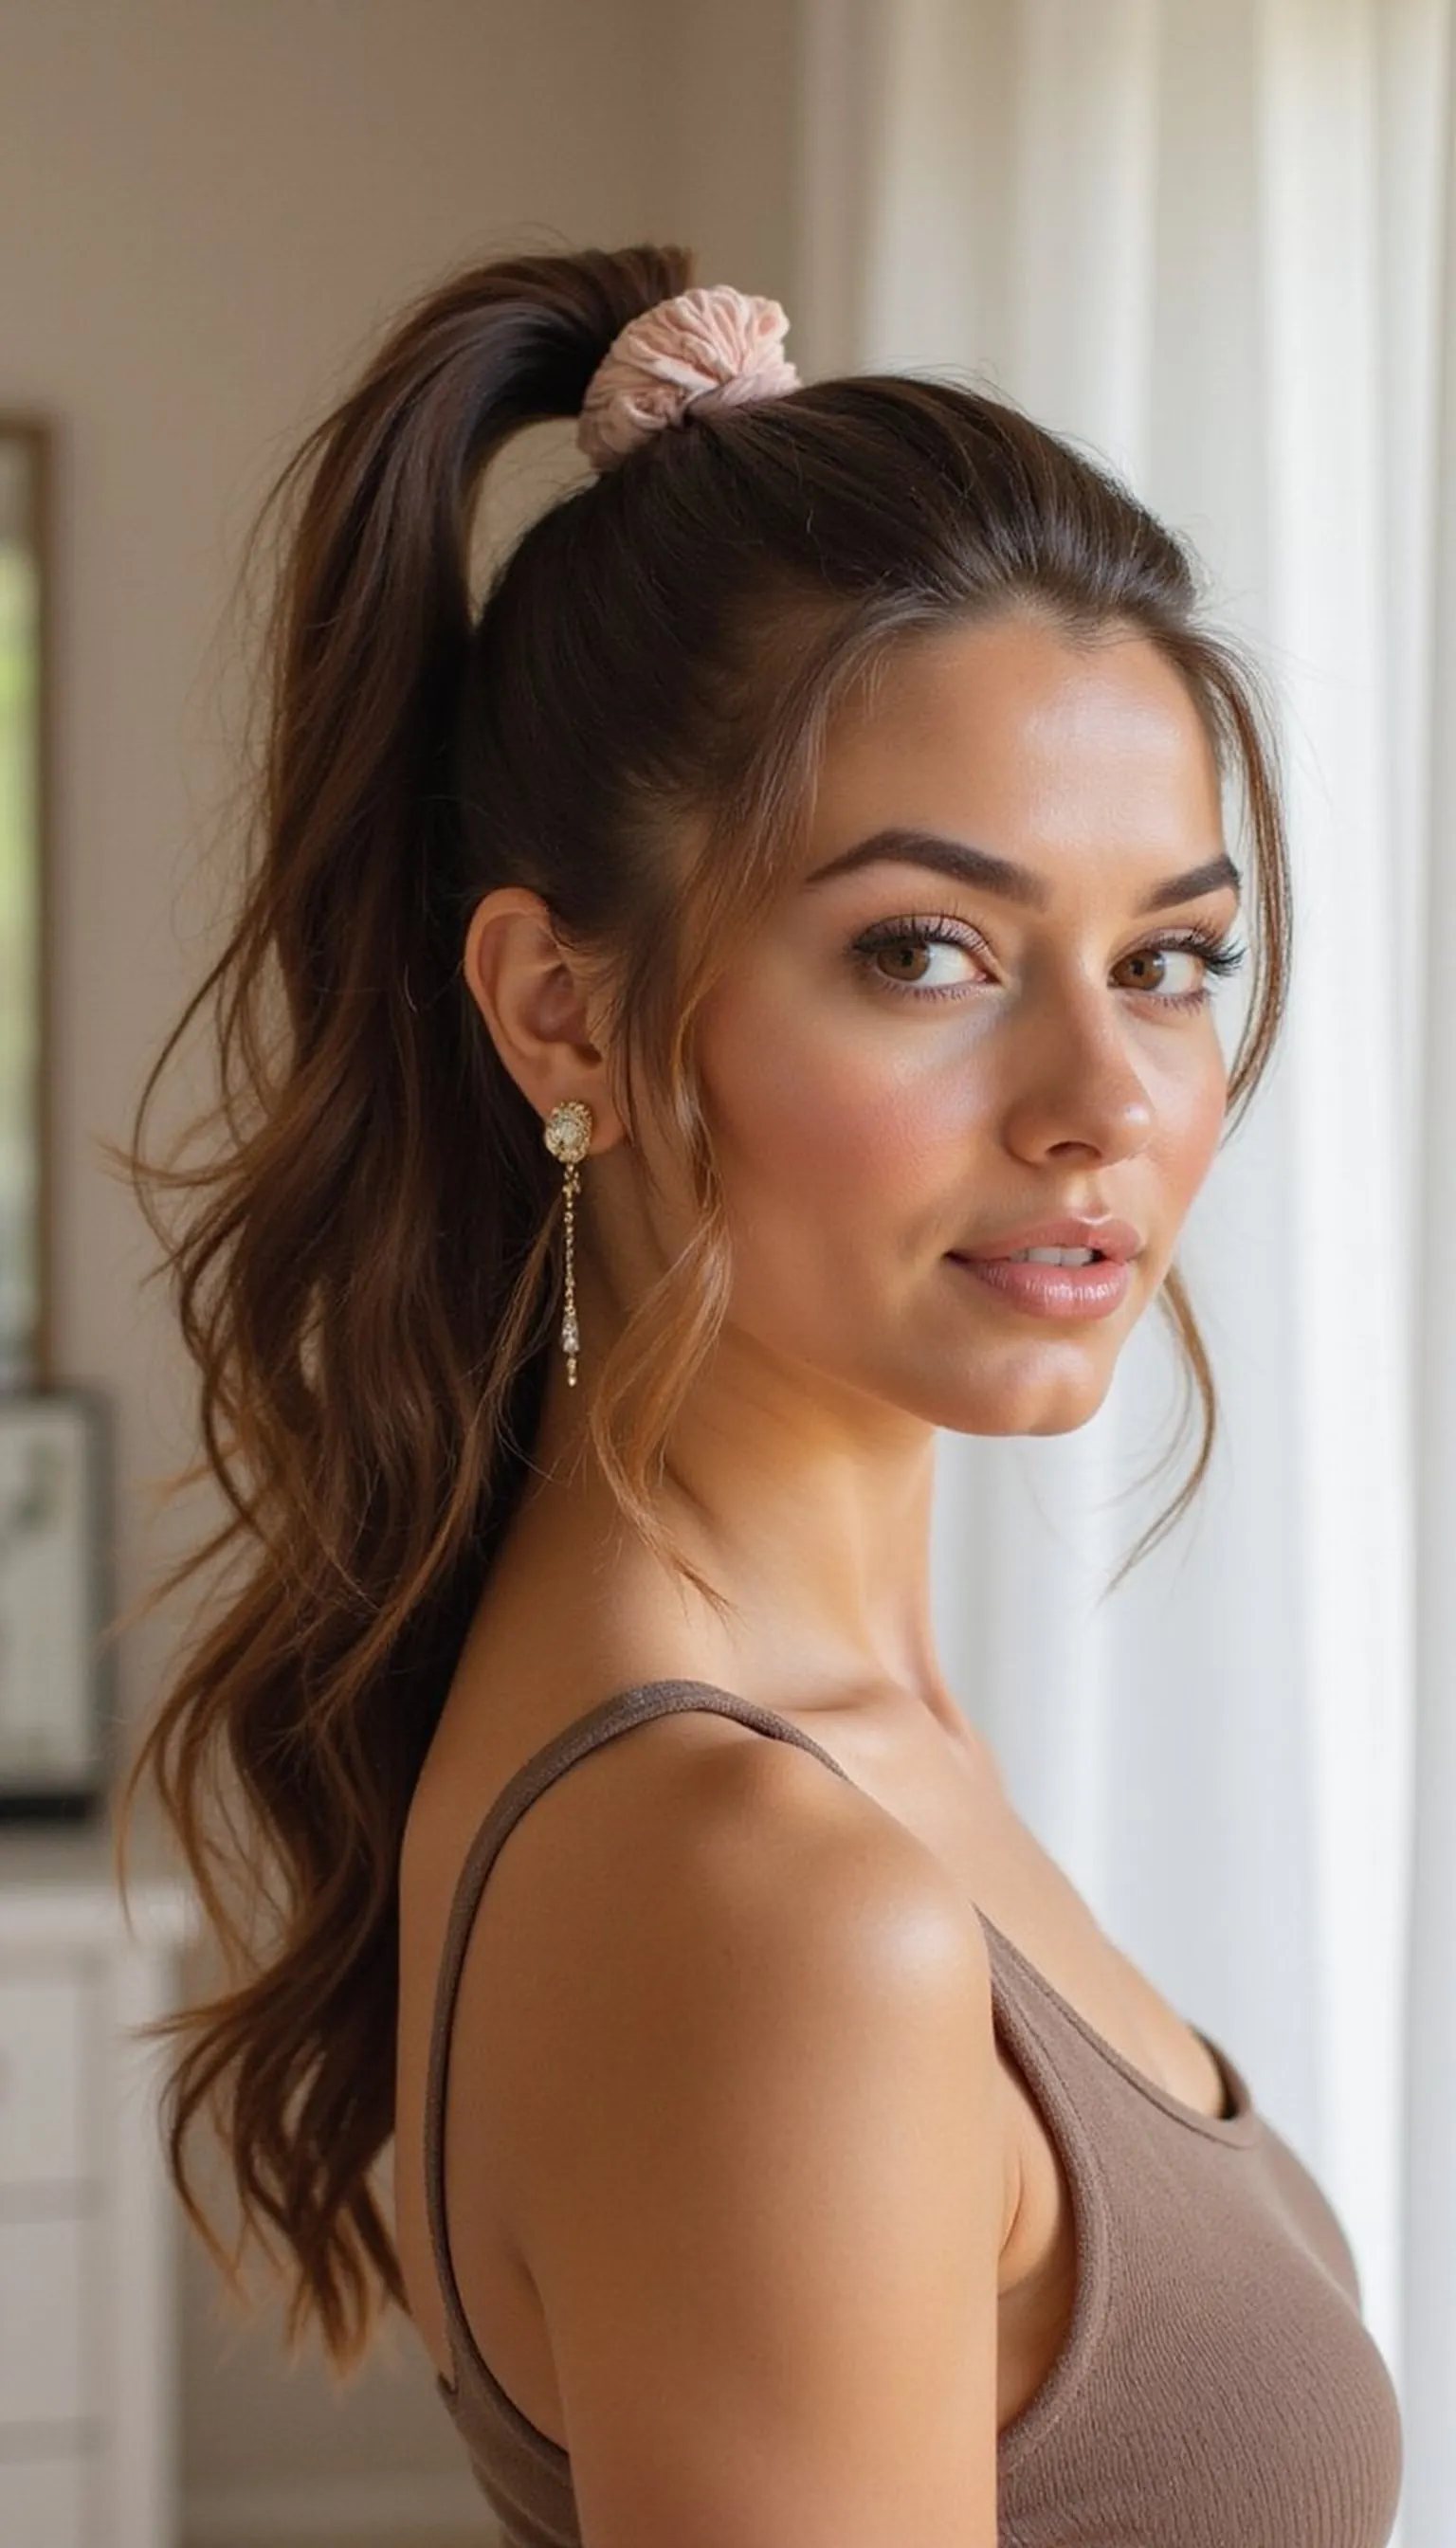
Classic High Pony With Lifted Crown Volume
⏱️ 10 min · 🟢 Beginner
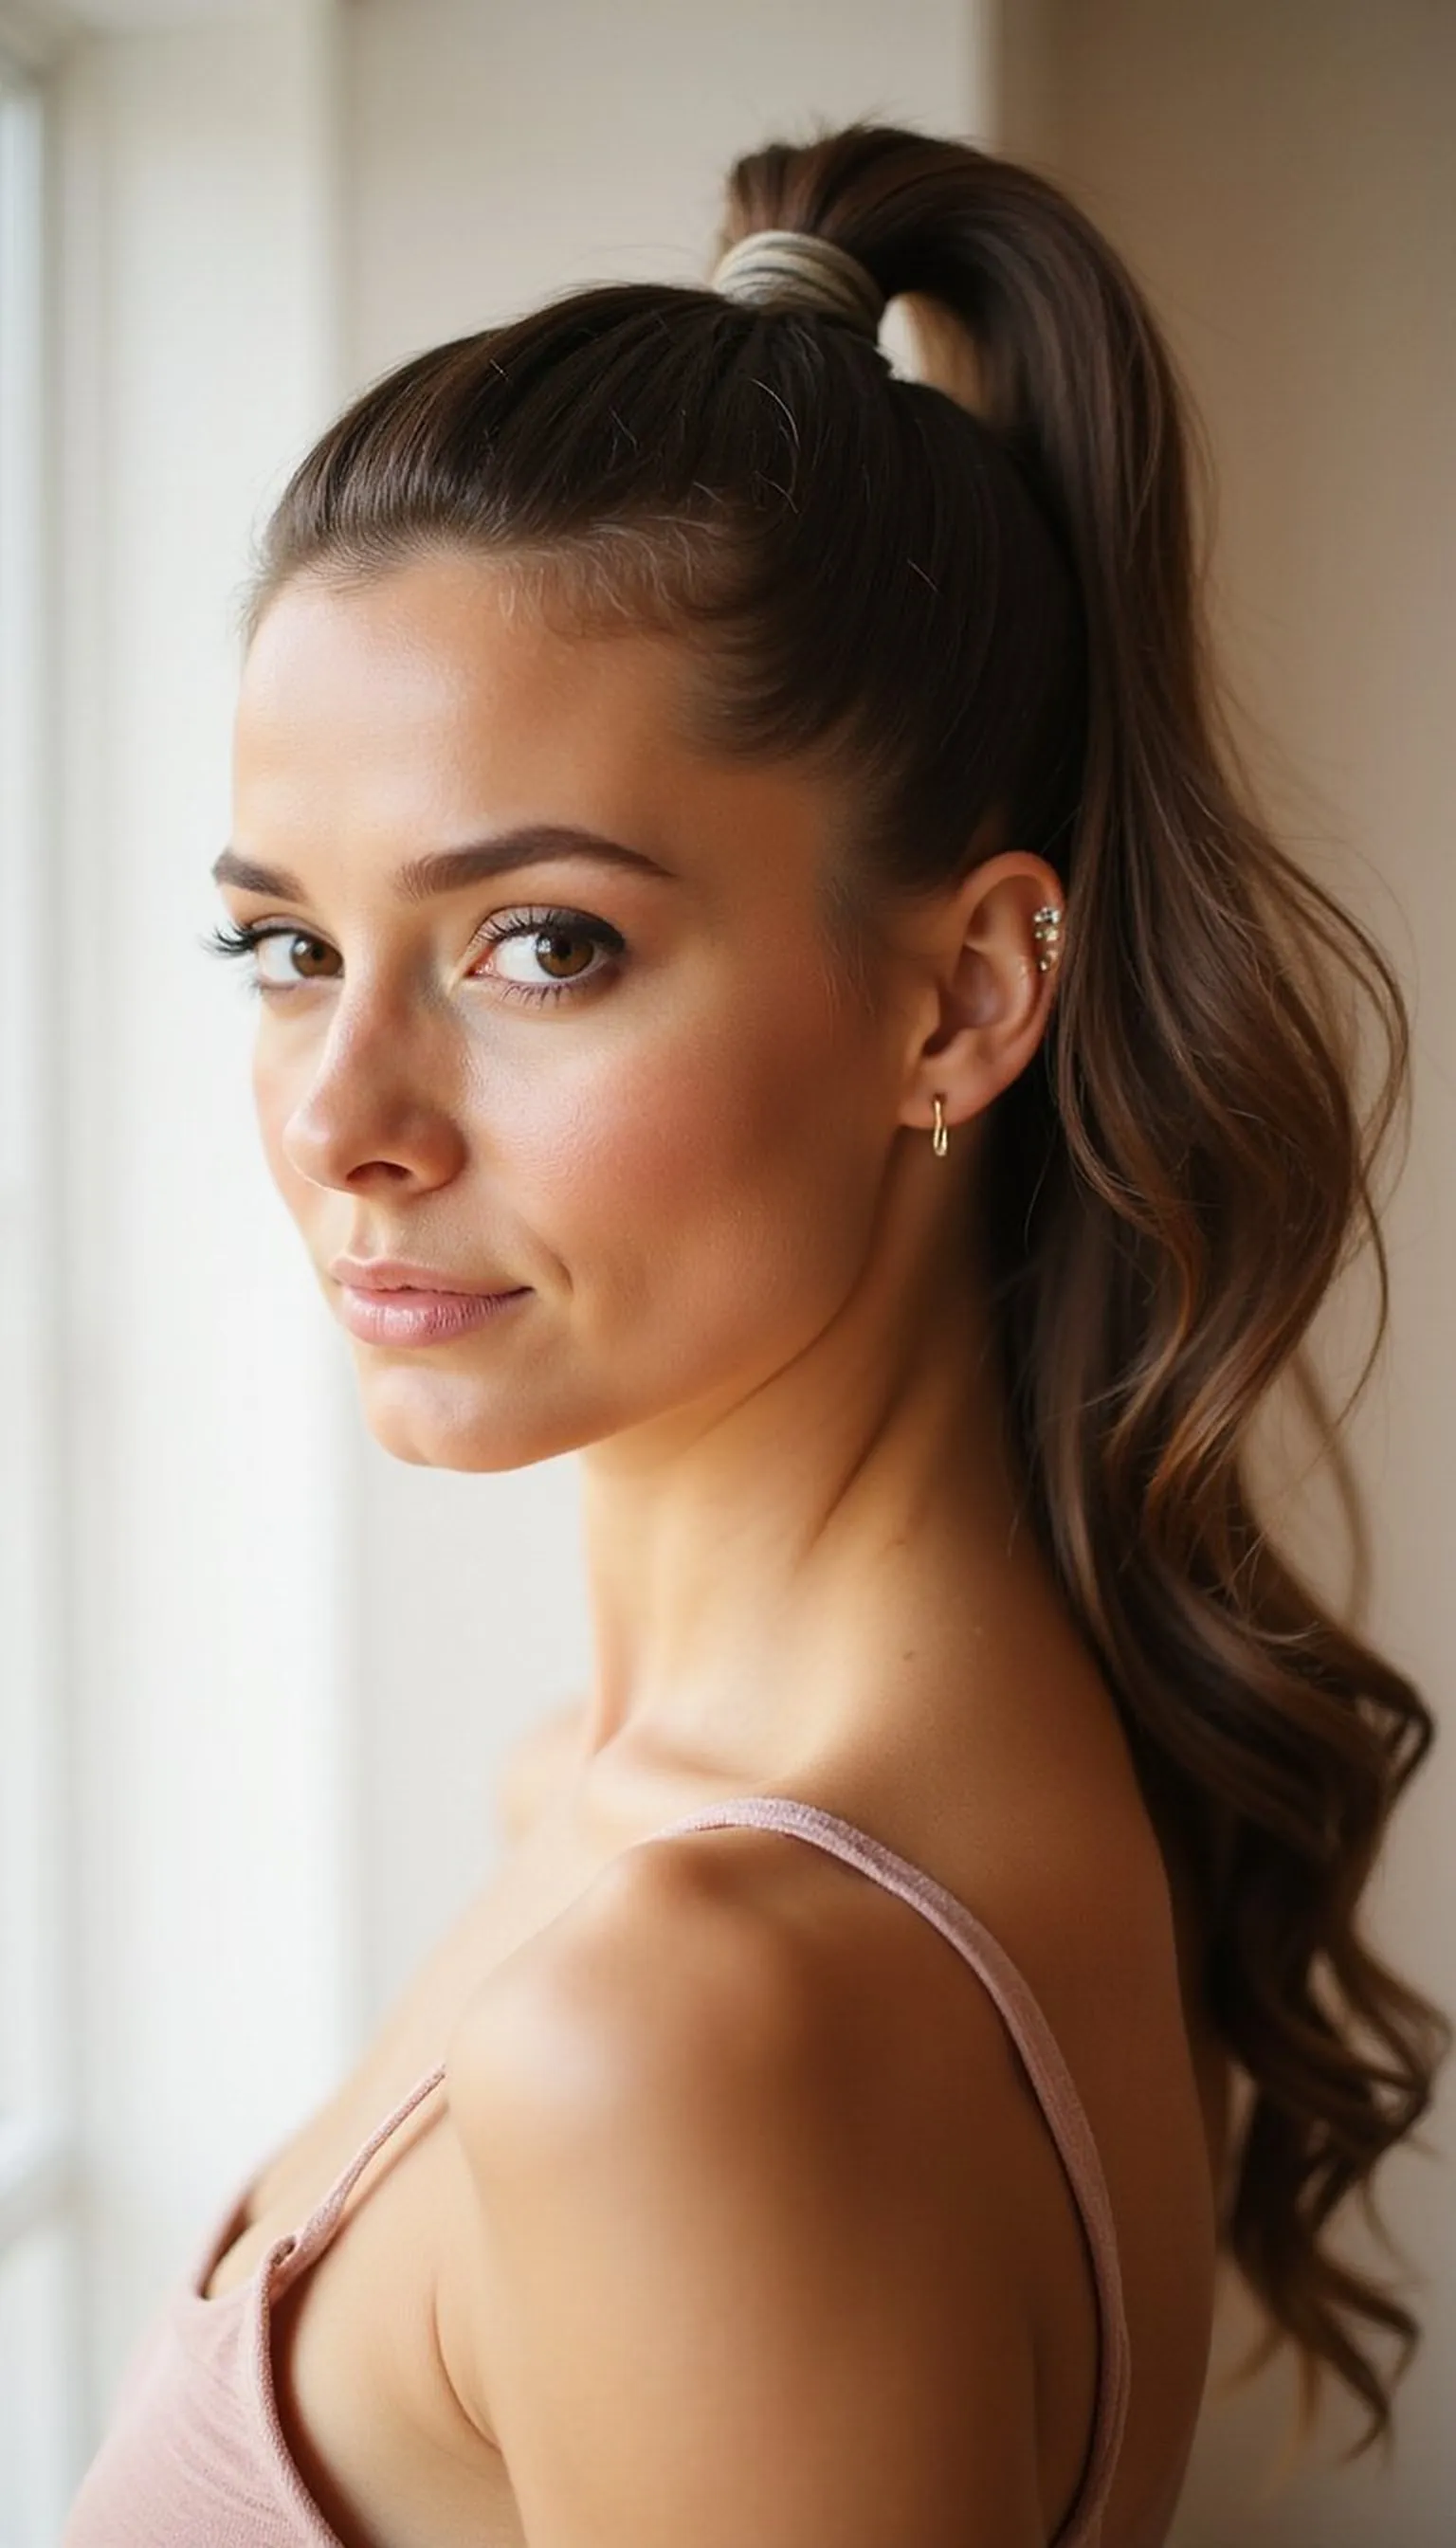
A classic high pony adds energy to on-screen presence and lifts the face for clearer expressions during meetings. Slight volume at the crown prevents a flat, stretched look under strong lighting.
Backcomb gently at the crown, smooth the top layer, and gather hair high on the head before securing with an elastic. Wrap a small strand around the base to conceal the band and pin it underneath for a sleek finish that reads clean on camera.
The high pony looks great with statement earrings or bold lipstick to balance the upward shape. Keep a travel brush nearby to smooth flyaways between calls.
Styling Tips
- Tease lightly at the crown for natural lift without stiffness.
- Use a strong no-metal elastic to hold volume all day.
- Wrap a strand of hair around the elastic for a polished touch.
Pro Tip: Place the pony slightly forward of the crown for flattering lift that emphasizes cheekbones on camera.
Avoid: Making the pony too tight pulls at the scalp and creates a strained hairline. Avoid over-teasing which can make hair look stiff under studio lights.
Try Also: Lower the pony for a more relaxed look or add a braid down the length for texture. Try a sleek version by smoothing with a lightweight gel.
Products & Materials
Items Used
- elastic hair tie
- small hair pin
“High pony with crown volume for energized, camera-ready presence.”
Slicked Back Pixie With Light Gel Finish
⏱️ 7 min · 🔴 Advanced

A slicked-back pixie looks modern and camera-confident when tamed with a light gel for hold and shine. This short style highlights facial features and reads crisp under video lighting.
Work a pea-sized amount of styling gel through damp hair, combing back to create a smooth line away from the face. Use fingers to define texture at the crown and sides so the cut keeps movement without stray pieces on camera.
Adjust the amount of gel to avoid an overly shiny finish that reflects lights. Keep a small travel comb on hand for quick touch-ups between meetings.
Styling Tips
- Use a light gel to avoid a helmet-like sheen.
- Comb in sections for a uniform slicked effect.
- Define small points with fingertips for a lived-in look.
Pro Tip: Apply styling gel to slightly damp hair and blow-dry on low for faster set and controlled movement without flattening texture.
Avoid: Using too much product makes the pixie look greasy on camera; start with a small amount. Avoid heavy combing after drying which can disrupt the intended shape.
Try Also: Create a soft side-sweep instead of fully slicked back or add a matte paste for more texture. Slightly tousle the crown for casual meetings.
Products & Materials
Items Used
“Slicked-back pixie with light gel for bold, camera-ready edge.”
Low Chignon With Sleek Hair Pin Detail
⏱️ 12 min · 🟠 Intermediate
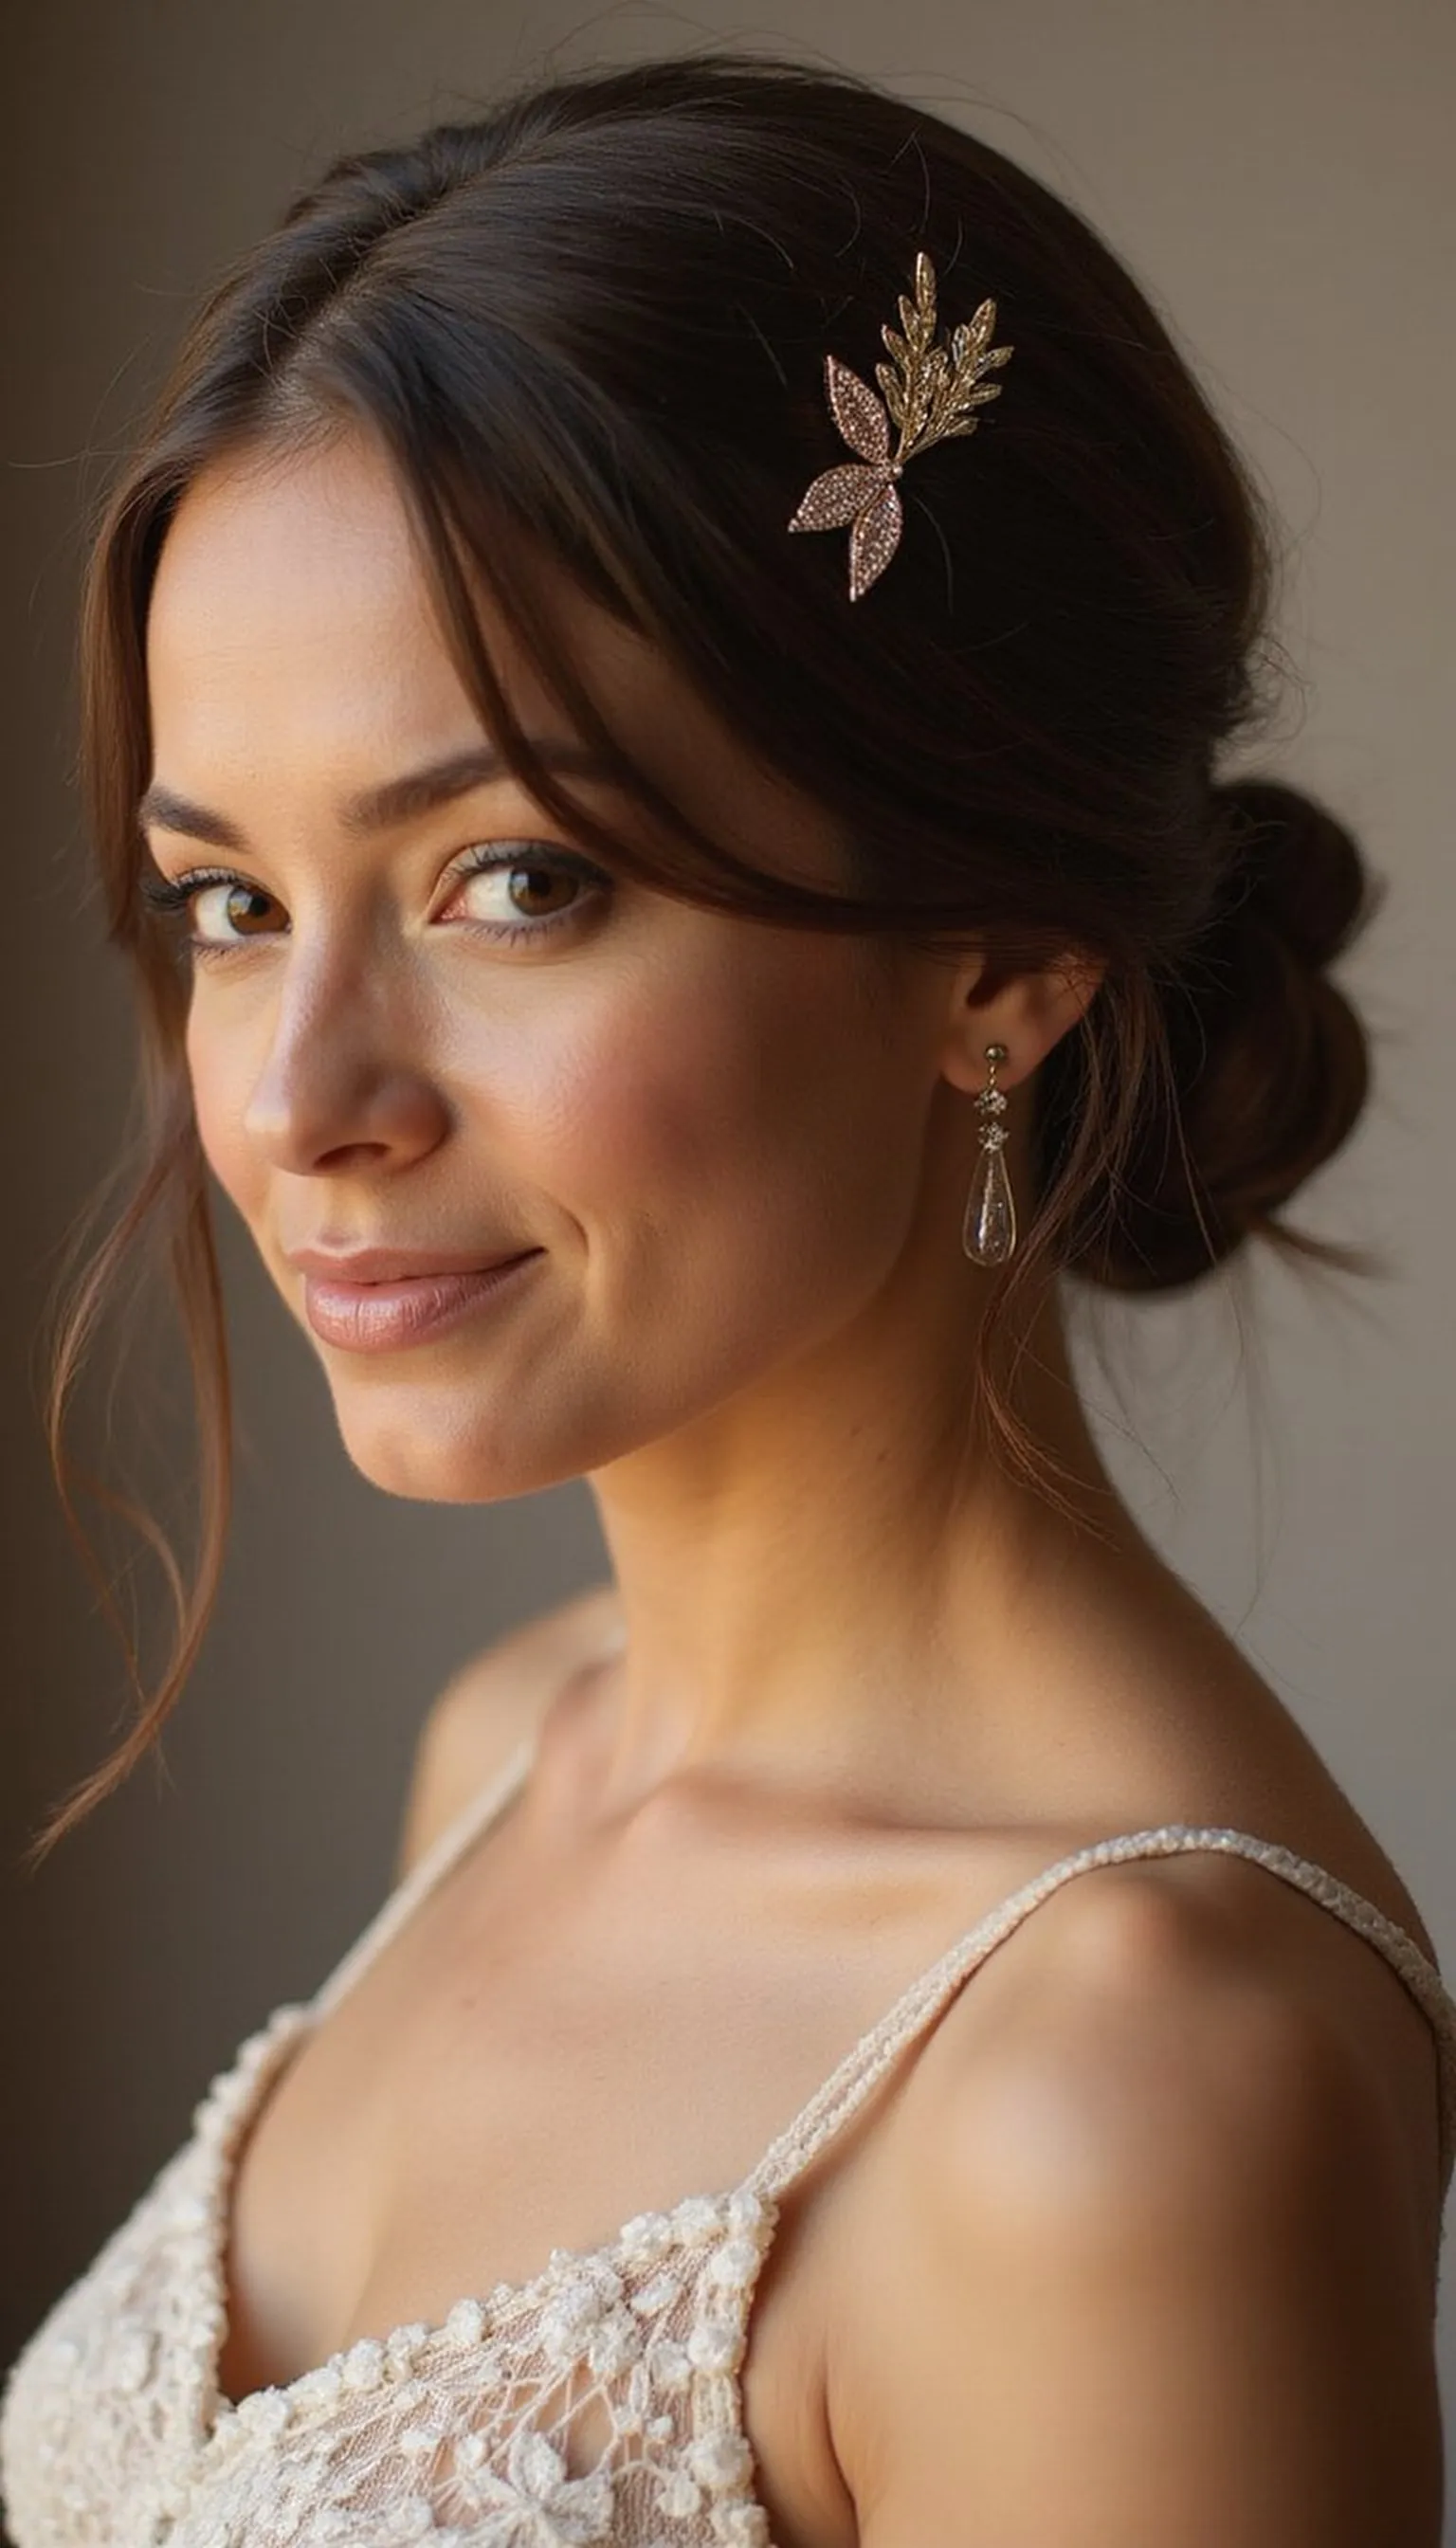
A low chignon feels refined on camera and keeps hair neat without drawing attention from facial expressions. A sleek hair pin gives a polished accent that reads well even in small video windows.
Roll hair into a low chignon at the nape and secure with an elastic and bobby pins, then slide a single decorative hair pin into the outer curve for a tidy finish. Smooth the top layer so the pin becomes the focal point without extra flyaways competing with reflections.
This chignon complements collared shirts and blouses seen on calls. Use flexible-hold spray to allow subtle movement while keeping the shape intact.
Styling Tips
- Pin the chignon beneath the elastic for hidden support.
- Choose a slim hair pin that won’t flop during wear.
- Finish with a light mist to control frizz without stiffness.
Pro Tip: Anchor the decorative pin through the bun’s base and into the hair under it for discreet, lasting placement during long calls.
Avoid: Placing the pin too far out can make it look loose; set it into the bun for security. Avoid heavy products that weigh down the chignon.
Try Also: Add more pins for a sculptural look or leave the chignon slightly undone for a softer vibe. Twist sections before pinning for texture.
Products & Materials
Items Used
“Refined low chignon accented with a sleek hair pin for video elegance.”
Half-Up Bubble Pony With Playful Scrunchie
⏱️ 7 min · 🟢 Beginner
The half-up bubble pony adds playful volume that reads lively on small screens and keeps hair out of the eyes. A scrunchie at the mid-section brings a soft, on-trend detail that looks intentional on camera.
Create a half-up pony then place additional elastics down the length, puffing each section to form bubbles for instant texture and movement. Use a fabric scrunchie at the base to anchor the look and add a tactile highlight that shows in video thumbnails.
This style helps balance wider foreheads and keeps attention centered on the face. It also transitions easily from morning calls to casual afternoons without reworking.
Styling Tips
- Puff each bubble gently to keep an even rhythm.
- Choose a scrunchie in a complementary color for a cohesive look.
- Use small elastics to define each bubble cleanly.
Pro Tip: Place the first elastic slightly loose then pinch each bubble to create soft volume without stretching the hair thin.
Avoid: Over-pulling the bubbles makes the pony look sparse; keep the puffs rounded. Avoid chunky elastics that create dents between sections.
Try Also: Do a full-length bubble pony or add a braid leading into the bubbles for extra texture. Swap the scrunchie for a ribbon for a softer aesthetic.
Products & Materials
Items Used
“Playful half-up bubble pony finished with a soft scrunchie.”
Face-Framing Twists Secured With Mini Clips
⏱️ 5 min · 🟢 Beginner
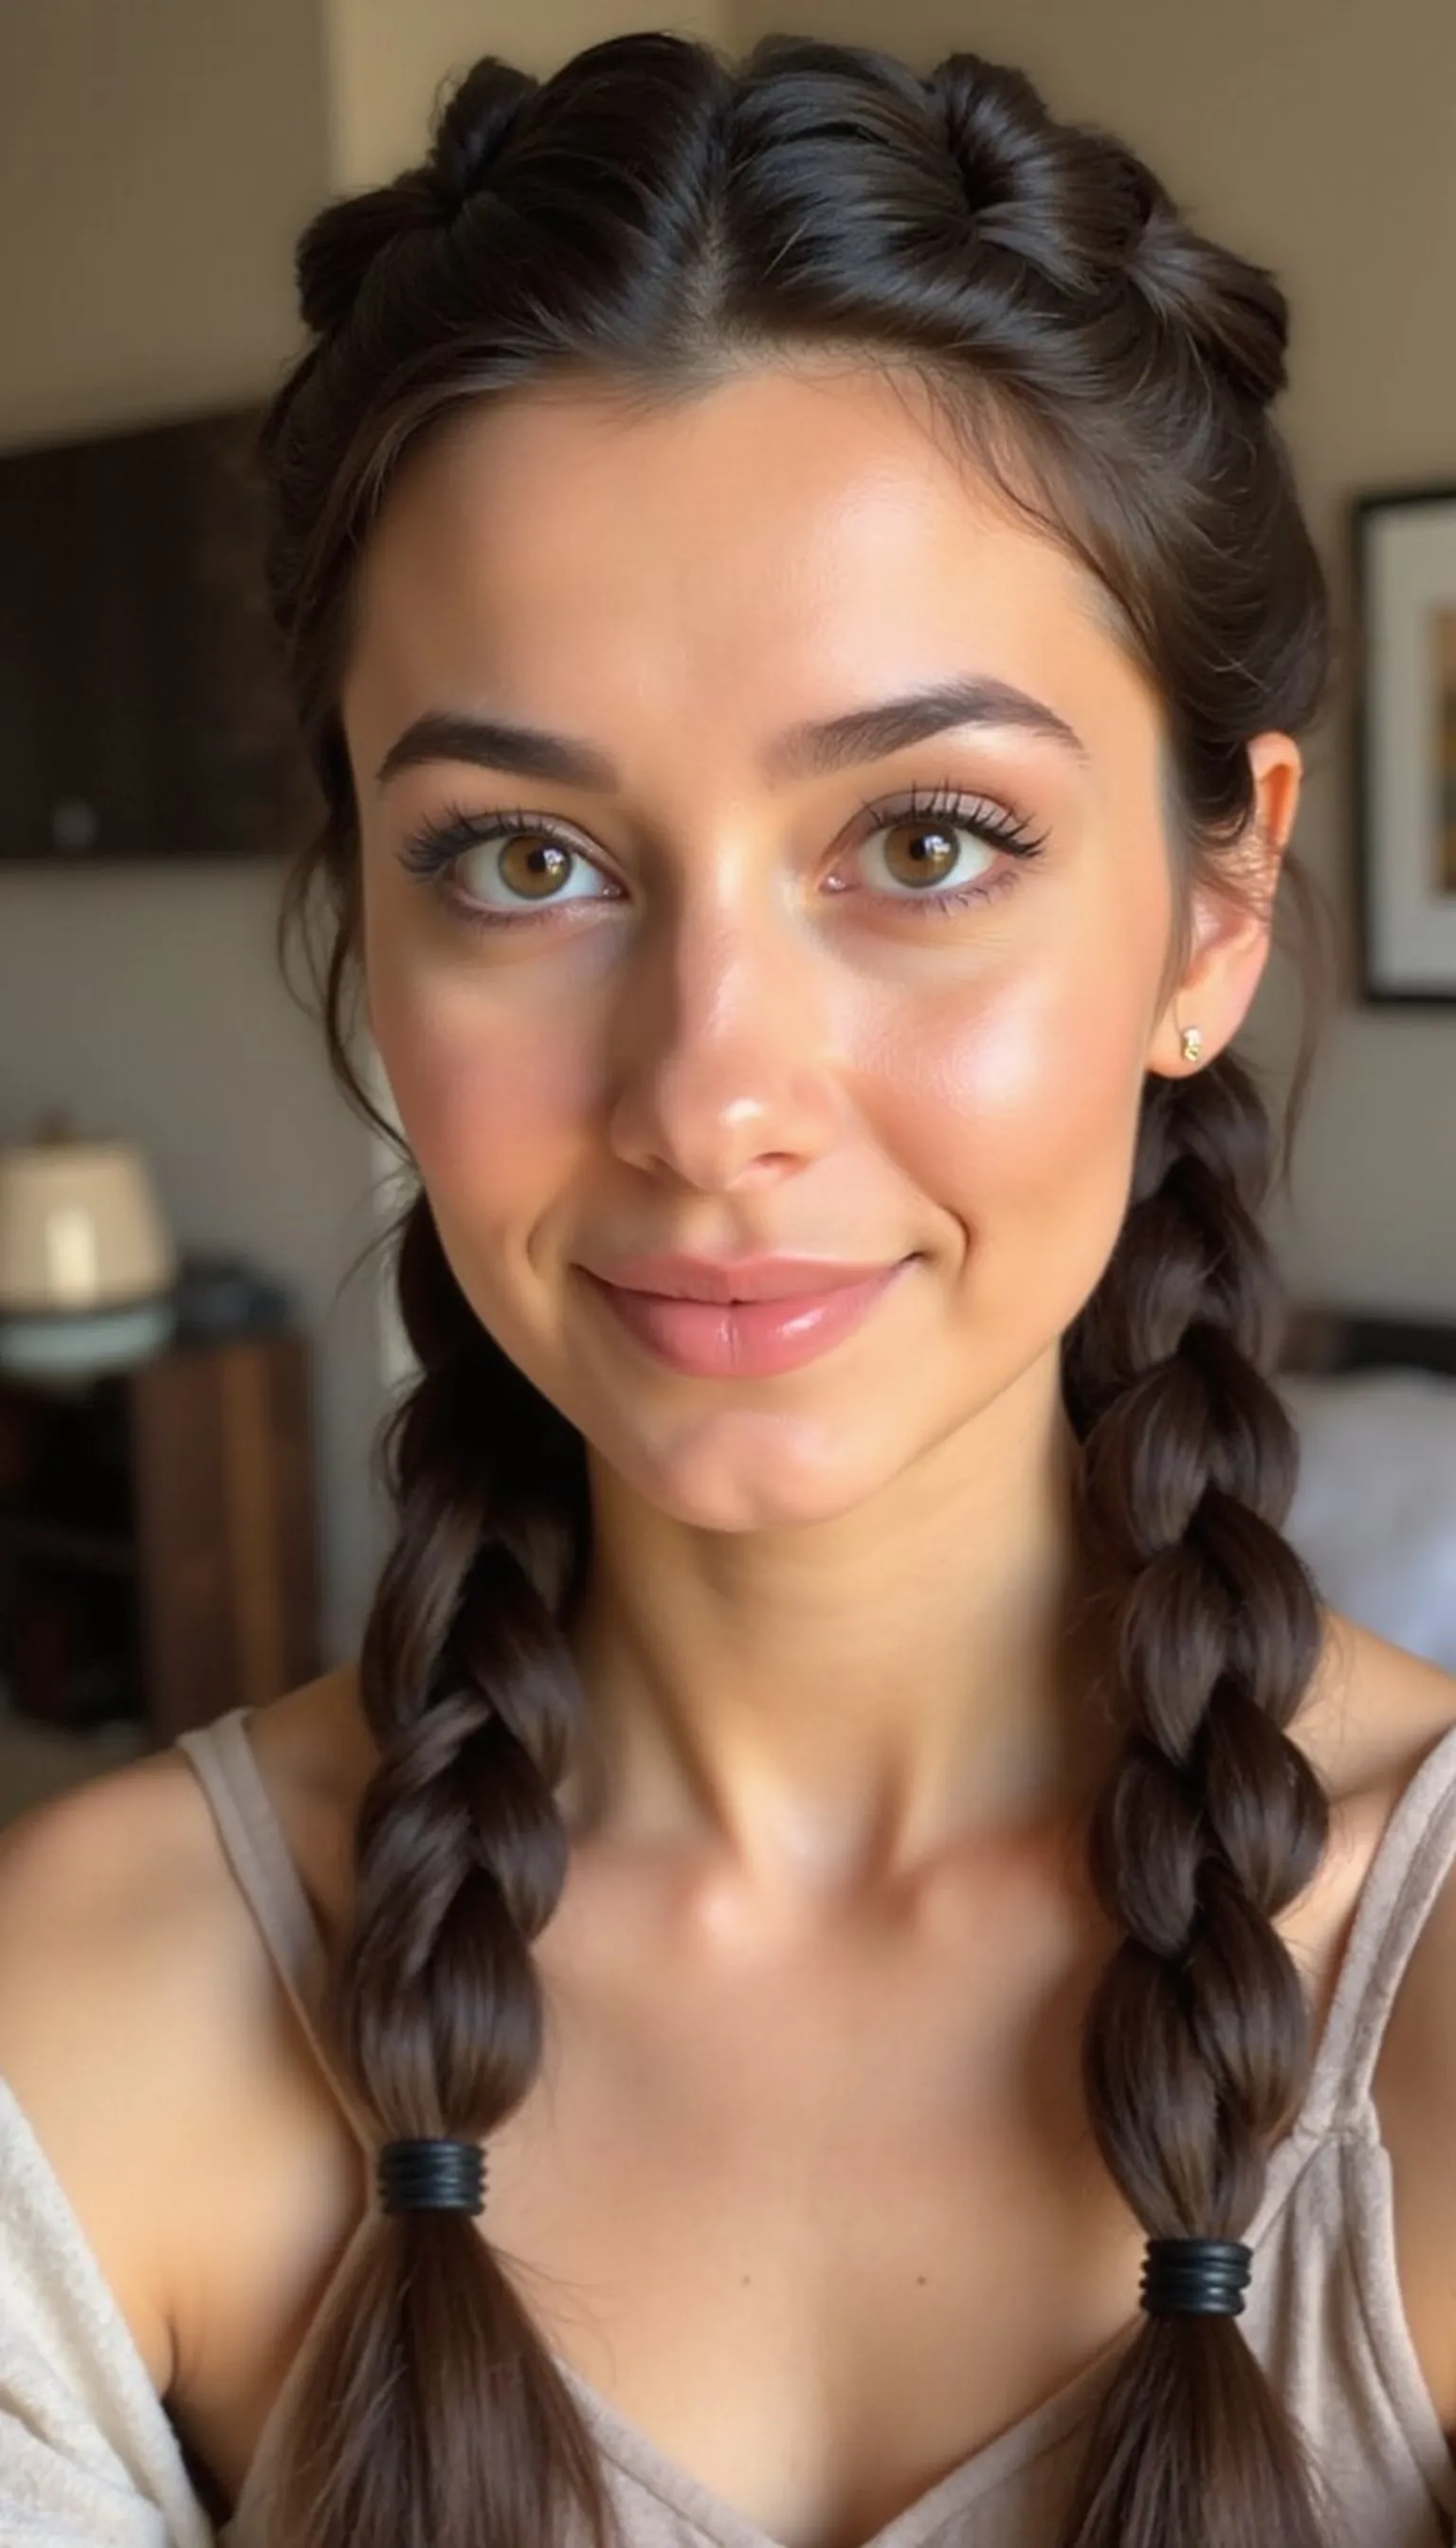
Two quick face-framing twists draw attention to the eyes and cheekbones while keeping hair tidy for video. Mini clips hold the twists back and add a chic accent that registers clearly on screen.
Take thin sections from each temple, twist them away from the face, and pin near the crown with matching mini clips for a neat finish. Loosen the twists slightly for softness and to avoid a pulled appearance that shows on close-up feeds.
This minimal approach works well for medium and long lengths and suits casual or formal calls. Change clip placement to lift or lower the hairline depending on the desired frame.
Styling Tips
- Choose clips that complement your outfit for cohesive video styling.
- Keep twists small to avoid bulk at the crown.
- Secure with a tiny elastic first if hair is slippery.
Pro Tip: Anchor each twist with a tiny clear elastic before clipping to prevent slippage during extended video sessions.
Avoid: Using oversized clips can overpower the twists and look disproportionate on camera. Avoid twisting too tightly which can distort natural shape.
Try Also: Swap twists for thin braids or pin both twists together at the back for a half-up look. Use metallic clips for a dressier call.
Products & Materials
Items Used
- mini hair clips
- clear elastics
“Delicate face-framing twists clipped back with mini hair clips.”
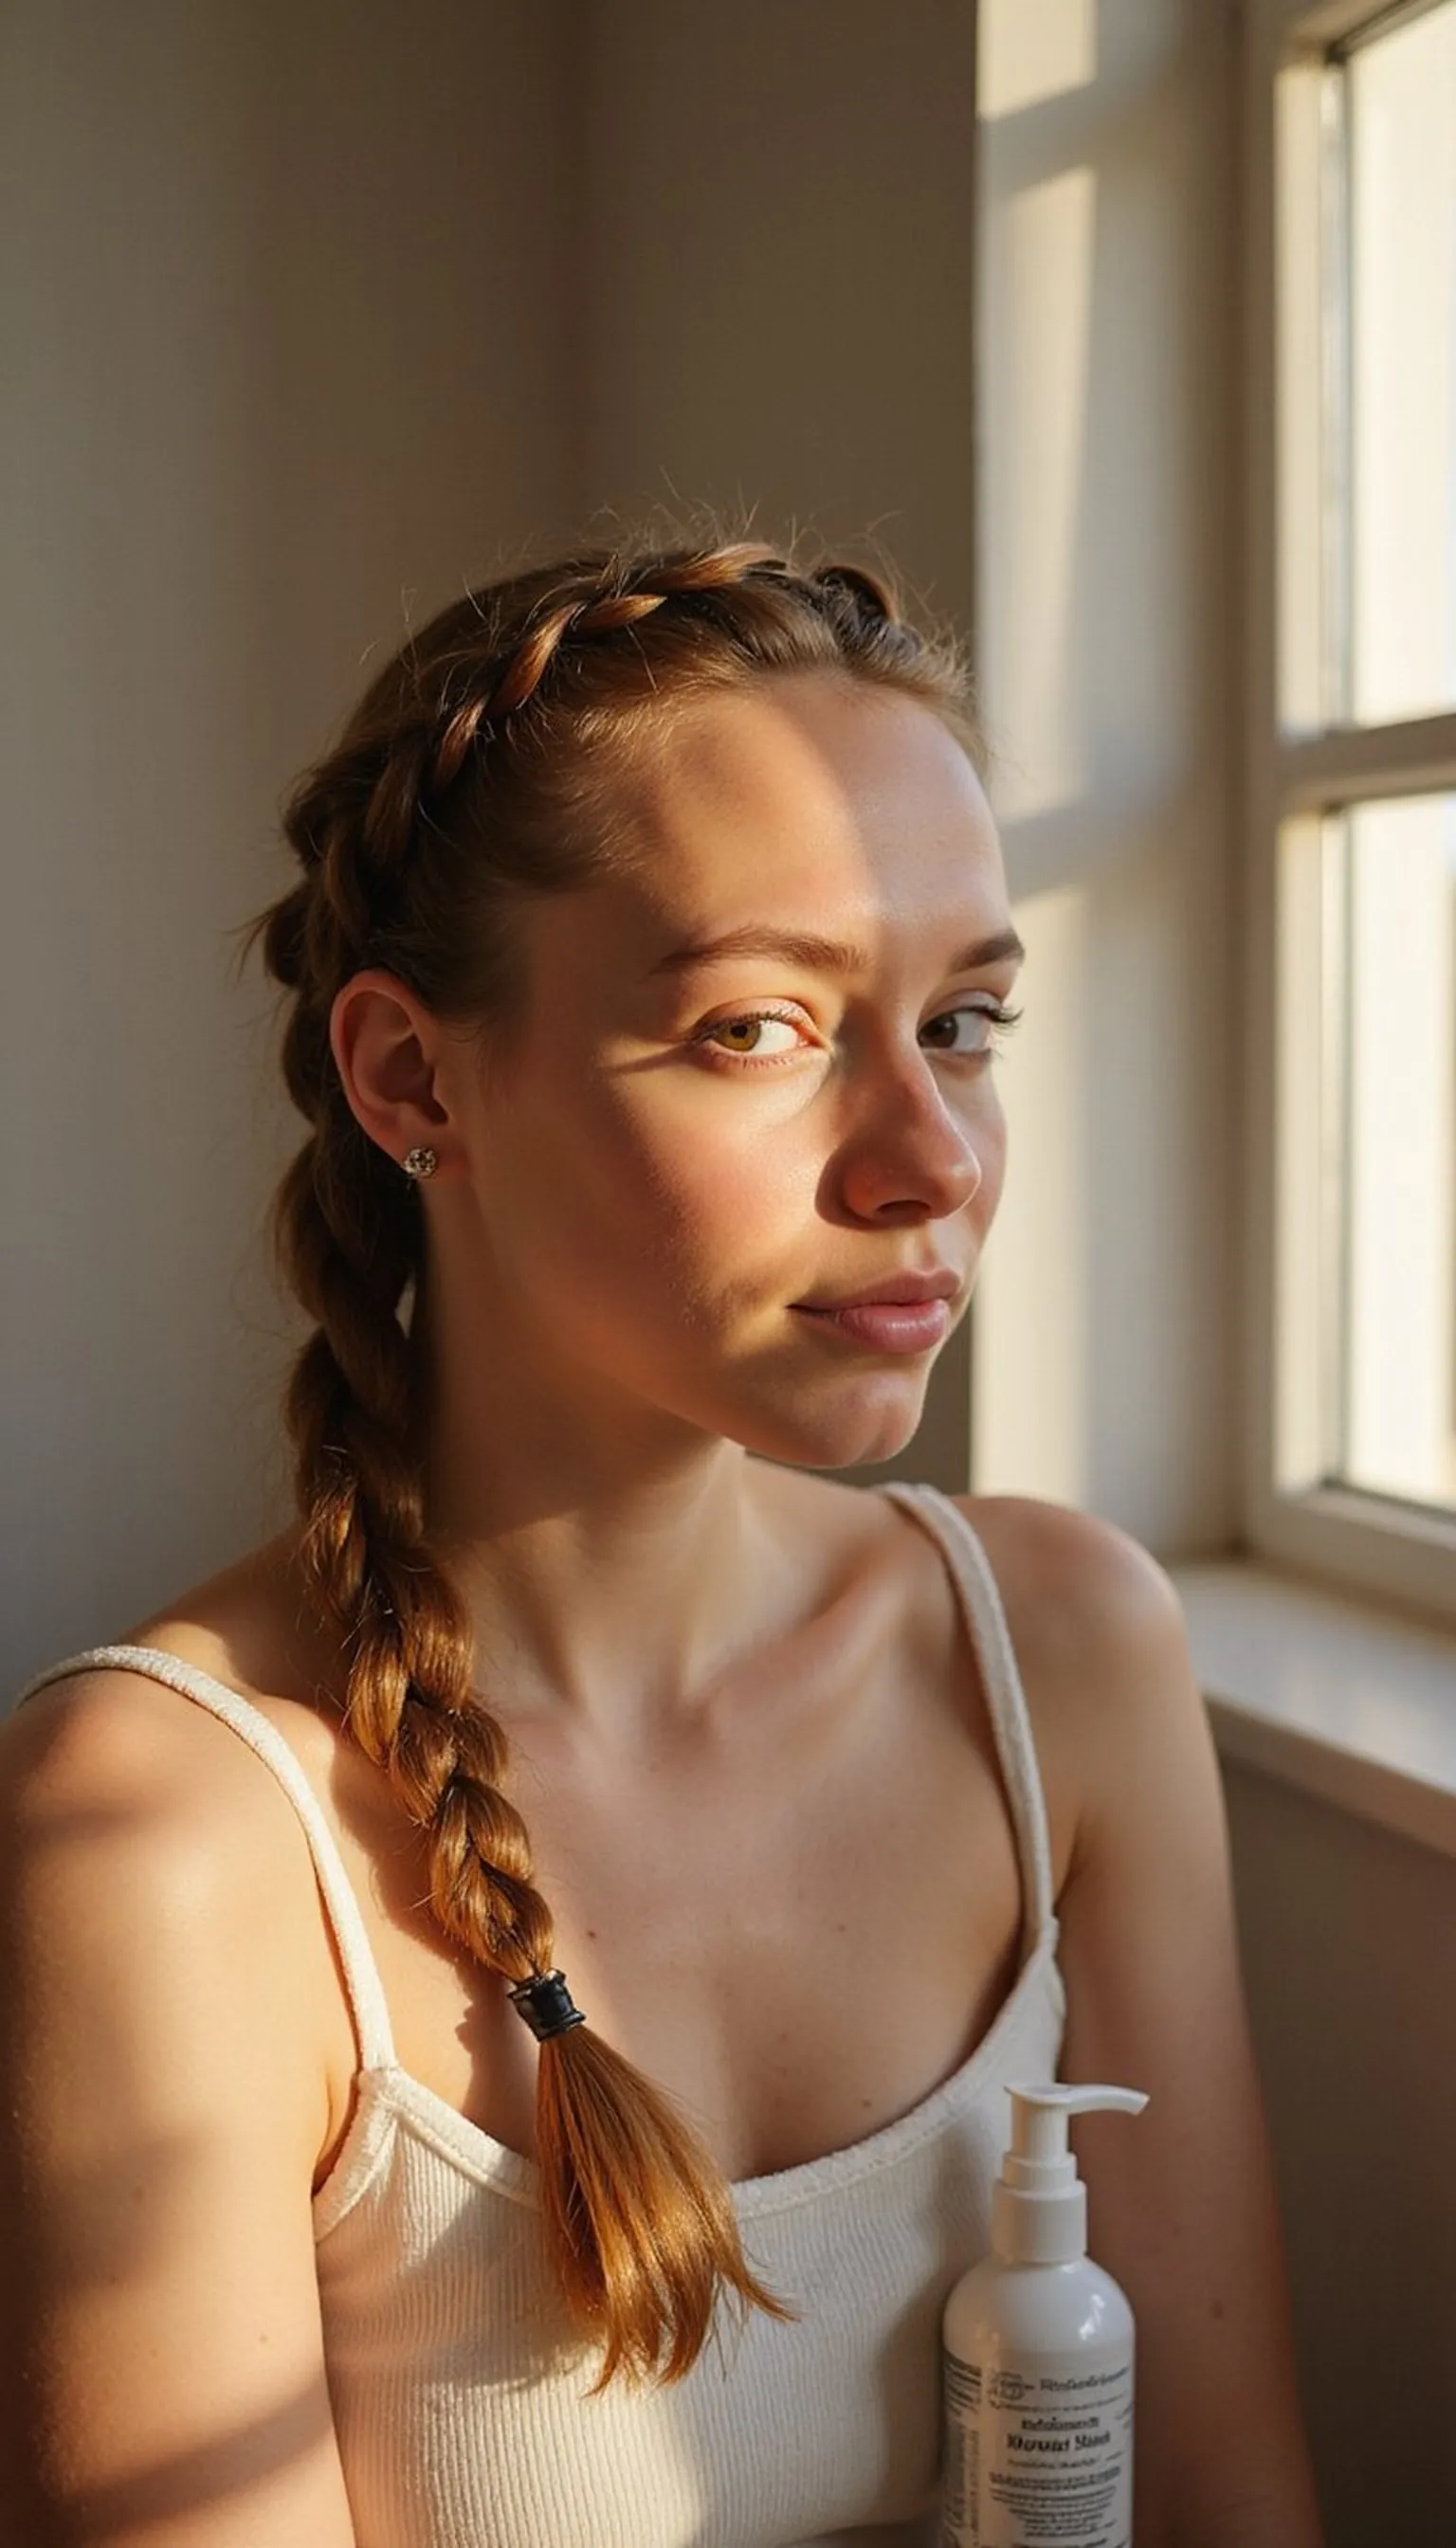
Quick Heatless Curls With Satin Scrunchie Finish
⏱️ 30 min · 🟢 Beginner
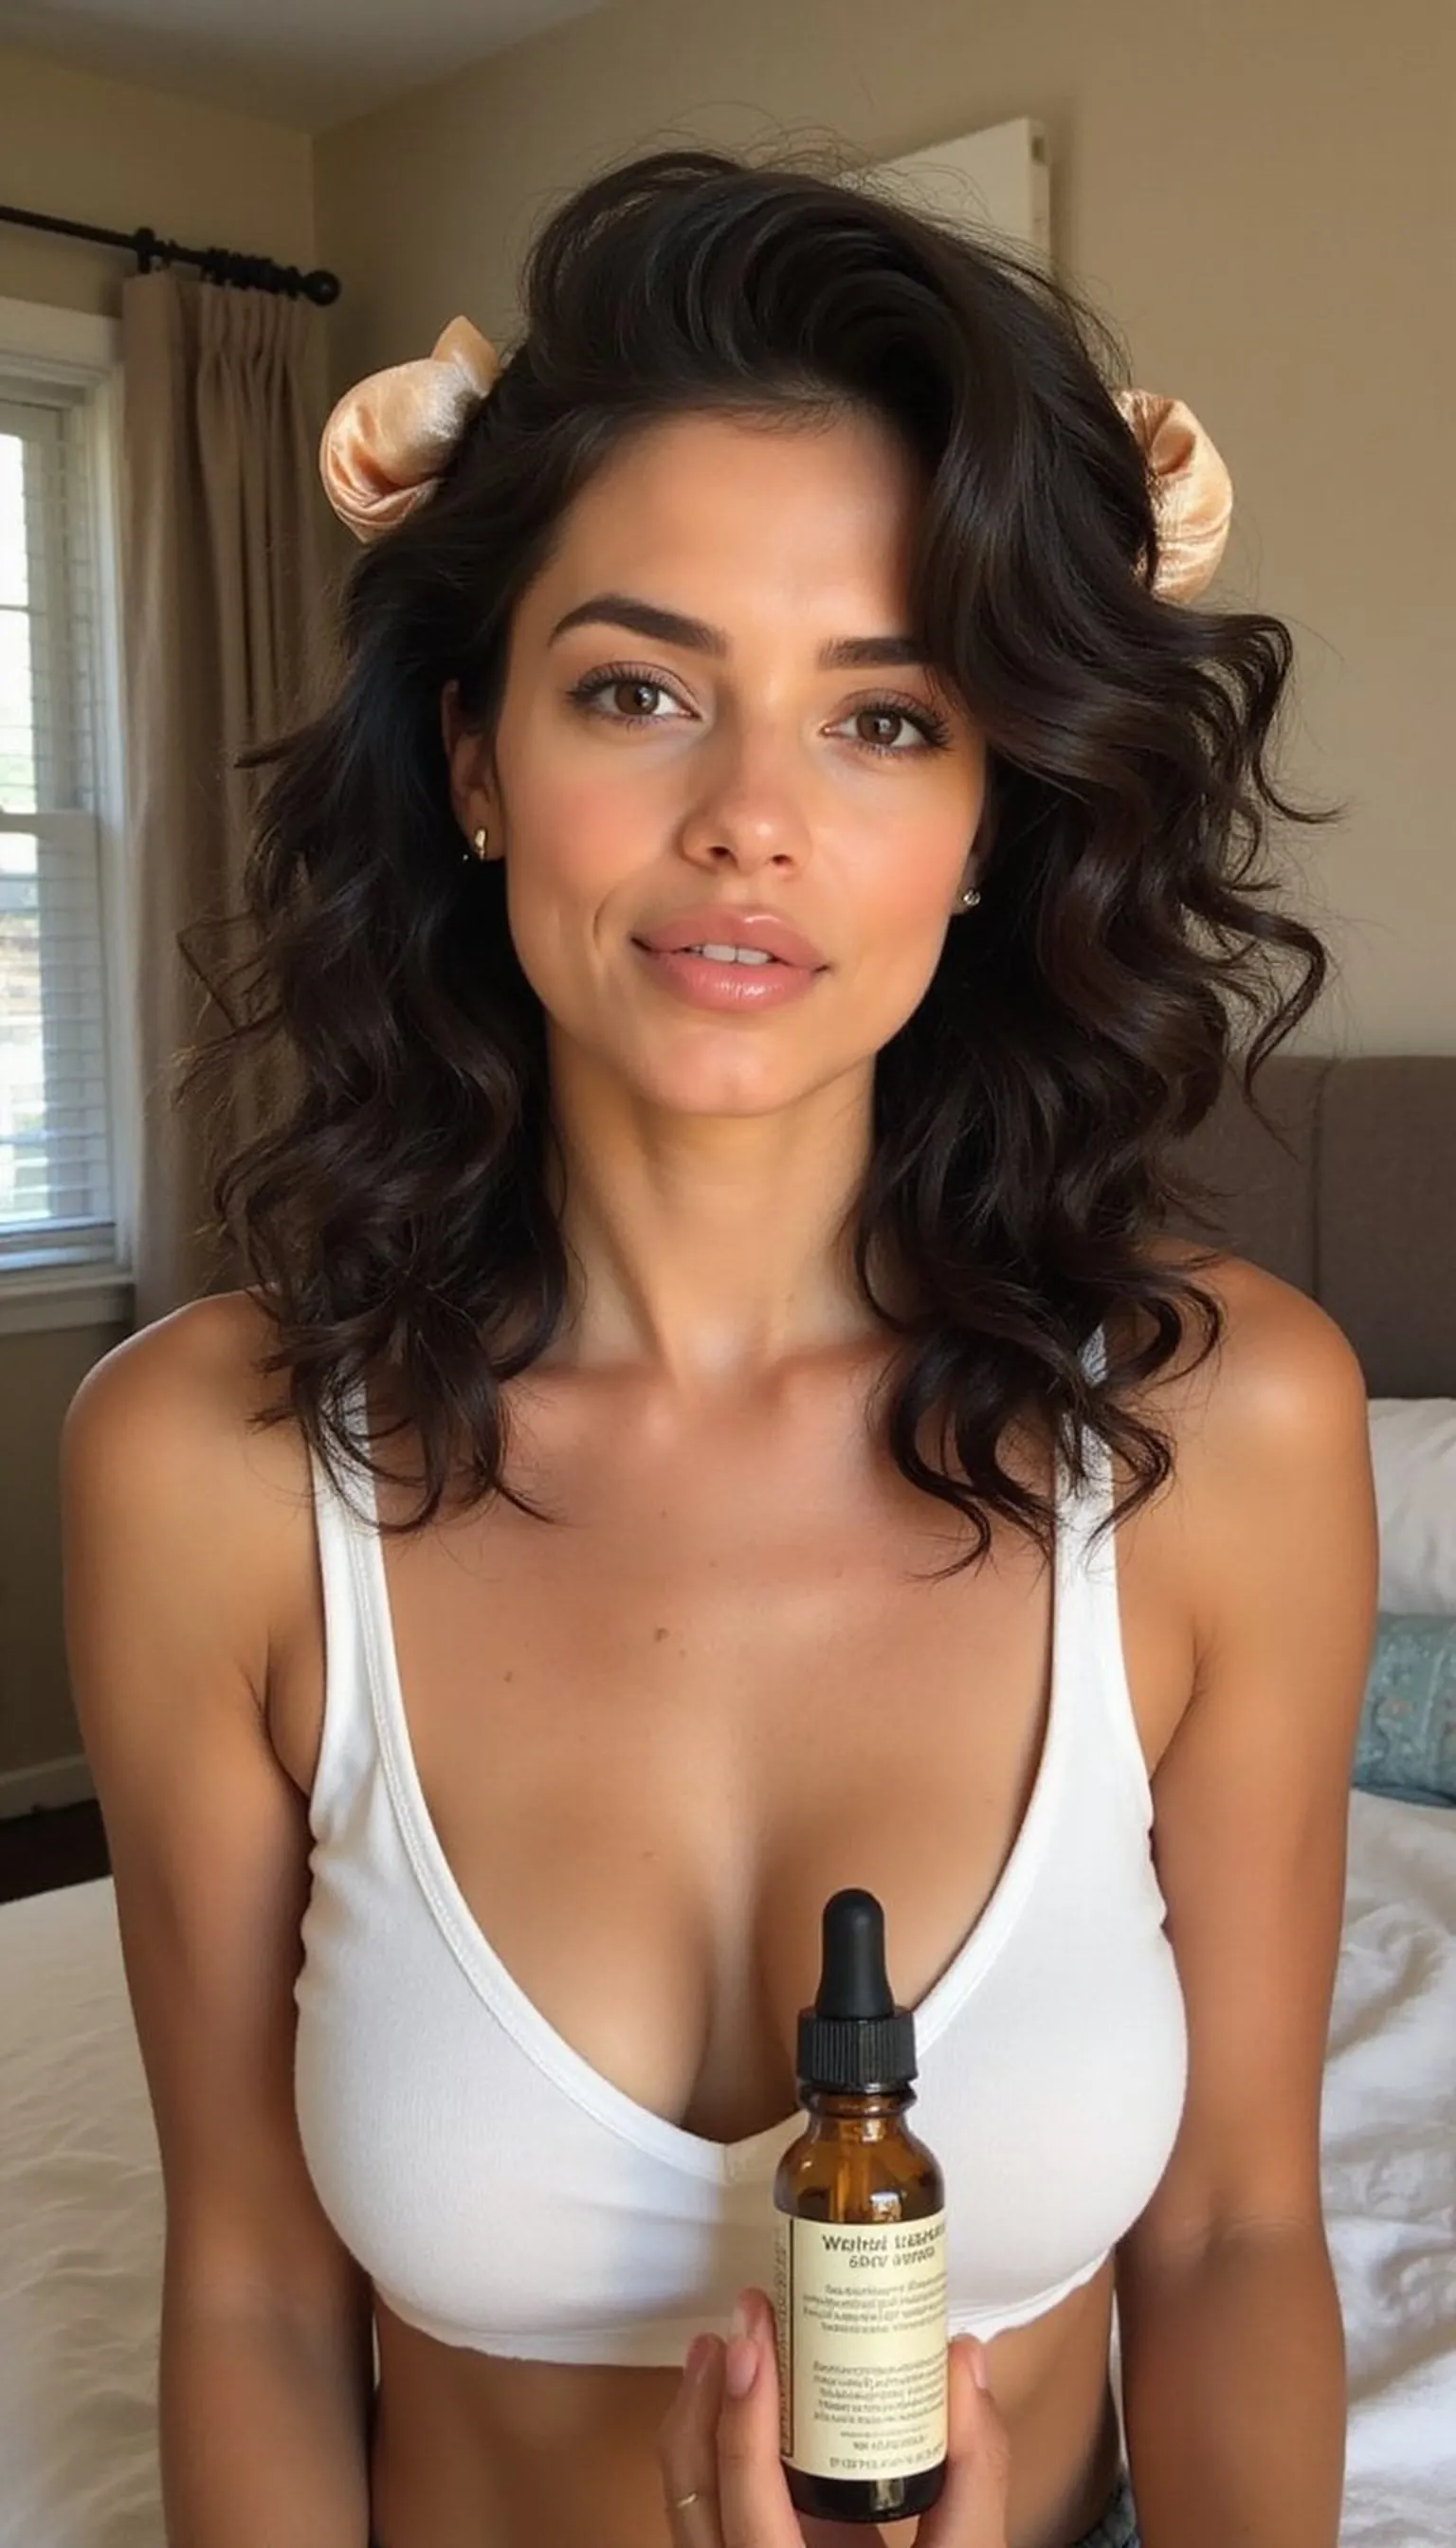
Heatless curls created with gentle twists produce soft texture that appears natural on camera without heat damage. Sleeping in twists or using rolled sections makes hair look lively and camera-friendly come morning.
Divide damp hair into sections, twist or wrap them around small buns, and secure each with a satin scrunchie to avoid creasing. Release, separate gently with fingers, and add a touch of lightweight serum for control without sheen that reflects light.
This method is ideal for stretched mornings when time is limited but results are still desired for video. Satin scrunchies help set shape while protecting the hair overnight.
Styling Tips
- Work on damp, not soaking hair for defined yet soft curls.
- Use satin scrunchies to prevent kinks and preserve shape.
- Finger-comb instead of brushing to keep the curl pattern intact.
Pro Tip: Wrap twists gently and secure with satin scrunchies to sleep in for heatless curls that hold without dents or frizz.
Avoid: Tying twists too tightly creates sharp creases instead of soft waves. Avoid brushing out curls which leads to frizz and loss of shape.
Try Also: Try larger sections for looser waves or small sections for ringlet-style curls. Release one side and pin back for an asymmetrical look.
Products & Materials
Items Used
- satin scrunchie
- lightweight serum
“Satin-scrunchie heatless curls for soft, camera-ready texture in the morning.”
