
As an Amazon Associate I earn from qualifying purchases.
Wood burning starter crafts for rustic style without big tools speaks to simple projects that bring warm, tactile charm to home accents. These small pyrography ideas and beginner wood burning projects work with a handheld pen and minimal extras for approachable results.
Each project here focuses on textured grain, modest burned lines, and cozy finishes that suit farmhouse, cabin, or vintage-inspired corners. The emphasis stays on starter-friendly designs that favor steady hands and patient strokes rather than heavy equipment.
Ideas include coasters, ornaments, bookmarks, and small signs that highlight natural wood tones and smoky edges. Expect projects that teach basic control of a low-heat pyrography pen while keeping the rustic feel front and center.
Hand-burned rustic wood slice drink coasters
⏱️ 45 min · 🟢 Beginner
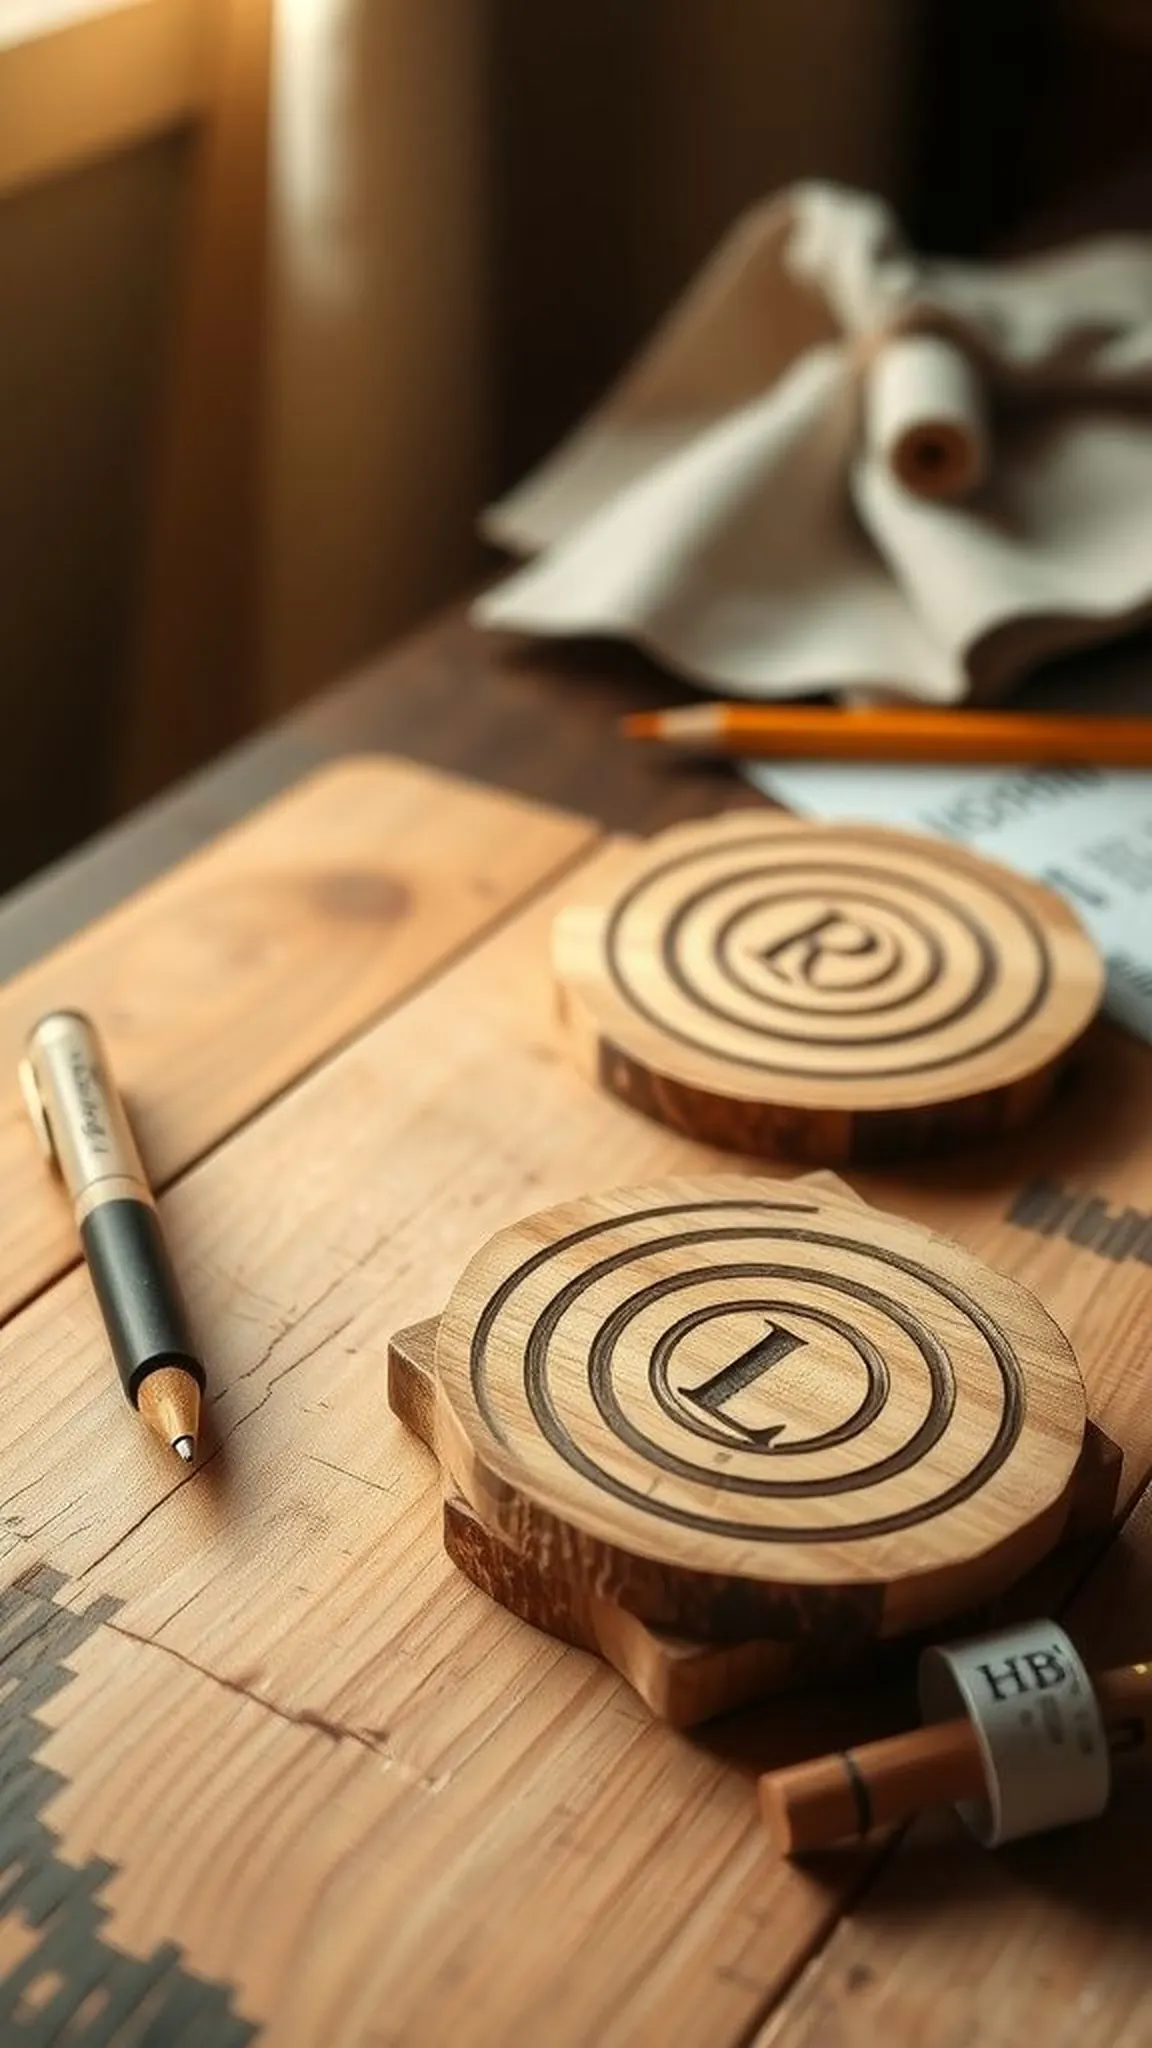
A set of small round coasters shows golden grain and warm charcoal lines that catch the eye across every ring. A faint, pleasant smoke note floats from the burned marks while the wood surface retains a gentle, satiny texture under fingertips.
Burned motifs range from tiny monograms to organic rings that sit low and tactile against the grain. Soft light pools along darker grooves and creates a cozy, worn look that complements ceramic mugs and copper tumblers.
A sliver of bark frames each piece like a tiny landscape, adding visual contrast against smoother centers. Together the coasters evoke quiet afternoons and comfortable, lived-in tabletops in rustic kitchens and coffee nooks.
Pro Tip: Make gentle test strokes on scrap to find heat level and line pressure before working on the final coasters.
How to Make This
- Sketch the design on paper and resize it to fit the wood slice.
- Transfer the sketch onto the coaster surface using graphite transfer paper and a pencil.
- Heat a fine-tip pyrography pen and trace the transferred lines with steady, even strokes.
- Let pieces cool fully then apply a clear protective finish if a sheen and durability are desired.
Avoid: Pressing too hard with the pen can gouge the wood and create uneven dark patches. Holding the tip at an awkward angle often leads to wobbly or inconsistent lines.
Try Also: Try single-letter monograms, tiny pine sprigs, or concentric geometric rings for different looks. A mix of light shading and bold outlines creates contrast across a coaster set.
Products & Materials
Items Used
- basswood round coasters (wood slices)
- pyrography wood burning pen with fine tip
- graphite transfer paper
- HB wooden pencil
“Hand-burned rustic coasters add warm, natural charm to tabletops”
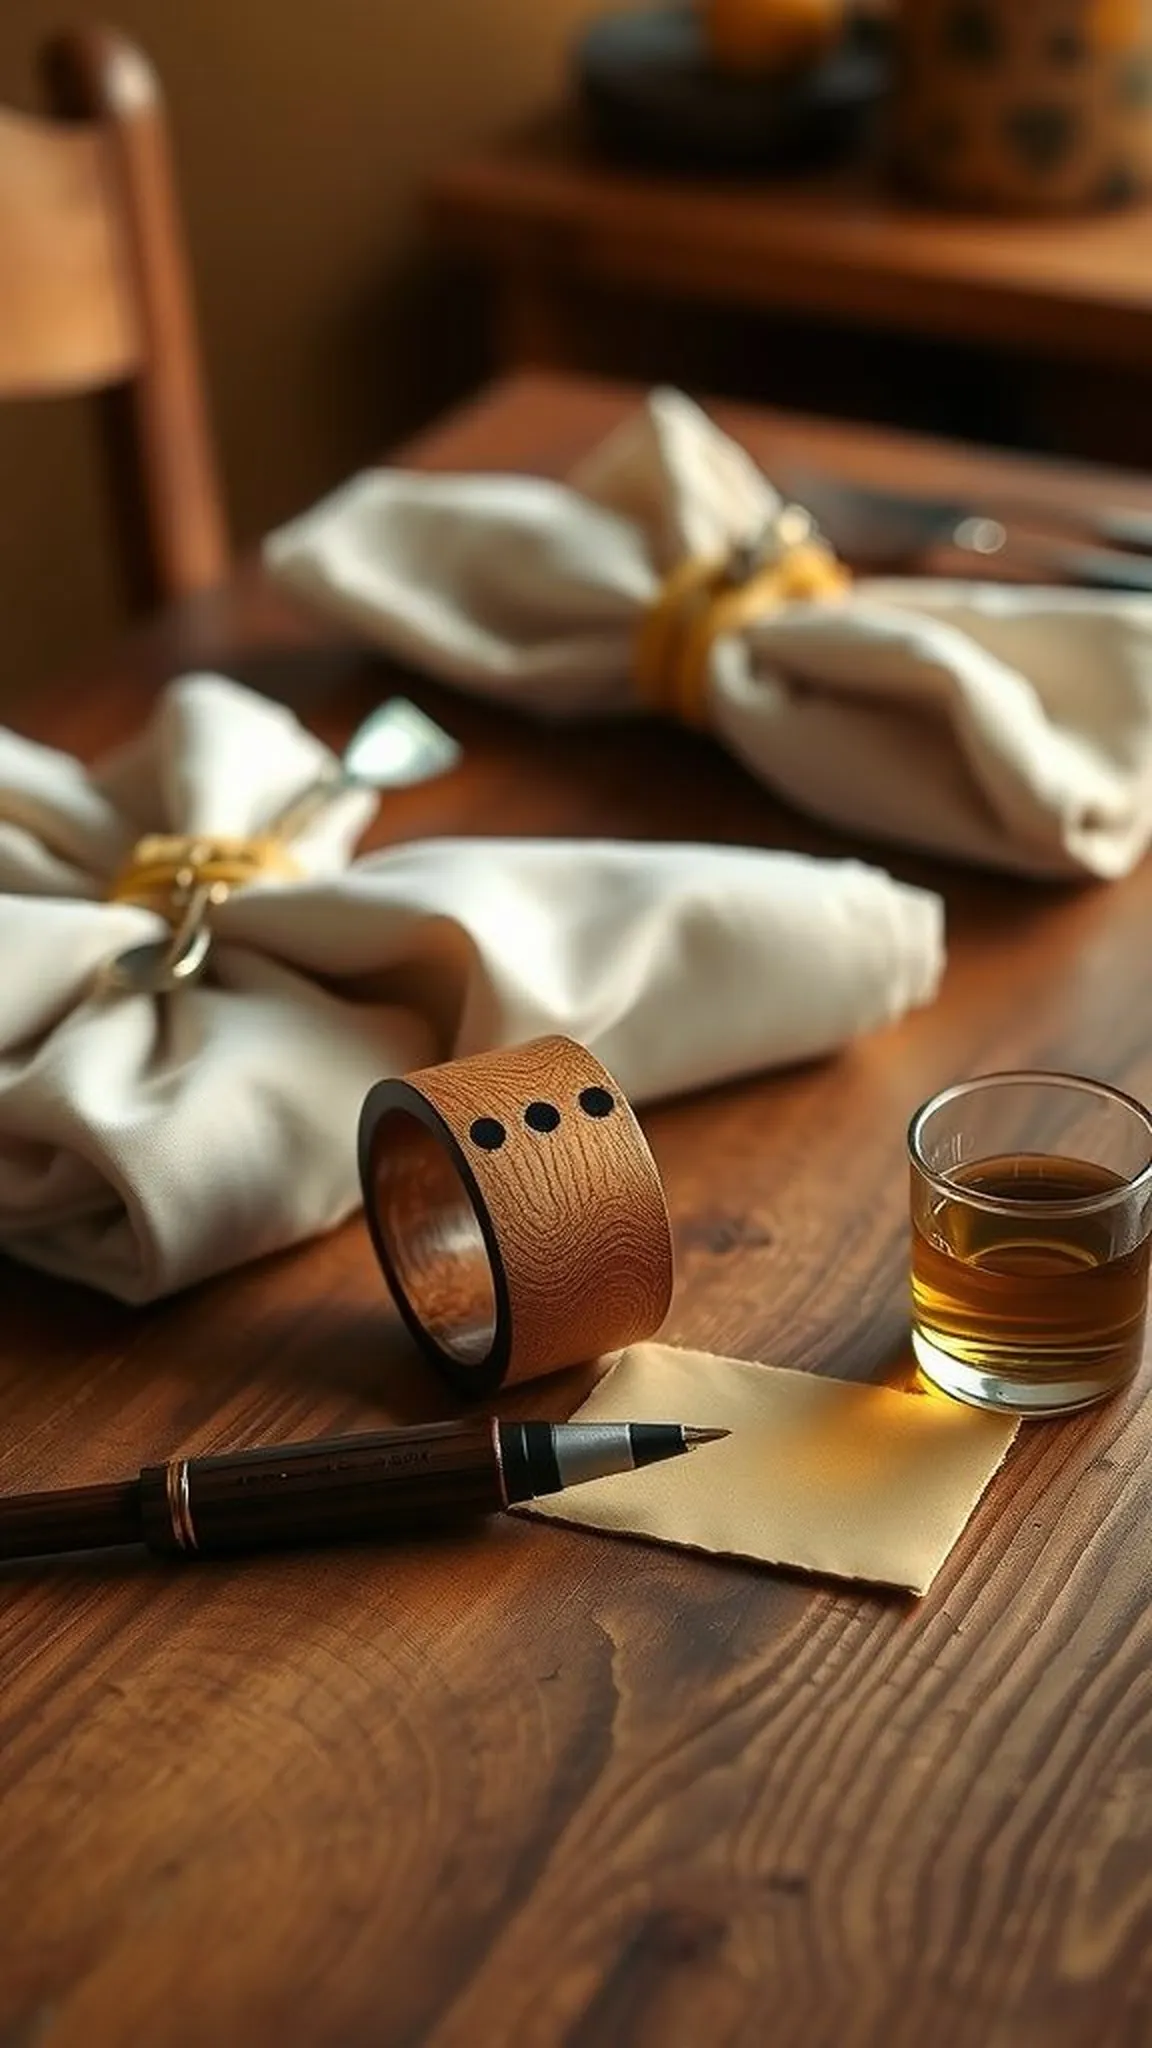
Mini wooden keychains with burned initials
⏱️ 30 min · 🟢 Beginner
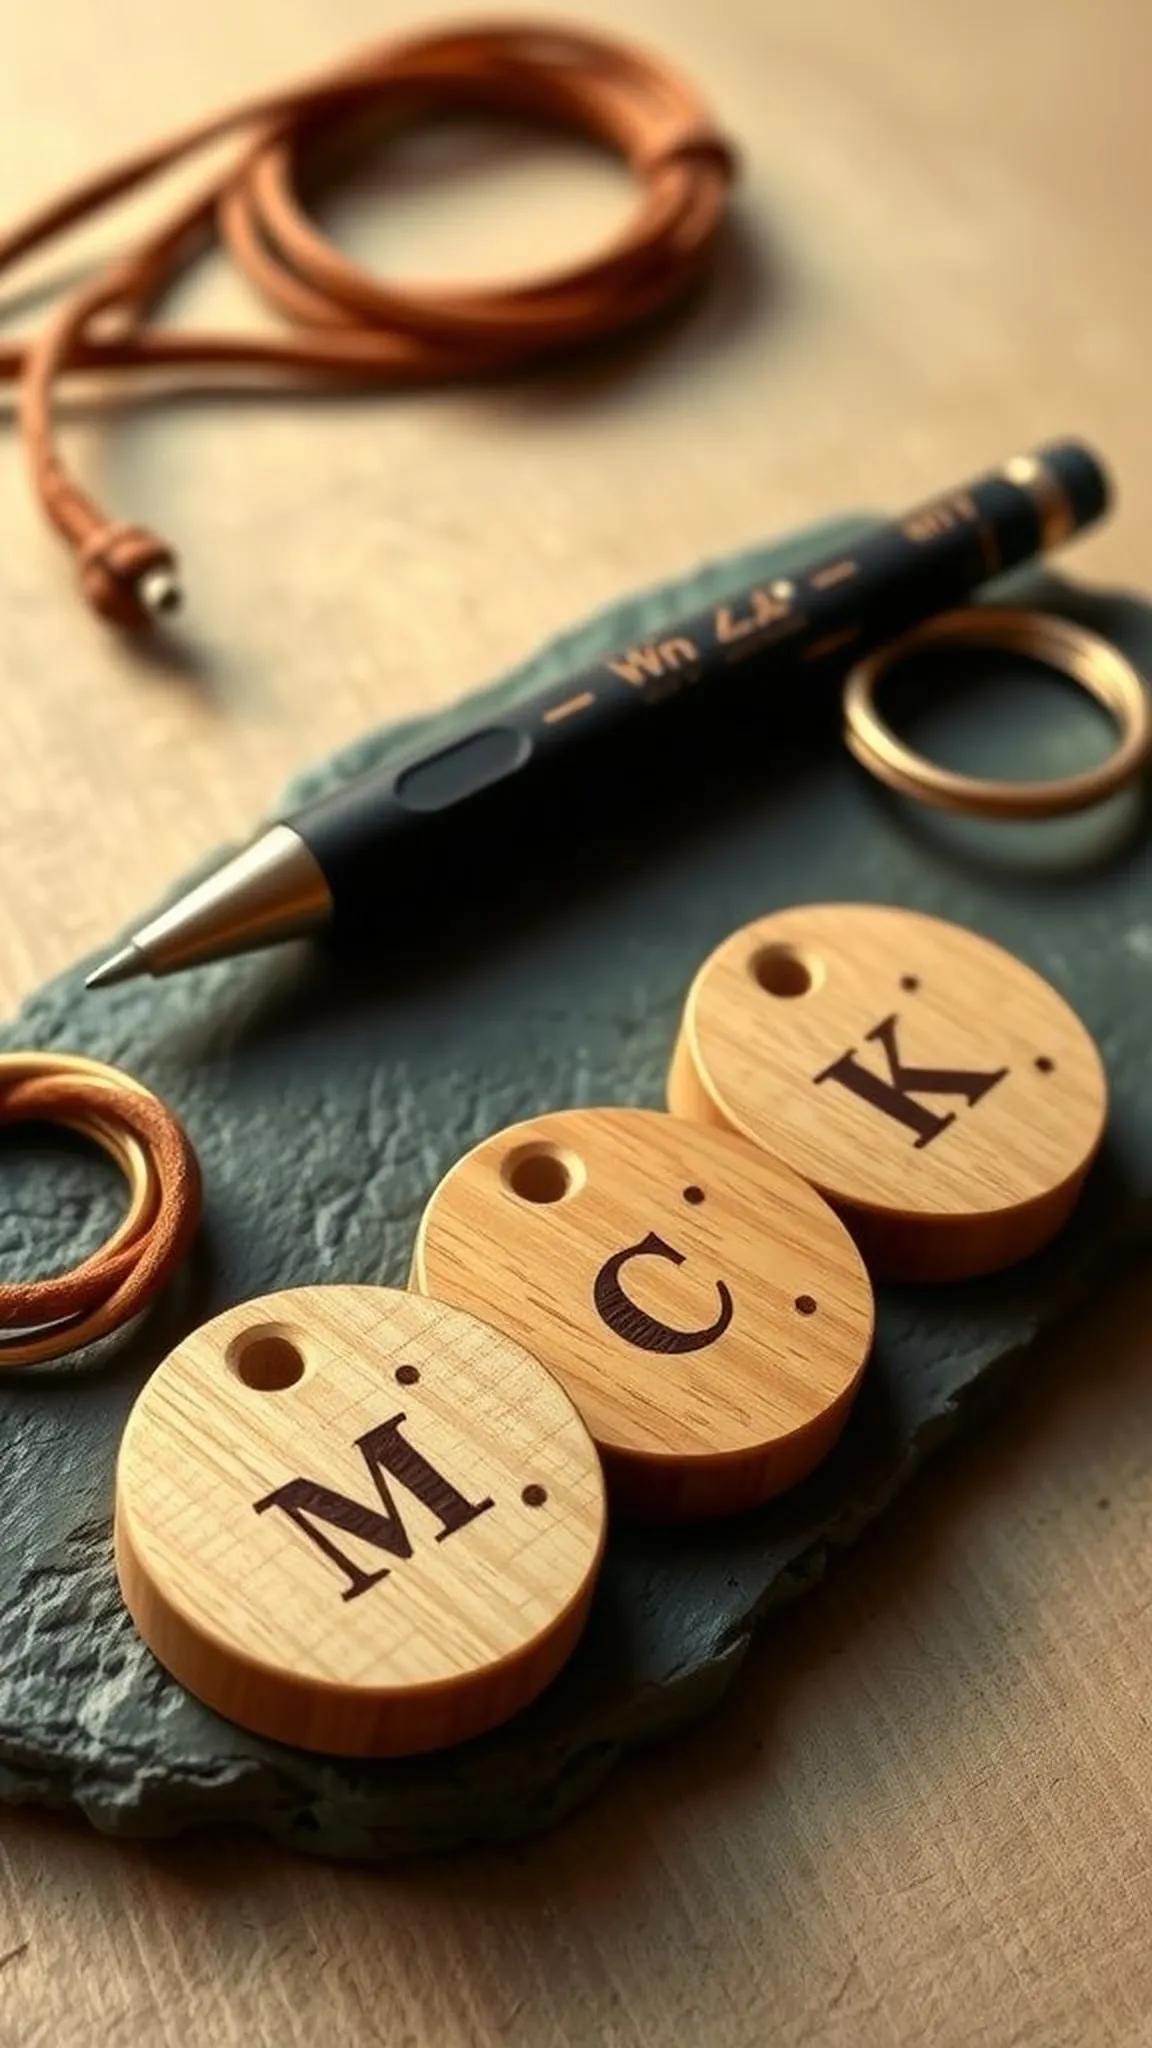
Small rectangular or round key fobs feel light in hand with slightly smoky letters warming the surface. The wood grain peeks through shallow burned initials and tiny decorative dots that add character to each piece.
Edges show soft, handcrafted irregularities that lend a personal, tactile quality to everyday keys. A leather cord or split ring pairs with the wood to create a cozy contrast of textures and tones.
Finished charms carry a faint scent of char and hold up well tucked into pockets or purses. Grouped together they form a tiny collection of personalized accents that are both useful and charming.
Pro Tip: Work on small scraps to refine letter spacing and keep strokes even before committing to keychain pieces.
How to Make This
- Draw the chosen initials on paper and scale them to fit the keychain blank.
- Transfer the letters onto the wood piece with transfer paper and a pencil outline.
- Trace and darken the outlines with a fine pyrography tip, adjusting heat for shallow shading.
- Thread a leather cord or split ring through a pre-drilled hole for finishing.
Avoid: Rushing letter spacing can make initials look cramped or imbalanced. Excessive heat applied too long often leaves heavy, hard-to-soften scorch marks.
Try Also: Add tiny hearts, dots, or simple botanical silhouettes around initials for extra charm. Swap leather cord for a brass split ring or hemp twine for different rustic vibes.
Products & Materials
Items Used
- small basswood keychain blanks with pre-drilled hole
- pyrography pen with fine tips
- leather cord keychain string
“Tiny burned initial keychains add cozy charm to everyday carry”
Slim rustic wooden bookmarks with burned motifs
⏱️ 1 hour · 🟢 Beginner
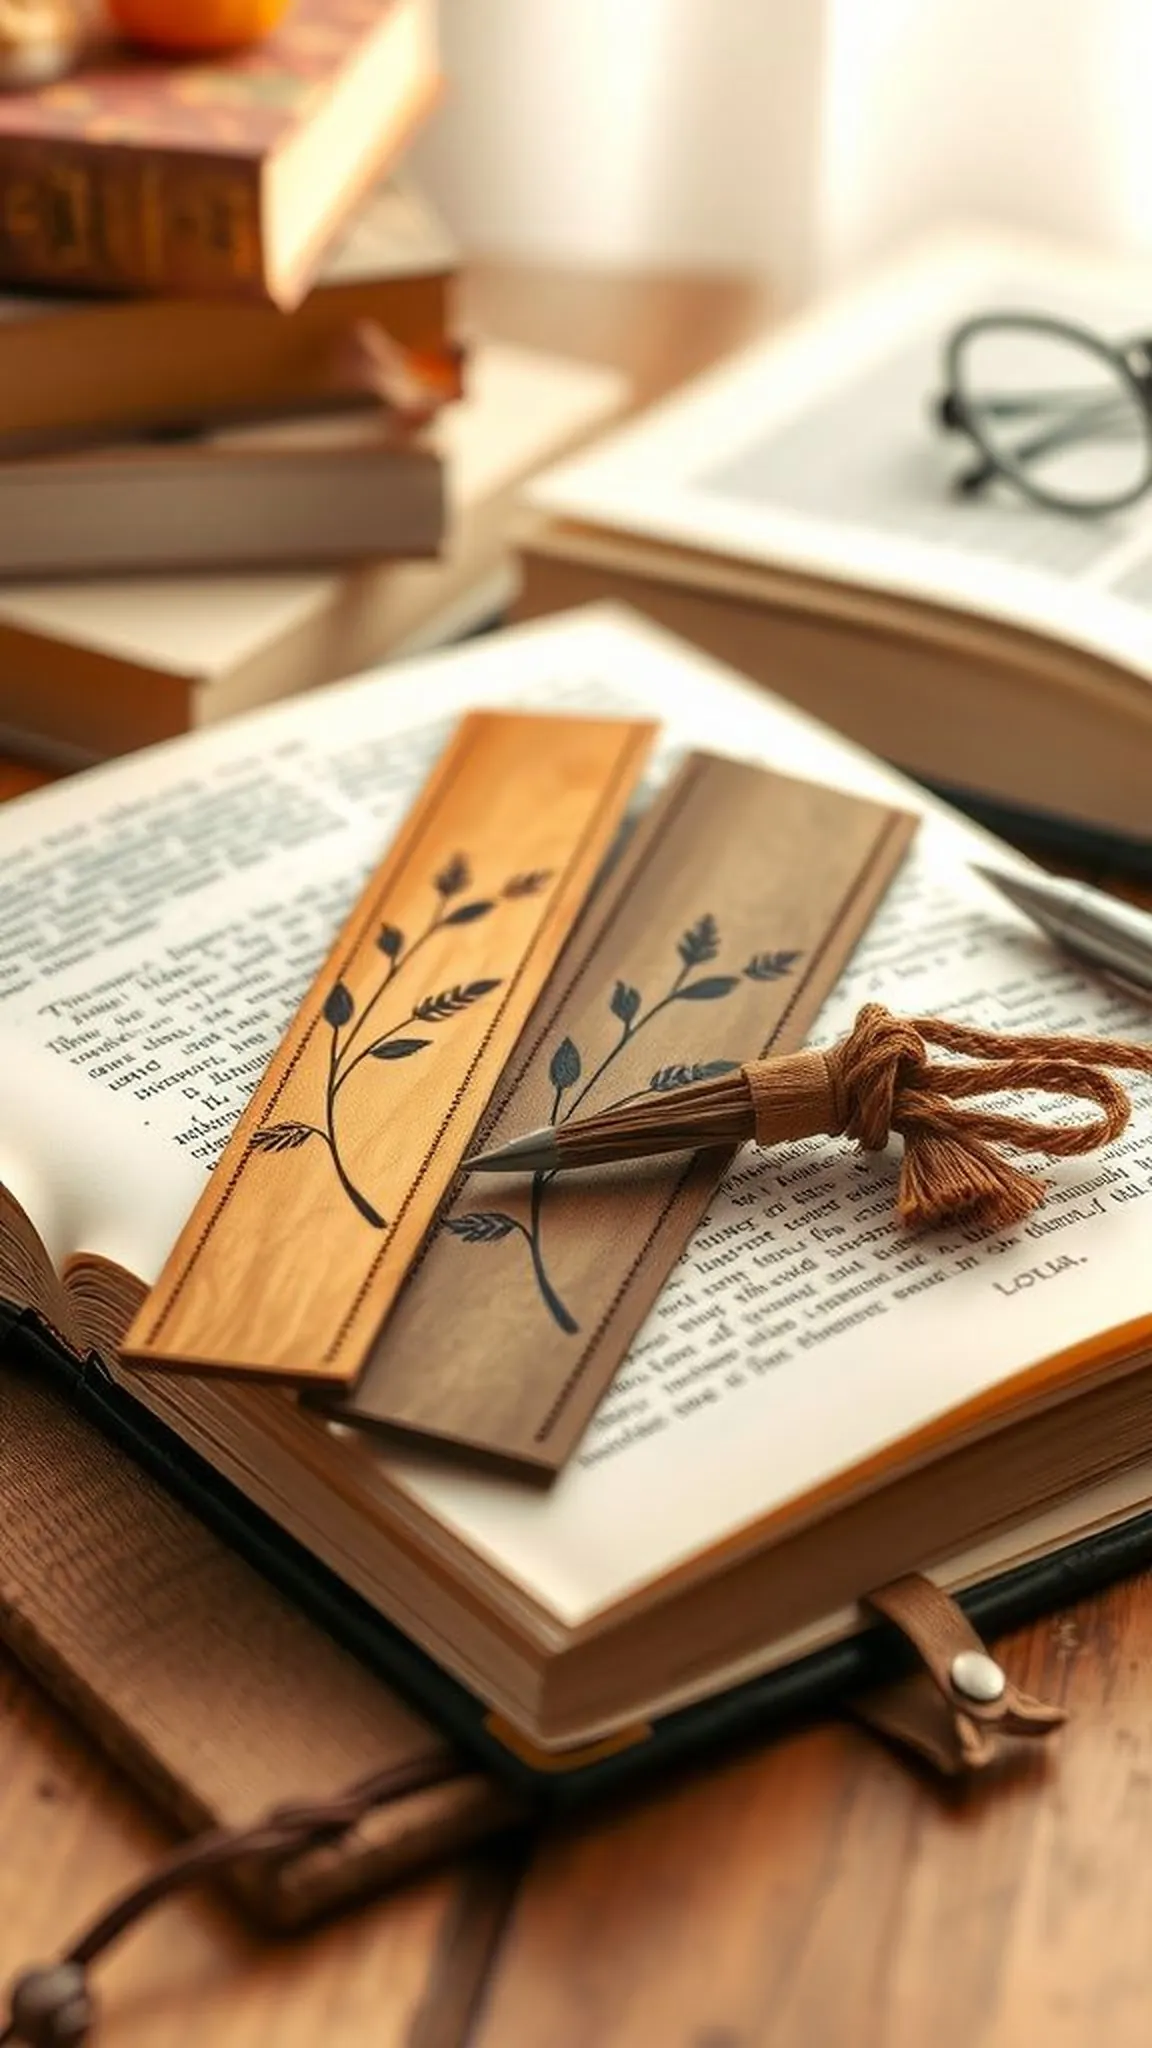
Long, slim bookmarks show elongated grain that feels smooth under fingertips and invites a quiet pause between pages. Burned botanical stems or simple line patterns run along the length like tiny, tactile roadmaps for the eye.
The smell of warm wood mingles with paper edges when a bookmark slips into a well-loved book. Light catches faint charcoal strokes so the pattern reads subtly without overwhelming delicate covers.
Edge wear and soft corners add to a lived-in, story-ready appearance that suits journals and novels. Each piece settles into reading rituals as a small, handcrafted companion on quiet afternoons.
Pro Tip: Practice long, steady strokes on scrap strips to build smooth lines and avoid uneven burning along the bookmark length.
How to Make This
- Choose a slim wooden bookmark blank and sand lightly for an even surface.
- Pencil a long motif or line design and transfer it to the wood.
- Trace the design with a steady hand using a narrow pyrography tip.
- Optionally finish with a thin oil or wax for subtle sheen and protection.
Avoid: Wobbly hands often produce uneven long lines that distract from the clean aesthetic. Overheating small areas can cause blotchy dark patches along the length.
Try Also: Try a collection with tiny leaf sprigs, dashed borders, or short quotes in block letters. Thin ribbon tassels or leather tabs add tactile flair to each bookmark.
Products & Materials
Items Used
- wooden bookmark blanks
- pyrography pen narrow tip
- waxed linen ribbon or leather tassel
“Slim burned bookmarks add rustic charm to every reading moment”
Save time and printer ink with 50+ printable templates and step-by-step instructions in one ad-free guide.

Just $19.99 — lifetime access
Festive round ornament discs with burned designs
⏱️ 40 min · 🟢 Beginner
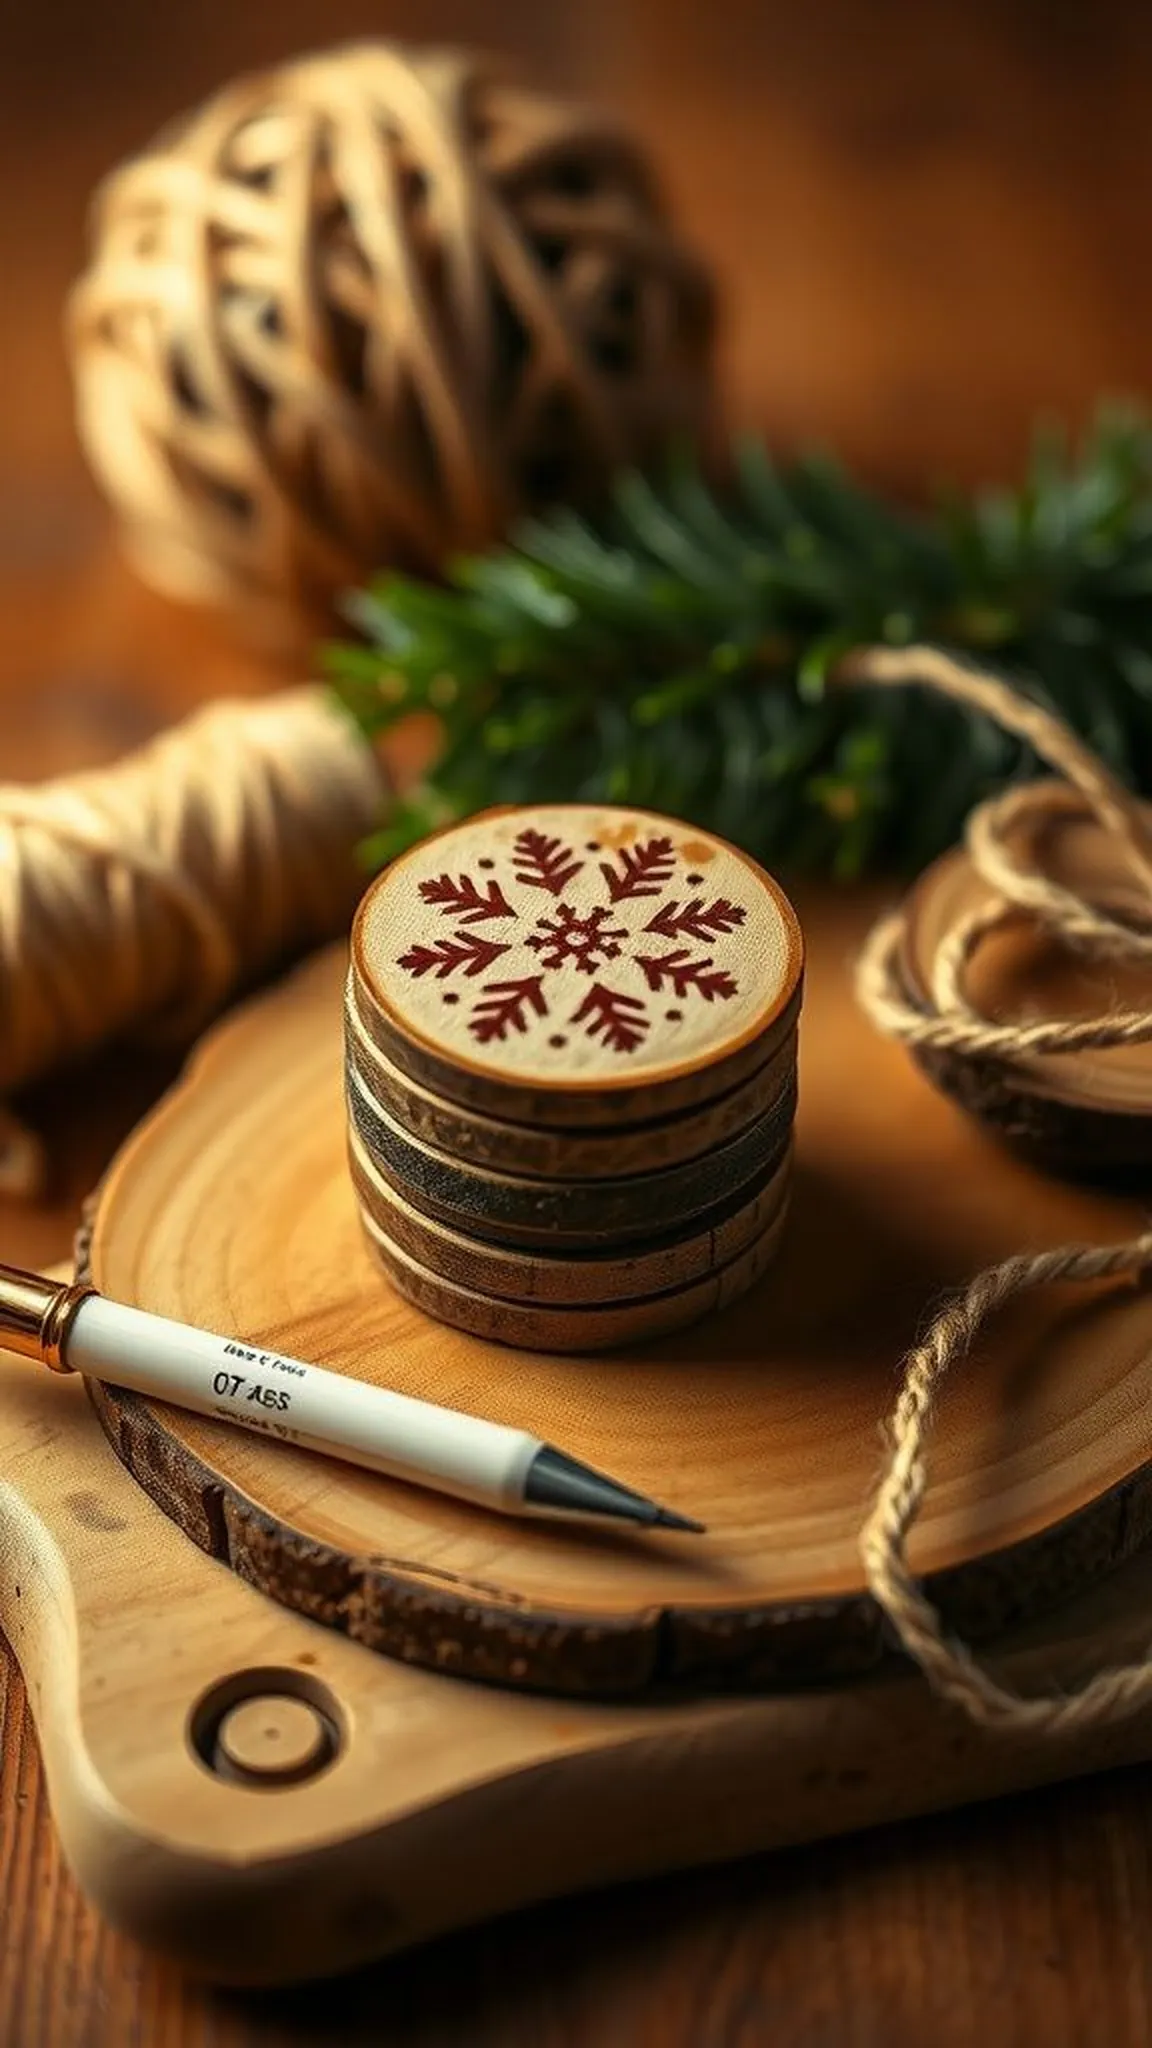
Small round ornaments glow with soft char lines that suggest snowflakes, stars, or tiny woodland scenes. Light dances off faintly shaded grooves, adding warmth to wreaths and tree branches where each disc hangs.
The scent of slightly smoked wood adds a nostalgic edge that pairs well with cinnamon and evergreen. Edges show gentle texture and a handcrafted hush that suits cozy holiday displays.
Grouped ornaments form a tiny chorus of matching motifs and varied patinas that read as collected rather than manufactured. Each piece carries a quiet, tactile quality that invites touch and lingering appreciation.
Pro Tip: Keep heat low for delicate patterns and pause often to check tonal variation on a spare disc before finishing ornaments.
How to Make This
- Select thin round ornament blanks with pre-drilled holes for hanging.
- Draw small motifs or transfer simple stencil outlines onto each disc.
- Carefully trace outlines and add light shading using a fine pyrography tip.
- Thread twine or ribbon through the hole and knot for hanging.
Avoid: Overworking tiny areas can darken small motifs into indistinct blobs. Forgetting to test heat on a scrap often results in unexpectedly deep burns.
Try Also: Create sets with snowflakes, tiny animal silhouettes, or minimalist letterforms for personal touches. Swap natural twine for metallic thread to shift between rustic and a bit more refined.
Products & Materials
Items Used
- thin wooden ornament discs with hole
- pyrography pen with fine tips
- natural twine for hanging
“Hand-burned wooden ornaments add nostalgic warmth to holiday decor”
Rustic herb garden plant markers for pots
⏱️ 30 min · 🟢 Beginner
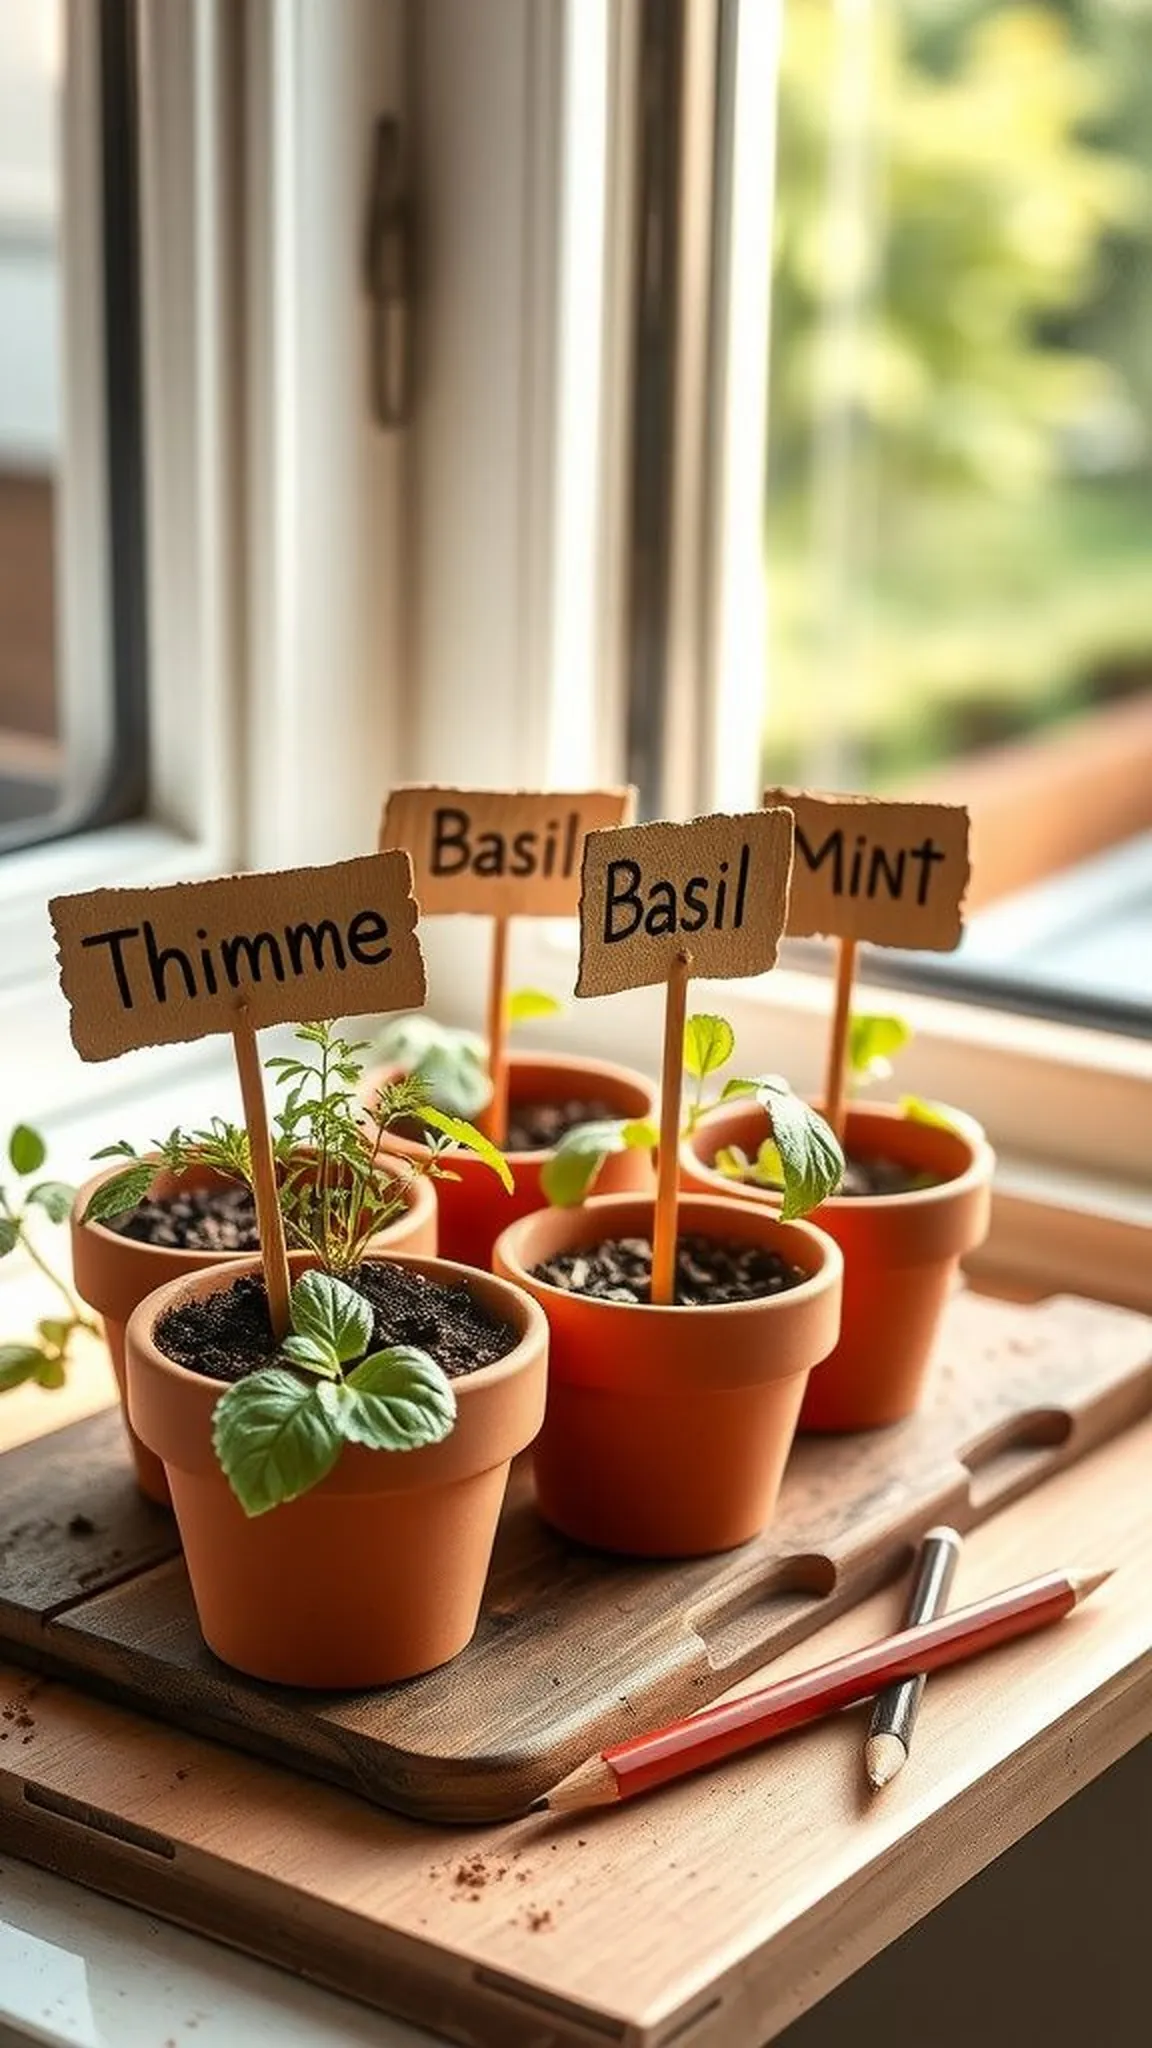
Slender wooden plant markers lean softly in pots, their short burned names reading like little labels in a herb patch. The grain keeps the letters grounded while the charred strokes present a timeless, utilitarian look.
Weathered edges and slightly faded marks blend into outdoor beds and sunlit windowsills without feeling fussy. The tactile contrast between smooth tops and darker lettering invites a curious fingertip as herbs brush past.
Markers patinate over time, taking on tiny sun-kissed highlights and softened burn edges that suit garden rhythm. A tidy set of labeled stakes gives a humble, practical elegance to kitchen gardens and window boxes alike.
Pro Tip: Choose slightly thicker stakes for outdoor markers to resist bending and test lettering on scrap for legibility in low light.
How to Make This
- Pick suitable wooden stakes of consistent thickness for planting.
- Pencil the abbreviated herb names and transfer if needed for spacing.
- Burn the letters with moderate heat, keeping strokes short and confident.
- Let markers cure outdoors briefly before placing them into soil for stability.
Avoid: Using very thin stakes can allow warping or splitting when pressed into soil. Applying long continuous burns on narrow faces often produces uneven, shaky lettering.
Try Also: Shorten names for tiny pots, add small leaf icons beside the name, or mark spices with simple circles for a modern look. Pale white wash over the top surface can soften contrast for a vintage feel.
Products & Materials
Items Used
“Simple burned plant markers bring organized charm to home gardens”
Handheld wooden spoon accent with burned motif
⏱️ 1-2 hours · 🟠 Intermediate
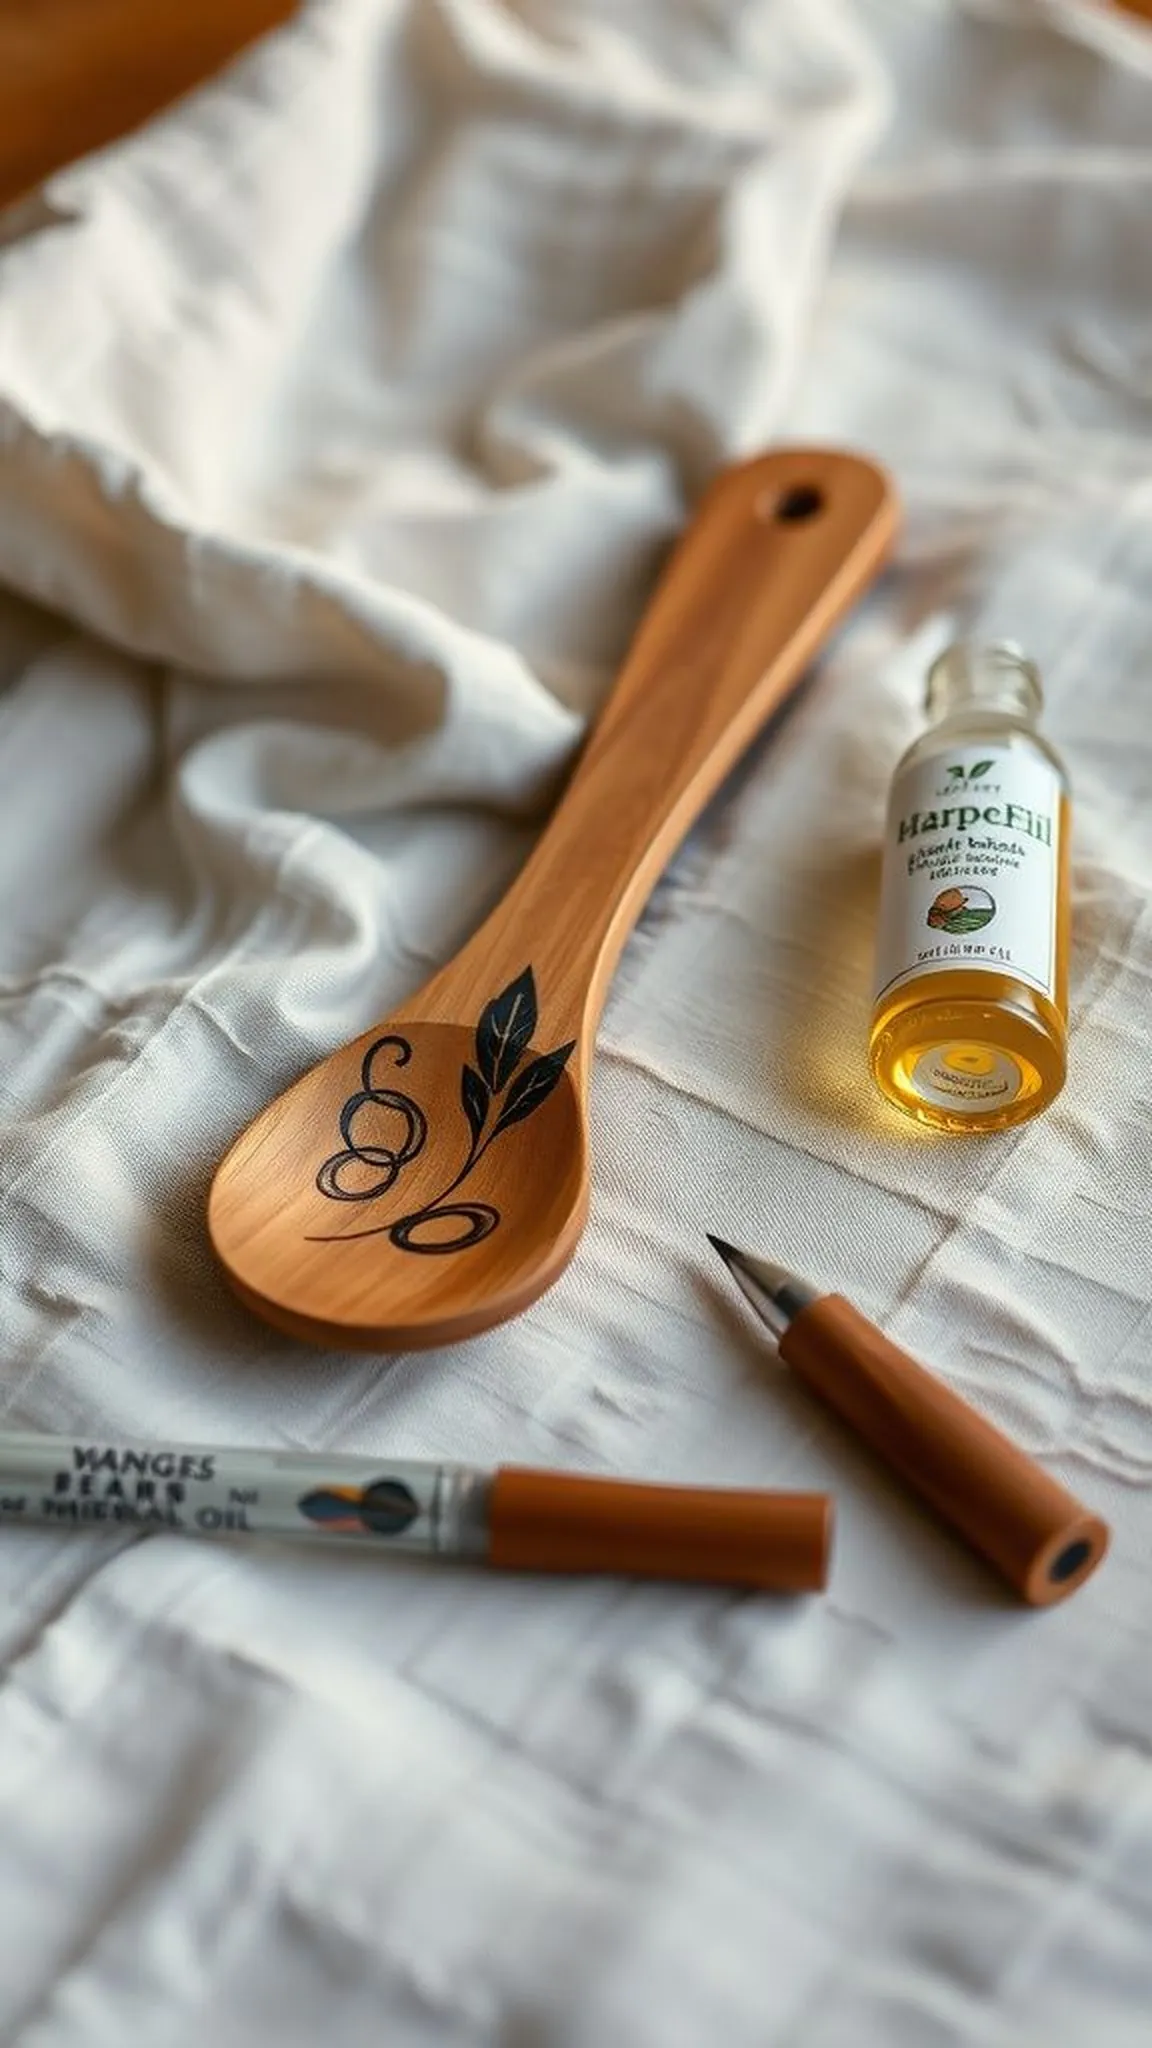
A wooden spoon handle with a burned motif becomes a tiny heirloom that feels at home in a rustic kitchen drawer. The warm, rounded handle contrasts with darker linear marks that highlight natural grain and add a historic touch.
Finger-smooth curves meet shallow shading and small decorative bands that catch light and shadow in the same way a much-loved tool would. The scent of toasted wood lingers softly around the decorated portion, enhancing the handmade impression.
Finished spoons carry a quiet balance between function and ornamentation, sitting comfortably among other wooden utensils. They hold a gentle, lived-in beauty that invites daily use and display alike.
Pro Tip: Focus burns on the upper handle area and work in short passes to build tone without overheating the spoon’s thin sections.
How to Make This
- Select a spoon blank with a comfortable handle thickness for steady work.
- Sketch a small repeating band or motif near the handle’s end for balance.
- Trace and darken the design using a low heat setting and a narrow pyrography tip.
- Lightly buff the decorated area and apply a food-safe oil if intended for kitchen use.
Avoid: Applying too much heat near thin sections can cause warping or deep burns. Trying overly intricate details on a curved handle often results in uneven line work.
Try Also: Add spaced dots and thin rings, a tiny leaf band, or rustic lettering such as ‘stir’ or a short name. Pair with a simple wood wash or leave natural for a raw look.
Products & Materials
Items Used
- unfinished wooden spoon blanks
- pyrography pen variety tips
- food-safe finishing oil
“Warm, personalized wooden spoon handles bring rustic kitchen charm”
Small hanging sign with short burned phrase
⏱️ 2-3 hours · 🟠 Intermediate

A petite hanging sign with a short burned phrase fits a doorway or shelf and reads like a soft welcome. Letterforms sit against gently textured wood, their darker strokes bringing rhythm and visual weight to the small panel.
The sun-warmed surface contrasts with the cool, crisp lines of the burned words, while the grain runs horizontally beneath the text for a natural backdrop. A thin cord or leather strap forms a quiet hanging loop that complements the sign’s modest scale.
Placed on a peg or above a hooks board, the sign adds personality without demanding attention. The overall effect is understated, friendly, and well suited to rustic or cottage interiors.
Pro Tip: Transfer printed lettering to the board to keep spacing even and trace lightly before committing with the pyrography pen.
How to Make This
- Pick a small wooden plank sized for the chosen short phrase.
- Print the phrase in the desired font and transfer it onto the plank for spacing.
- Burn each letter slowly with a steady hand using an appropriate tip.
- Attach a leather strap or twine to the back for hanging once fully cooled.
Avoid: Rushing letter spacing can lead to crowded or lopsided wording. Using a heat setting that’s too high often yields uneven, deeply charred letters that look harsh.
Try Also: Select single words like ‘welcome’, ‘gather’, or ‘hello’ in block or script styles. Combine with small burned icons such as a heart or leaf for a softer tone.
Products & Materials
Items Used
“Tiny burned signs add personality to doors and shelves”
Wooden pendant necklace with burned pattern
⏱️ 1 hour · 🟠 Intermediate
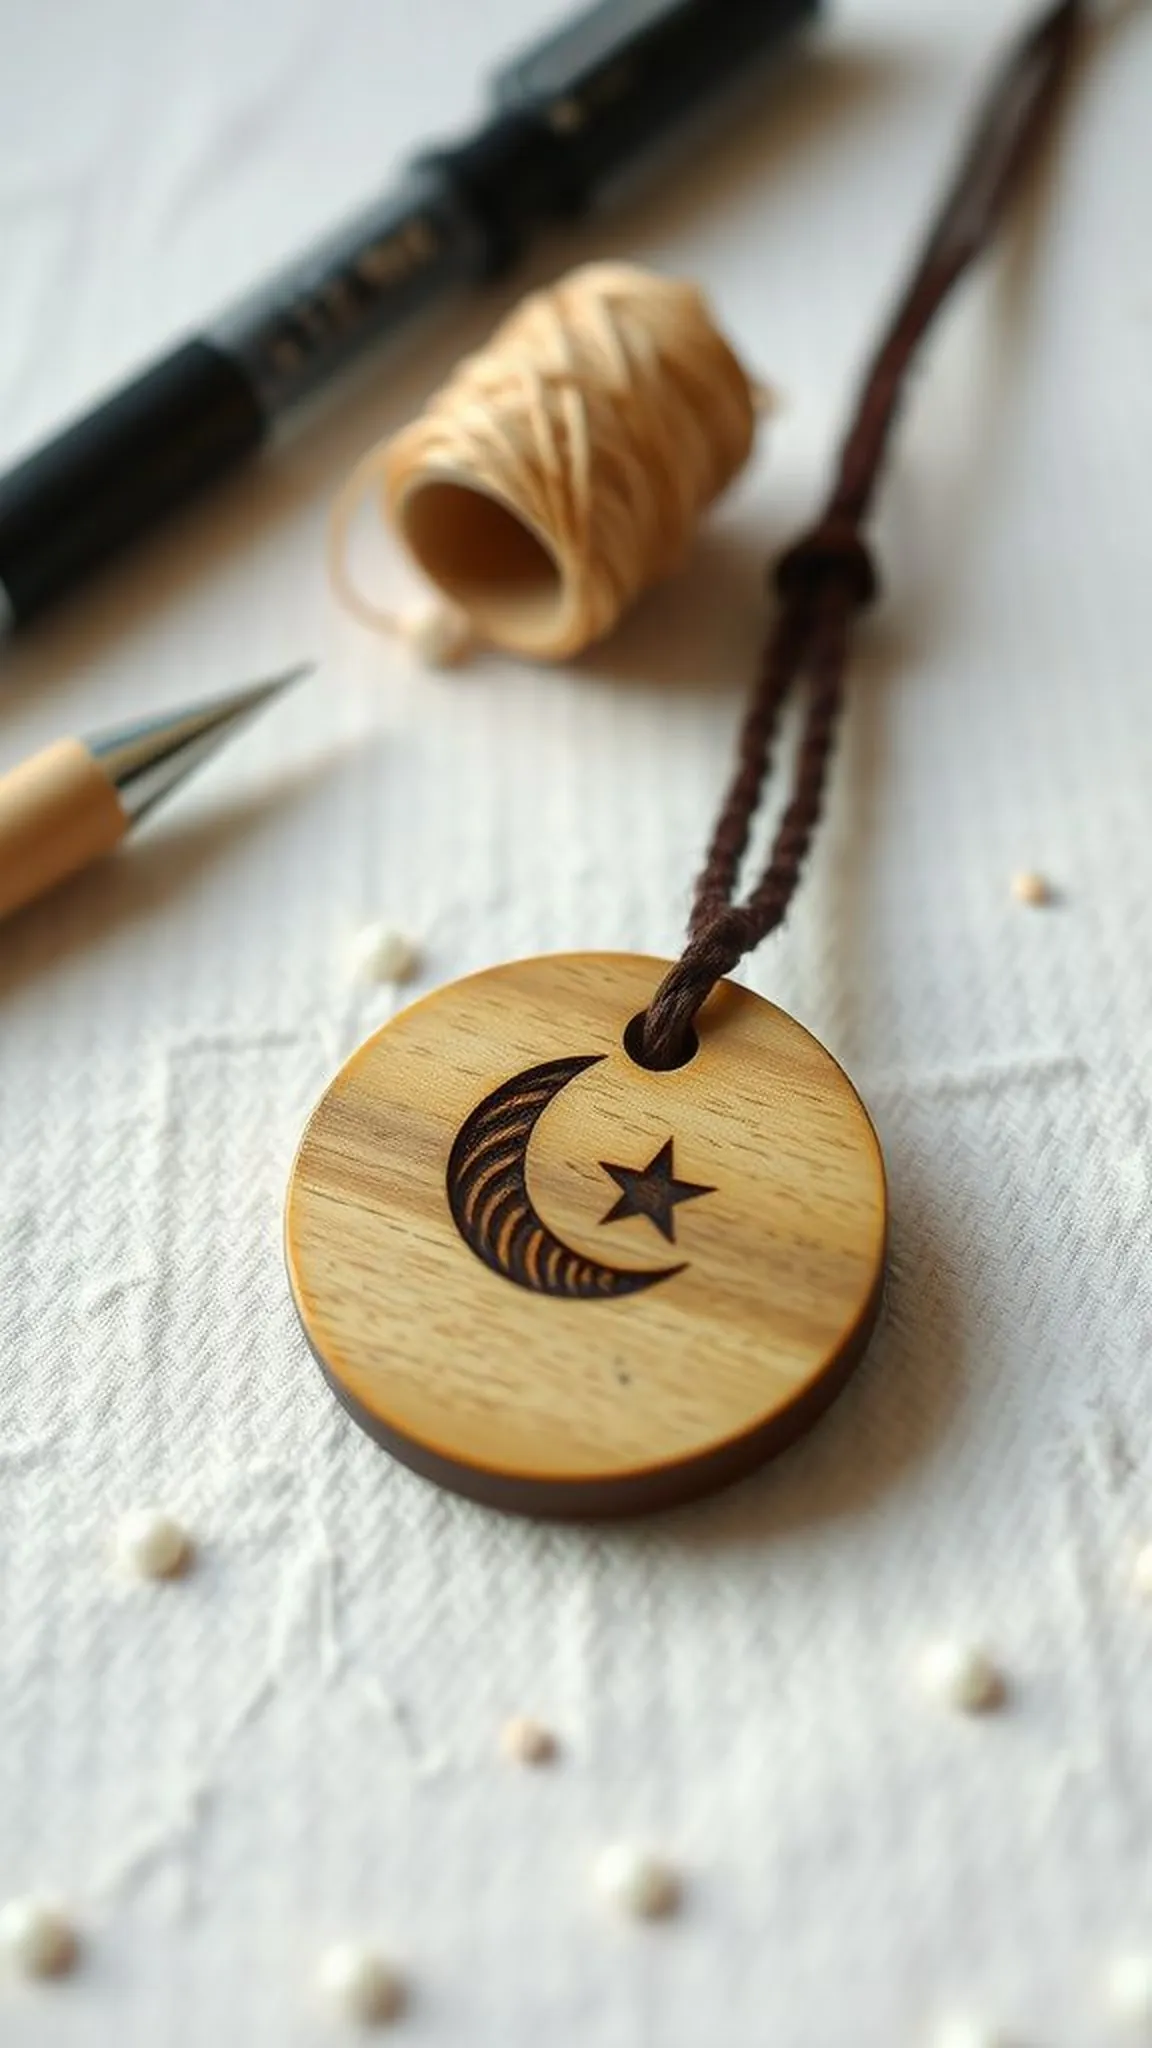
A small wooden pendant suspended on a thin cord becomes an intimate accent when adorned with a tiny burned motif. The pendant surface shows concentrated, crisp lines that read like miniature drawings at wearable scale.
The wood’s warm tones complement soft skin and contrast gently with leather or waxed cord so the pendant feels lived-in and wearable. Tiny burn marks catch light and cast delicate shadows that add dimensionality to the piece.
Kept close to the heart, a pendant carries a subtle handcrafted narrative through tactile detail. It pairs nicely with linen and layered textiles for a quietly rustic jewelry collection.
Pro Tip: Select a small, even-thickness pendant blank and test heat on a scrap to prevent scorching thin edges during detailing.
How to Make This
- Choose a pendant blank and mark the motif lightly in pencil for placement.
- Use a fine pyrography tip to burn the small pattern with short, confident passes.
- Drill or confirm a hole for cord, then string with leather or waxed cord for wearing.
- Optionally finish with a light oil for warmth and slight sheen.
Avoid: Working too long in one spot can darken thin edges and risk cracking. Trying overly detailed scenes on a tiny surface often reads as muddled rather than intricate.
Try Also: Go for tiny stars and moons, minimalist line faces, or geometric triangles for a modern rustic look. Stain the pendant lightly for deeper contrast against burned lines.
Products & Materials
Items Used
- wooden pendant blanks
- pyrography pen fine detail tip
- waxed cotton cord necklace
“Delicate wooden pendants showcase tiny burned motifs for rustic jewelry”
Picture frame corners with subtle burned accents
⏱️ 1-2 hours · 🟠 Intermediate
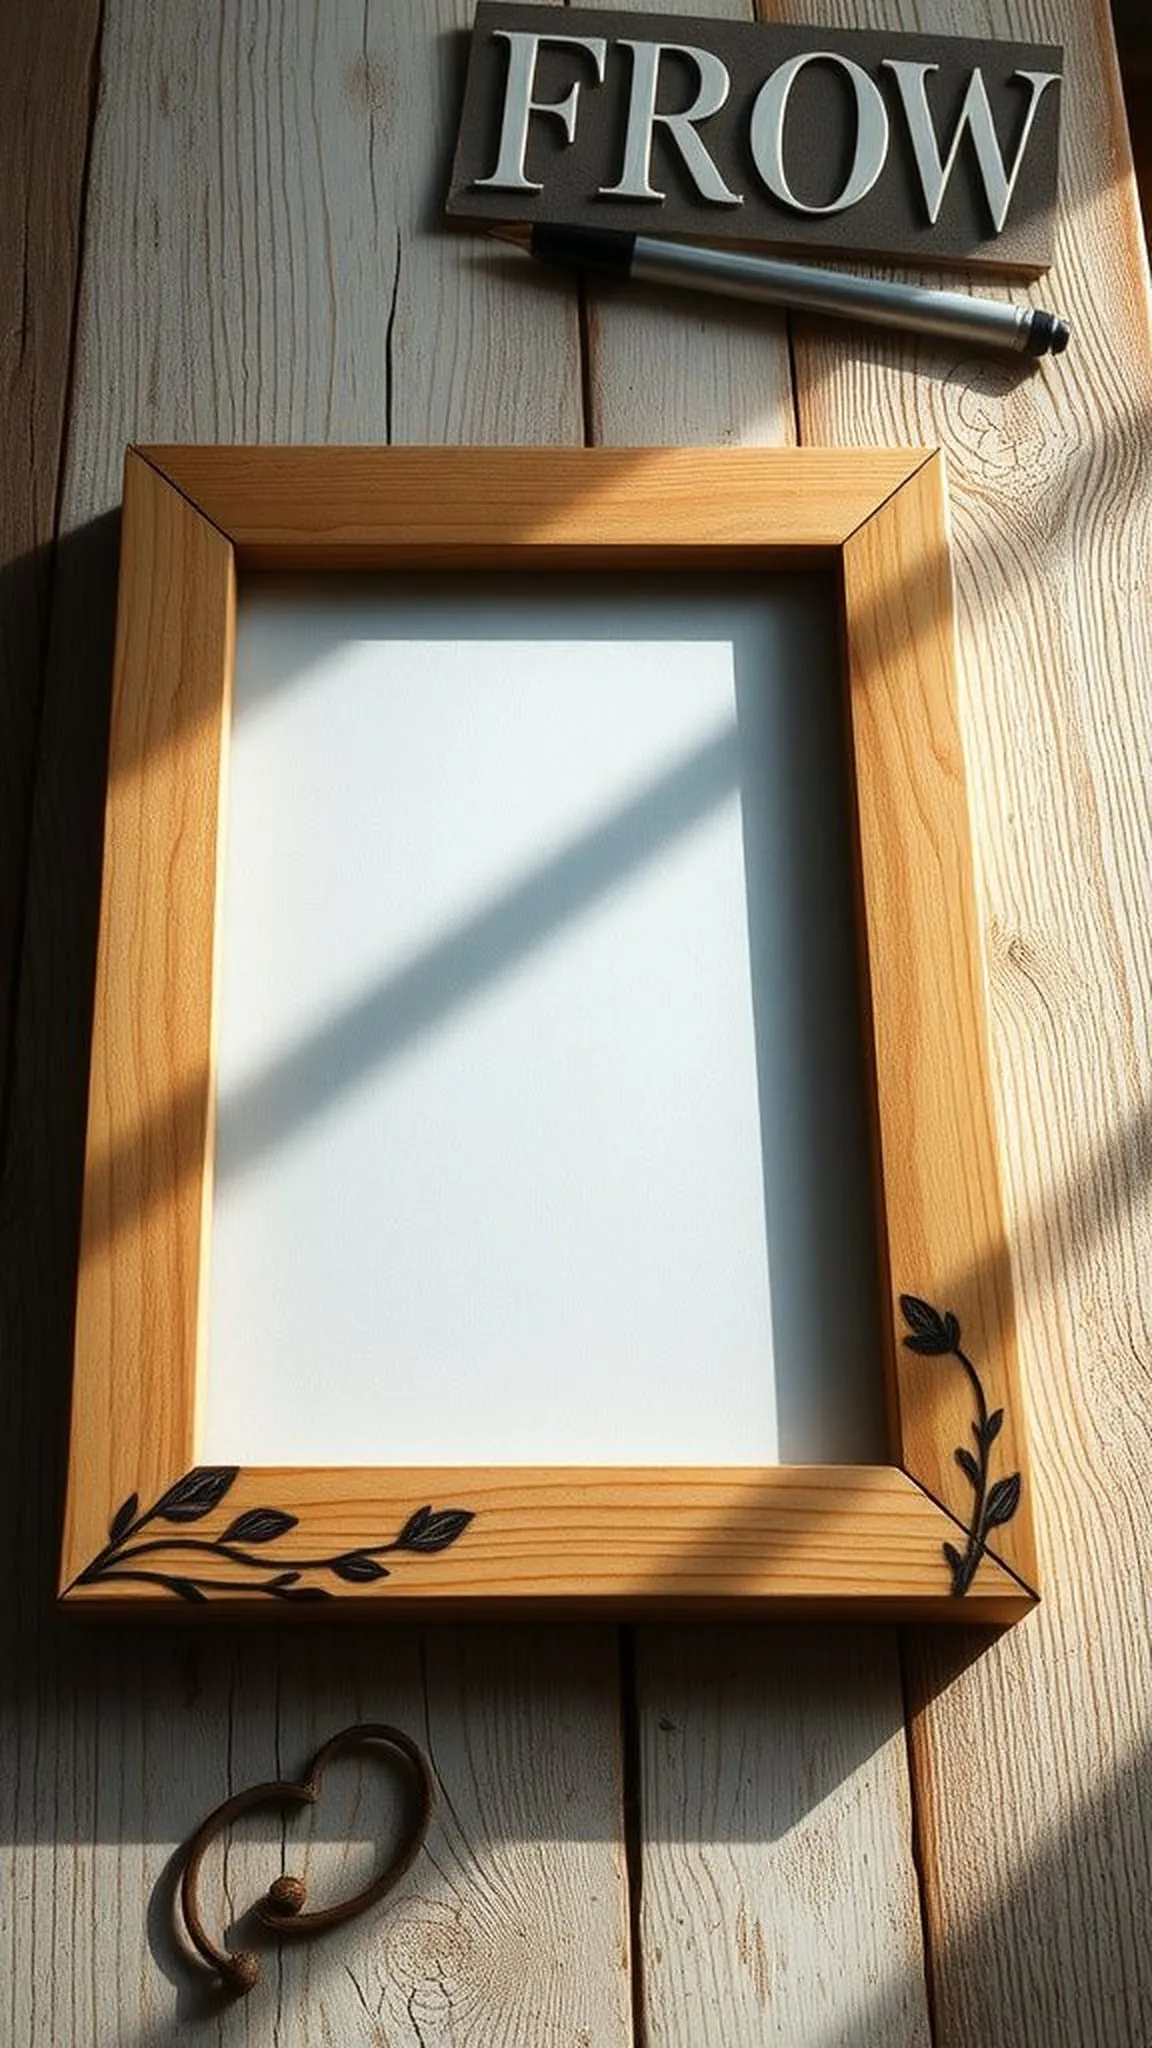
Delicate burned accents at picture frame corners add handcrafted punctuation without overwhelming the artwork. The shallow lines and small motifs rest near gilt or painted edges to create balance and a quiet, rustic edge.
Close inspection reveals soft charcoal texture against smooth painted or natural wood, a contrast that increases the frame’s tactile interest. Small motifs echo interior elements and introduce a gentle, curated quality to displayed photos or prints.
The overall feeling is curated yet comfortable, as if the frame has been tended over time. Burned details read as intentional craftsman marks that elevate simple frames into meaningful decor pieces.
Pro Tip: Work on a spare frame corner first to ensure motifs complement the frame profile and avoid overpowering delicate moulding.
How to Make This
- Remove the frame backing and prepare a test corner to plan motif scale.
- Lightly pencil a small corner motif and transfer if necessary for spacing.
- Burn the motif with a fine or medium tip, keeping strokes short and deliberate.
- Reassemble the frame once the burned areas are cool and any finish is dry.
Avoid: Choosing motifs that are too large overwhelms delicate framing profiles. Applying heavy, continuous heat near thin moulding can warp or discolor adjacent finish.
Try Also: Try tiny corner flourishes, single-line borders, or small botanicals to echo framed artwork. A light whitewash over the frame can soften contrast for a vintage-inspired look.
Products & Materials
Items Used
- plain wooden picture frame
- pyrography pen assorted tips
“Subtle burned corners give frames a handmade rustic touch”
Rustic wooden magnet set with tiny burned icons
⏱️ 50 min · 🟢 Beginner
![]()
Round or square magnet blanks take tiny burned icons that sit like miniature artworks on the fridge. The little charred silhouettes of fruit, leaves, or anchors add playful, tactile points of interest amid notes and photos.
Edges show soft grain and preserved natural color, while the dark marks contrast pleasantly with cold metal surfaces nearby. The magnet faces invite a quick fingertip and a small smile whenever the kitchen is visited.
Grouped magnets read as a curated set and make an easy handcrafted gift that feels personal. They bring a modest, homespun energy to everyday surfaces without fuss or bulk.
Pro Tip: Keep motifs simple for clear silhouettes at magnet scale and test each icon on scrap to confirm contrast and legibility.
How to Make This
- Select small magnetic blanks and plan simple icon shapes sized for each face.
- Trace or freehand small silhouettes and transfer as needed for consistency.
- Burn the icons with a fine tip, keeping lines crisp and fills minimal.
- Adhere magnets to the back if they are separate pieces and allow full cure.
Avoid: Trying intricate scenes on tiny magnet faces often reads as cluttered. Overburning small areas can make icons lose their clear silhouette.
Try Also: Make a set of seasonal icons, tiny botanical shapes, or geometric dots and stripes. Swap small square blanks for round ones to change the visual rhythm on the fridge.
Products & Materials
Items Used
- wooden magnet blanks
- pyrography pen fine tip
- small round magnets or adhesive magnet dots
“Tiny burned magnets bring rustic charm to kitchen surfaces”
Small wooden napkin rings with burned borders
⏱️ 1-2 hours · 🟠 Intermediate
Cylindrical napkin rings gain a subtle border or pattern that feels refined yet homespun on a rustic table. The burned bands wrap around the grain, creating tactile rhythm and shadow along the round surface.
Touches of warmth from the charred lines contrast with smooth inner faces where cloth slides through, adding a handcrafted sensibility. Light grazing the burned edges highlights craftsmanship and brings a quiet table presence.
Placed in a set, napkin rings anchor place settings with a modest, natural statement. They blend well with linen, stoneware, and simple seasonal centerpieces for an inviting table scene.
Pro Tip: Mark a faint pencil guideline around the ring circumference to keep burn bands level and consistent during detailing.
How to Make This
- Choose wooden napkin ring blanks and inspect for even thickness and smooth bore.
- Lightly pencil horizontal guide lines to plan the burned border placement.
- Burn the bands or patterns while rotating the ring slowly for continuity.
- Wipe away pencil marks and, if desired, apply a thin protective oil after cooling.
Avoid: Burned bands that wobble come from inconsistent rotation or uneven pressure. Overburning can thin the ring walls and risk cracking when handled.
Try Also: Alternate thin dashed bands with solid rings, add tiny dots between bands, or burn initials on the inner edge for personalized sets. Darkening only a partial arc gives a modern asymmetrical twist.
Products & Materials
Items Used
- wooden napkin ring blanks
- pyrography pen medium tip
- pencil for guide lines
“Hand-burned napkin rings bring rustic elegance to dining tables”
Simple wooden candle plate with burned rim accent
⏱️ 1-2 hours · 🟠 Intermediate
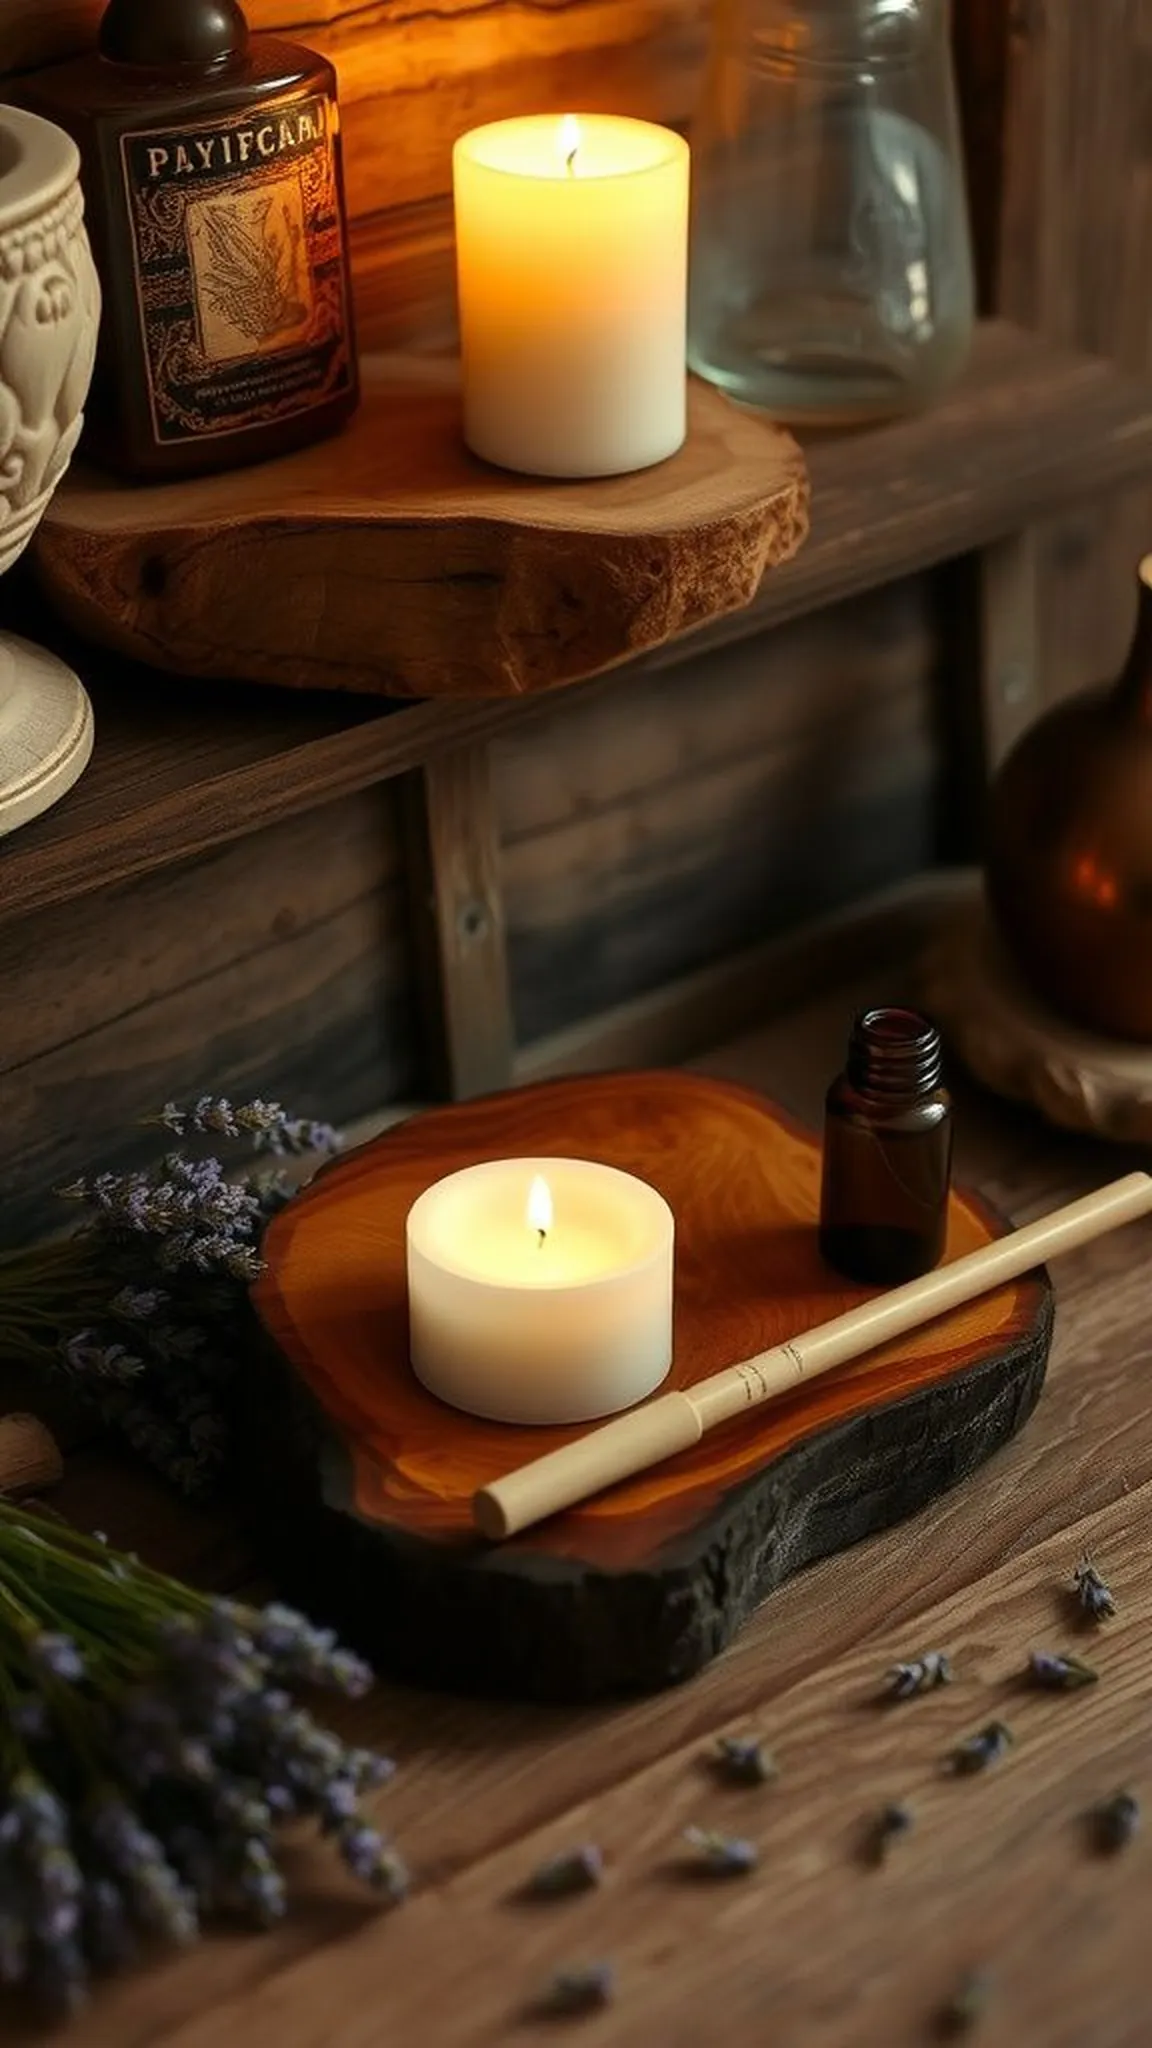
A shallow wooden candle plate with a burned rim offers a warm platform for pillar candles and tiny vignettes. The charred line around the perimeter reads like an intentional shadow that frames wax and flame.
Grain patterns ripple toward the center and contrast with the darker rim, creating depth without fuss. The plate’s surface invites warm glows and a rustic silhouette when candles are lit nearby.
Grouped on mantels or side tables, these plates anchor small displays with a handcrafted presence. They feel both practical and decorative in cozy evenings or quiet mornings.
Pro Tip: Keep the burned rim narrow and even by making short, controlled passes while rotating the plate for consistent depth.
How to Make This
- Select a shallow wooden plate or round blank with even thickness.
- Mark a guiding circle near the edge to plan the burned rim placement.
- Trace the rim with a medium pyrography tip in short passes, keeping the motion steady.
- Allow cooling before placing candles and consider a thin protective finish for longevity.
Avoid: Trying to darken the entire rim in one go often yields patchy results. Irregular rotation during burning leads to uneven depth and tone around the circle.
Try Also: Leave a small gap in the rim for an unfinished look, burn a dotted halo instead of a solid ring, or pair the plate with coordinating coasters for a set. A shallow wash of natural oil deepens contrast subtly.
Products & Materials
Items Used
“Burned-rim wooden plates add cozy framing for candles”
Personalized wooden address tag for mailbox post
⏱️ 2-3 hours · 🔴 Advanced
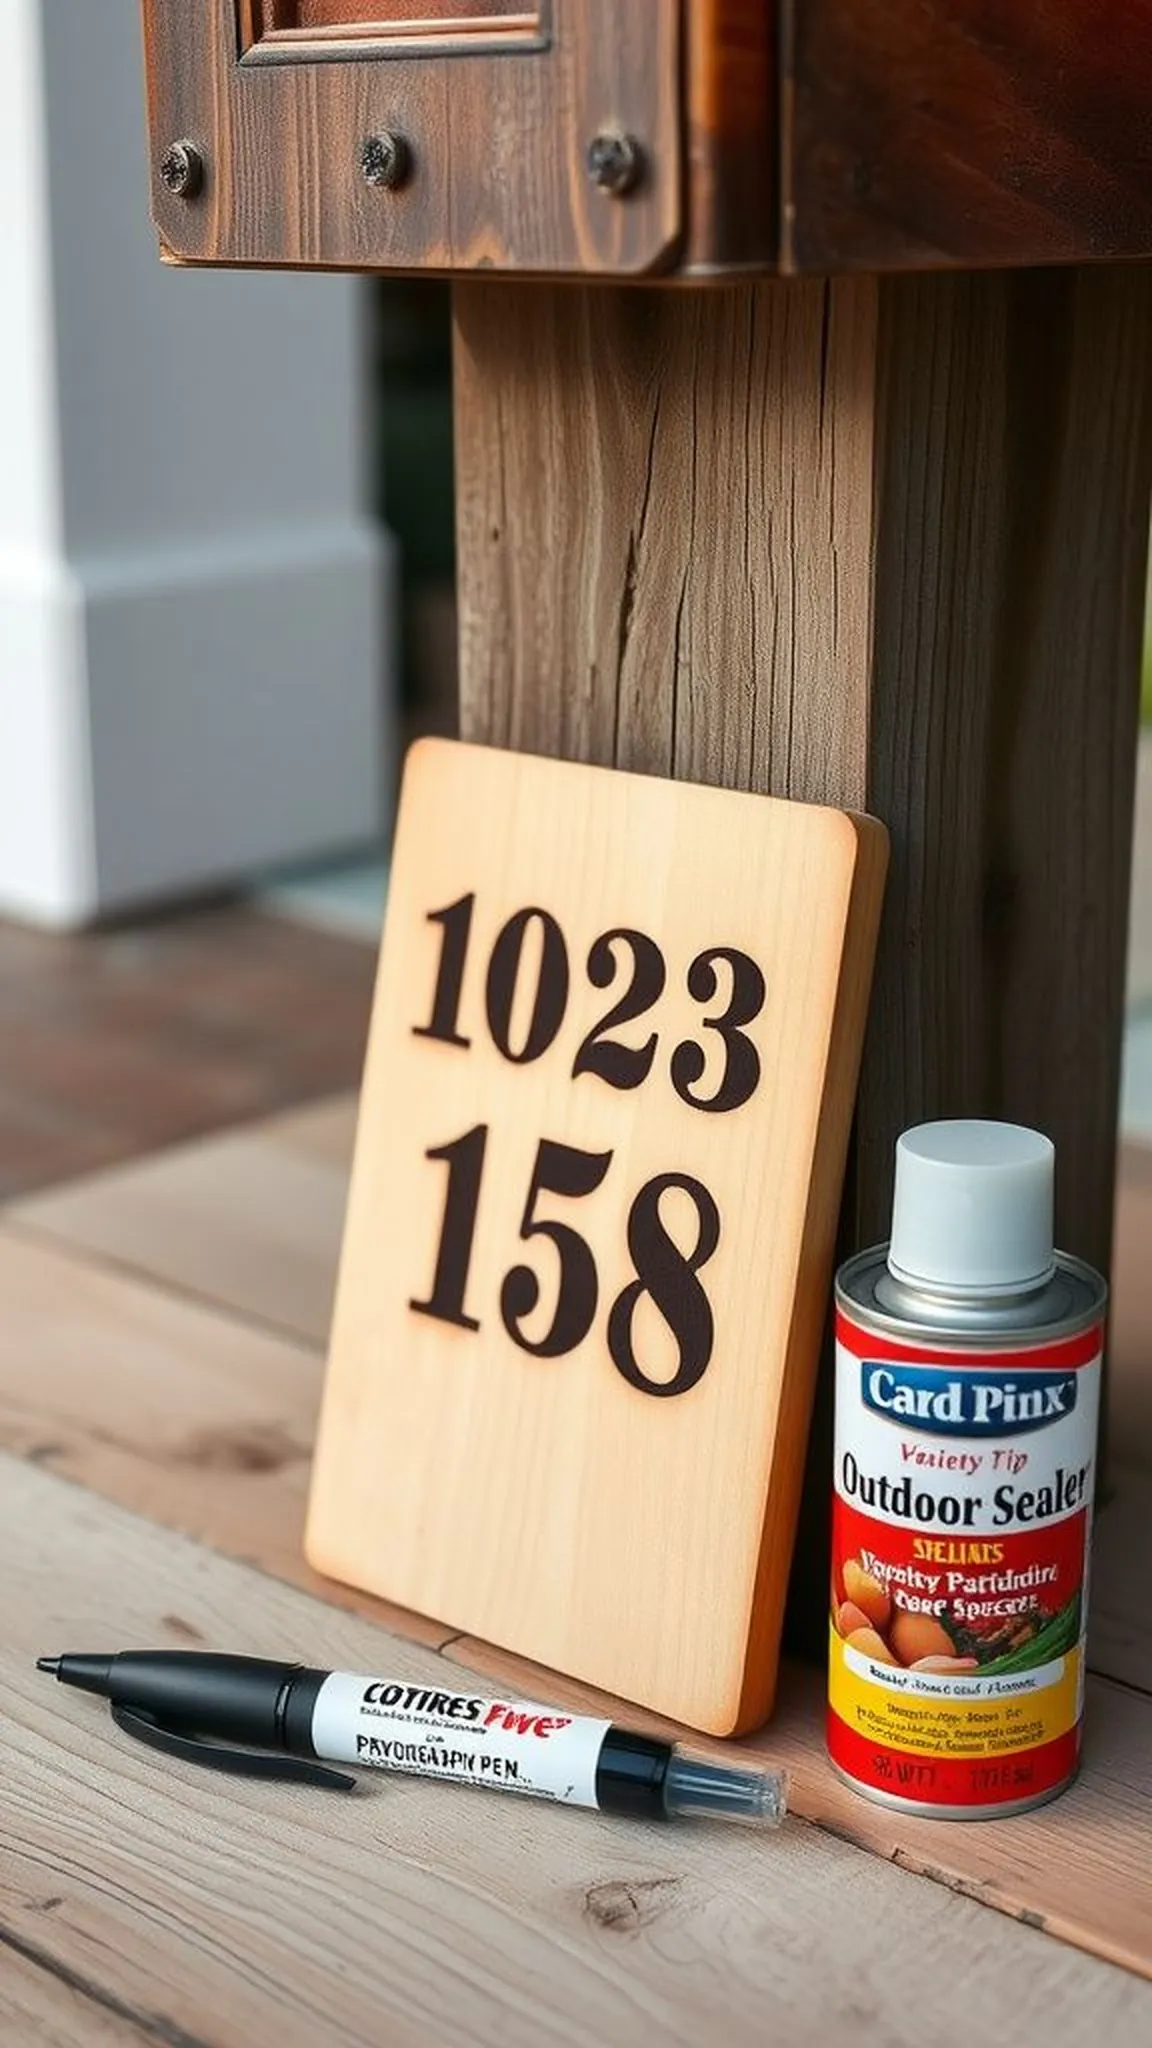
A small personalized address tag takes on an architectural presence when mounted on a mailbox post or front gate. Burned numbers and a tiny border contrast with the outdoor light and natural weathering that will come with time.
The wood shows knotty details that deepen in character as edges gently age under sun and rain. The heavier lettering sits confidently against the plank background and reads clearly at a modest distance.
Placed outdoors, the tag acquires an honest, worn look that complements rustic entryways and country lanes. It communicates welcome and identity with a handcrafted, approachable feel.
Pro Tip: Choose a dense outdoor-safe wood and practice lettering scale on scraps to ensure legibility from a short distance before burning the final tag.
How to Make This
- Select an exterior-grade wooden plank and plan the number spacing with printed templates.
- Transfer the numbers and border guides onto the plank for even alignment.
- Burn the numbers using a broader tip for consistent depth and a fine tip for border details.
- Apply a durable outdoor finish and mount securely to the mailbox post when fully cured.
Avoid: Using a soft, untreated wood outdoors often leads to rapid weathering and loss of detail. Choosing too-small lettering makes the tag hard to read at a distance.
Try Also: Pair numbers with a small burned motif like a tree or star, make a thin vertical name plaque, or create matching house number coasters for inside the entry. Darker stain beneath letters increases contrast for visibility.
Products & Materials
Items Used
- outdoor-grade wooden plank
- pyrography pen broad and fine tips
- outdoor wood finish sealer
“Hand-burned address tags give mailboxes a welcoming rustic touch”
Cozy wooden jewelry dish with burned border
⏱️ 1 hour · 🟠 Intermediate
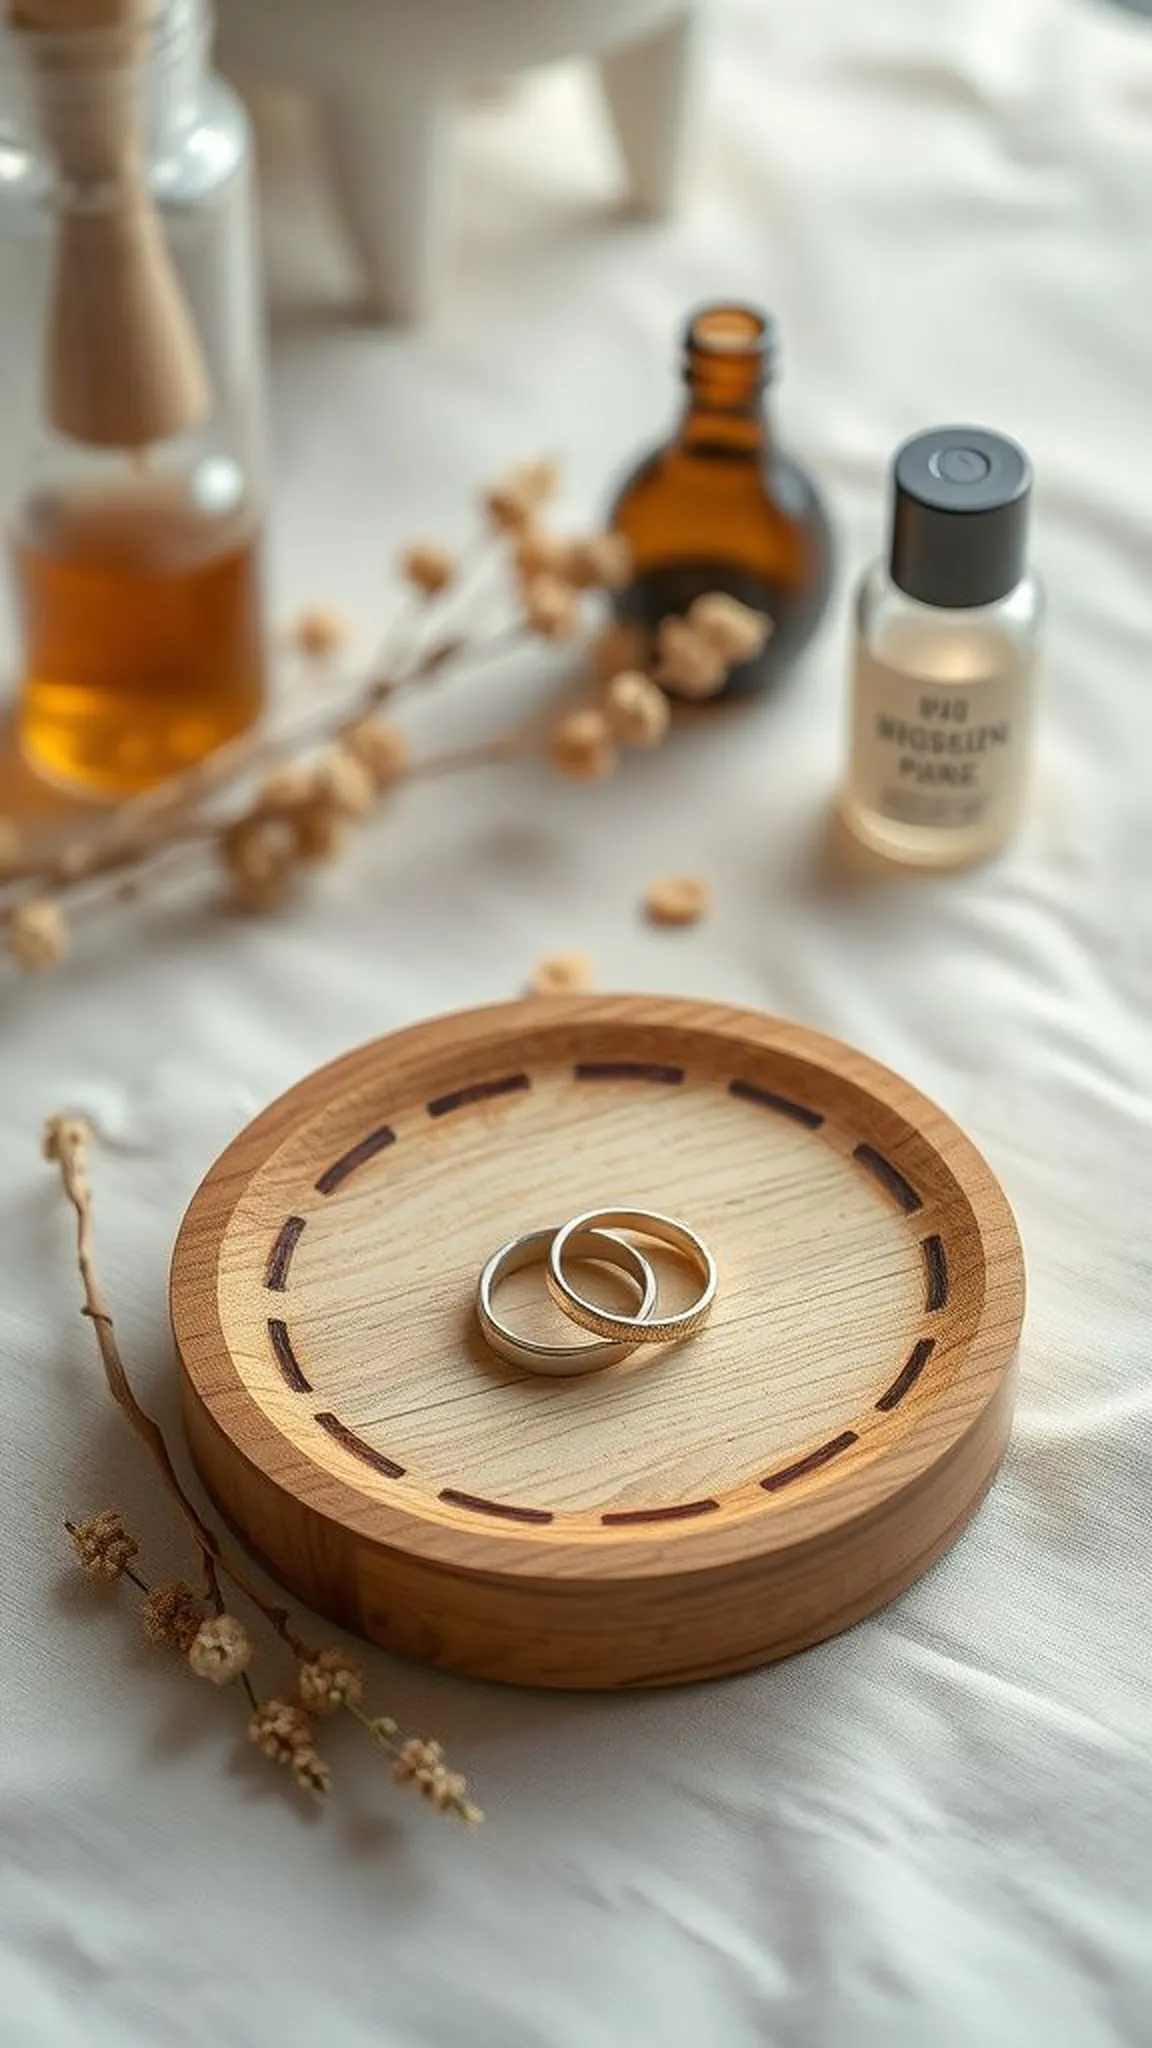
A petite jewelry dish with a burned border becomes a catchall that balances function and handcrafted warmth. The shallow curve of the dish contrasts with a darker ring or dotted border that frames small keepsakes elegantly.
Charred accents read well against natural grain and pick up glints from metal jewelry that rests within. The dish surface feels smooth beneath rings and earrings while the border gives the piece a modest visual anchor.
Placed on a dresser or bedside table, the dish brings a tidy, rustic note to morning routines. Its quiet presence invites simple rituals of placing and retrieving small treasures.
Pro Tip: Keep burned borders thin and work in short arcs to maintain an even tone on the curved surface of the dish.
How to Make This
- Choose a shallow wooden dish blank that has a smooth interior surface.
- Lightly pencil a border guide near the rim to keep the burn level consistent.
- Burn the border using a medium tip with short, steady passes while rotating the piece.
- Allow to cool and finish with a light protective oil if desired for jewelry contact.
Avoid: Trying to darken the entire rim in a single pass often creates uneven tones. Working on a curved surface without rotation can produce jagged or wavy lines.
Try Also: Alternate dotted borders, tiny sunbursts, or initials at the center for personalization. A light stain on the outside edge contrasts with a natural interior for depth.
Products & Materials
Items Used
- wooden jewelry dish blank
- pyrography pen medium tip
- food-safe finishing oil small bottle
“Burned-border jewelry dishes are small, useful rustic keepsakes”
Tiny burned sign magnets for office organization
⏱️ 35 min · 🟢 Beginner
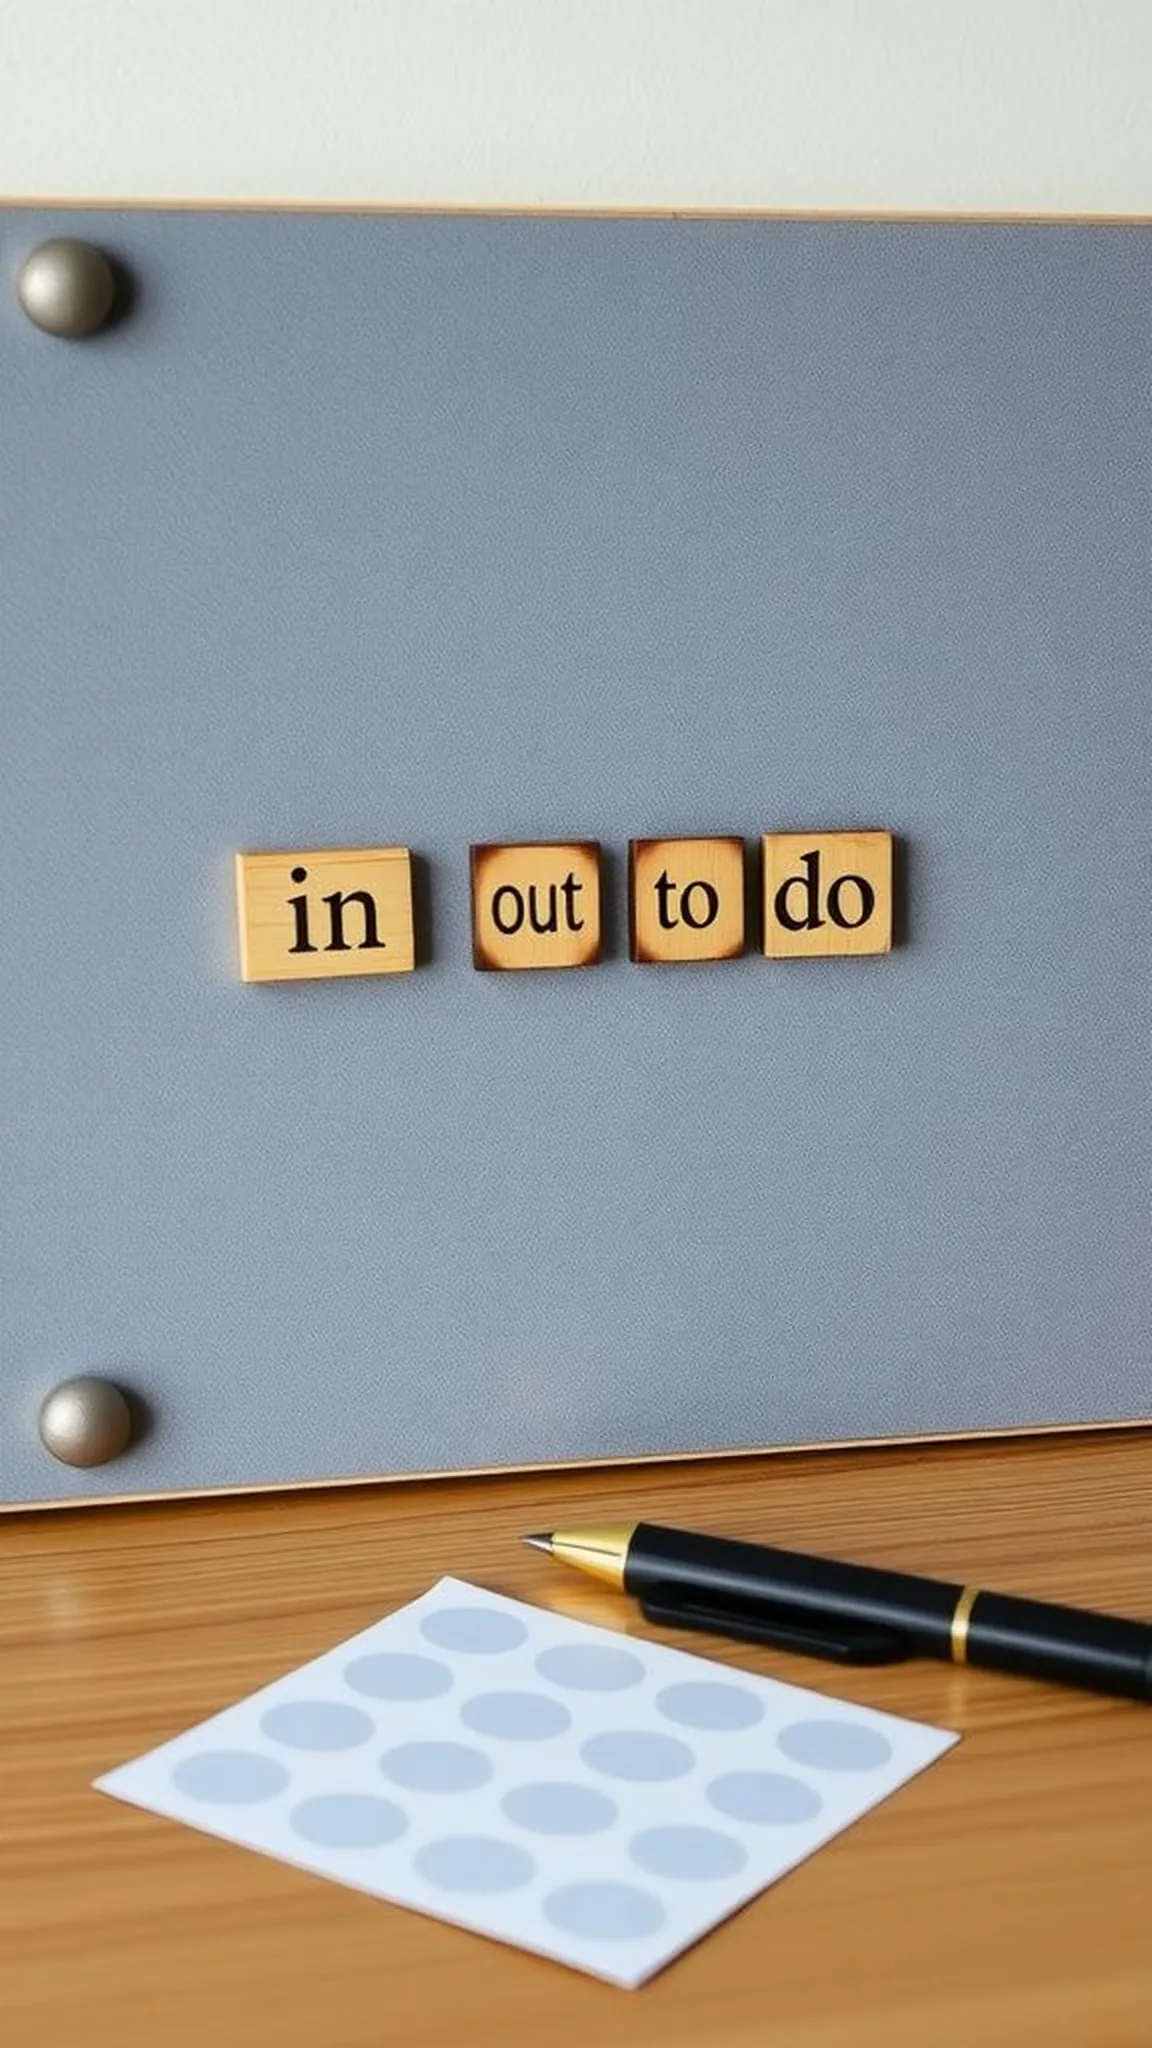
Small wooden sign magnets label simple zones on a metal board with tidy burned words like ‘in’, ‘out’, or ‘to do’. The lettering sits crisp and bold against light wood for instant readability and handcrafted texture.
Edges stay raw and slightly warm from the burning process, matching well with cork and metal office elements. The tactile surface invites a quick glance and a human, analog rhythm in an otherwise digital space.
Placed in a row, the tiny signs add a calm visual order that feels intentional without being fussy. They are unobtrusive helpers that lend a modest, homespun charm to desk areas.
Pro Tip: Keep lettering bold and minimal for legibility at a glance and test font size on a scrap before transferring to the magnet blanks.
How to Make This
- Choose small wooden blanks sized for magnet labels and plan short words.
- Transfer or lightly pencil bold block letters for clarity.
- Burn the letters with a low heat setting and a broad tip for even strokes.
- Attach magnet dots to the back and arrange on the board once cooled.
Avoid: Attempting cursive or tiny script often reduces legibility from a distance. Applying too much heat can darken small letters into indistinct shapes.
Try Also: Make a set with action words, short categories, or tiny pictograms for a streamlined look. Alternate wood tones for a subtle contrast across the board.
Products & Materials
Items Used
- small wooden label blanks
- pyrography pen broad tip
- adhesive magnet dots
“Burned wooden magnets bring handcrafted order to workspaces”
