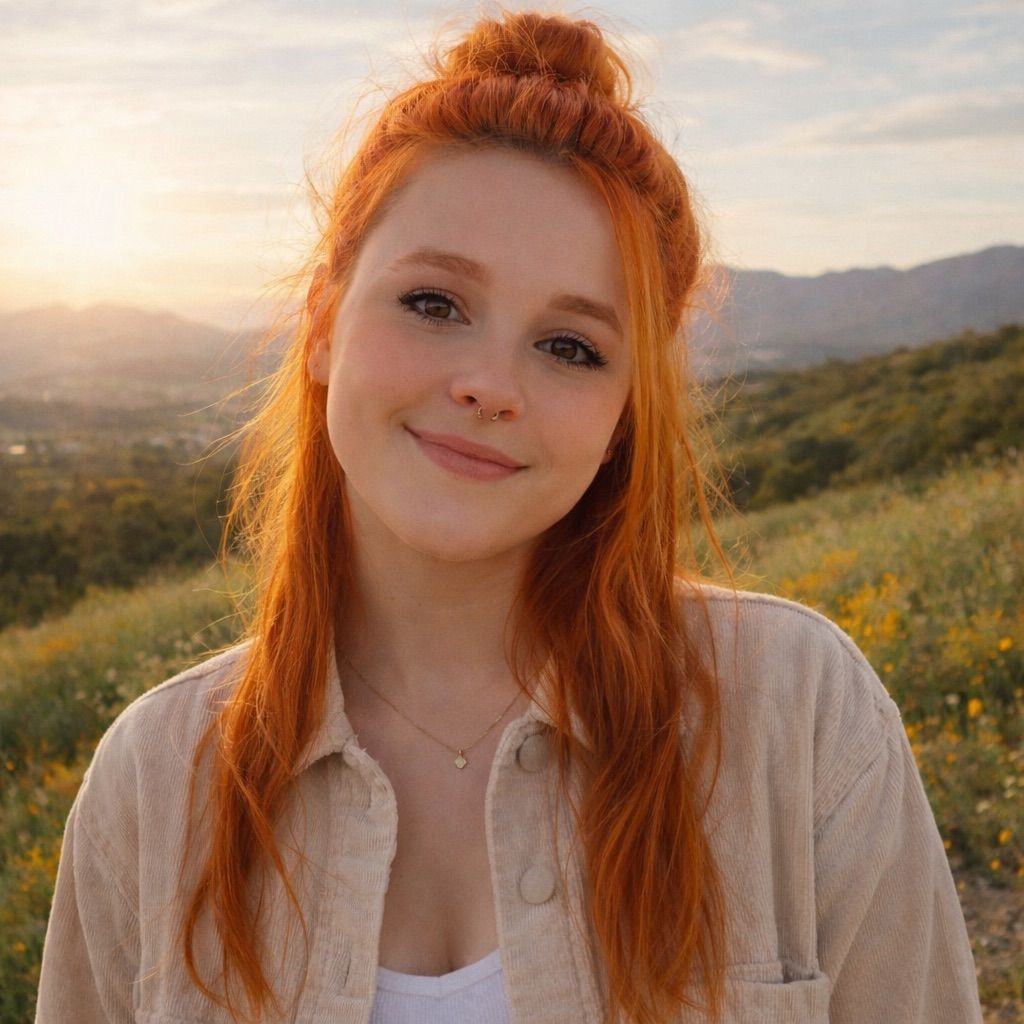
The best 7-in-1 hair styler for drying and styling
DREAME AirStyle Pro 7-in-1 Hair Styler
Combines a powerful dryer with multiple attachments. Lightweight and easy to use. A reader favorite.
Shop on Amazon →As an Amazon Associate, we earn from qualifying purchases.
Sunlight streams through the window and catches every strand that has just been braided, twisted, or pinned into place. Soft textures merge with simple shapes, creating hairstyles that feel approachable yet fresh. For those new to hairstyling, putting together looks doesn’t have to be tricky or time-consuming.
Step-by-step hairstyles work well as a foundation, helping beginners gain confidence with everyday techniques like buns, braids, and half-up styles. Each style here can complement different hair lengths and textures, making it easy to try out something new without feeling overwhelmed.
From quick fixes to looks that turn heads at casual meetups, the right styling details add personality and neatness. Learning to work with simple tools and products brings out the best in every strand.
Classic Low Bun With Twist Detail
⏱️ 10 min · 🟢 Beginner

Fine strands are gathered at the nape and twisted into a sleek low bun. The smooth finish invites attention to a subtle twist wrapping around the base, catching light softly on the hair’s natural sheen.
This style works best on hair that’s medium to thick, as the volume helps the twist hold without extra pins. The low bun anchors the look for everyday elegance without requiring heat tools.
Styling Tips
- Tame flyaways with a dab of light-hold gel
- Use 3 bobby pins to secure the twist firmly
- Finish with a shine spray for a polished effect
Pro Tip: Twist the sections tight before wrapping to prevent loose strands from slipping out during the day.
Avoid: Avoid gathering hair too high, as it makes securing the bun and twist bulky and uneven.
Try Also: Try a messy version by loosening the twist or add a decorative hairpin for a delicate accent.
Products & Materials
Items Used
“Elegant low bun with a delicate twist detail anyone can create.”
Half-Up Braided Crown For Beginners
⏱️ 15 min · 🟠 Intermediate

Sunlight reveals the neatness of two braids wrapping across the top half of medium-length hair like a subtle crown. Each braid is tight and even, held by small clear elastics blending with blonde highlights.
Two three-strand braids work perfectly here, framing the face and adding a touch of sophistication. This hairstyle suits wavy or straight hair textures, maintaining shape thanks to the elastics.
The crown effect draws the eye upward, balancing face shape with steady lines of braid detail.
Styling Tips
- Create smooth sections by brushing before braiding
- Secure braids with small clear elastics for less distraction
- Pull softly on braid edges to add volume and softness
Pro Tip: Start braiding as close to the hairline as possible to achieve a clear crown effect without gaps.
Avoid: Avoid making the braids too tight, which can pull edges and cause discomfort throughout the day.
Try Also: Try three equally spaced braids for a fuller crown or reverse the braids for an inside-out look.
Products & Materials
Items Used
“Charming half-up braided crown that frames your face with elegance.”
Messy High Ponytail With Voluminous Texture
⏱️ 5 min · 🟢 Beginner

Loose waves add plenty of depth and dimension to a high ponytail that sits about 4 inches above the crown. Strands fall freely while maintaining soft volume around the crown for a naturally casual allure.
This style embraces hair’s texture rather than smoothing it out, making it great for second-day hair or fine hair boosted with volumizing powder. The messy effect comes alive with tousled layers adding light bounce.
Styling Tips
- Use volumizing powder at roots for lift
- Spritz with flexible hold hairspray to keep movement
- Pull out a few face-framing strands softly after securing
Pro Tip: Tease the hair lightly at the crown before pulling into a ponytail to achieve maximum lift and fullness.
Avoid: Tying the ponytail too tight can flatten volume and make hair look stiff instead of soft and textured.
Try Also: Try a side ponytail or wrap a thin strand of hair around the base for a chic finish.
Products & Materials
Items Used
- hair tie
- volumizing powder
- flexible hold hairspray
“Effortless messy high ponytail bursting with natural volume and texture.”
Get 75+ ad-free, high-resolution printable tutorials for salon-quality results every single morning.
Elegant Side Braid With Soft Waves
⏱️ 20 min · 🟠 Intermediate

Thick strands weave gently into a loose side braid resting over one shoulder. Soft waves add body across the scalp and mid-lengths, blending into the braid’s relaxed texture.
Wavy hair holds the braid’s shape better because the slight grip prevents slippage. The braid is a loose three-strand, incorporating all hair for a refined yet approachable look ideal for casual or semi-formal occasions.
Styling Tips
- Prep hair with sea salt spray for added grip
- Braid loosely and pull strands gently to widen sections
- Finish with a mate texturizing spray for softness
Pro Tip: Apply a small amount of smoothing cream on mid-lengths before braiding to avoid frizz without weighing hair down.
Avoid: Braiding too tightly reduces the braid’s volume and disrupts the natural wave pattern.
Try Also: Try a fishtail braid for intricate detail or a Dutch braid for a raised look.
Products & Materials
Items Used
“Soft waves meet a loose side braid for an effortless elegant style.”
Twisted Half-Up Bun With Face-Framing Strands
⏱️ 12 min · 🟢 Beginner

Two twisted sections from either side meet in a small bun at the crown, while loose strands soften the face’s outline. The bun sits snugly, wrapped tightly with texture-rich twists that add dimension.
A half-up bun is ideal for medium to long hair, especially hair that holds twists without unraveling due to slight natural wave or texture. The style gives a glimpse of polished casualness without full commitment to an updo.
Styling Tips
- Use styling cream on the twists for smooth texture
- Pull the bun a little loose for added fullness
- Finish with flexible hairspray to keep flyaways neat
Pro Tip: Twist the side sections firmly but avoid pulling the scalp too tight to keep comfort throughout the day.
Avoid: Not securing the bun with enough pins can cause the style to loosen quickly.
Try Also: Replace twists with braids or create two mini buns instead of one for a playful twist.
Products & Materials
Items Used
“Cute twisted half-up bun mixed with soft face-framing strands for balance.”
Sleek Straight Hair With Blunt Cut
⏱️ 15 min · 🟢 Beginner

Shiny straight strands fall evenly, ending in a sharp blunt cut just below the shoulders. The hair gleams under light, showing no frizz or split ends, thanks to careful flat ironing.
Blunt cuts highlight straight hair’s thickness and healthy shine. This style is simple but impactful for framing the face and emphasizing strong cheekbones.
Styling Tips
- Apply heat protectant before styling
- Run a flat iron through small hair sections for smoothness
- Finish with a serum to lock in shine
Pro Tip: Use a fine-tooth comb while flat ironing to ensure each strand lies perfectly straight and smooth.
Avoid: Skipping heat protection can lead to damage and dull ends, undermining the cut’s crisp effect.
Try Also: Add wispy bangs or subtle layers for movement or go for a lob length for a seasonal change.
Products & Materials
Items Used
“Sharp and sleek blunt cut hairstyle showcasing smooth straight hair.”
Soft Curls With Side Parting
⏱️ 25 min · 🟠 Intermediate

Loose, soft curls cascade past the shoulders with a deep side part creating volume on one side. The curls have a bouncy, springy texture with subtle highlights catching the light on each curl’s curve.
The look works best on layered hair to maximize dimension and movement. Using a medium-sized barrel curling iron produces curls about 1 inch in diameter, creating natural bounce that lasts 4-6 hours.
Styling Tips
- Section hair before curling for uniform size
- Alternate curl direction for a natural wave effect
- Allow curls to cool fully before finger-combing
Pro Tip: To add lasting hold, spritz each curl immediately after wrapping it around the iron before releasing.
Avoid: Curling all strands in the same direction can create a stiff, unnatural look rather than soft waves.
Try Also: Try a center part for balance or pin one side back for a semi-up style.
Products & Materials
Items Used
- curling iron
- heat protectant spray
“Voluminous soft curls with a deep side part radiate natural style and bounce.”
Braided Ponytail Wrapped With Ribbon
⏱️ 18 min · 🟠 Intermediate

A sleek ponytail features a thick three-strand braid that ends just below the shoulder blades. The braid is wrapped neatly with a bright silk ribbon that winds around twice, adding contrast and a polished touch.
This look thrives on smooth textures to show off both the braided pattern and the vibrant sheen of the ribbon wrapping. The ribbon also helps hold the braid’s shape in place during movement.
Styling Tips
- Smooth hair with lightweight oil before braiding
- Secure the ponytail tightly at mid-head height
- Choose a ribbon color that contrasts with your hair for visual impact
Pro Tip: Keep the ribbon taut and fix each wrap with a small bobby pin hidden beneath the braid to prevent slipping.
Avoid: Not securing the ribbon well can cause it to loosen and unravel during the day.
Try Also: Use different braid types like fishtail or rope braid or swap the ribbon for a scarf.
Products & Materials
Items Used
- silk ribbon
- bobby pins
“Sleek braided ponytail accented with a contrasting silk ribbon wrap.”
Top Knot With Textured Ends
⏱️ 8 min · 🟢 Beginner

The hair gathers high atop the head in a bun that shows intentional texture at the ends, appearing slightly tousled but tidy. Loose pieces frame the face, softening the overall shape.
Textured ends come from a quick scrunch with sea salt spray before tying the knot. The top knot suits hair of all thicknesses and gives a playful lift to casual days.
Styling Tips
- Apply sea salt spray 3-4 inches from the scalp
- Twist the hair loosely before wrapping into a bun for volume
- Secure with a satin scrunchie to avoid dents
Pro Tip: Squeeze sea salt spray into palms and scrunch mid-lengths upward to enhance texture before creating the knot.
Avoid: Wrapping the hair too tight can flatten the texture and create unnecessary tension on the scalp.
Try Also: Use a messy bun or add a headband for a sporty alternative.
Products & Materials
Items Used
“Lively top knot with textured ends that works on any hair thickness.”
Double Dutch Braids For Active Days
⏱️ 30 min · 🔴 Advanced

Two neat Dutch braids run from the hairline down to the nape, tightly woven to withstand movement. Each braid rests symmetrically on either side of the head, with clean parts emphasizing precise sectioning.
For long hair, Dutch braids create a secure style that holds even during high activity. The underhand weaving method lifts the braids slightly, adding texture and dimension around the scalp.
Styling Tips
- Divide hair into two equal sections before braiding
- Add small amounts of styling gel to edges for smoothness
- Tighten the braid gradually to maintain tension without discomfort
Pro Tip: Use a rat-tail comb to create clean, straight partings for professional-looking braid foundations.
Avoid: Starting the braid too loose can cause it to unravel during physical activity or over time.
Try Also: Merge braids into a ponytail or braid the ends into smaller plaits for extra style points.
Products & Materials
Items Used
- styling gel
- hair tie
- rat-tail comb
“Tight double Dutch braids keep hair secure and stylish on active days.”
Low Ponytail With Center Part
⏱️ 7 min · 🟢 Beginner

Hair is parted crisply down the center and gathered low, resting just above the nape. The ponytail looks smooth with a slight wave at the ends, creating a clean, classic silhouette.
Center parts suit faces wanting symmetry and frame the features evenly. This style goes well on naturally straight or gently wavy hair, requiring little effort but giving an instantly polished impression.
Styling Tips
- Use a flat brush to create a sharp part
- Gather hair with no bumps by smoothing with fingers before tying
- Wrap a small section of hair around the hair tie for a neat finish
Pro Tip: Apply serum at mid-lengths to keep the ponytail sleek while leaving the roots matte for dimension.
Avoid: Skipping smoothing steps often causes bumps or lumps around the hairline before tying.
Try Also: Try an off-center part or add a low twist before the ponytail for interest.
Products & Materials
Items Used
- hair tie
- hair serum
“Polished low ponytail with a sharp center part for refined everyday look.”
Simple French Twist For Beginners
⏱️ 20 min · 🟠 Intermediate

Glossy hair bundles neatly into a sleek French twist held with straight pins along the back. The smooth curve runs vertically, creating a refined shape just over 6 inches in height.
French twists suit thick to medium hair because weight holds the bend securely. Adding a smoothing serum beforehand creates a luminous finish that catches light elegantly without flyaways.
Styling Tips
- Pre-tease roots slightly for volume and grip
- Use straight pins placed every 2 inches for firm hold
- Finish with strong-hold hairspray to lock the shape
Pro Tip: Secure the base of the twist first before rolling up to avoid unraveling midway through styling.
Avoid: Leaving the twist loose at the bottom causes it to gape or fall apart quickly.
Try Also: Add a decorative comb or keep it modern by loosening a few strands near the face.
Products & Materials
Items Used
“Classic French twist that beginners can master with simple step-by-step guidance.”
Boho Waves With Loose Middle Part
⏱️ 20 min · 🟠 Intermediate

Soft waves ripple loosely from a natural middle part, falling in gentle layers that reach below the shoulders. A subtle shine highlights the tousled ends and variable wave size from 1 to 2 inches across.
Boho waves thrive on lightweight mousse and diffuser drying to keep strands buoyant. The loose middle part enhances symmetry while leaving the natural texture to breathe.
Styling Tips
- Apply mousse on damp hair from mid-lengths to ends
- Use a diffuser attachment on low heat to enhance waves
- Finger-comb once dry to avoid frizz
Pro Tip: Don’t brush waves after styling; finger-combing keeps the texture intact and defined for longer.
Avoid: Using too much product can weigh hair down, causing waves to lose bounce and lift.
Try Also: Try a side part for more volume or add a thin braid for subtle bohemian flair.
Products & Materials
Items Used
“Natural boho waves with a loose middle part for soft, easygoing style.”
Half-Up Sleek Twist With Ribbon Bow
⏱️ 18 min · 🟠 Intermediate

The crown section is smoothed into a twist secured at the back, complemented by a wide satin ribbon tied into a neat bow resting just below. The ribbon’s glossy finish contrasts gently with the matte hair surface.
Twisting the upper half-lengths brings structure while the bow adds femininity. This style suits straight or lightly waved hair, with the ribbon helping to lock the twist in place longer.
Styling Tips
- Comb hair thoroughly before twisting to avoid knots
- Use light hairspray on the twist for smooth hold
- Choose a ribbon color that complements your outfit
Pro Tip: Secure the twist first with bobby pins before tying the ribbon to ensure the bow sits perfectly centered and stable.
Avoid: Not smoothing the twist properly results in bumps or uneven texture that distract from the clean bow.
Try Also: Swap ribbon for a decorative clip or try a braided twist instead of a smooth one.
Products & Materials
Items Used
“Sleek half-up twist accented with a satin ribbon bow for classic charm.”
Beachy Braids With Messy Ends
⏱️ 20 min · 🟠 Intermediate

Three chunky braids start along the hairline and feed into relaxed, tousled ends that reach mid-back. The braid texture contrasts with the loose finish, delivering casual beach vibes.
Rough-textured hair keeps the chunky braids intact, as texturizing spray on the roots and lengths adds grip. Messy ends accelerate the laid-back tone, making this look a go-to for weekend outings.
Styling Tips
- Use texturizing spray before braiding for hold
- Loosen braids by gently pulling on braid edges after finishing
- Let the ends flow naturally without extra brushing
Pro Tip: Start with dry hair sprayed lightly with sea salt spray for added grip and texture during braiding.
Avoid: Pulling the braids too tight eliminates messiness and creates unwanted tension on the scalp.
Try Also: Try two braids or switch to fishtail braids for different textures and appearances.
Products & Materials
Items Used
- texturizing spray
- bobby pins
“Chunky beachy braids with relaxed ends for effortless summer style.”