
As an Amazon Associate I earn from qualifying purchases.
Quick Hairstyles For Busy Nurses On Shift are designed to keep hair neat and out of the way during busy rounds and long hours. These quick nurse hairstyles focus on fast steps, comfort under scrubs, and staying secure between tasks.
Options range from low buns and sleek ponytails to clipped updos and simple braids so every nurse can find a shift-friendly hairdo for her length and texture. Minimal tools and easy accessories make these looks workable during a short break or before a night shift.
Fifteen practical looks follow with time estimates, difficulty ratings, and visible product notes to help recreate each style quickly at the station. Each quick hairstyle includes a pin-ready summary and styling tips for rushed mornings and busy wards.
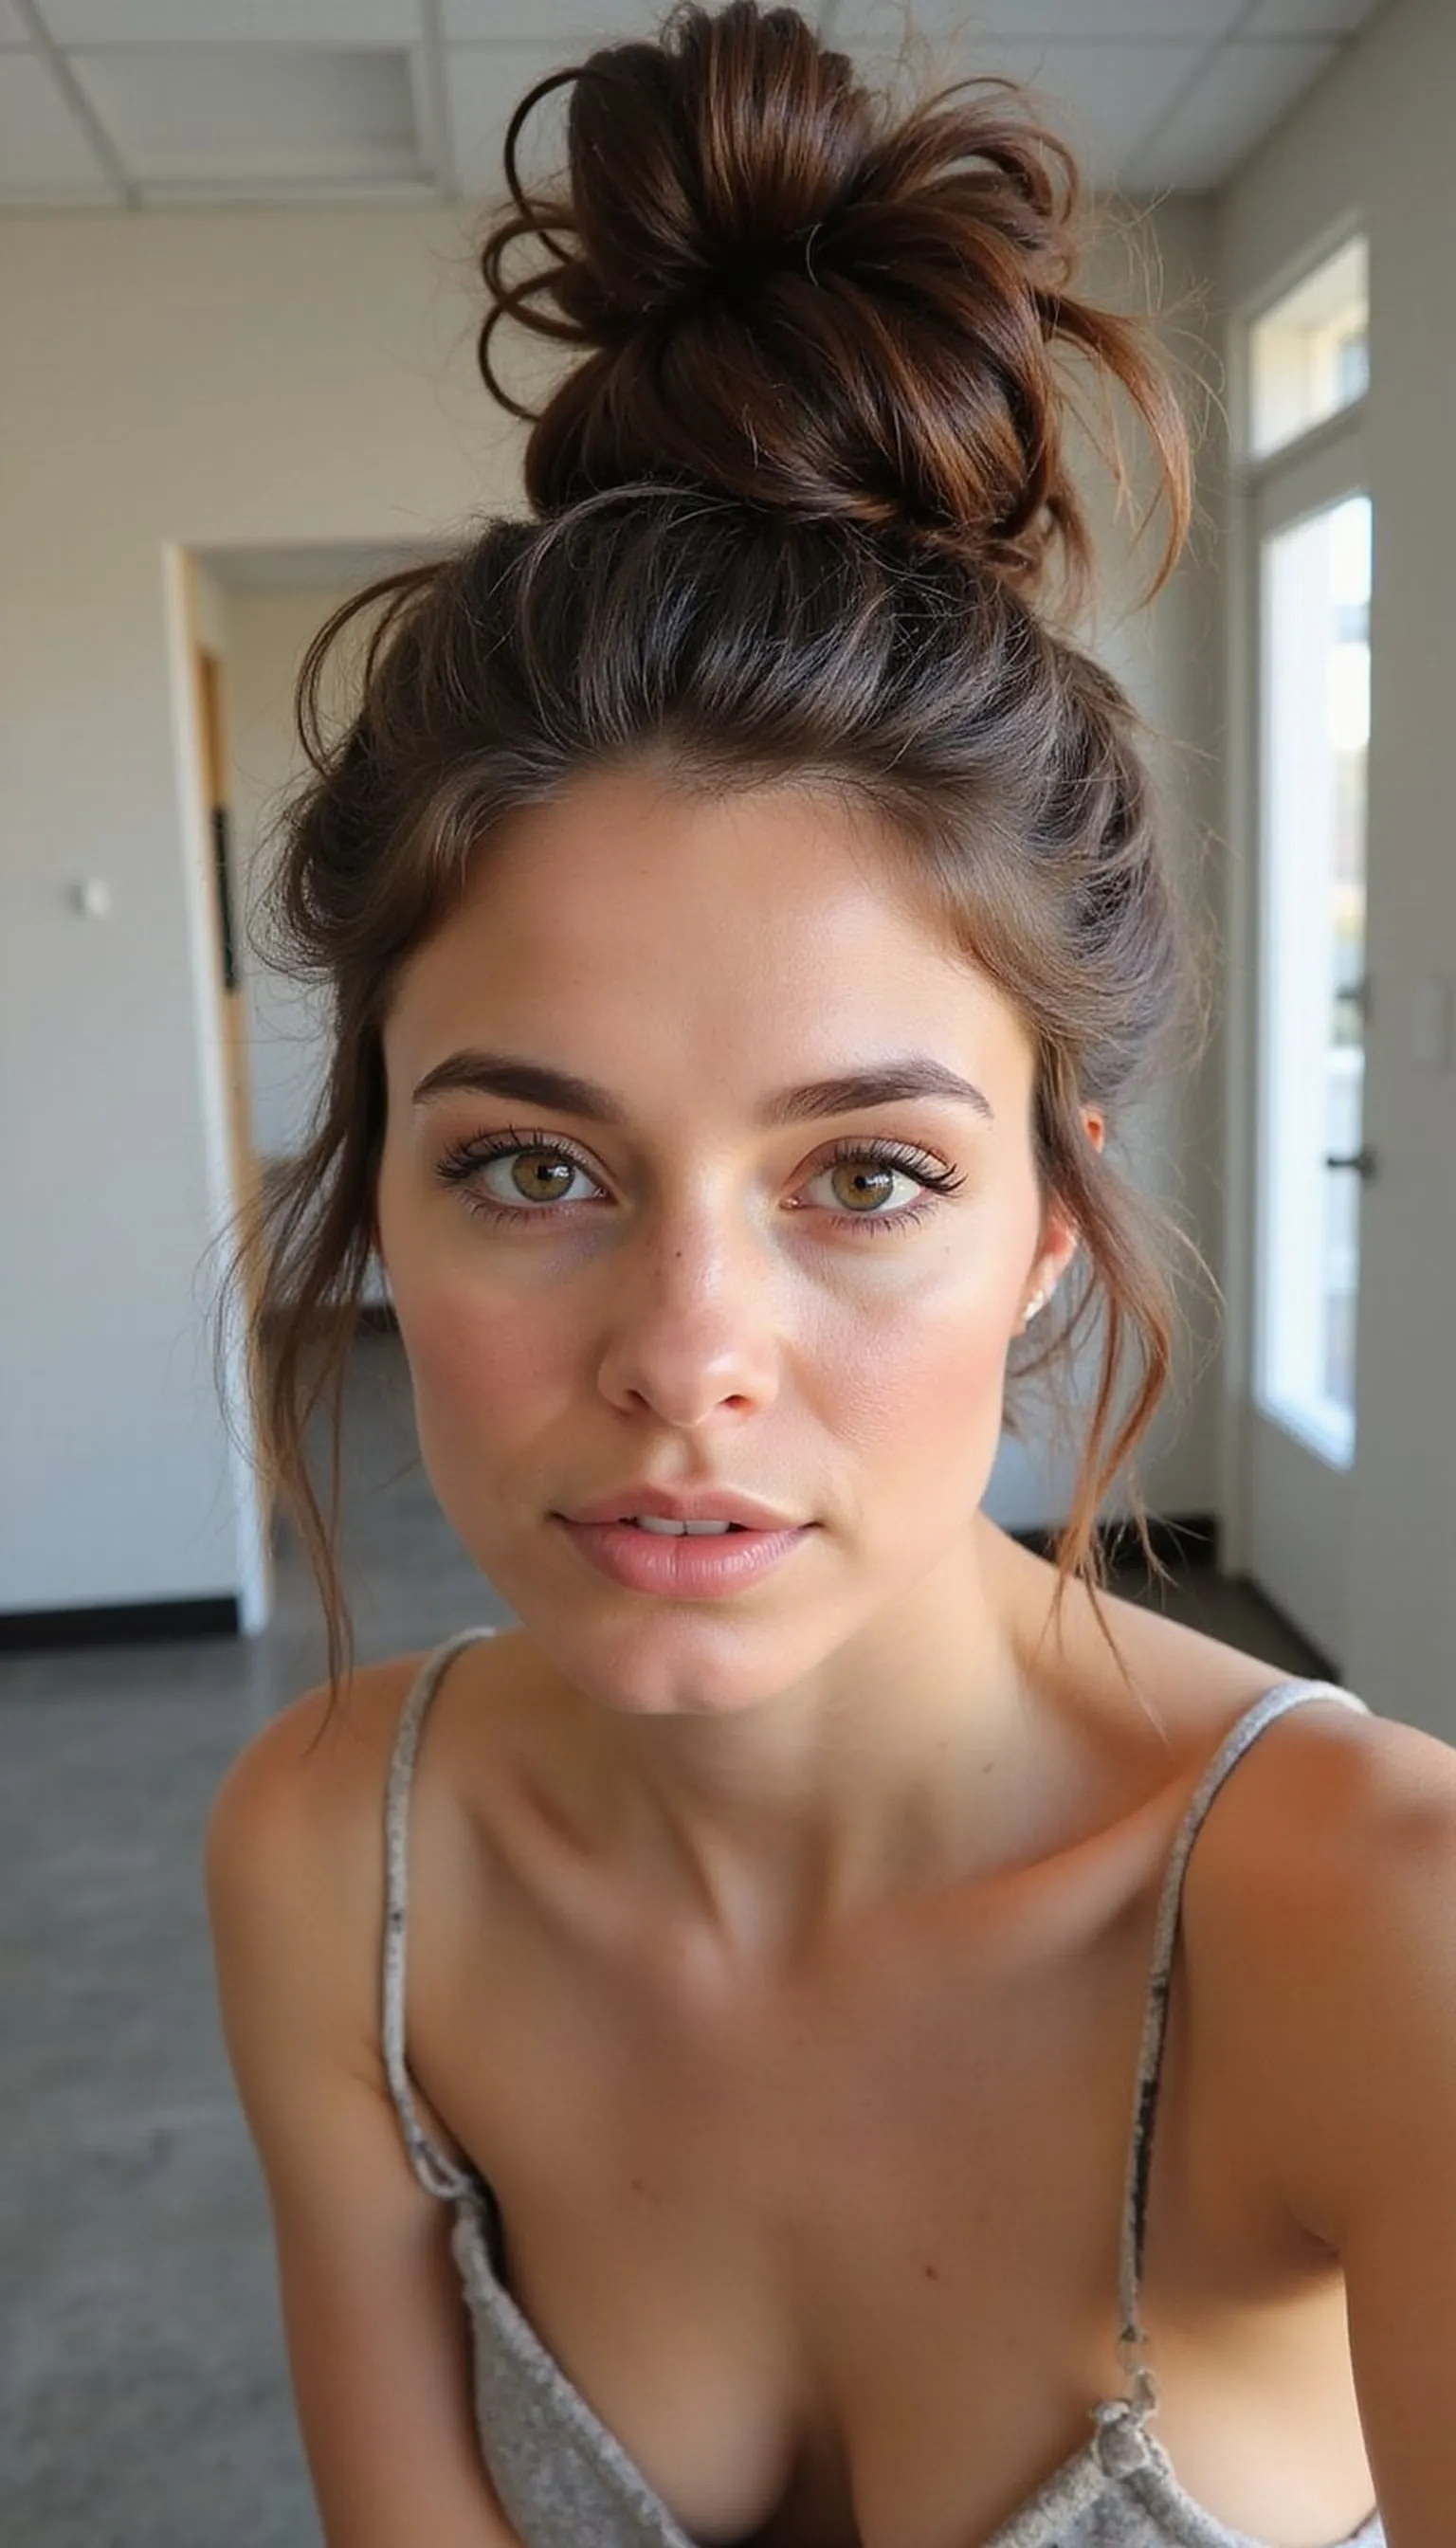
Sleek Low Bun For Long Shifts
⏱️ 5 min · 🟢 Beginner
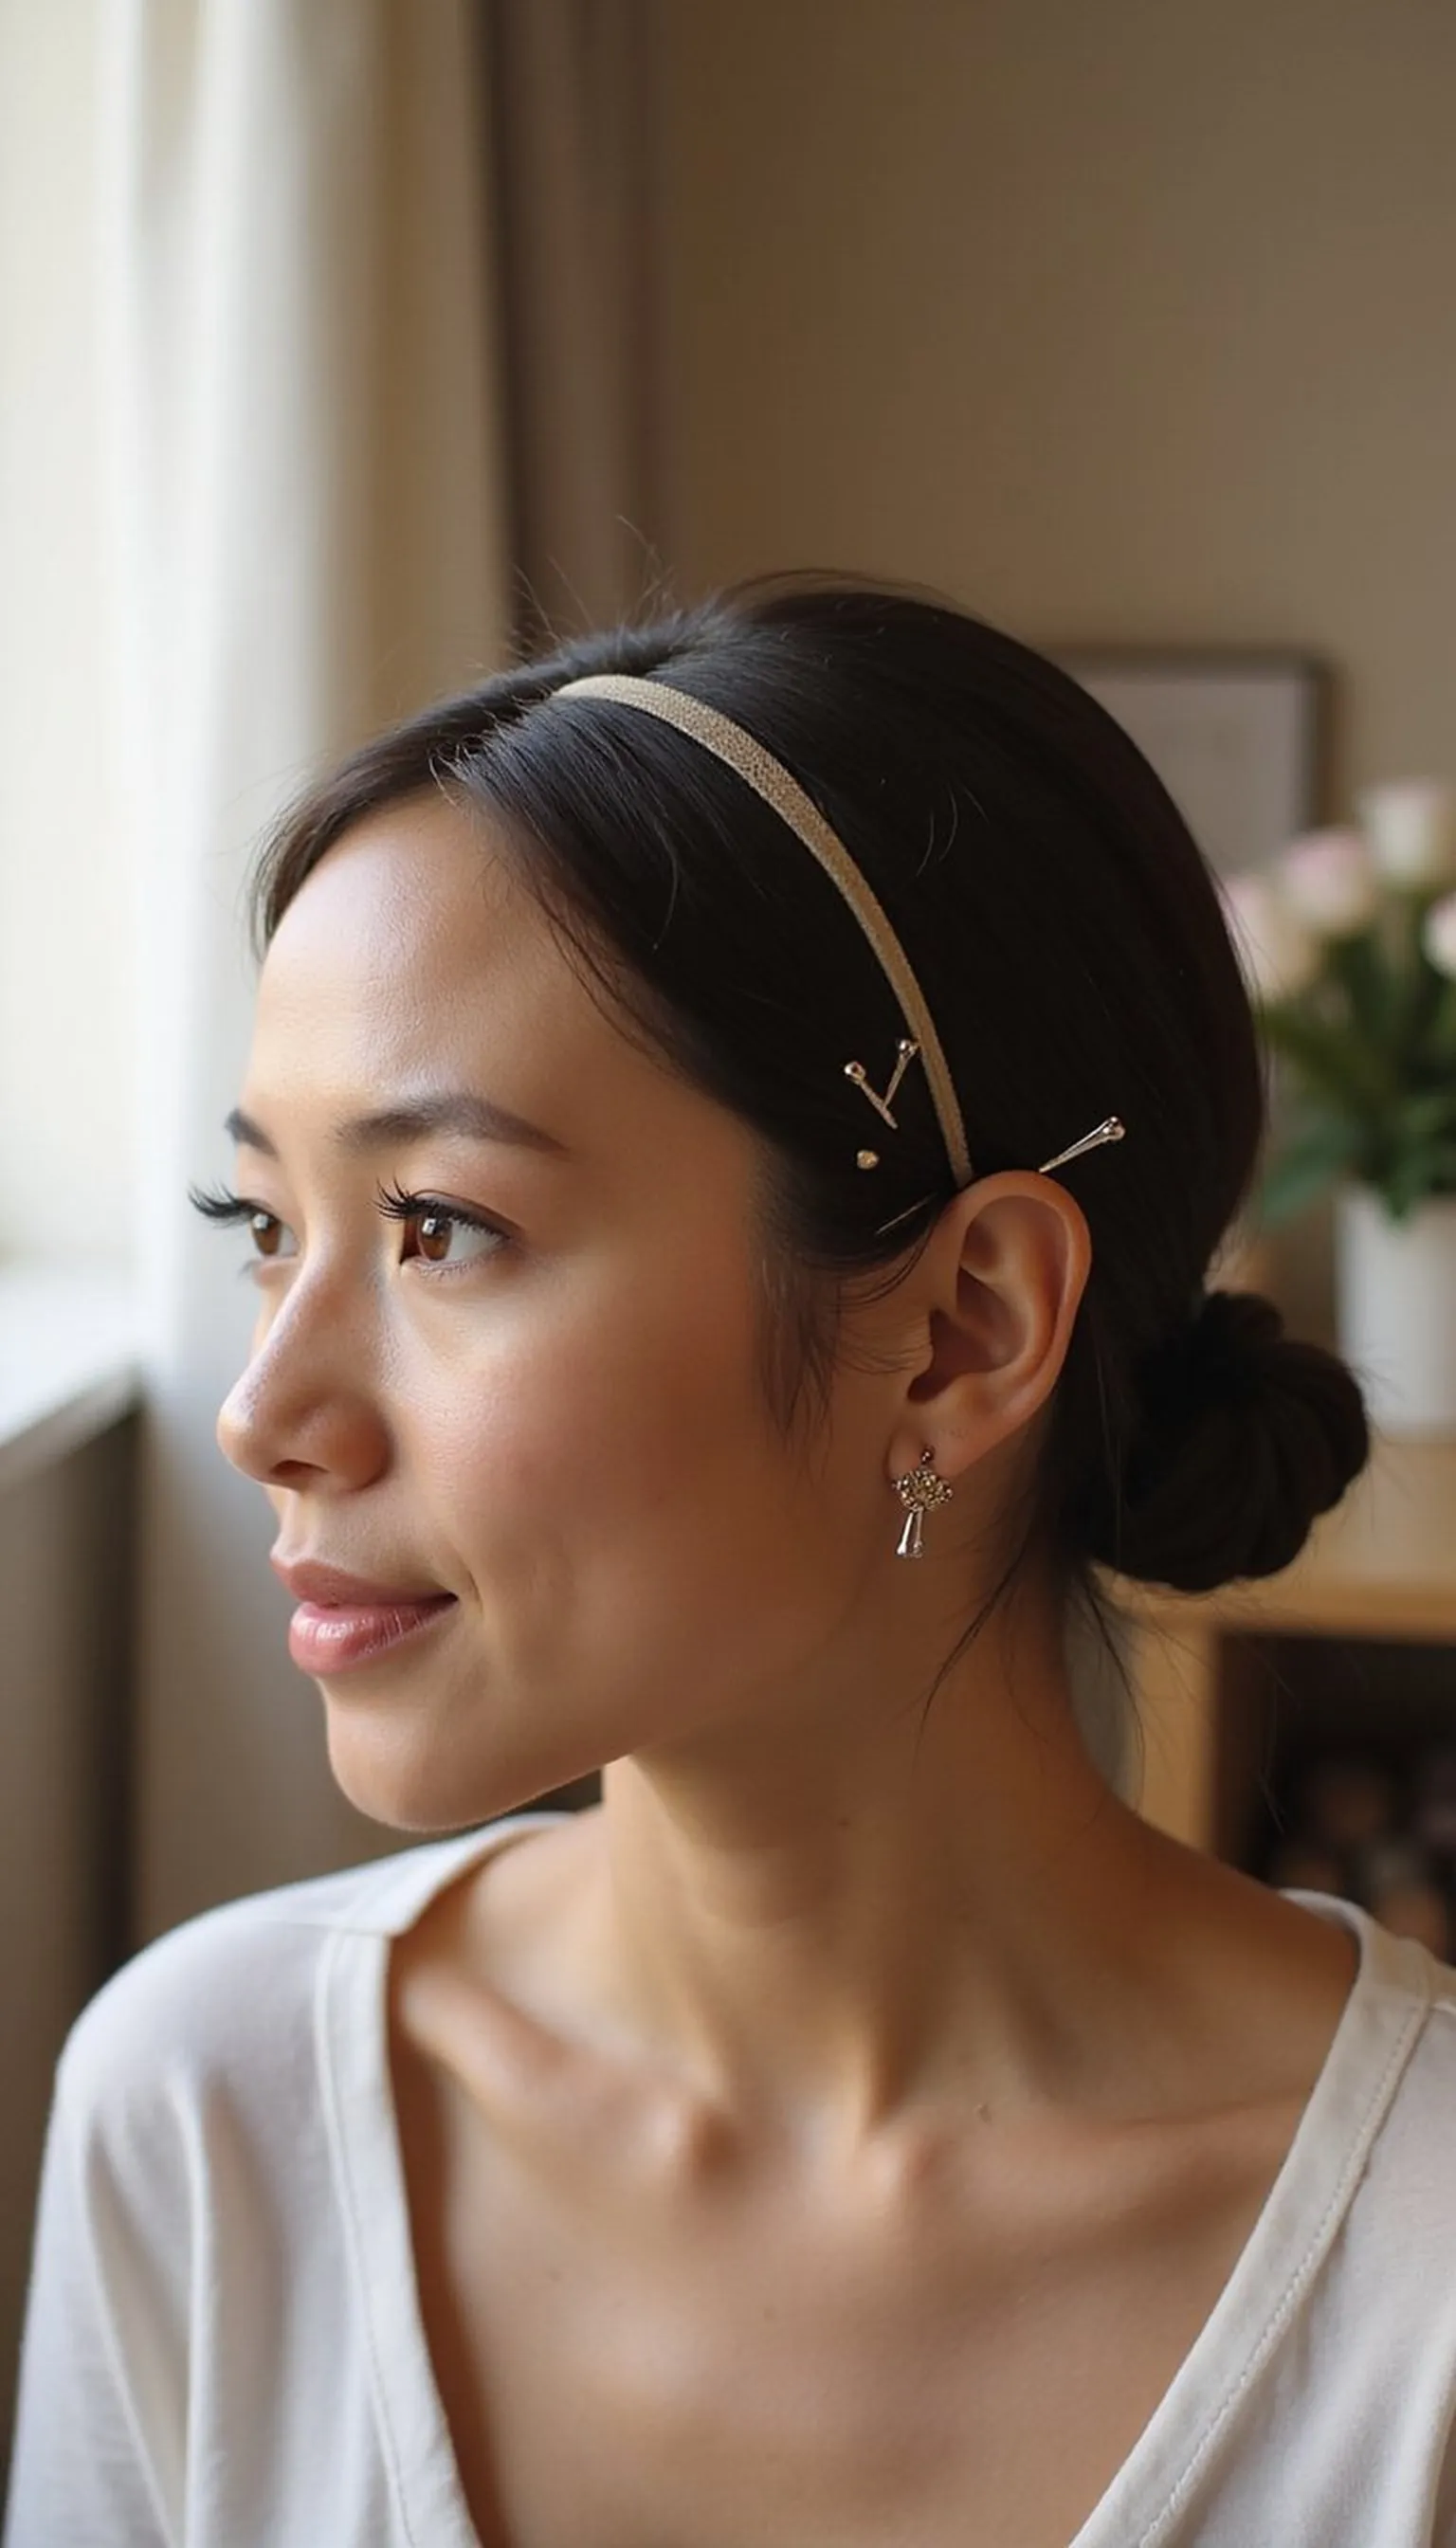
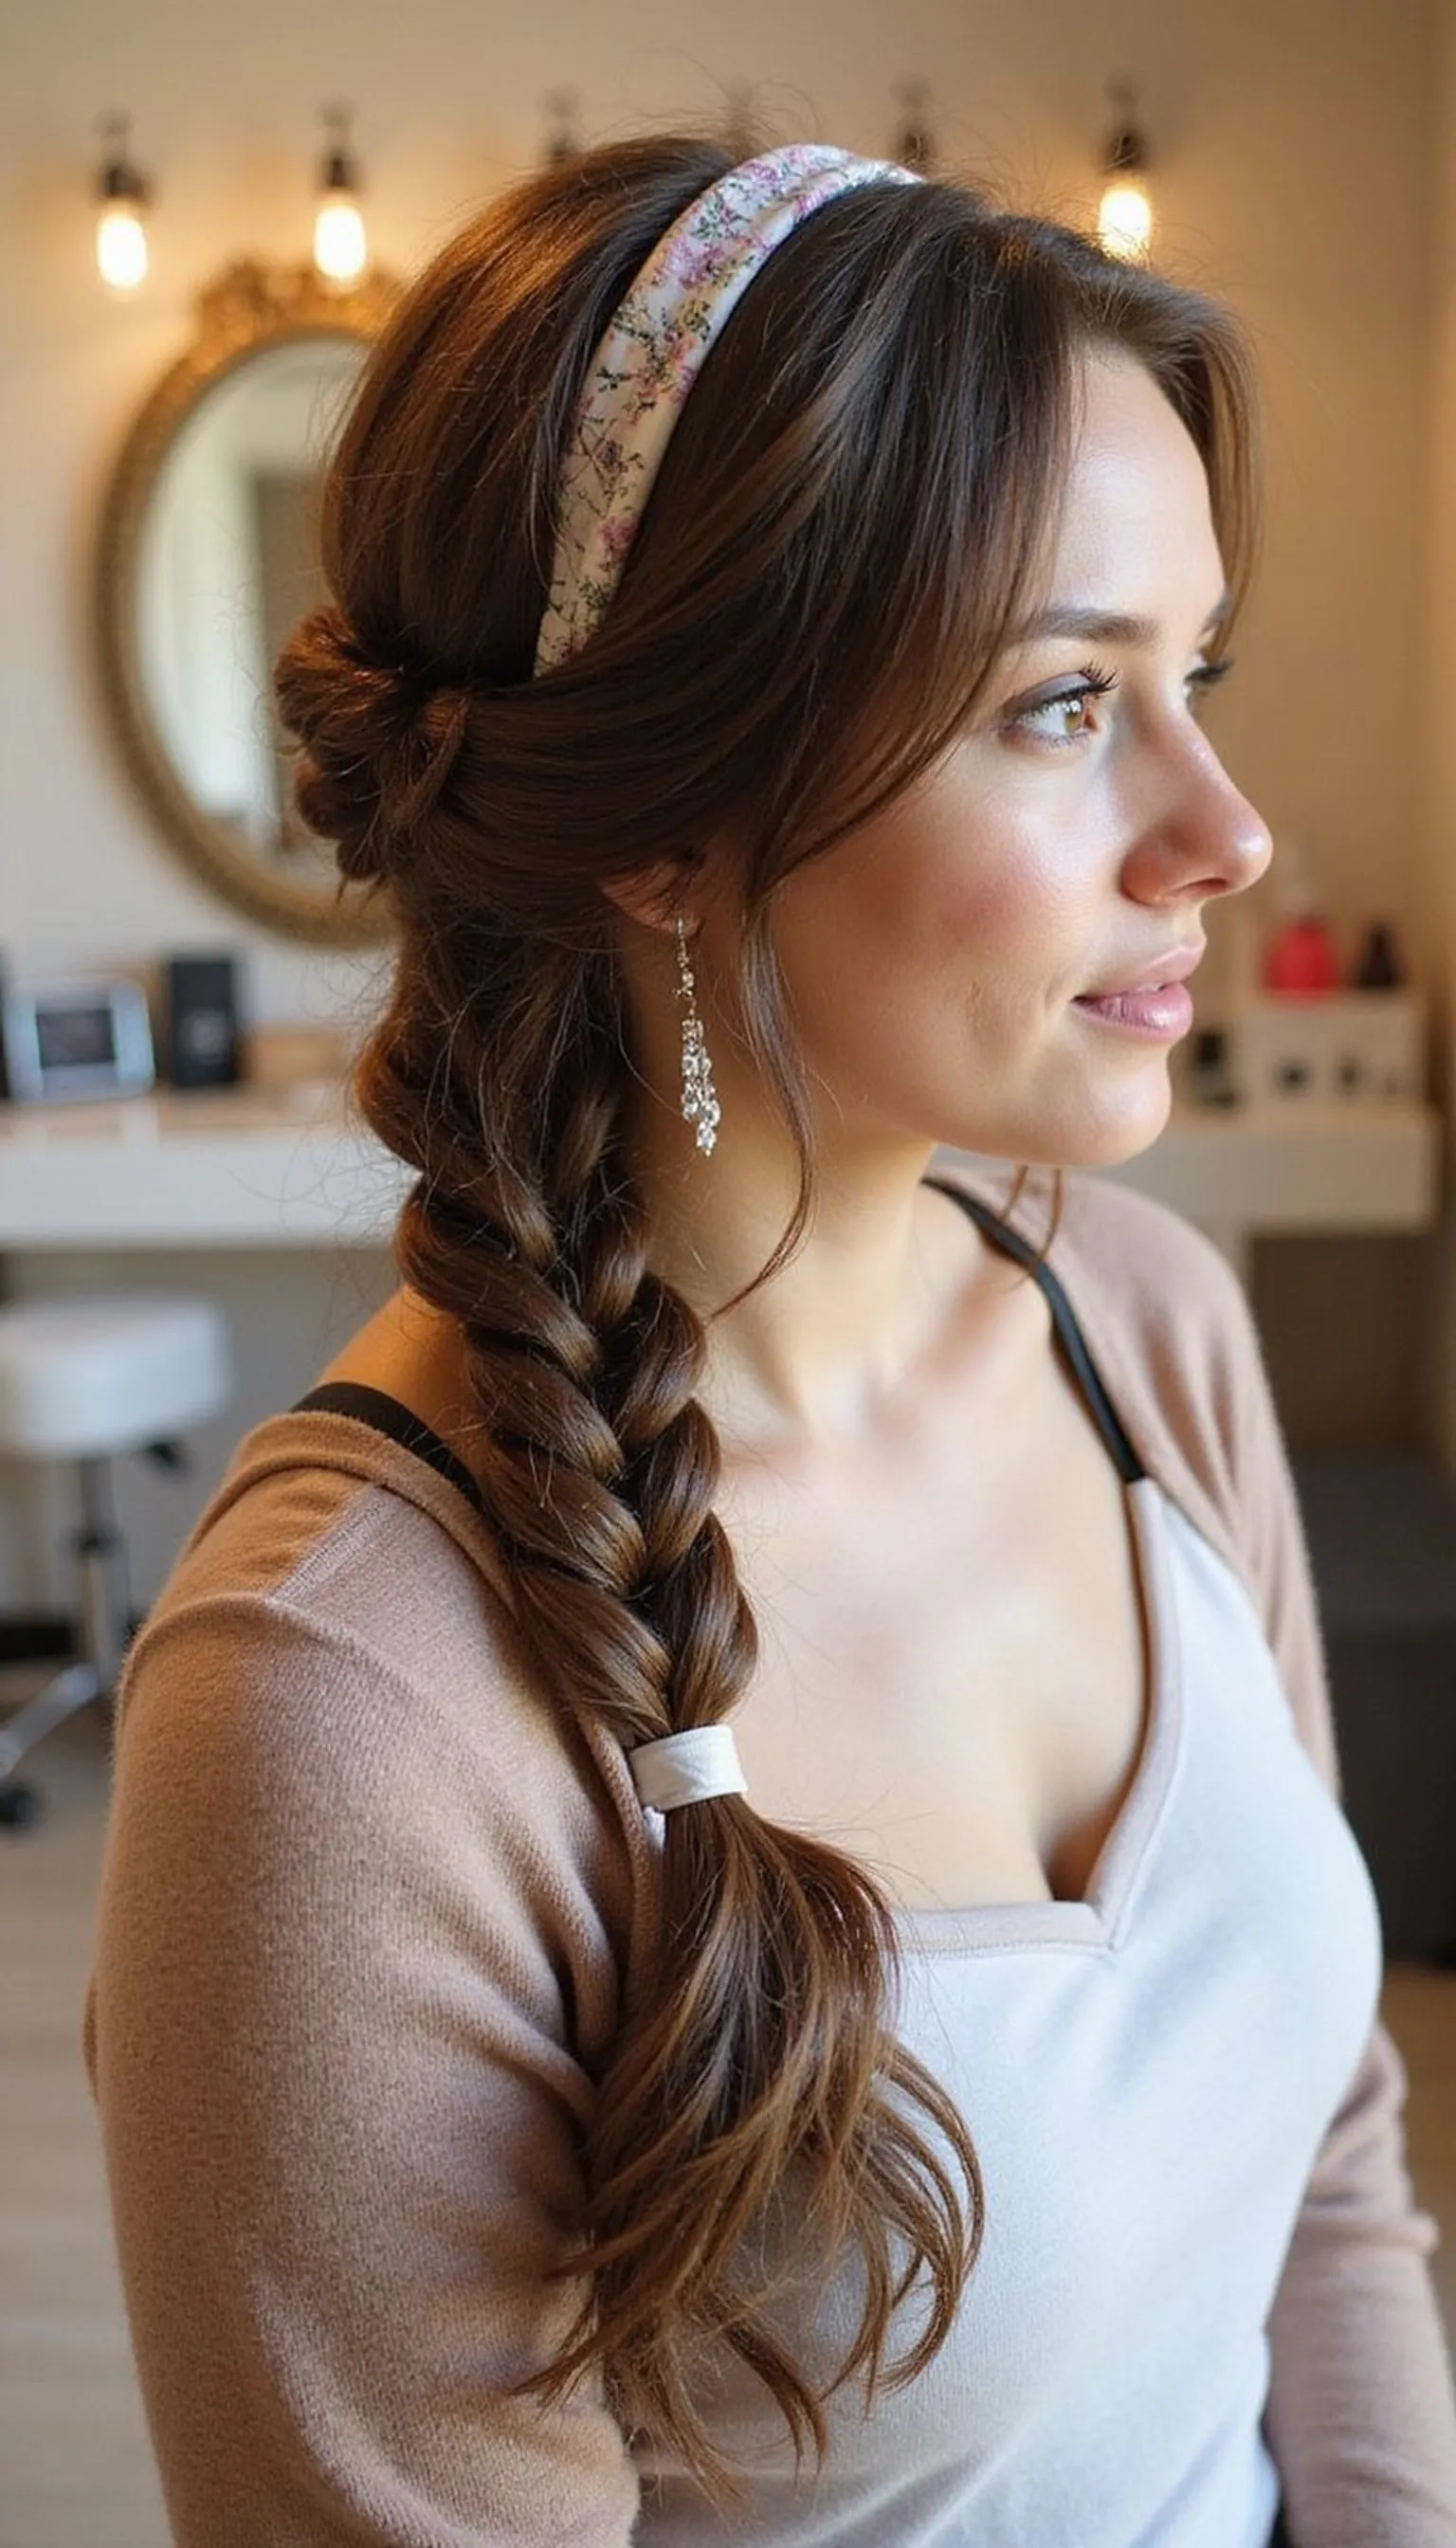
A sleek low bun tucks hair at the nape for a polished finish that stays put through long shifts and quick patient visits. This nurse-friendly style keeps hair off the face and neck while still looking tidy under scrubs.
Start with a smoothing cream on damp or dry hair, gather into a low pony, twist and coil into a tight bun, then secure with an elastic and bobby pins for hold. Add a slim headband to keep flyaways away during patient care or mask duty.
Refreshing takes seconds: smooth a stray piece and re-insert a pin if needed between rounds. This updo suits medium to long hair and fits easily under a scrub cap.
Styling Tips
- Smooth hair with a lightweight cream before styling.
- Use hidden bobby pins to avoid bulk around the nape.
- Add a slim headband to catch flyaways under PPE.
Pro Tip: Use a snag-free elastic and insert hidden bobby pins to lock the low bun without added bulk.
Avoid: Pulling the bun too tight can cause scalp tension and headaches. Avoid skipping pins or the bun may loosen during long patient rounds.
Try Also: Try a twisted low bun, braid the base before coiling, or swap the headband for a thin scrub cap. Each keeps hair tidy but changes the finish.
Products & Materials
Items Used
“Polished low bun that survives rounds and long shifts.”
High Pony With Scrunchie For Speed
⏱️ 3 min · 🟢 Beginner

A high pony with a scrunchie lifts hair off the collar and keeps strands out of the way during busy shifts. This playful option gives instant polish while letting movement stay comfortable under a scrub top.
Gather hair high at the crown, smooth with a brush, and secure with a plush scrunchie for more grip and less hair crease. Tuck shorter layers with a snap clip or a few bobby pins to keep everything tidy.
The look is quick to remake after a meal break or between patients with one hand to re-scrunch. It suits medium to long lengths and works nicely with headbands or scrub caps layered on top.
Styling Tips
- Use a soft brush to smooth the crown before tying.
- Choose a scrunchie that matches scrub colors for a cohesive look.
- Tuck shorter layers with a snap clip for a neater finish.
Pro Tip: Place the scrunchie slightly forward for more lift and secure stray layers with a small snap clip hidden at the base.
Avoid: Tying too low will let hair brush the collar and cause discomfort. Avoid using a thin elastic alone if you want less hair creasing.
Try Also: Turn the pony into a braided ponytail, wrap a small strand for a polished base, or swap the scrunchie for a slim elastic. Each change alters hold and volume.
Products & Materials
Items Used
“Fast high pony with scrunchie — comfy and crease-free.”
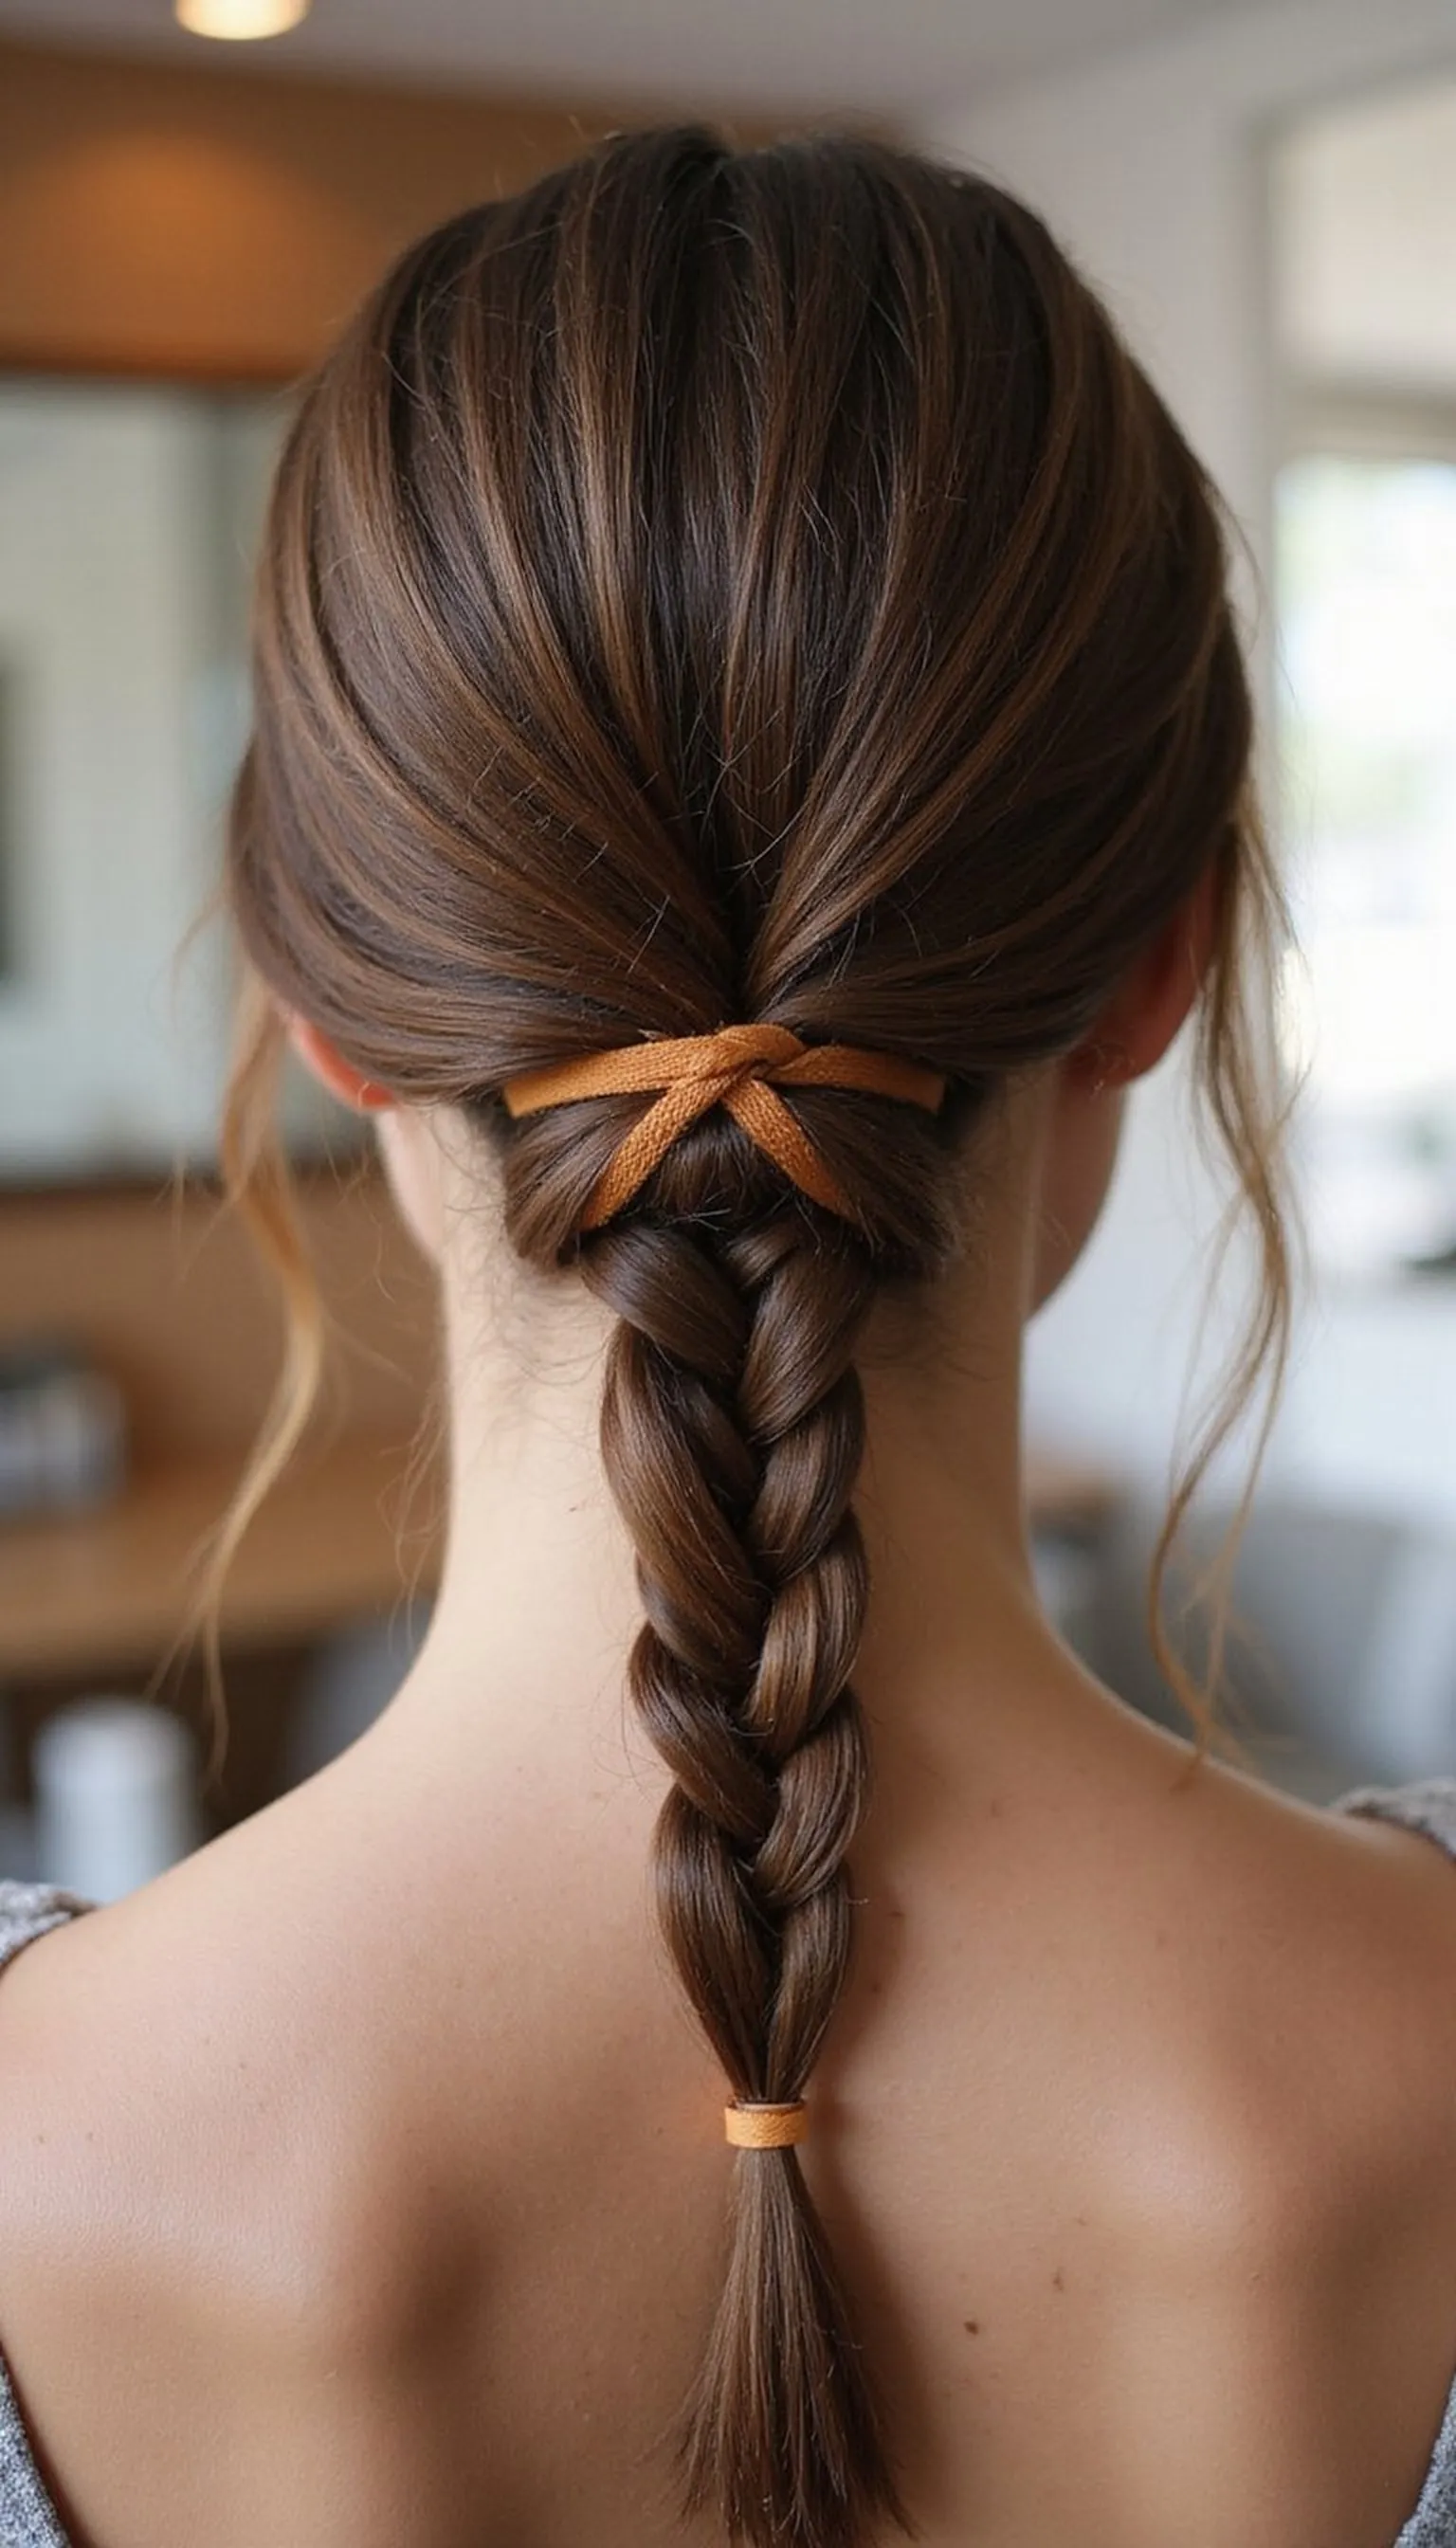
French Braid Into Low Bun For Security
⏱️ 10 min · 🟠 Intermediate
A French braid into a low bun keeps hair tightly controlled and neat for long patient shifts or quick rounds. This combo reduces bulk and prevents loose strands from falling forward while moving.
Begin with a tight French braid along the crown down to the nape, then coil the remaining hair into a low bun and secure with clear elastics and bobby pins. The braided base adds grip so the bun stays put beneath a scrub cap or headband.
This style works well for medium to long and thicker hair that needs extra hold. Tight braiding takes practice but results look clinic-appropriate and last through long hours.
Styling Tips
- Braid tightly to avoid gaps and slipping during the shift.
- Use small clear elastics at the braid end for discreet hold.
- Pin bun ends flat against the head to reduce bulk under caps.
Pro Tip: Braid with slightly damp hair for smoother strands and extra grip, then seal the braid with a small clear elastic before forming the bun.
Avoid: Braiding too loosely will cause the style to loosen quickly. Avoid skipping a final secure elastic or the bun can unravel under movement.
Try Also: Do a Dutch braid for raised texture, create two side braids into one bun, or skip the bun for a secured braided ponytail. Each feels slightly different but stays tidy.
Products & Materials
Items Used
“Tidy French braid into bun that locks hair all shift long.”
Get 75+ ad-free, high-resolution printable tutorials for salon-quality results every single morning.
One printable guide · $19.99 · yours forever
Quick Claw Clip Updo For Instant Tuck
⏱️ 2 min · 🟢 Beginner
The claw clip updo is a go-to for nurses who need instant, hands-free hair control between patients. It gathers hair into a secure roll and stays put without much fiddling.
Twist hair into a French twist or simple roll and clamp a medium claw clip over the base, hiding ends for a sleek finish. Use a few bobby pins at the edges if extra hold is needed during active shifts.
This style suits medium to long hair and is easy to remake in a single motion after a break. The clipped up look also fits under scrub caps or protective head coverings without flattening volume badly.
Styling Tips
- Choose a medium-sized claw clip that grips thick sections comfortably.
- Twist hair tightly before clipping for a firmer hold.
- Anchor loose ends with a couple of bobby pins if needed.
Pro Tip: Twist hair into a tight roll before clipping and anchor the base with a hidden bobby pin to keep the clip secure during busy shifts.
Avoid: Clipping over loosely gathered hair makes the style slip after a few movements. Avoid using an undersized clip on thick hair without extra pins.
Try Also: Try a half-up claw clip, double clips for a chunkier look, or a low clipped twist for shorter lengths. Each option is fast and secure.
Products & Materials
Items Used
- claw clip
- bobby pins
“Claw clip updo for instant, hands-free hair control on shift.”
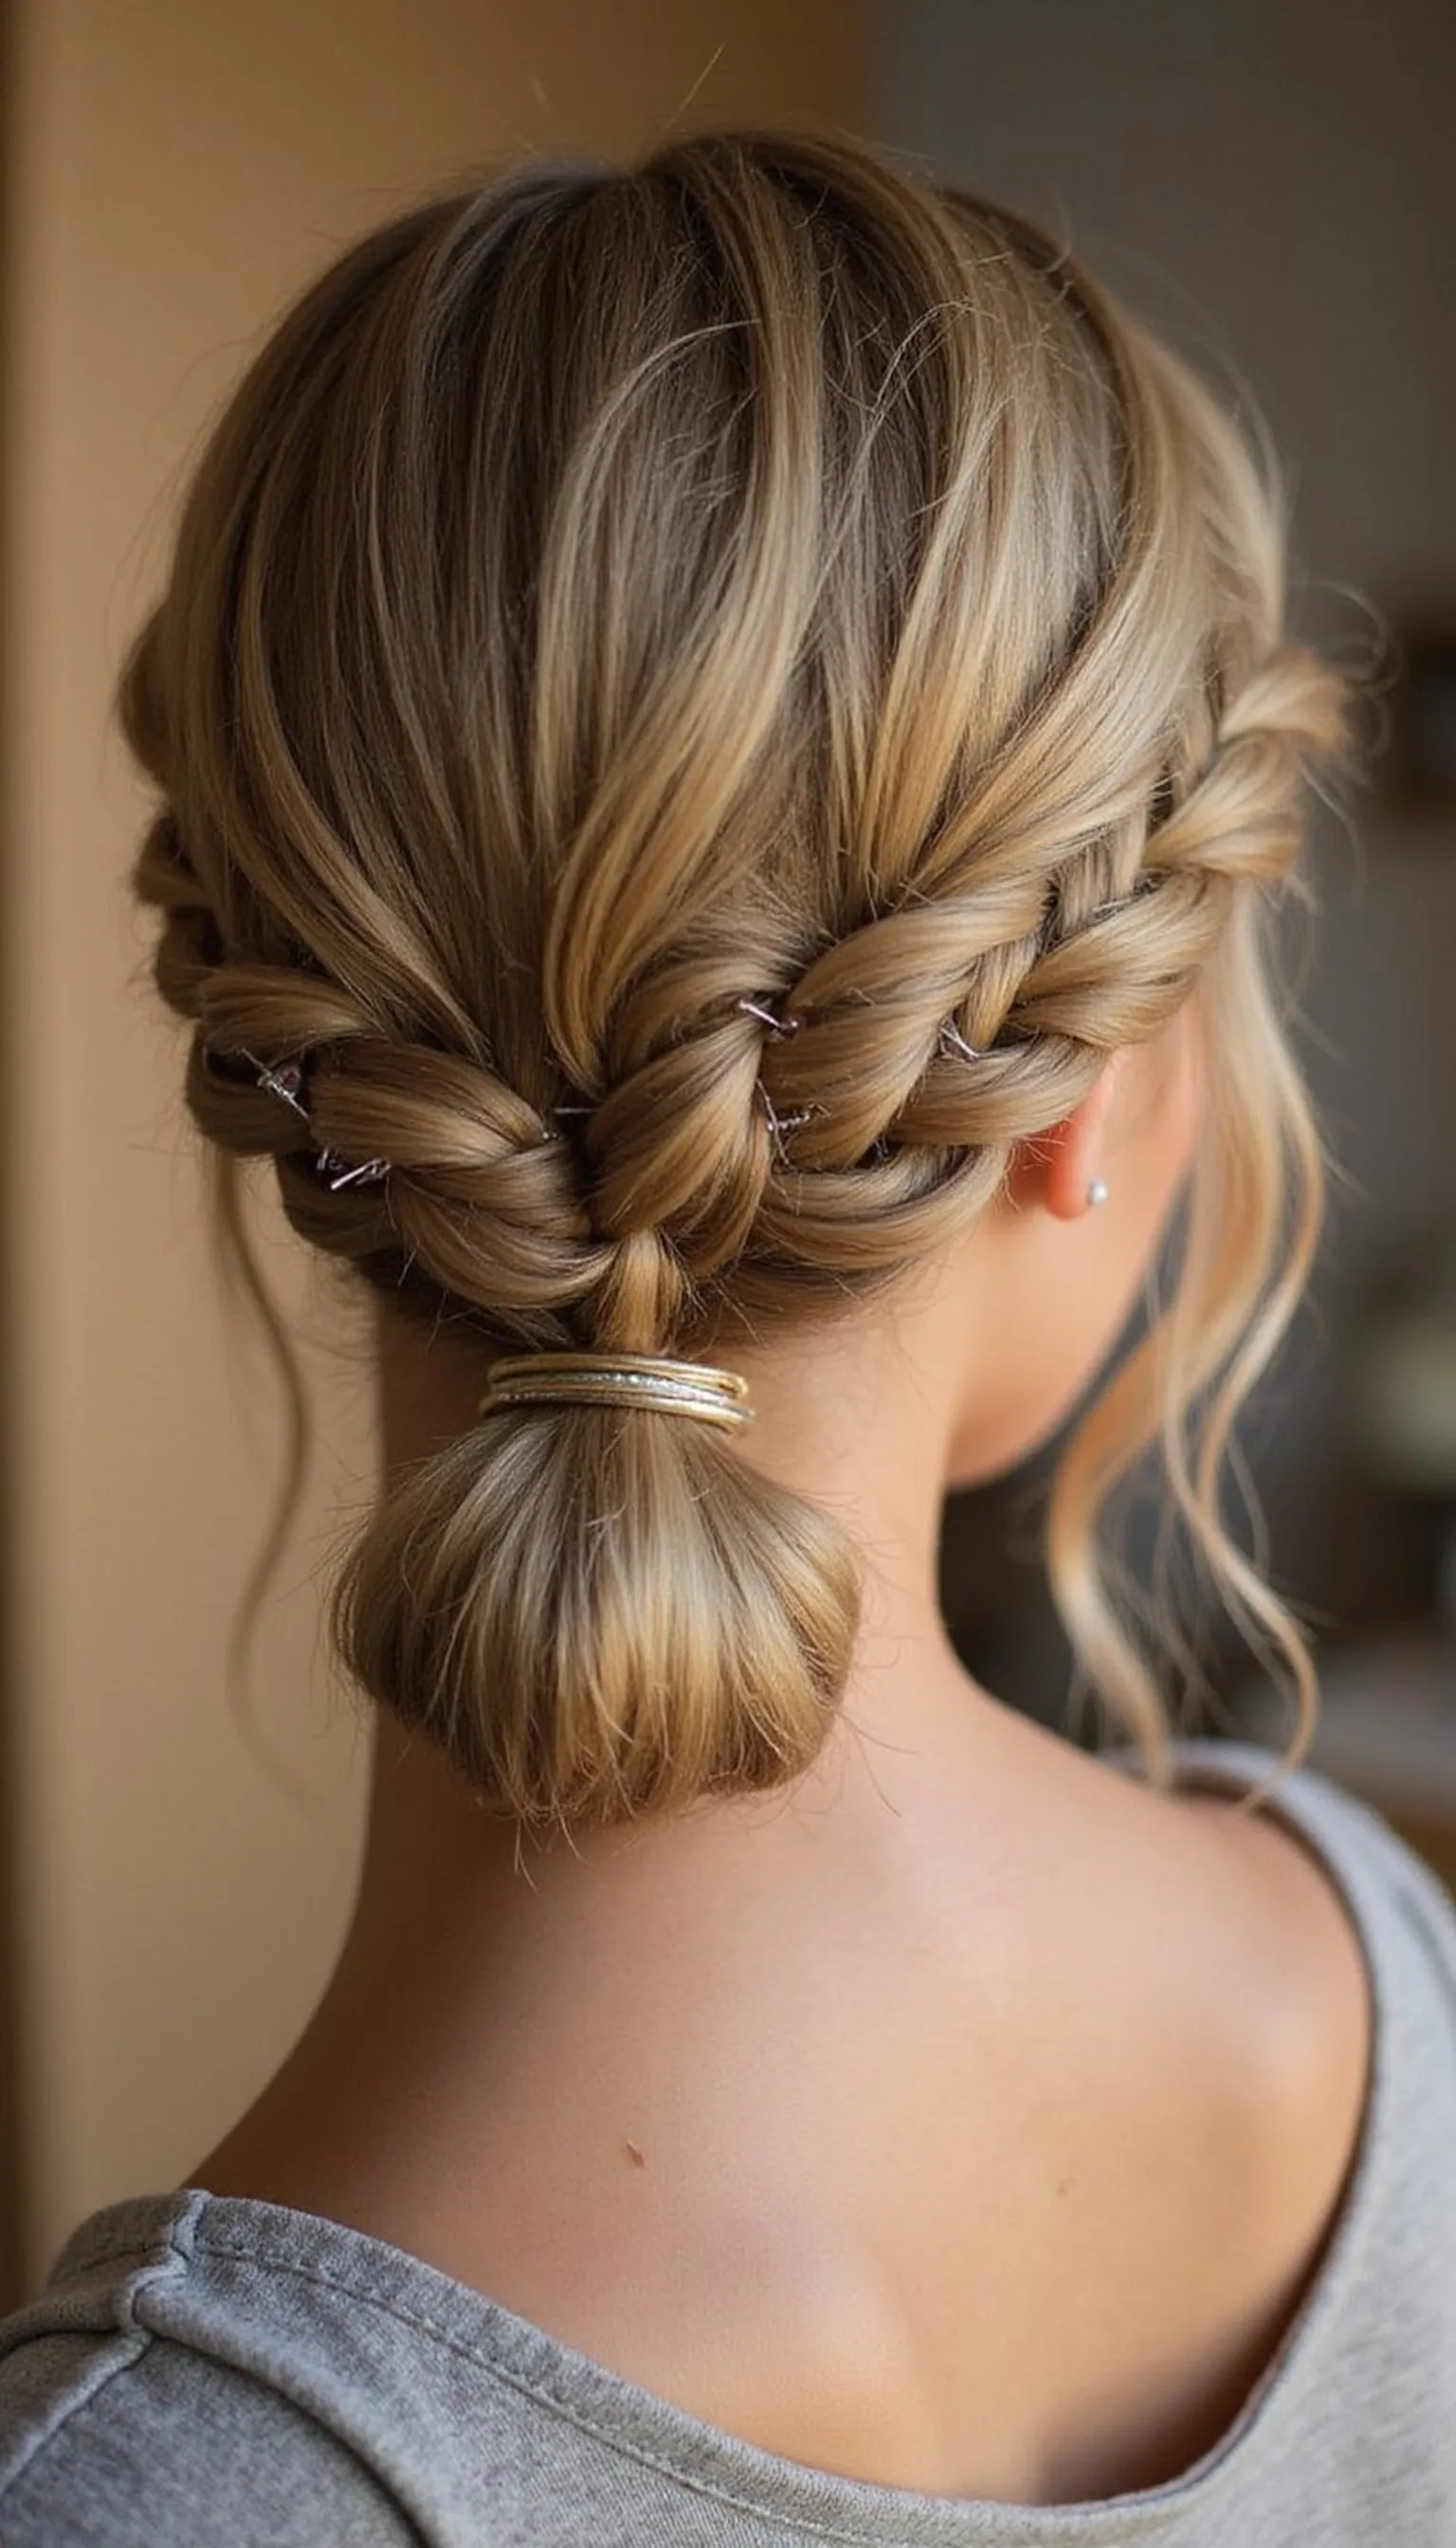
Braided Low Pony That Stays Put
⏱️ 7 min · 🟢 Beginner
A braided low pony combines the ease of a ponytail with the extra grip of a braid for all-day hold. It keeps hair compact and looks neat under scrubs or a head covering.
Secure a low pony with a wide elastic, then three-strand braid to the ends and finish with a second elastic and a few bobby pins to flatten any bumps. The braid reduces swinging and distributes tension evenly for comfort on long shifts.
This style is great for medium to long hair and works whether hair is freshly washed or a day old. Add a fabric headband to control flyaways at the hairline if needed.
Styling Tips
- Place the first elastic close to the nape for a low, secure pony.
- Braid tightly to minimize movement and secure the end with another elastic.
- Use bobby pins to flatten any loose pieces around the base.
Pro Tip: Create the low pony on slightly damp hair for smoother braiding and finish with a wide elastic to reduce slippage during long shifts.
Avoid: Making the initial pony too loose causes the braid to sag and swing. Avoid skipping the second elastic which secures the braid end.
Try Also: Turn into a fishtail braid for texture, add a ribbon at the base, or create two low braids for extra control. Each keeps hair compact.
Products & Materials
Items Used
- wide elastic hair tie
- bobby pins
- fabric headband
“Low braided pony that reduces swing and stays secure all day.”
Sock Bun For Smooth Clinic Finish
⏱️ 8 min · 🟠 Intermediate
The sock bun creates a smooth, round bun with even volume and a tidy edge ideal for uniformed settings. It disguises thinning spots and gives a neat silhouette under a scrub cap.
Slip a bun donut over a ponytail, spread hair evenly and roll the ends under, then secure with bobby pins and a finishing spray. Using a donut makes the bun fuller without teasing or extra bulk at the nape.
This method suits medium to long hair and is worth the little extra time for a polished outcome. A thin headband helps keep shorter wisps tucked in place during active tasks.
Styling Tips
- Select a bun donut that matches your hair thickness for balanced volume.
- Wrap hair smoothly and anchor pins close to the scalp for stability.
- Add a light mist of spray to lock stray hairs before finishing.
Pro Tip: Choose a bun donut slightly smaller than your desired bun size to avoid a bulky look under scrub caps.
Avoid: Not distributing hair evenly over the donut creates an uneven shape. Avoid using too few pins at the base or the bun can slip.
Try Also: Try a low sock bun, a high sock bun for extra lift, or braid the ponytail before threading it through the donut for texture. Each alters the final silhouette.
Products & Materials
Items Used
- bun donut
- bobby pins
- fabric headband
“Smooth sock bun for a polished, uniform-ready finish.”
Twisted Halo For Shorter Layers
⏱️ 10 min · 🟠 Intermediate
The twisted halo tucks short layers behind the ears into a soft crown for a feminine, hands-free style. It keeps bangs and face-framing pieces controlled without heavy pulling.
Create two twists from each temple, bring them around the head and pin at the nape, then refine with bobby pins and small clear elastics at the ends. The twists distribute hair so shorter pieces stay contained while still feeling light.
This approach is ideal for shoulder-length hair or longer pixie styles with face-framing layers. It wears well under scrub caps and looks tidy during long patient visits.
Styling Tips
- Twist tightly near the roots for stronger hold and a flatter profile.
- Use small clear elastics at the twist ends to hide fasteners.
- Anchor the halo with bobby pins angled toward the scalp for grip.
Pro Tip: Secure each twist with a small clear elastic before pinning to keep the shape intact during quick shift movements.
Avoid: Leaving twists too loose makes the halo droop quickly. Avoid relying on a single pin—use multiple small pins for better hold.
Try Also: Create a braided halo, add a thin headband for polish, or do a single twisted side sweep for asymmetry. Each is quick to alter.
Products & Materials
Items Used
- small clear elastics
- bobby pins
- fabric headband
“Twisted halo tucks short layers into a neat crown for all-day wear.”
Low Braided Wrap To Keep Hair Flat
⏱️ 12 min · 🟠 Intermediate
The low braided wrap keeps hair flat against the head, ideal for nurses who wear scrub caps or surgical masks for long periods. Braiding then wrapping reduces bulk and prevents hair from shifting forward.
Start with a low braid or two, then wrap them around the nape and secure with bobby pins and a wide elastic for a clean base. Tucking the ends under the wrap creates a smooth shape that lies flat under caps.
This style works well for thicker hair types that need to be kept close to the head. It takes a little time but rewards with reliable hold and a neat profile that lasts.
Styling Tips
- Braid tight and anchor the braid base with a wide elastic before wrapping.
- Use several bobby pins along the wrap to distribute pressure evenly.
- Smooth the top with a light cream to reduce frizz before wrapping.
Pro Tip: Braid on slightly damp hair and anchor the braid base with a wide elastic before wrapping to keep the style flat and secure.
Avoid: Wrapping without anchoring the braid base can let the wrap loosen after movement. Avoid pinning only into hair ends—pin into the scalp for better hold.
Try Also: Try two braided wraps for extra security, add a small bun under the wrap, or do a rope braid instead for texture. Each modifies hold and thickness.
Products & Materials
Items Used
“Low braided wrap that keeps thick hair flat and secure under caps.”
Bubble Ponytail For Fun And Function
⏱️ 6 min · 🟢 Beginner

The bubble ponytail breaks a long pony into compact sections that reduce swing and add playful volume. It keeps hair secure while staying comfortable during active shifts and quick walks between stations.
Create a high or mid pony, then add evenly spaced elastics down the length, gently pulling each section to form bubbles and distribute bulk. Use a final scrunchie at the base and tuck any loose ends under the last elastic for a cleaner look.
This style works best on longer hair and can be done in under ten minutes once practiced. It’s easy to refresh and looks intentional even on a busy day.
Styling Tips
- Place elastics evenly to create uniform bubbles and reduce tugging.
- Pull each section gently for soft volume without causing breakage.
- Use a scrunchie at the top for added cushion and comfort under caps.
Pro Tip: Space elastics evenly and gently pancake each section for full-looking bubbles that reduce hair movement during long shifts.
Avoid: Placing elastics too close together causes the pony to tangle and pull. Avoid overtightening elastics which can create creases or damage hair.
Try Also: Do a low bubble ponytail for reduced profile, braid between bubbles for texture, or wrap the base with a ribbon. Each keeps hair contained differently.
Products & Materials
Items Used
- multiple elastic hair ties
- scrunchie
“Bubble ponytail — playful, secure, and easy to remake on break.”
Pixie Tuck With Headband For Short Cuts
⏱️ 4 min · 🟢 Beginner

The pixie tuck uses a headband to hold short layers and bangs away from the face while still looking neat and professional. It’s ideal for very short styles that need quick containment on busy days.
Place a soft fabric headband behind the hairline and tuck shorter pieces behind it, securing with a few bobby pins where necessary. The headband smooths the top and prevents hair from brushing the forehead during patient care.
This approach is fast and comfortable for short crops and can be adjusted throughout a shift without styling tools. Swap the headband for a scrub cap for added protection when needed.
Styling Tips
- Choose a non-slip fabric headband to avoid constant shifting.
- Anchor shorter side pieces with small bobby pins behind the band.
- Use a lightweight texturizing cream to control flyaways before placing the band.
Pro Tip: Select a non-slip fabric headband and anchor shorter pieces behind it with small bobby pins for a tidy, no-fuss finish.
Avoid: Using a slick headband that slides requires constant readjusting. Avoid heavy products that flatten the cut and make the headband uncomfortable.
Try Also: Swap to a thin metal headband for a polished look, pair with a small braid at the temple, or tuck a few pieces behind a scrub cap. Each gives a different vibe.
Products & Materials
Items Used
- fabric headband
- bobby pins
“Pixie tuck with headband — quick containment for short cuts.”
Side Dutch Braid For Commuter Convenience
⏱️ 9 min · 🟠 Intermediate

A side Dutch braid keeps hair close to the head and prevents wind or public transit from creating a mess on the commute. The raised braid tucks hair behind one ear and keeps the face clear during handoffs and charting.
Begin at one temple, pick up sections underhand to create a Dutch braid down the side, then secure the end with an elastic and tuck or coil the tail behind the nape using bobby pins. The braid’s structure reduces swing and is comfortable under helmets or caps.
This style works for most hair lengths down to shoulder length and is easy to freshen up at a station. Add a small fabric headband to tame flyaways at the hairline if needed.
Styling Tips
- Braid tightly against the scalp for a flatter, more durable finish.
- Secure the braid end with a small elastic, then hide it with pins.
- Add a light mist of spray to prevent frizz during the commute.
Pro Tip: Braid slightly damp hair for cleaner sections and tighter grip, then lock the end with a small elastic before pinning the tail discreetly.
Avoid: Starting the Dutch braid too loosely makes it loosen on the move. Avoid leaving the braid end unsecured—tuck and pin it into the nape for stability.
Try Also: Do two side Dutch braids into a low pigtail, convert to a Dutch crown, or finish with a low bun. Each adjusts hold and silhouette.
Products & Materials
Items Used
“Side Dutch braid keeps hair tidy from commute to clinic.”
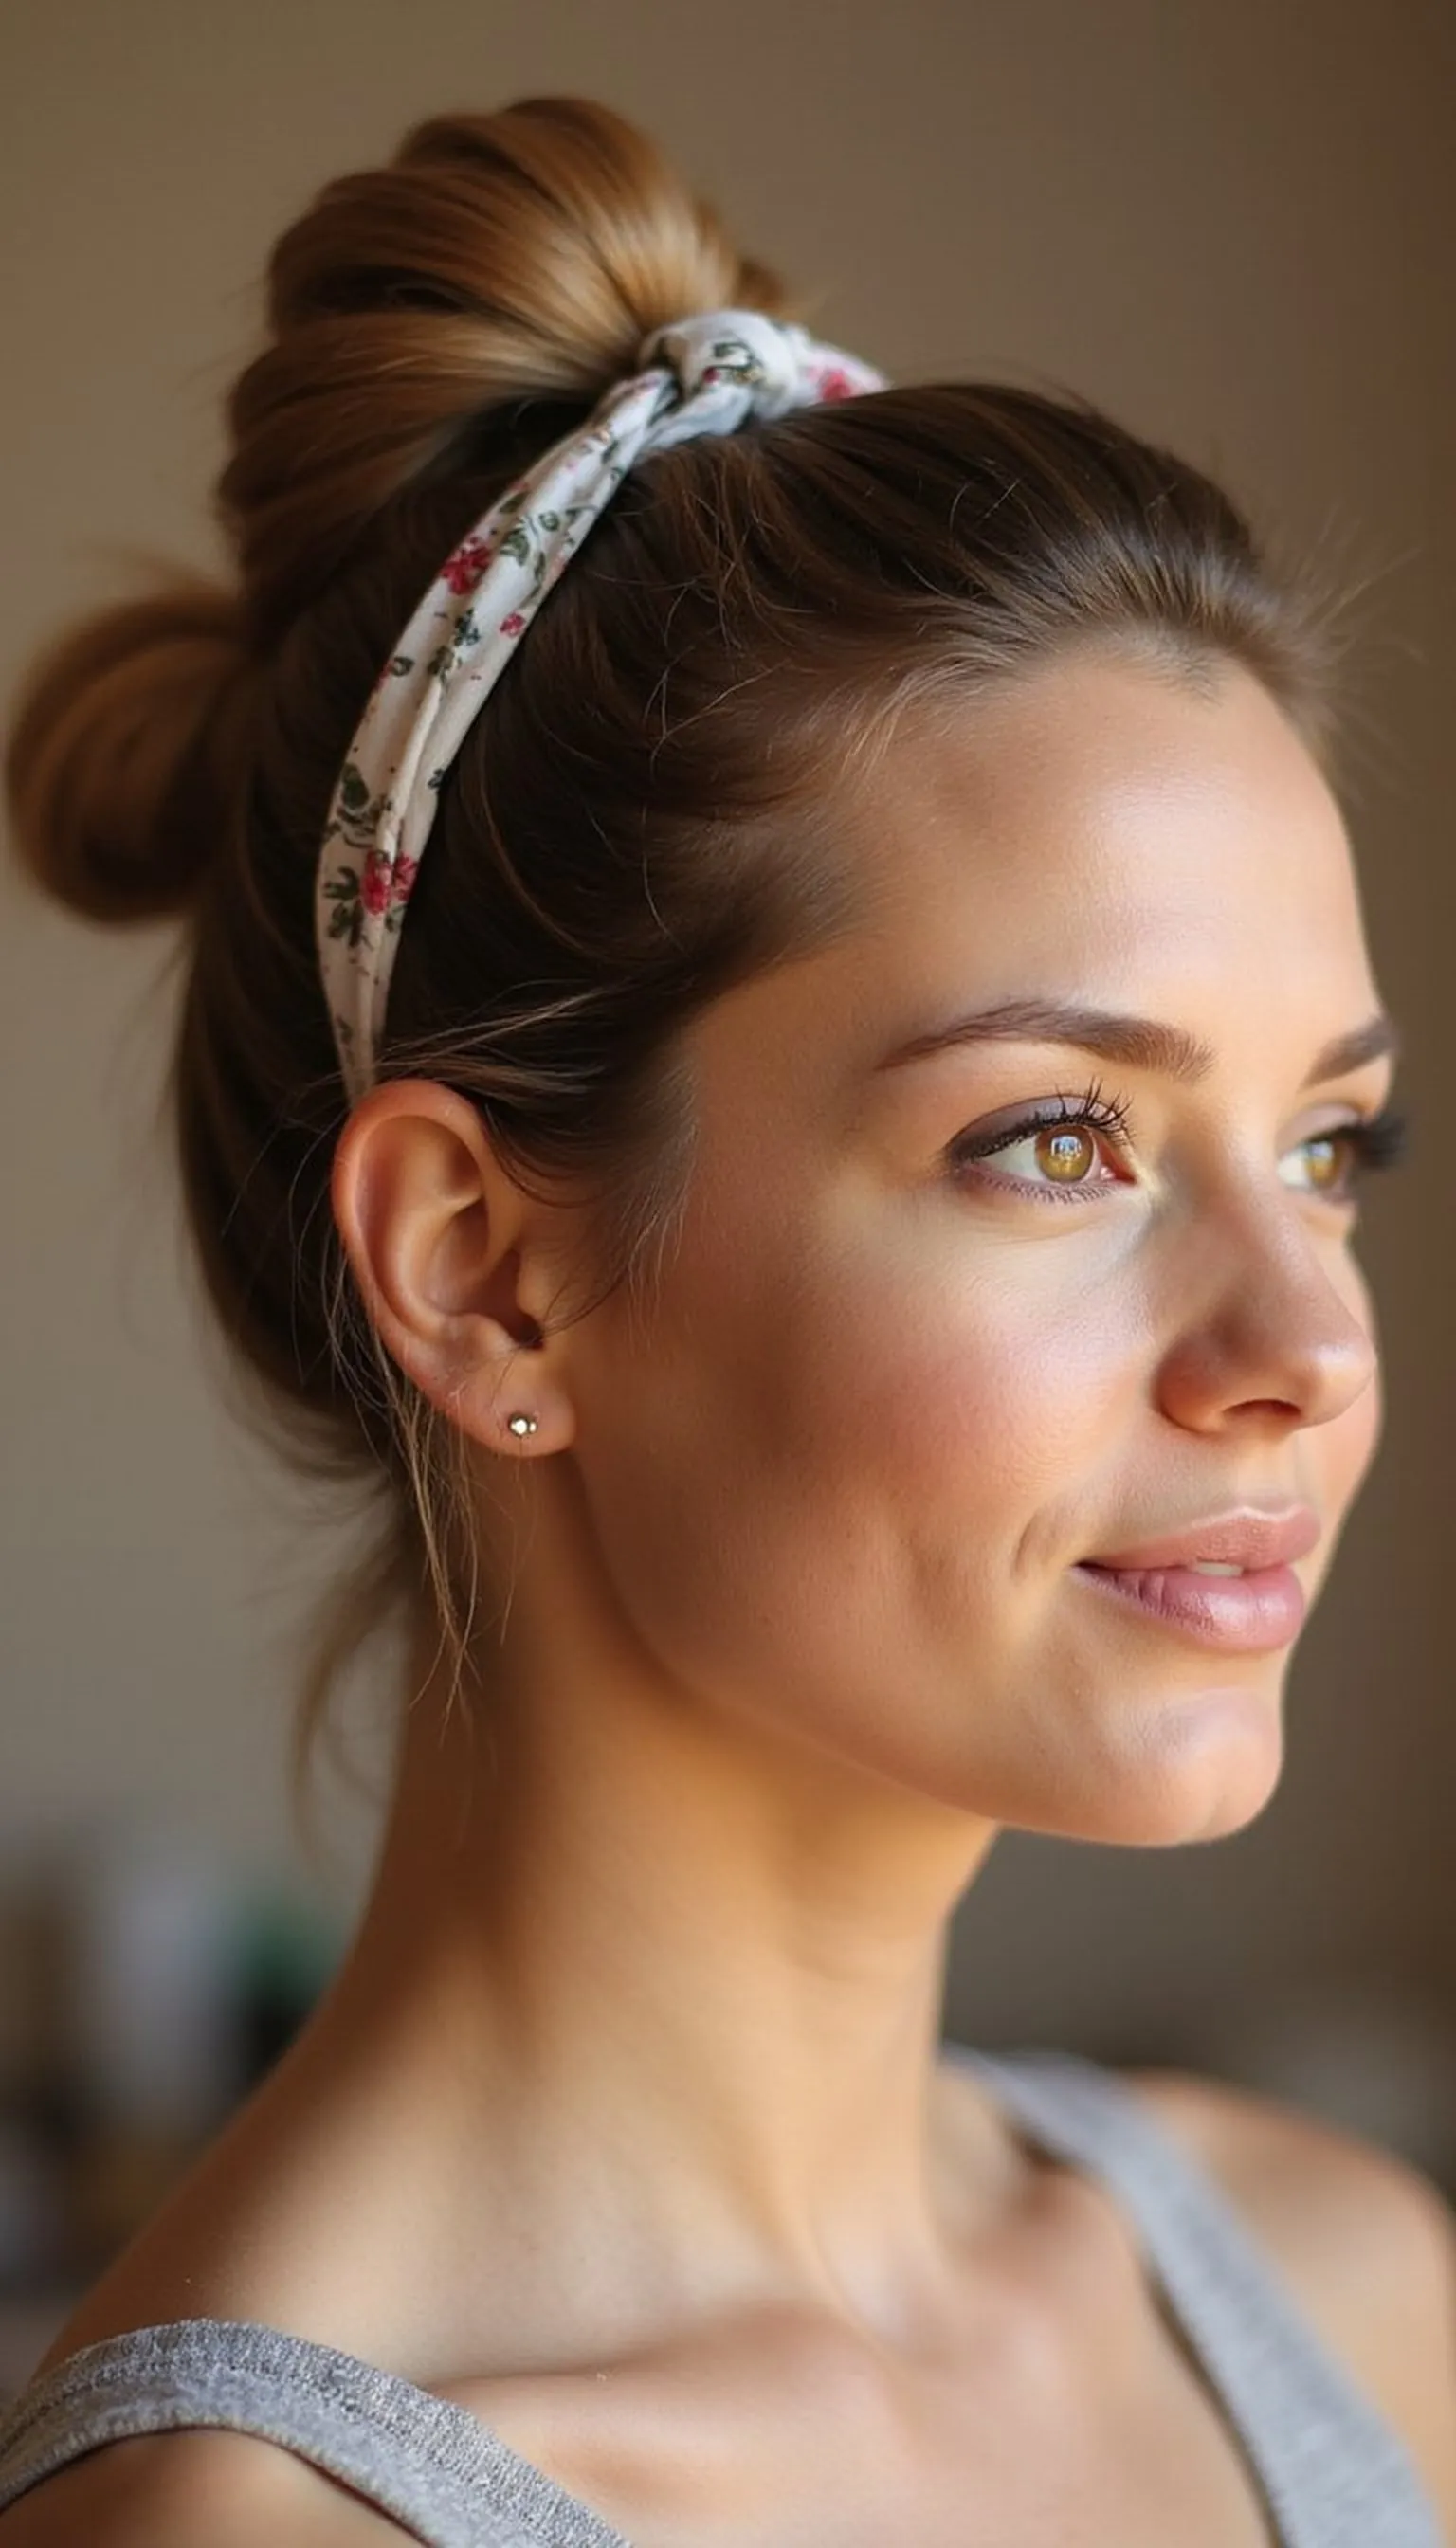
Messy Top Knot With Hair Net For Hygiene
⏱️ 4 min · 🟢 Beginner
The messy top knot is fast to create and a hair net adds a hygienic barrier for clinical settings that prefer contained hair. It looks effortless while keeping ends secured during procedures or high-activity shifts.
Pull hair into a high pony, twist into a loose knot and secure with an elastic and a few bobby pins, then slide a fine hair net over the knot to hold flyaways. The net reduces loose pieces and keeps the knot compact under PPE or head coverings.
This combo is great for medium to long hair and easy to remake on a short break. Adjust the knot tightness to balance comfort and security for long hours.
Styling Tips
- Use a soft elastic at the base to avoid scalp pulling under the knot.
- Anchor loose ends with bobby pins before placing the hair net.
- Choose a breathable hair net to reduce sweat buildup during long shifts.
Pro Tip: Anchor the knot base with a few bobby pins before applying a breathable hair net to keep small pieces contained without flattening the shape.
Avoid: Leaving too many loose pieces when applying the net leads to discomfort and re-tucking. Avoid overly tight knots that cause tension headaches.
Try Also: Make a sleek top knot under the net for a cleaner look, do a low messy knot for less bulk, or add a scrunchie beneath the knot for cushioning. Each offers slight comfort changes.
Products & Materials
Items Used
- elastic hair tie
- bobby pins
- hair net
“Fast messy top knot with a hair net for hygienic hold.”
Double Dutch Braids For Maximum Hold
⏱️ 15 min · 🟠 Intermediate

Double Dutch braids split hair into two secure braids that cut down on movement and keep hair evenly distributed. This style is ideal for long shifts where hair must stay put without constant touchups.
Create two tight Dutch braids from the hairline to the nape, finish with small clear elastics, and tuck or coil the tails into low buns secured with bobby pins. The two-braid system reduces pressure points and stays comfortable under head coverings for extended wear.
This method suits most lengths down to shoulder length and is especially helpful for thick hair. Braiding takes practice, but the result is a durable, tidy look that lasts through long duty hours.
Styling Tips
- Braid firmly and evenly to avoid gaps and prevent loosening during the shift.
- Use small clear elastics at the ends for discreet hold.
- Pin the braid tails flat to the head to reduce bulk under caps.
Pro Tip: Braid on slightly damp hair for smoother sections and finish each braid with a small clear elastic to lock everything before pinning the tails.
Avoid: Starting braids too loosely makes them relax and tangle during the shift. Avoid using only one pin at the tail—secure with multiple pins for long-term wear.
Try Also: Turn the braids into one low braided bun, add ribbons at the ends, or do smaller boxer braids for a sportier finish. Each boosts hold differently.
Products & Materials
Items Used
“Double Dutch braids that keep thick hair secure all shift long.”
Sleek Low Pony With Headband For Clean Lines
⏱️ 5 min · 🟢 Beginner

A sleek low pony yields a professional look that tucks hair neatly while maintaining a smooth profile under scrub collars. A fabric headband keeps the hairline clean and prevents small hairs from falling forward.
Smooth hair back with a brush and light cream, tie low at the nape with a snug wide elastic, then place a non-slip fabric headband across the hairline. The result is a low-profile style that’s simple to refresh between tasks.
This option is fast and works across most lengths down to medium hair. It balances comfort and neatness for nurses who prefer a minimal silhouette.
Styling Tips
- Brush hair thoroughly to avoid bumps before securing the low pony.
- Use a non-slip fabric headband to keep the hairline tidy under masks.
- Place the elastic tight enough to secure but not cause tension headaches.
Pro Tip: Smooth hair with a lightweight cream, secure the low pony with a wide elastic, and add a non-slip fabric headband for a neat hairline.
Avoid: Tying the pony too loosely lets hair slip into the collar. Avoid heavy products that weigh the pony down and cause slippage.
Try Also: Add a braided wrap around the base, do a low pony with a knot, or swap the headband for a thin metal version for polish. Each alters the vibe slightly.
Products & Materials
Items Used
- wide elastic hair tie
- fabric headband
“Sleek low pony with headband for a clinic-ready clean look.”
Twisted Updo With Claw Clip For Quick Tuck
⏱️ 3 min · 🟢 Beginner

A twisted updo using a claw clip is one of the fastest ways to get hair up and out of the way with a polished twist. It’s forgiving for second-day hair and easy to redo between patients.
Twist hair into a loose chignon at the nape or mid-head, clamp a claw clip over the twist, and secure stray pieces with a couple of bobby pins. The twist distributes weight and the clip keeps everything held without detailed pinning.
This method works for most lengths that reach the clip and can be tightened or loosened to suit comfort. It’s ideal for quick transitions from commute to shift without a mirror overhaul.
Styling Tips
- Twist hair tightly for a firmer hold and less slipping during activity.
- Choose a large claw clip for thicker hair and a medium clip for finer hair.
- Anchor with bobby pins if the clip feels loose after clipping.
Pro Tip: Twist hair tightly and place the claw clip so teeth grip both top and bottom sections for a secure, long-lasting hold.
Avoid: Clipping over loose twists makes the style slide after a few movements. Avoid clamping the clip too far from the twist base where it won’t anchor properly.
Try Also: Create a low twist for a flatter profile, do a half-up twist for shorter hair, or add a second clip for extra grip. Each change adjusts the hold.
Products & Materials
Items Used
“Quick twisted updo with a claw clip — fast, tidy, and comfy.”
