
As an Amazon Associate I earn from qualifying purchases.
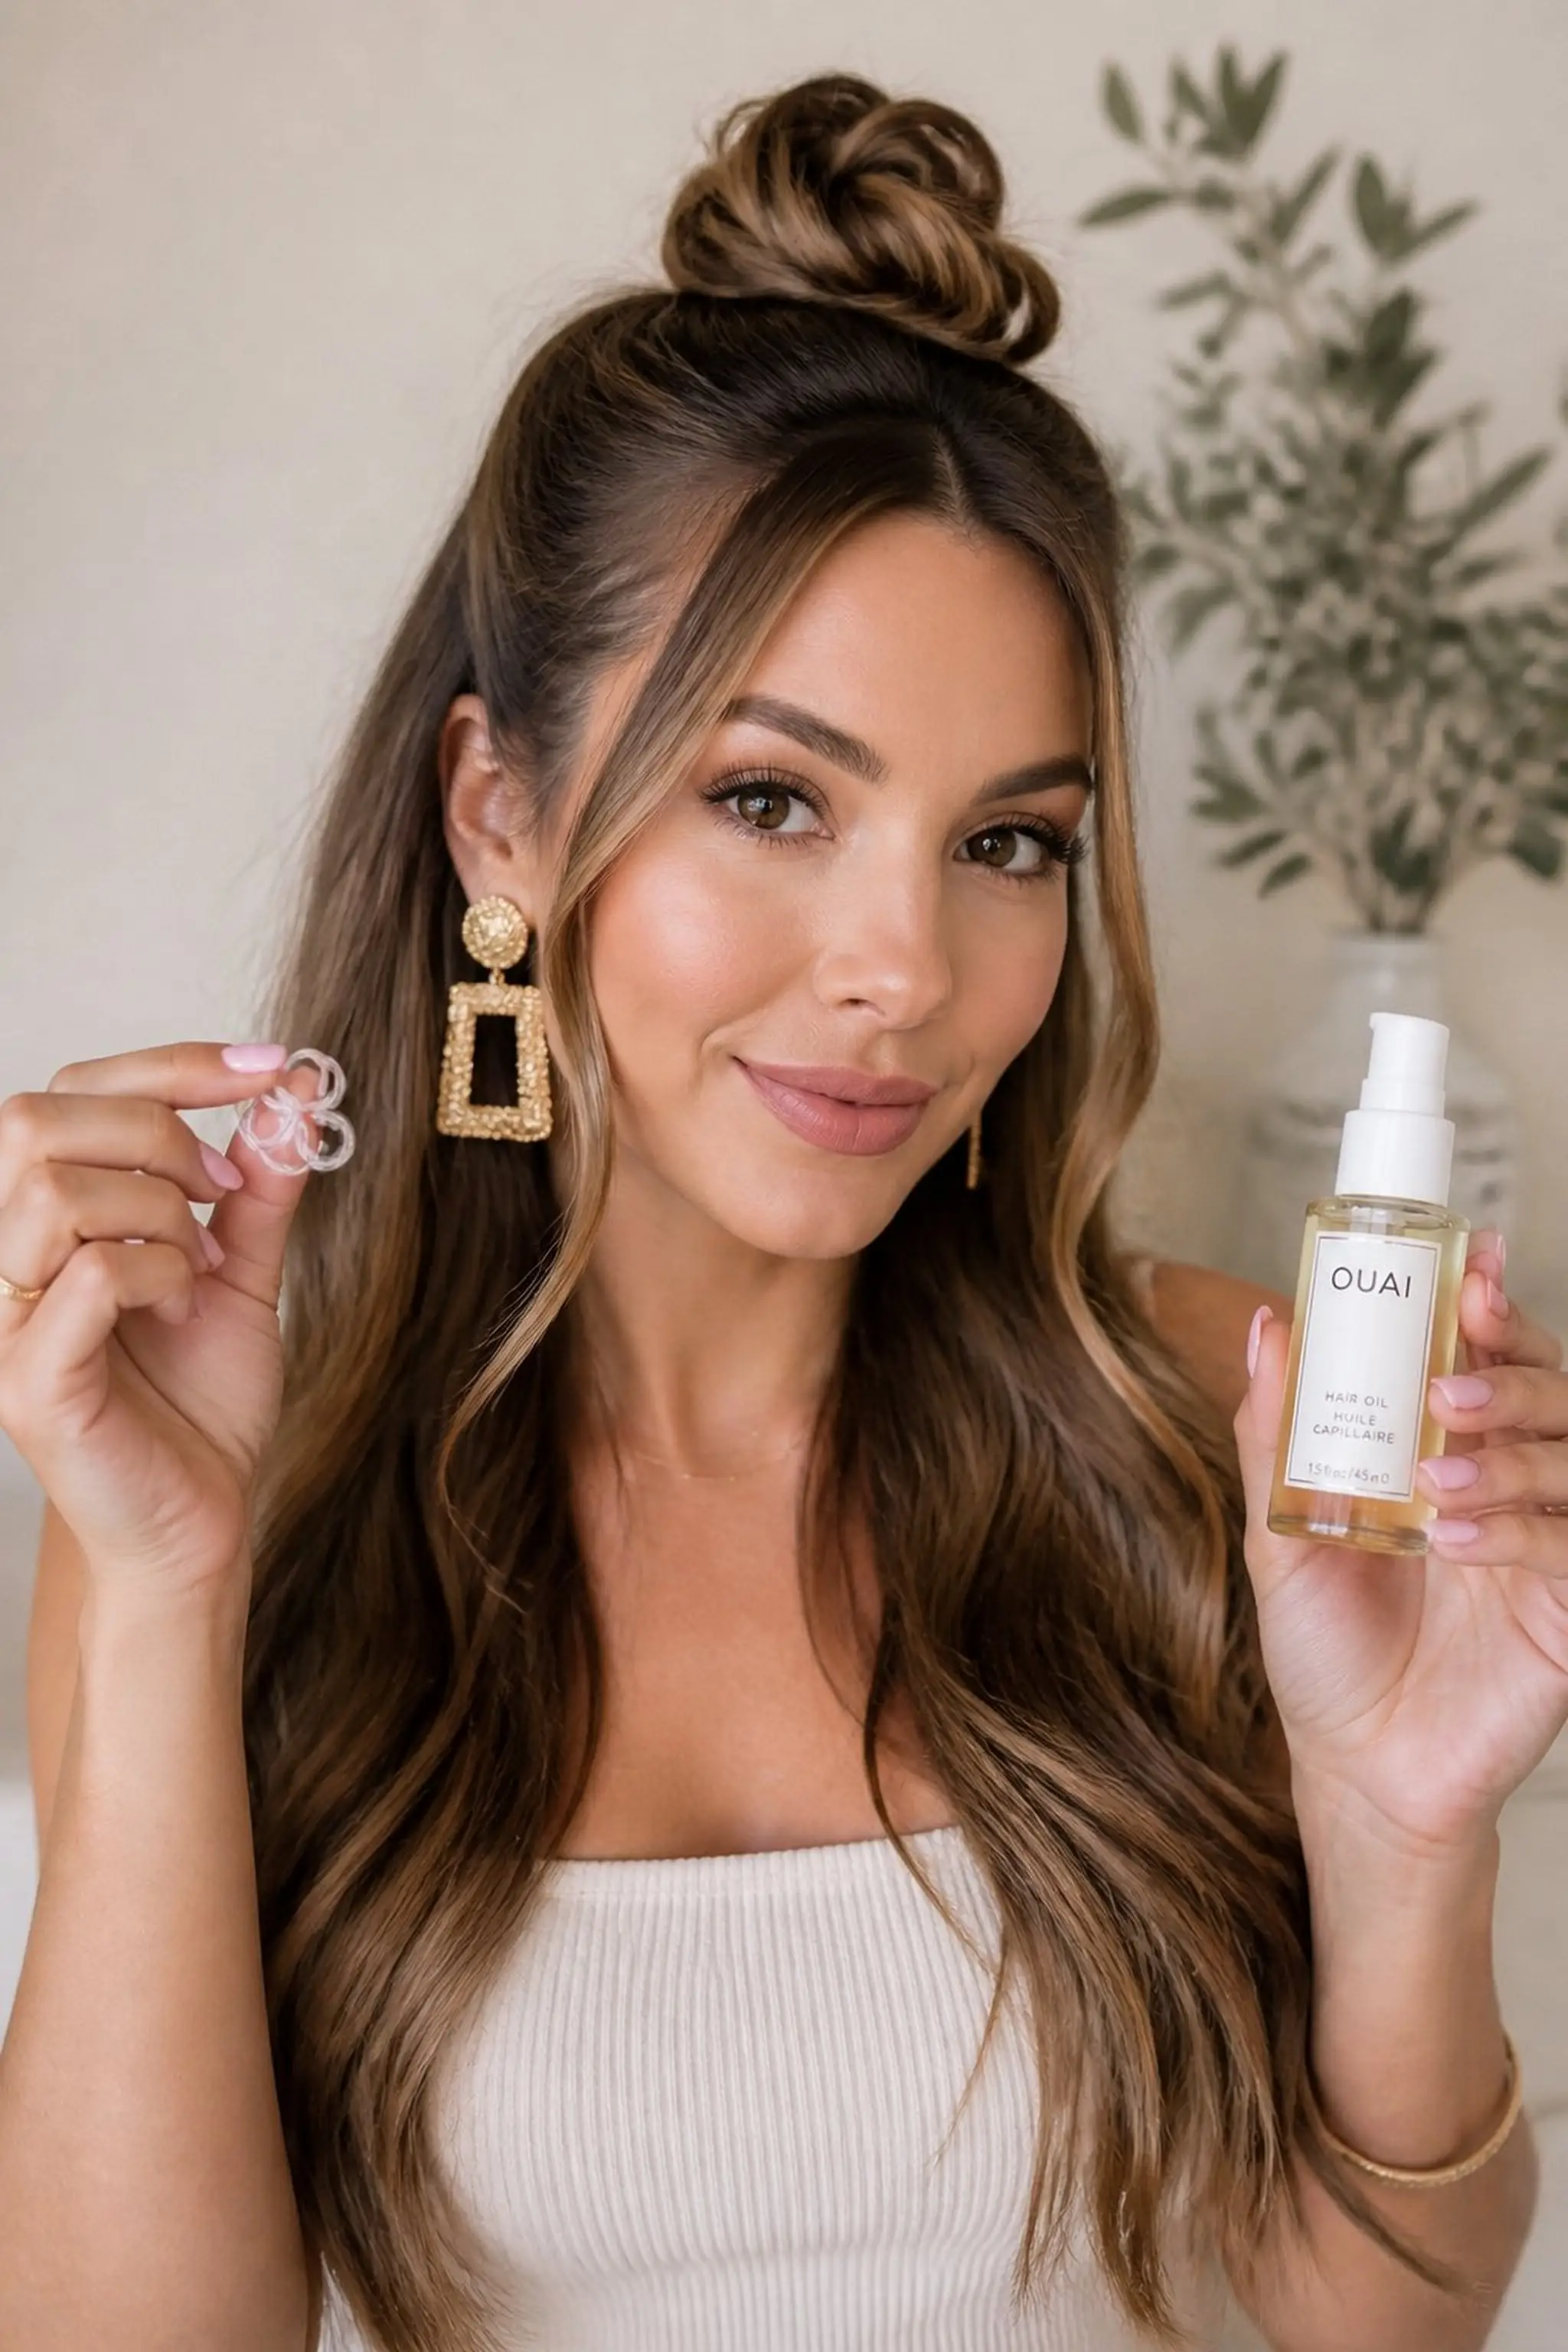
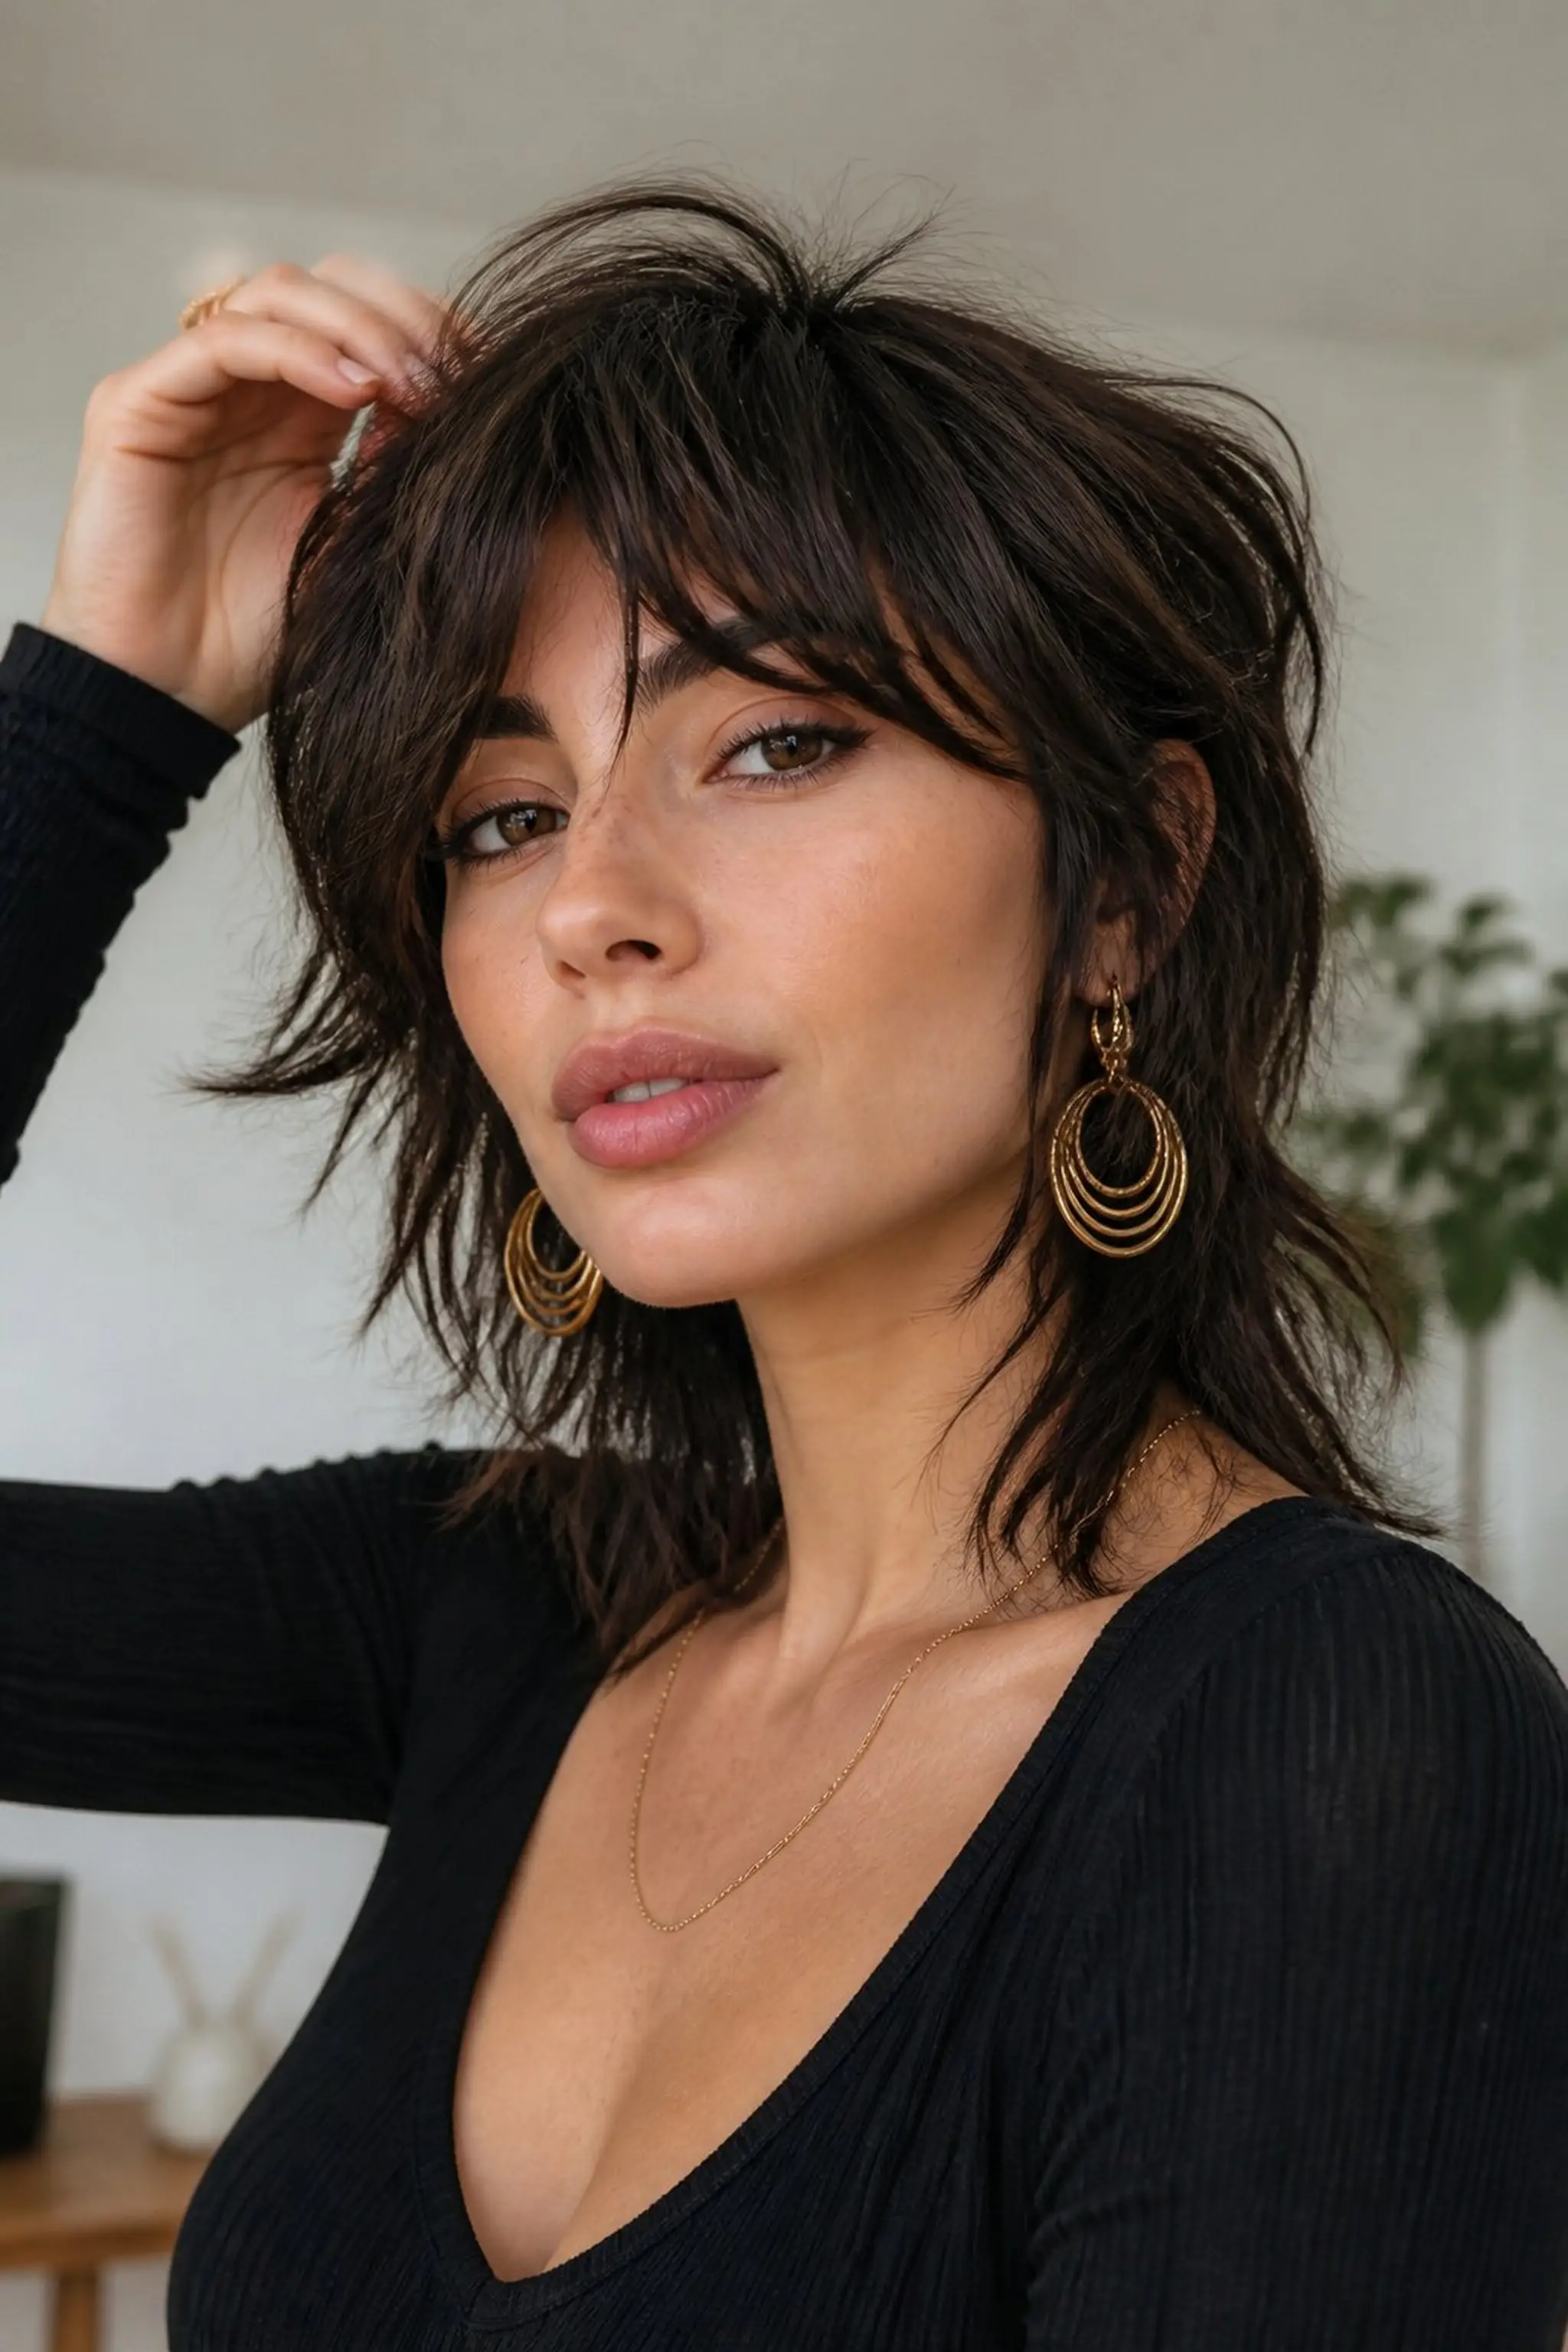
When bold earrings dangle just right, they catch more than light—they steal the spotlight. Hairstyles that tuck behind the ears or gather hair away from the face boost the impact of chunky hoops, glittering chandeliers, or statement studs.
Playing with volume, texture, and clean lines sets the perfect stage. Whether hair is pulled back sleekly or styled with soft tendrils, matching the hairstyle to the size and sparkle of big earrings creates a captivating silhouette worth a second glance.
Sleek Low Ponytail Highlights Earrings
⏱️ 10 min · 🟢 Beginner
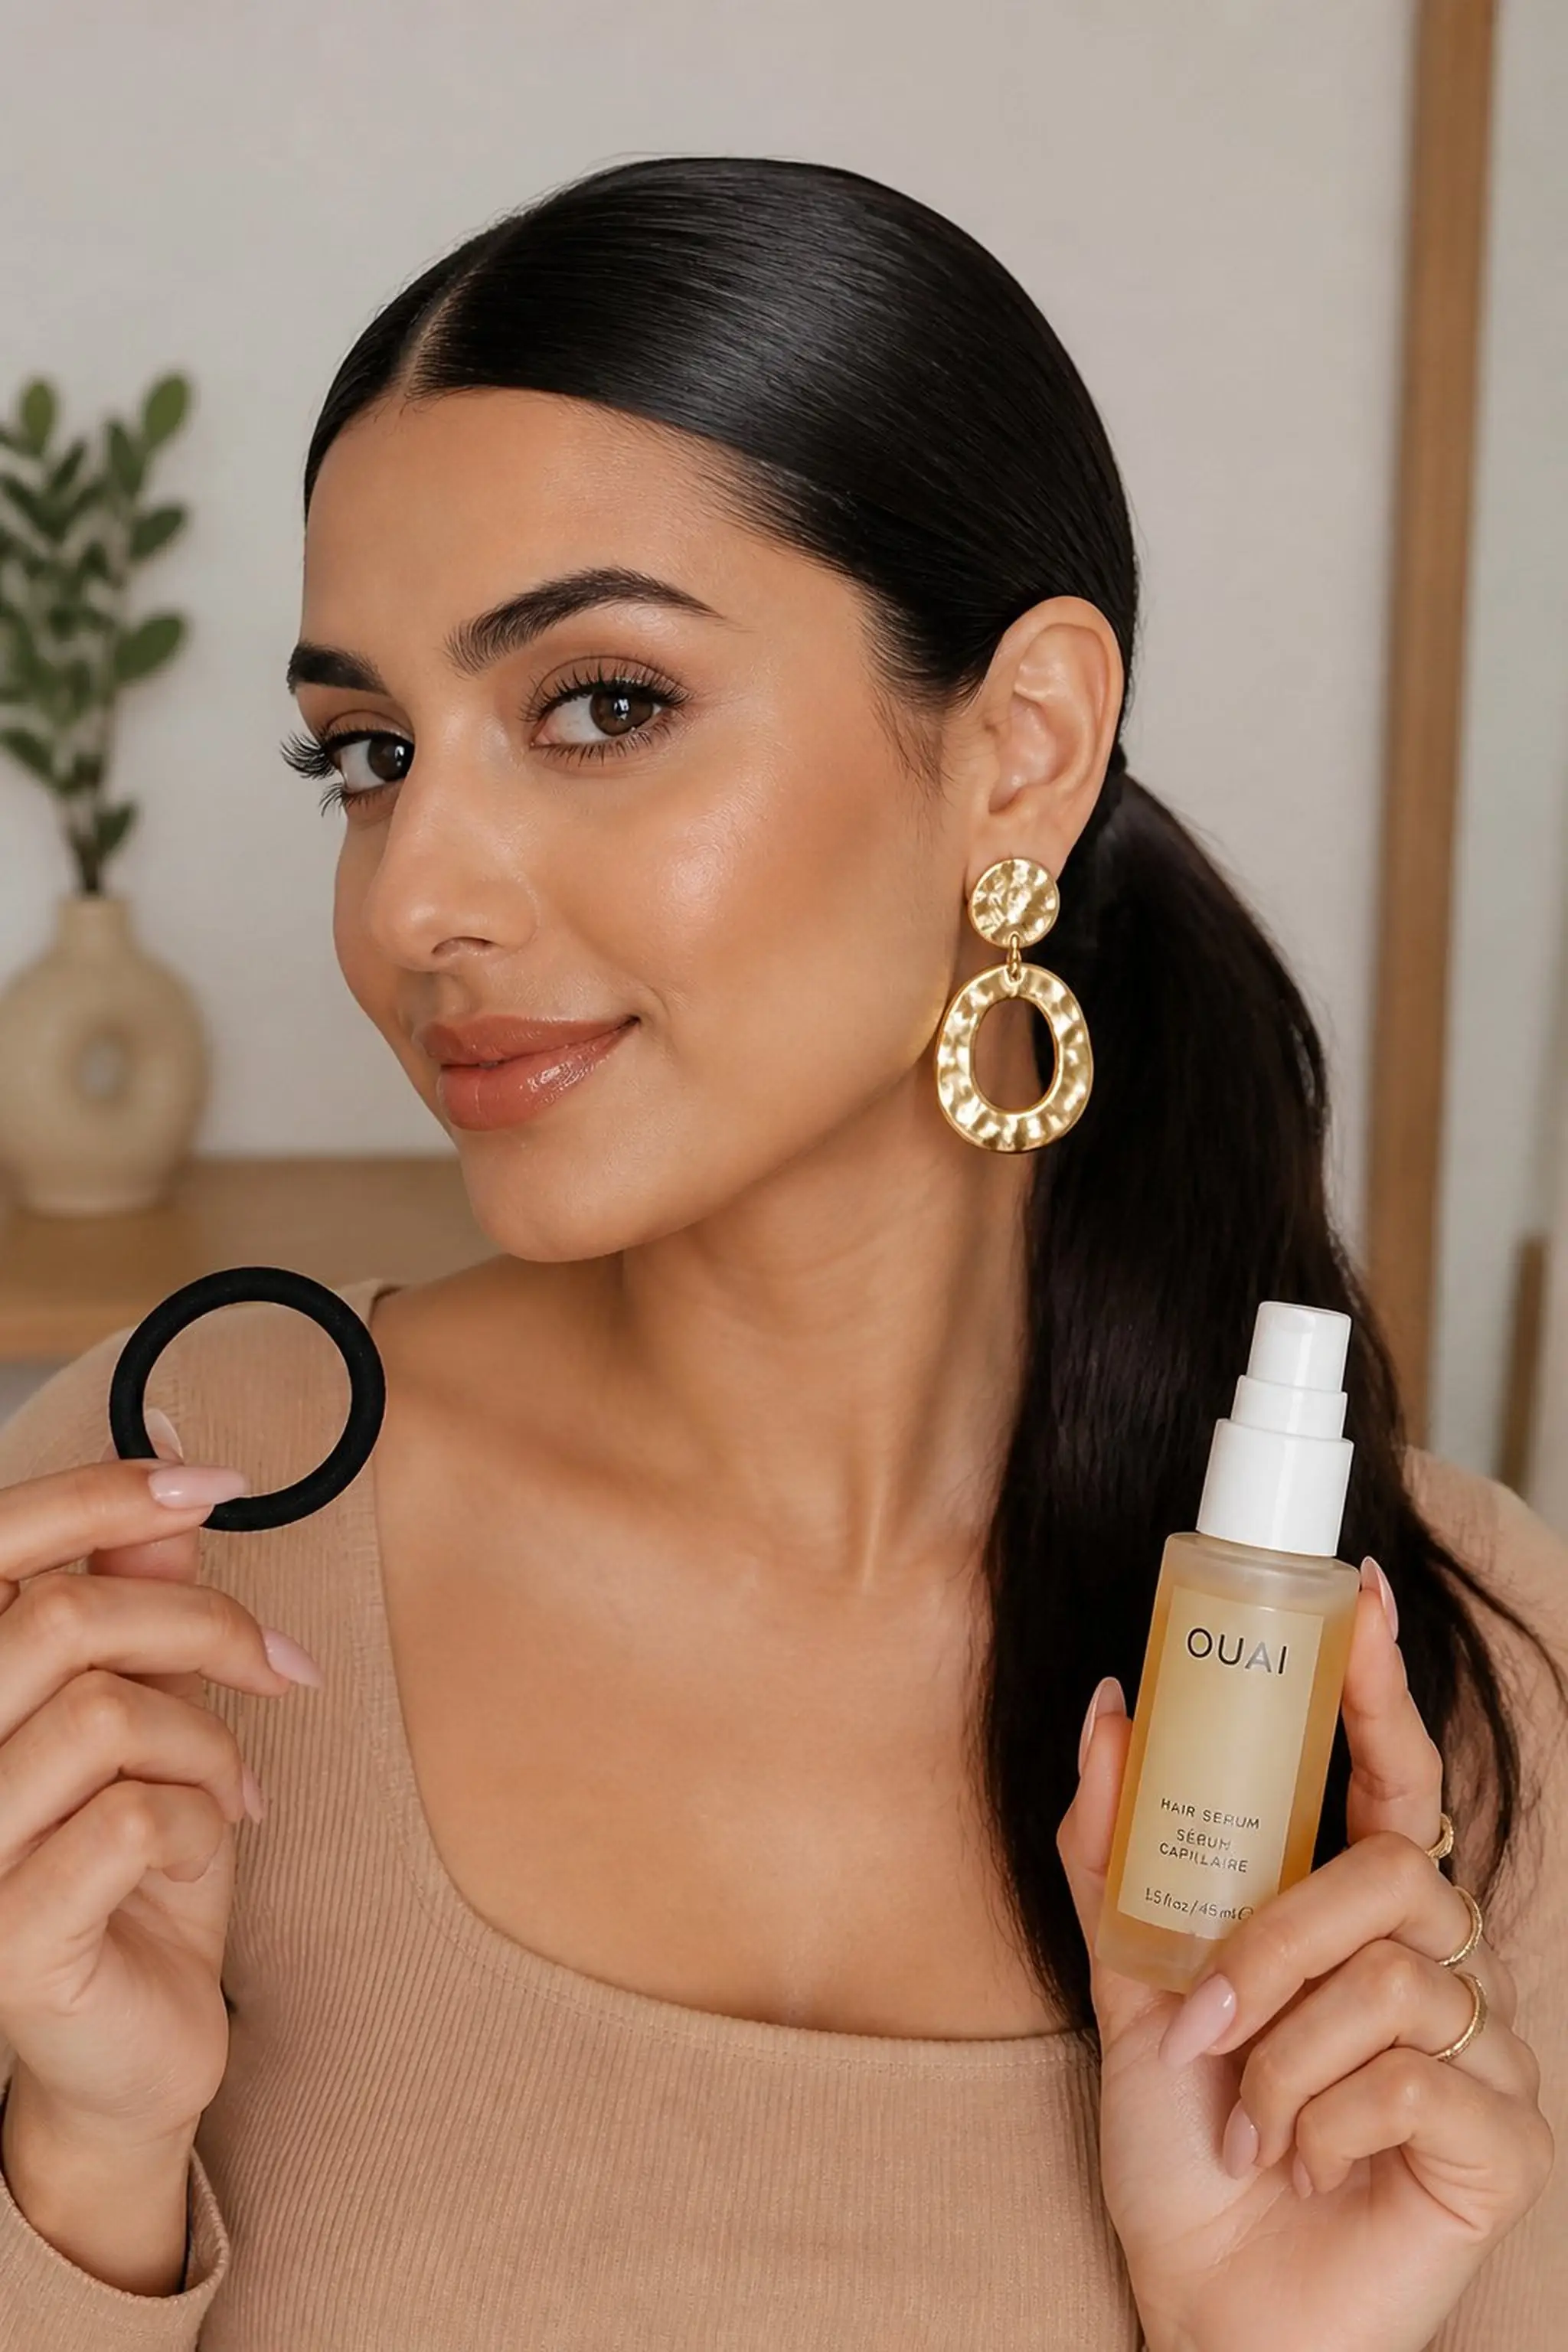
Glossy strands gathered into a low ponytail reflect subtle shine, creating a polished frame for heavyweight earrings. Smooth hair offers a neat backdrop that prevents distractions from the earring’s design.
This style works best with medium elasticity bands that sit 2-3 inches below the nape, avoiding tension that can flatten hair or cause discomfort. It pairs nicely with metallic hoops or geometric drop earrings.
Styling Tips
- Use smoothing serum to tame flyaways.
- Secure with a hair tie matching hair color for cohesion.
- Apply light hairspray to extend hold without stiffness.
Pro Tip: Pull hair tight but not too tight around the elastic; slight tension keeps strands tidy without scalp strain.
Avoid: Leaving the ponytail too high or loose allows hair to obscure earrings and breaks the sleek effect.
Try Also: Create a side ponytail for asymmetrical flair or wrap a thin strand of hair around the hair tie for added polish.
Products & Materials
Items Used
- hair tie
- smoothing serum
“Sleek low ponytail showcases bold earrings with a clean shine.”
Soft Beach Waves Let Earrings Shine
⏱️ 30 min · 🟠 Intermediate
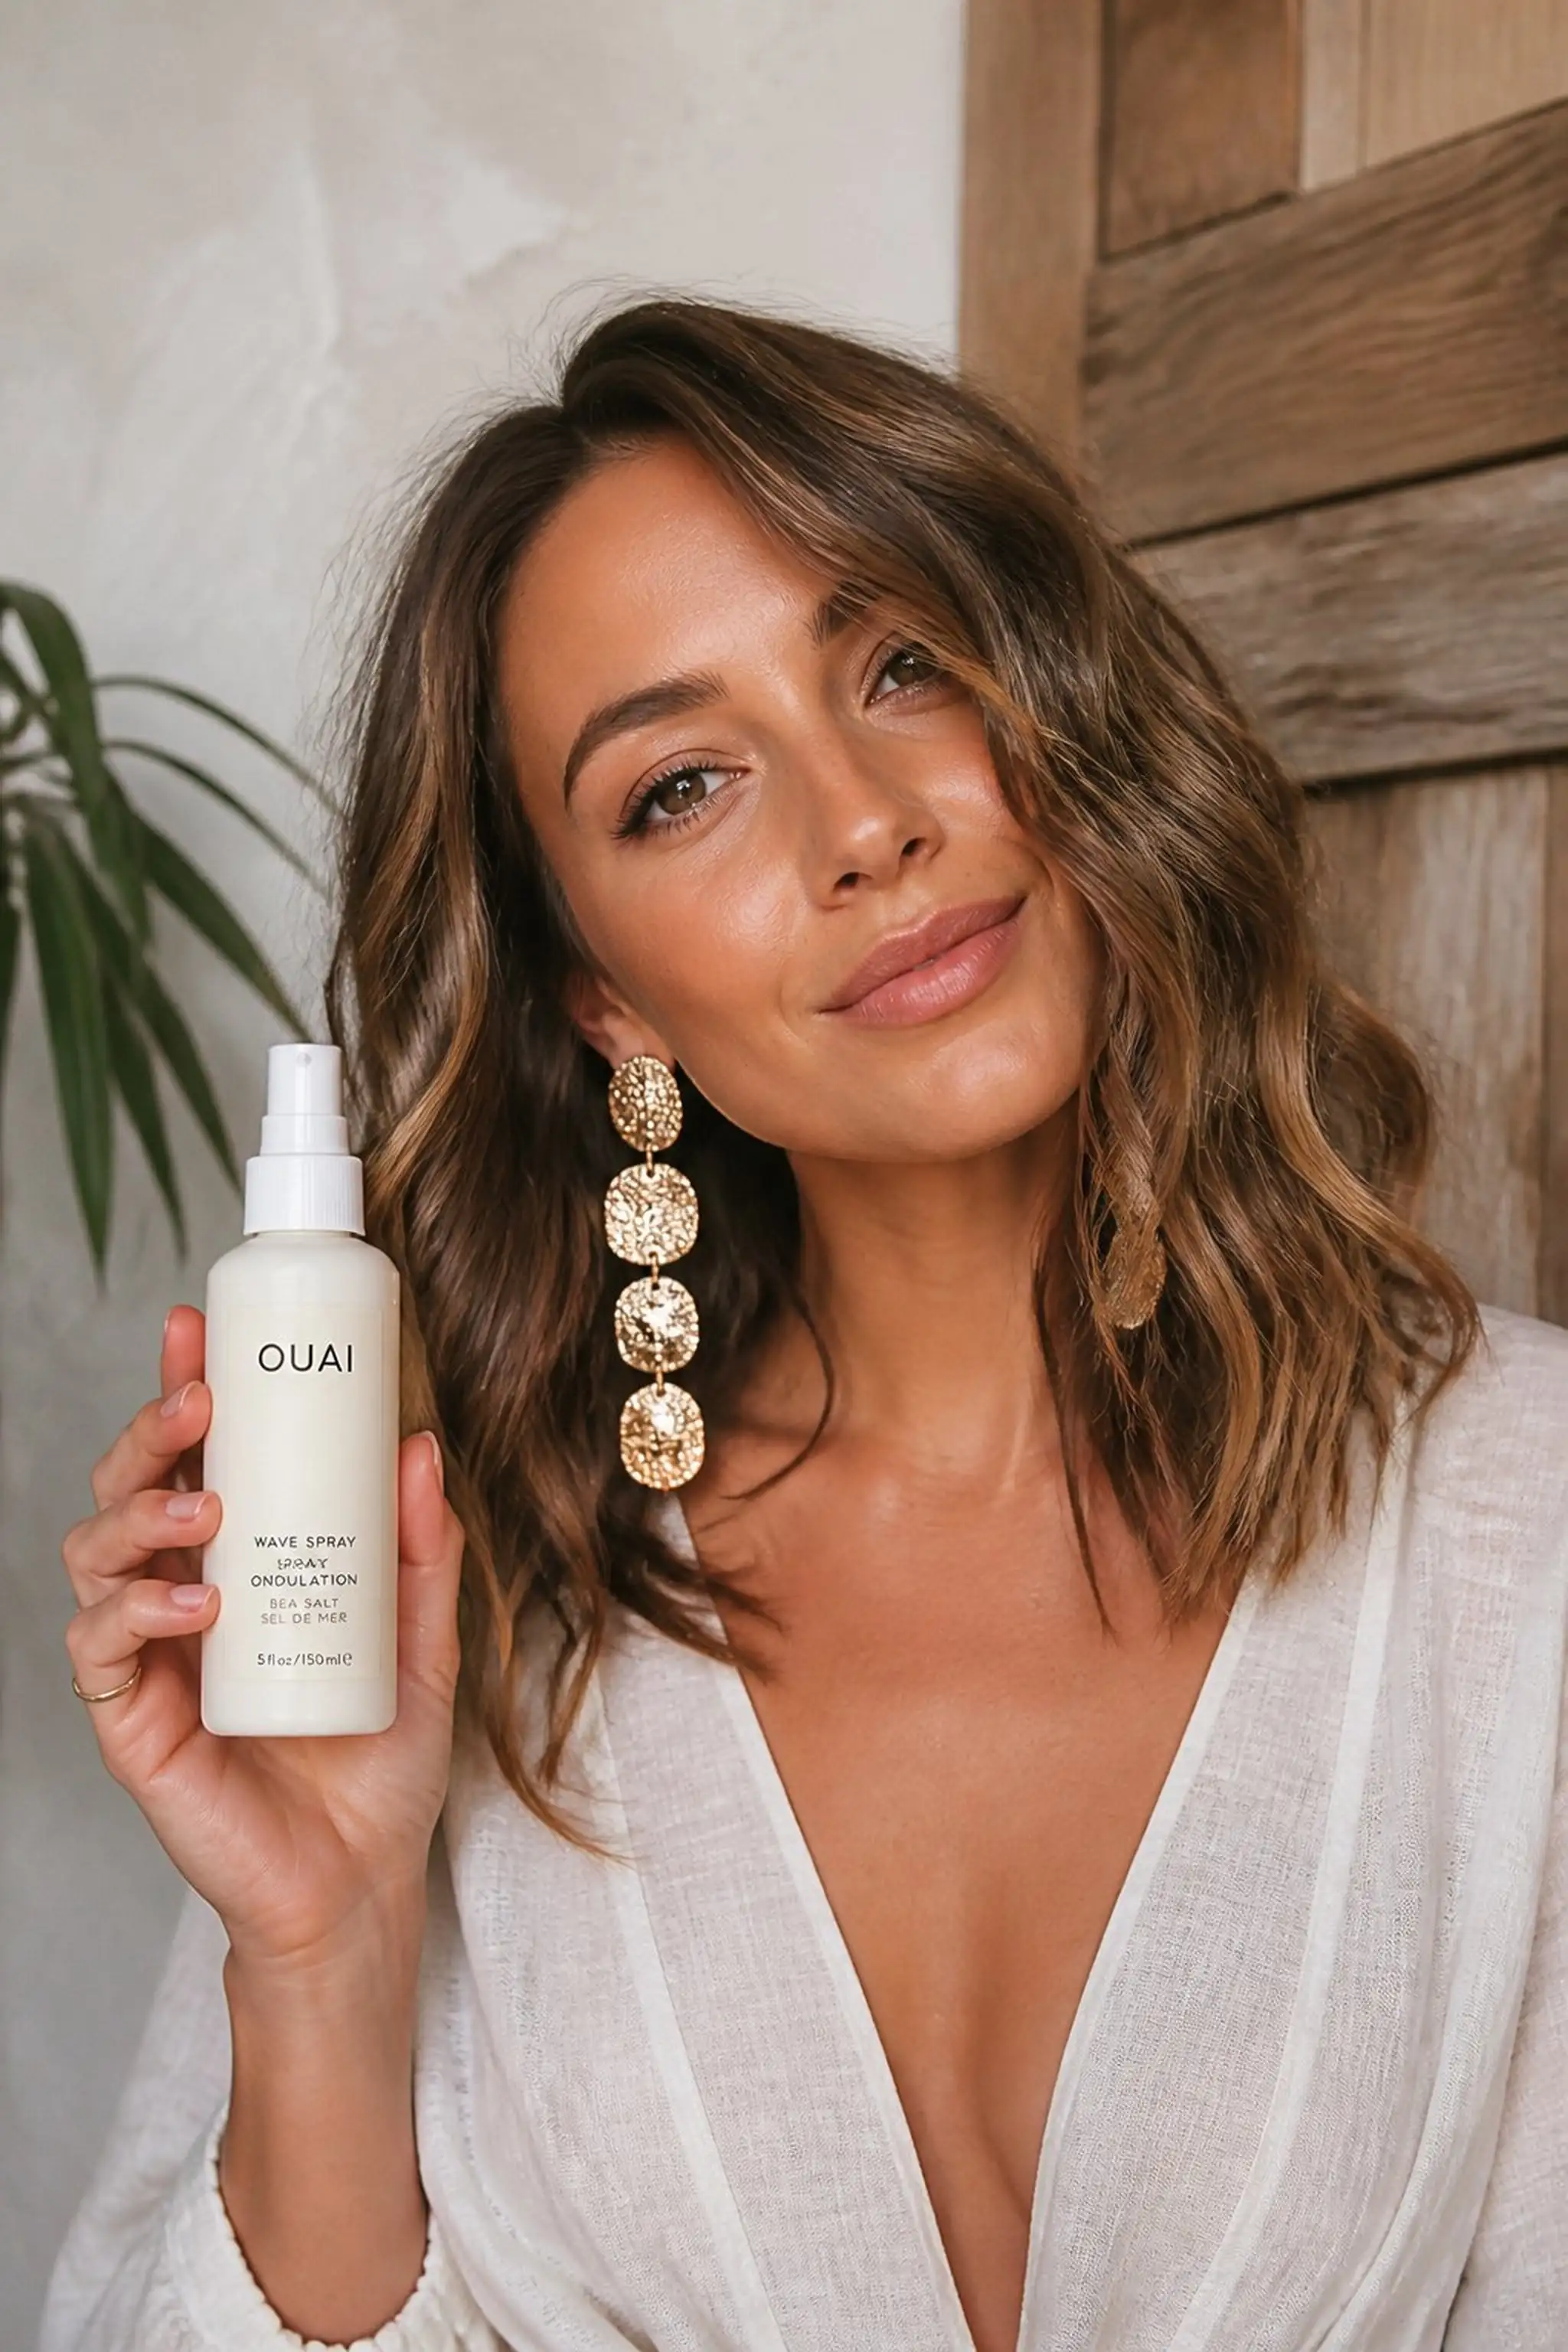
Loose waves with a slight tousle produce a soft frame that pushes hair just enough off the face to reveal impressive earrings. The gentle Bantu knot-out or curling wand method leaves texture with 2-3 inch diameter waves.
Volume at the mid-lengths contrasts well with dangling earrings, especially those with length or intricate shapes. This style balances movement and earring visibility effortlessly.
Styling Tips
- Use a wide-tooth comb to separate curls gently.
- Apply sea salt spray for defined texture without stiffness.
- Pin back one side behind the ear to spotlight earrings on that side.
Pro Tip: Set curls with a medium wand and let them cool completely before finger-combing for long-lasting wave definition.
Avoid: Combing curly hair too vigorously breaks waves into frizz that can overshadow earrings.
Try Also: Try half-up twisted crown or a loose half ponytail to vary how much hair frames the earrings.
Products & Materials
Items Used
“Soft waves cascade to reveal stunning earrings with effortless texture.”
High Bun with Face-Framing Tendrils
⏱️ 20 min · 🟠 Intermediate
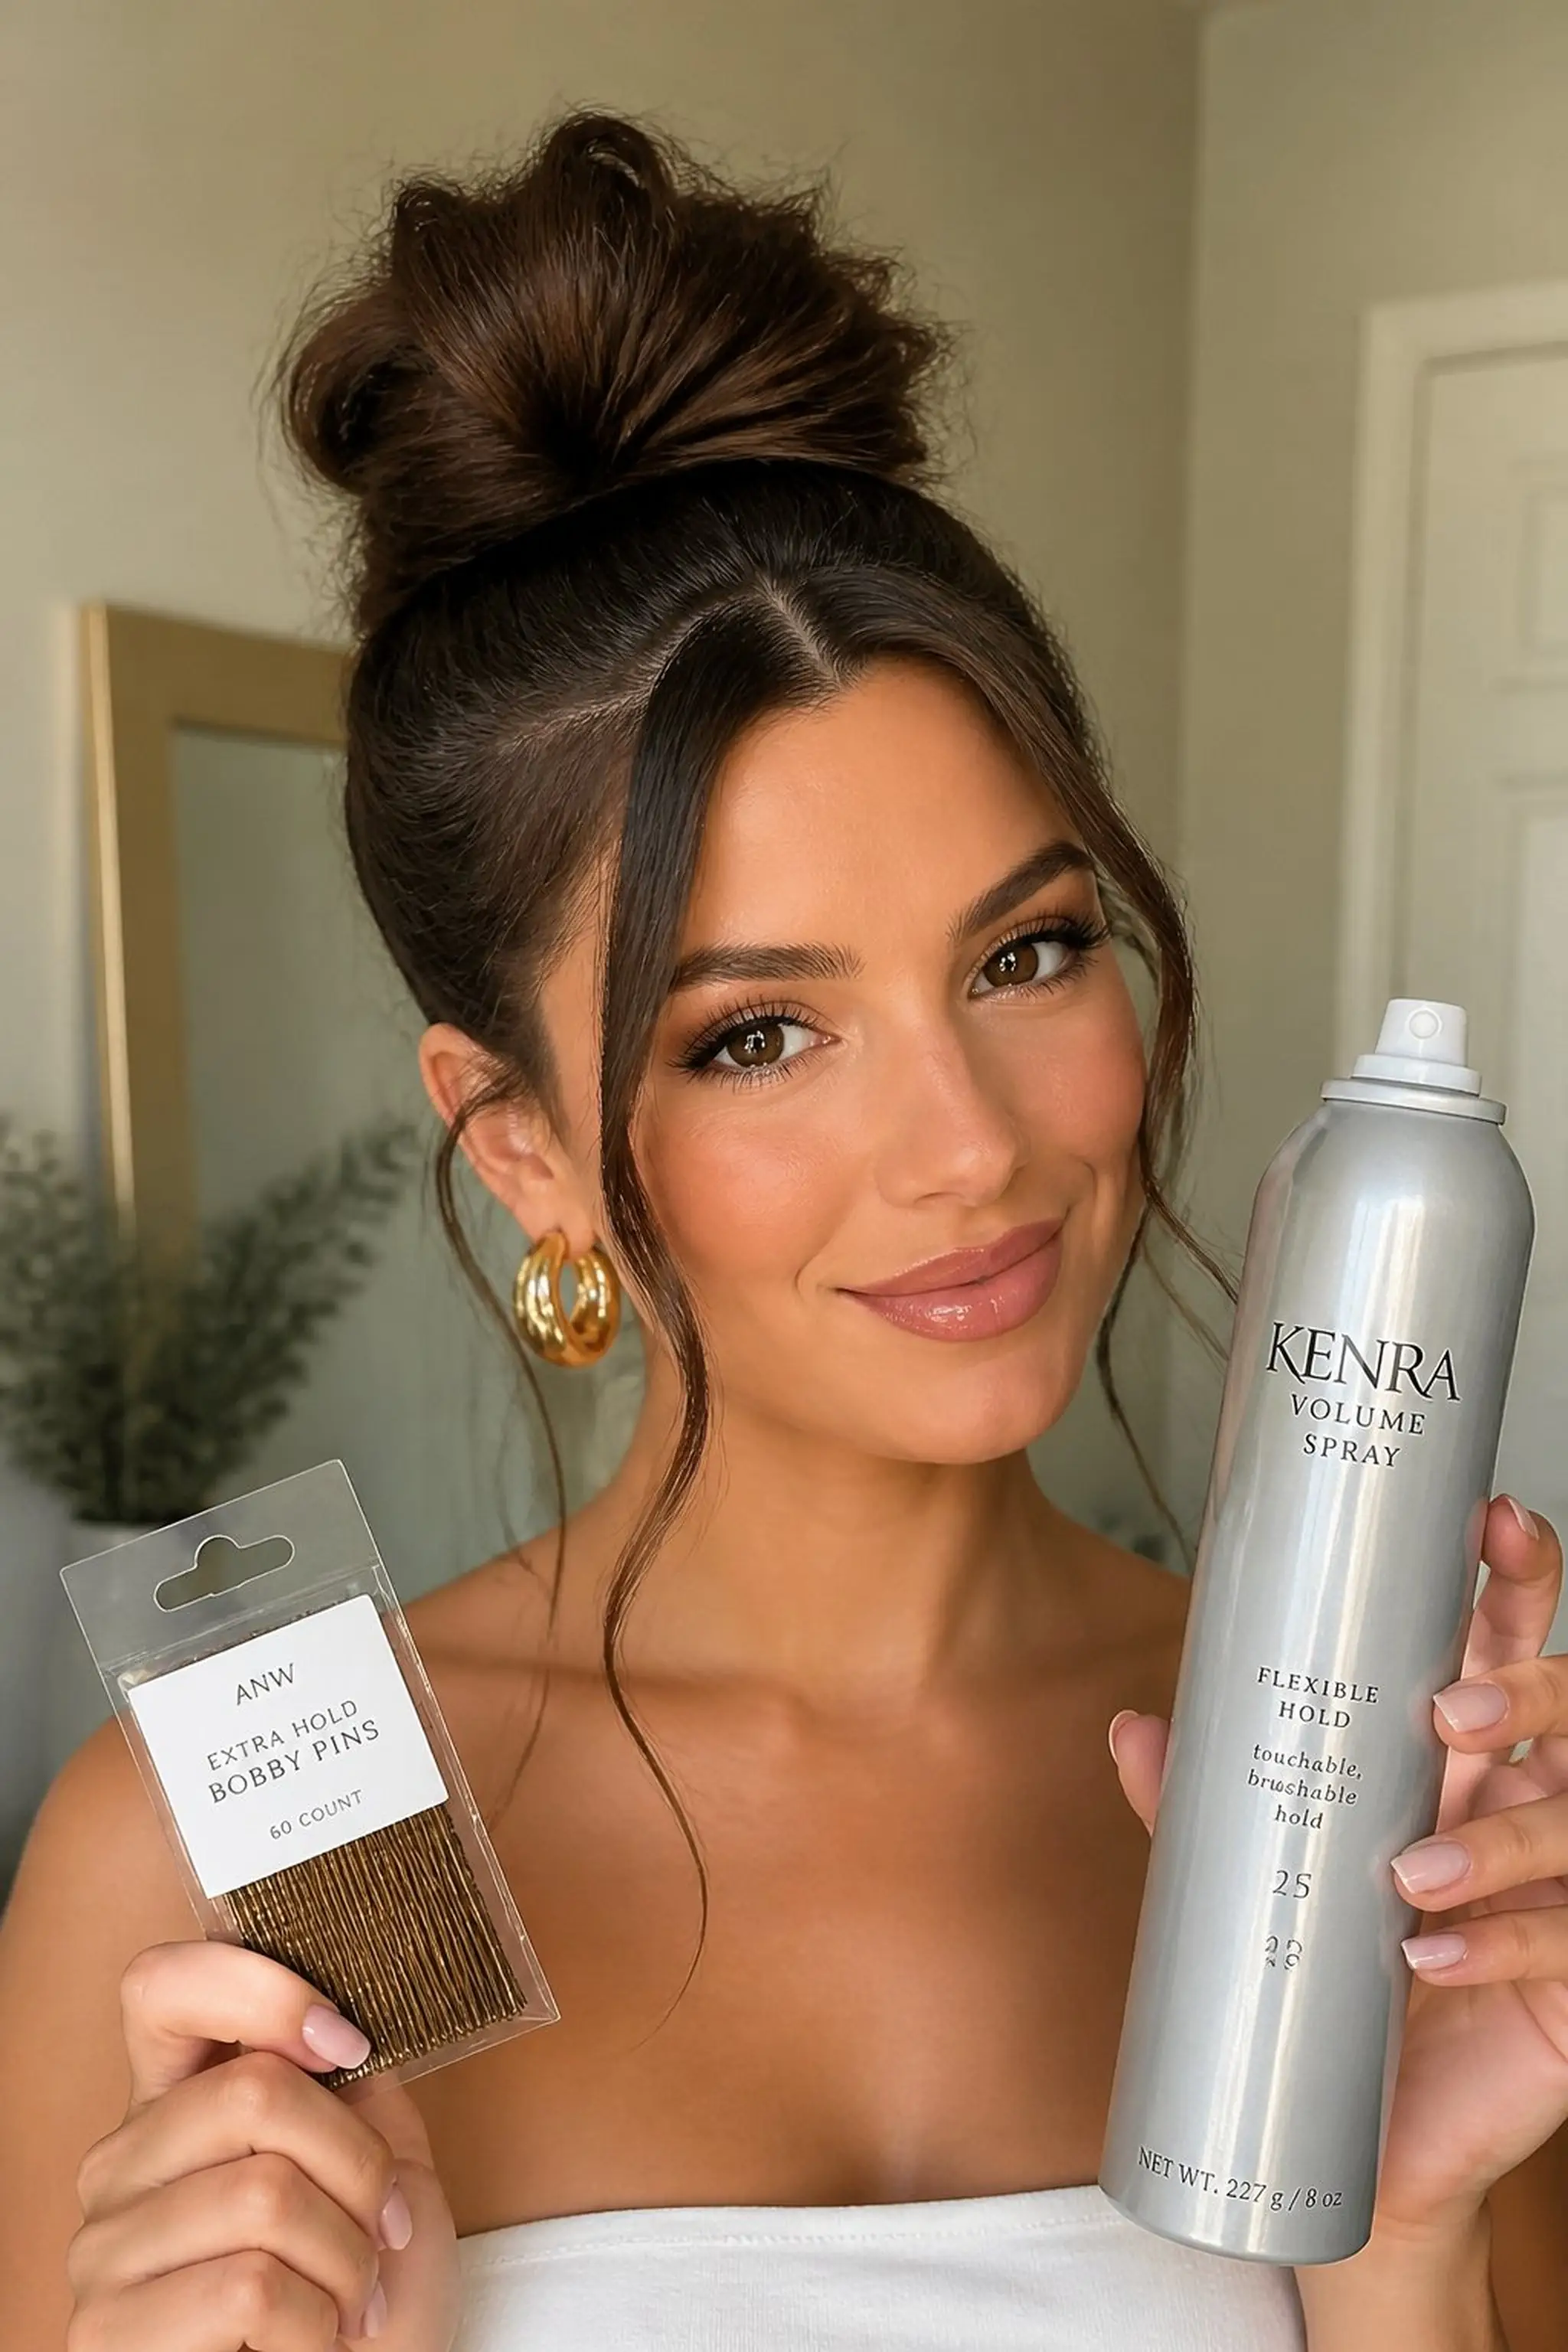
A voluminous high bun topped off with loose tendrils softening the forehead and cheeks adds height while maintaining a casual vibe. The bun holds 60–70% of the hair with the rest left delicately on the sides.
This style elevates substantial earrings by lifting hair away and allowing shadows to form around earrings for extra depth. Works beautifully with large hoops or layered chandelier earrings.
Styling Tips
- Use hair pins to secure the bun tightly without flattening the crown.
- Curl tendrils inward for a smooth finish.
- Set with flexible hold hairspray to keep warmth while preserving movement.
Pro Tip: Wrap the ponytail loosely before twisting into a bun to add extra dimension and fuller shape.
Avoid: Leaving tendrils too thick or curly can compete visually with intricate earrings.
Try Also: Swap tendrils for a sleek pulled-back look or add a headband for a more polished feel.
Products & Materials
Items Used
“High bun with loose strands frames the face and big earrings perfectly.”
Get 75+ ad-free, high-resolution printable tutorials for salon-quality results every single morning.
One printable guide · $19.99 · yours forever
Half-Up Knotted Style to Showcase Statement Earrings
⏱️ 15 min · 🟠 Intermediate
A half-up hairstyle with a front knot lifts hair from the face enough to highlight bold earrings. The knot uses about 25% of hair from the crown area, securing with a small elastic underneath for volume.
This balances hair volume while showing off earrings that need room to breathe, especially wide or fan-shaped designs. It blends elegance with a touch of edge.
Styling Tips
- Backcomb the crown section slightly before knotting for extra hold.
- Smooth hair around the face with light serum.
- Use small clear elastics that blend with your hair color.
Pro Tip: Pull hair firmly into the knot for a lifted appearance but keep strands soft to avoid a harsh look.
Avoid: Getting the knot too tight can create scalp tension and a flat look on top.
Try Also: Try two knots side by side or add decorative clips near the knot for more flair.
Products & Materials
Items Used
- small clear elastic
- hair serum
“Half-up knotted look pulls focus to statement earrings with flattering height.”
Slicked-Back Wet Look Accentuates Earrings
⏱️ 25 min · 🔴 Advanced
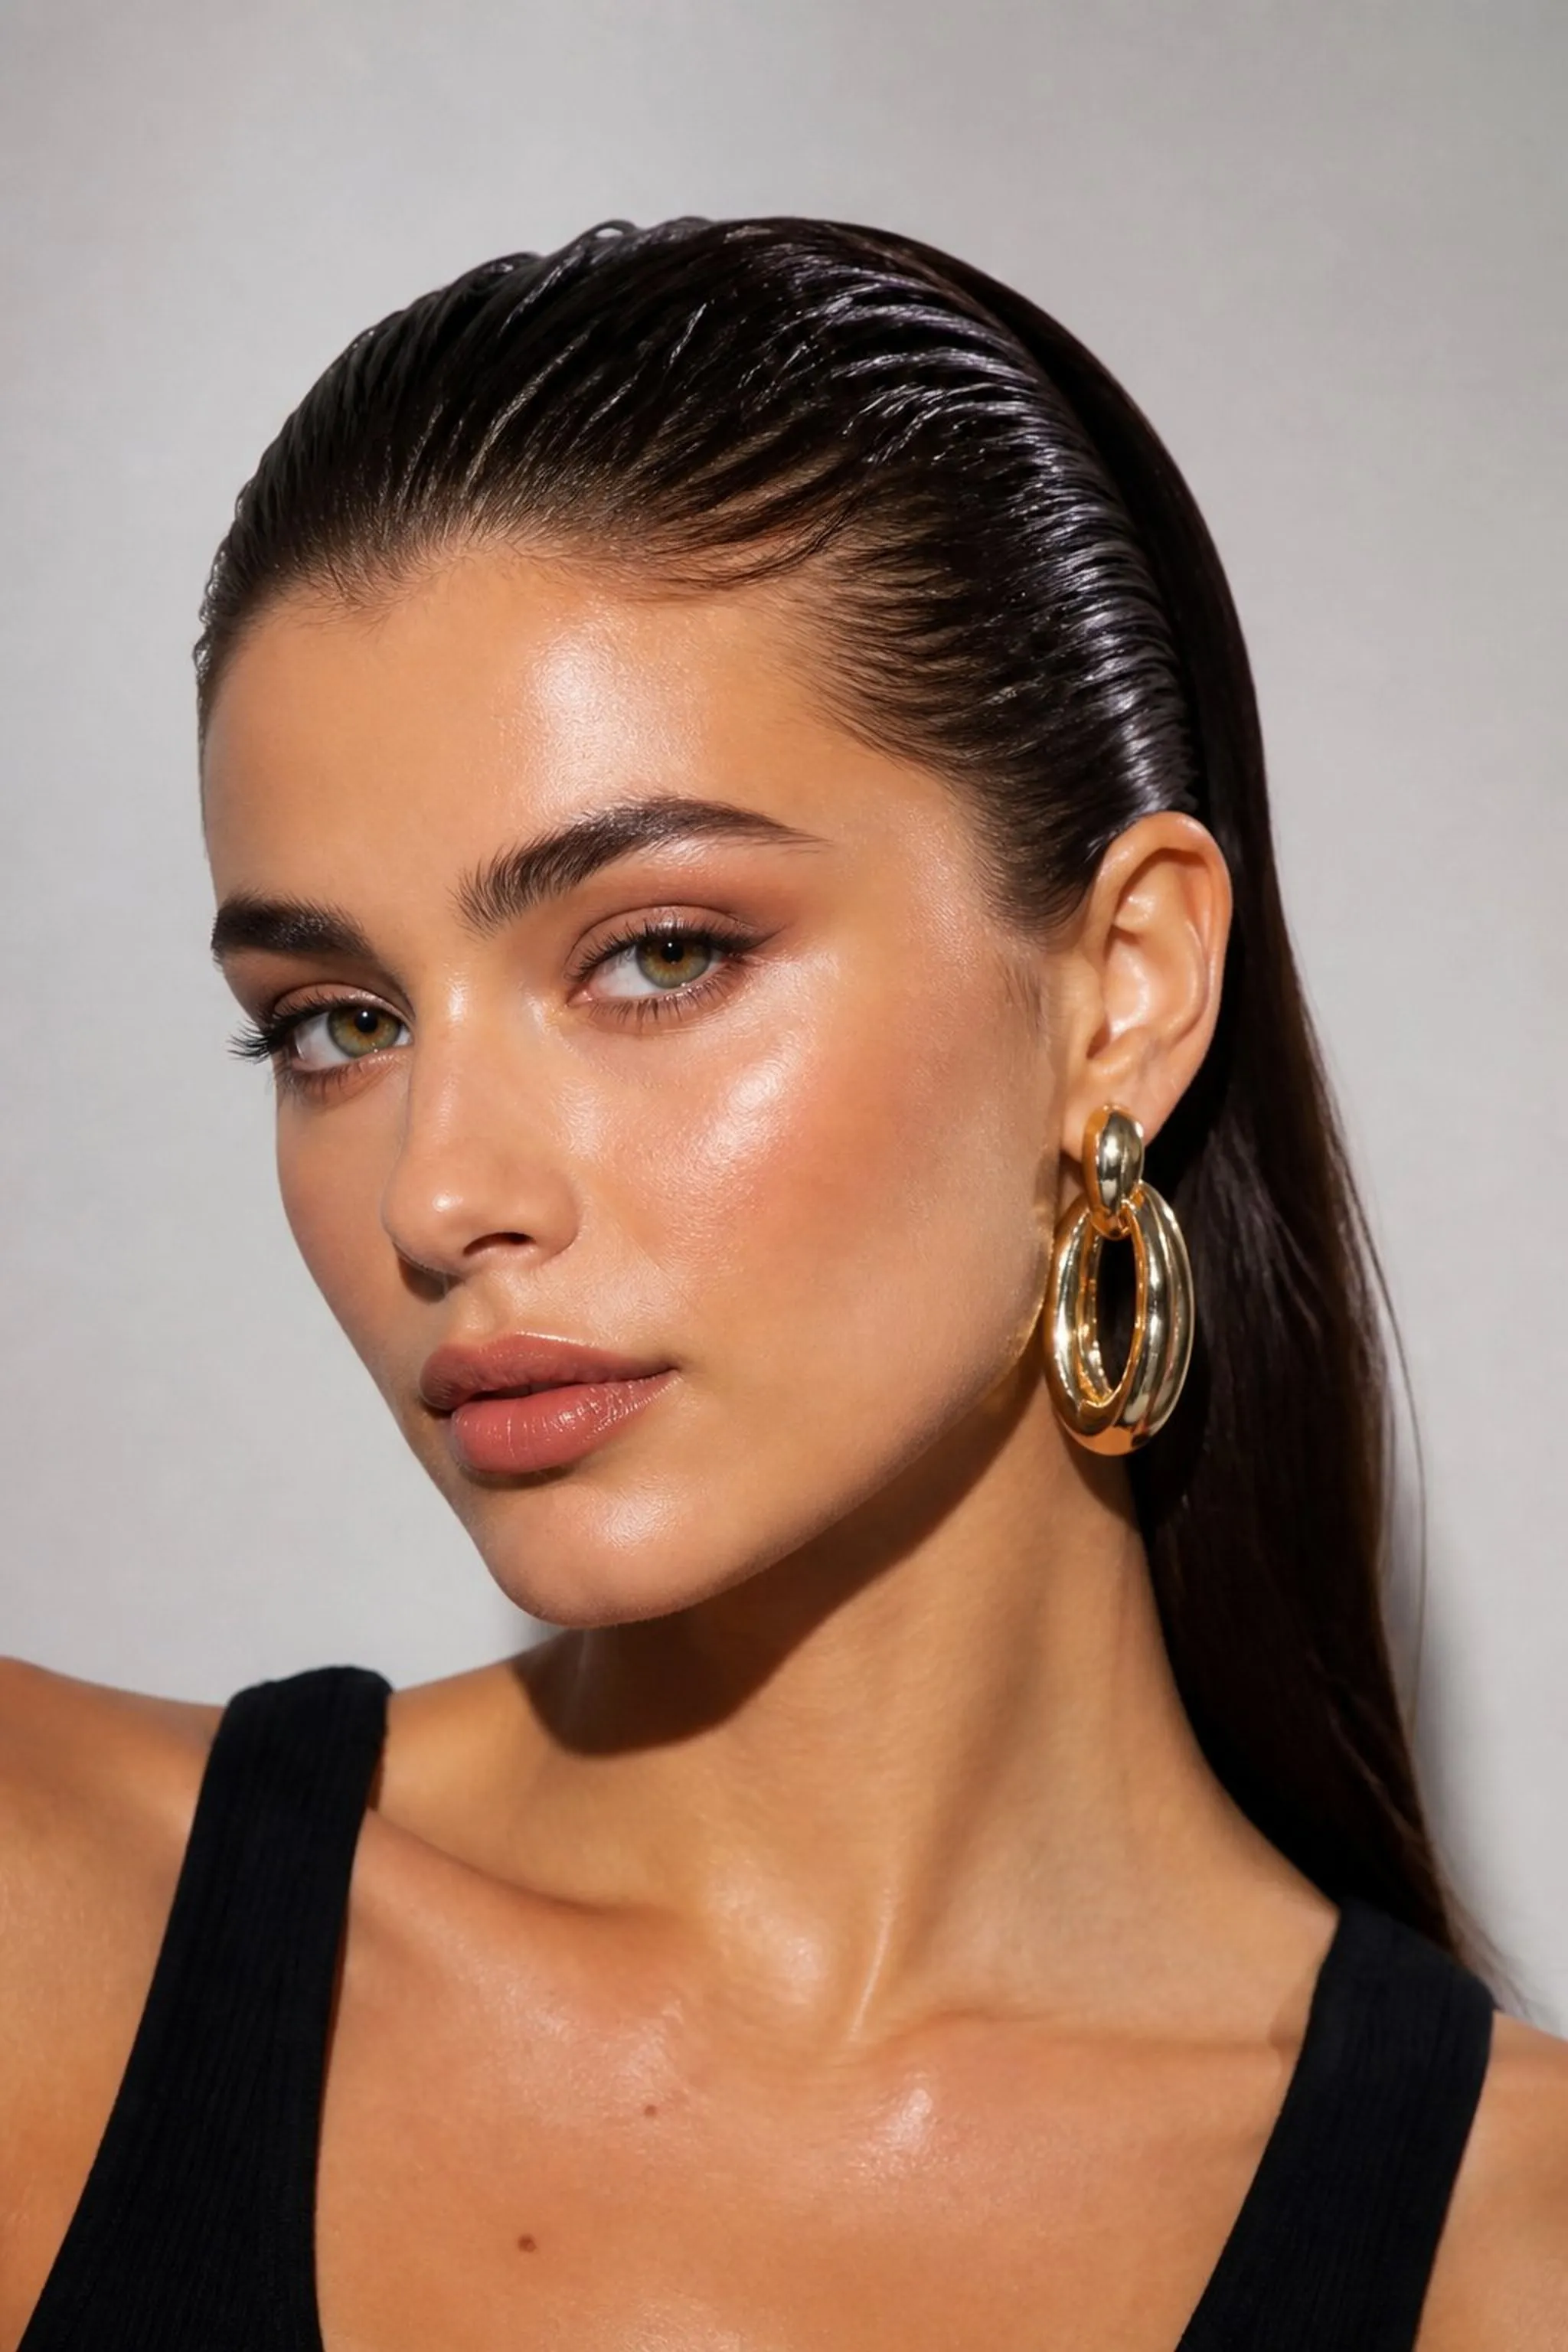
Hair styled flat against the scalp with a glossy, wet-look gel creates sharp lines that contrast dramatically with chunky earrings. The gel covers strands uniformly from roots to mid-lengths, producing a reflective surface.
This style draws attention directly to the earrings’ contours by removing distracting hair volume. Ideal for oversized geometric or colorful earrings requiring a clean backdrop.
Styling Tips
- Apply gel starting at the roots with a fine-tooth comb.
- Perform styling in a humid environment or mist with water lightly before applying gel for pliability.
- Finish with a shine spray to boost glossiness.
Pro Tip: Work in sections with a rat-tail comb to keep strands precisely in place and avoid clumping.
Avoid: Applying too much gel concentrates product in clumps, causing uneven shine and patches.
Try Also: Try side slicked or low slicked ponytail versions for different edginess levels.
Products & Materials
Items Used
- hair gel
- shine spray
“Wet-look hair slicked back to frame and boost large earrings.”
Classic French Twist for Timeless Glam
⏱️ 30 min · 🔴 Advanced
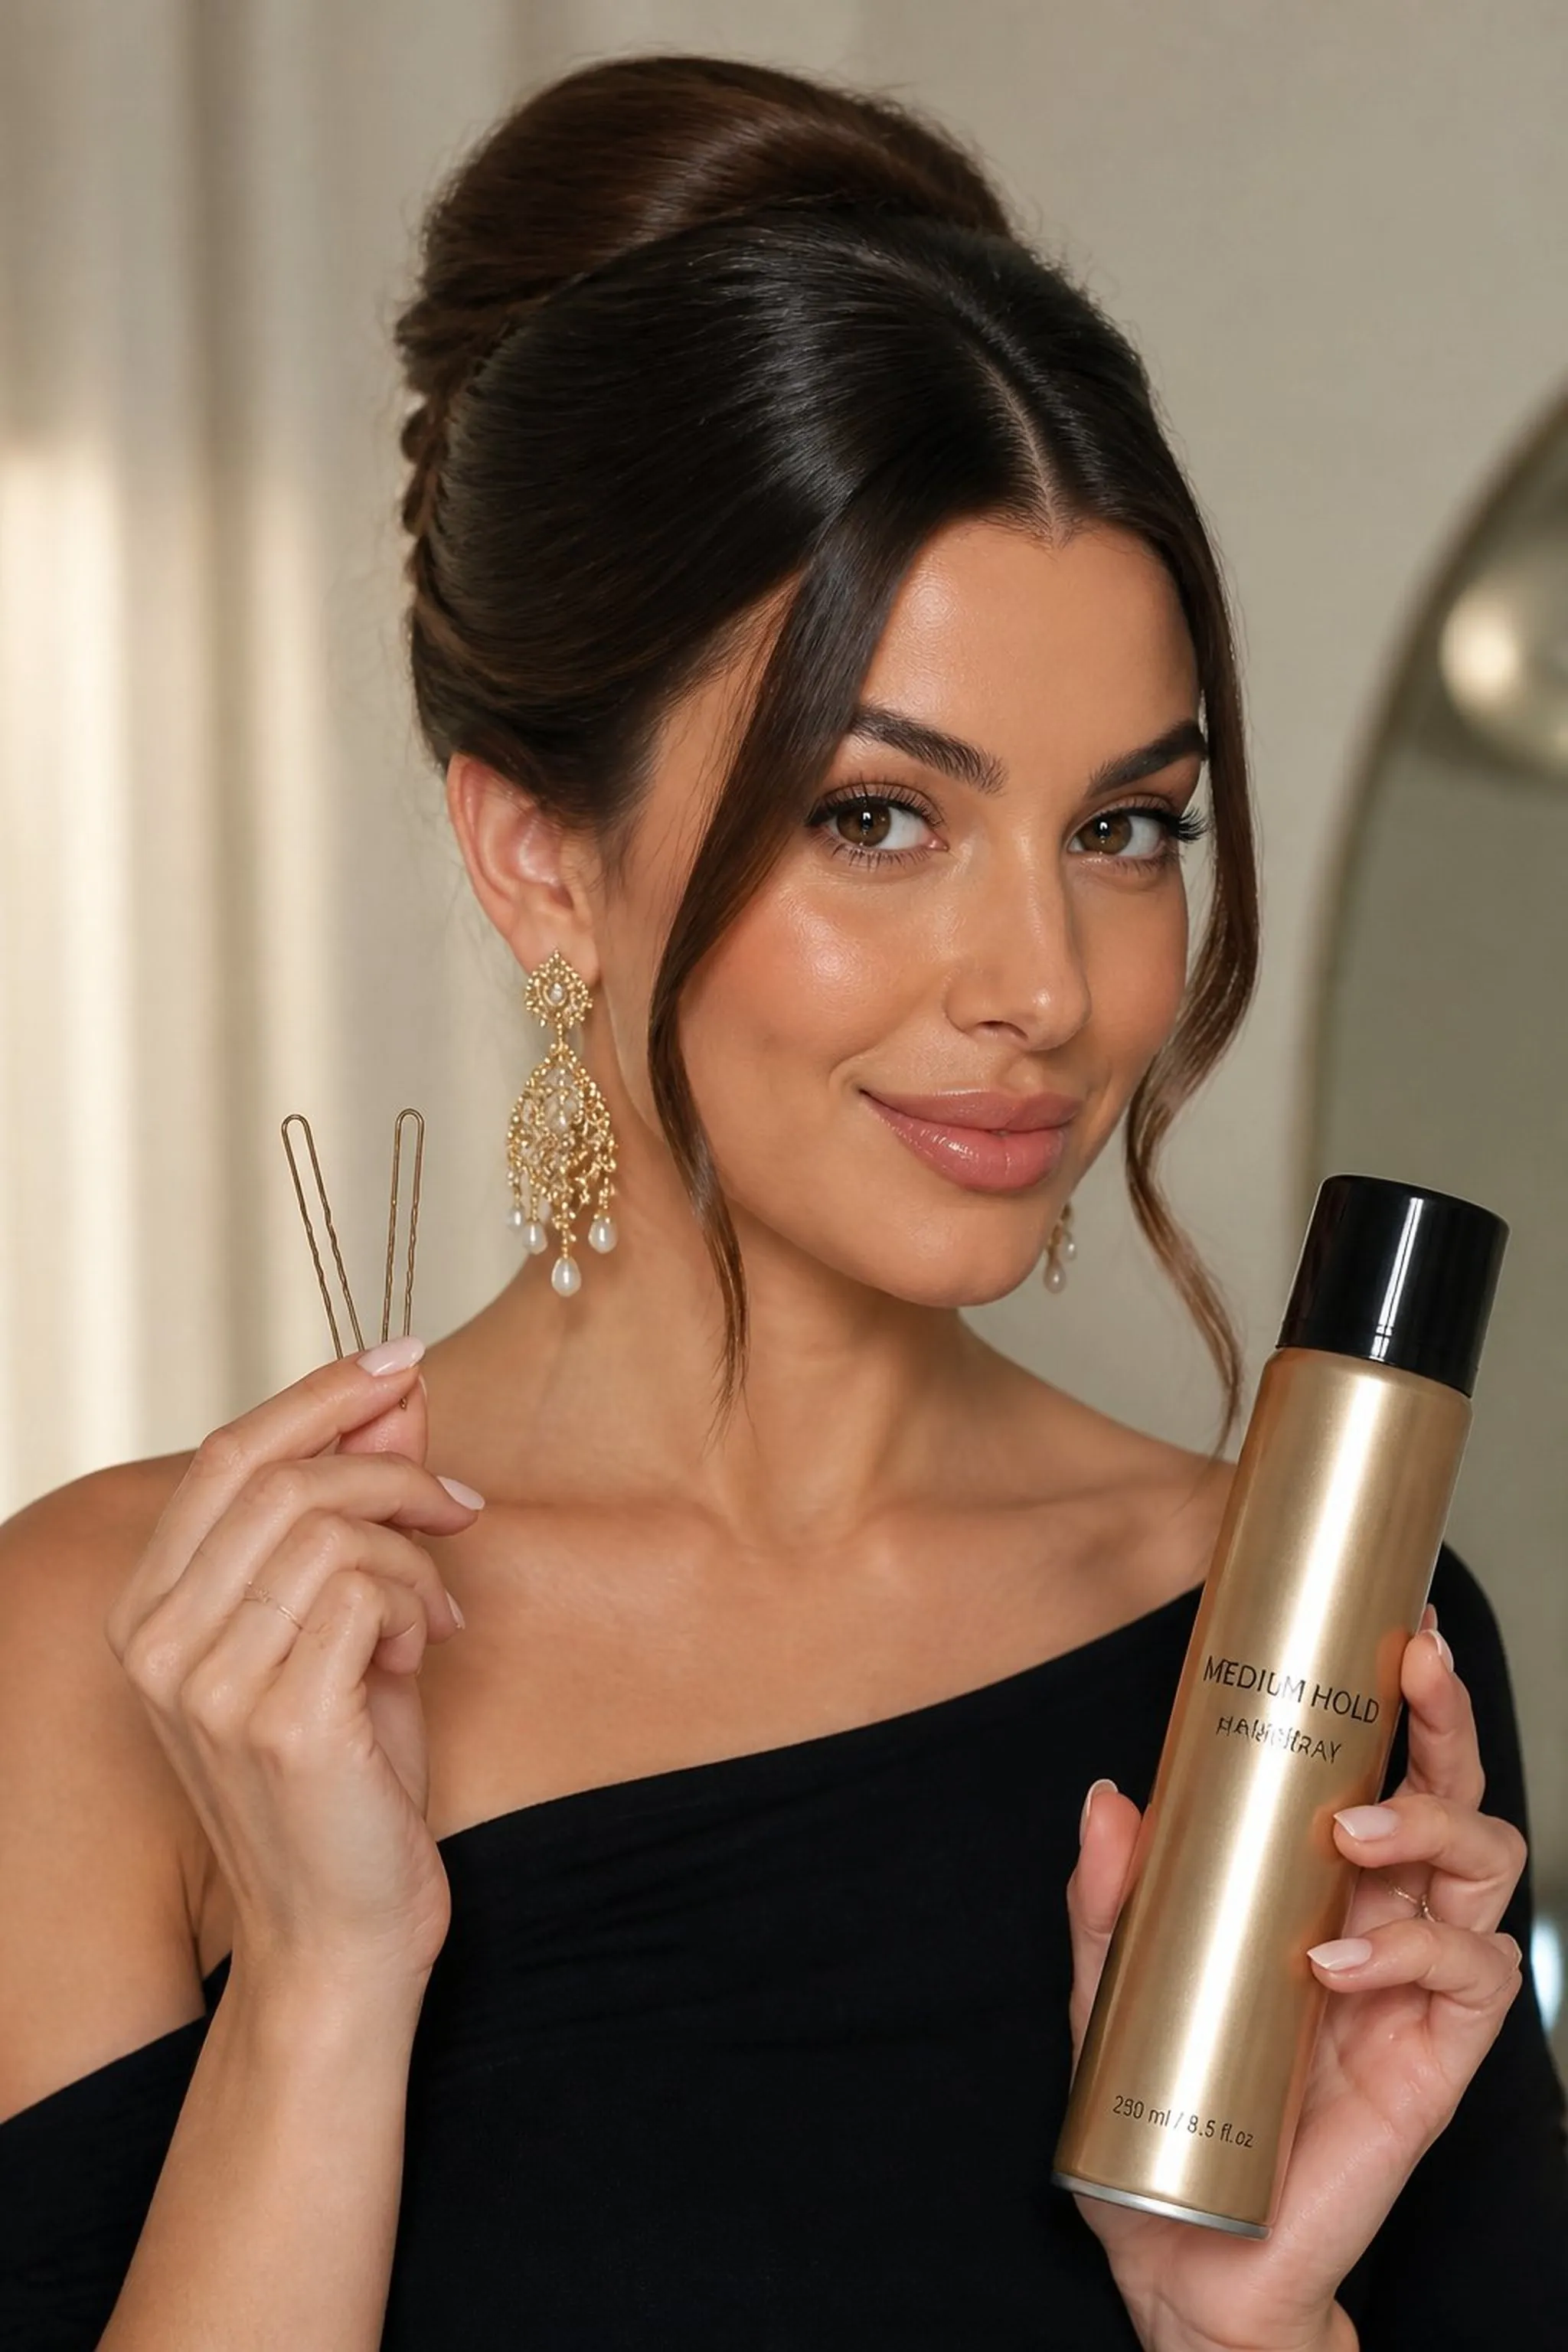
A smooth French twist gathers all hair into a tall roll secured vertically, revealing the neck and ear line fully. The twist measures about 4 inches wide and wraps around itself neatly without gaps.
Height in the twist balances out wide, ornate earrings and gives an elegantly sculpted frame, especially in formal settings. The structure also creates subtle shadows that enhance earring silhouettes.
Styling Tips
- Use fine-tooth combs to keep hair sleek during rolling.
- Insert long bobby pins vertically along the roll for firm hold.
- Apply medium-hold hairspray to smooth flyaways post-twist.
Pro Tip: Prep hair with a light mist of leave-in conditioner to improve grip for the roll and reduce frizz.
Avoid: Skipping pins at the base can cause the twist to loosen, undermining the hairstyle’s shape.
Try Also: Try a low French twist or add a decorative hair comb for a different mood.
Products & Materials
Items Used
“French twist lifts hair elegantly, showcasing big earrings beautifully.”
Messy Top Knot Adds Casual Flair to Earrings
⏱️ 10 min · 🟢 Beginner
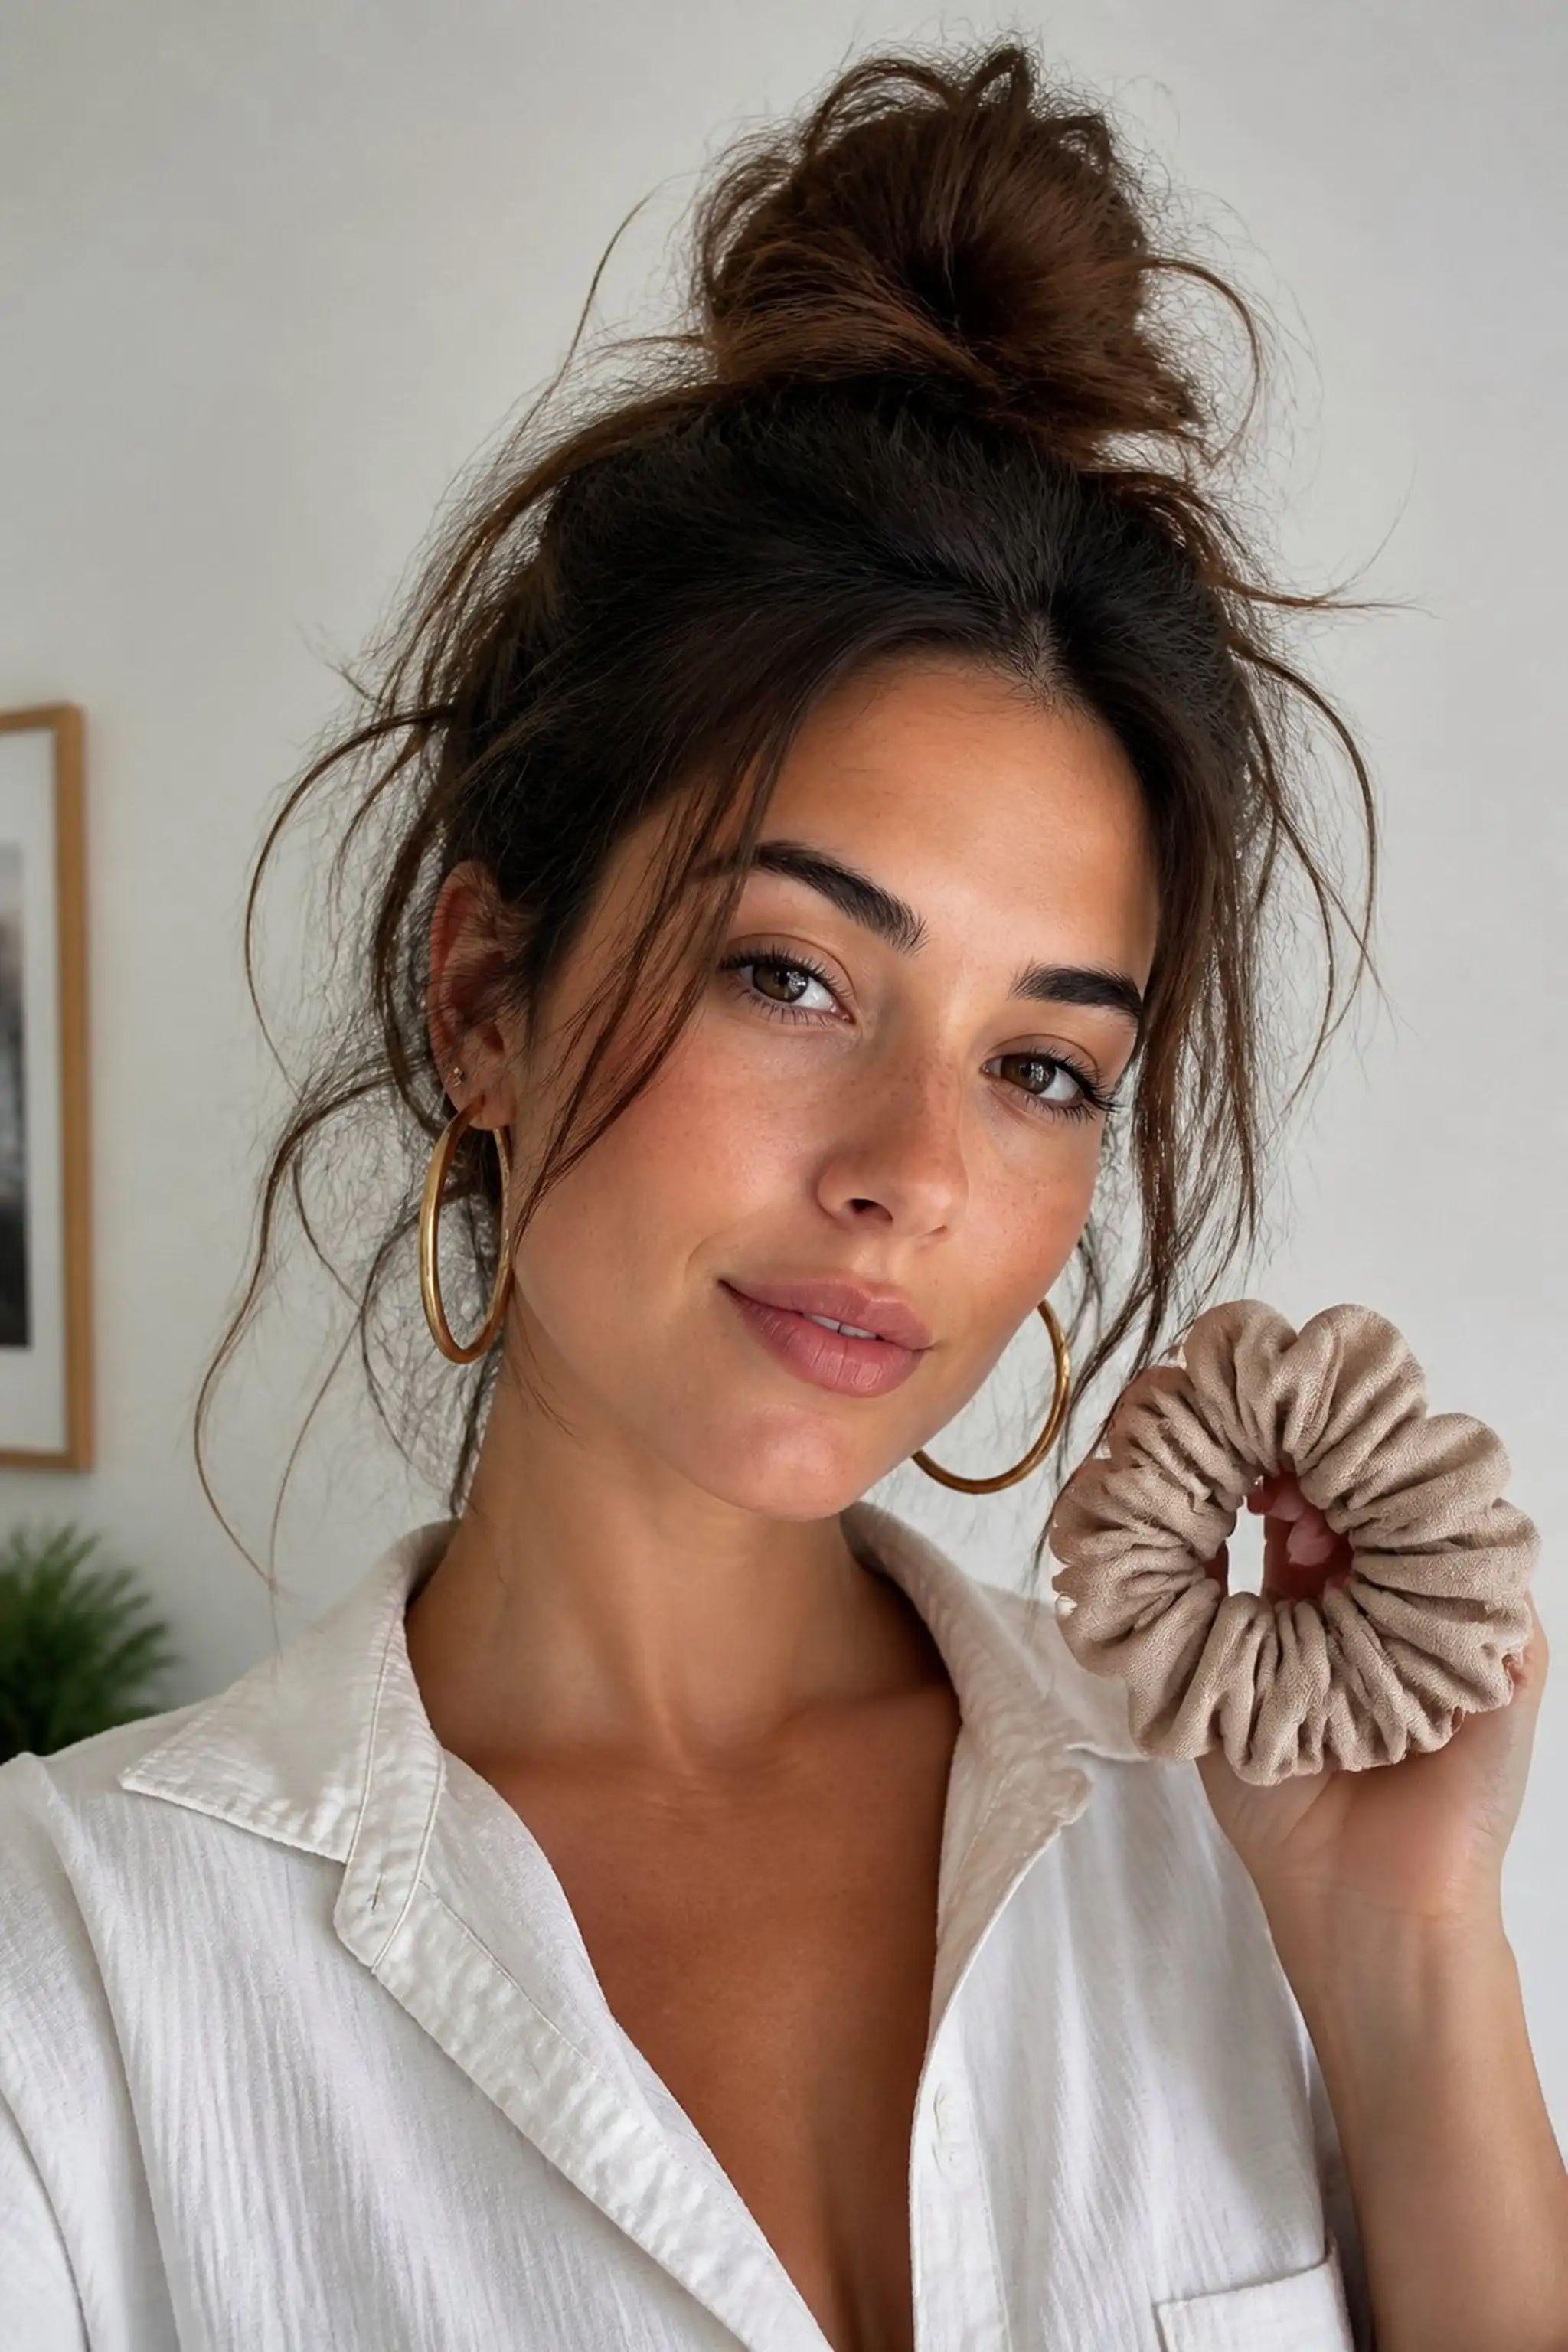
A loosely gathered top knot with uneven texture and a few face-framing strands complements oversized hoop earrings. The knot holds about 80% of hair volume with 1-2 inch loose ends escaping.
This relaxed style contrasts structured earrings well by adding softness and movement, creating an effortless look for everyday wear.
Styling Tips
- Use a scrunchie instead of a tight elastic for a softer hold.
- Pull out small strands around ears to blend with earrings.
- Lightly tease the knot for added volume if hair is thin.
Pro Tip: Wrap the scrunchie once and then gently pull hair out from the top to loosen the knot without causing frizz.
Avoid: Pulling the knot too tight creates a harsh line that clashes with the soft edges of big earrings.
Try Also: Try a low messy bun or a half-up top knot to change the casual vibe.
Products & Materials
Items Used
“Casual messy top knot pairs perfectly with large hoop earrings.”
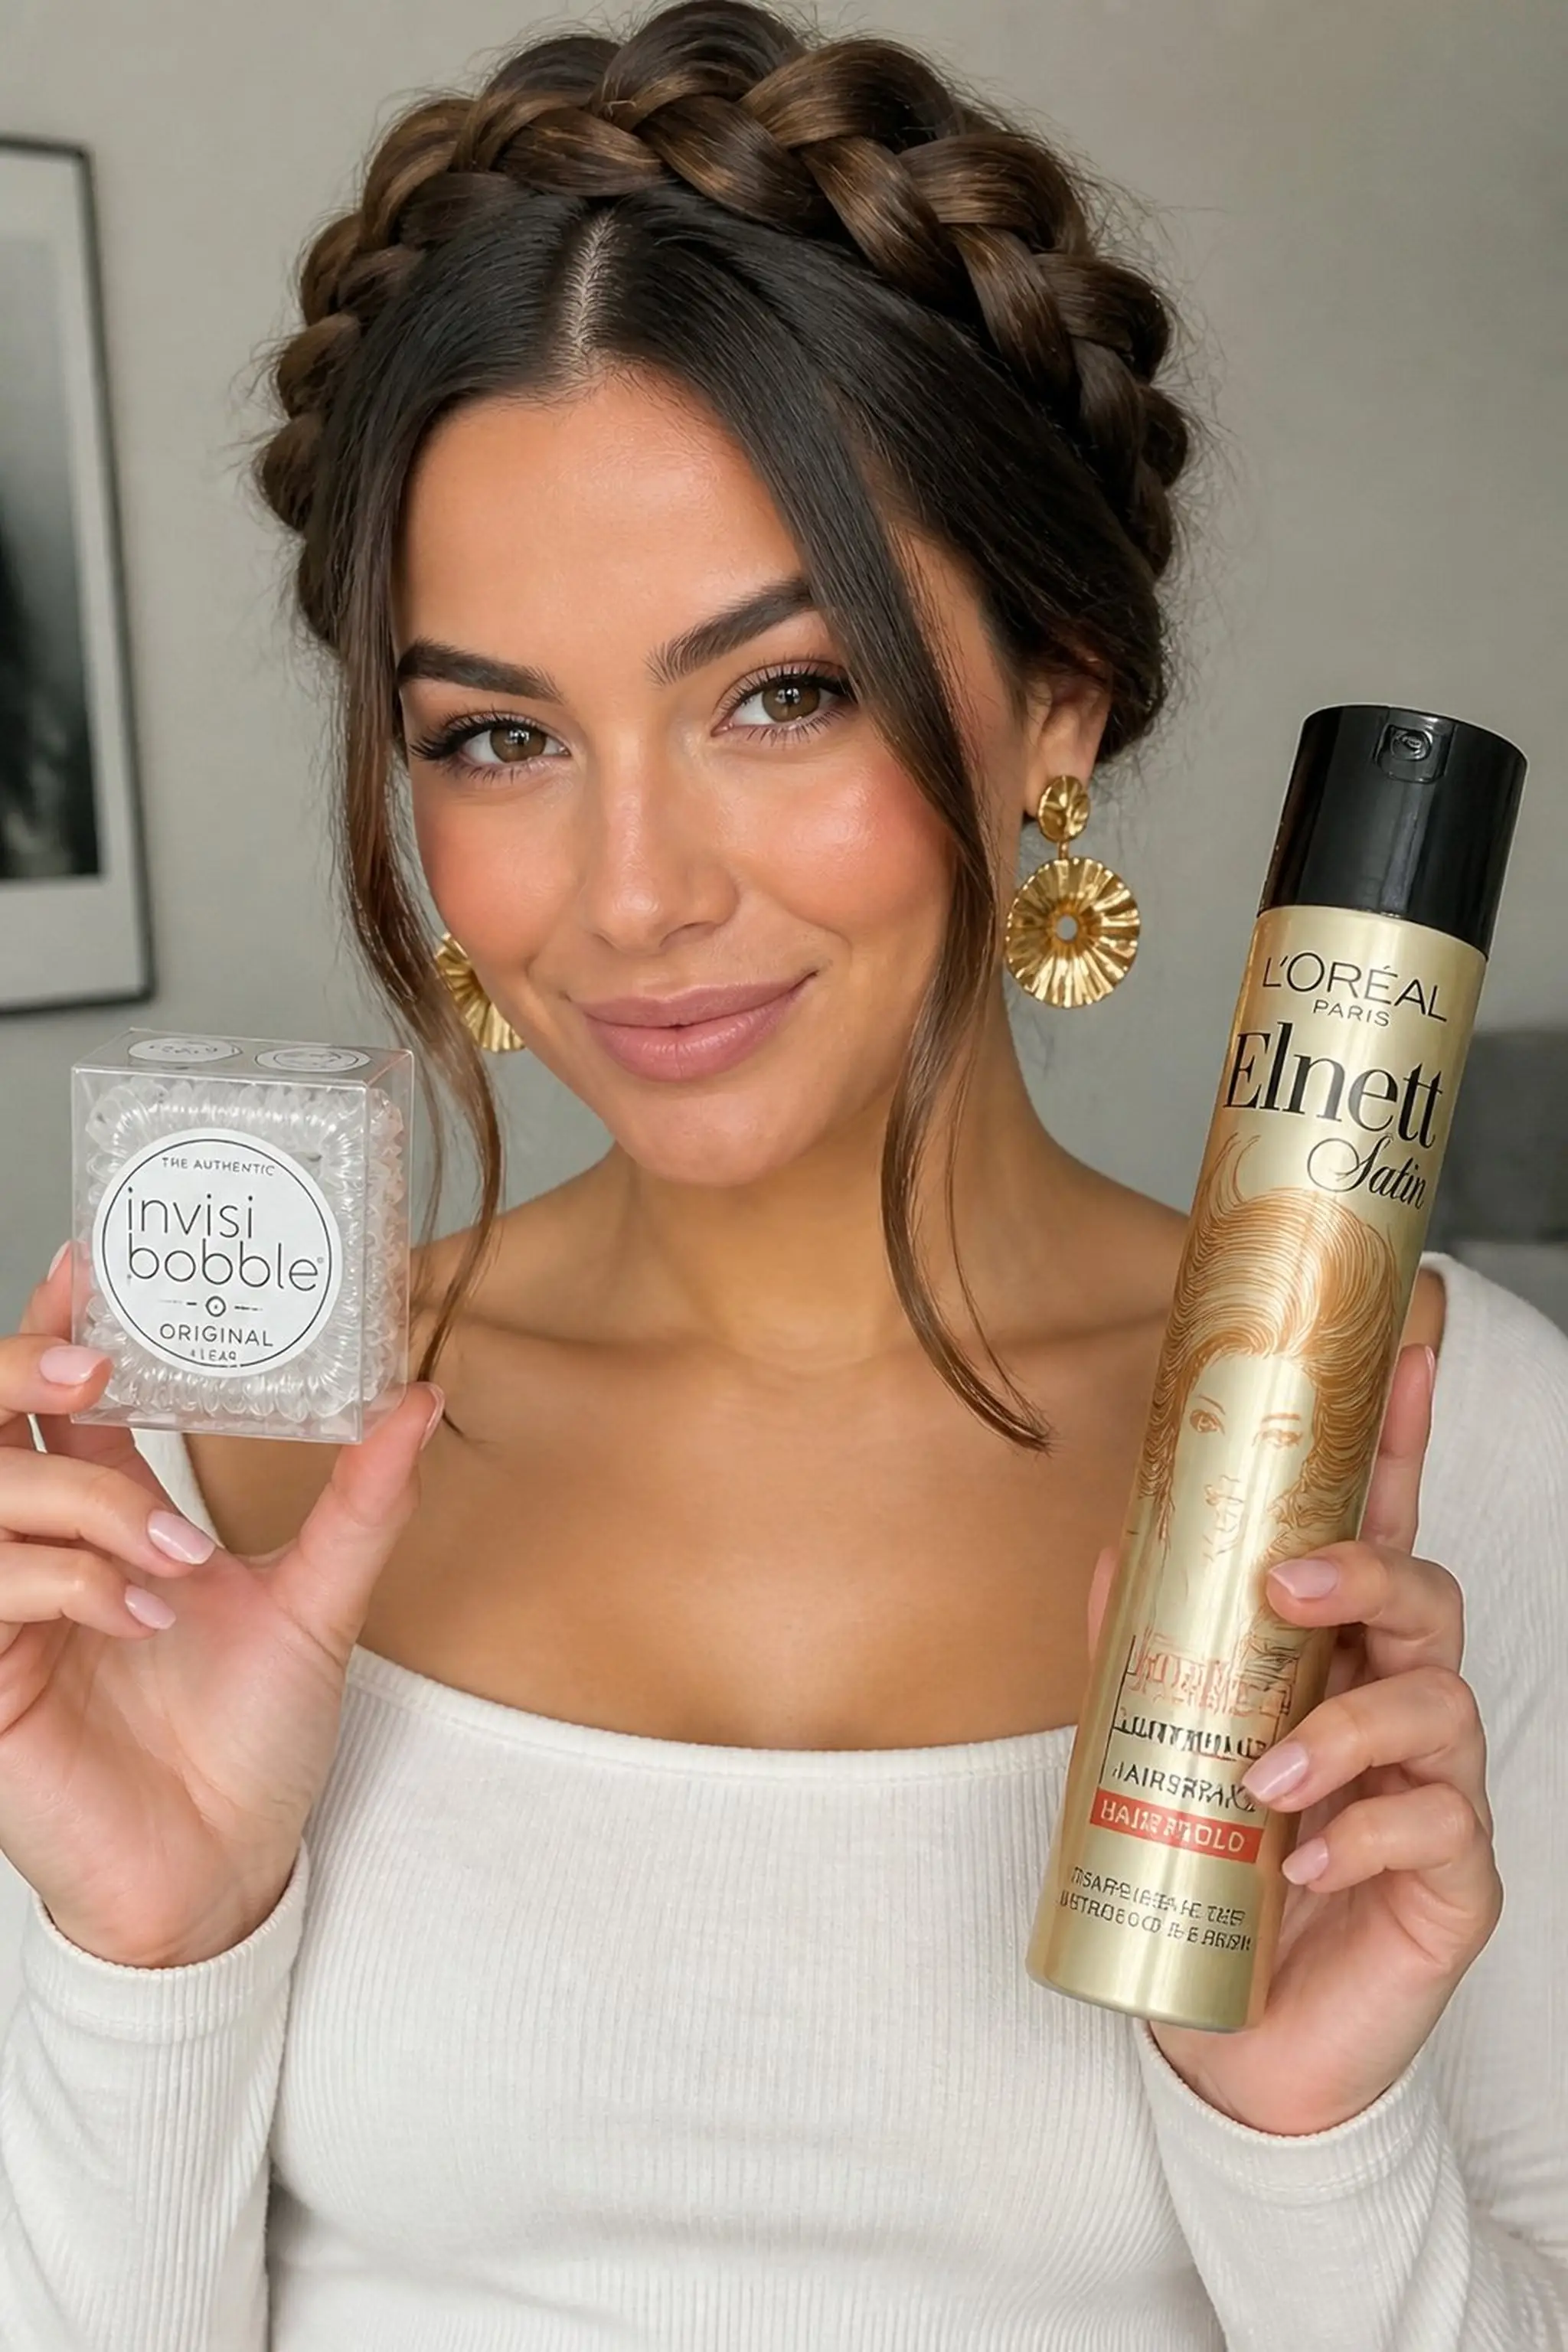
Braided Crown Frames Face and Earrings
⏱️ 40 min · 🔴 Advanced
Hair braided around the crown of the head creates a halo effect that lifts hair 3-4 inches off the scalp while keeping the face open. The braid uses a three-strand method with strands about half an inch thick.
This intricate hairstyle highlights large earrings by avoiding clutter around the ears and adding a romantic, polished atmosphere ideal for ornate earring styles or pearls.
Styling Tips
- Start the braid just above one ear and continue evenly for continuity.
- Pin ends invisibly under the braid for a clean finish.
- Use a light mist of holding spray to maintain shape without stiffness.
Pro Tip: Tug gently at braid loops after braiding to achieve soft volume without loosening the structure.
Avoid: Making braid strands too tight creates a flatter look that hides earring edges instead of framing them.
Try Also: Try double braided crowns or incorporate floral pins in the braid.
Products & Materials
Items Used
“Braided crown lifts hair to elegantly showcase statement earrings.”
Side-Swept Curls Draw Attention to Earrings
⏱️ 20 min · 🟠 Intermediate
Rich curls swept fully to one side create an asymmetric profile that opens up the ear on the opposite side, drawing focus to large earrings worn there. Medium barrel curling iron forms 1.5-inch curls with bounce.
This style pairs well with layered or tiered earrings that move with the hair, creating dynamic interest and a sense of balance between volume and negative space.
Styling Tips
- Secure curls with pins behind the ear on the less visible side.
- Comb through curls gently with finger waves to keep shape.
- Apply shine serum only to ends for gloss without weighing curls down.
Pro Tip: Pin curls on the side opposite the earrings to keep them from shading or hiding the jewelry.
Avoid: Not securing the side sweep properly causes curls to fall and drown the earrings.
Try Also: Half side-swept curls or soft waves parted deeply to one side work for different looks.
Products & Materials
Items Used
- bobby pins
- shine serum
“Side-swept curls balance hair volume and showcase bold earrings beautifully.”
Double Braided Pigtails for Youthful Edge
⏱️ 25 min · 🟠 Intermediate
Two evenly spaced braids secure hair into pigtails that fall just below shoulder blades with strands about one inch thick. The braids lie flat and tight, showcasing ears clearly for earrings to pop.
This playful look contrasts well with long or oversized statement earrings, making them stand out against the loosened neckline.
Styling Tips
- Start braiding just above the temples for ear clearance.
- Use small elastics matching hair shade to blend.
- Loosen braids gently after securing to add softness.
Pro Tip: Section hair symmetrically and braid tightly to achieve clean lines that contrast with bold earrings.
Avoid: Braiding unevenly or loosely allows hair to fall over earrings and hides them.
Try Also: Try boxer braids or Dutch braid pigtails for more texture variation.
Products & Materials
Items Used
“Double braided pigtails add edge while showcasing striking earrings.”
Blunt Bob with Side Part Puts Earrings Front and Center
⏱️ 15 min · 🟢 Beginner
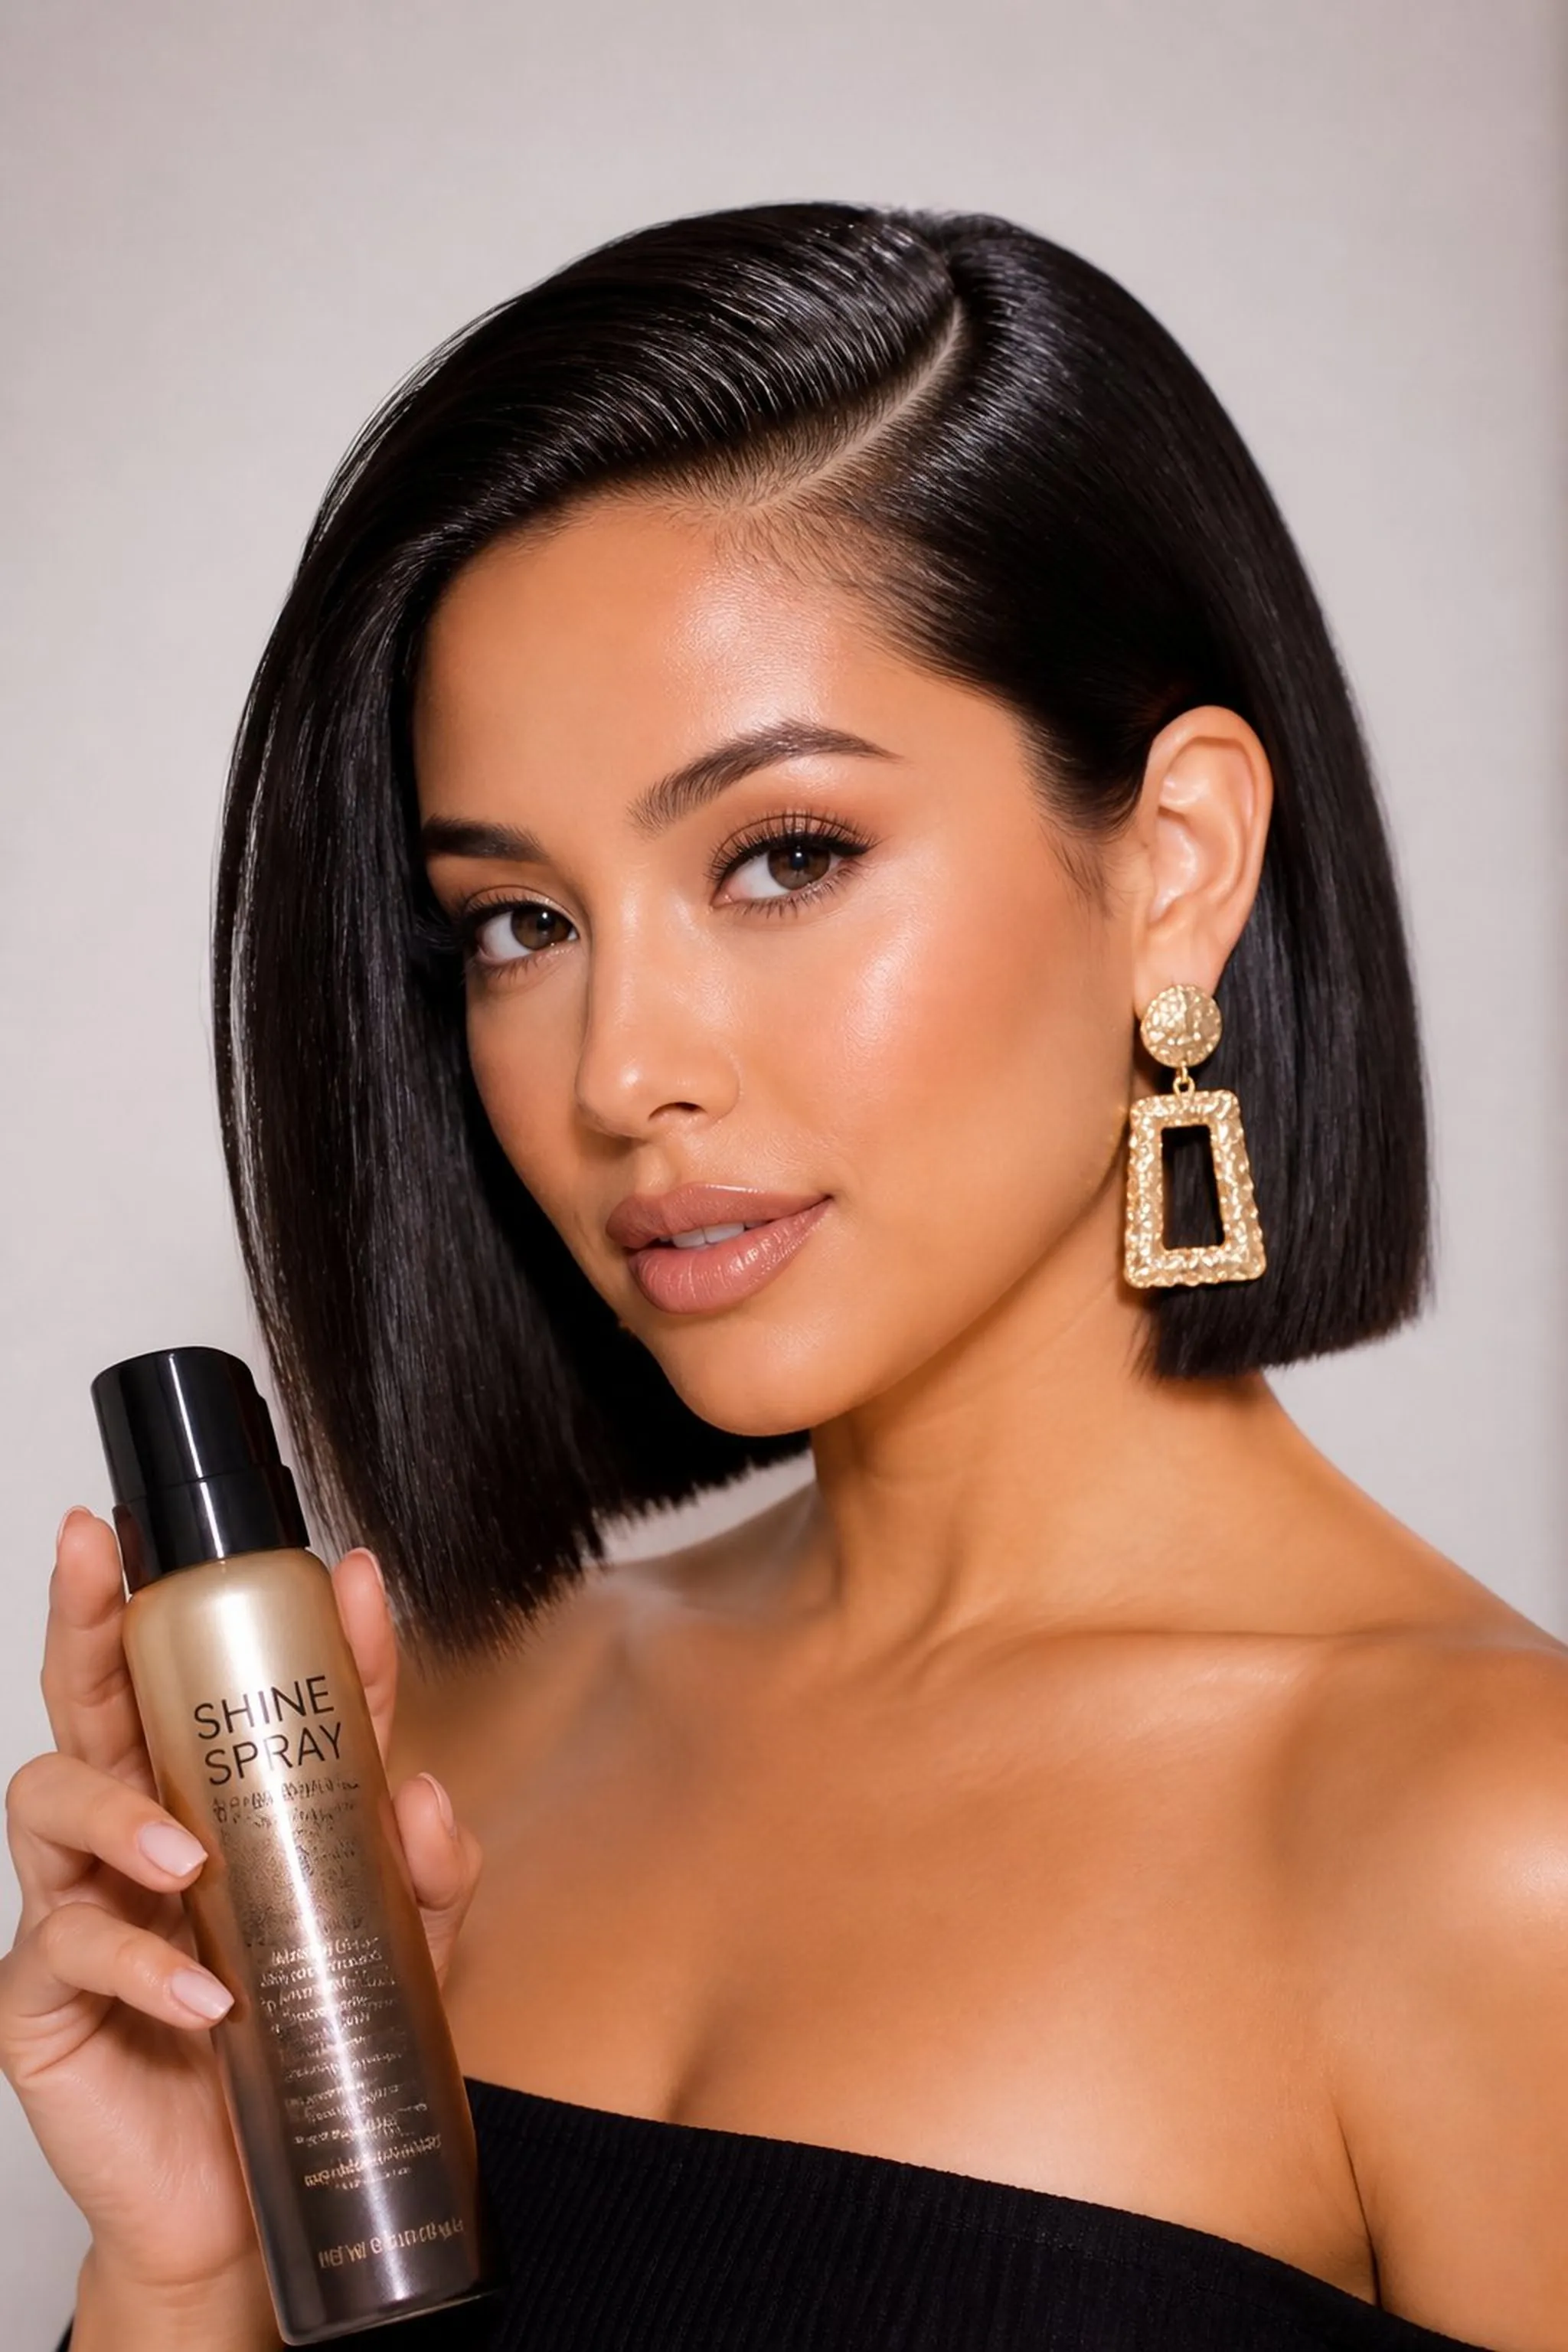
A clean blunt bob cut just above the jawline with a deep side part sharply angles hair away from one ear, making room for oversized studs or loops. The hair shows a sharp 1/4 inch trim length consistency.
This concise silhouette focuses attention on earrings, especially if hair is straightened to create a smooth reflective surface.
Styling Tips
- Use a flat iron with ceramic plates to achieve sleek straight strands.
- Tuck hair behind the ear on the part side to maximize earring visibility.
- Finish with lightweight shine spray to soften edges.
Pro Tip: Start flat ironing hair from roots and glide slowly to ends to keep strands uniformly smooth.
Avoid: Overusing serum can weigh down the bob, causing strands to cover earrings unintentionally.
Try Also: Add textured waves or a middle part for different effects on earring display.
Products & Materials
Items Used
- shine spray
- flat iron
“Blunt bob with a side part maximizes earring impact with minimal fuss.”
Layered Shag Cuts Frame Big Earrings Wildly
⏱️ 20 min · 🟠 Intermediate
Choppy layers cascading throughout shoulder-length hair add volume and unpredictable movement around the face. Layers are cut at various lengths, ranging from 2 to 6 inches, creating a textured shag silhouette.
The tousled effect contrasts with the polished form of statement earrings, making them stand out by movement and space opened near the ears.
Styling Tips
- Use a texturizing spray to boost natural wave and separation.
- Scrunch hair at mid-lengths and ends while drying for lift.
- Pin one side loosely behind the ear to frame earrings visibly.
Pro Tip: Comb in texturizing spray section by section to avoid clumps and enhance natural movement.
Avoid: Skipping layers near the ear can make hair block large earrings instead of complementing them.
Try Also: Try soft waves with the shag cut or add curtain bangs to accentuate cheekbones.
Products & Materials
Items Used
“Layered shag adds wild texture that contrasts beautifully with statement earrings.”
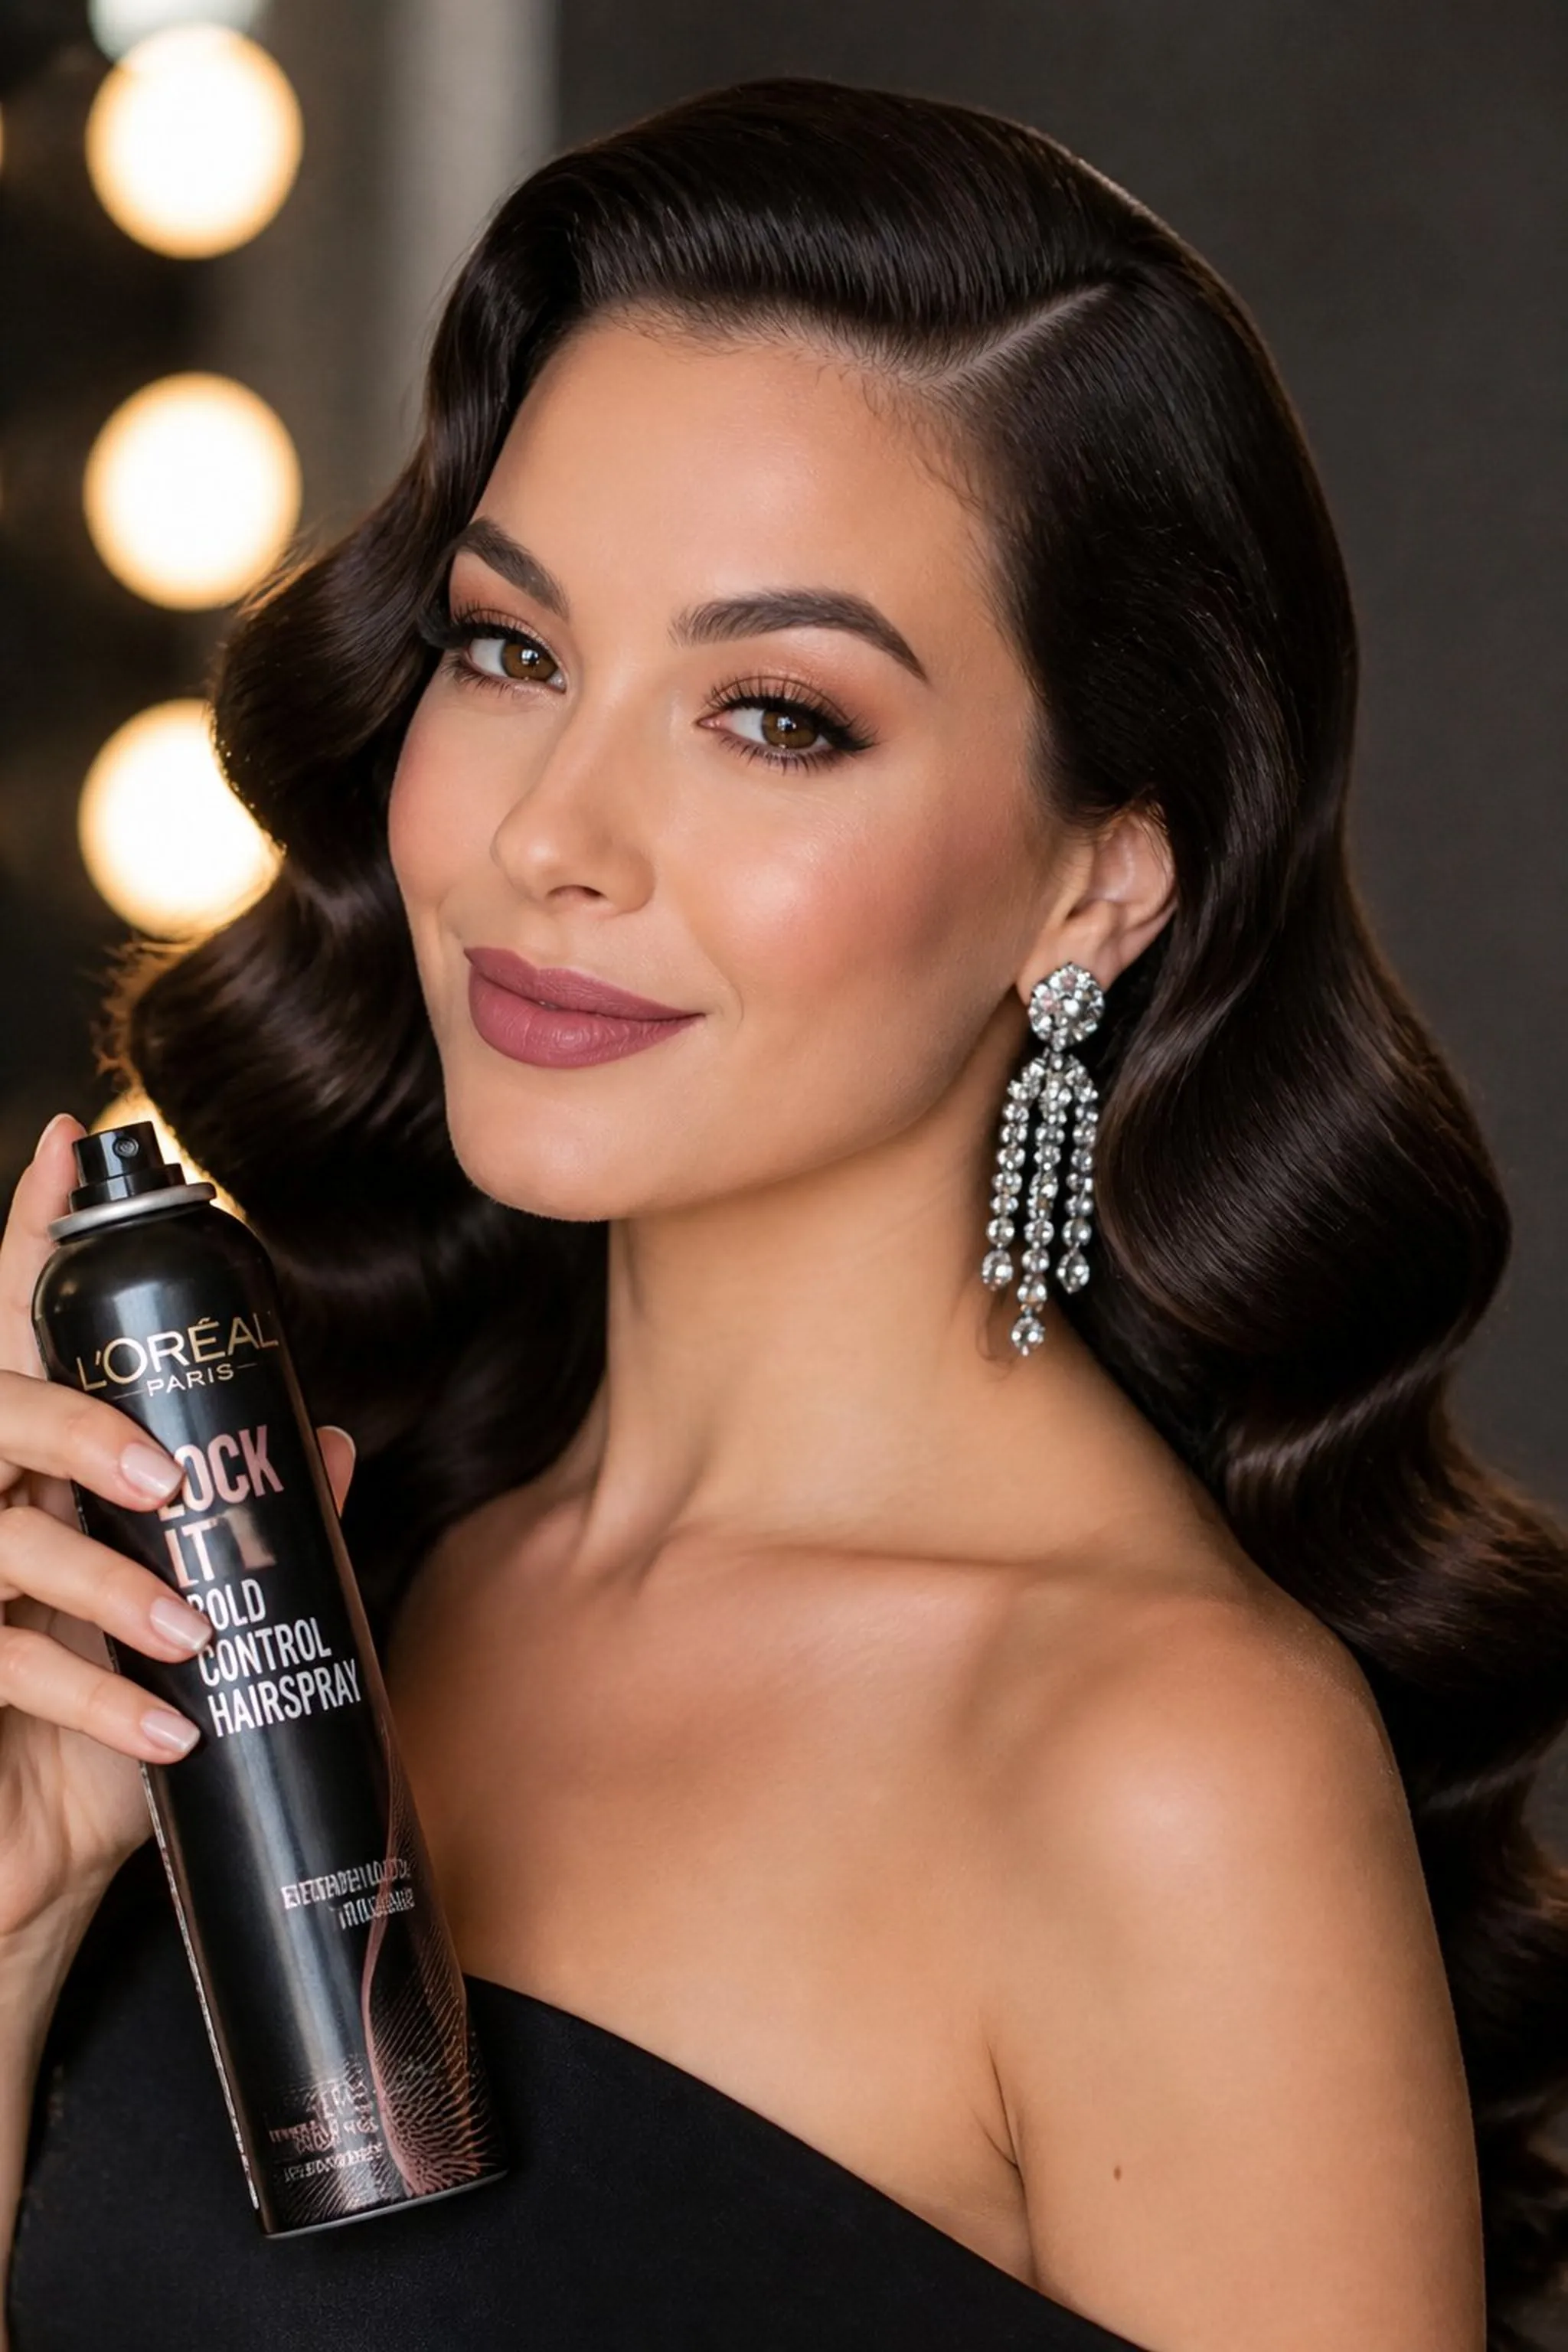
Sculpted Waves for Glamorous Old-Hollywood Vibe
⏱️ 45 min · 🔴 Advanced
Defined sculpted waves form an S pattern along smooth hair reaching mid-back length, with waves roughly 3 inches wide and separated by finger waves. This style emphasizes face structure while maintaining vintage drama.
Wearing this style next to sweeping chandelier or drop earrings adds classic glamour by pairing rigid structure and soft curve dynamics.
Styling Tips
- Pin waves immediately after curling to set the shape.
- Use a small-bristle brush for brushing out curls carefully into the wave pattern.
- Finish with strong hold hairspray for shine and staying power.
Pro Tip: Section hair into uniform parts for even wave sculpting and consistent size control.
Avoid: Brushing waves too soon causes loss of definition and diminishes the intended sculptural effect.
Try Also: Try half-up styles with sculpted waves or add a jeweled hair clip for flair.
Products & Materials
Items Used
“Sculpted waves create classic glam that pairs perfectly with big earrings.”
Twisted Halo Braid Keeps Focus on Earrings
⏱️ 35 min · 🔴 Advanced
Two twisted strands braided around the head form a halo that lifts hair 1.5 inches off the scalp evenly, ensuring ears remain completely visible. Each twisted section includes several thin hair slices twisted tightly together.
Separated by texture and volume, the halo braid contrasts well with oversized sculptural earrings, creating a graceful balance between hair and jewelry.
Styling Tips
- Start twisting at temples and cross over at the back with neat overlaps.
- Secure ends with clear elastics hidden under hair.
- Light spraying maintains hold but preserves softness.
Pro Tip: Loosen twists slightly after braiding to add a fuller appearance without compromising structure.
Avoid: Twisting too loosely causes the braid to fall apart, reducing the intended ear exposure effect.
Try Also: Add floral pins around the halo or create a half-halo braid with loose waves.
Products & Materials
Items Used
“Twisted halo braid lifts hair to frame and highlight large earrings.”
Pinned Back Layers Offer Casual Glam for Earrings
⏱️ 15 min · 🟢 Beginner
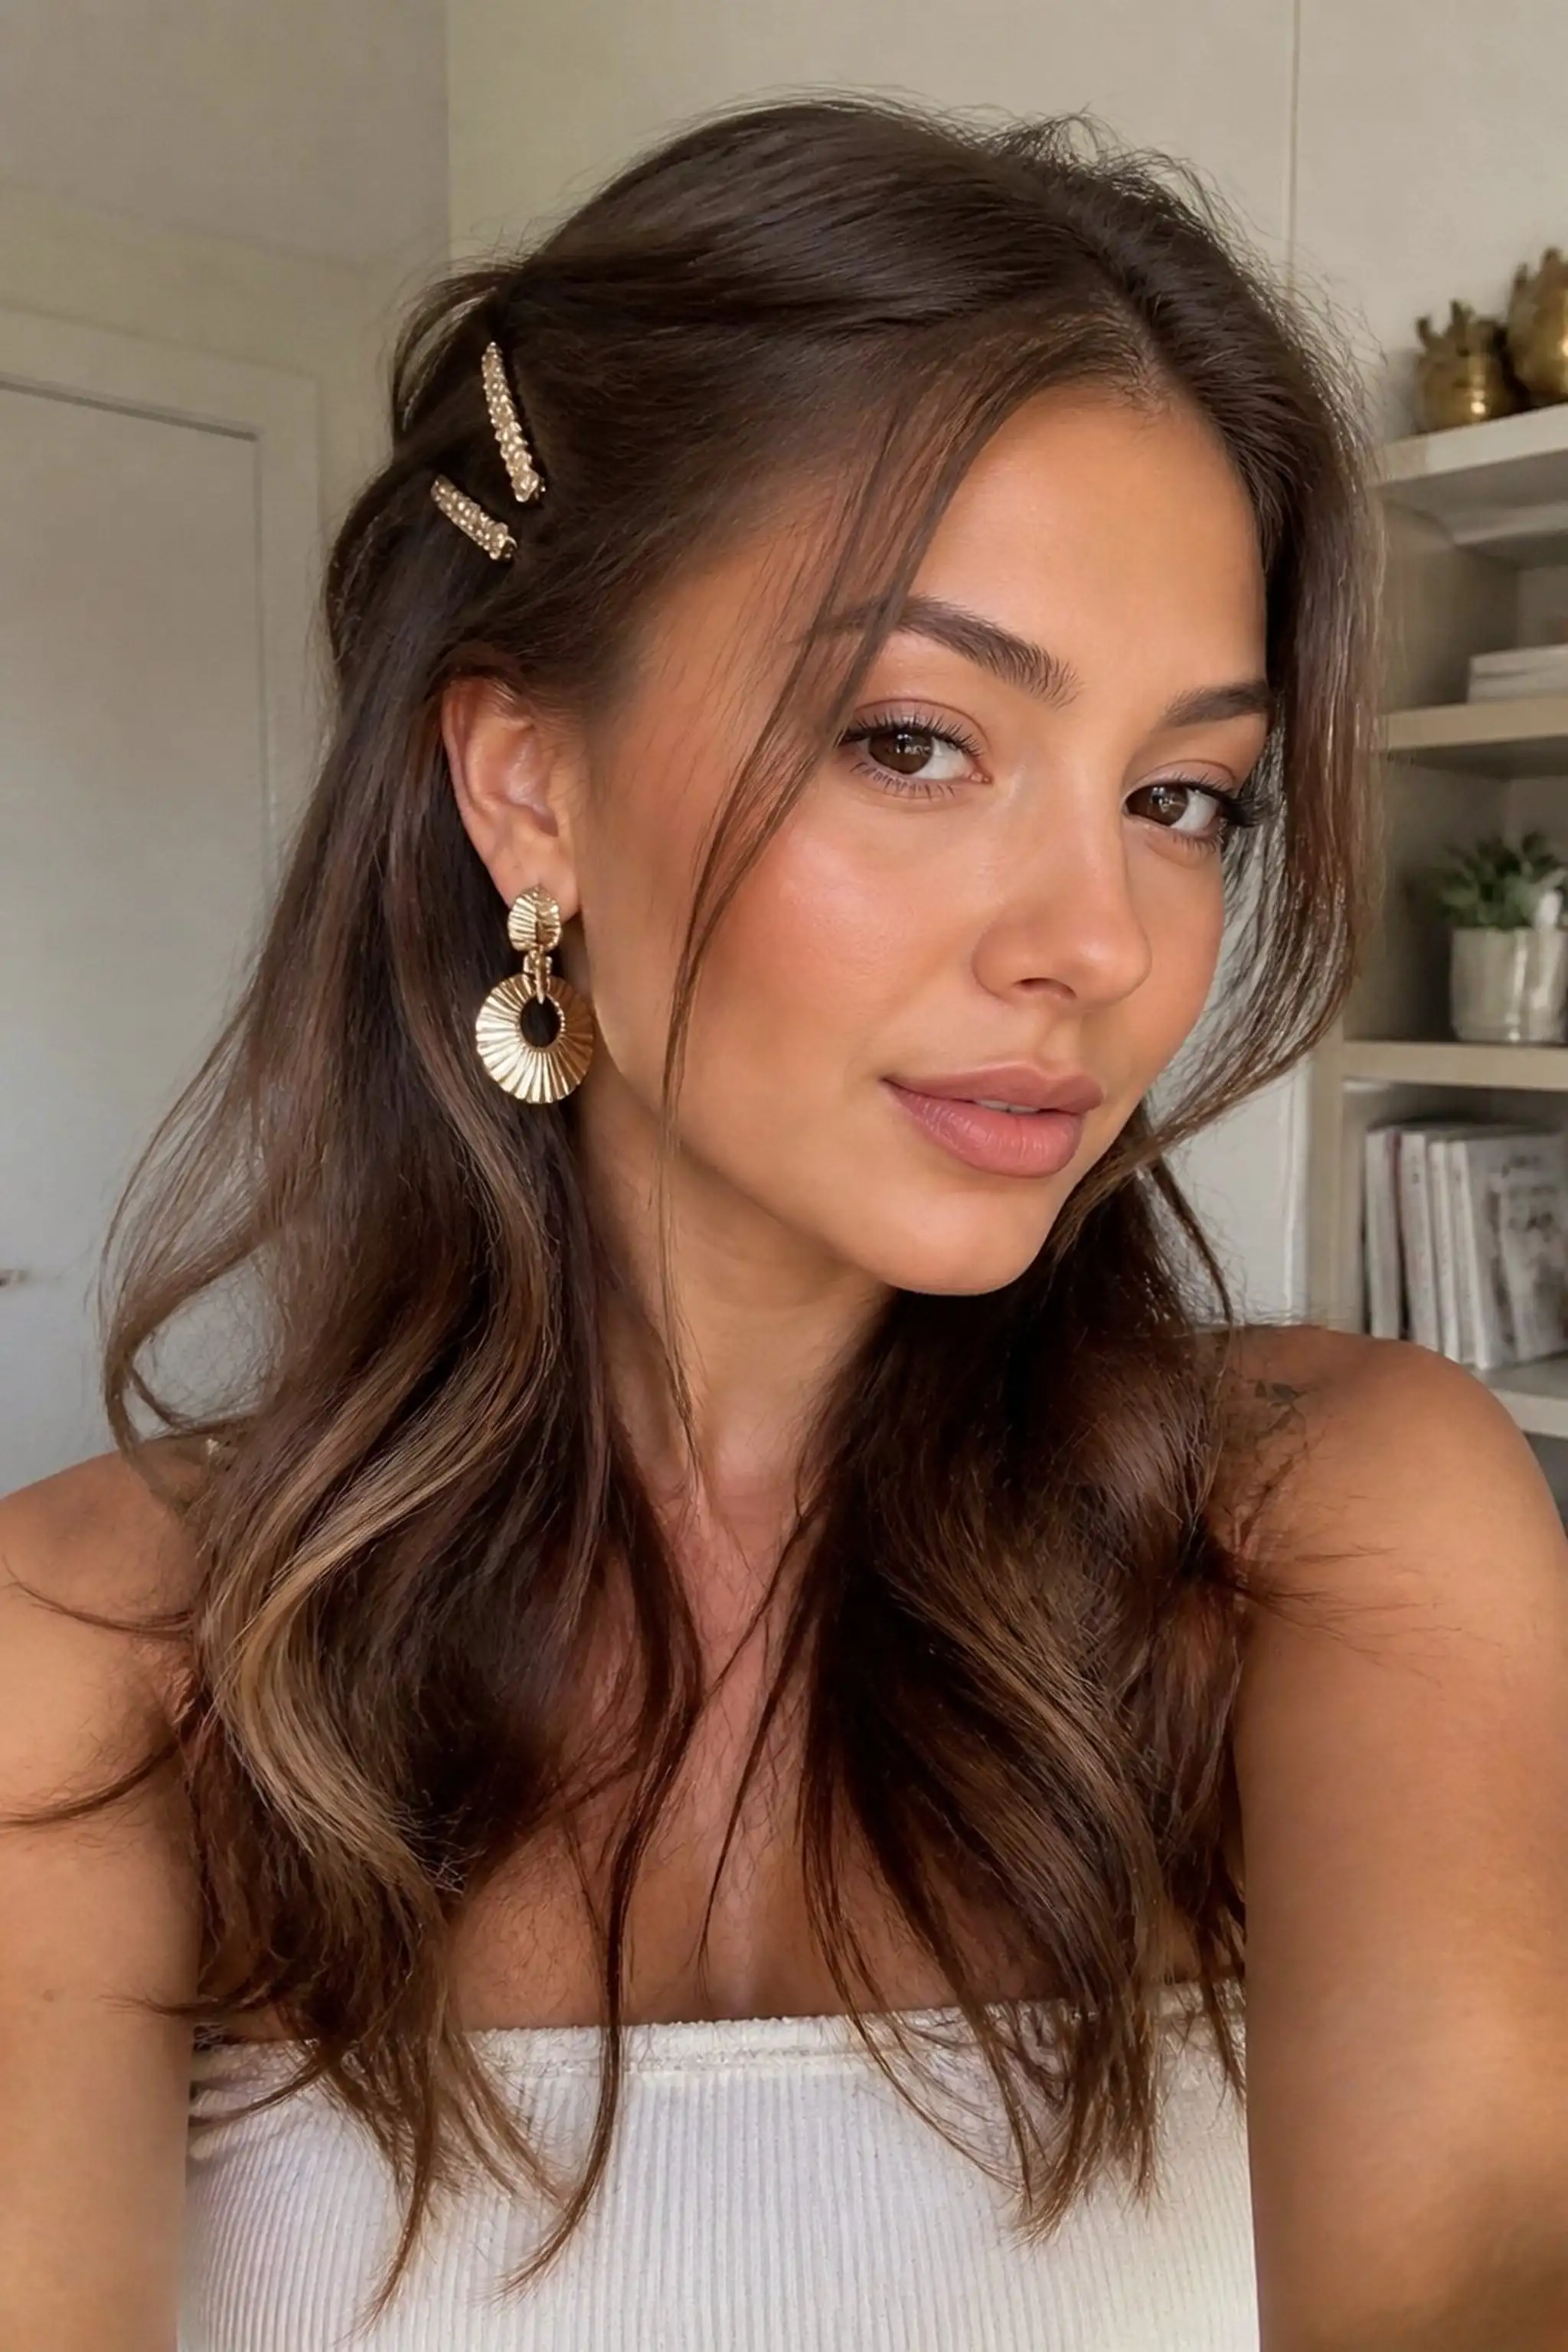
Soft layered hair pinned back on both sides with decorative clips leaves the mid-lengths and ends flowing freely. Clips hold hair about 2 inches above the ear at a 45-degree angle, creating openness around earrings.
This style pairs well with chunky hoops or irregular geometric earrings, as it avoids covering or overwhelming the jewelry while maintaining casual charm.
Styling Tips
- Choose clips that complement earrings in color or finish.
- Lightly curl ends for additional bounce.
- Pin smaller sections at a time for secure hold without pulling.
Pro Tip: Pin hair back away from the face to maximize earring exposure, avoiding too much volume near the surface.
Avoid: Using large clips too close to the earlobe can clash visually with big earrings.
Try Also: Try crisscross pinning or a single clip on one side for different balances.
Products & Materials
Items Used
“Pinned back layers open space around earrings with simple, stylish clips.”
