
As an Amazon Associate I earn from qualifying purchases.
Easy Messy Bun Hairstyles are the go-to for quick glam, and easy messy bun hairstyles make second-day hair look intentionally undone without effort. These easy messy bun hairstyles range from high top knots and low messy buns to braided messy bun looks and half-up messy bun styles that flatter all lengths. Try messy bun hairstyle tutorials for volume, messy buns with accessories, or easy messy bun ideas that refresh everyday styling.
Classic Low Messy Bun For Any Day
⏱️ 5 min · 🟢 Beginner
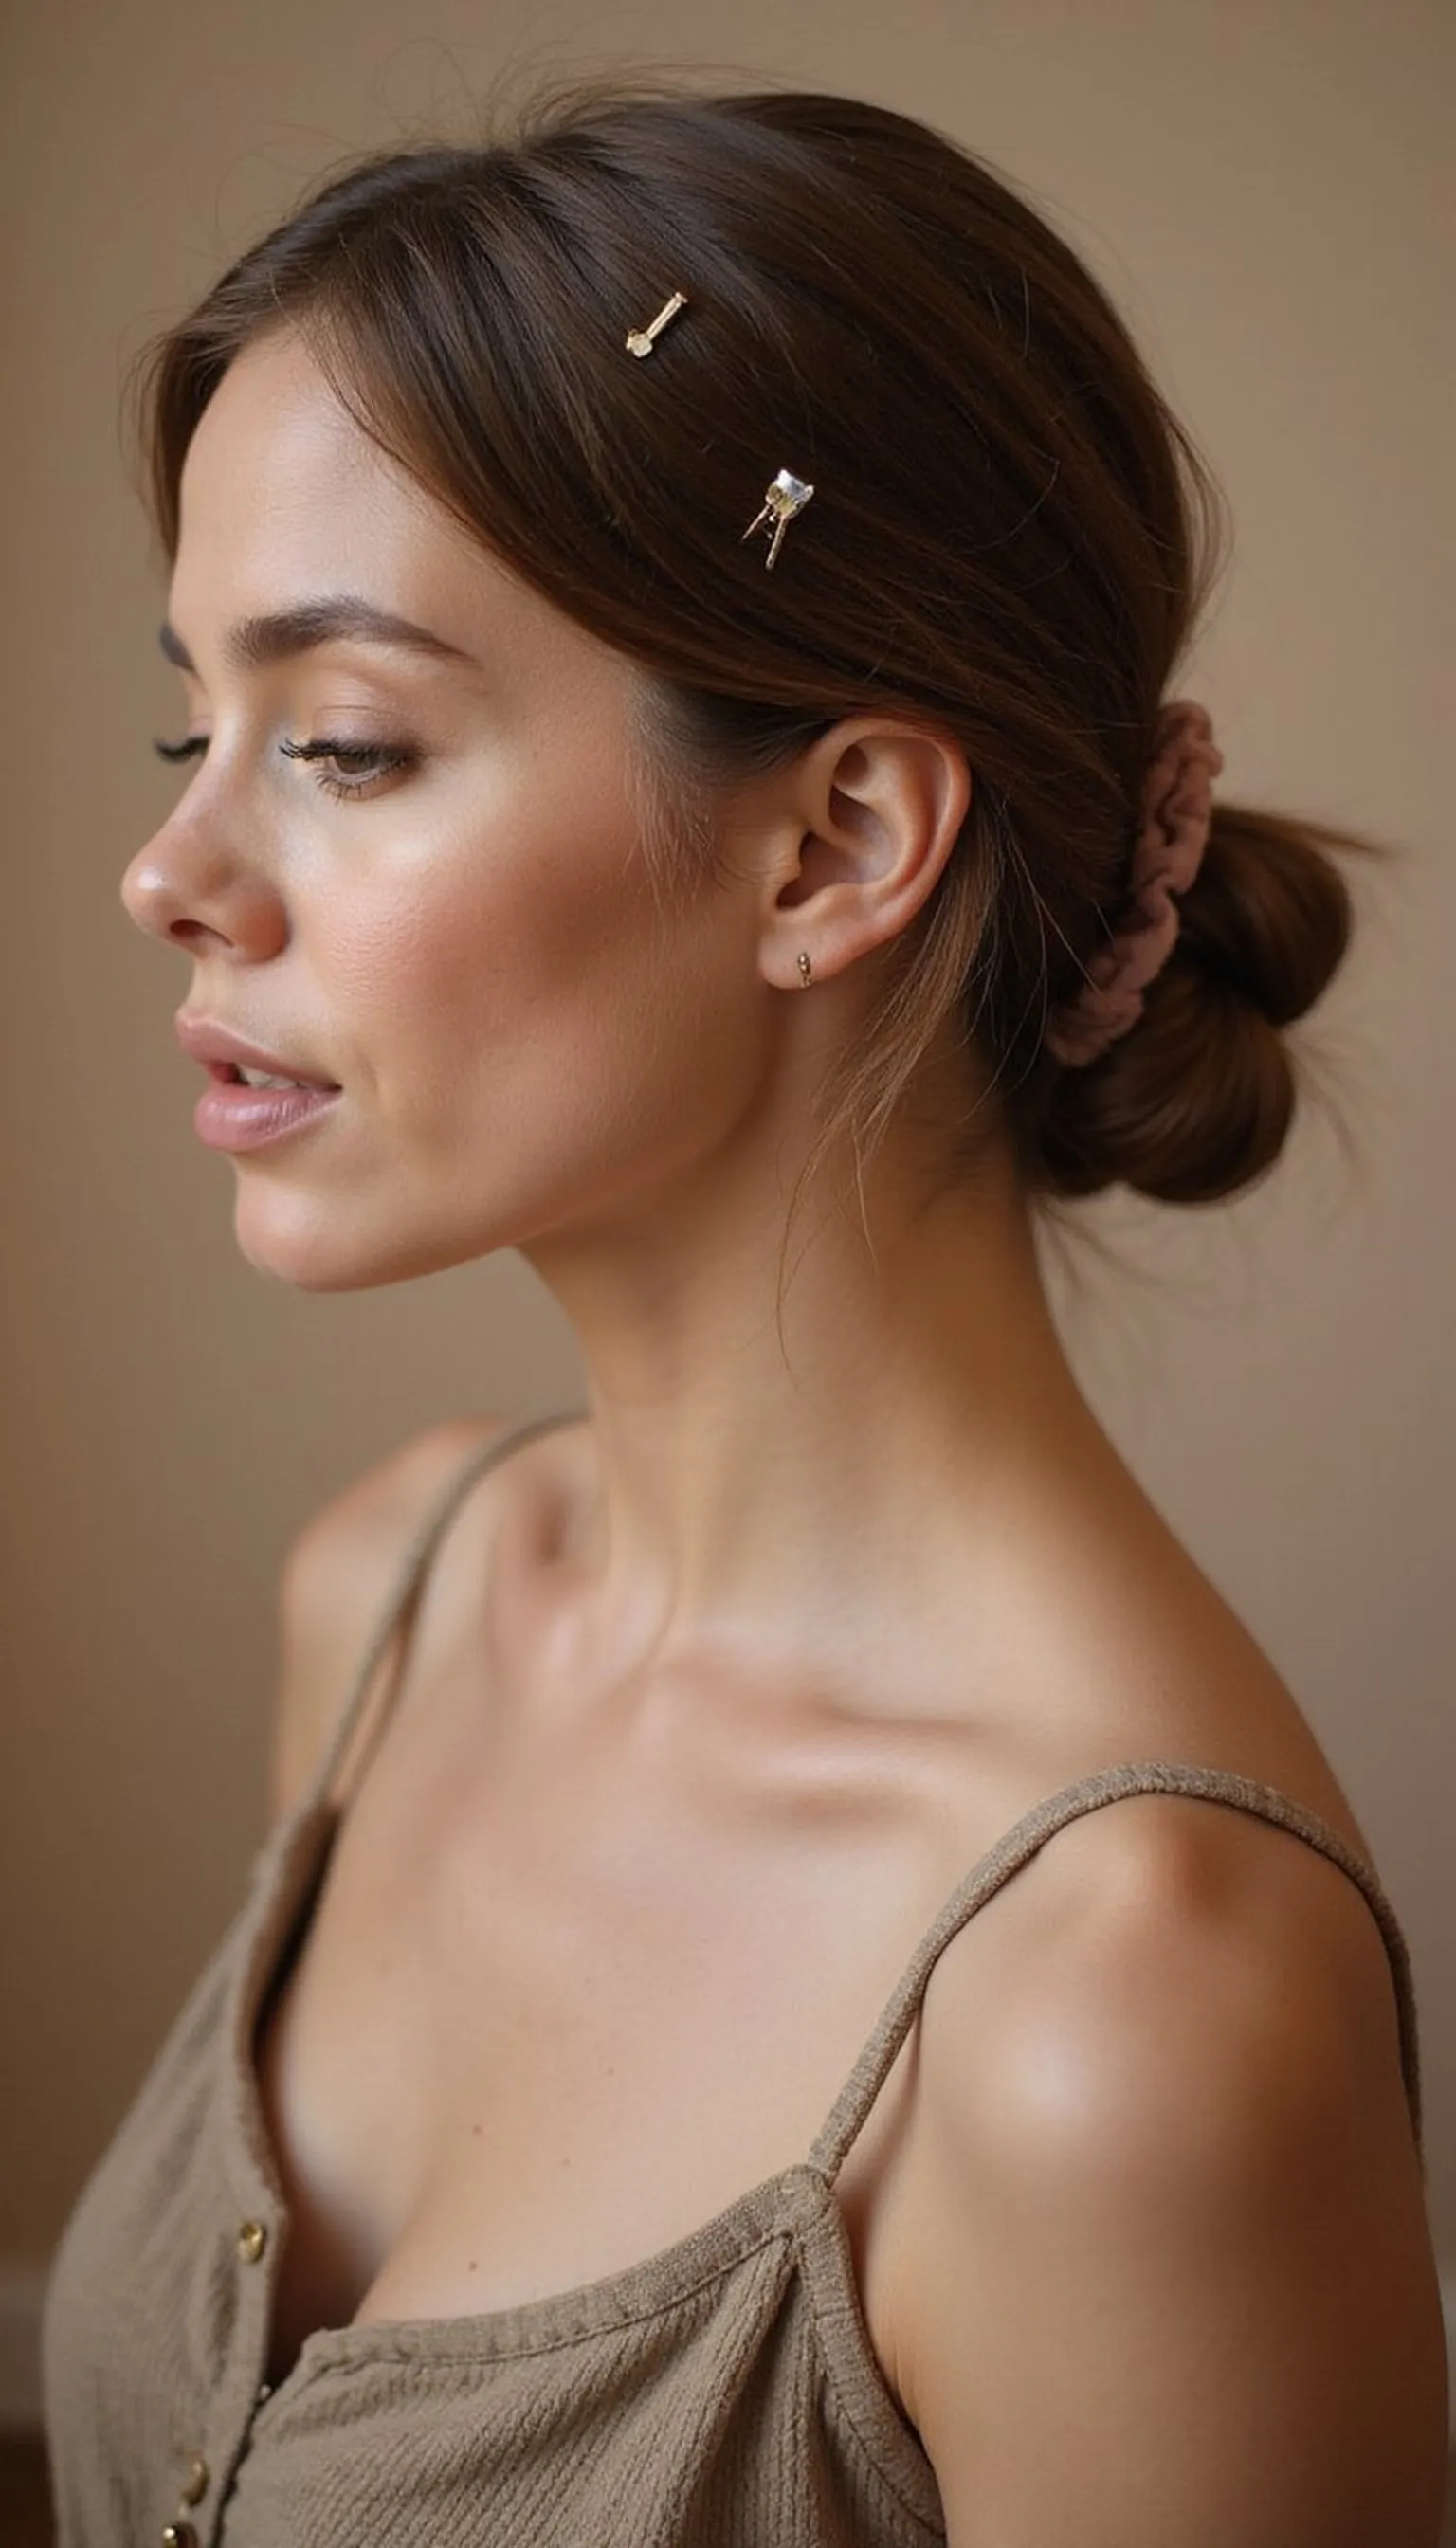
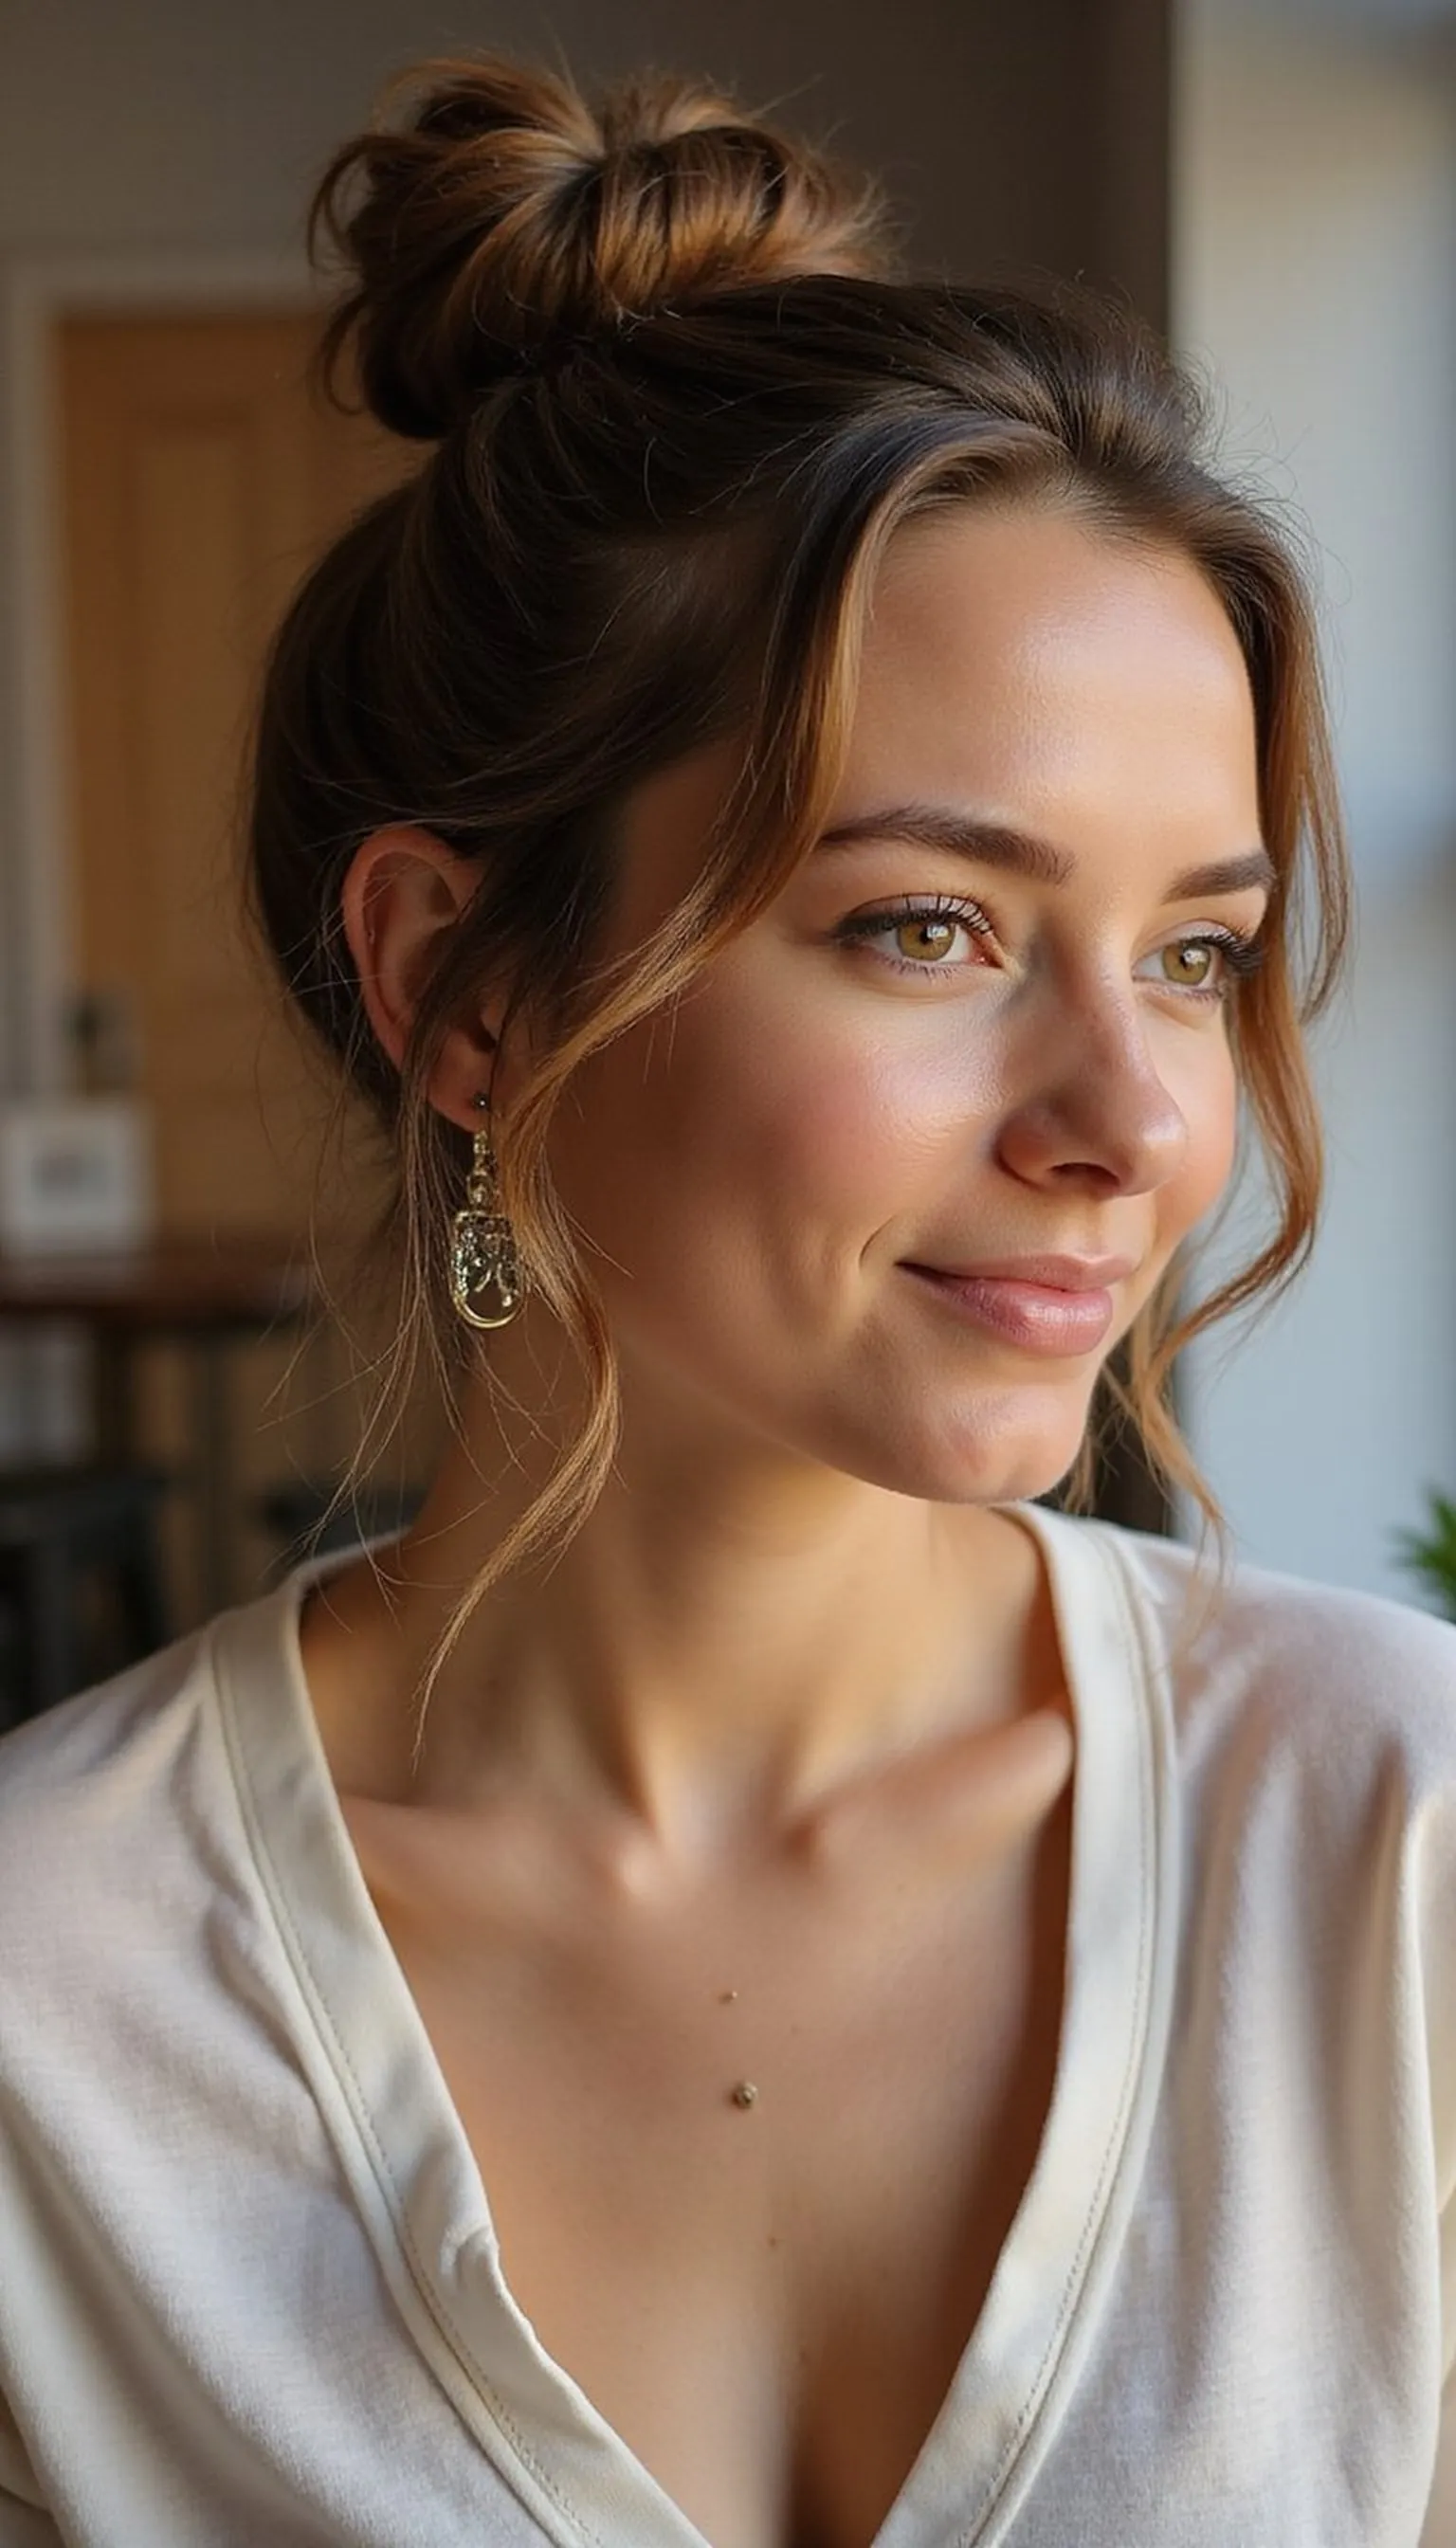
A low messy bun is an instant go-to when time is tight but a pulled-together look is needed. Gather hair at the nape, secure loosely with a scrunchie, then tug small sections to create soft volume and undone texture. Add a few bobby pins at the base to anchor flyaways and let face-framing pieces fall free for a relaxed vibe. This style works with straight, wavy, or slightly curled hair and flatters casual weekends or quick office looks.
💇 Styling Tips ▶
Styling Tips
- Use a slightly stretched scrunchie to avoid denting the hair.
- Loosen the bun by gently pulling at the crown for instant lift.
- Pin stray pieces with bobby pins to keep shape without tightening the style.
⚠️ Avoid: Pulling the elastic too tight turns a messy bun into a tight knot; keep the hold relaxed. Skipping pins can make the style fall apart by midday.
🔄 Try Also: For a softer look, leave more face-framing pieces and curl them lightly. Twist one side into the bun for a tucked, romantic variation.
🛒 Products & Materials ▶
Items Used
- scrunchie
- bobby pins
📌 “Effortless low messy bun with scrunchie and soft face-framing pieces.”
• • •
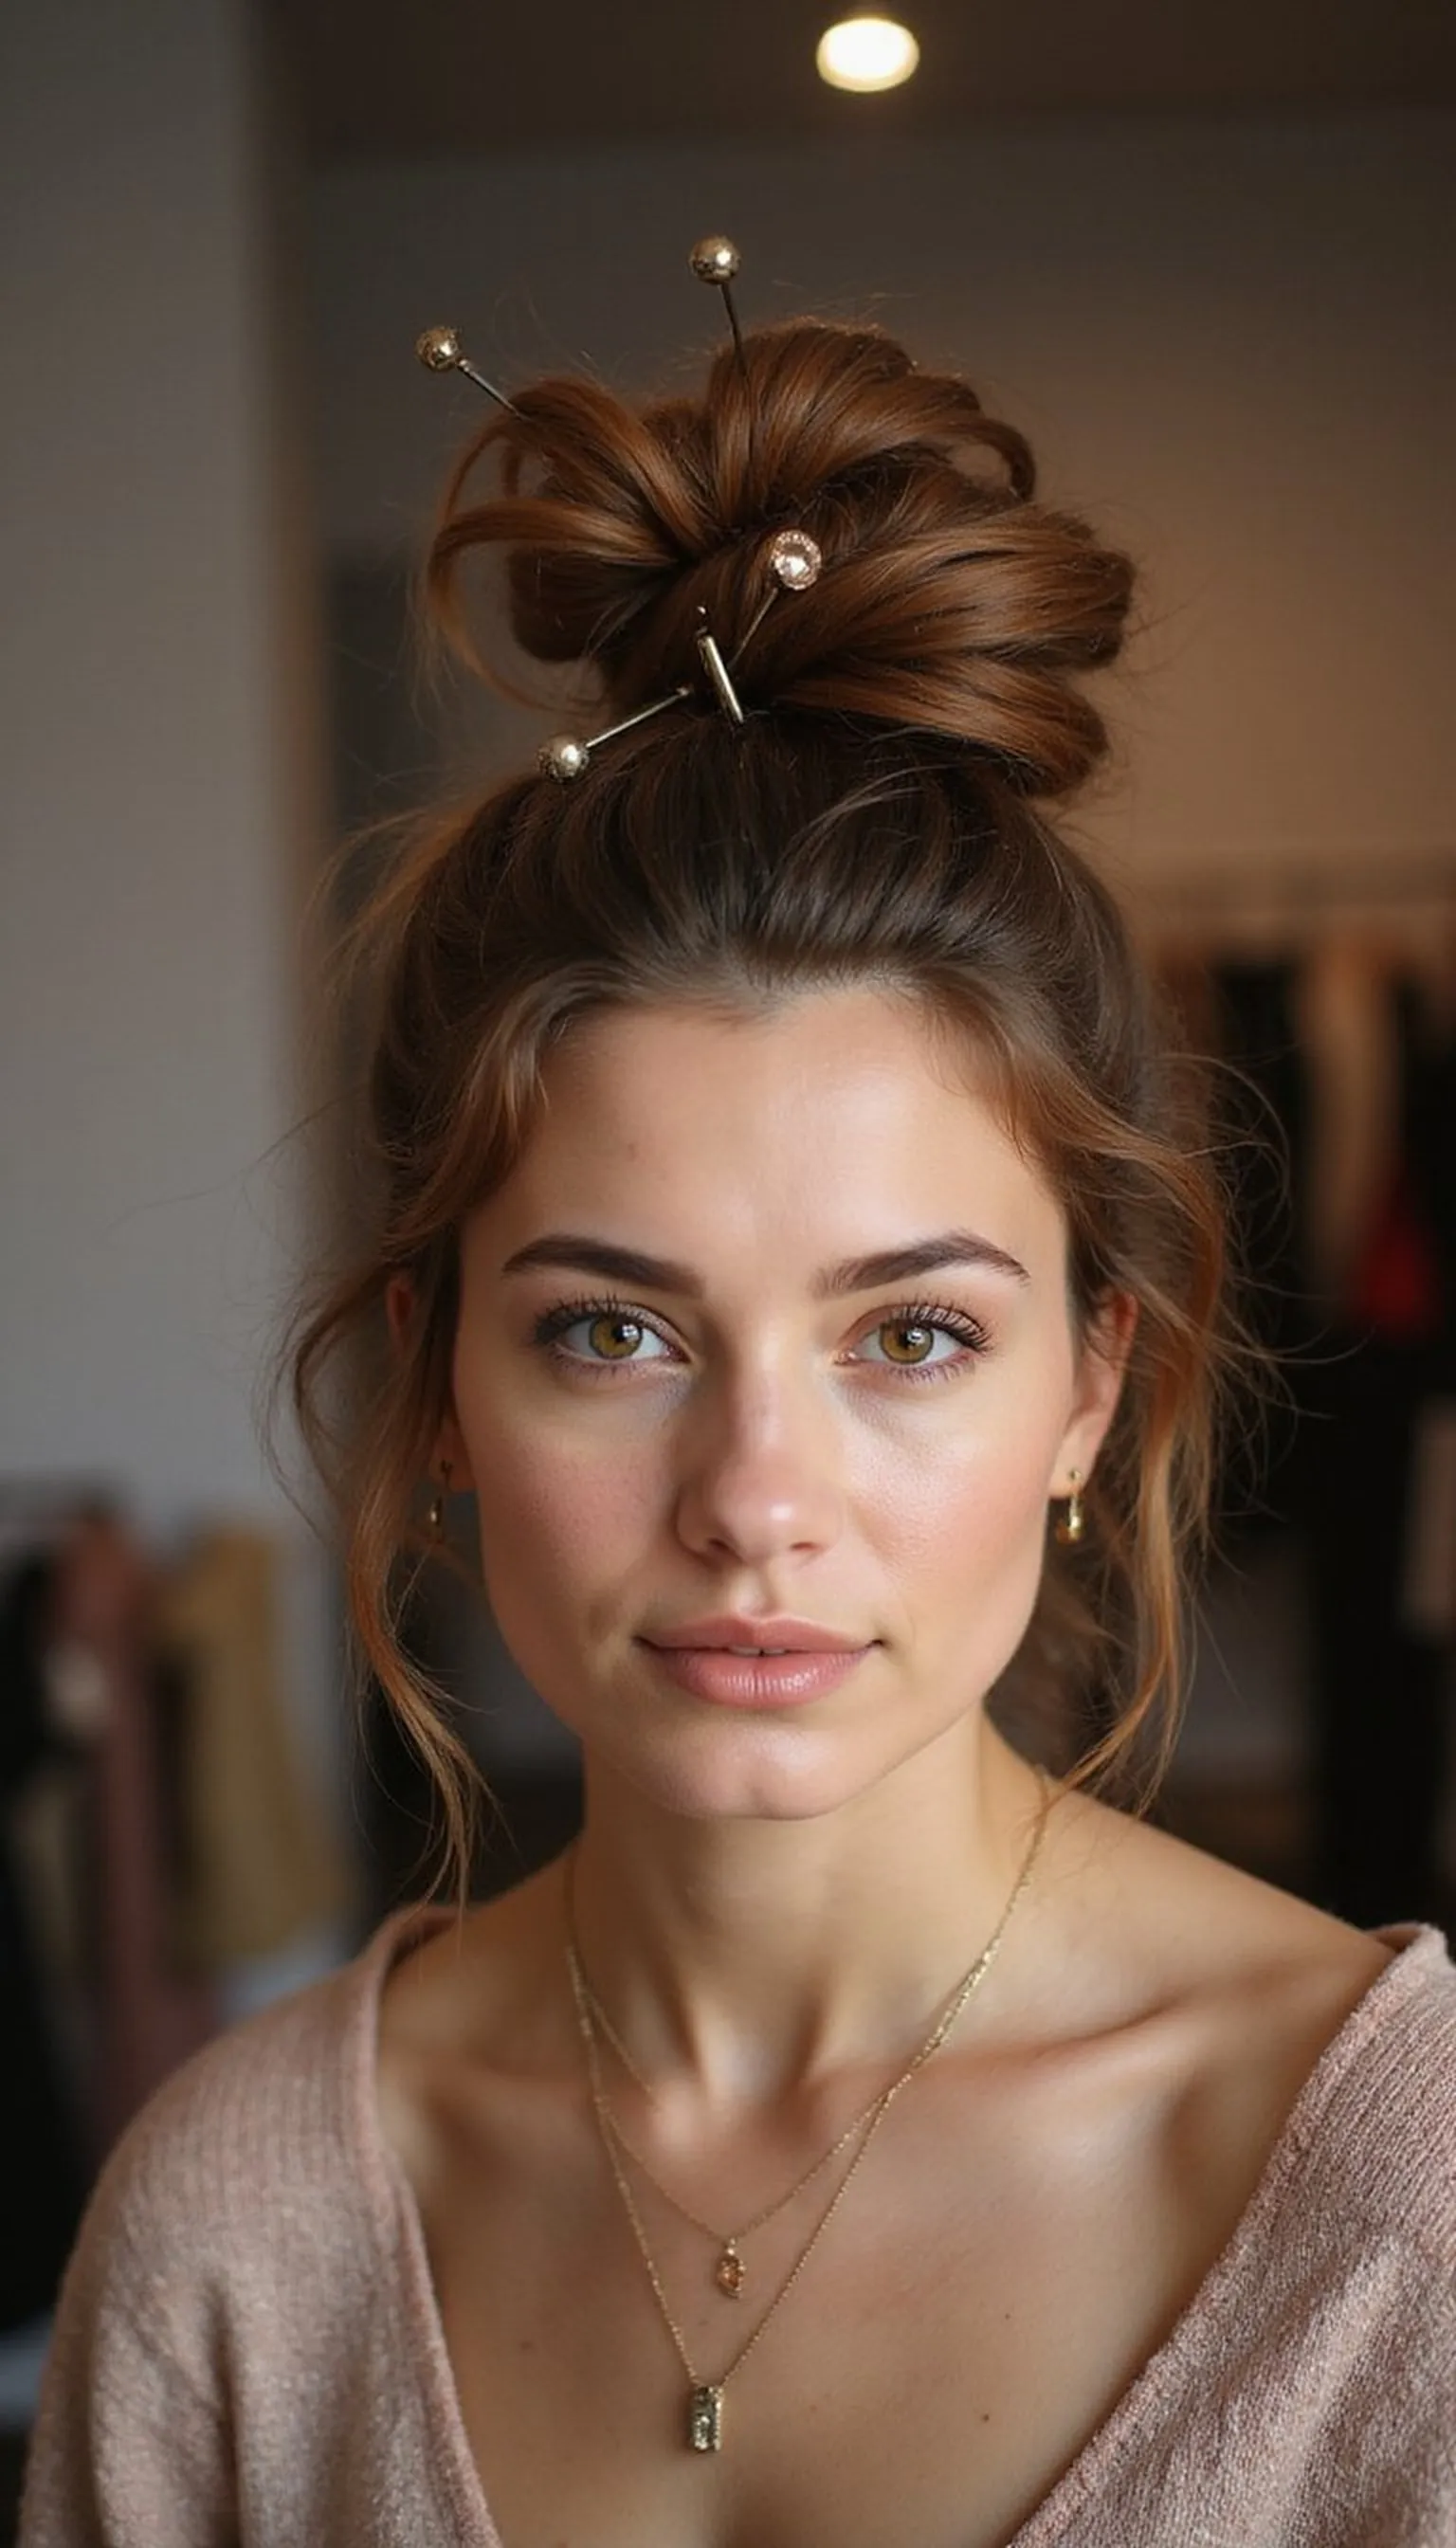
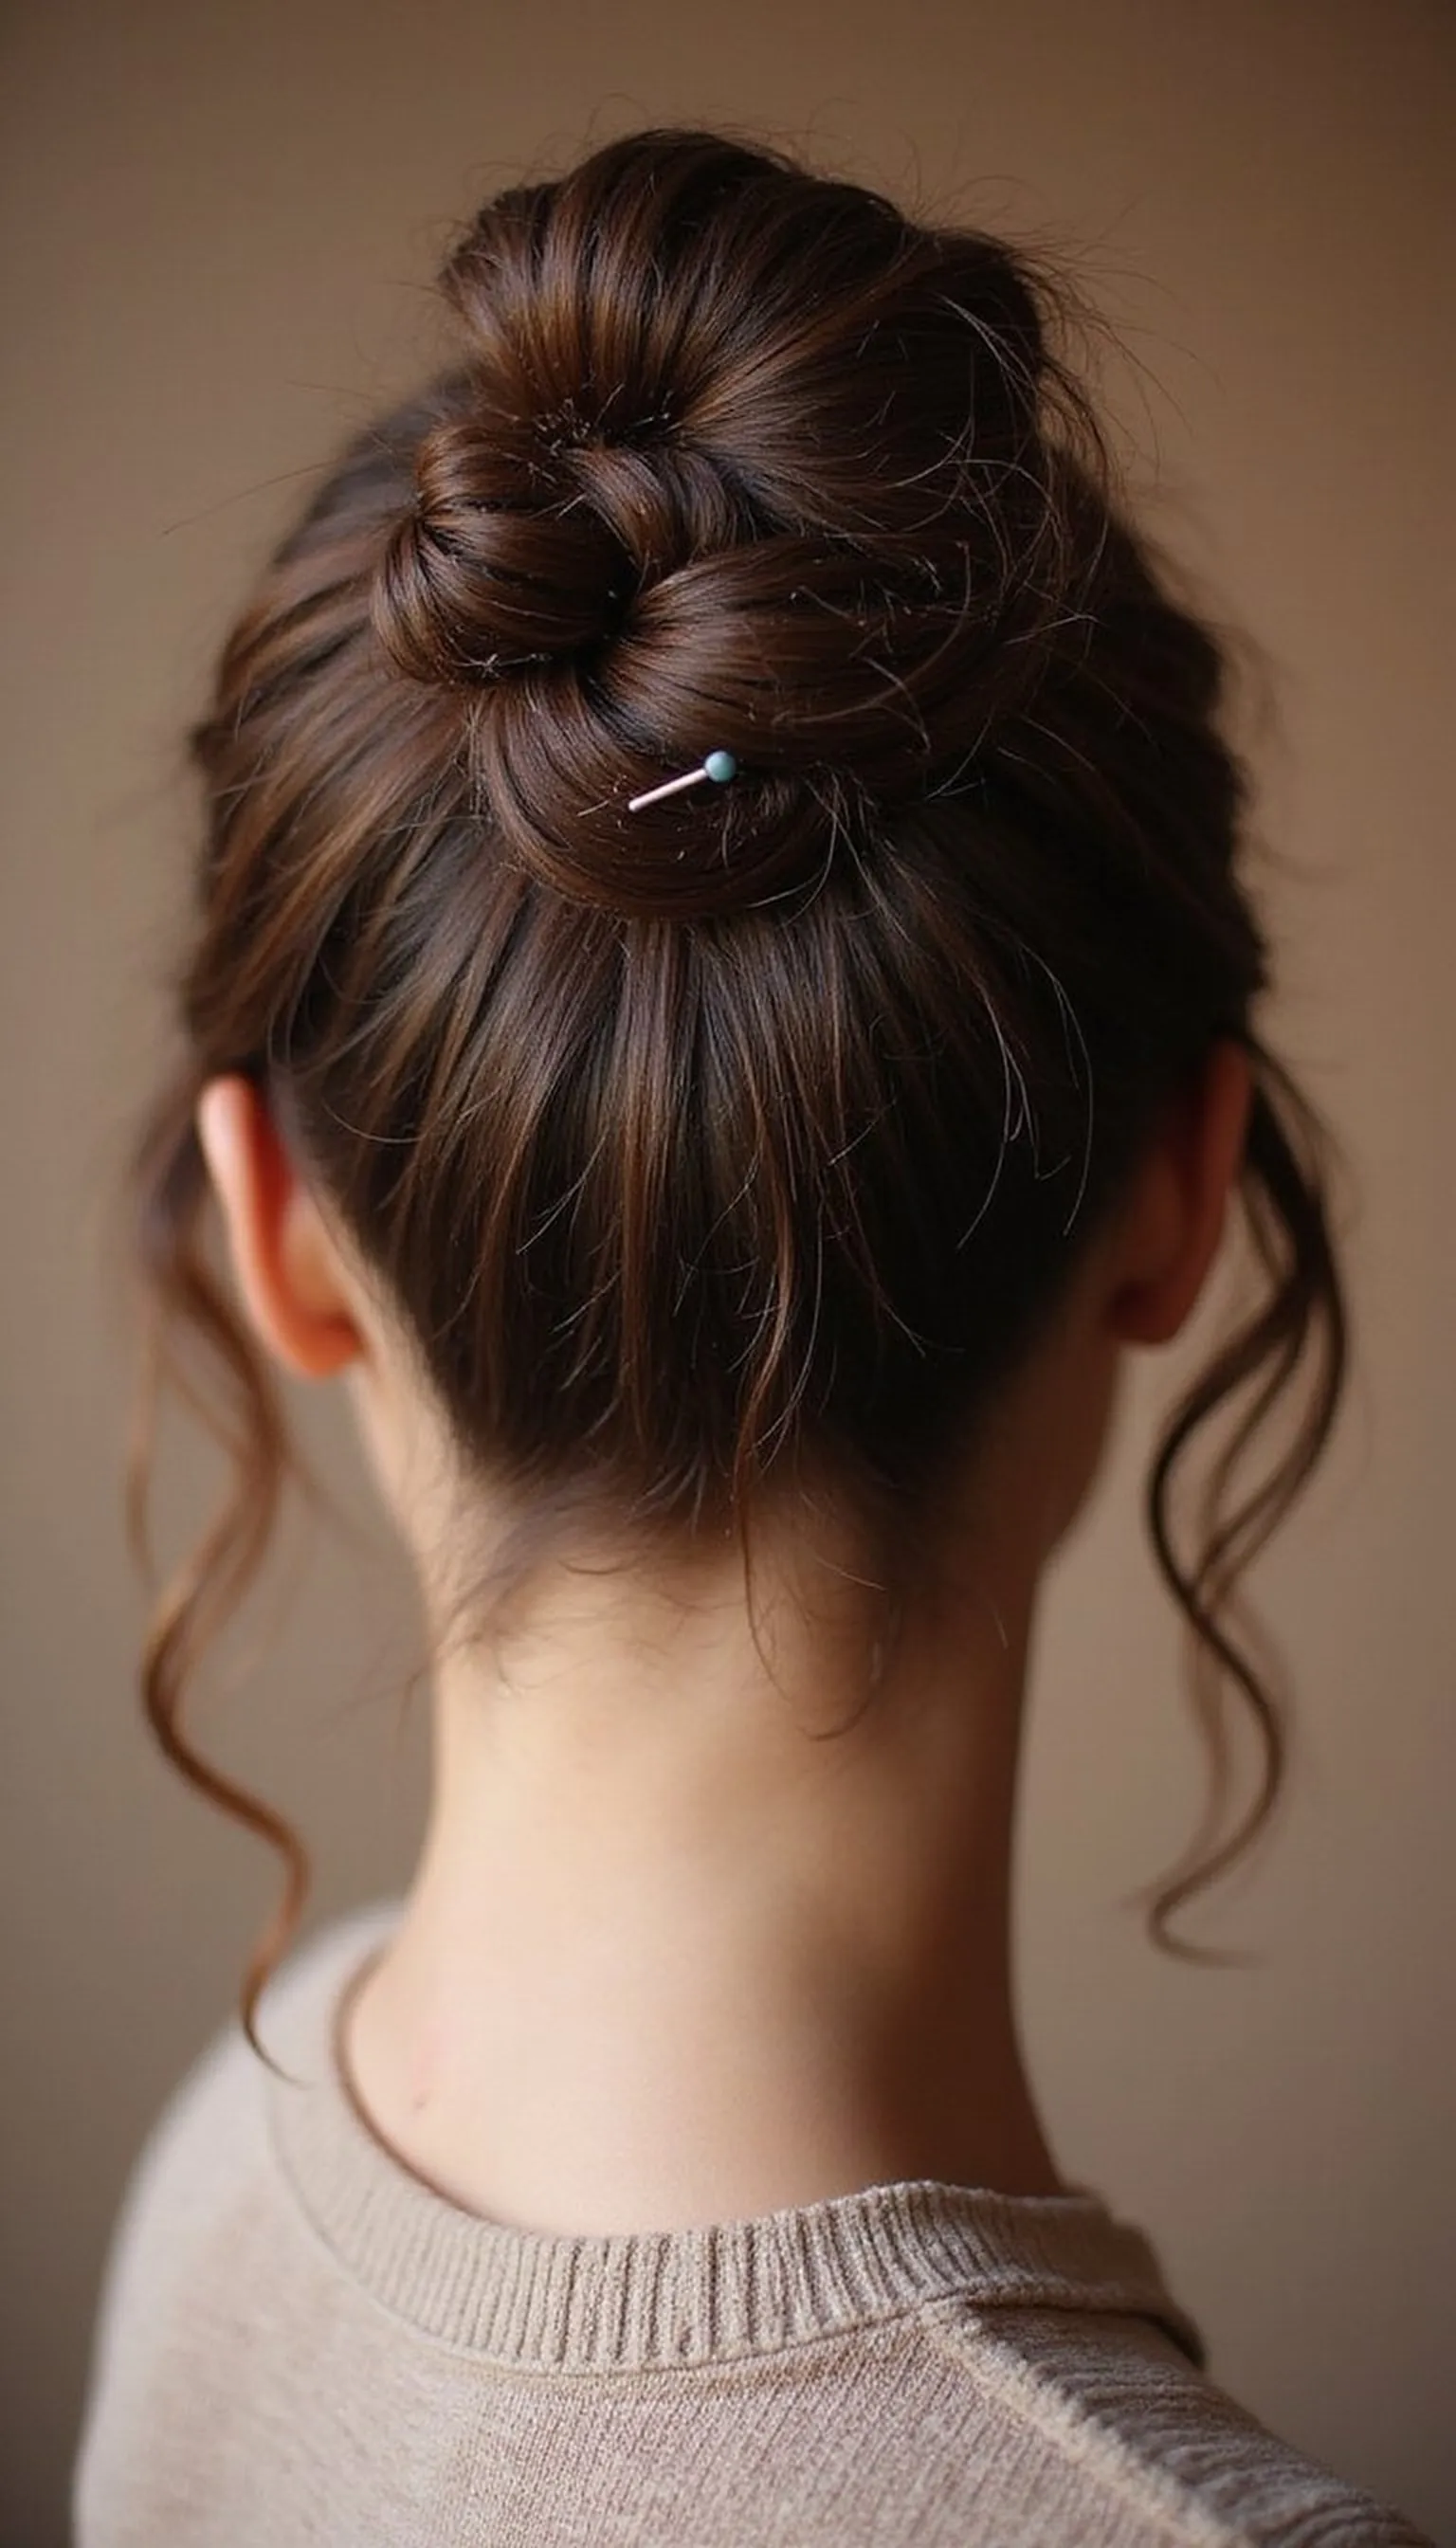
High Top Knot Messy Bun With Volume
⏱️ 7 min · 🟢 Beginner
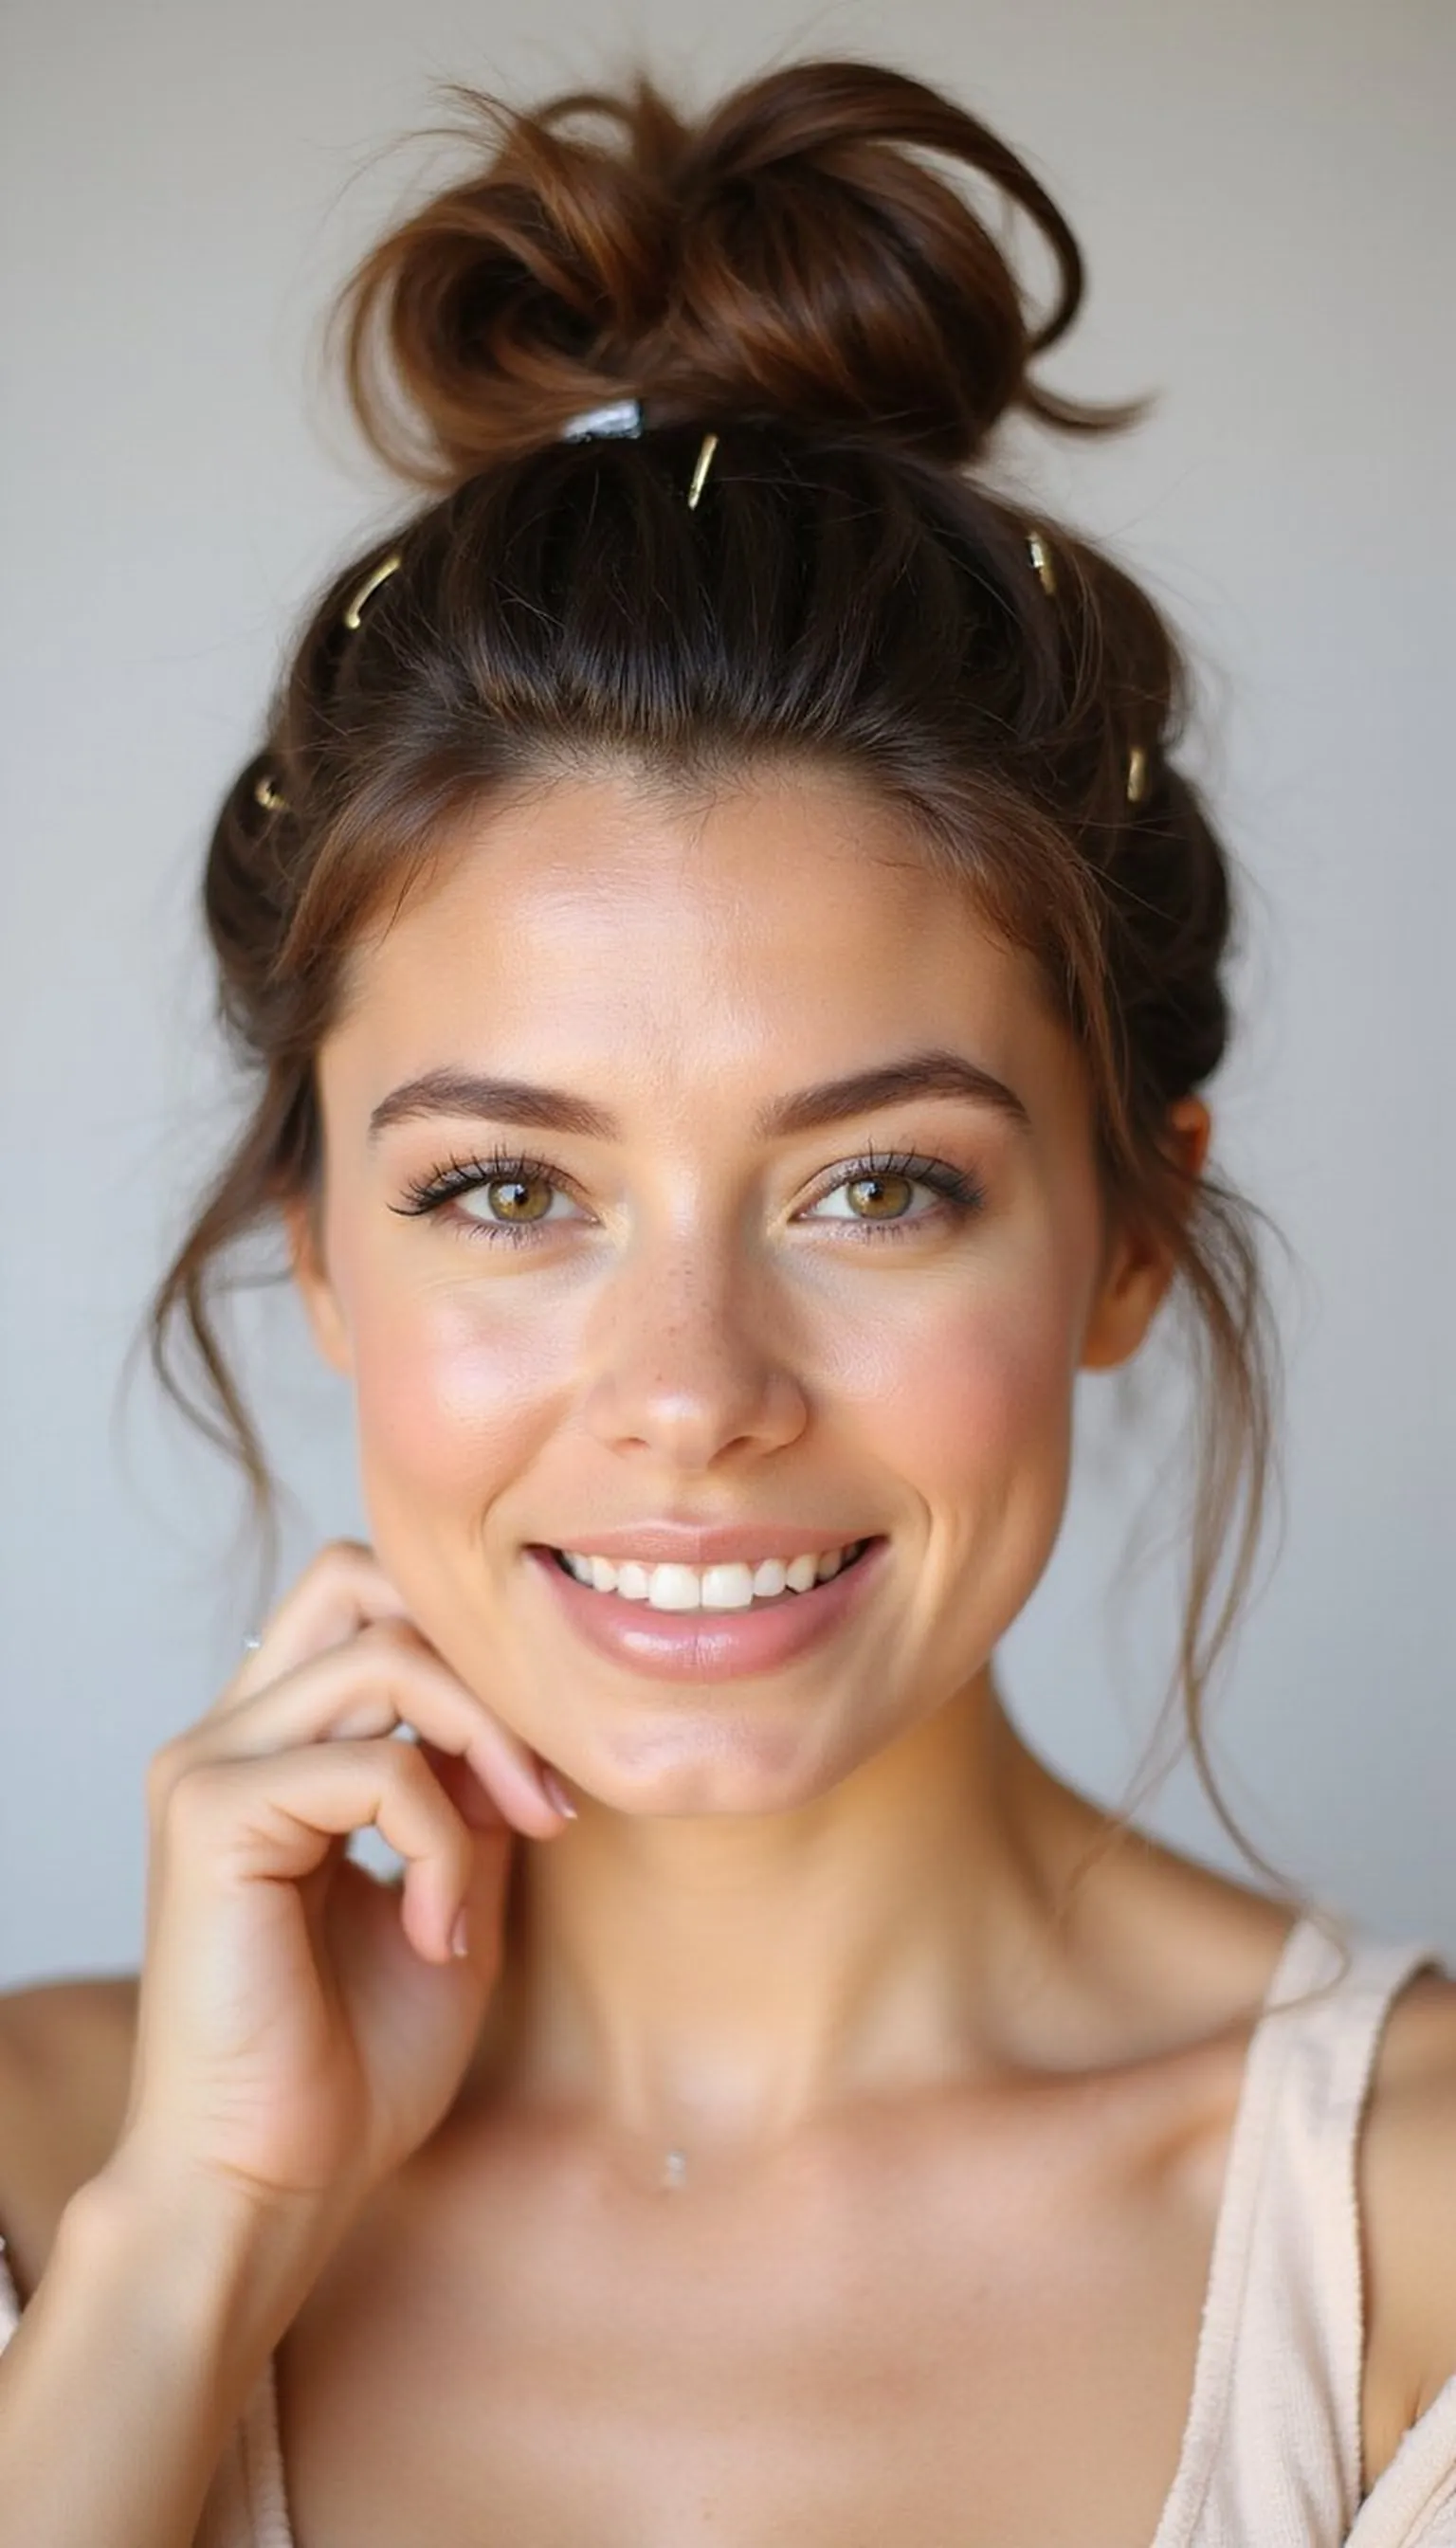
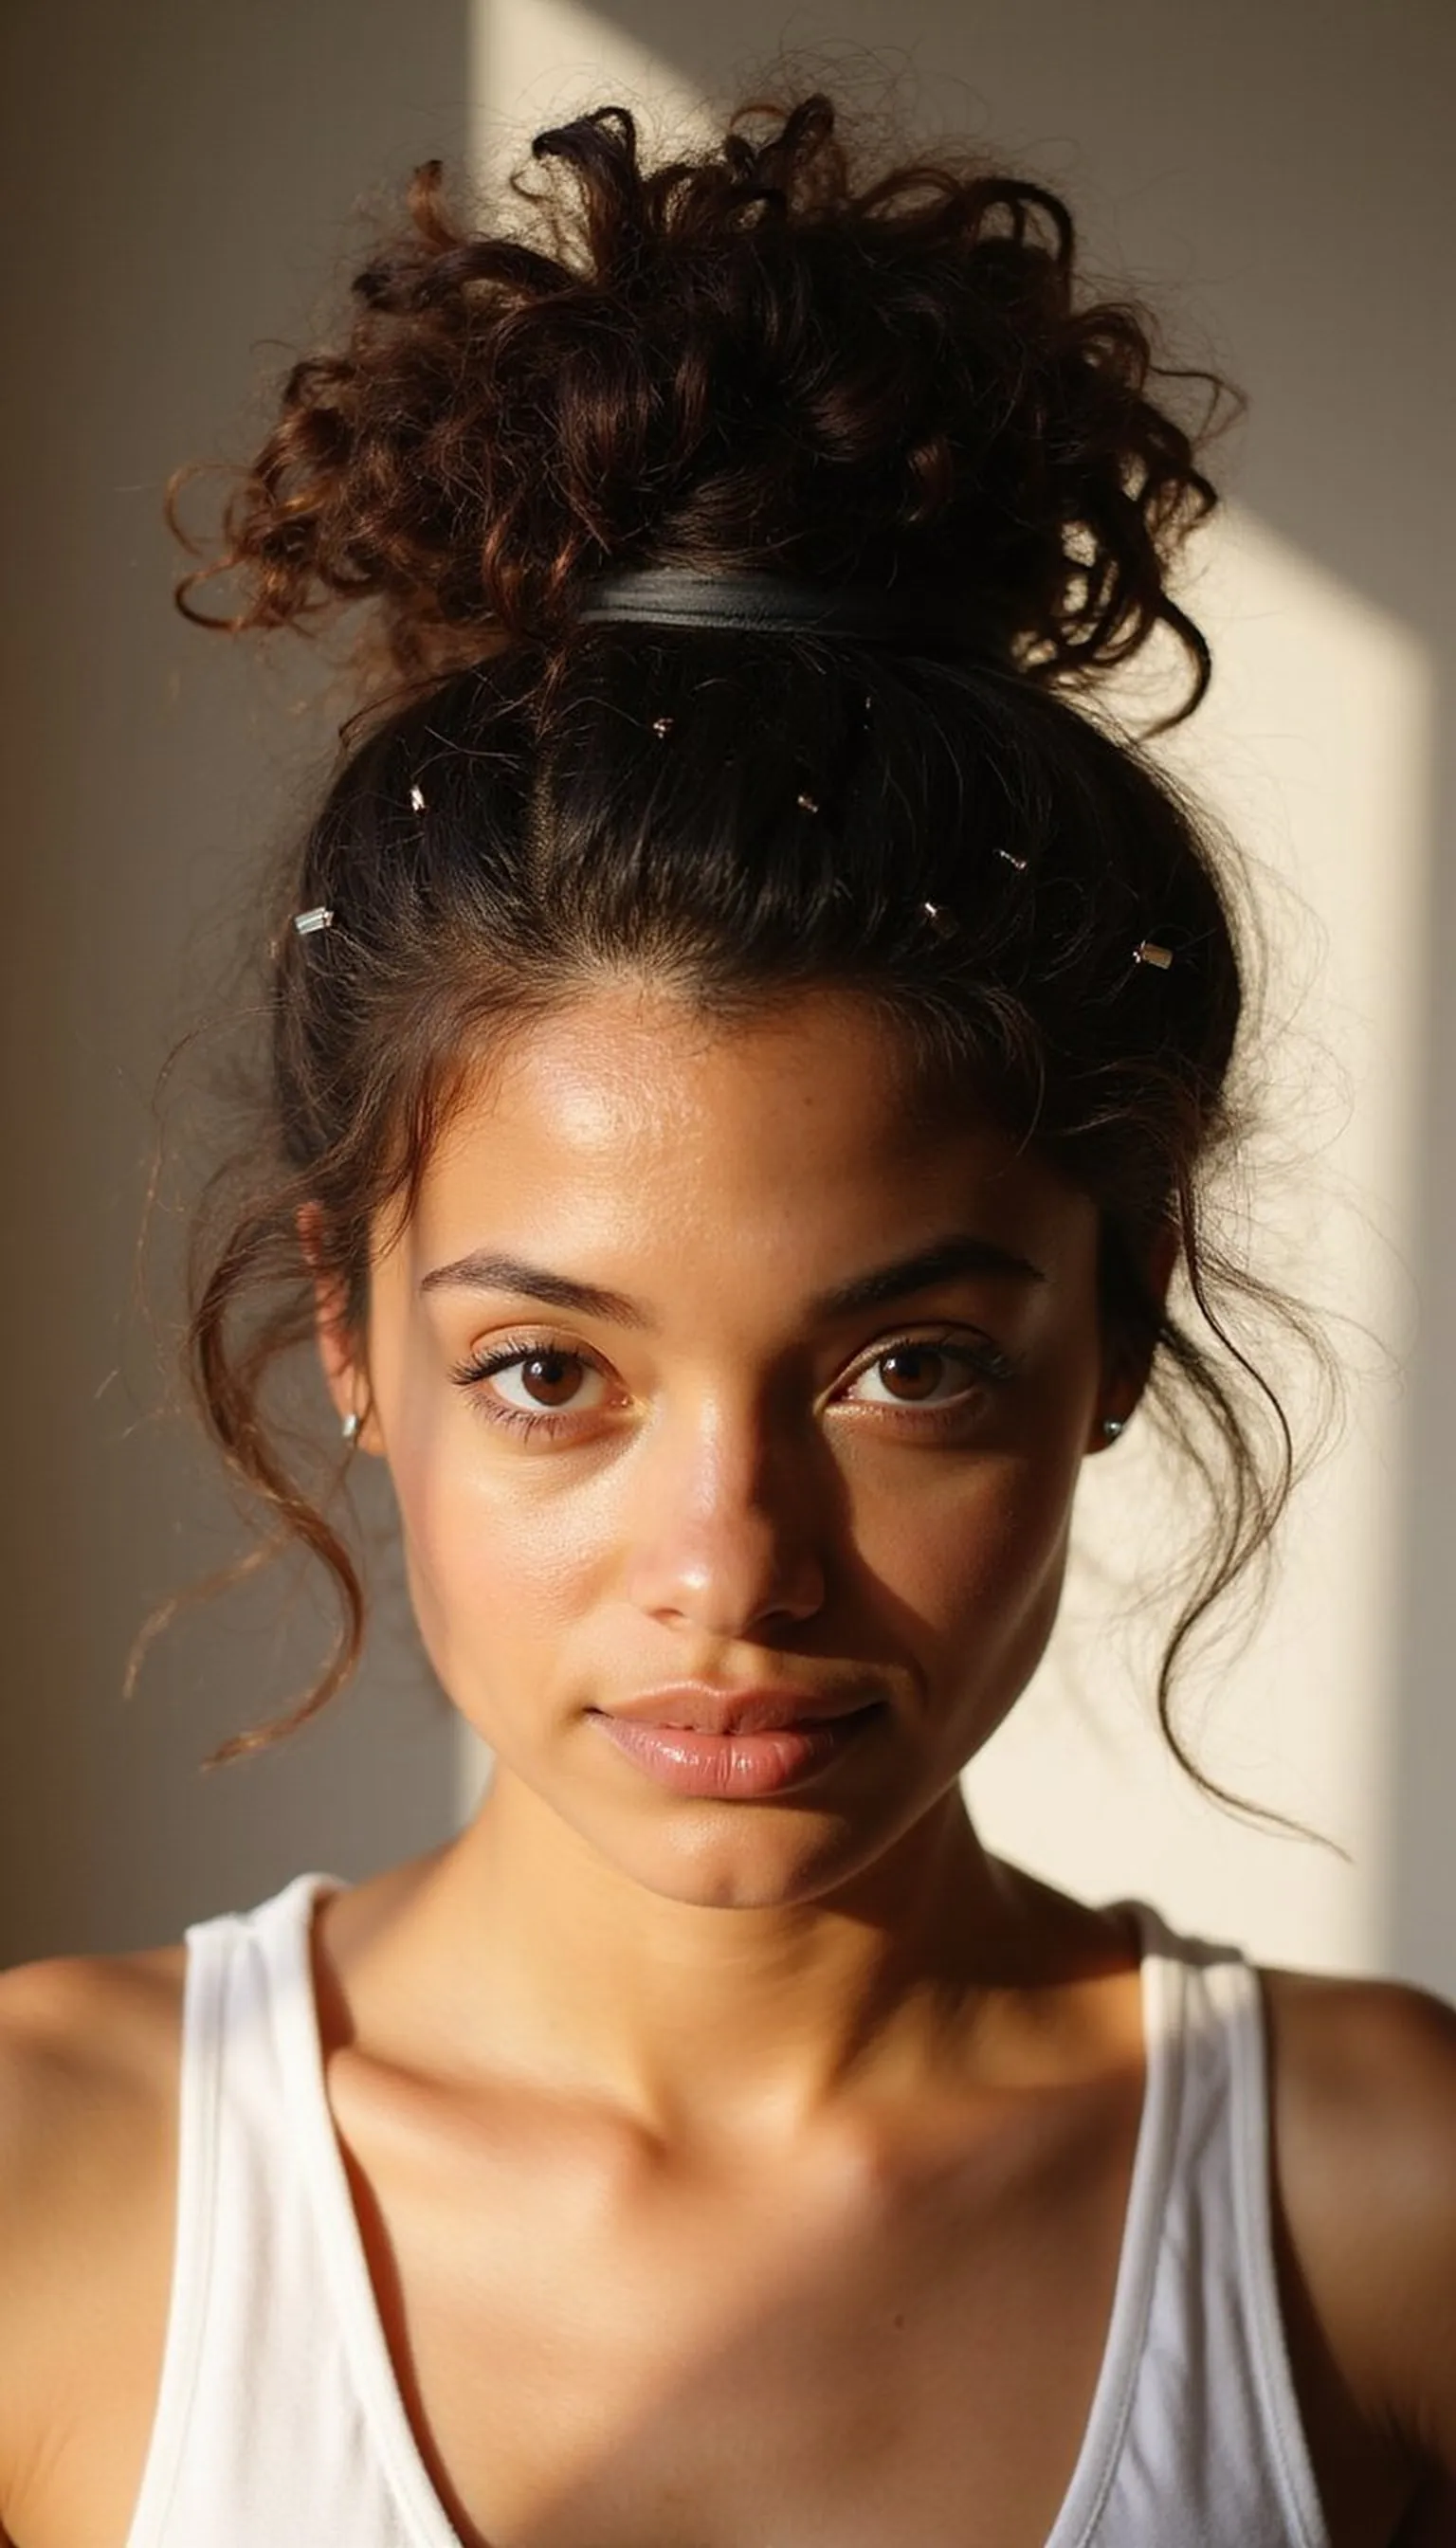
The high top knot messy bun sits at the crown and gives instant lift for rounder faces or limp hair. Pull hair to the top, secure in a loose ponytail, then wrap into a messy knot, letting ends peek out for a lived-in finish. Teasing the ponytail slightly before wrapping adds grip and height. This style works great for casual days and adds a playful silhouette to ponytail-length hair without much effort.
💇 Styling Tips ▶
Styling Tips
- Backcomb the ponytail base for extra hold and texture.
- Use a small hair elastic to secure the ponytail before knotting.
- Pull a few strands loose around the hairline for softness.
⚠️ Avoid: Wrapping the knot too tightly flattens the crown and looks severe; keep loops loose for a messy appearance. Neglecting to secure loose ends can make the bun unravel.
🔄 Try Also: Turn the top knot into a half-up top knot for a shorter look, or wrap a thin scarf around the base for playful color. Add a headband to tame flyaways.
🛒 Products & Materials ▶
Items Used
📌 “Playful high top knot messy bun for instant lift and relaxed style.”
• • •
Braided Messy Bun For Textured Interest
⏱️ 15 min · 🟠 Intermediate
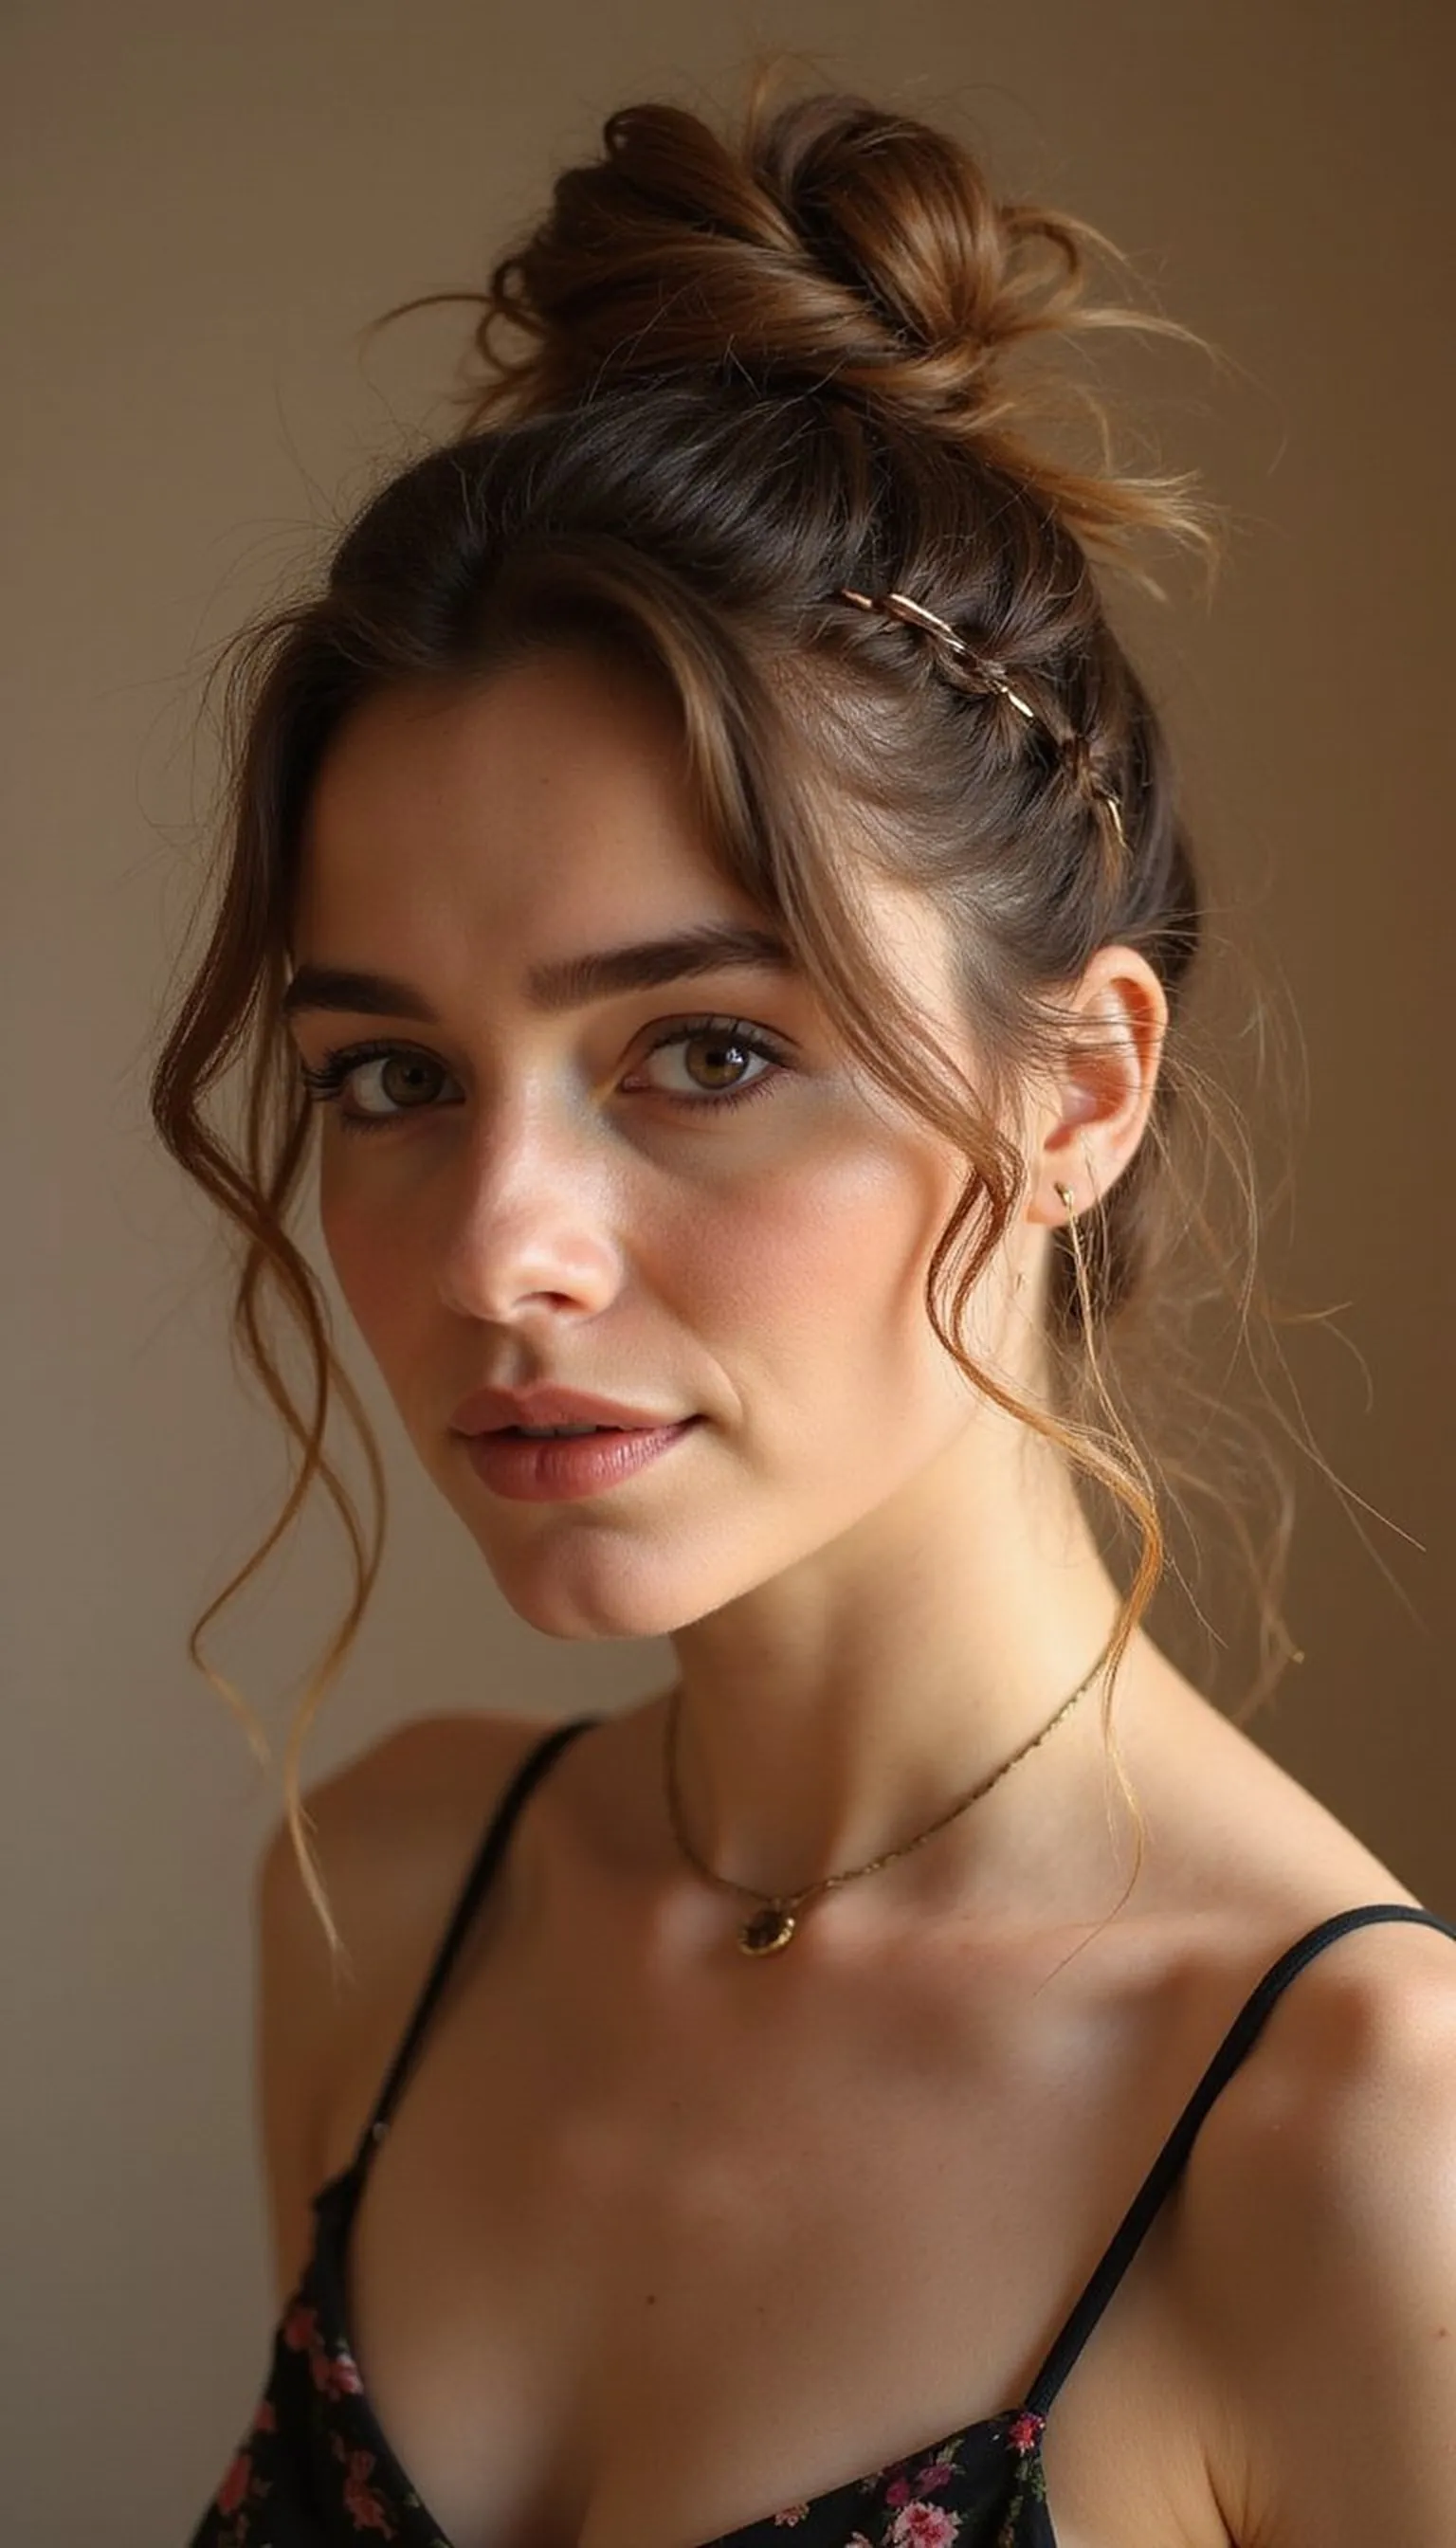
A braided messy bun combines a quick braid with a soft bun for texture and personality. Start with a loose three-strand or Dutch braid down one side, gather hair into a low pony, then wrap into a bun leaving braid ends visible for a handcrafted vibe. Pull on braid sections for fullness and secure with pins where needed. This hybrid look refreshes second-day hair and gives boho energy without seeming overworked, perfect for casual dates or weekend outings.
💇 Styling Tips ▶
Styling Tips
- Loosen the braid as you go to create a fuller effect.
- Tuck braid ends into the bun and pin discreetly with bobby pins.
- Use a mini elastic to finish the braid before wrapping into the bun.
⚠️ Avoid: Making the braid too tight removes the relaxed look; keep it loose and pancake the sides for volume. Forgetting to secure braid ends can cause slipping.
🔄 Try Also: Try a double small braid before wrapping for more detail, or braid the opposite side for asymmetry. Swap a French braid for a Dutch braid for edge.
🛒 Products & Materials ▶
Items Used
- bobby pins
- small hair elastic
📌 “Braided messy bun that blends braid texture with a soft, undone bun.”
• • •
Get 75+ ad-free, high-resolution printable tutorials for salon-quality results every single morning.
One printable guide · $19.99 · yours forever
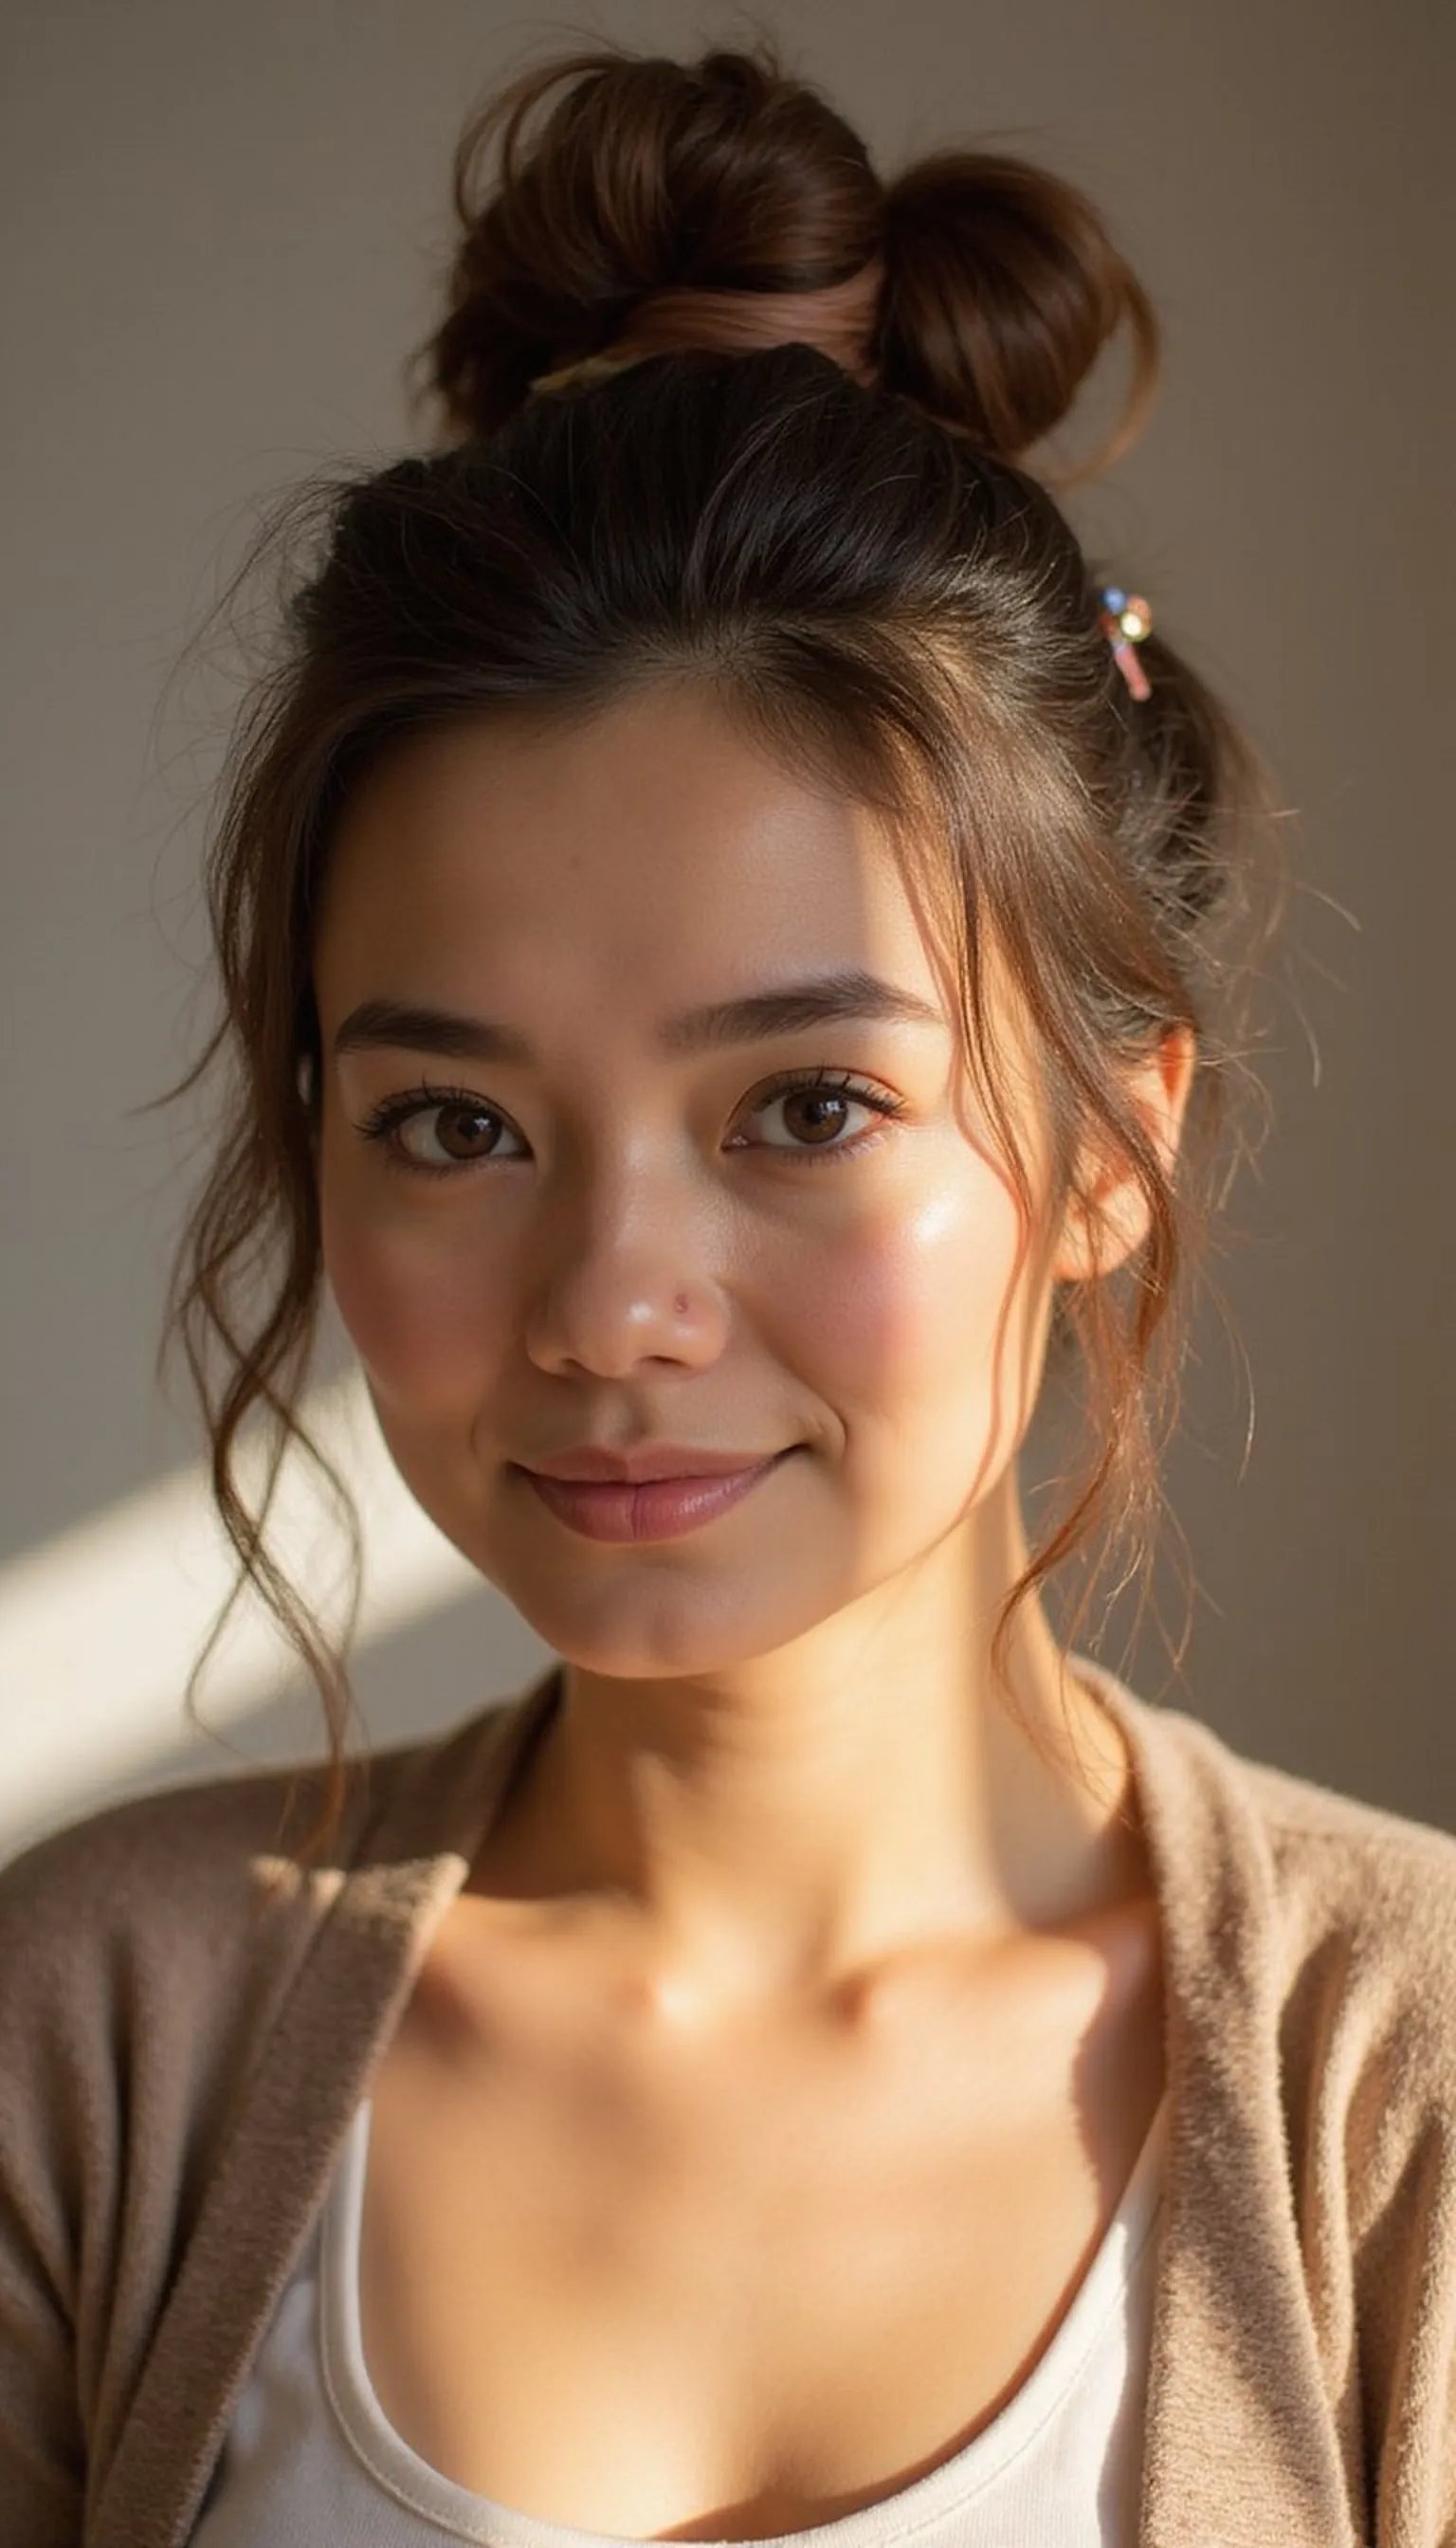
Half-Up Messy Bun For Effortless Chic
⏱️ 6 min · 🟢 Beginner
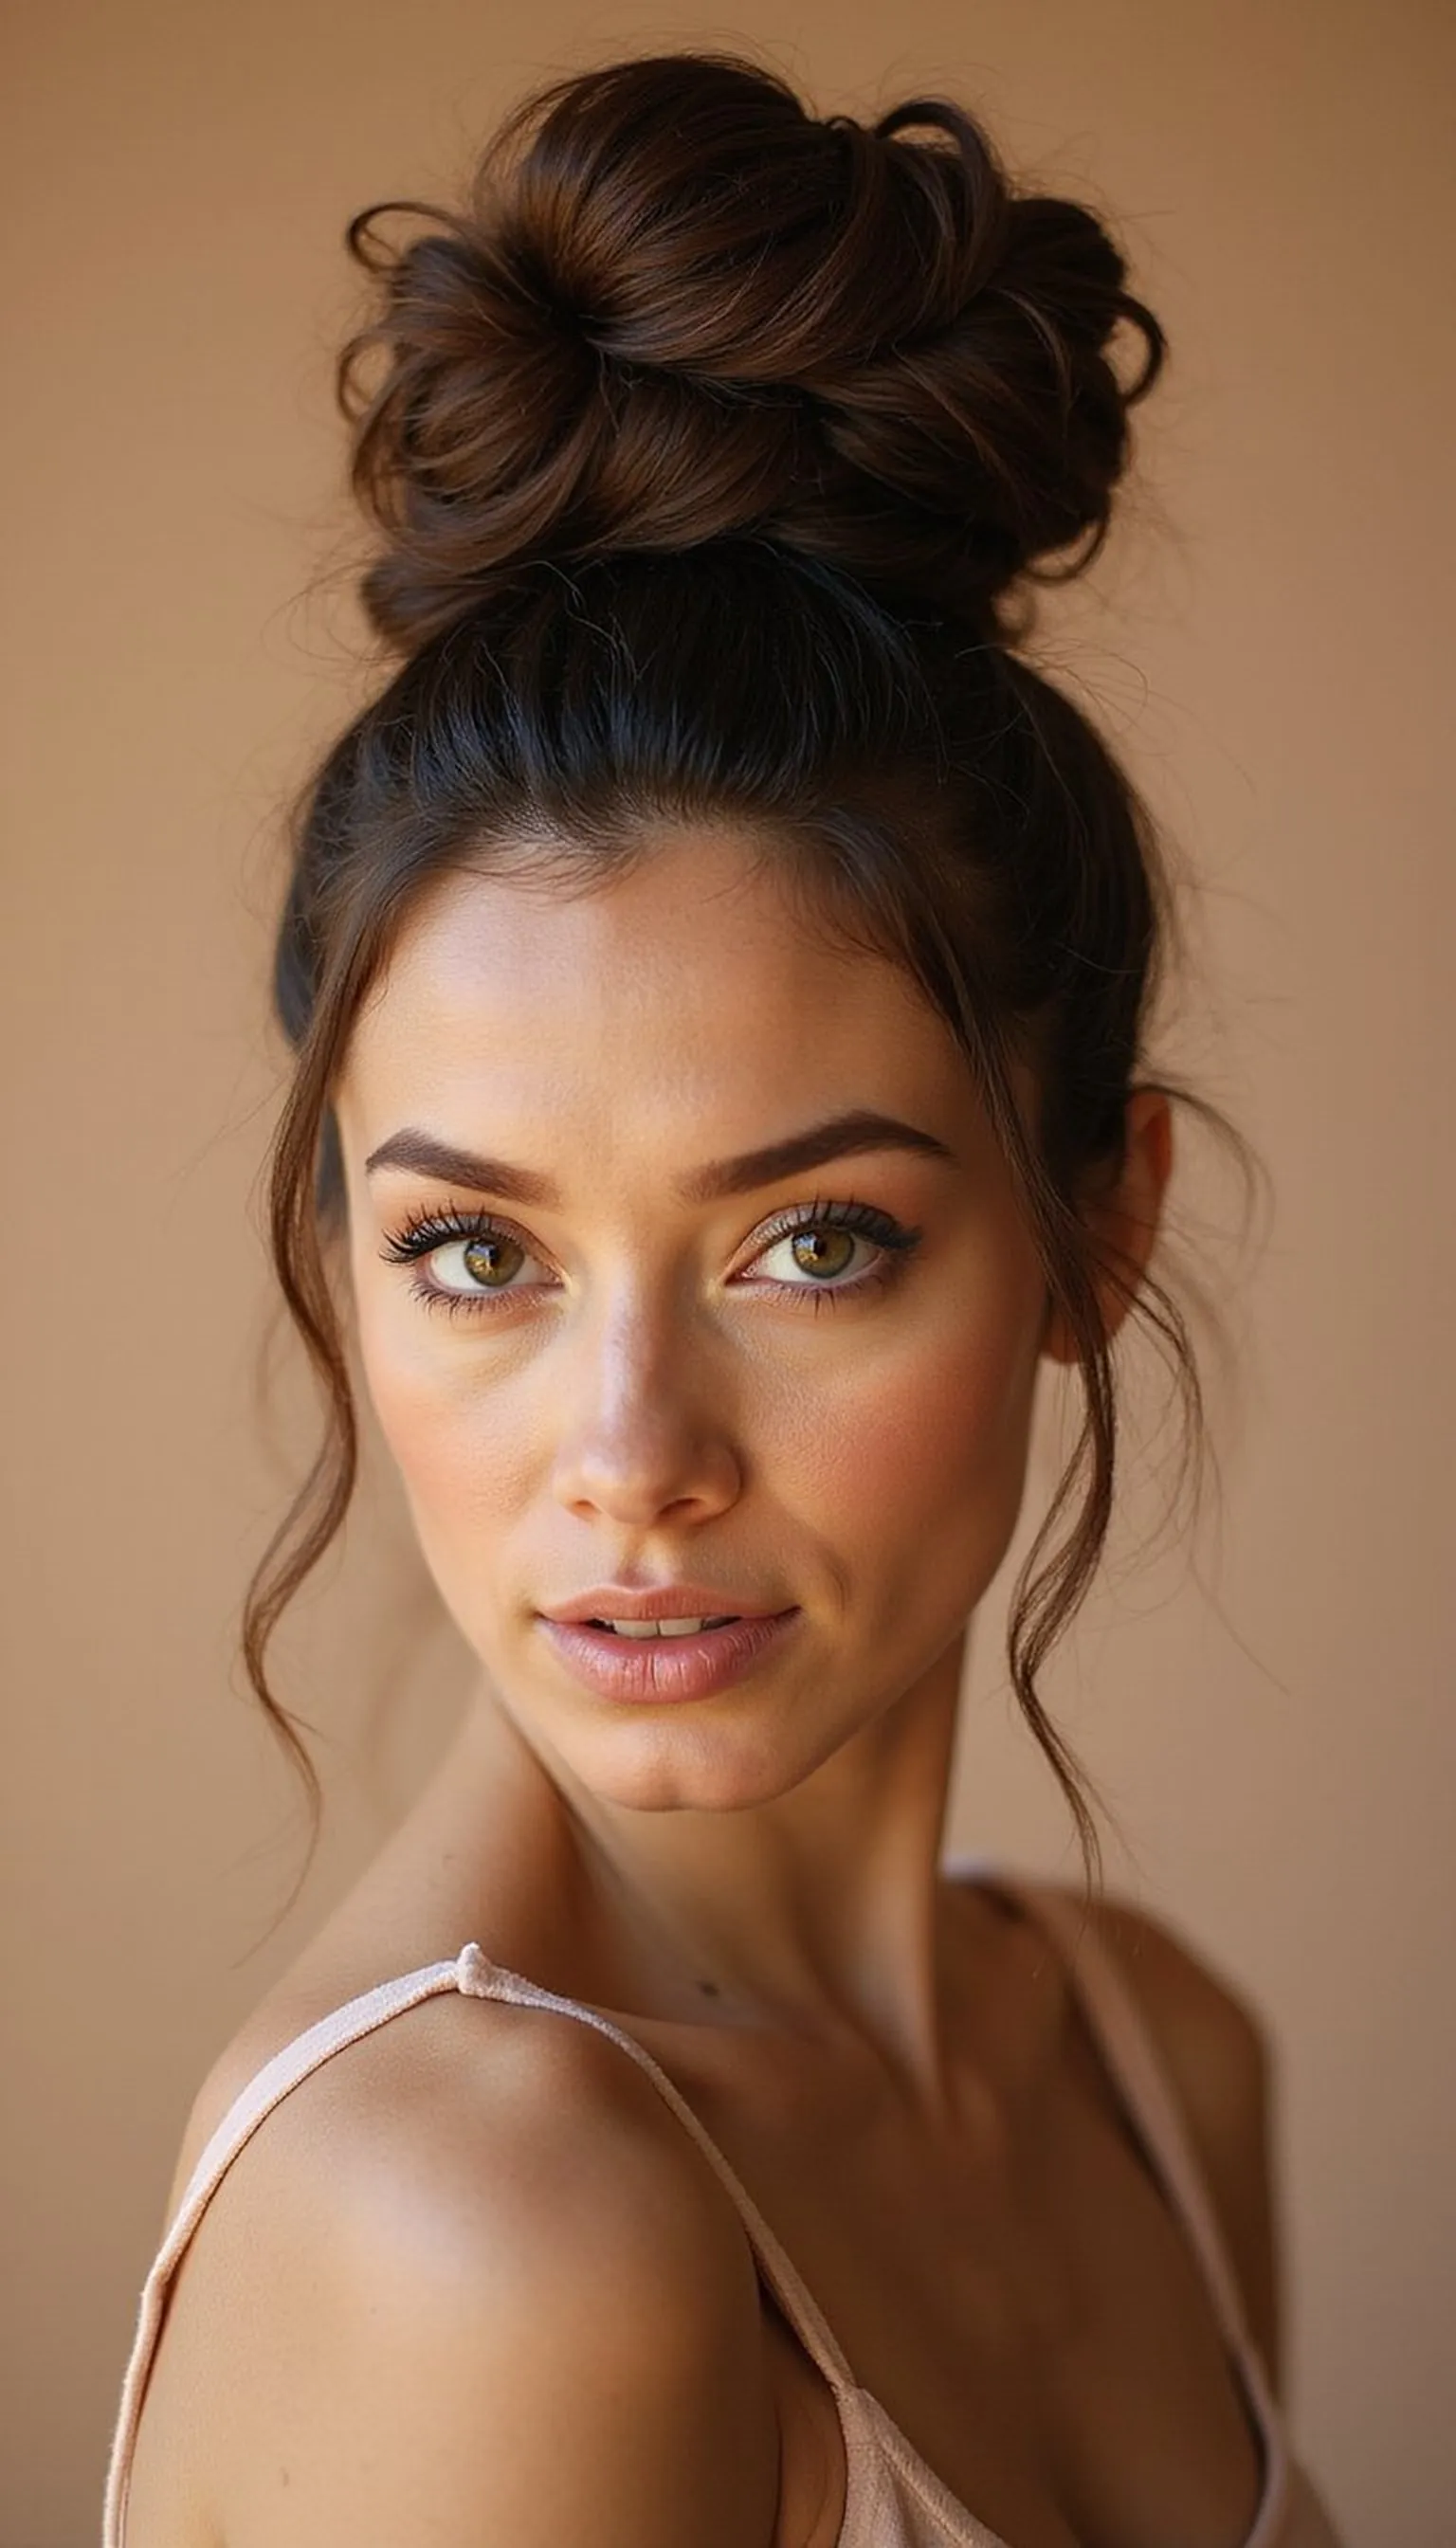
The half-up messy bun keeps hair out of the face while leaving length to flow, making a soft, modern silhouette. Pull the top half into a loose pony, twist into a small messy bun, and secure with a decorative claw clip or elastic. Leave the lower half straight or tousled for contrast. This style brightens shoulder-length and longer hair and is great for days when total updos feel too formal but a little lift is desired.
💇 Styling Tips ▶
Styling Tips
- Tease the crown slightly before securing for subtle lift.
- Choose a decorative claw clip to make the bun feel intentional.
- Loosen strands around the face for a soft, lived-in look.
⚠️ Avoid: Making the half-up section too small looks unbalanced; take enough hair to visibly lift the crown. Over-tightening the clip removes the messy charm.
🔄 Try Also: Try a tiny braid integrated into the half-up section or swap the claw clip for a ribbon for a feminine twist. Let the bun sit lower for a relaxed vibe.
🛒 Products & Materials ▶
Items Used
📌 “Half-up messy bun with claw clip for quick chic styling.”
• • •
Textured Curly Messy Bun For Bounce
⏱️ 12 min · 🟠 Intermediate
Curly hair shines in a textured messy bun where volume and shape are the stars. Gather curls into a loose ponytail, pin sections into a rounded bun, and let curls escape for dimension. Use wide-set bobby pins to hold shape without flattening the natural bounce, and gently fluff curls around the face for softness. This approach enhances curl pattern and keeps the bun lively, perfect for playful weekends, outdoor gatherings, or when curls need a quick refresh.
💇 Styling Tips ▶
Styling Tips
- Work with dry, defined curls to avoid frizz during styling.
- Secure with pins that match hair color to stay discreet.
- Pull small sections out to create a rounded, airy silhouette.
⚠️ Avoid: Squeezing curls into a tiny bun removes their natural volume; aim for a loose shape. Skipping discreet pins can let heavy curls slip out.
🔄 Try Also: Try a low messy bun for a softer profile, or add a thin headband to frame curls. For extra flair, weave a small braid into the bun.
🛒 Products & Materials ▶
Items Used
📌 “Bouncy textured curly messy bun that shows off natural curl pattern.”
• • •
Messy Sock Bun For Full Round Shape
⏱️ 10 min · 🟠 Intermediate
The sock bun trick creates a full, rounded messy bun with volume that looks luxe but stays relaxed. Slide a hair donut or sock donut over a ponytail, spread hair around the donut, and loosely pin sections to create a soft halo of texture. Pull a few strands loose and tug gently at the bun to create the trademark messy silhouette. This method is great for fine or long hair needing body without heavy teasing or multiple products.
💇 Styling Tips ▶
Styling Tips
- Choose a donut size slightly smaller than desired and loosen the hair around it for messiness.
- Use long pins or U-pins to secure heavier sections.
- Allow shorter layers to fall out naturally for softness.
⚠️ Avoid: Over-stretching hair over the donut makes the bun look too round and tight; keep sections loose. Skipping secure pins can cause slipping.
🔄 Try Also: Use two smaller donuts for a stacked bun look, or place the donut lower for a low sock bun variation. Twist a thin strand around the base for detail.
🛒 Products & Materials ▶
Items Used
- hair donut
- U-pins
📌 “Full, soft sock bun that looks polished yet perfectly undone.”
• • •
Side Messy Bun For Romantic Vibes
⏱️ 12 min · 🟠 Intermediate
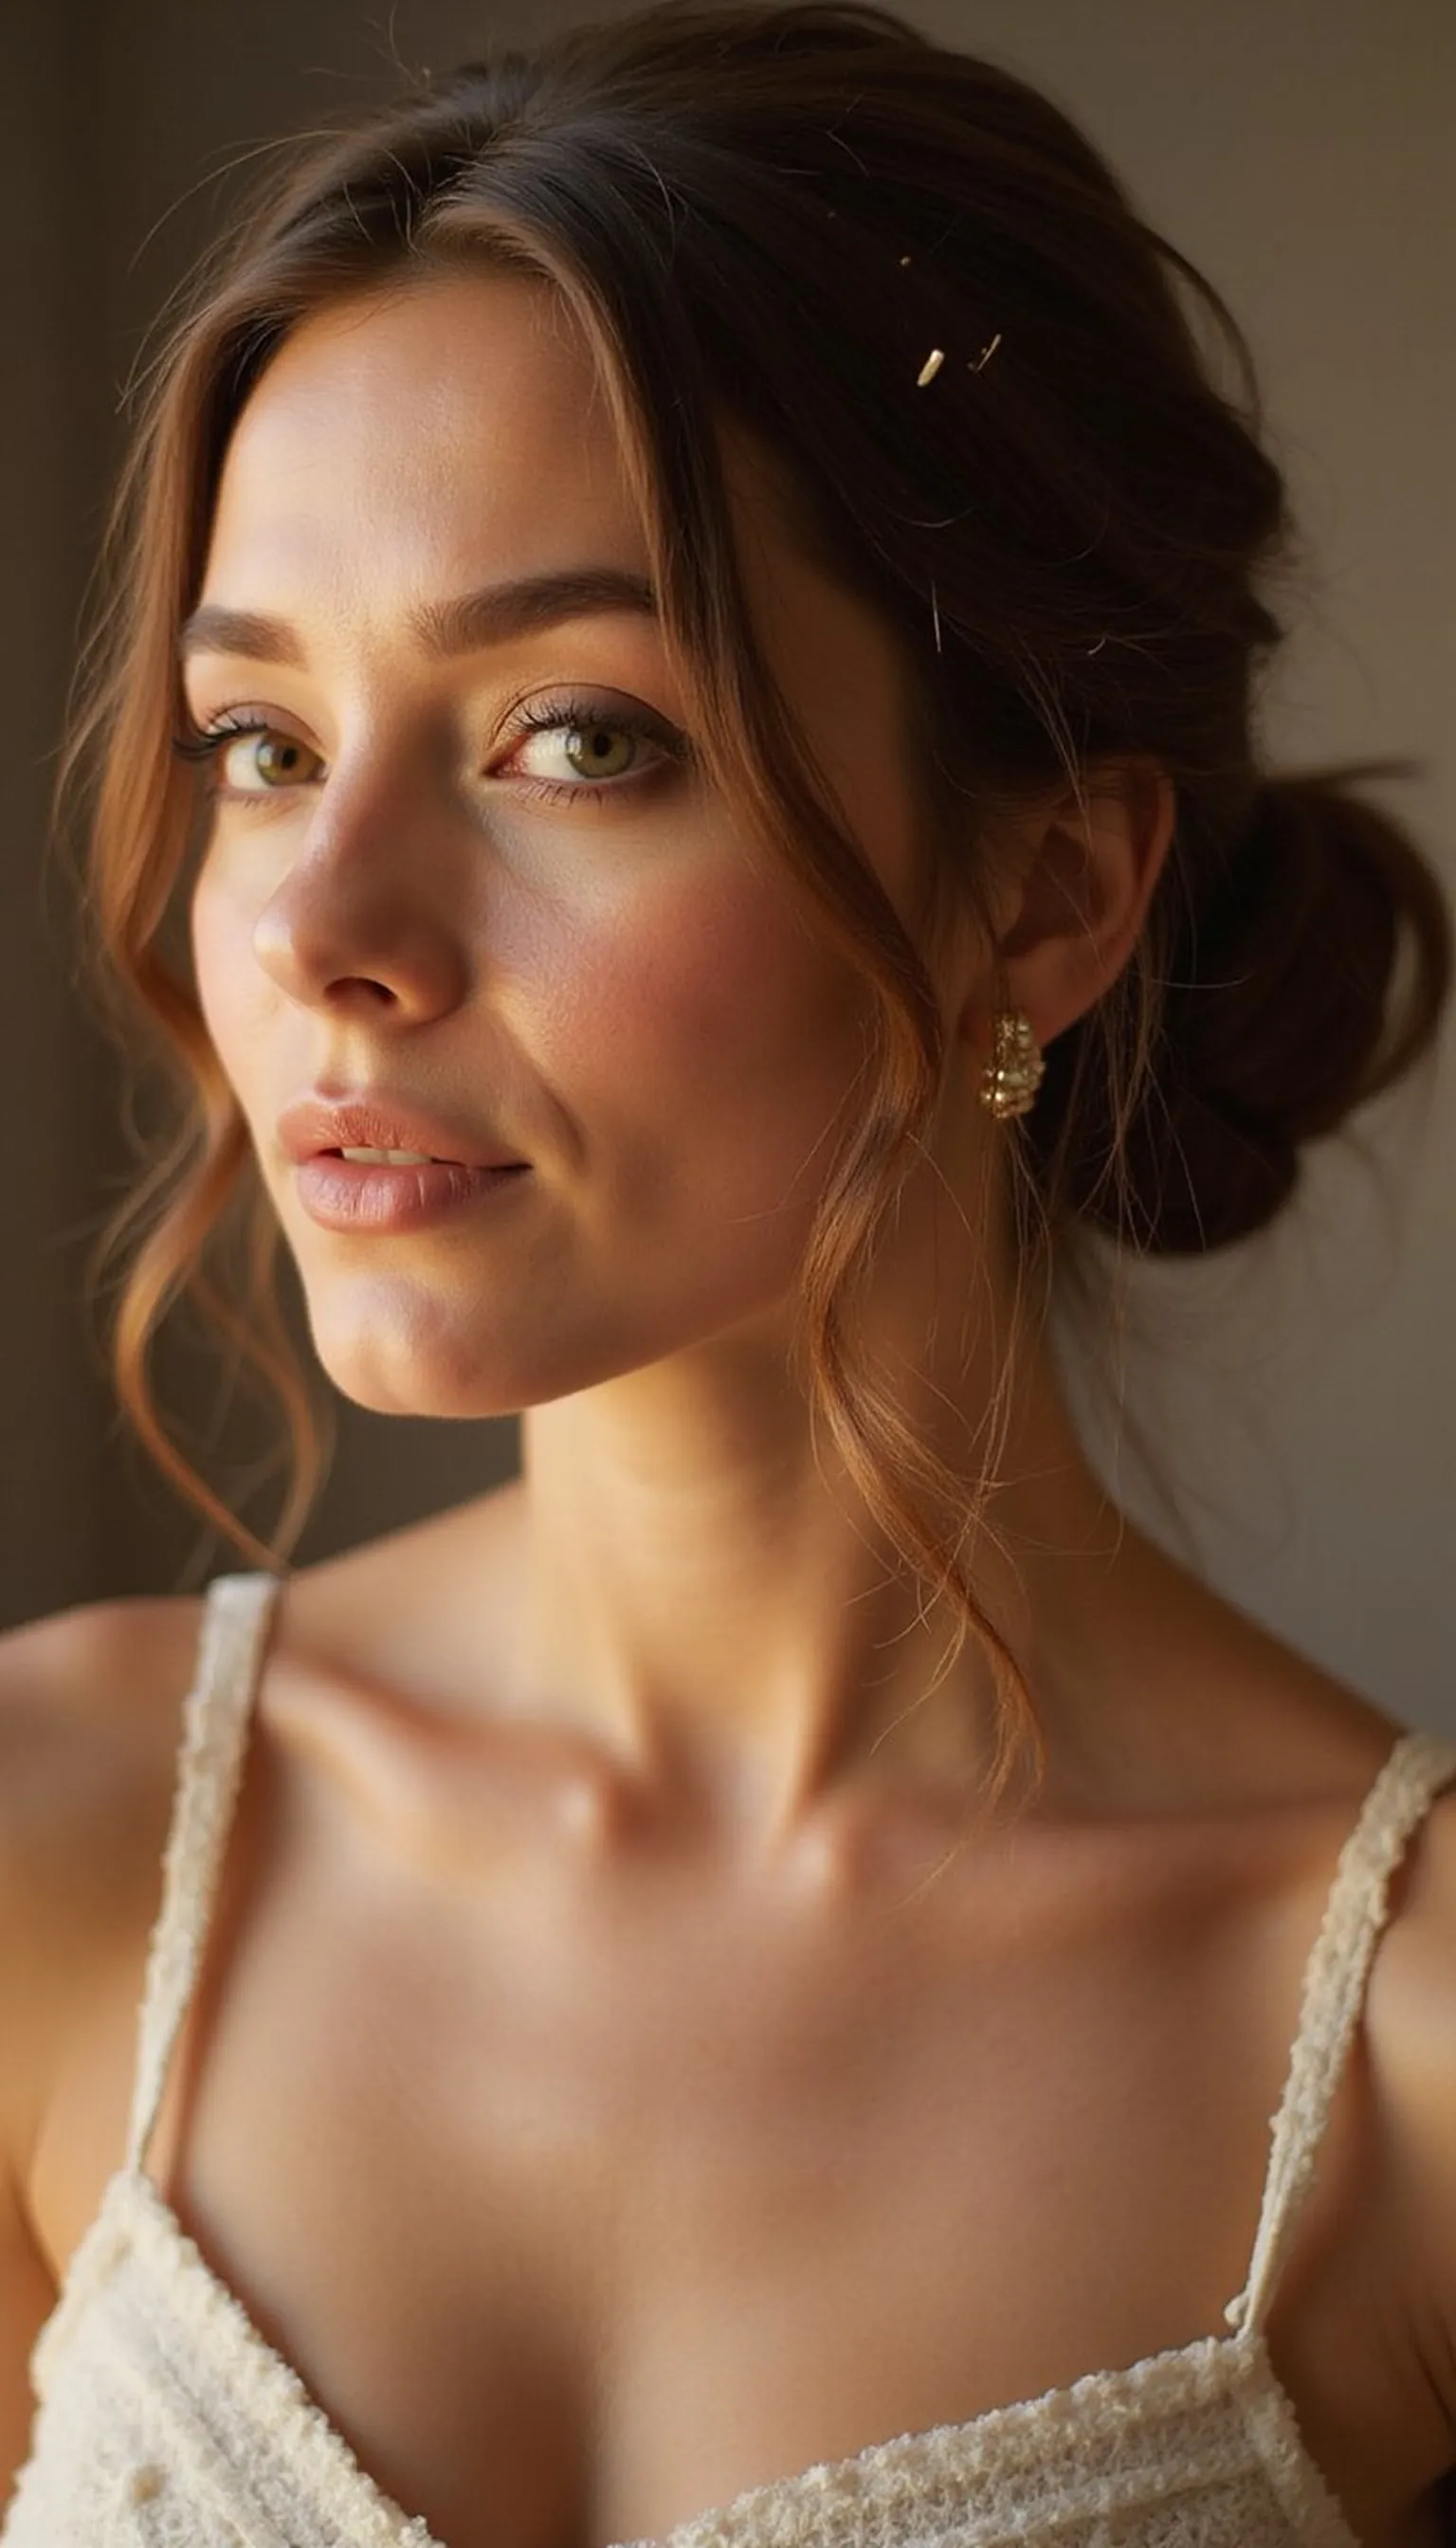
A side messy bun sits low at one side for a romantic, asymmetrical look that flatters most face shapes. Sweep hair to the side, twist into a loose bun, and secure with pins leaving soft tendrils to frame the face. This off-center placement creates movement and pairs beautifully with soft waves or straight hair with a few curled strands. Ideal for date nights or events when a simple updo is preferred but with added personality.
💇 Styling Tips ▶
Styling Tips
- Create loose waves beforehand to add texture and help pins grip.
- Anchor the bun with a few strong bobby pins near the nape.
- Loosen the bun by gently pulling sections for a softer look.
⚠️ Avoid: Placing the bun too high negates the side-swept effect; keep it low for romantic flow. Not hiding pin ends can make the style look messy unintentionally.
🔄 Try Also: Add a small braid along the hairline into the bun for detail, or tuck in a decorative pin for sparkle. Try a looser chignon for a refined option.
🛒 Products & Materials ▶
Items Used
📌 “Romantic side messy bun with soft tendrils and graceful asymmetry.”
• • •
Knotted Messy Bun With Twists And Texture
⏱️ 20 min · 🔴 Advanced
The knotted messy bun uses multiple twisted sections knotted together for a textured, editorial finish. Divide hair into two or three sections, twist and knot each loosely, then pin the knots into a messy bun formation, allowing ends to peek out for interest. This approach creates a detailed look that still reads relaxed, pairing well with medium to long hair. It takes a bit of patience but results in a modern updo that elevates casual outfits or complements dressier occasions.
💇 Styling Tips ▶
Styling Tips
- Work with dry, slightly texturized hair for grip during knotting.
- Secure each knot with discreet bobby pins or U-pins as needed.
- Loosen knots after pinning to create softness and movement.
⚠️ Avoid: Making knots too tight removes the messy aesthetic; keep twists loose and airy. Skipping pins at strategic points causes the style to sag.
🔄 Try Also: Create just two knots for a simpler version or add tiny braids into sections before knotting for extra detail. Place knots low for a softer profile.
🛒 Products & Materials ▶
Items Used
- bobby pins
- U-pins
📌 “Edgy knotted messy bun mixing twists for textured, editorial flair.”
• • •
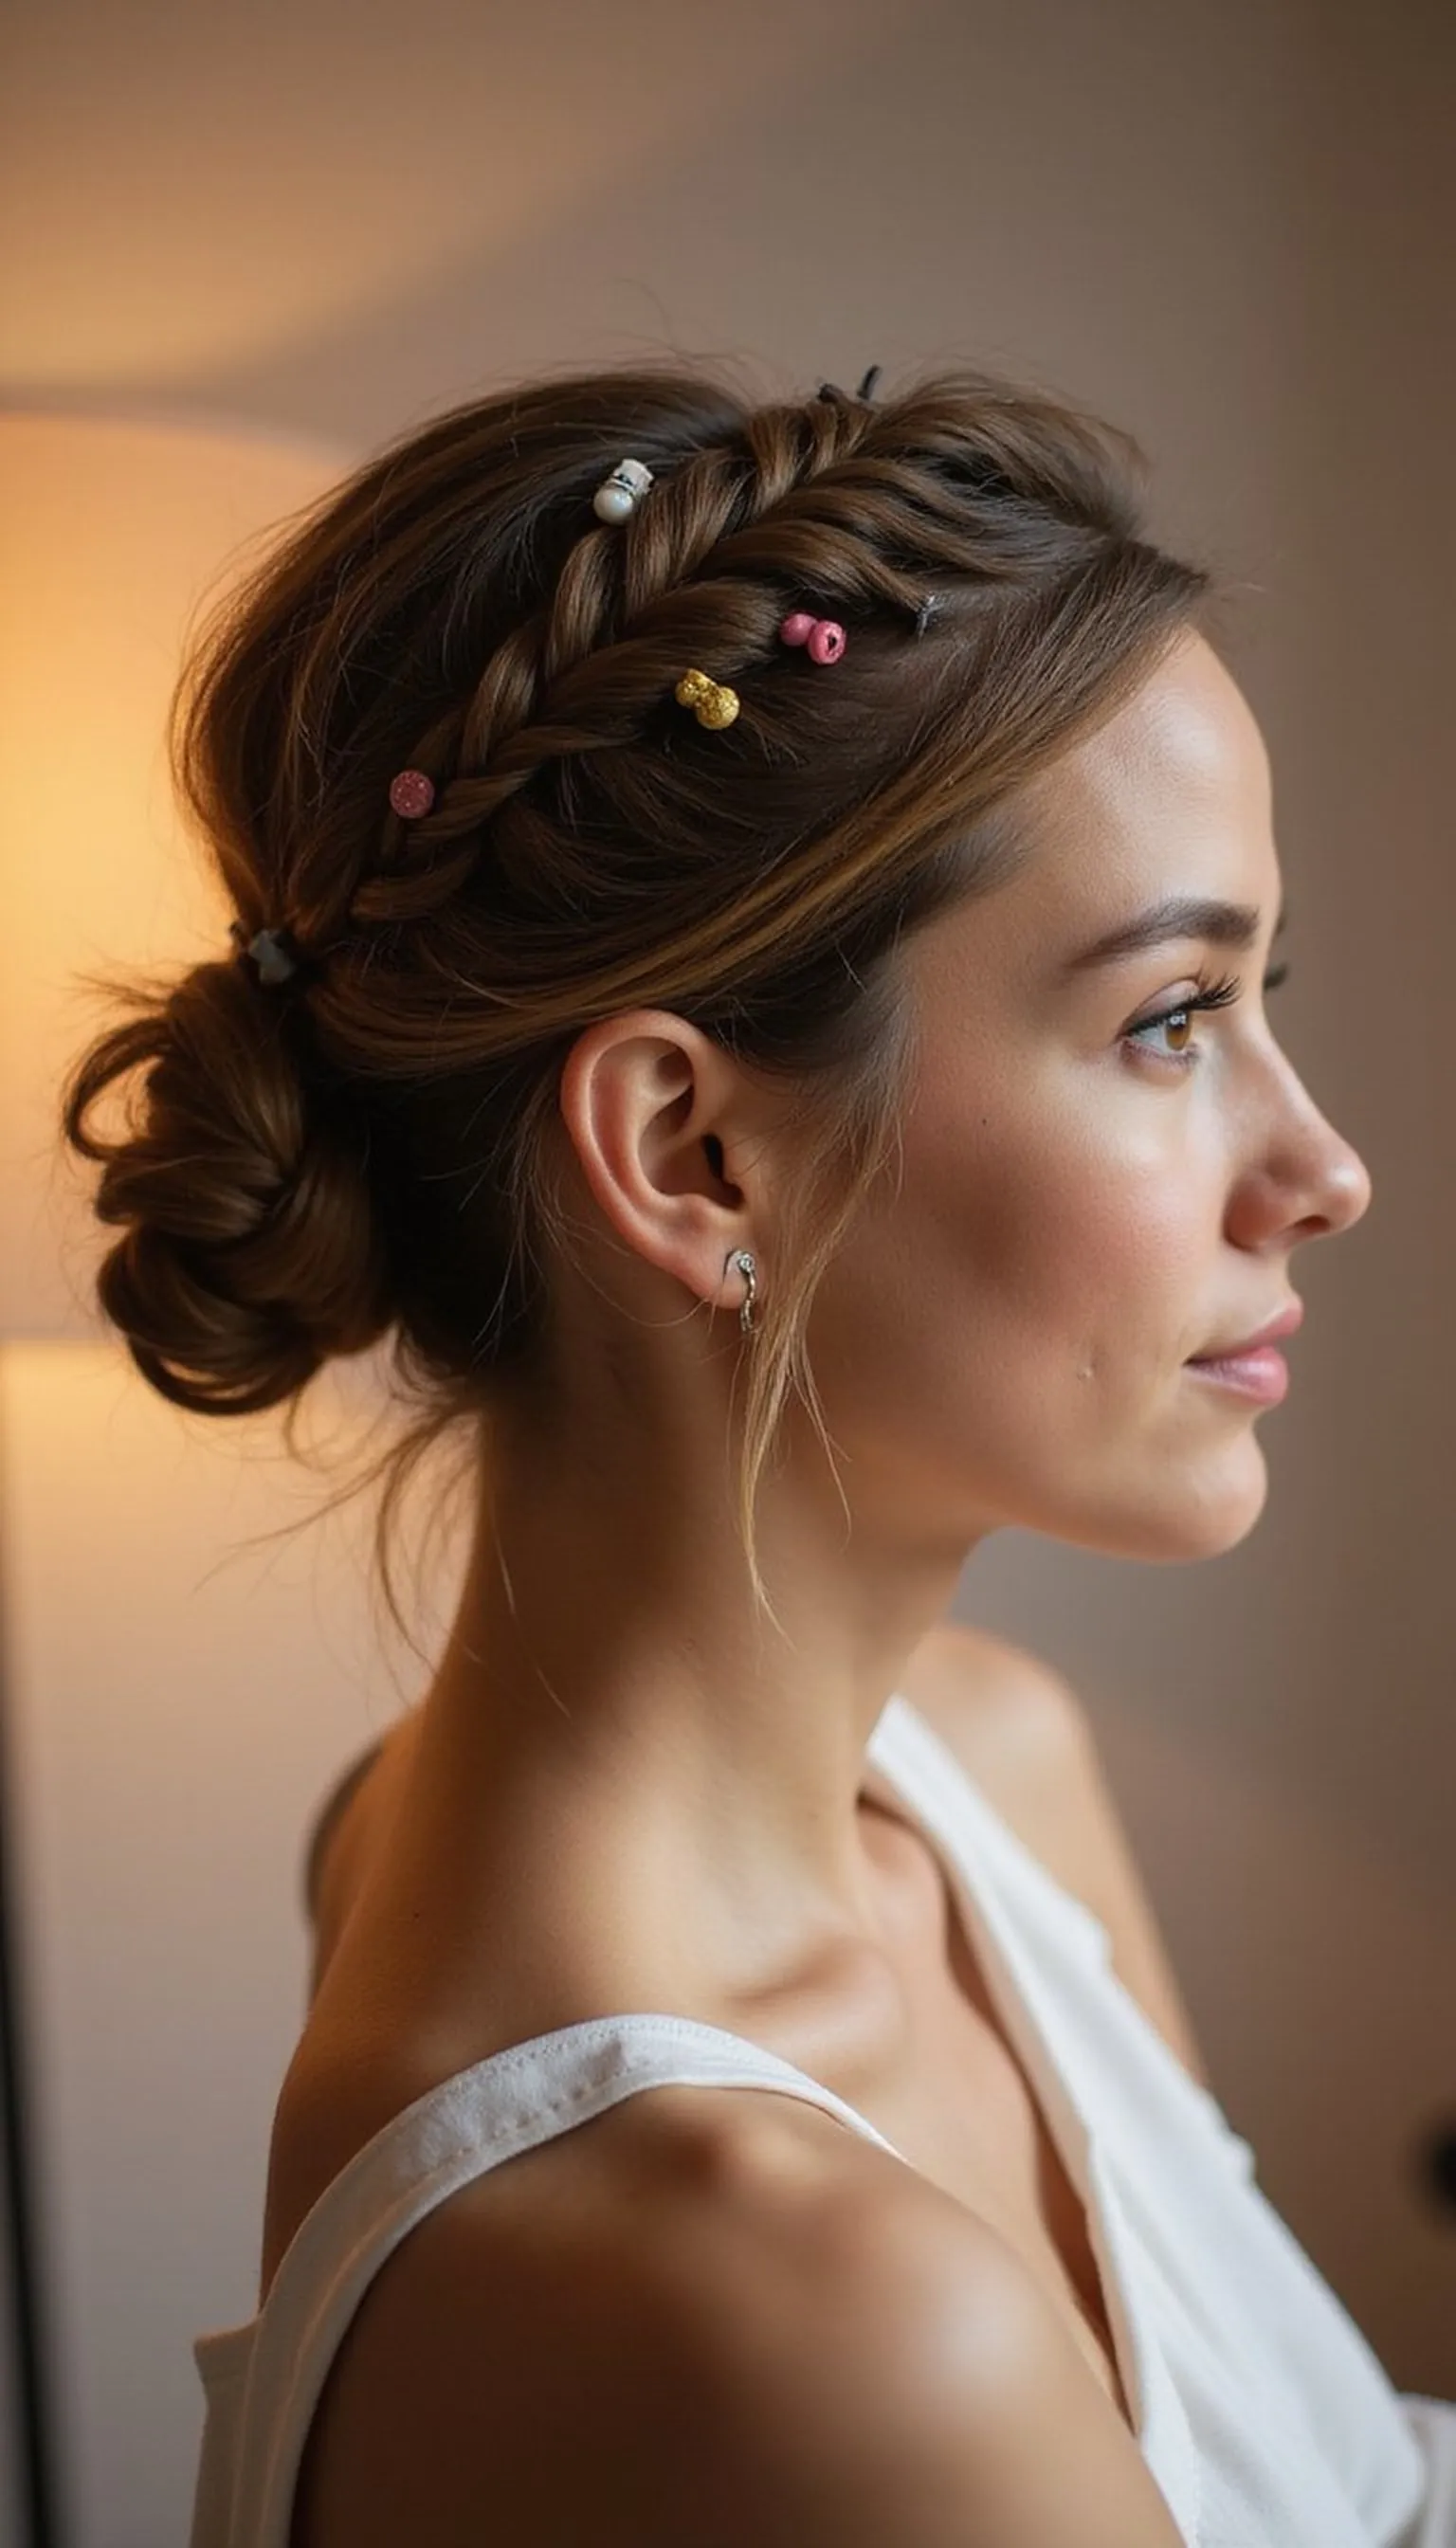
Boho Messy Bun With Scarf Accent
⏱️ 8 min · 🟢 Beginner
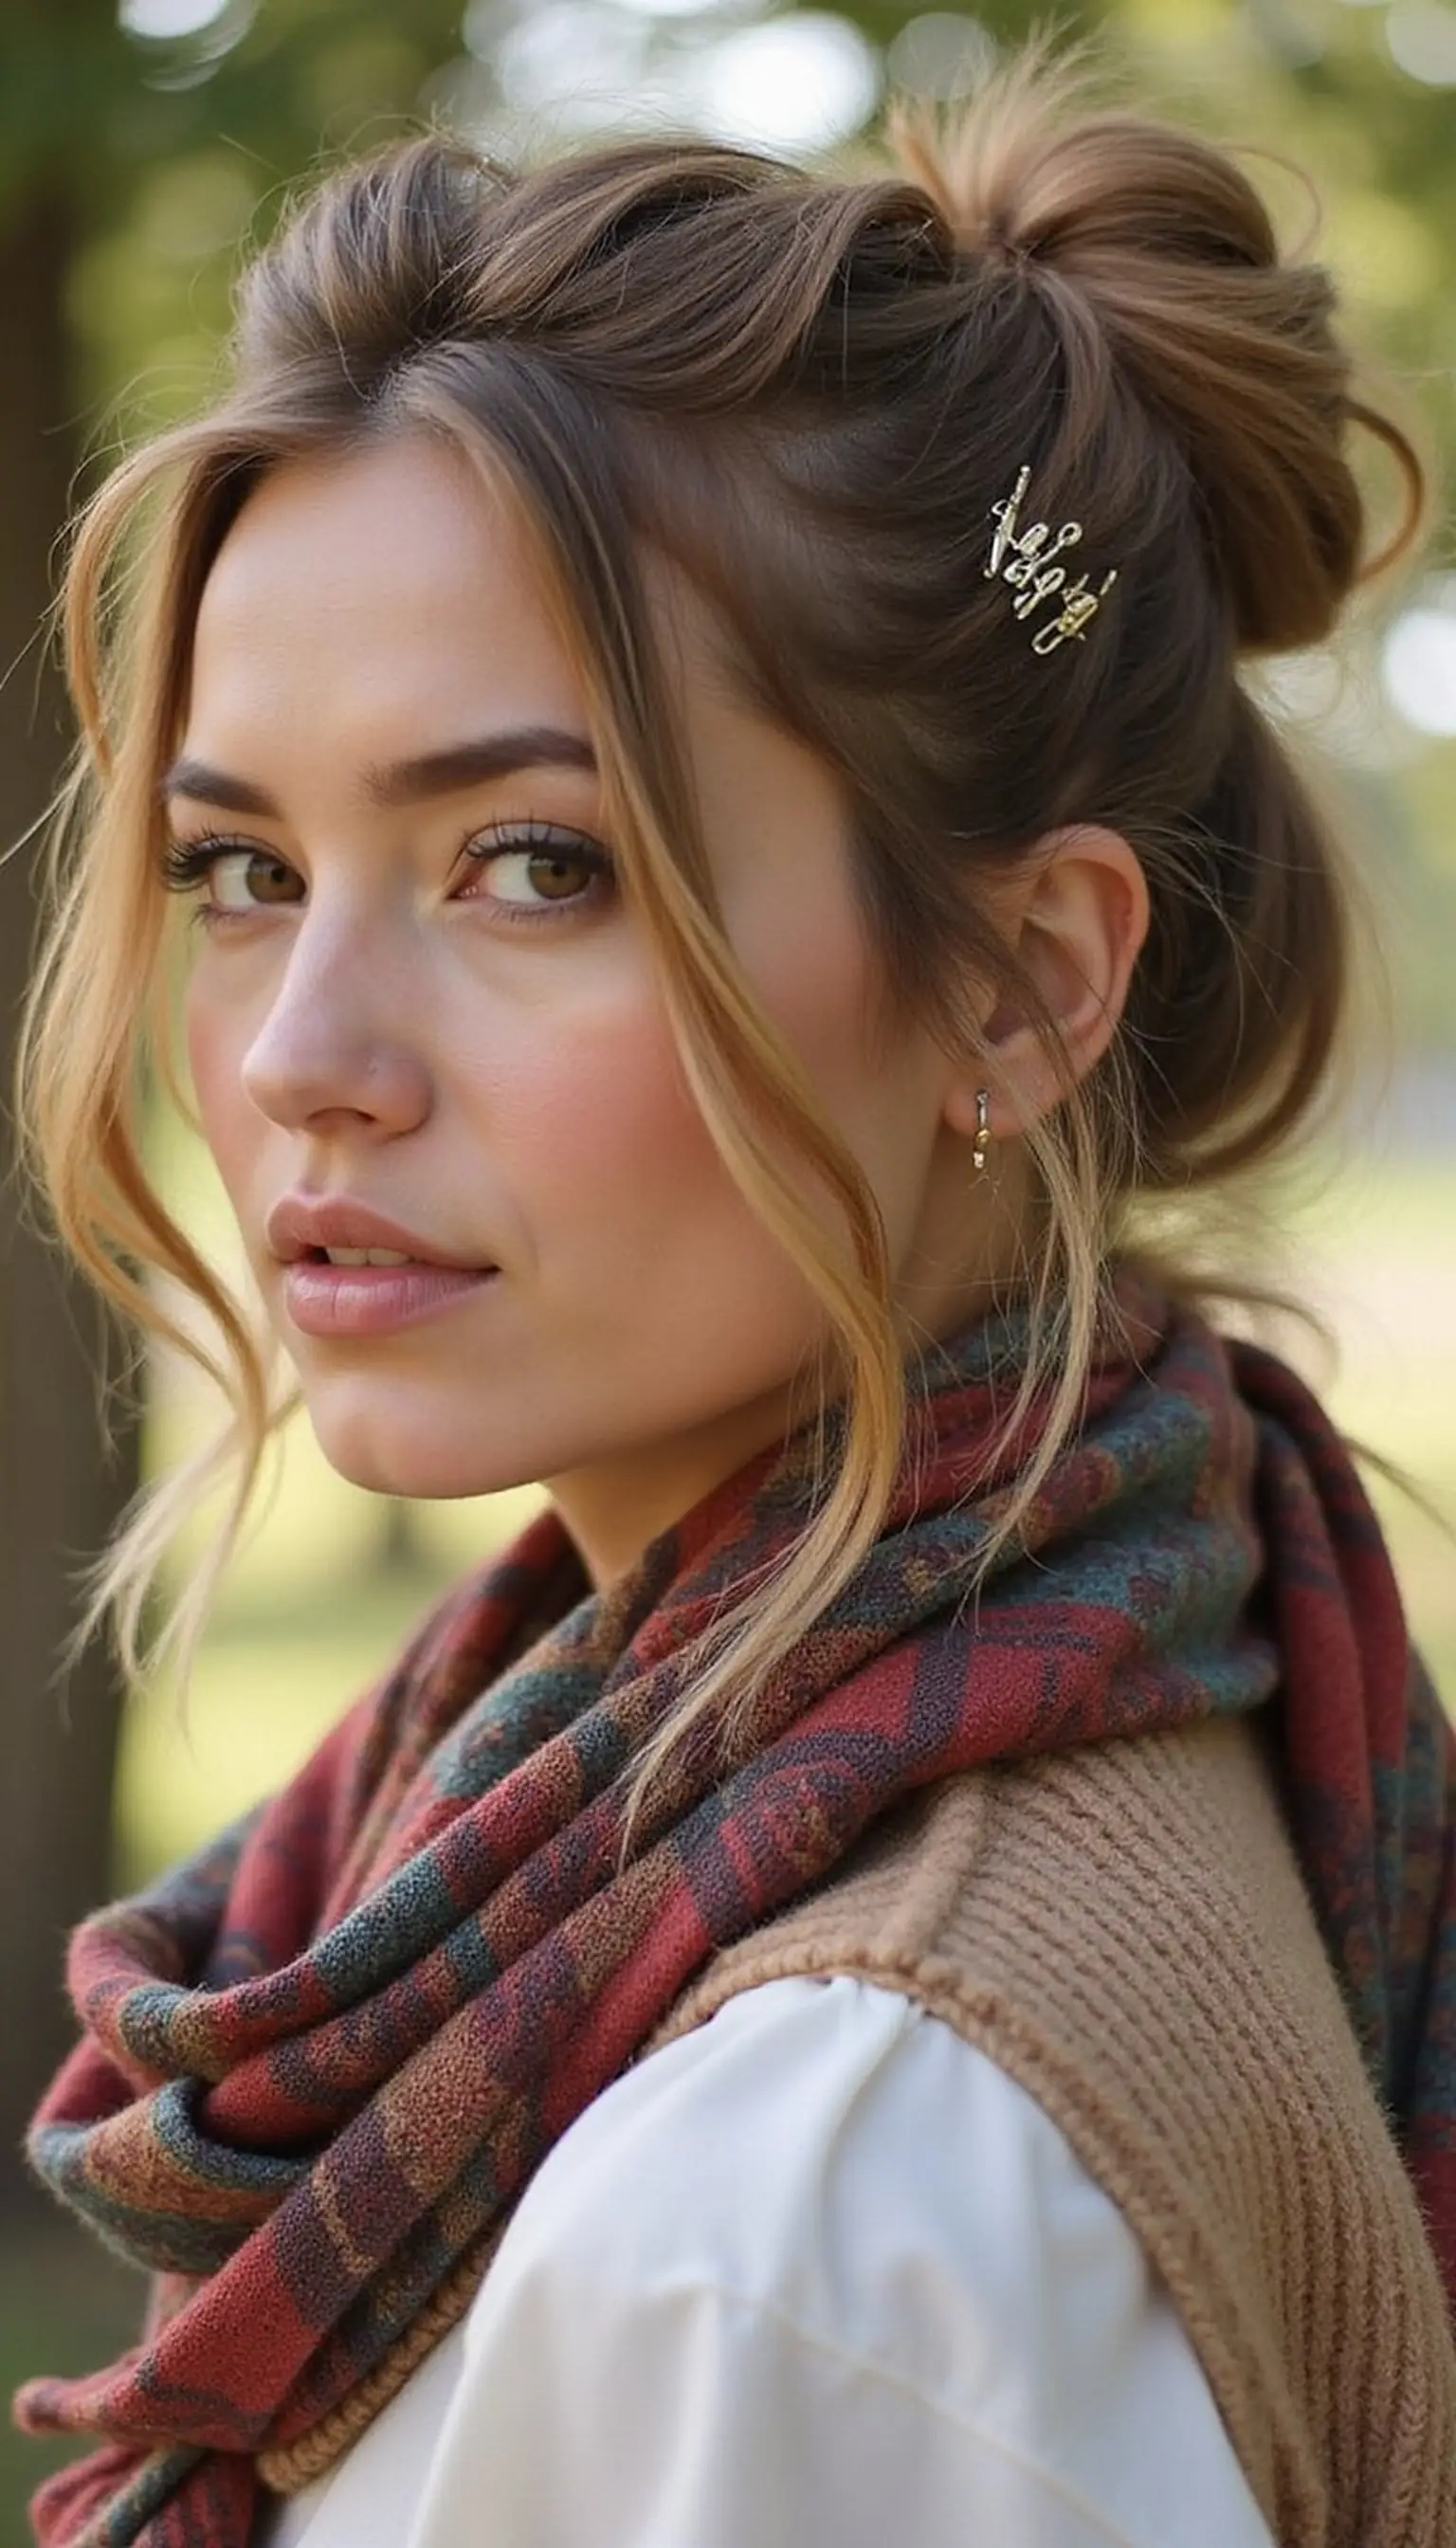
Add instant personality with a boho messy bun wrapped in a lightweight scarf. Create a loose bun at mid or low height, then tie a thin scarf around the base, letting ends trail for movement. The scarf doubles as an accessory and a way to keep shorter layers in place while enhancing color or pattern. This look is playful for festivals, brunch, or any day that calls for a little accessory drama without fuss.
💇 Styling Tips ▶
Styling Tips
- Use a narrow scarf or silk ribbon to avoid bulk at the bun base.
- Let a few face-framing strands fall loose for softness.
- Secure the scarf with a hidden pin if needed to stop slipping.
⚠️ Avoid: Using a heavy scarf can weigh the bun down and look clunky; pick a light fabric. Wrapping too tightly removes the messy aesthetic.
🔄 Try Also: Try a patterned scarf for color or a solid ribbon for a minimalist look. Place the scarf off-center for asymmetry.
🛒 Products & Materials ▶
Items Used
- hair scarf
- bobby pins
📌 “Boho messy bun tied with a lightweight scarf for playful texture.”
• • •
Sleek Messy Bun With Hair Stick Detail
⏱️ 10 min · 🟠 Intermediate
A sleek messy bun balances smooth sides with a relaxed center, often finished with a hair stick slipped through the knot for an elegant touch. Smooth hair into a low or mid bun, leave the center slightly loose, and insert a decorative hair stick through the base to secure and add visual interest. This style looks polished but not severe, ideal for work events or evenings when a little refinement is wanted without a full updo.
💇 Styling Tips ▶
Styling Tips
- Brush sides smooth but avoid flattening the crown to keep a soft shape.
- Insert the hair stick at a slight angle for hold and a modern look.
- Tuck shorter layers into the bun or let them softly escape.
⚠️ Avoid: Forcing the stick through too-thick sections can split the bun; use smaller sections or add a pin. Over-smoothing removes the relaxed feel.
🔄 Try Also: Use two thin sticks crossed for a statement, or leave a loose wisp near the ear for softness. Place the stick higher for a different silhouette.
🛒 Products & Materials ▶
Items Used
- hair stick
- bobby pins
📌 “Sleek yet relaxed messy bun finished with a decorative hair stick.”
• • •
Messy Bun With Headband For Soft Hold
⏱️ 5 min · 🟢 Beginner
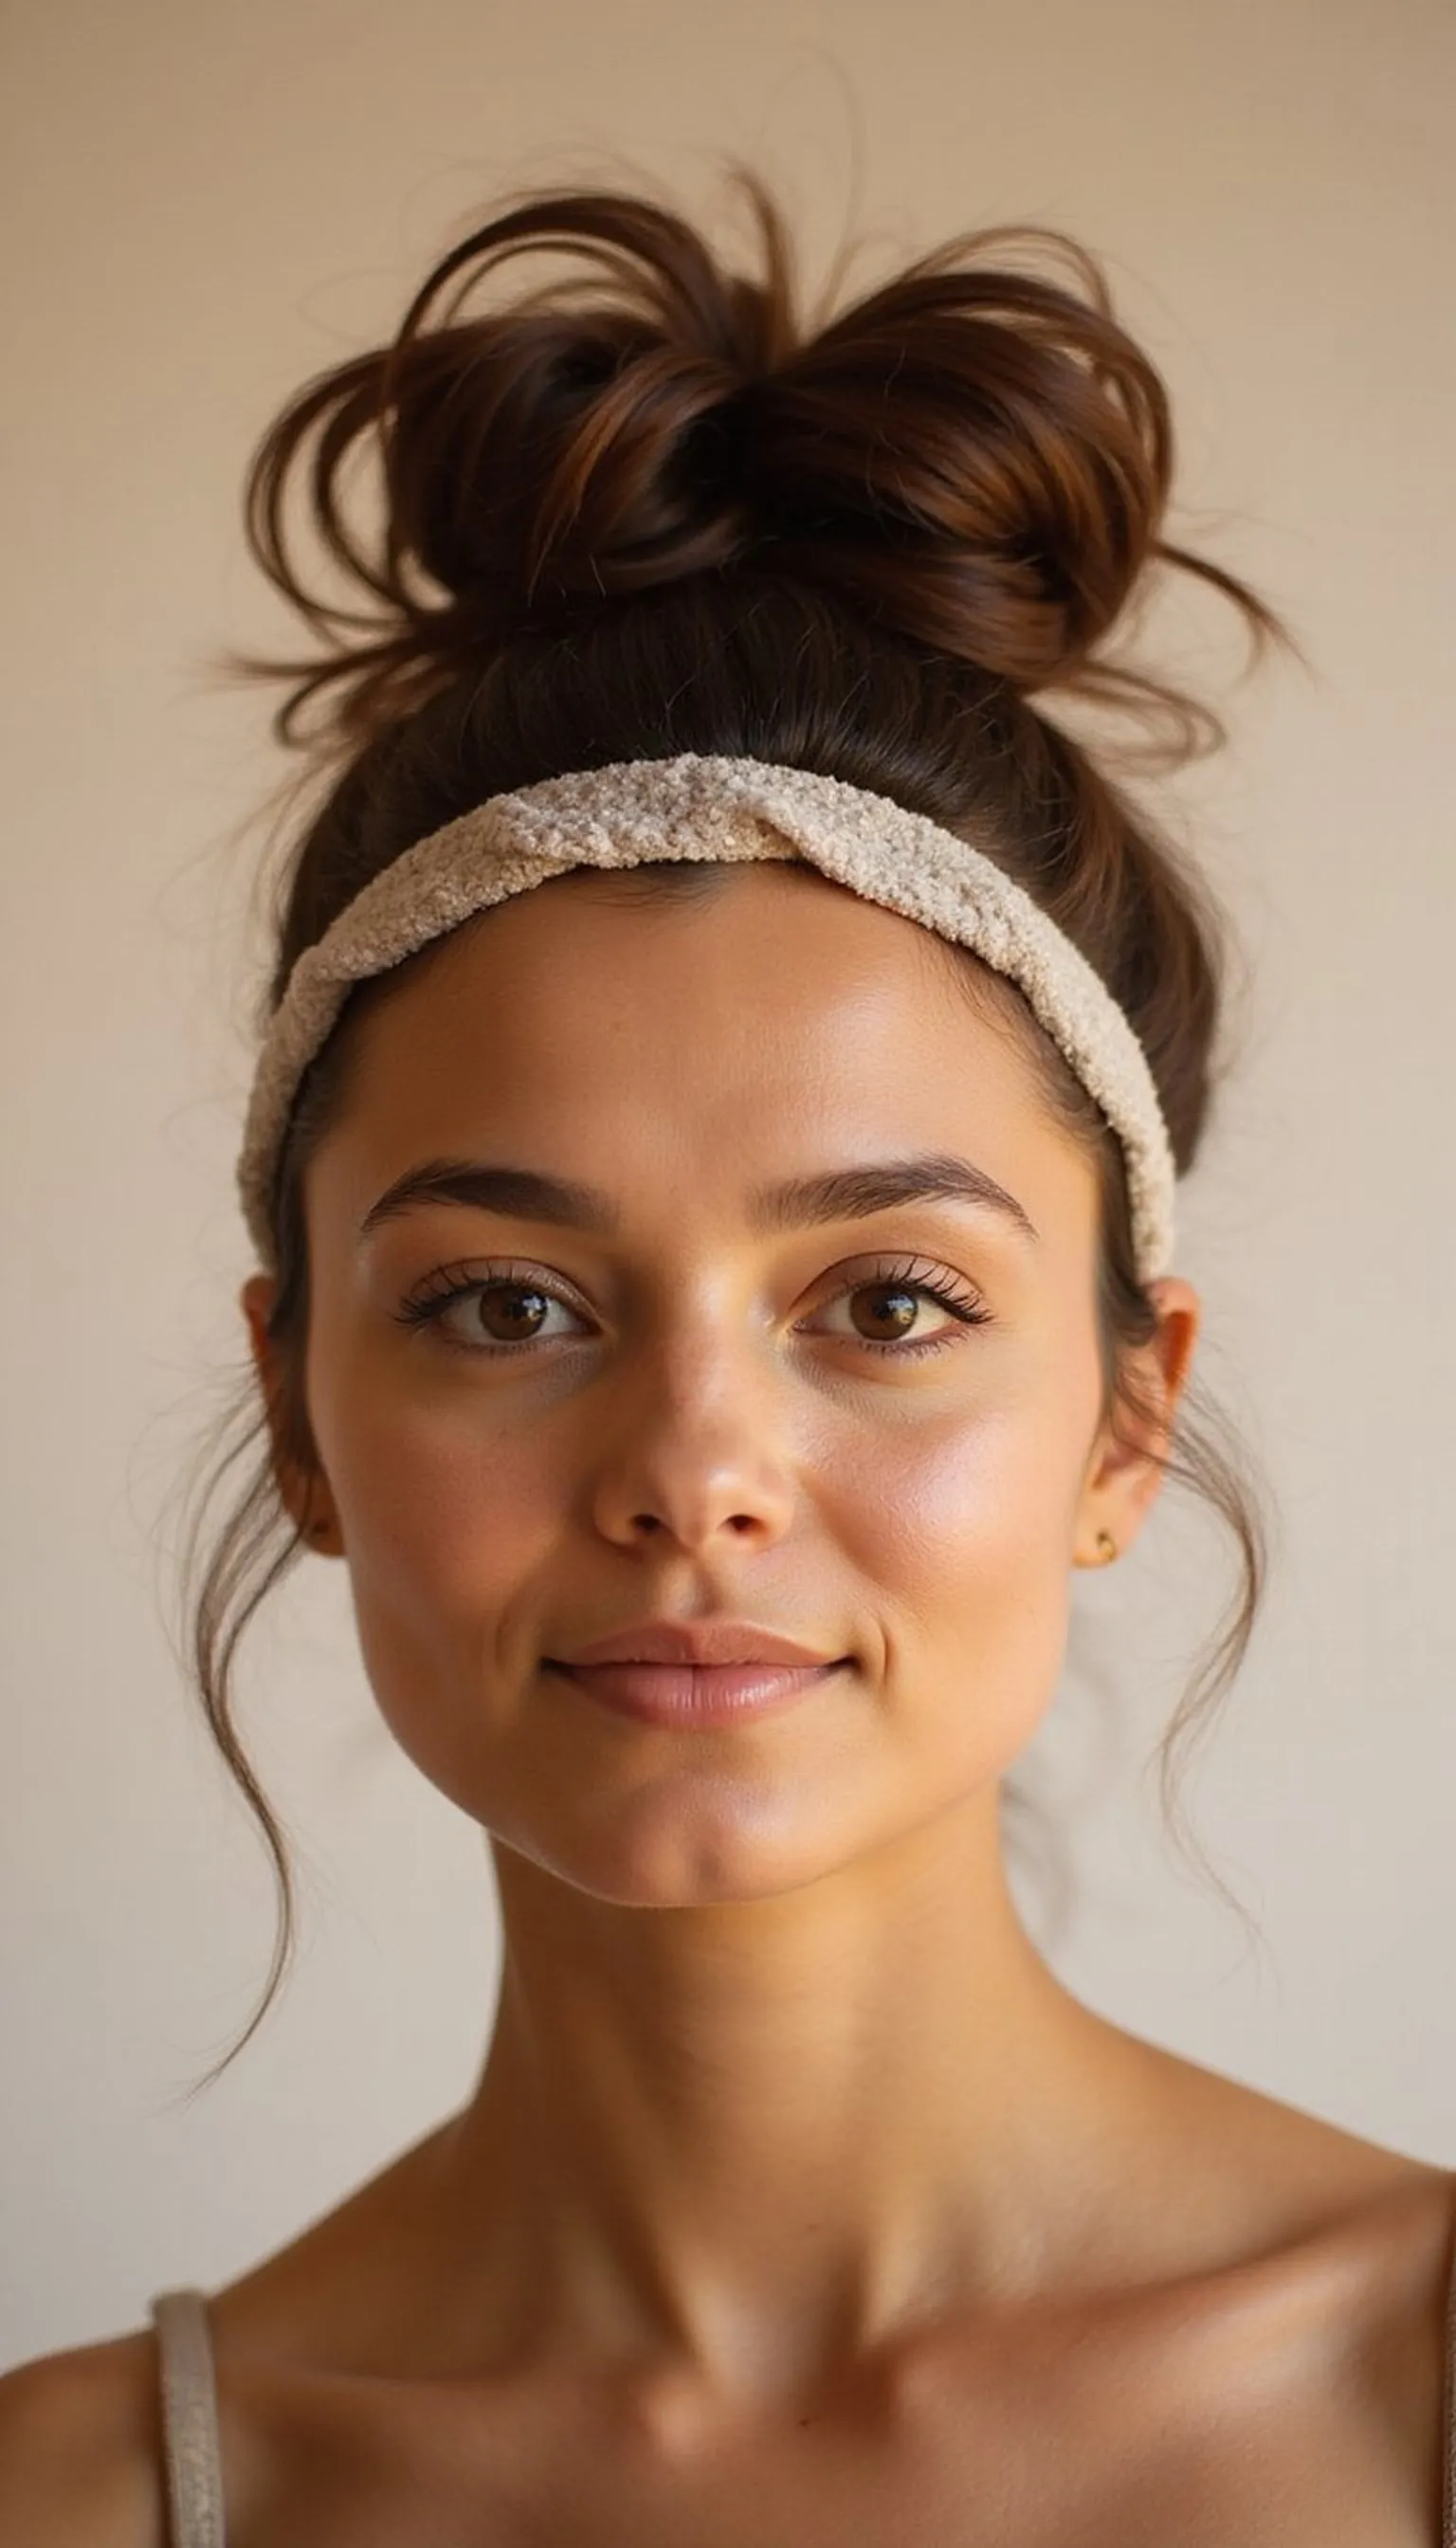
A headband paired with a messy bun tames flyaways while adding a chic frame to the face. Pull hair into a loose bun, place a fabric or boho headband at the hairline, and tug at the crown for lift. The headband helps keep shorter layers in check and adds instant polish without pins. This hybrid is fast and flattering for second-day hair or mornings when simplicity and a polished finish are both needed.
💇 Styling Tips ▶
Styling Tips
- Choose a non-slip headband to prevent shifting throughout the day.
- Place the headband slightly back for more crown volume.
- Let a few small strands fall forward for a softer look.
⚠️ Avoid: Putting the headband on before shaping the bun can mess the form; assemble the bun first. Using a slick headband may cause sliding—pick textured fabric.
🔄 Try Also: Swap the headband for a thin metallic band for dressier occasions or a patterned fabric for casual days. Try a low band placement for a vintage vibe.
🛒 Products & Materials ▶
Items Used
📌 “Headband and messy bun combo for polished, easy everyday style.”
• • •
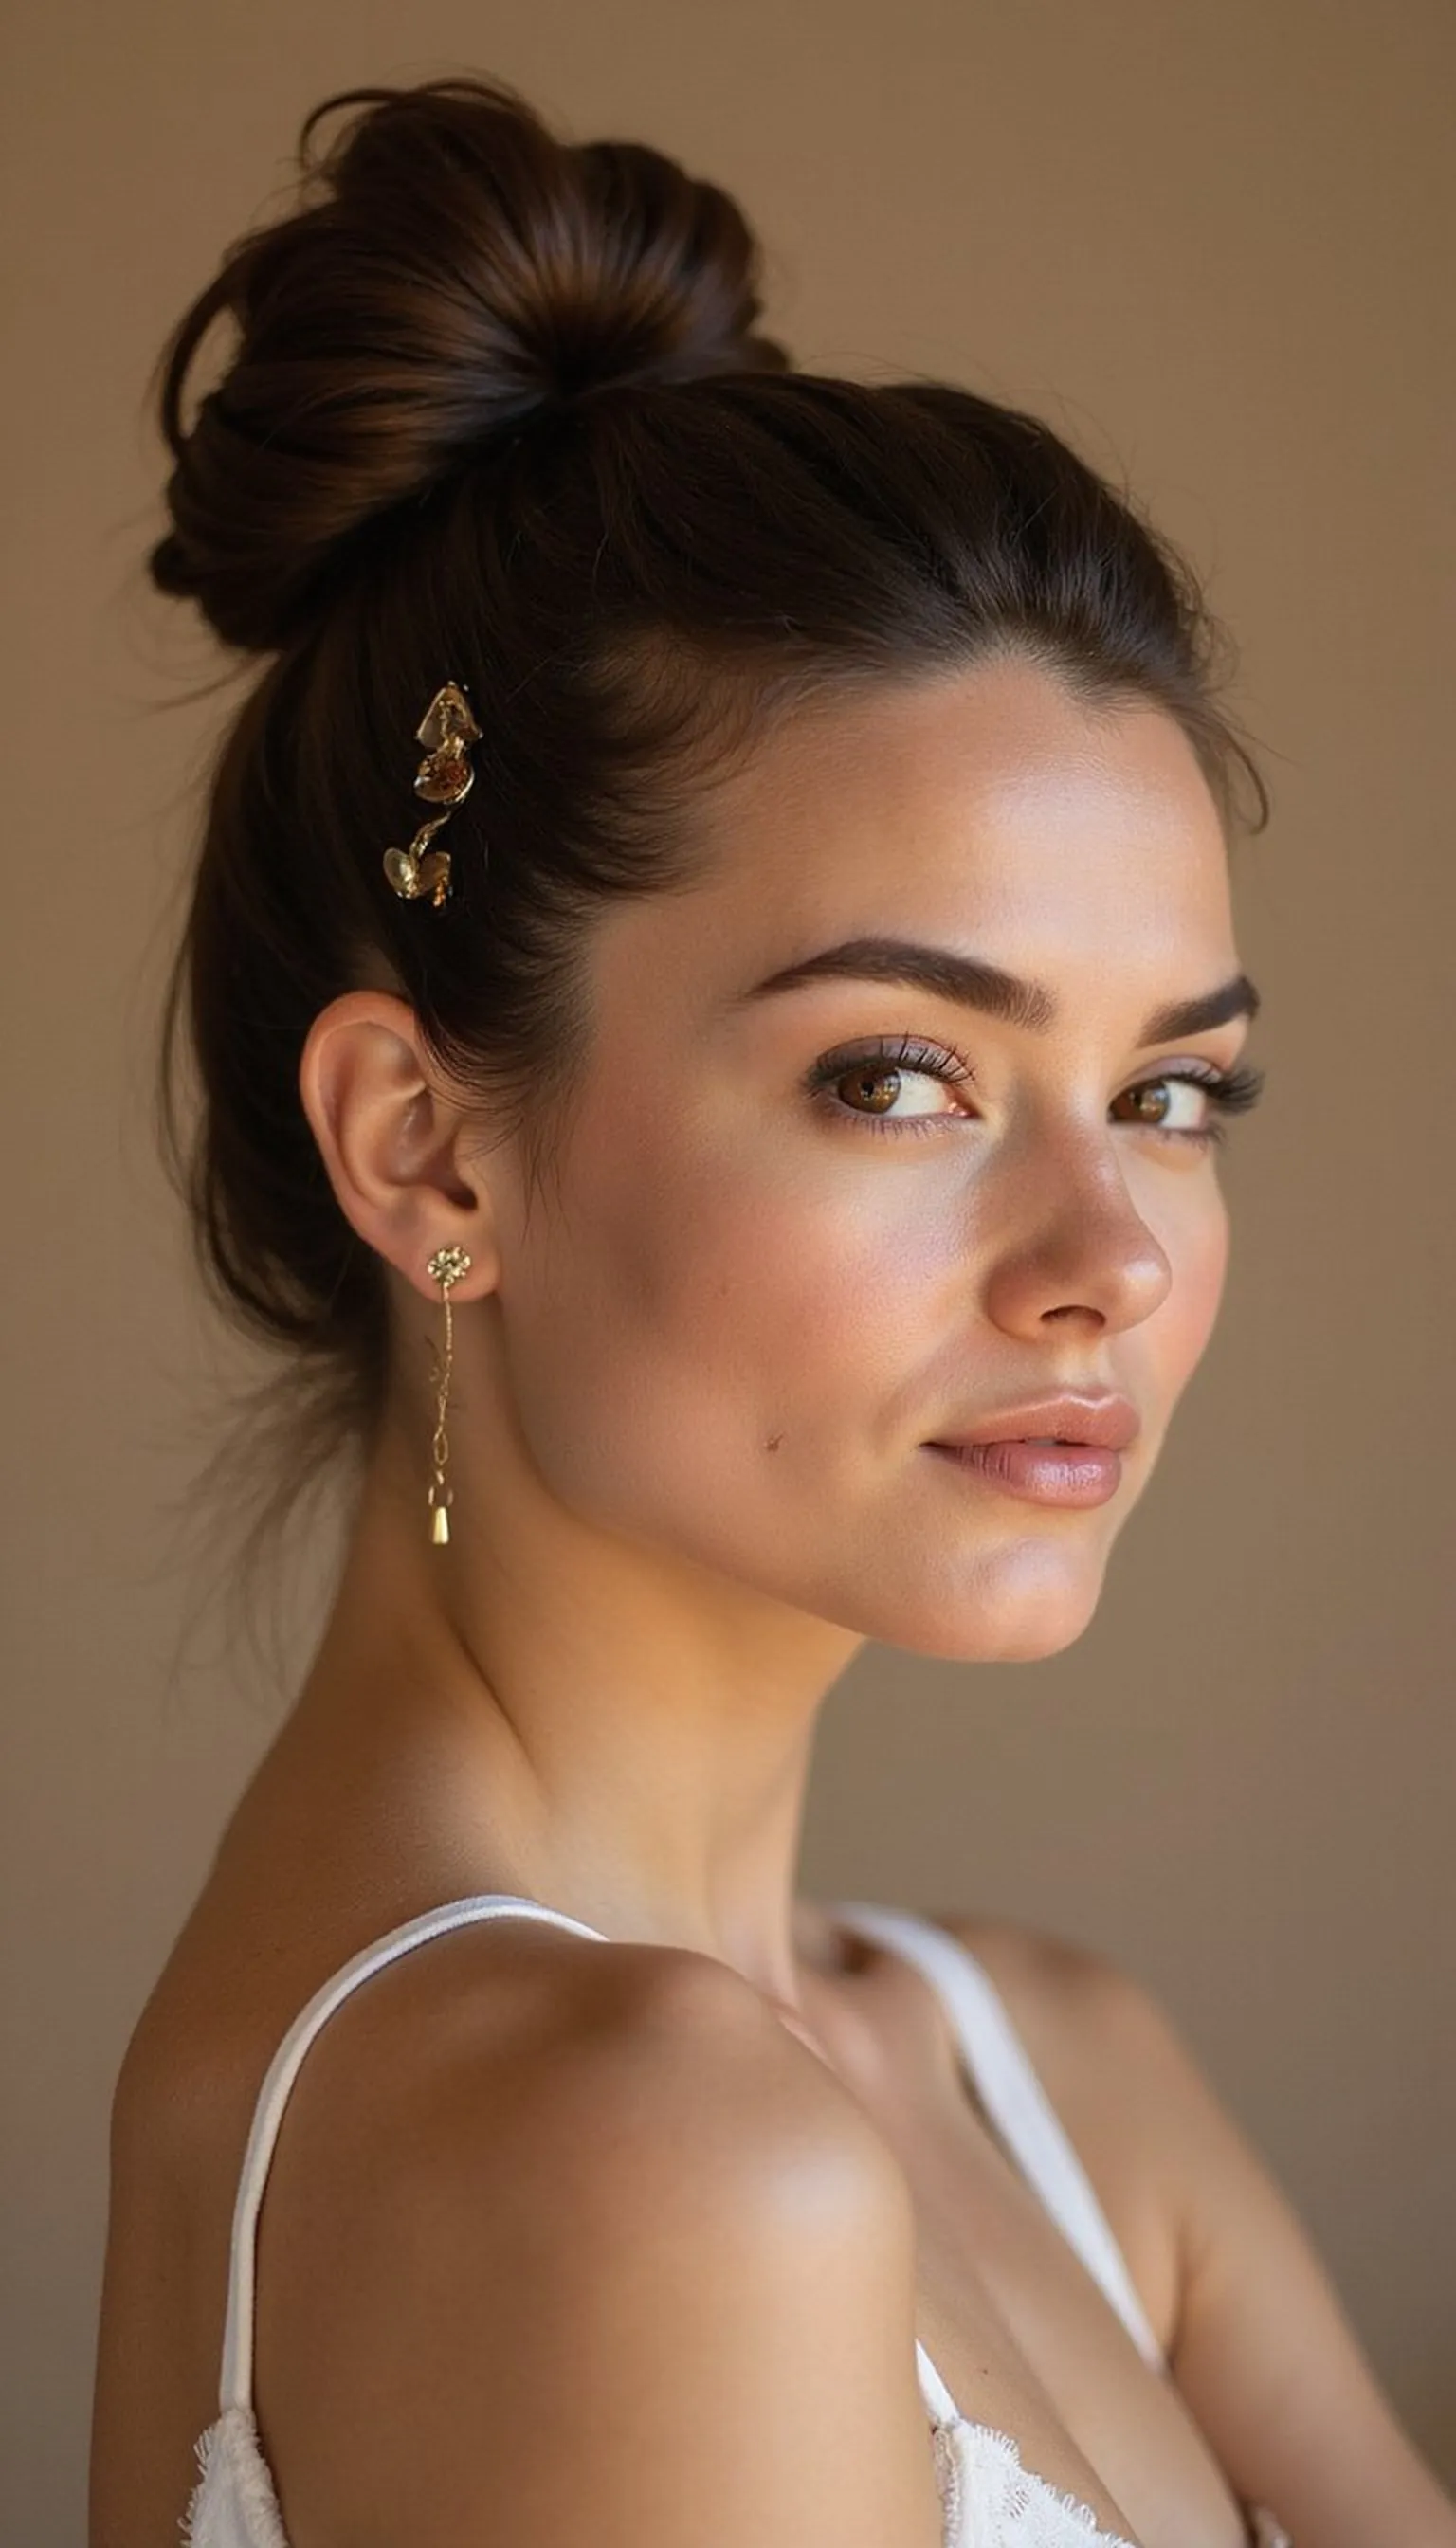
Tucked Messy Chignon For Low-Key Elegance
⏱️ 12 min · 🟠 Intermediate
The tucked messy chignon is a low, tucked-in bun with a casual finish, perfect for understated elegance. Twist hair into a loose roll at the nape, tuck ends underneath, and secure with pins so pieces peek out naturally. The tucked effect softens the silhouette and keeps the look tidy while preserving an effortless vibe. This style suits medium to long hair and works wonderfully for events that want a hint of polish without a formal updo.
💇 Styling Tips ▶
Styling Tips
- Start with slightly wavy or textured hair for better pin grip.
- Hide pin ends under tucked sections to keep the look seamless.
- Loosen the roll after pinning to reveal soft, messy loops.
⚠️ Avoid: Tucking every end tightly creates a severe look; leave some ends loose for softness. Not using enough pins can make the chignon slip out of shape.
🔄 Try Also: Place the chignon slightly to the side for an off-center feel, or add a thin ribbon at the base for subtle detail. Create two tucked loops for added texture.
🛒 Products & Materials ▶
Items Used
📌 “Low tucked messy chignon that reads elegant yet effortlessly undone.”
• • •
Bubble Messy Bun For Playful Volume
⏱️ 12 min · 🟠 Intermediate
The bubble messy bun builds volume using small elastics to create soft ‘bubbles’ that lead into a messy knot. Secure a mid-height ponytail, add small elastics down the length to create sections, gently pull each section to round them, then twist the tail into a bun and pin. The result is a playful, textured look that reads youthful and styled-without-trying. This idea suits medium to long hair and adds a modern twist to classic messy buns.
💇 Styling Tips ▶
Styling Tips
- Use clear or hair-colored elastics for a cohesive finish.
- Pancake each bubble by pulling at the sides for softness.
- Wrap the tail loosely into a bun to keep the playful vibe.
⚠️ Avoid: Making bubbles too tight makes the style look forced; keep them soft and rounded. Skipping pins at the bun base can let the tail slip loose.
🔄 Try Also: Create fewer, larger bubbles for a minimalist feel, or add a small braid into the tail before wrapping for detail. Place the bun lower for a softer silhouette.
🛒 Products & Materials ▶
Items Used
- small hair elastics
- bobby pins
📌 “Playful bubble messy bun with rounded sections for fun texture.”
• • •
Messy Bun For Shorter Hair With Twists
⏱️ 15 min · 🔴 Advanced
Shorter hair can wear a messy bun by using twists and strategic pinning to create the illusion of volume. Twist small sections from sides toward the back, gather as much length as possible into a mini knot, then pin layers to mimic a fuller bun. Use texture from waves or dry-styling to help pins hold. This technique extends the wearability of bun styles to shorter cuts and creates a flirty, textured updo that looks intentionally undone.
💇 Styling Tips ▶
Styling Tips
- Work with textured or slightly waved hair for better pin grip.
- Use short pins and bobby pins at varied angles for stronger hold.
- Keep twists loose and pancake them for perceived volume.
⚠️ Avoid: Tight twisting shrinks the visual volume; keep rotations loose. Using too-large pins can slip out of shorter layers—choose petite pins instead.
🔄 Try Also: Add a tiny braid at the temple before twisting for extra detail, or use a thin decorative elastic to gather the center. Place the knot slightly off-center for flair.
🛒 Products & Materials ▶
Items Used
📌 “Clever twisted messy bun technique for shorter hair lengths.”
• • •
Beachy Messy Bun With Loose Waves
⏱️ 10 min · 🟢 Beginner

A beachy messy bun celebrates loose waves and a relaxed silhouette—perfect for warm days or casual outings. Create soft waves first or work with natural texture, gather hair into a low or mid messy bun, and pull face-framing pieces loose. The waves peek through the bun creating a textured, sun-kissed vibe. This look suits many hair lengths and is ideal when the goal is an easygoing, pretty updo without strict structure.
💇 Styling Tips ▶
Styling Tips
- Use a wide-tooth comb to keep waves natural before styling.
- Loosen the bun and tug at the crown for casual volume.
- Let lighter ends fall out for a lived-in, beachy finish.
⚠️ Avoid: Over-brushing waves removes the texture that makes the bun look beachy; handle gently. Tight bun formation will lose the relaxed vibe.
🔄 Try Also: Add a small braid near the temple for seaside flair, or place the bun high for a sporty beach look. Tie a bandana for a retro twist.
🛒 Products & Materials ▶
Items Used
📌 “Beachy messy bun that shows off loose waves and relaxed texture.”
