
As an Amazon Associate I earn from qualifying purchases.
Cruise Vacation Hairstyles keep hair neat through windy decks, salty breezes, and sunset photos. These cruise-ready looks focus on low-maintenance updos, soft waves, and polished buns for day-to-night wear.
Each idea pairs with easy accessories and compact tools to save suitcase space without sacrificing style. Practical styling cues show how to refresh hair between shore excursions and evening plans.
Packable Vacation Hairstyles for cruising make mornings faster and camera moments clearer on the promenade. Use these Cruise Vacation Hairstyles to switch from poolside casual to dinner-ready with minimal effort.
Sun-Kissed Beach Waves With Headband For Cruising Days
⏱️ 15 min · 🟢 Beginner
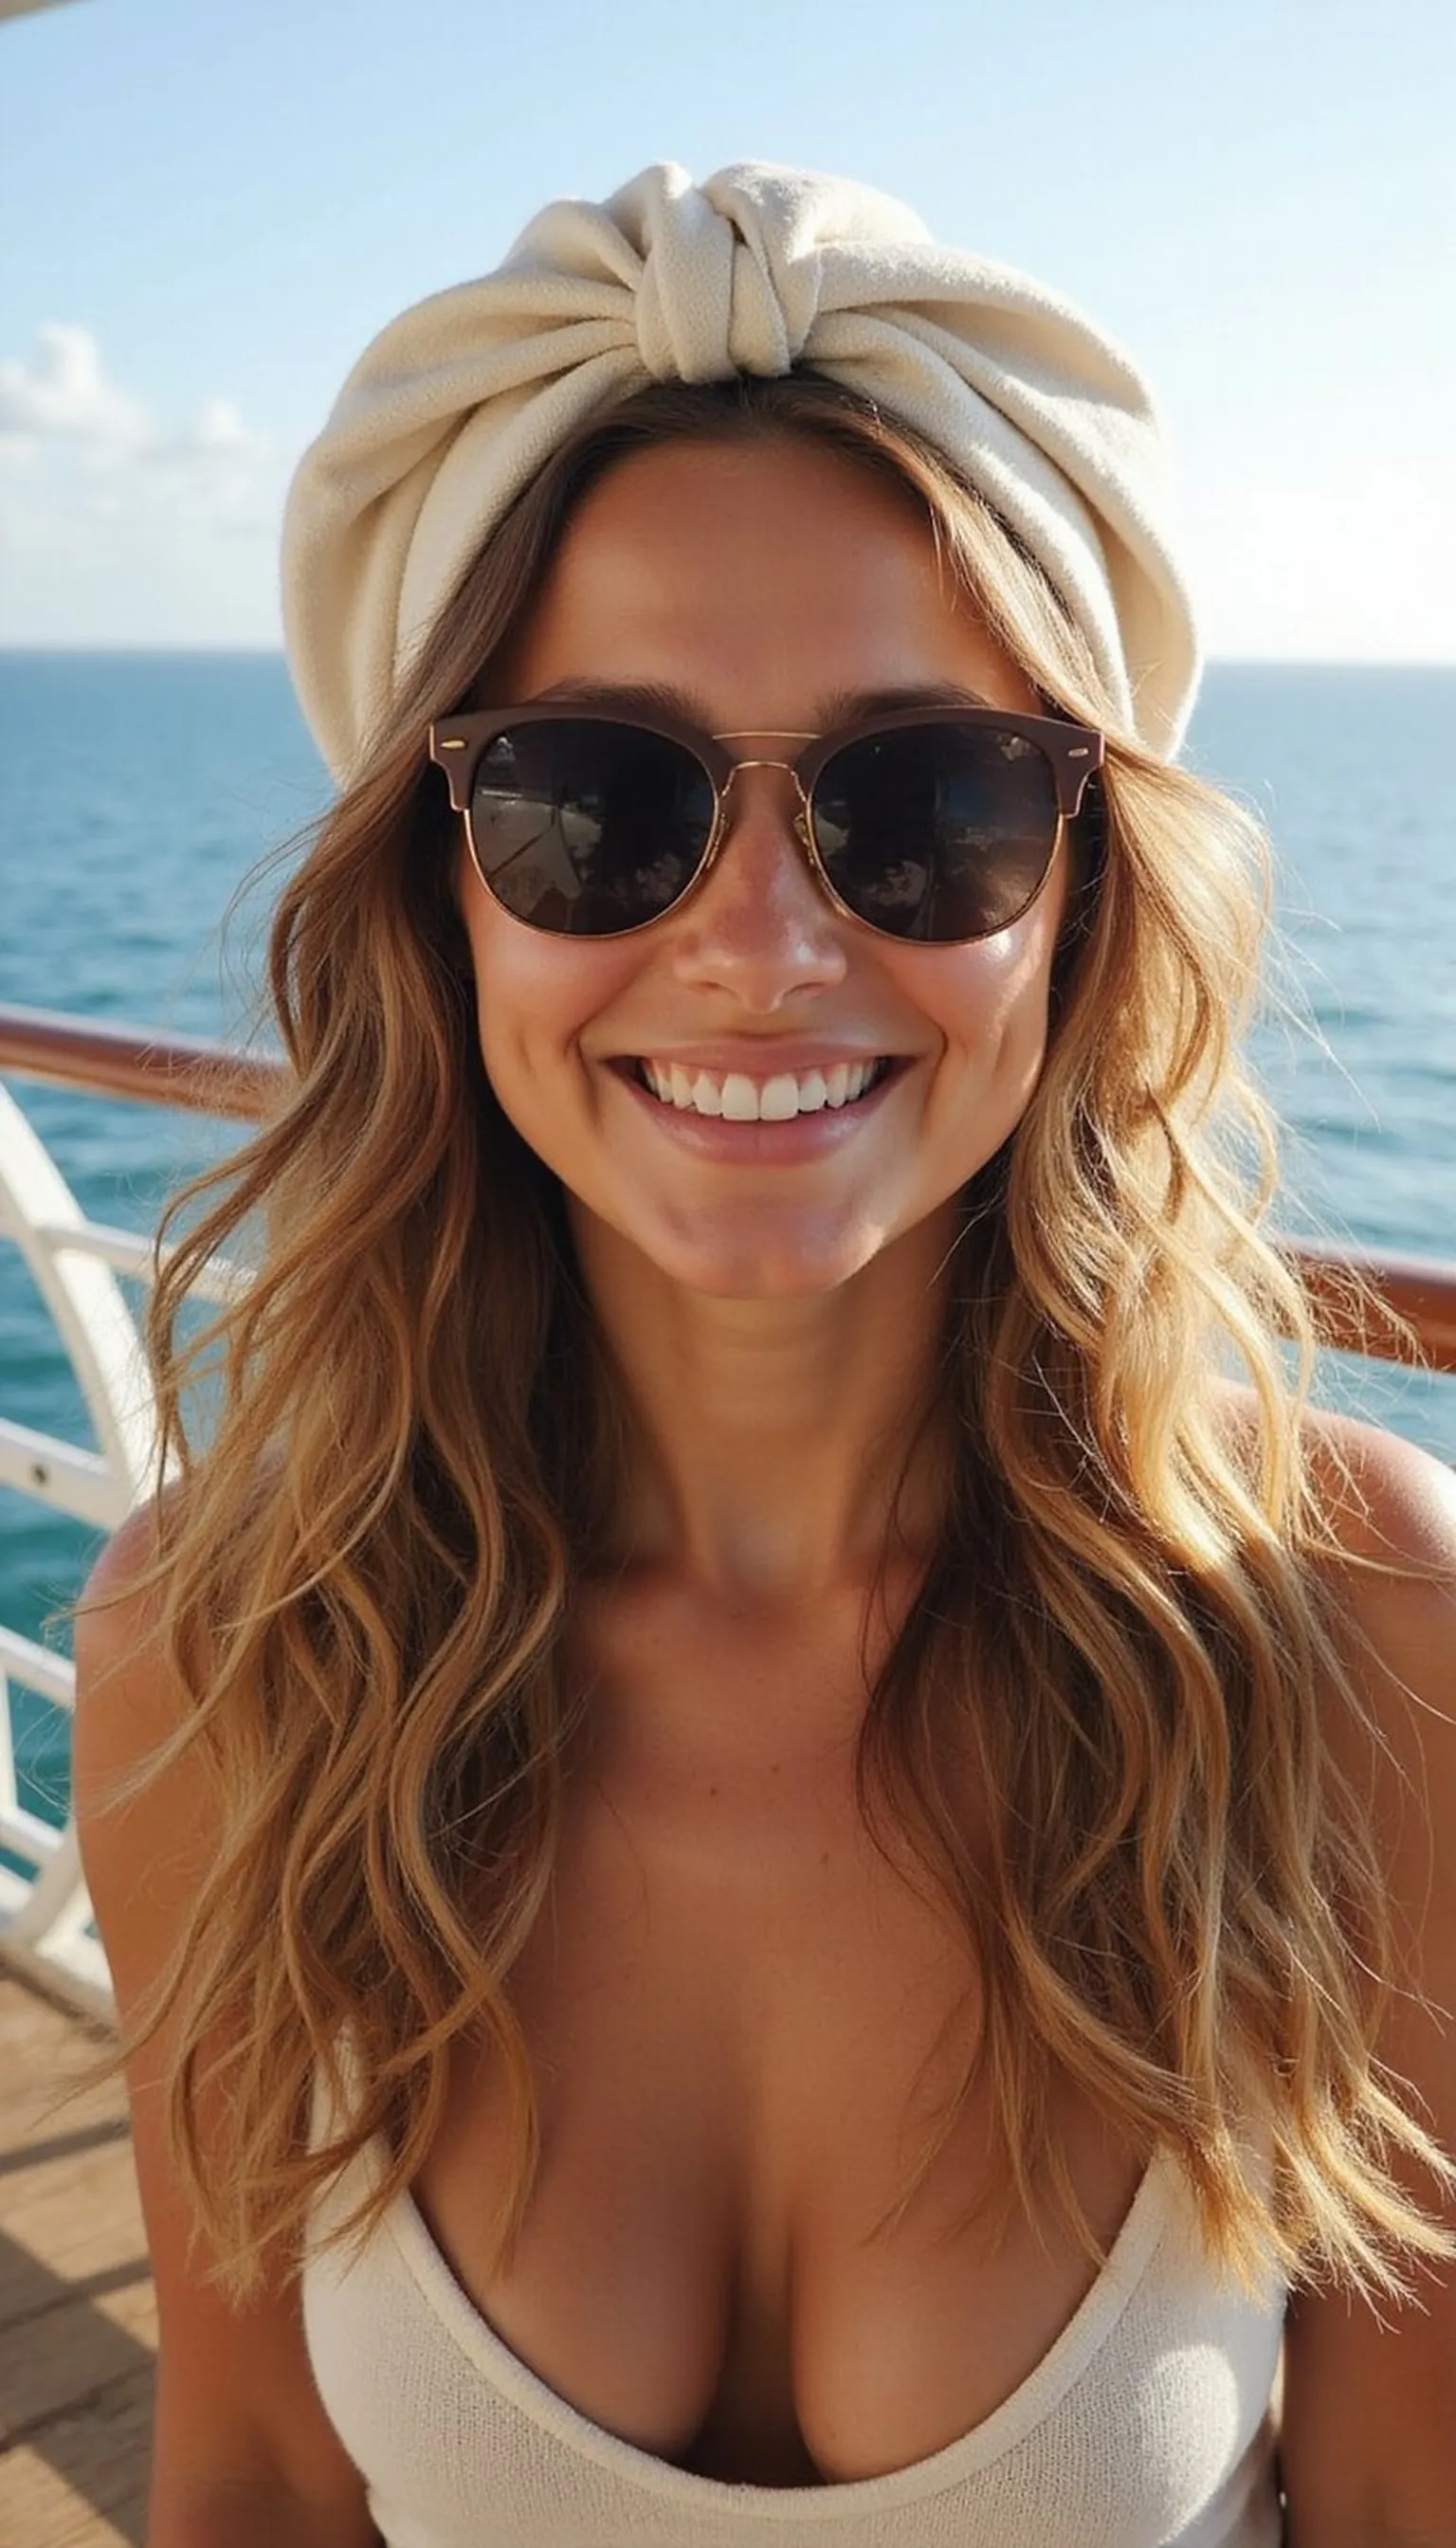
Loose wind-friendly waves are a cruise classic that stay soft after a day on deck. Add a wide fabric headband to keep hair off the face and add instant polish.
This style suits shoulder-length or longer hair and hides light frizz from sea air. Create waves with sea-salt spray and finger-comb for relaxed texture before slipping on the headband.
It moves easily from beach to evening without a full restyle, saving time between plans. Pair with oversized sunglasses and sun-kissed makeup for a postcard-ready cruise moment.
Styling Tips
- Apply sea-salt spray to damp hair and scrunch for natural waves.
- Use a wide fabric headband to hide flyaways and add color.
- Finger-comb waves instead of brushing to preserve texture.
Pro Tip: Braid damp hair overnight for better waves and less heat styling the next morning.
Avoid: Over-brushing spoils the wave shape and creates extra frizz. Avoid heavy oils that flatten texture before styling.
Try Also: Swap the fabric headband for a printed silk scarf tied at the nape or a thin metallic headband for evening. Both switch the vibe instantly.
Products & Materials
Items Used
“Effortless beach waves with a chic headband for cruise days.”
Messy Low Bun Secured With Large Claw Clip For Wind
⏱️ 10 min · 🟢 Beginner

A messy low bun held by a large claw clip is windproof and quick to set. The relaxed shape reads polished without fuss and keeps hair tidy during on-deck breezes.
Create the bun by twisting hair low at the nape and securing it with a chunky claw clip for instant hold. Leave a few face-framing strands loose to soften the look and flatter most face shapes.
This approach is perfect between excursions when a full wash and style aren’t possible. It pairs well with sun hats or simple hoops for an easy cruising outfit.
Styling Tips
- Rough-dry hair then twist loosely to avoid a tight, uncomfortable bun.
- Position the claw clip at the nape for secure hold in wind.
- Pull small strands loose around the face for softness.
Pro Tip: Loosely tease roots before twisting to give more grip and fuller bun shape with less effort.
Avoid: Clipping too tightly can cause dents and discomfort. Avoid pinching hair; let the clip hold gently for better comfort.
Try Also: Try a higher messy bun with the same claw clip or tuck the bun into a low knot for a sleeker finish. Add decorative bobby pins for evening.
Products & Materials
Items Used
“Quick messy low bun with a claw clip for breezy cruise days.”
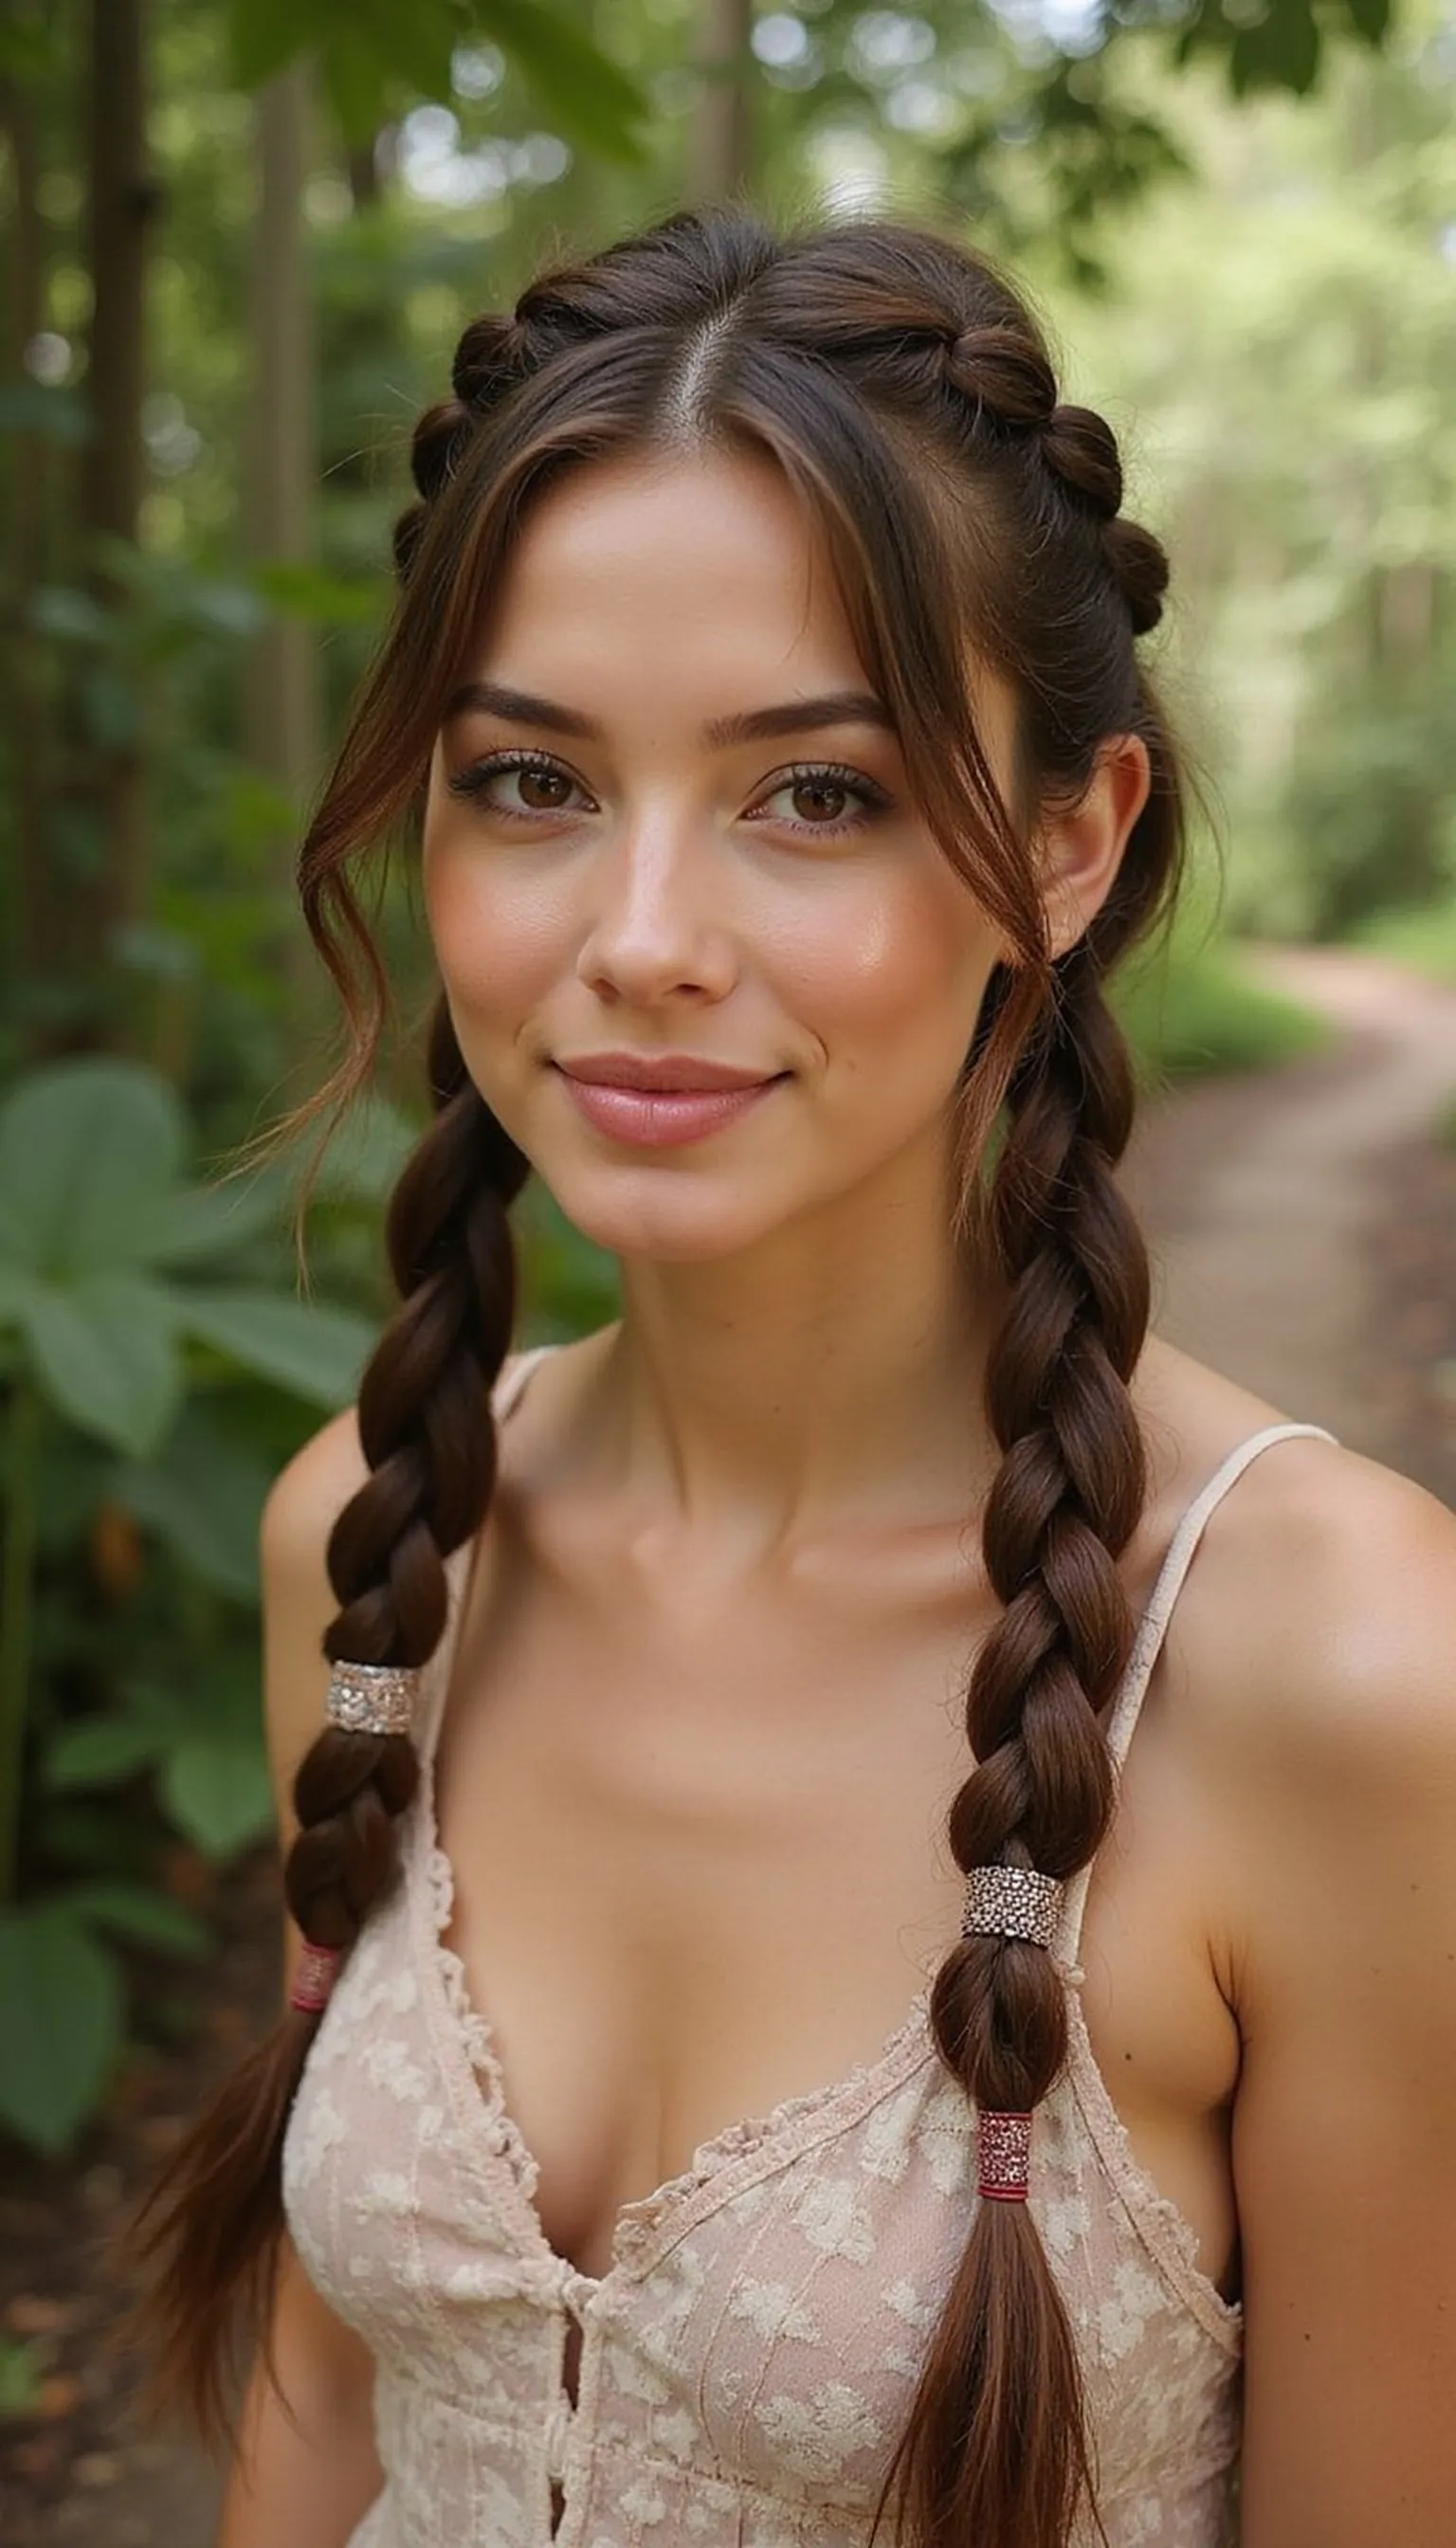
Braided Crown Adorned With Small Shell Clips For Ports
⏱️ 25 min · 🟠 Intermediate
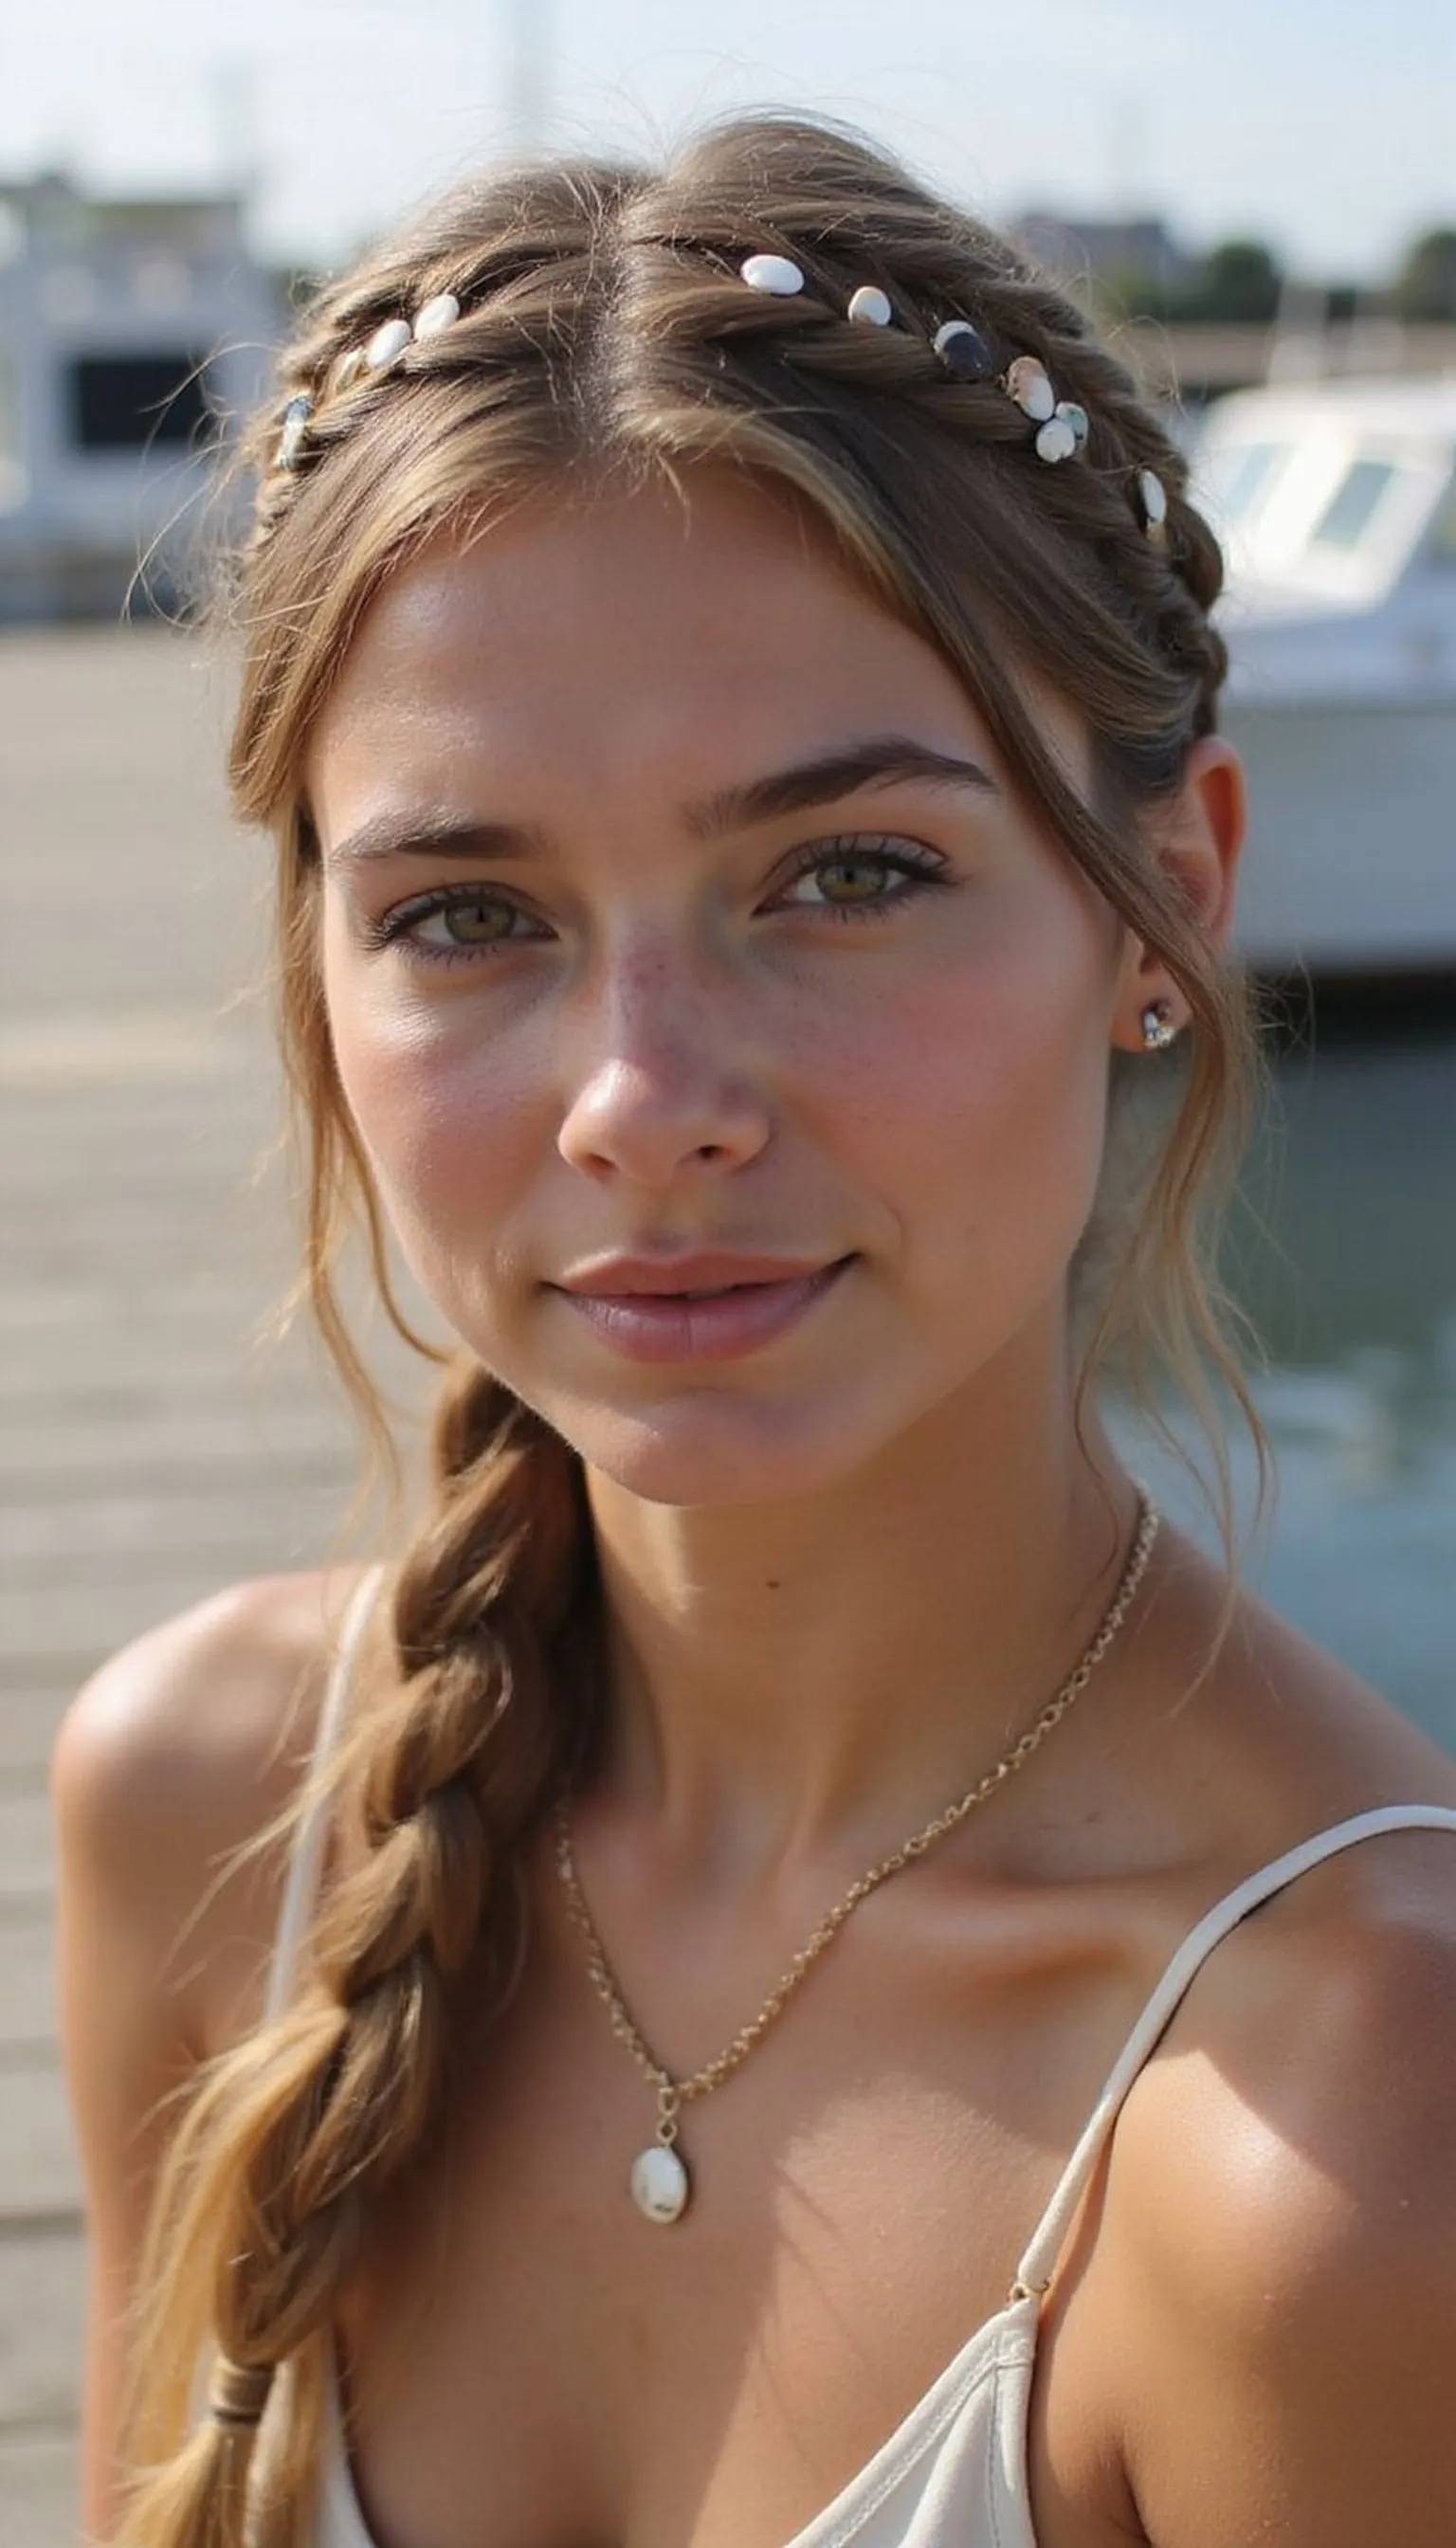
A braided crown feels romantic and stays put during active shore walks. Small shell clips tuck into the braid for a charming seaside accent that nods to port-side finds.
Create two Dutch braids from the temples and wrap them into a crown, pinning with sea-themed clips. The shell clips add texture and reflect sunlight for pretty photos by the pier.
This style works on medium to long hair and hides flyaways from humidity. It also keeps hair out of the face while exploring coastal markets and cafes.
Styling Tips
- Start with light texturizing spray to help braids hold without stiffness.
- Secure ends with small elastics before pinning into a crown shape.
- Place shell clips where braid overlaps for decorative hold.
Pro Tip: Add a tiny dab of clear gel at braid ends for neater tucking and longer-lasting hold without crunchiness.
Avoid: Braiding too tight makes the crown uncomfortable and shows scalp lines. Keep braids snug but relaxed for a soft finish.
Try Also: Swap shell clips for floral pins or metallic barrettes to change the mood. Try a single side braid for a casual variation.
Products & Materials
Items Used
- small shell clips
- small clear hair elastics
“Romantic braided crown with shell clips, perfect for portside strolls.”
Get 75+ ad-free, high-resolution printable tutorials for salon-quality results every single morning.
One printable guide · $19.99 · yours forever
Sleek Low Ponytail With Silk Scrunchie For Evenings
⏱️ 10 min · 🟢 Beginner
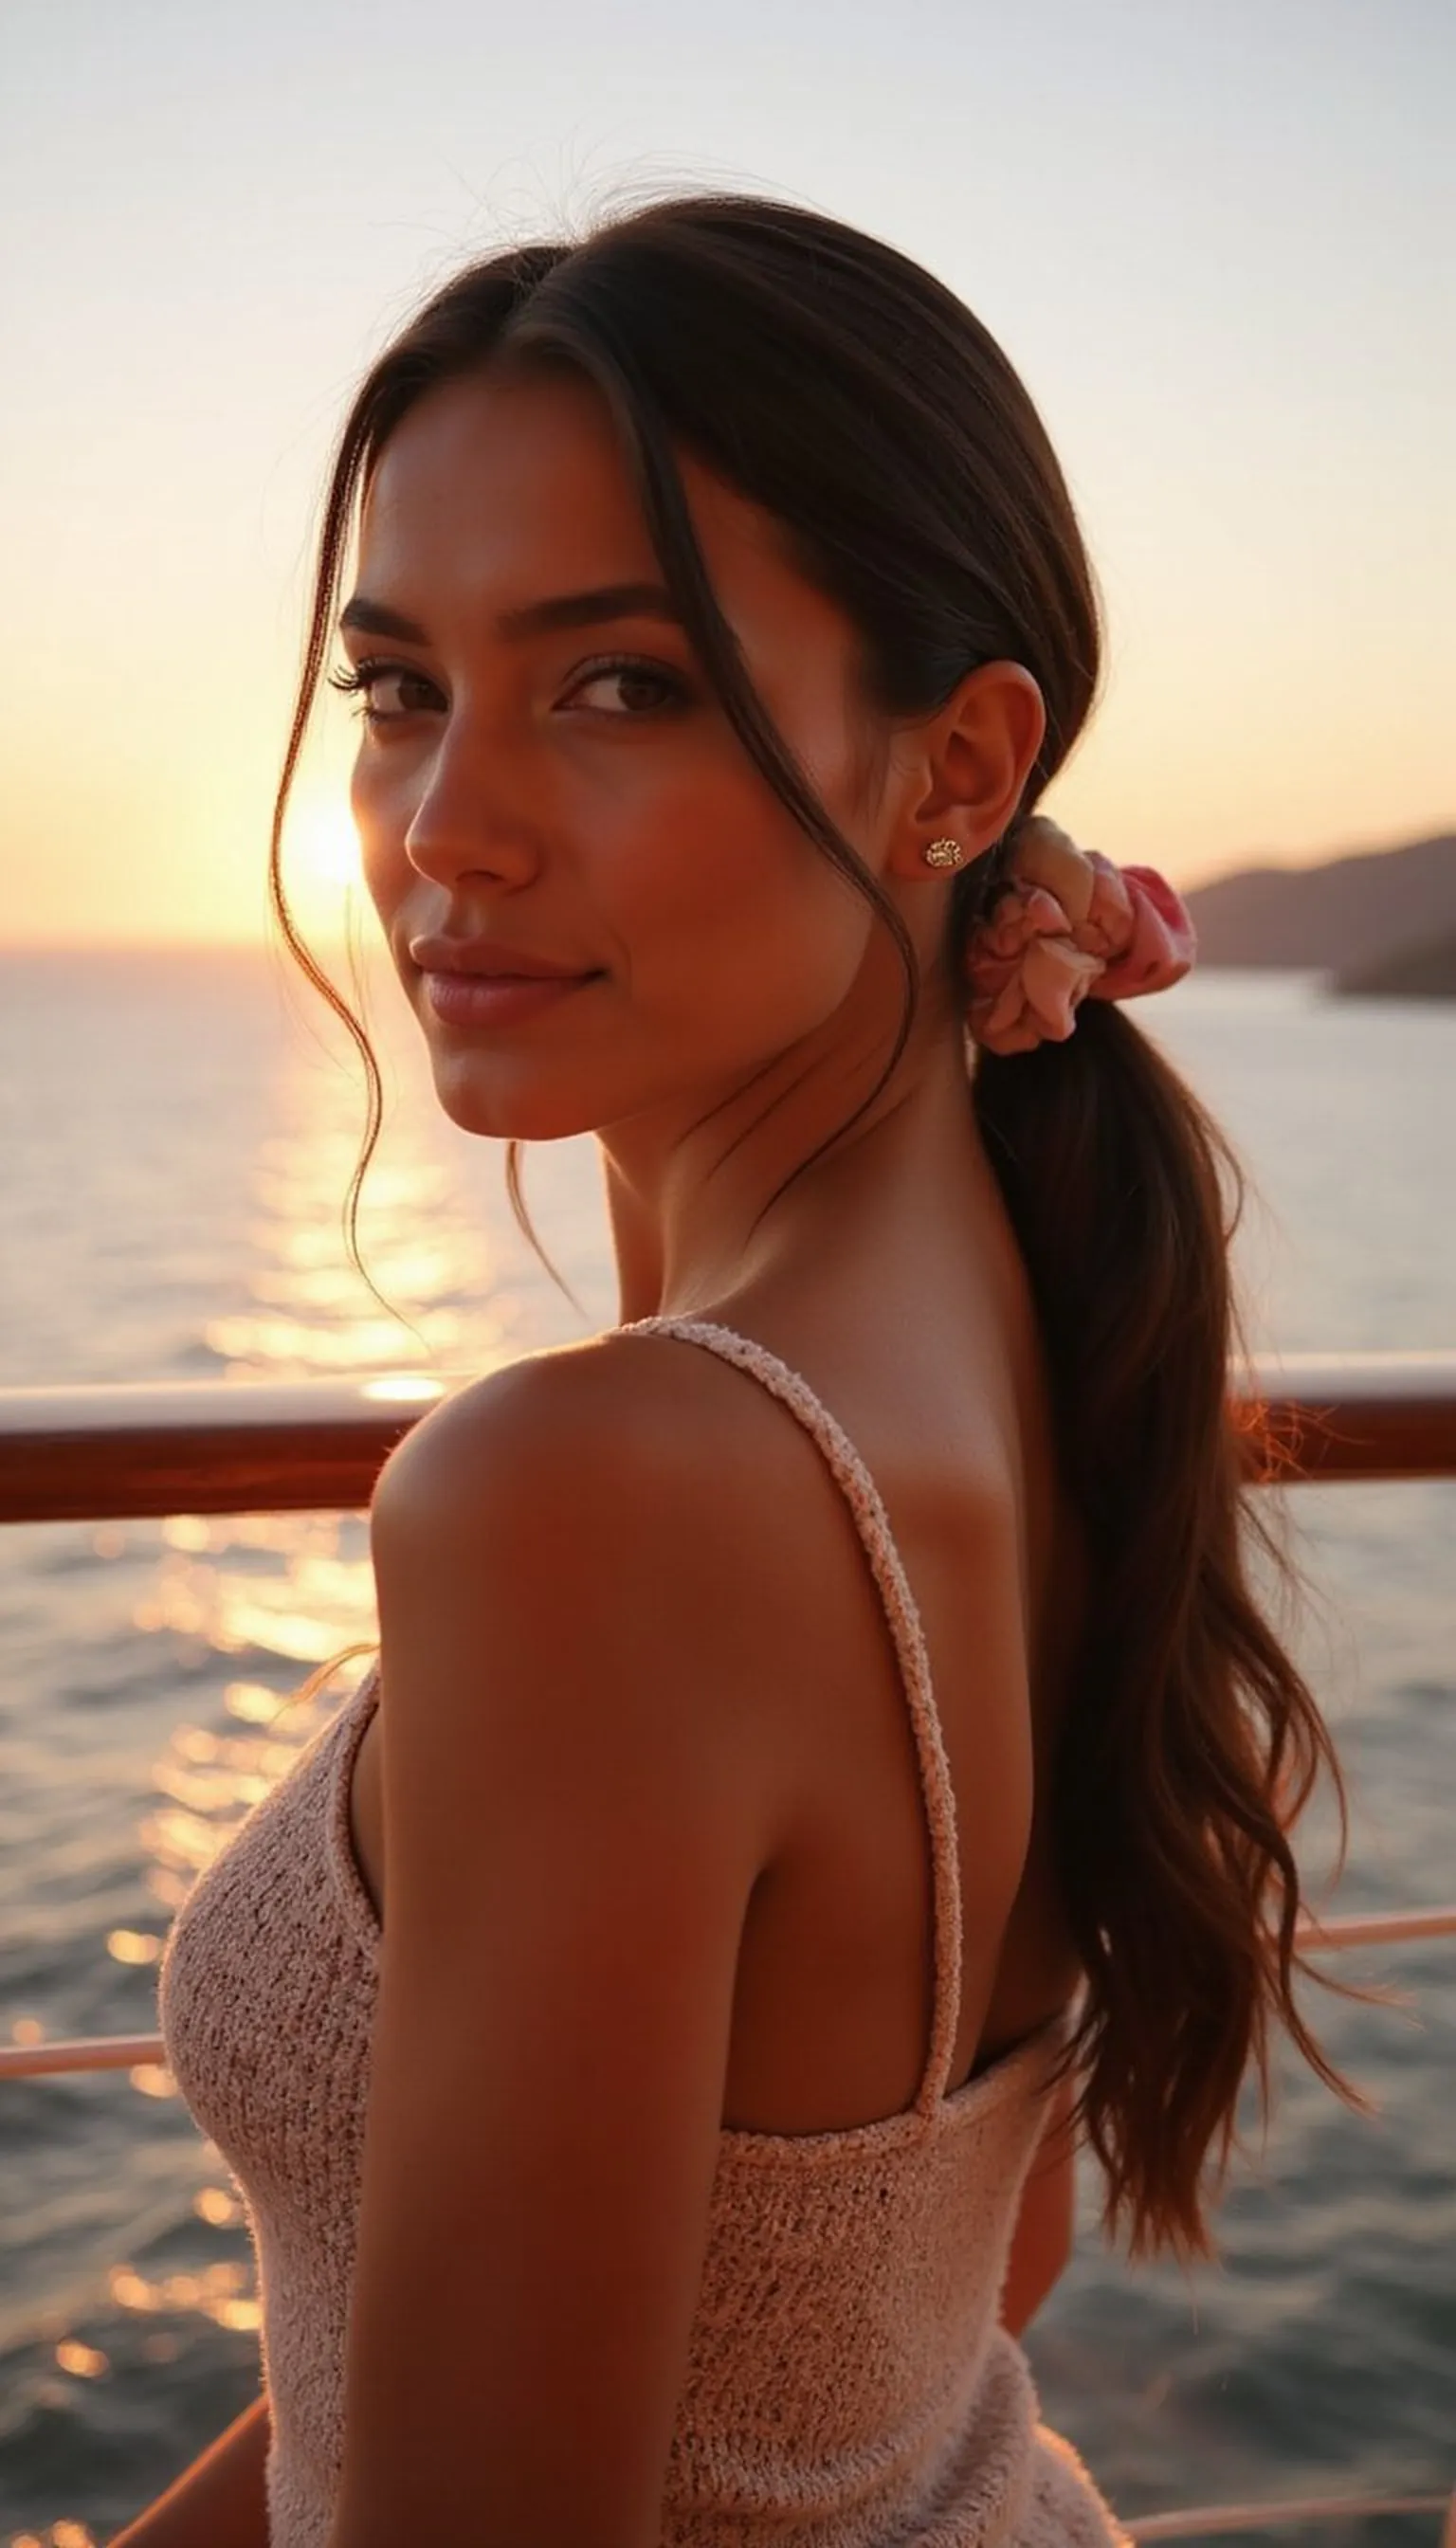
A sleek low ponytail tied with a silk scrunchie keeps hair glossy for dinner on deck. The silk scrunchie reduces friction and looks elevated without a lot of effort.
Smooth hair back with a touch of lightweight cream or smoothing serum before gathering into a low ponytail. Wrap the silk scrunchie twice for a neat finish that stays comfortable under collars and jackets.
This simple silhouette feels polished and photographs well under warm evening lights. Add statement earrings to draw attention to the neckline and sleek finish.
Styling Tips
- Use a soft brush to smooth hair into the ponytail for a polished base.
- Secure with a silk scrunchie to prevent dents and frizz.
- Tuck ends under or wrap a strand around the scrunchie for a clean look.
Pro Tip: Use a fine tooth comb to smooth hair and a single light mist of flexible hairspray for long-lasting shine.
Avoid: Wrapping the scrunchie too loosely causes the ponytail to sag. Keep tension even for a tidy silhouette.
Try Also: Switch to a low braided ponytail using the same silk scrunchie or add a twist above the elastic for texture. Swap silk for velvet for colder evenings.
Products & Materials
Items Used
“Sleek low ponytail with a silk scrunchie for elegant cruise dinners.”
Twisted Half-Up Secured With Tortoiseshell Clips For Brunch
⏱️ 12 min · 🟢 Beginner
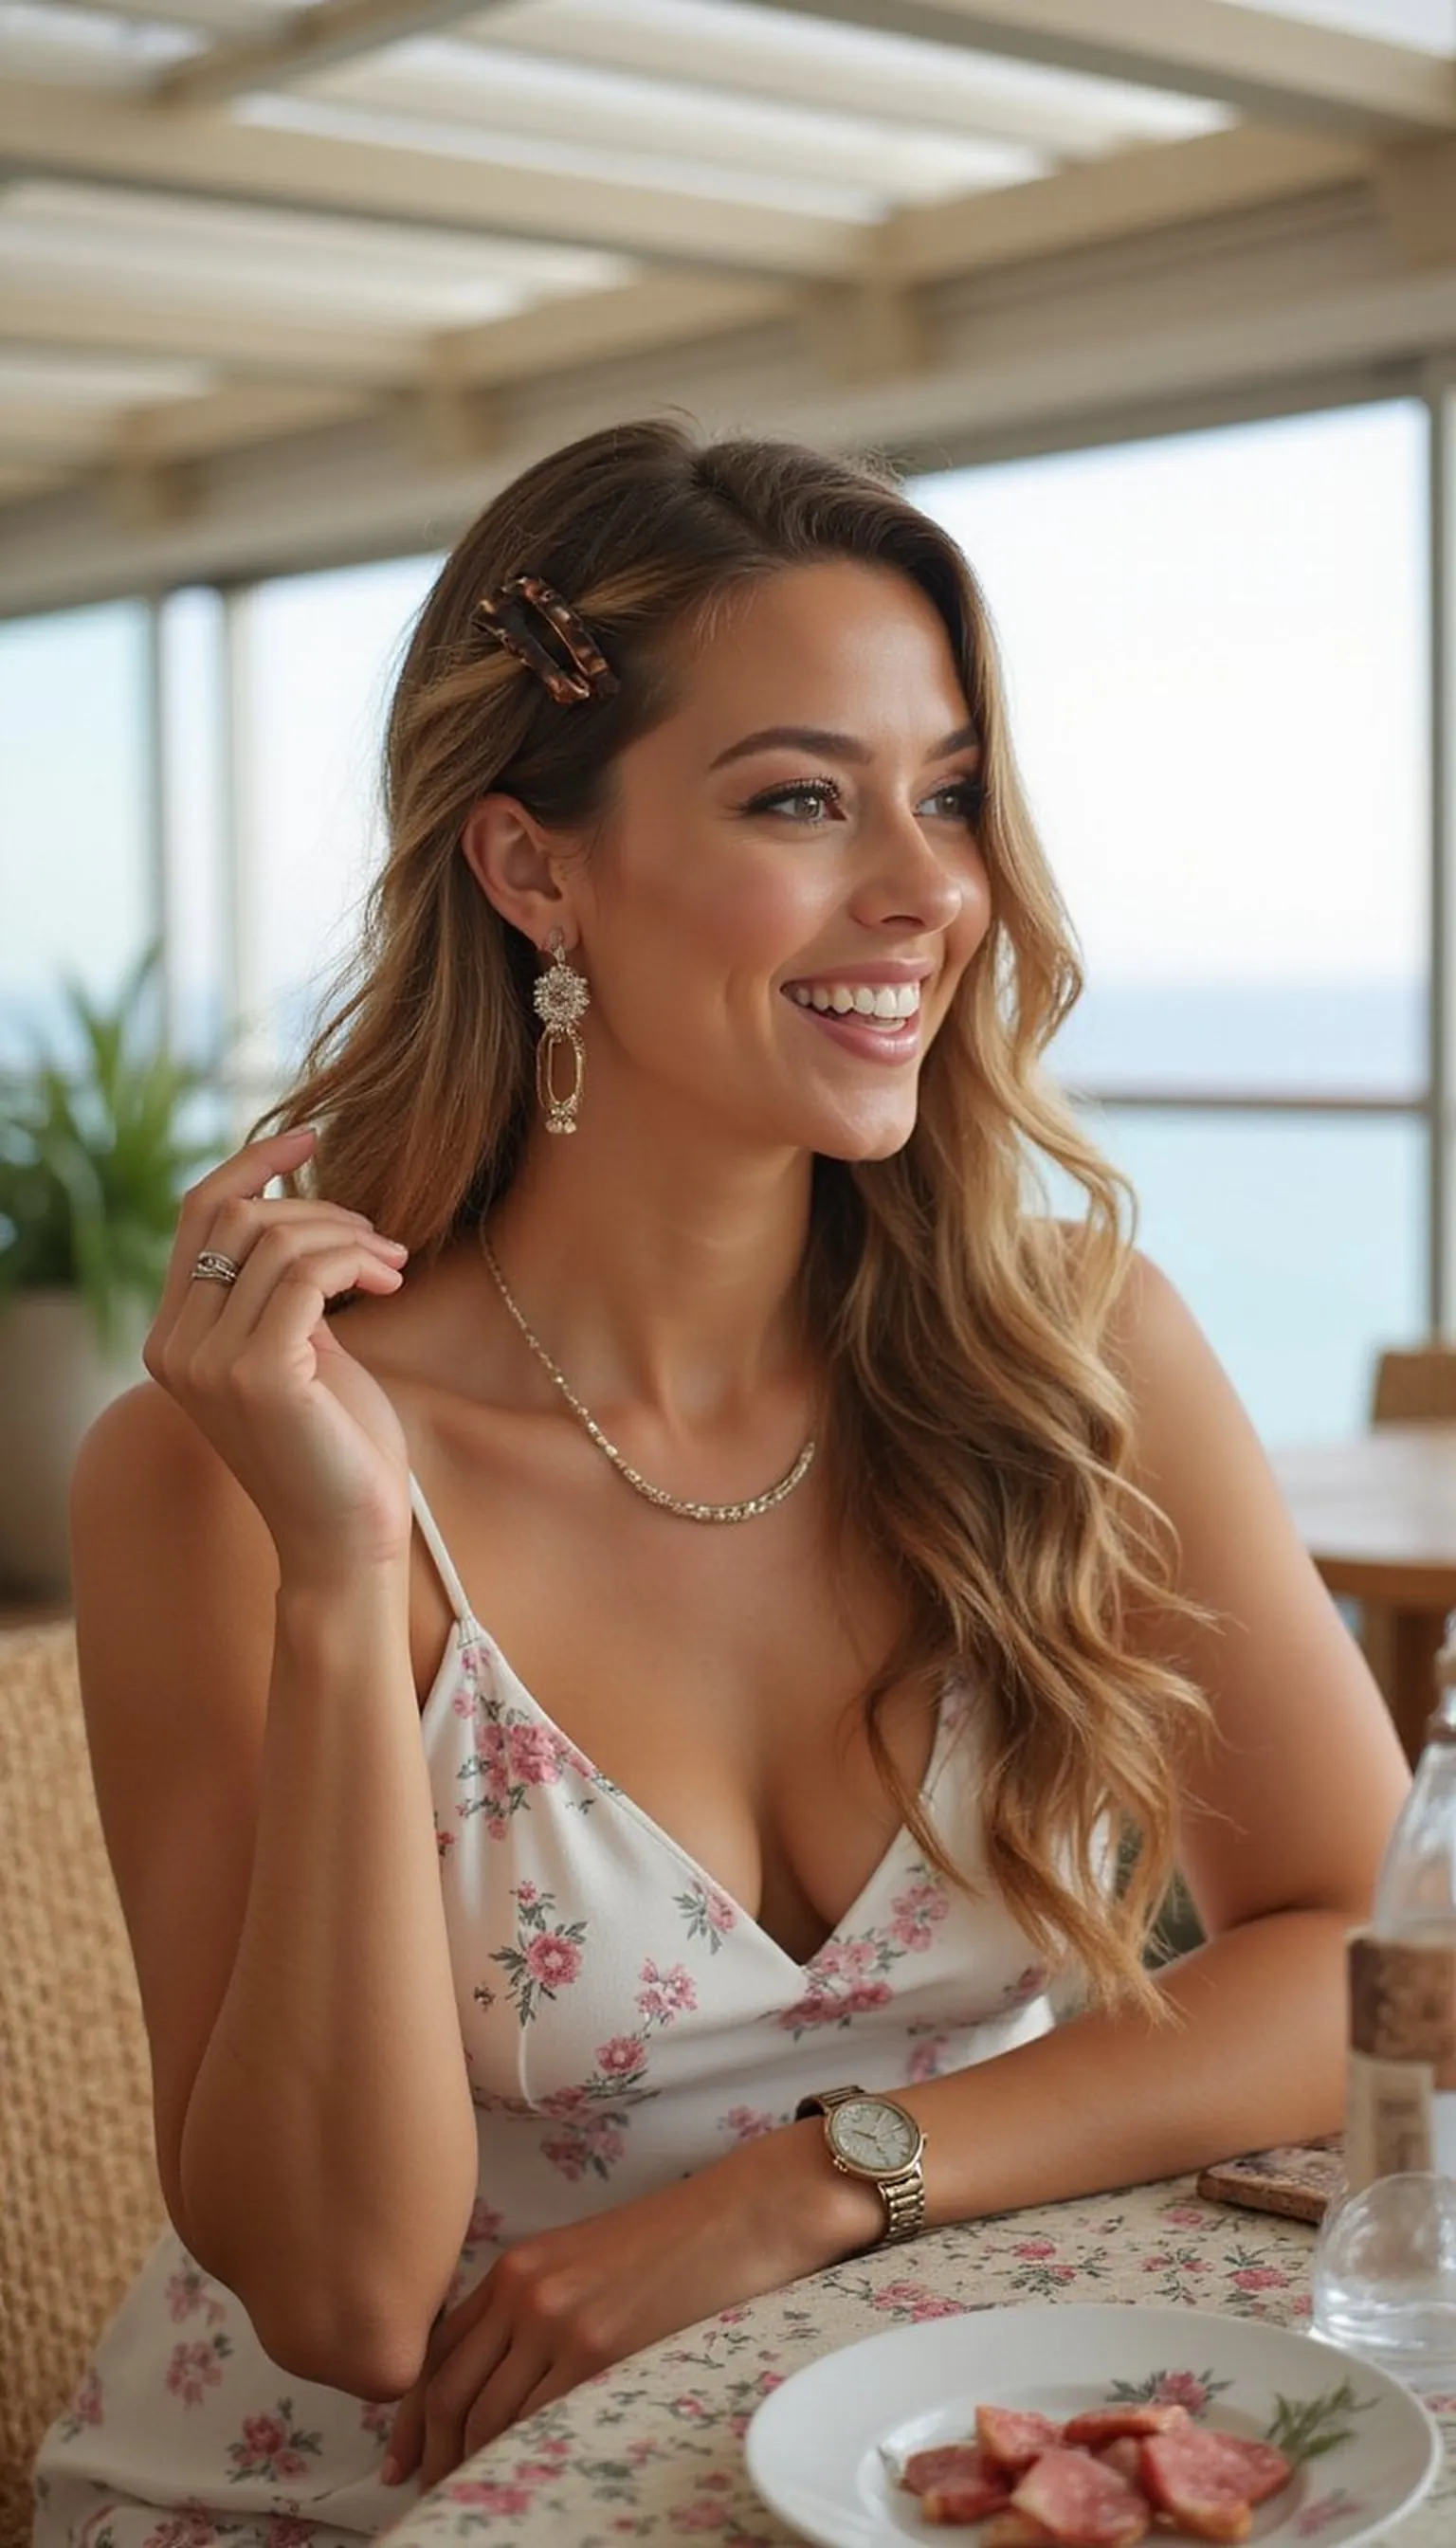
The twisted half-up is a simple way to look put together at seaside brunches. Tortoiseshell clips add vintage flair and solid hold without damaging hair.
Twist small sections from each temple toward the back and secure them with matching clips for instant polish. This keeps hair away from the face while leaving soft waves or straight lengths in place.
The look works on many lengths and pairs nicely with sundresses for day outings. Reposition clips slightly higher for a more youthful lift or lower for understated elegance.
Styling Tips
- Create light texture before twisting for more grip and visual depth.
- Use two tortoiseshell clips spaced evenly for balance.
- Tilt your head when clipping to hide metal teeth and show pattern.
Pro Tip: Twist hair tightly at first, then gently loosen the twist to reveal soft volume without losing hold.
Avoid: Clipping only the top layer can make the twist slip later. Gather enough hair into the twist for secure placement.
Try Also: Use pearl clips for evening or small floral clips for a daytime romantic feel. Try a full twisted crown for more coverage.
Products & Materials
Items Used
“Pretty twisted half-up with tortoiseshell clips for casual brunches.”
High Top Knot Wrapped With Colorful Scarf For Poolside
⏱️ 8 min · 🟢 Beginner
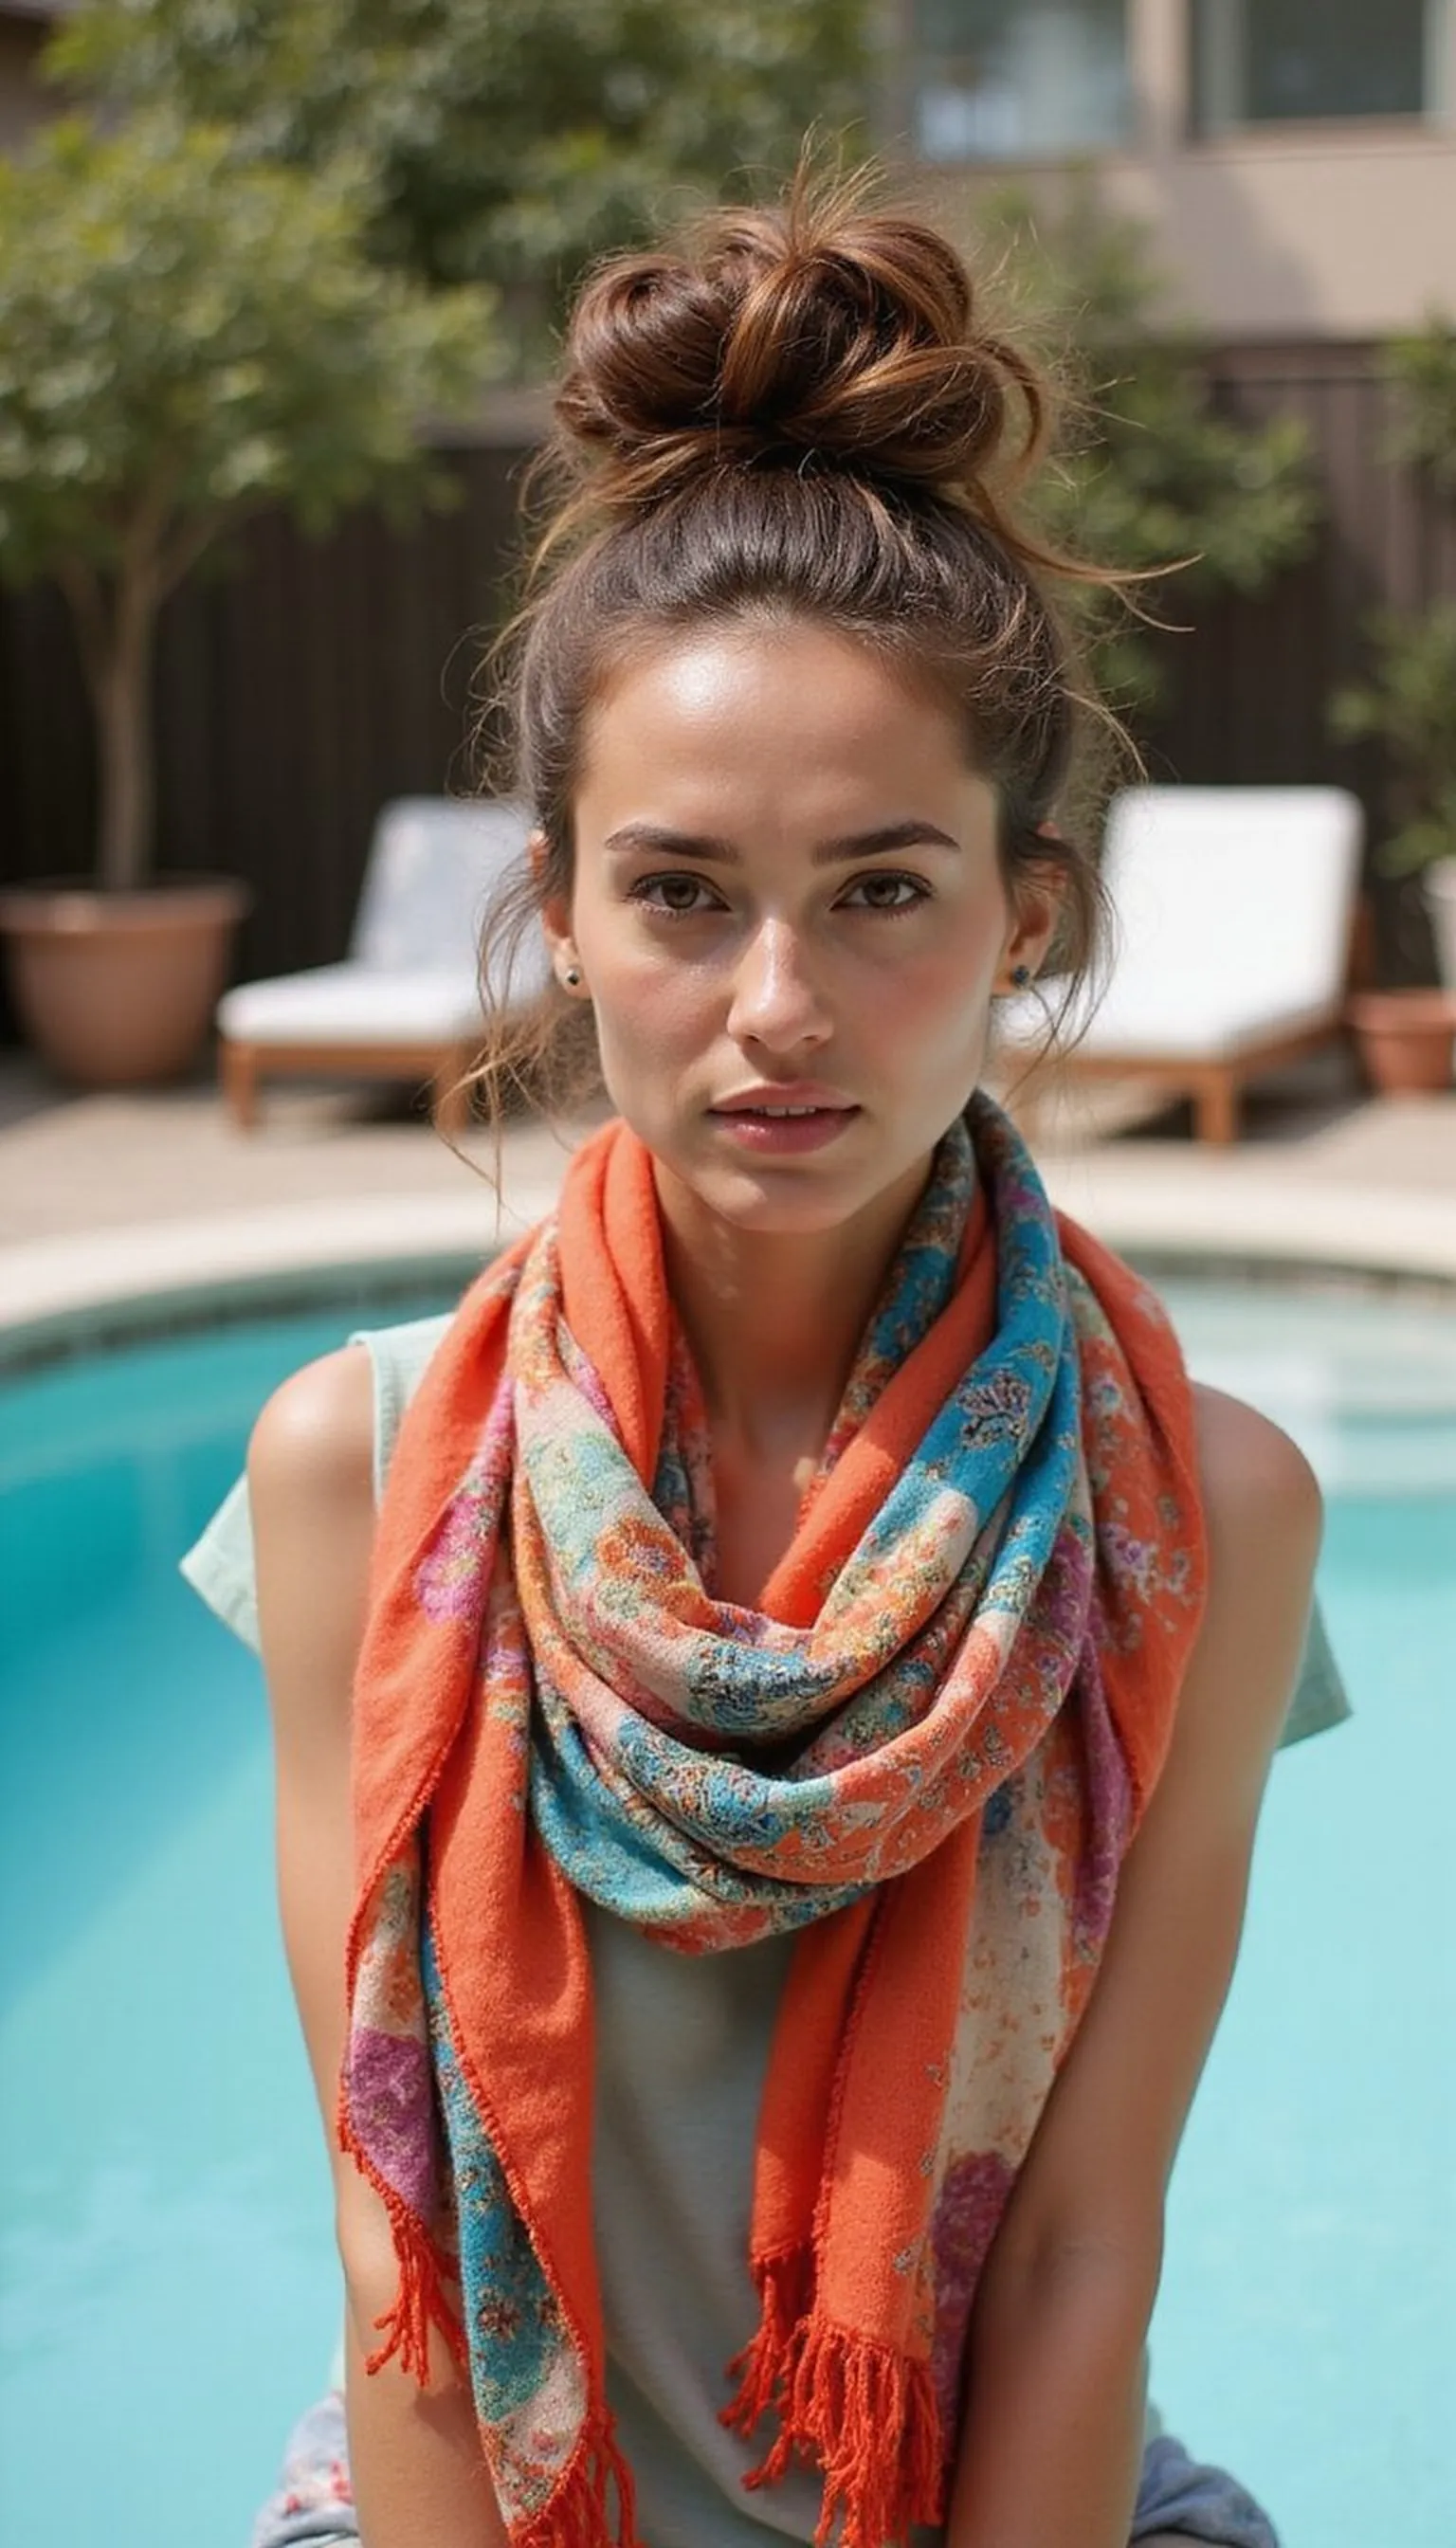
A high top knot keeps hair off the neck and looks chic poolside. Wrapping a colorful scarf around the base adds sun-safe coverage and a playful pop of pattern.
Create a loose top knot and secure with a hair elastic, then tie the scarf around the bun for a stable, stylish finish. The scarf not only looks cute but protects ends from sun and chlorinated water when lounging.
This quick style works with both long and medium hair and is ideal for hat-free days. Swap scarf patterns to match swimsuits or evening outfits for instant coordination.
Styling Tips
- Create a messy bun shape for volume before tying the scarf for a relaxed look.
- Secure the scarf with a small knot and tuck ends for a tidy finish.
- Use a soft elastic under the scarf to avoid creasing hair too much.
Pro Tip: Tie the scarf in a knot at the back and loop the ends through for extra hold that won’t loosen while swimming.
Avoid: Making the knot too tight can pull at the scalp and feel uncomfortable. Keep the bun relaxed for comfort.
Try Also: Wrap a thin ribbon instead of a scarf for a daintier look or swap to a neutral scarf for evening. Try a low knot with the same scarf for a different silhouette.
Products & Materials
Items Used
“Poolside top knot wrapped with a colorful scarf for sunny days.”
Retro Finger Waves Styled For Formal Cruise Dinners
⏱️ 1 hour · 🔴 Advanced
Retro finger waves bring Old Hollywood glamour to formal cruise dinners and gala nights. The sculpted S-shaped waves reflect candlelight and pair beautifully with evening gowns.
Create neat finger waves using damp hair, a fine-tooth comb, and clips to set the pattern before drying gently. This technique takes patience but yields a striking, camera-ready finish that stays in place through dinner courses.
The style suits short to mid-length hair and looks especially polished with bold lipstick and vintage accessories. For a modern twist, place a jeweled barrette near one temple for sparkle.
Styling Tips
- Work on damp hair and use a light setting lotion for smooth, lasting waves.
- Set each wave with clips and allow full drying time before removing them.
- Add a jeweled barrette to one side to anchor the look for evening.
Pro Tip: Practice the basic S-shape on a small section first, then scale up to avoid uneven wave patterns across the head.
Avoid: Rushing clip removal ruins the wave definition and causes frizz. Wait until fully dry for crisp waves.
Try Also: Try a softer Marcel wave for longer hair or a single side-swept wave with a barrette for subtle glamour. Use a velvet headband for retro flair.
Products & Materials
Items Used
“Glamorous retro finger waves for elegant cruise evenings.”
Slicked Back Wet Look With Gold Barrette For Cocktails
⏱️ 20 min · 🟠 Intermediate
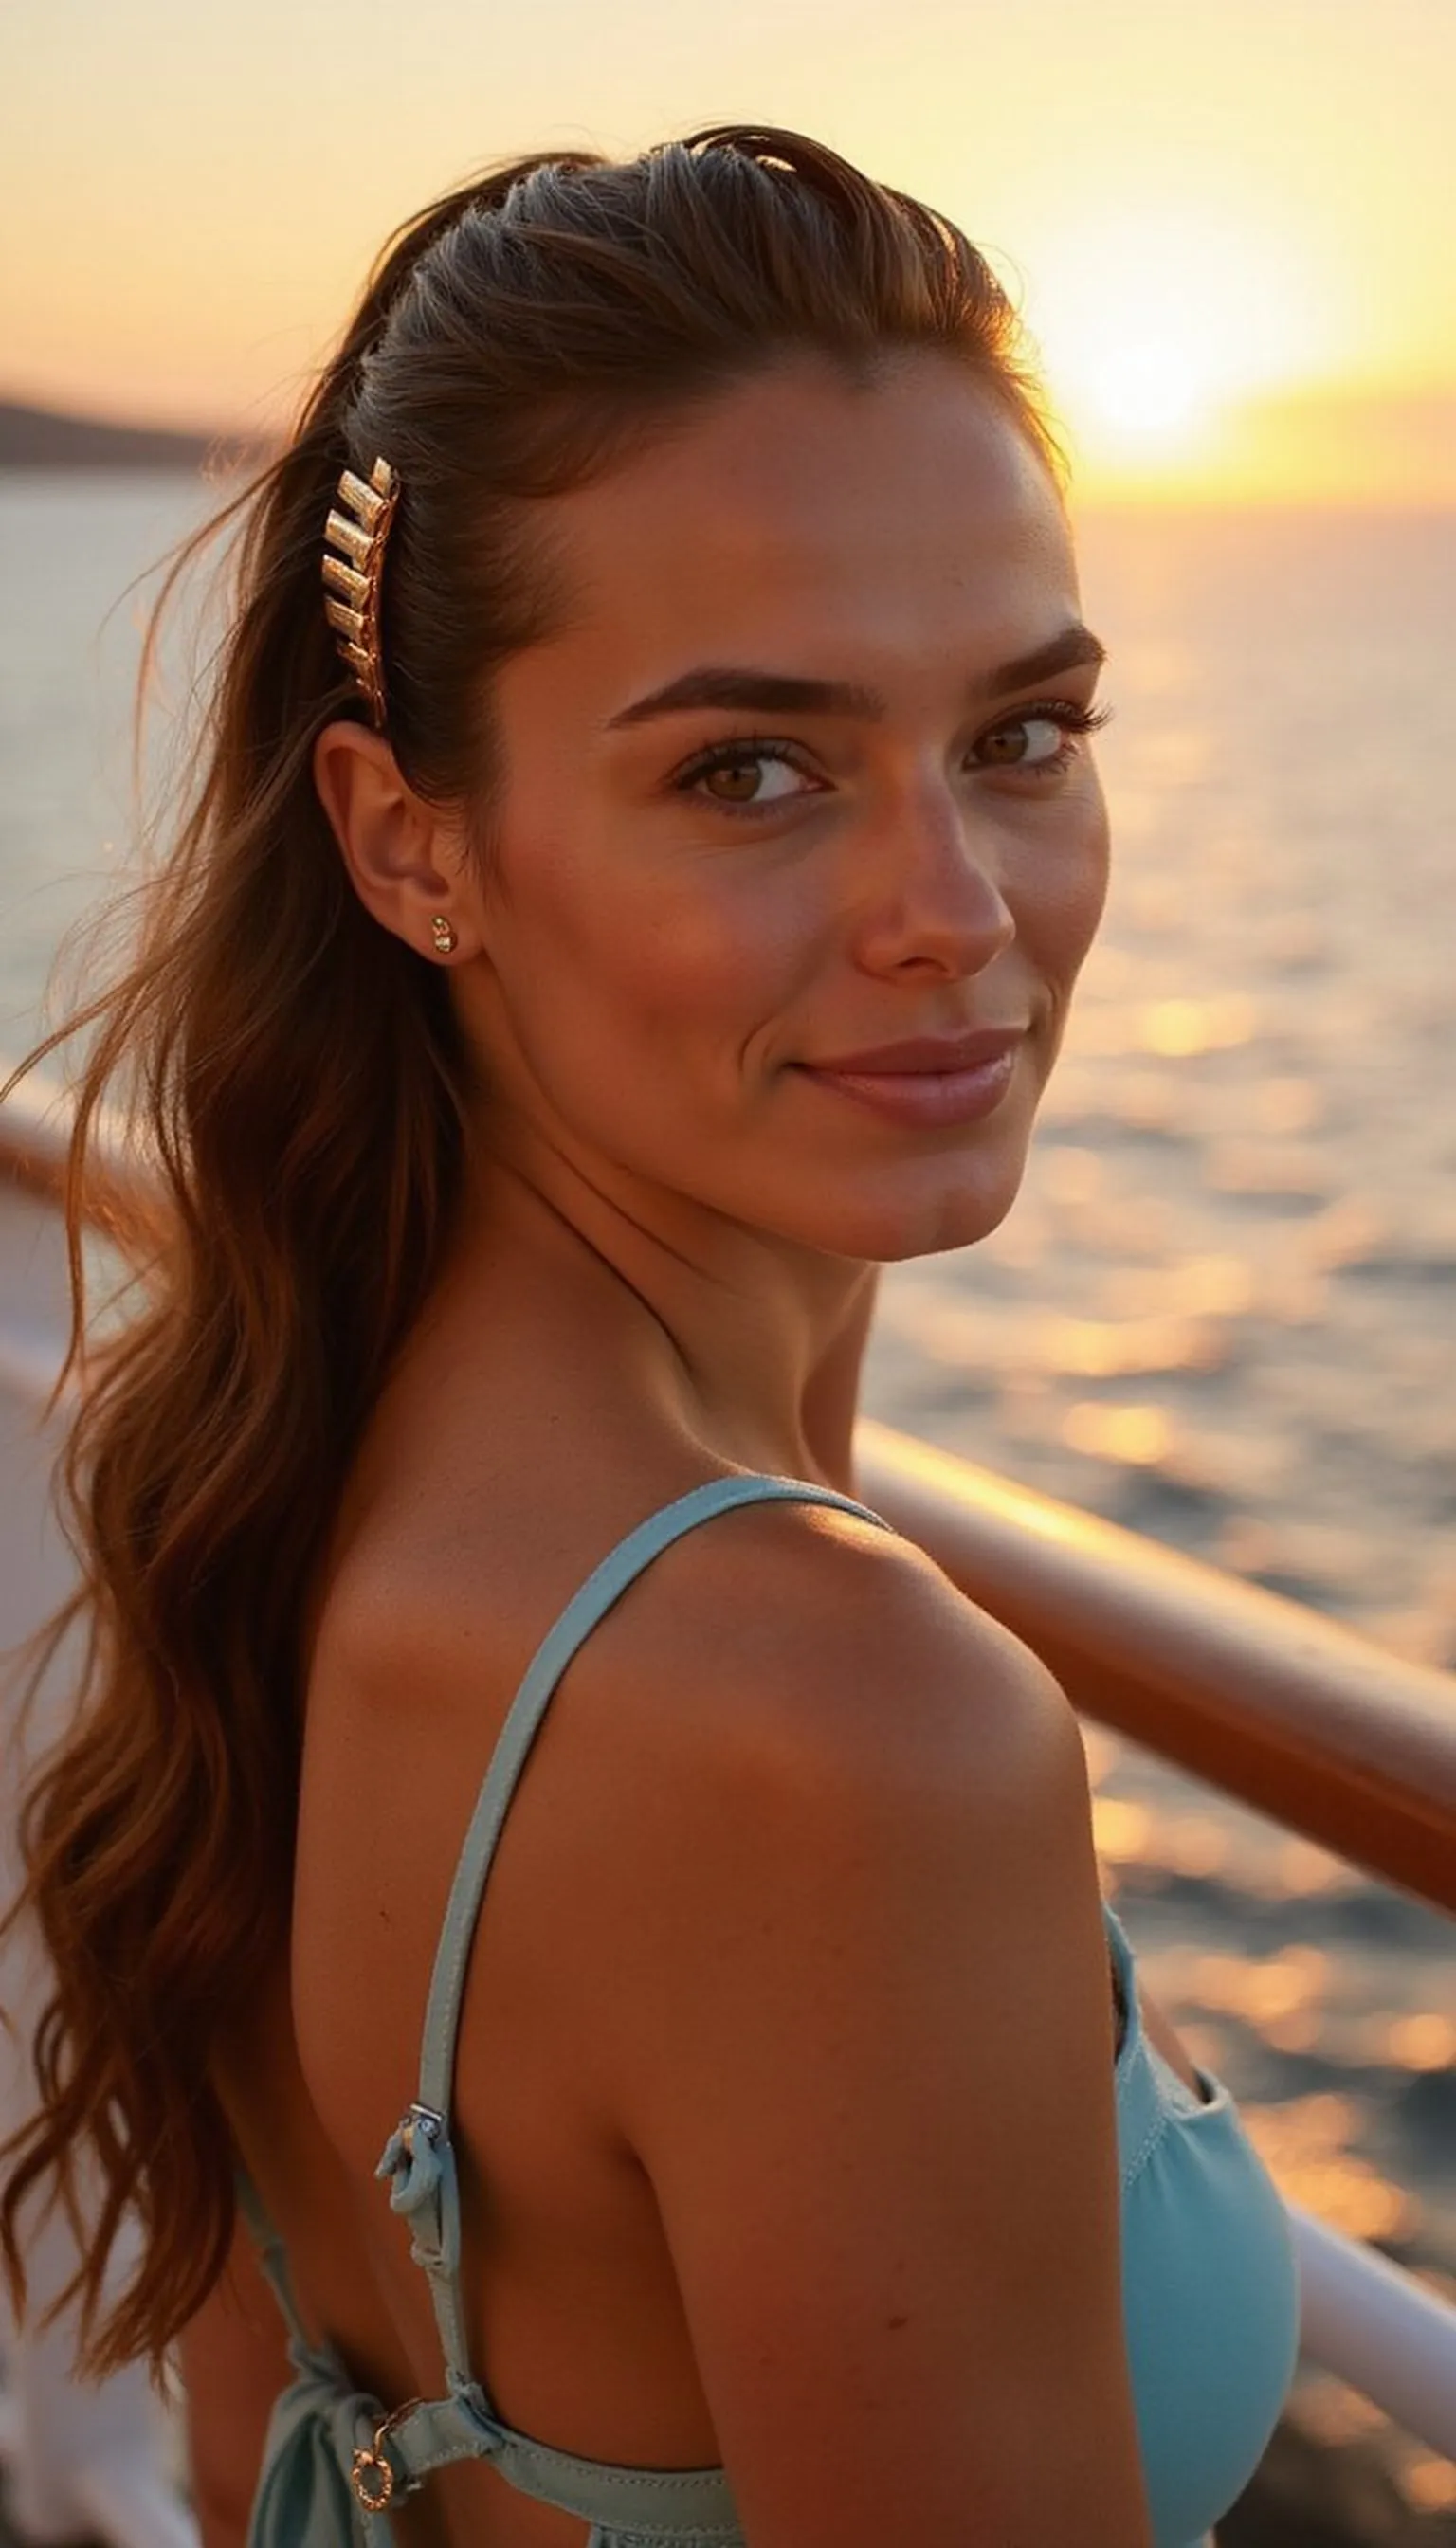
The slicked-back wet look is striking for sunset cocktails and photographs well under warm lights. A gold barrette secures the sides and adds a luxe accent that reads well in photos.
Apply a glossy gel or mousse evenly and comb hair back into place, then clip with a gold barrette at one side or the nape. The finish glows and resists stray flyaways from humid or breezy conditions.
This style suits medium to long hair and pairs nicely with statement earrings for evening portraits. Keep makeup fresh and dewy to match the glossy hair effect for a cohesive vibe.
Styling Tips
- Work product through damp hair for even distribution and smooth finish.
- Comb hair back firmly and secure with a decorative gold barrette.
- Blot excess product after shaping to avoid a greasy look under lights.
Pro Tip: Use a small brush to smooth edges and a light mist of flexible spray to keep the wet look without stiffness.
Avoid: Applying too much product makes hair look heavy and flat. Start light and add where needed to maintain movement.
Try Also: Try a low slicked bun with the gold barrette at the base or a half-slicked style with loose waves below. Swap gold for silver for cooler tones.
Products & Materials
Items Used
“Glossy slicked-back style with a gold barrette for cocktail nights.”
Fishtail Side Braid With Ribbon Tie For Onshore Exploring
⏱️ 20 min · 🟠 Intermediate
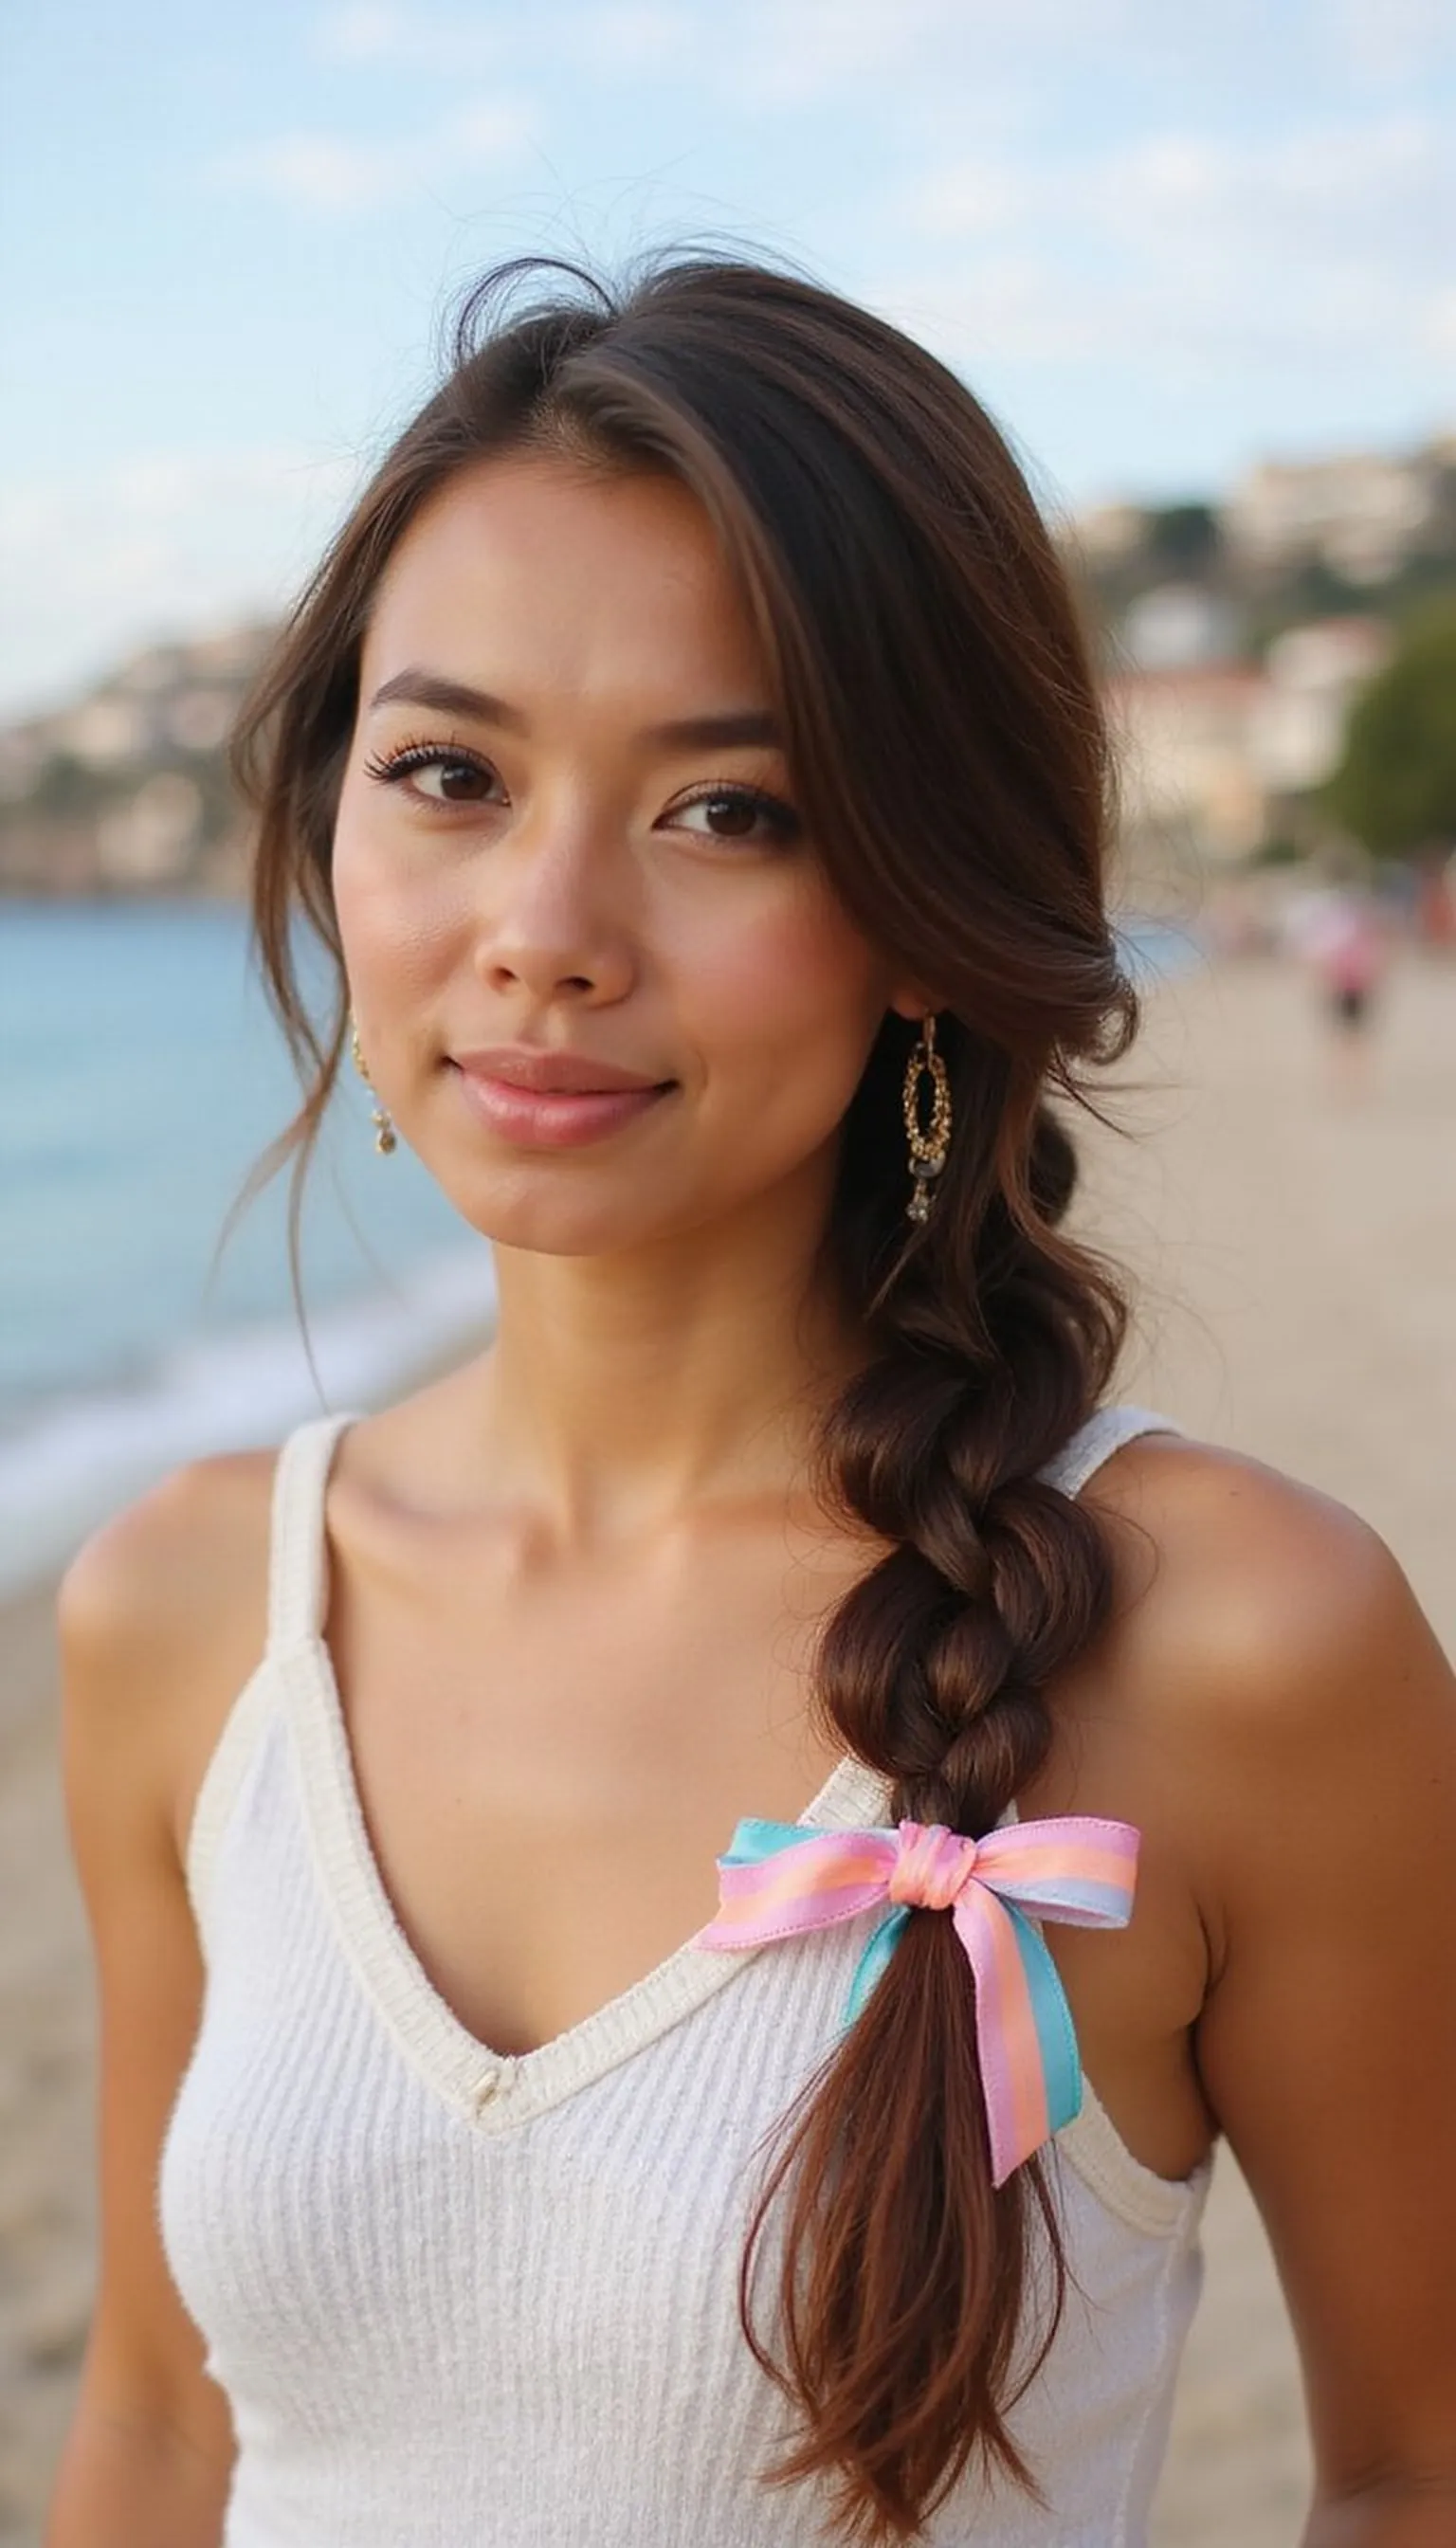
A fishtail side braid keeps hair secure while wandering cobblestone streets or hiking coastal viewpoints. A ribbon tied at the end adds charm and prevents the braid from loosening.
Create the fishtail braid over one shoulder, pulling gently at the braid edges to loosen for a boho finish. Tying a colorful ribbon at the tip reinforces the elastic and adds a coordinated outfit detail.
This look works well with sun hats and lightweight jackets for daytime adventures. It also holds up under backpacks and light breezes without needing frequent touch-ups.
Styling Tips
- Secure the braid with a small elastic before tying the ribbon for dependable hold.
- Gently pancake the braid sides for volume and a relaxed silhouette.
- Choose a narrow ribbon that won’t slip under movement.
Pro Tip: Start the fishtail slightly off-center and pull edge sections as you go for a fuller, bohemian braid finish.
Avoid: Making the braid too tight reduces volume and comfort. Keep sections balanced and slightly loose for texture.
Try Also: Turn the fishtail into a low fishtail bun or add two ribbons for a layered look. A small floral pin near the ribbon adds romance.
Products & Materials
Items Used
“Boho fishtail side braid finished with a pretty ribbon tie.”
Sailor Low Braid With Knot And Neck Scarf For Day Trips
⏱️ 15 min · 🟢 Beginner
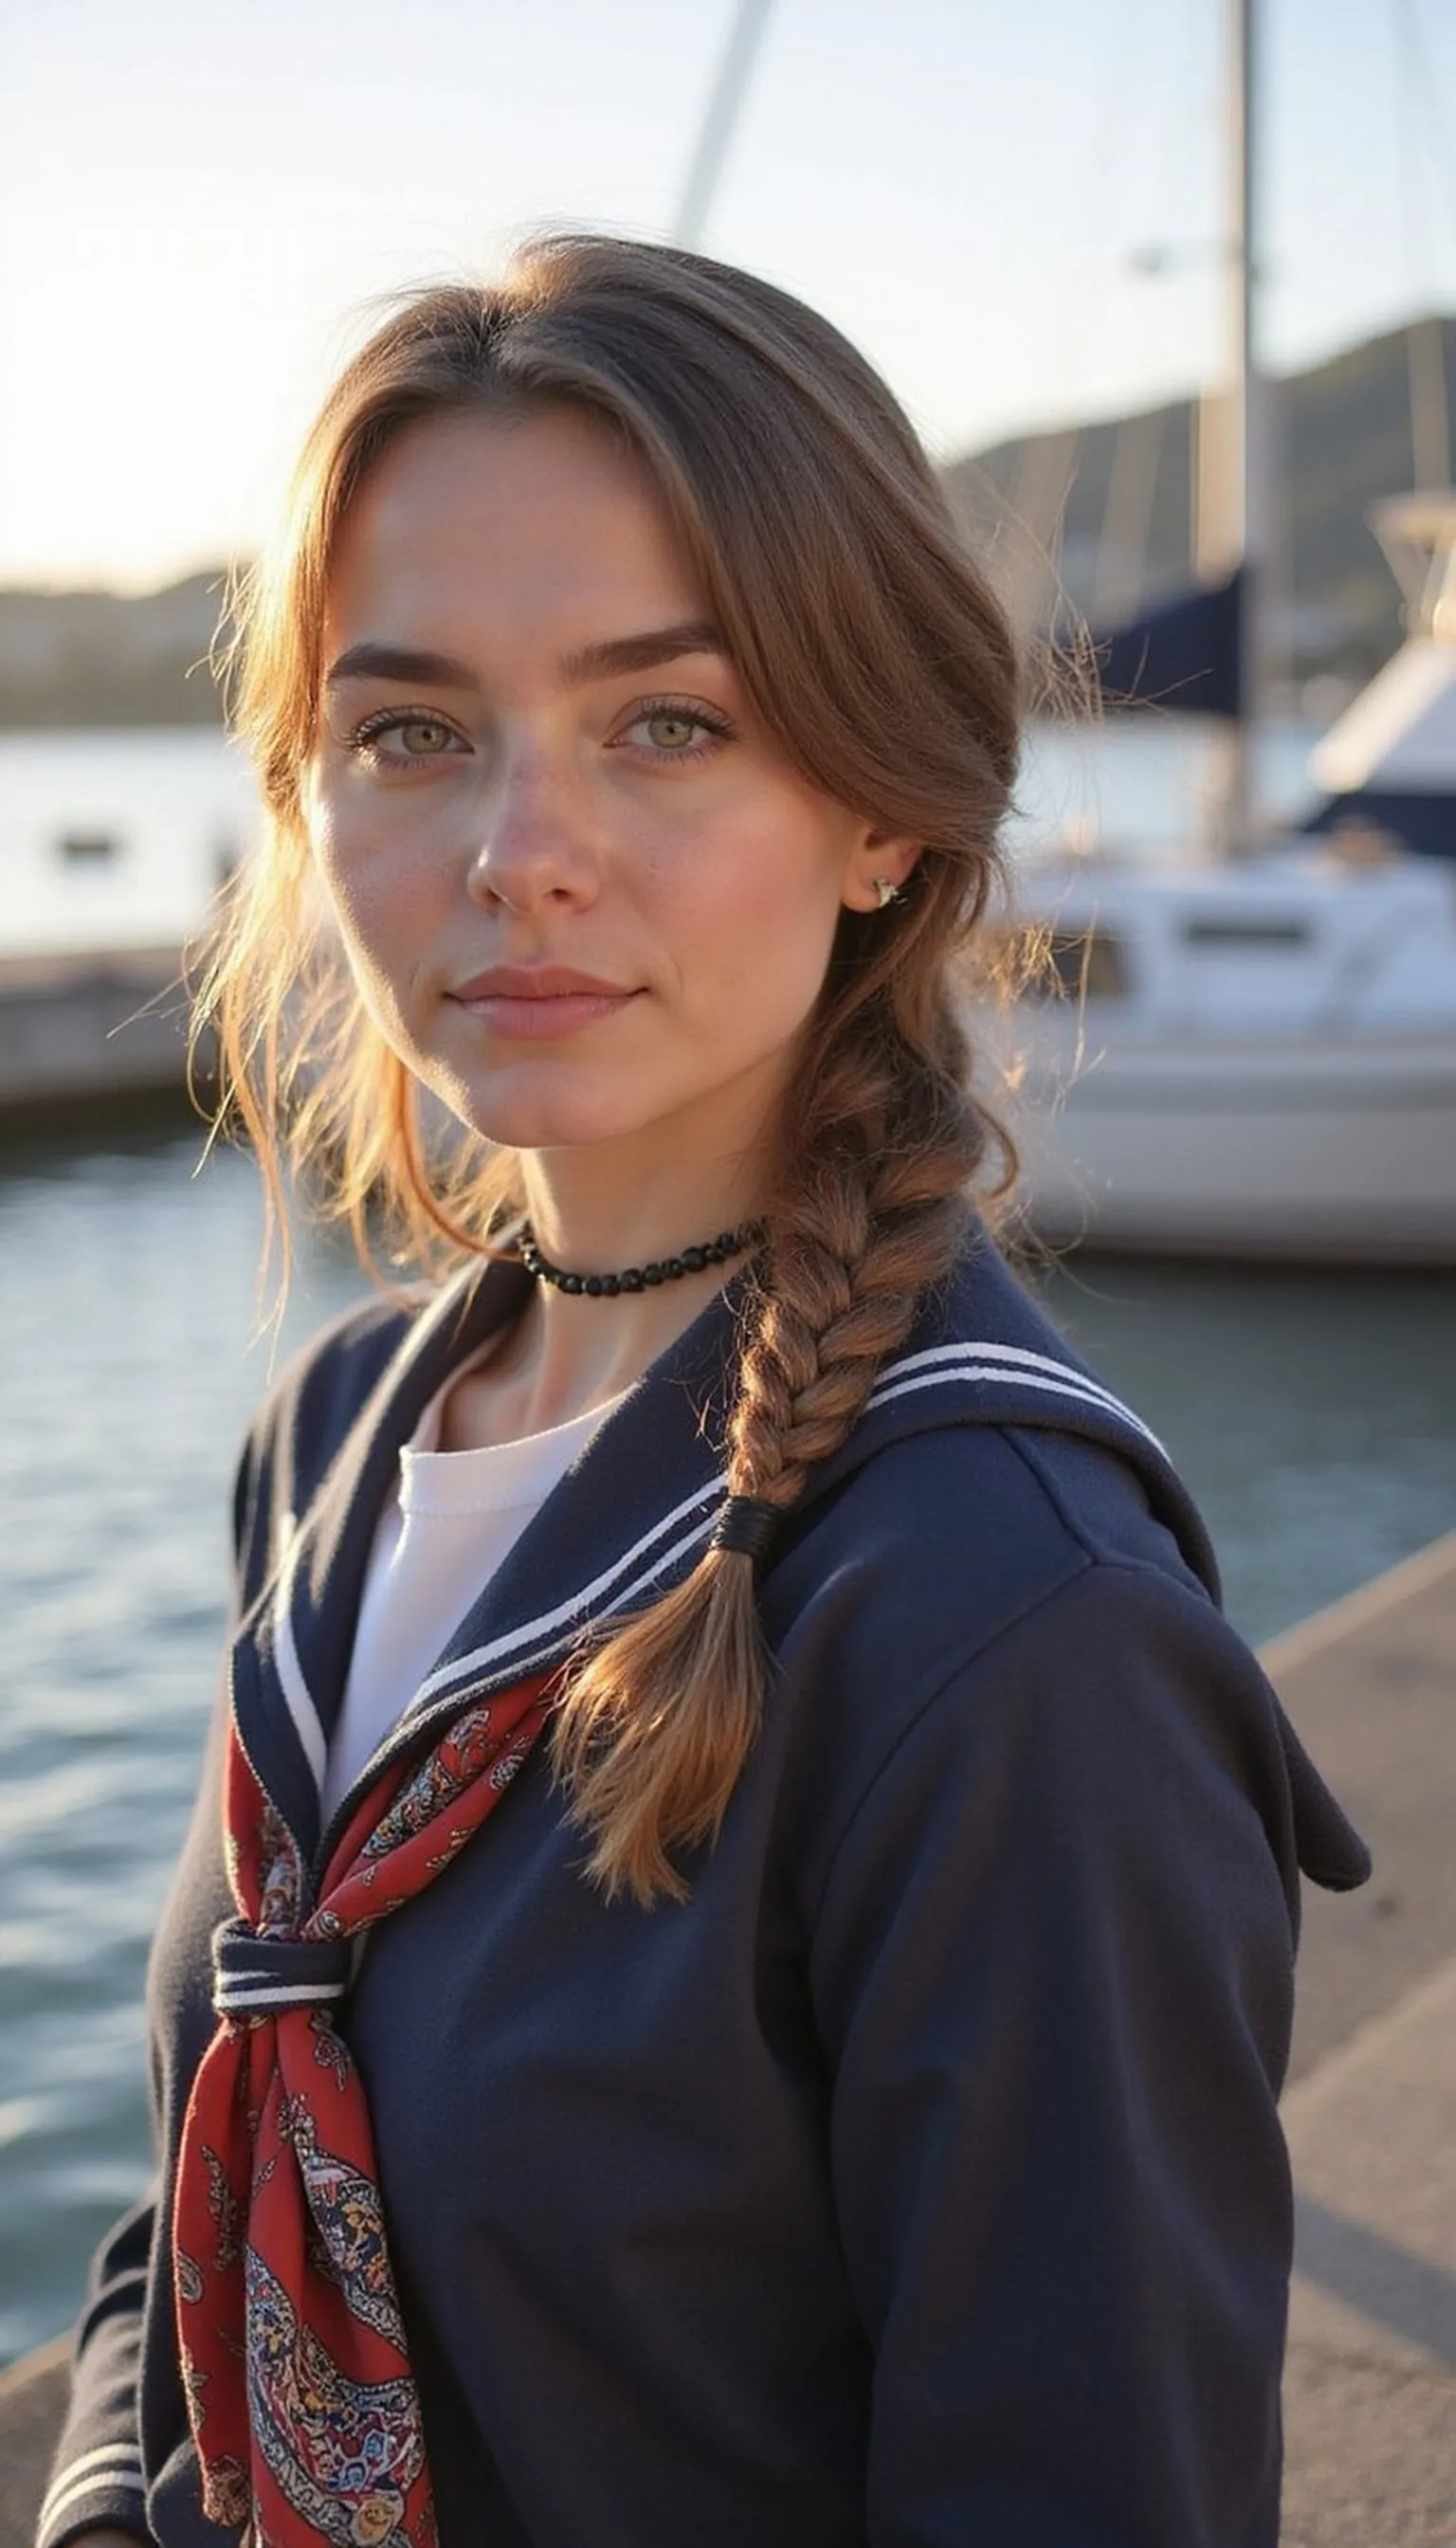
A low sailor braid finished with a knot feels nautical and holds up during busy shore days. Tying a neck scarf around the throat or loosely at the braid base adds vintage cruising charm.
Create a simple three-strand low braid and tuck the end into a small knot for a tidy finish that resists slipping. The neck scarf frames the face and complements sun-ready outfits without extra pins.
This is ideal for relaxed sightseeing and pairs well with breathable fabrics and boat shoes. Keep the knot loose enough for comfort while securing the braid end neatly.
Styling Tips
- Leave a few face-framing pieces out for a softer look near the temples.
- Tuck the braid end into itself for a clean knot that won’t snag on gear.
- Choose a lightweight neck scarf that won’t overheat on sunny days.
Pro Tip: Loosen the braid slightly after tying to create comfortable volume and a casual, lived-in appearance for daytime wear.
Avoid: Placing the scarf too tightly around the neck causes discomfort. Keep it loose for style without strain.
Try Also: Secure the scarf at the braid base instead of the neck or swap the knot for a small looped bun. Use a striped scarf for nautical flair.
Products & Materials
Items Used
“Nautical low braid with a knot and neck scarf for day trips.”
Textured Pixie Tousle With Decorative Bobby Pins For Short Hair
⏱️ 10 min · 🟢 Beginner
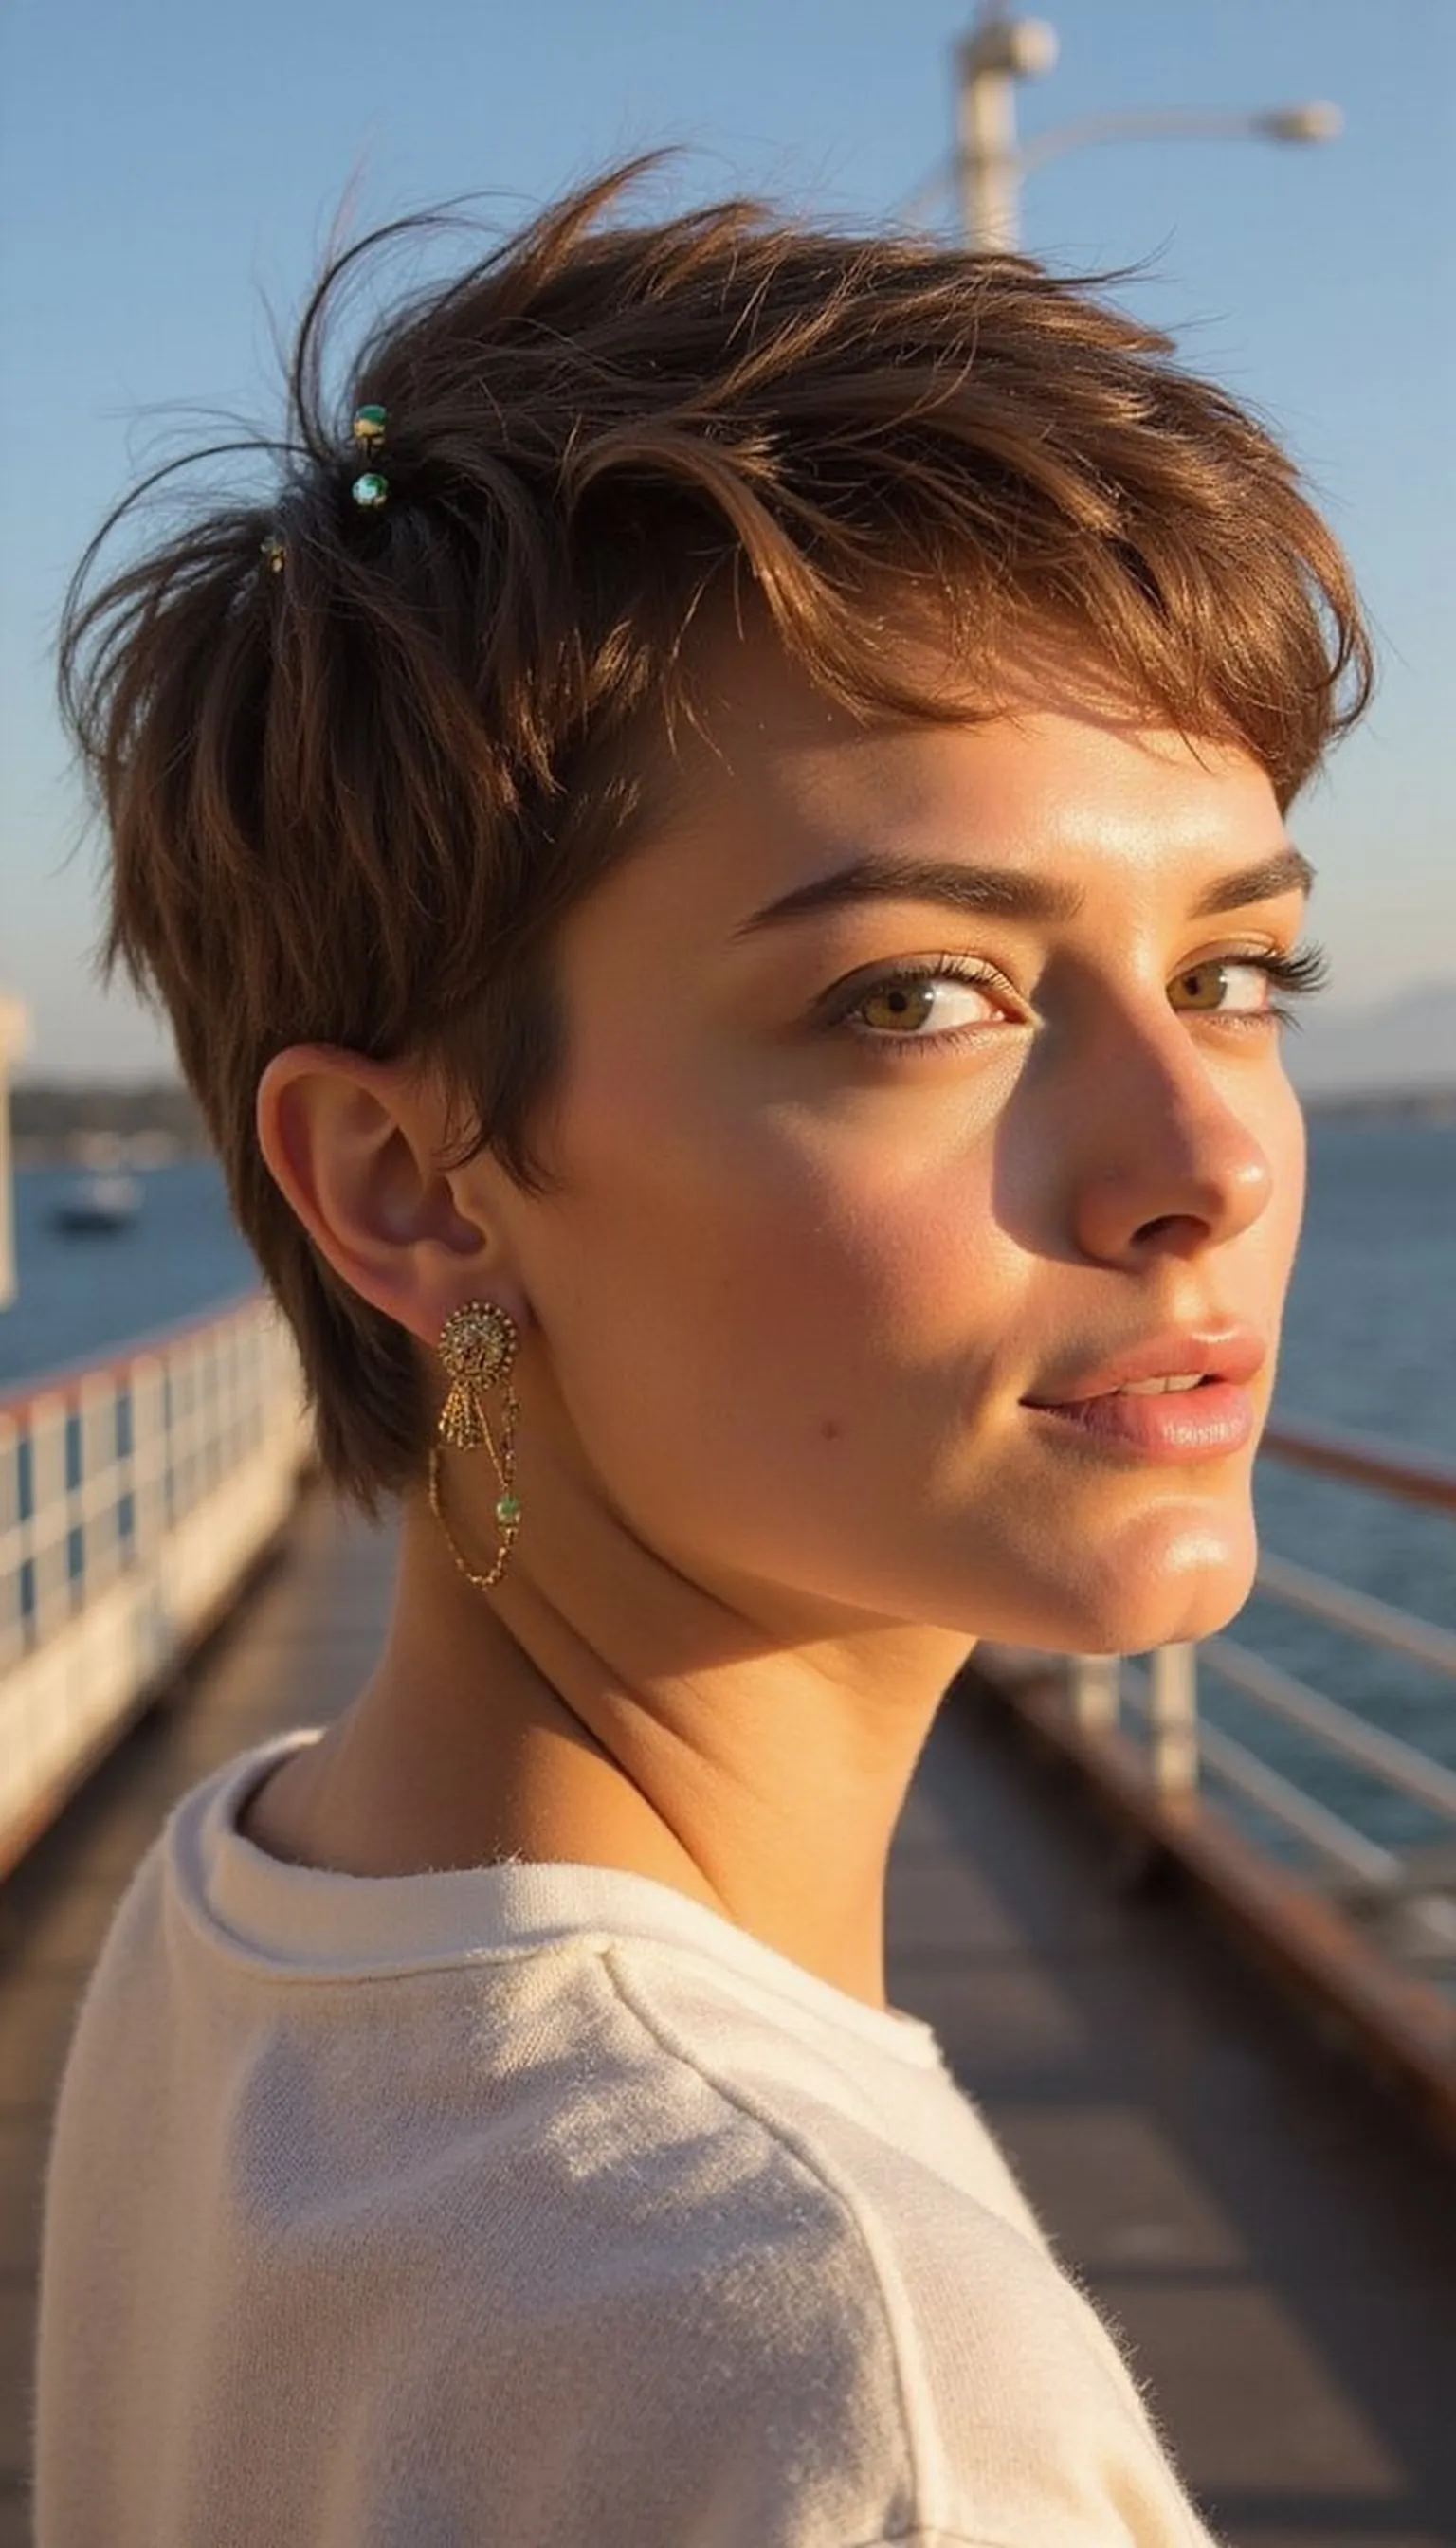
A textured pixie tousle looks playful and easy to refresh between excursions. Decorative bobby pins hold pieces in place while adding a little sparkle at the temples.
Rough-dry hair with fingers and add a touch of matte paste to define short layers without stiffness. Place two or three bobby pins in an artful cluster to accent the face and secure lifted sections.
This approach works well for active days when minimal styling is preferred. The decorative pins create photo-ready detailing without the need for heat tools.
Styling Tips
- Work product into the roots and tips for separated texture and lightweight hold.
- Arrange bobby pins in a diagonal or scattered pattern for visual interest.
- Use small pins to avoid overpowering fine short hair.
Pro Tip: Pin a small section near the temple and tug slightly at the top layers to build flattering height and movement.
Avoid: Using too much product makes short hair look crunchy. Start with a pea-sized amount and add only if needed.
Try Also: Swap decorative bobby pins for tiny pearl pins for evening or metallic pins for cooler tones. Try a side-swept fringe with the same pins.
Products & Materials
Items Used
“Playful textured pixie tousle accented with decorative bobby pins.”
Vintage-Inspired Side Roll Secured With Pearl Pins For Photos
⏱️ 35 min · 🔴 Advanced
The vintage side roll is elegant and frames the face beautifully for portrait moments. Securing the roll with pearl pins adds classic refinement suitable for formal ship events.
Create a deep side part, roll hair under toward the nape, and anchor the shape with discreet pins before adding pearl accents. The technique shapes hair into a smooth curve that flatters cheekbones and necklines.
This polished style takes gentle hands but yields a timeless result for dinner or photos. Complement with vintage makeup and a simple choker to complete the era-inspired look.
Styling Tips
- Use light smoothing cream to eliminate flyaways without adding weight.
- Anchor the roll with plain pins first, then place pearl pins for decoration.
- Work on damp or slightly damp hair for easier shaping.
Pro Tip: Secure the roll internally with plain pins before placing decorative pearl pins for a stable, elegant finish.
Avoid: Skipping internal anchoring leads to a roll that slips during movement. Always pin the base firmly first.
Try Also: Try a smaller side roll for shorter hair or a double roll for dramatic effect. Swap pearl pins for rhinestone pins for evening sparkle.
Products & Materials
Items Used
- pearl hair pins
- plain metal bobby pins
“Classic side roll with pearl pins for elegant cruise photos.”
Double Dutch Braids With Sparkly Elastics For Active Days
⏱️ 20 min · 🟠 Intermediate
Double Dutch braids keep hair secure during active excursions and watersports. Finishing each braid with sparkly elastics adds fun and prevents slippage while standing out in photos.
Braid tightly at the scalp for hold, then continue to the ends and secure with bright elastics for a cheerful touch. Pull gently on braid edges to soften the look and create width if desired.
This sporty style suits medium to long hair and holds up well under hats and helmets. It’s a practical choice for hikes, bike rides, or seaside tours where hair needs to stay put.
Styling Tips
- Apply a light texturizing spray before braiding for better grip and reduced flyaways.
- Secure each braid with a small elastic, then add a sparkly elastic for decoration.
- Loosen the braid edges for a fuller, trendy finish.
Pro Tip: Start braids slightly behind the hairline to reduce tension at the temples and increase comfort for all-day wear.
Avoid: Braiding too loosely causes early unraveling. Keep the scalp section snug for lasting hold.
Try Also: Turn the braids into pigtail buns for extra lift or braid only one side for an asymmetrical look. Swap sparkly elastics for colored ones to match outfits.
Products & Materials
Items Used
“Active double Dutch braids finished with sparkly elastics for secure style.”
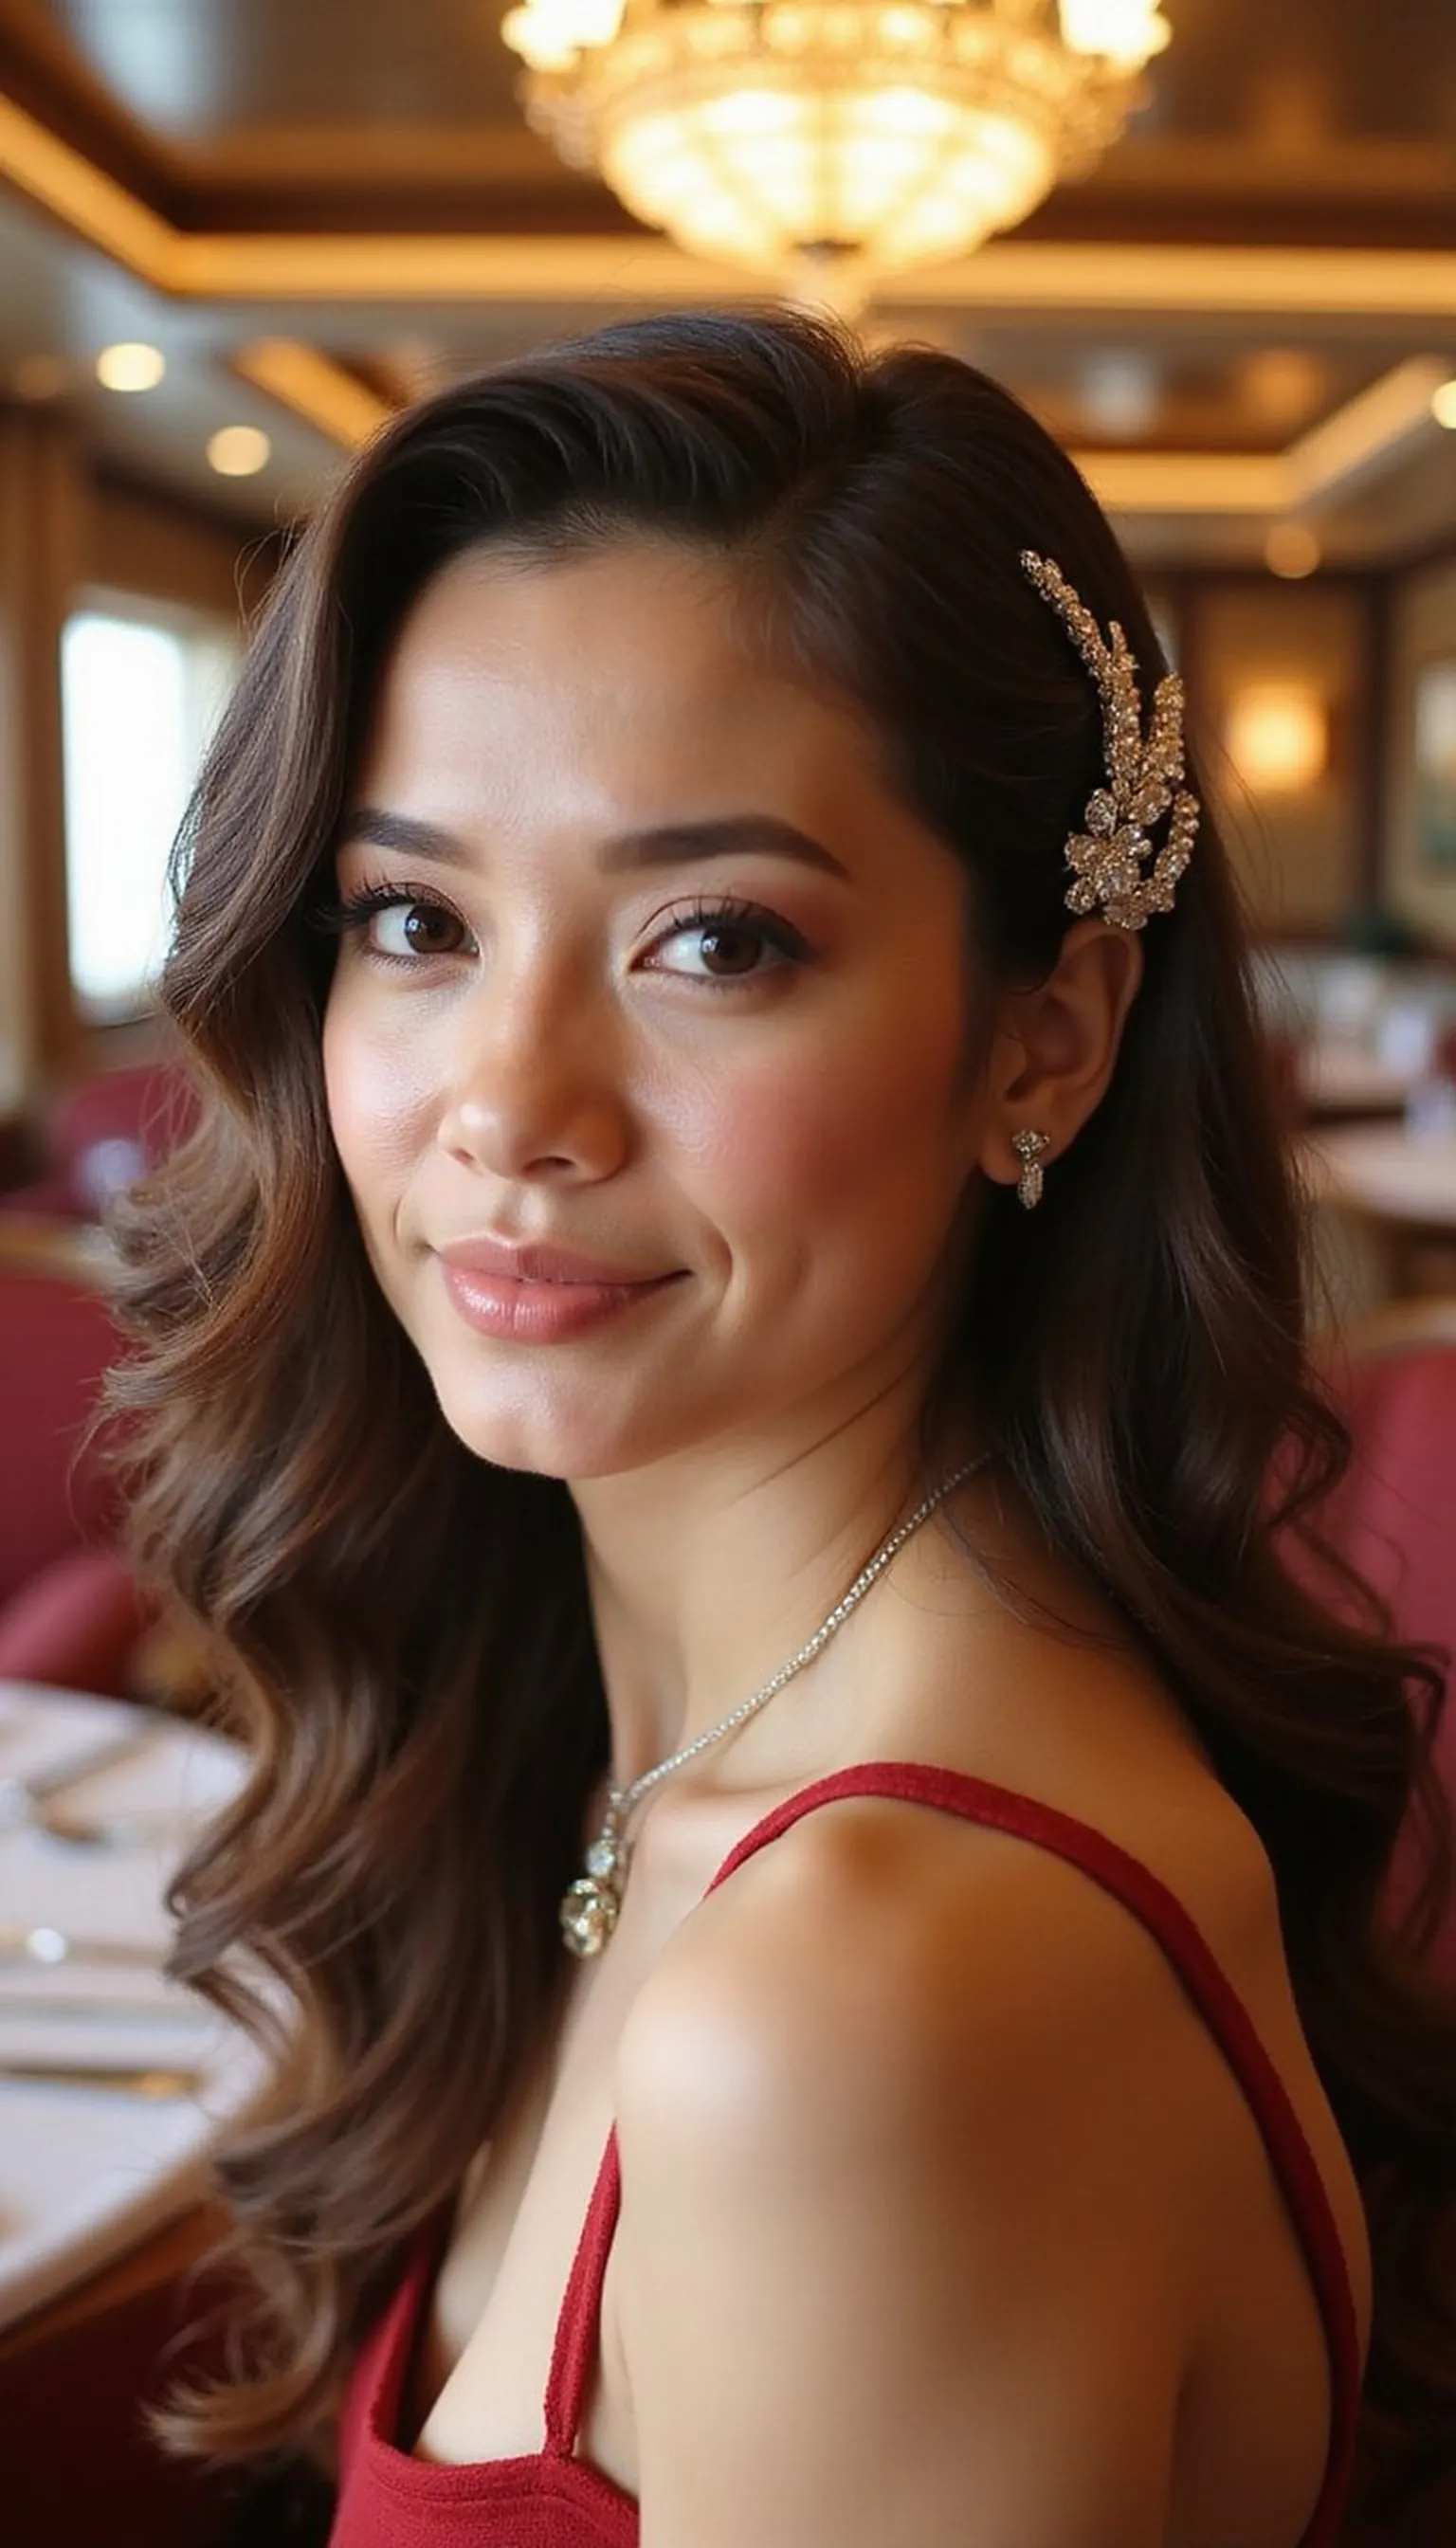
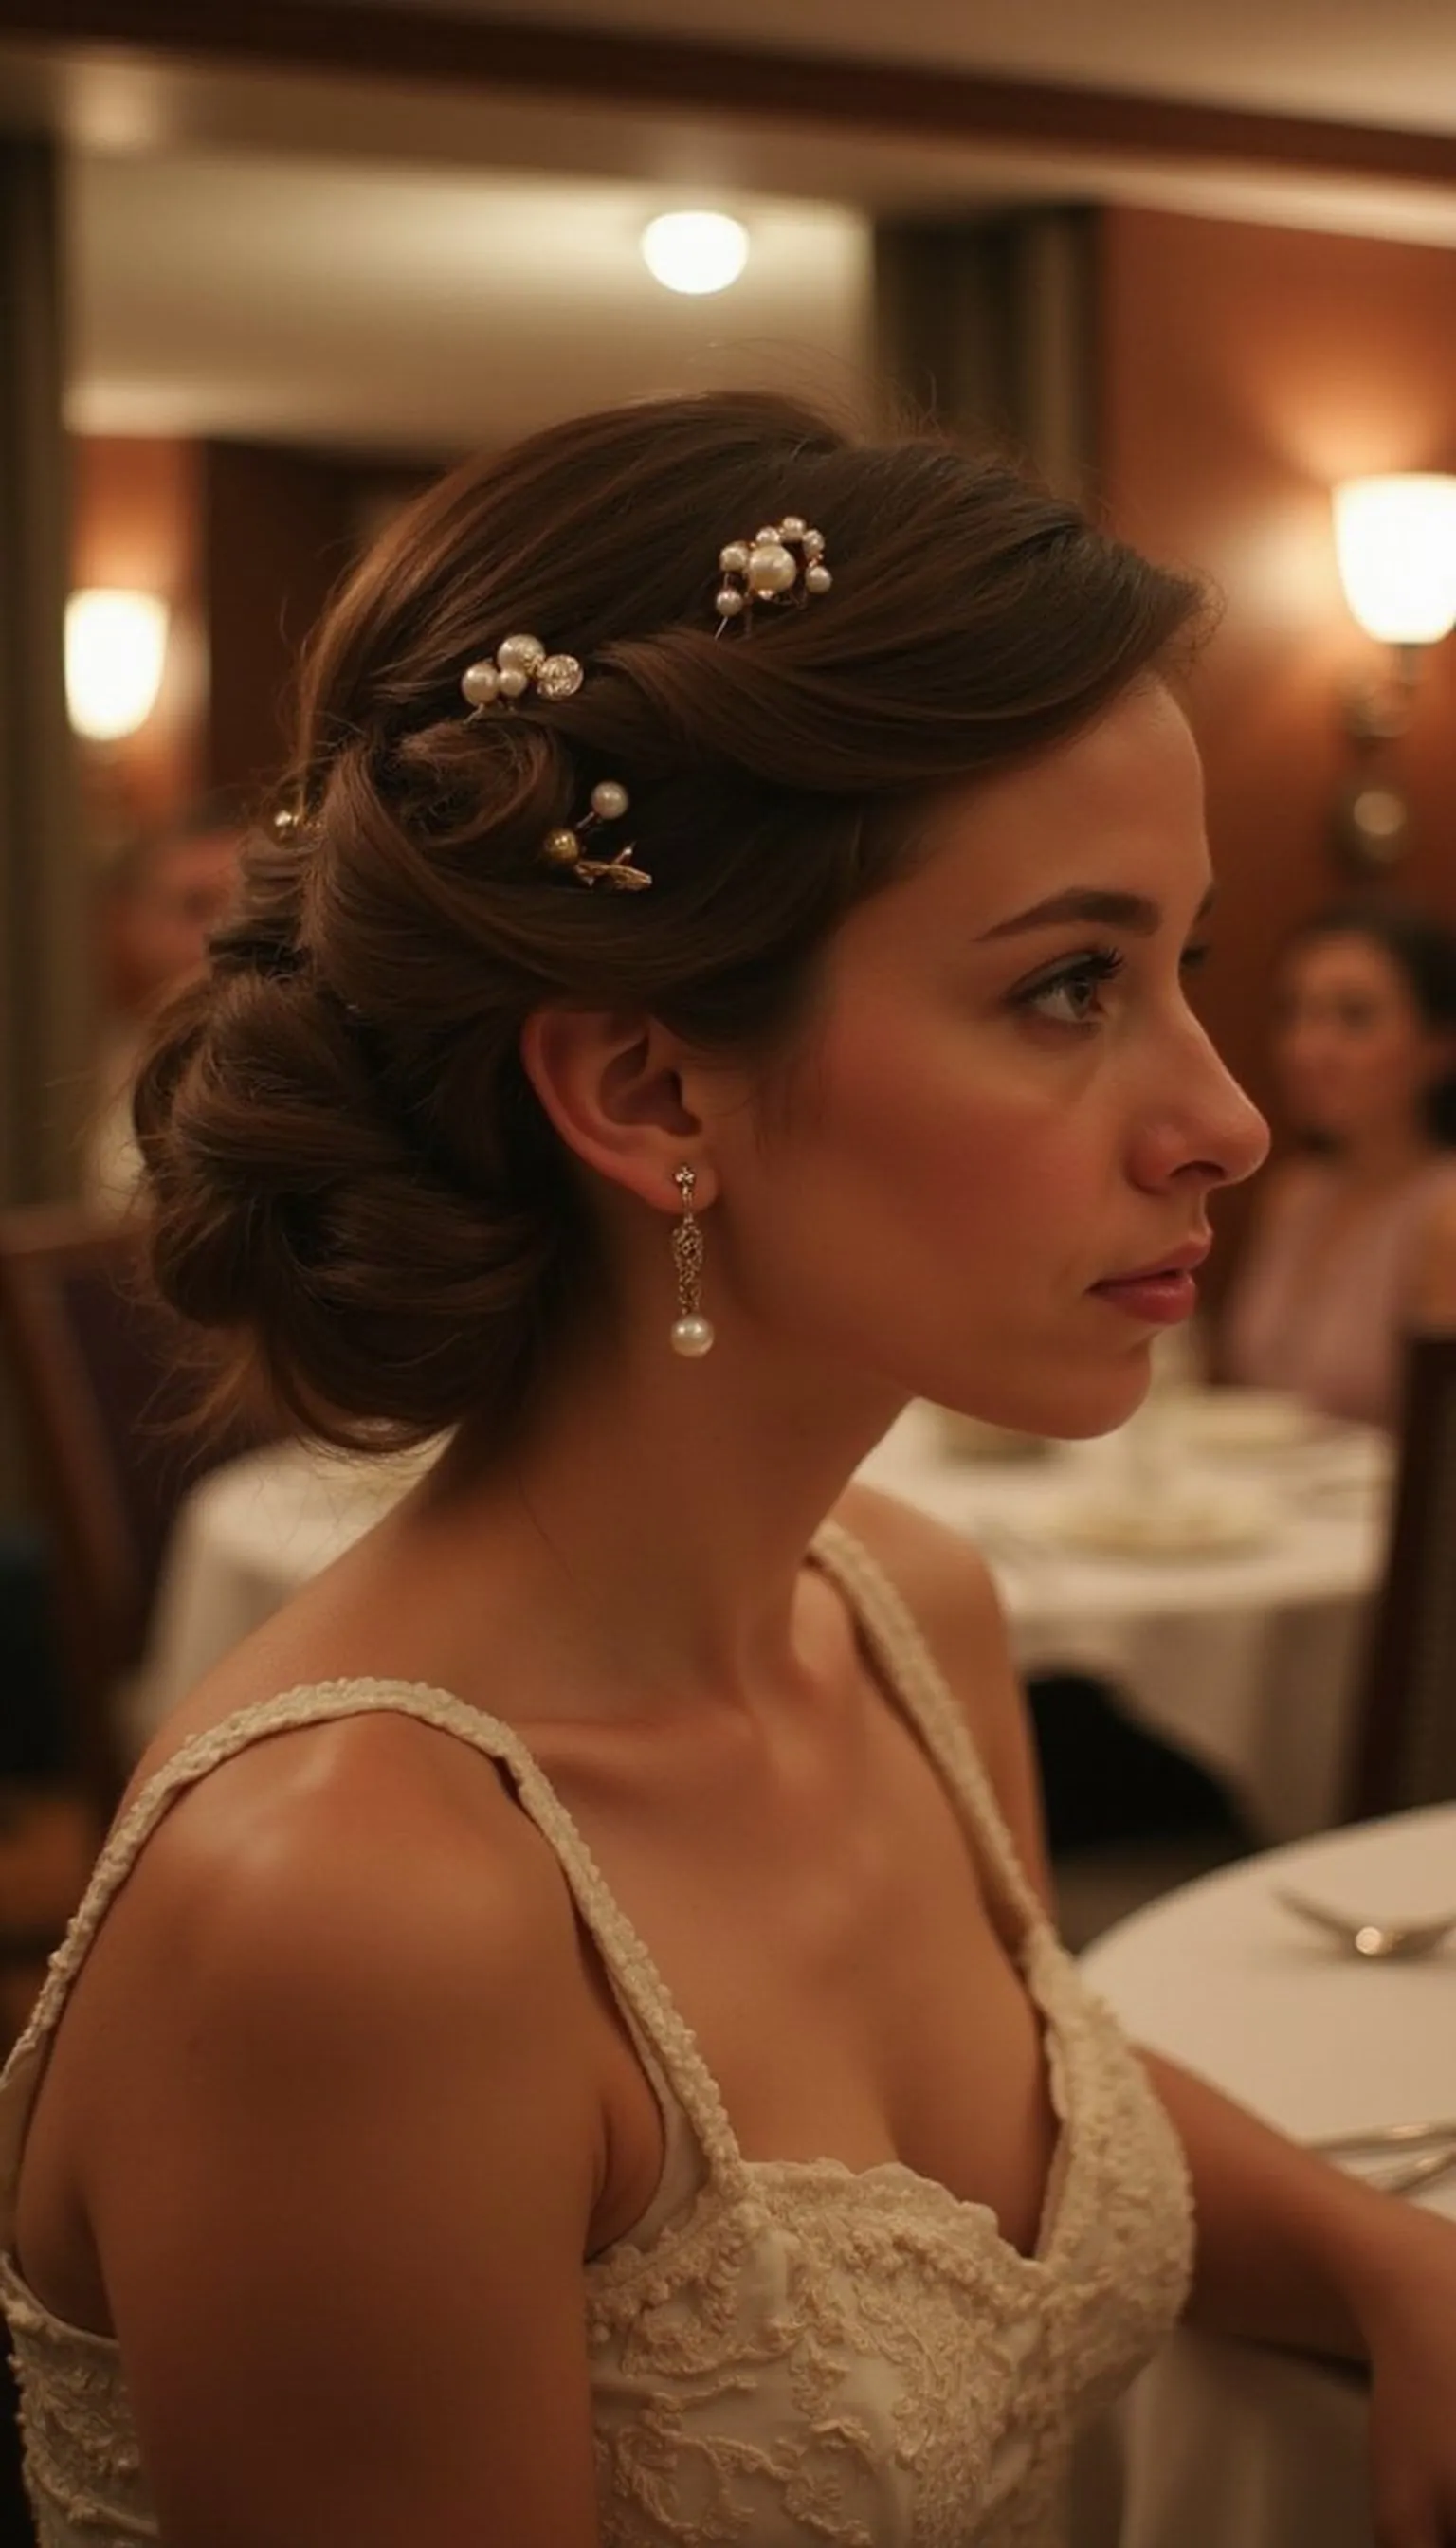
Low Chignon Pinned With Pearl Pins For Formal Nights
⏱️ 30 min · 🟠 Intermediate
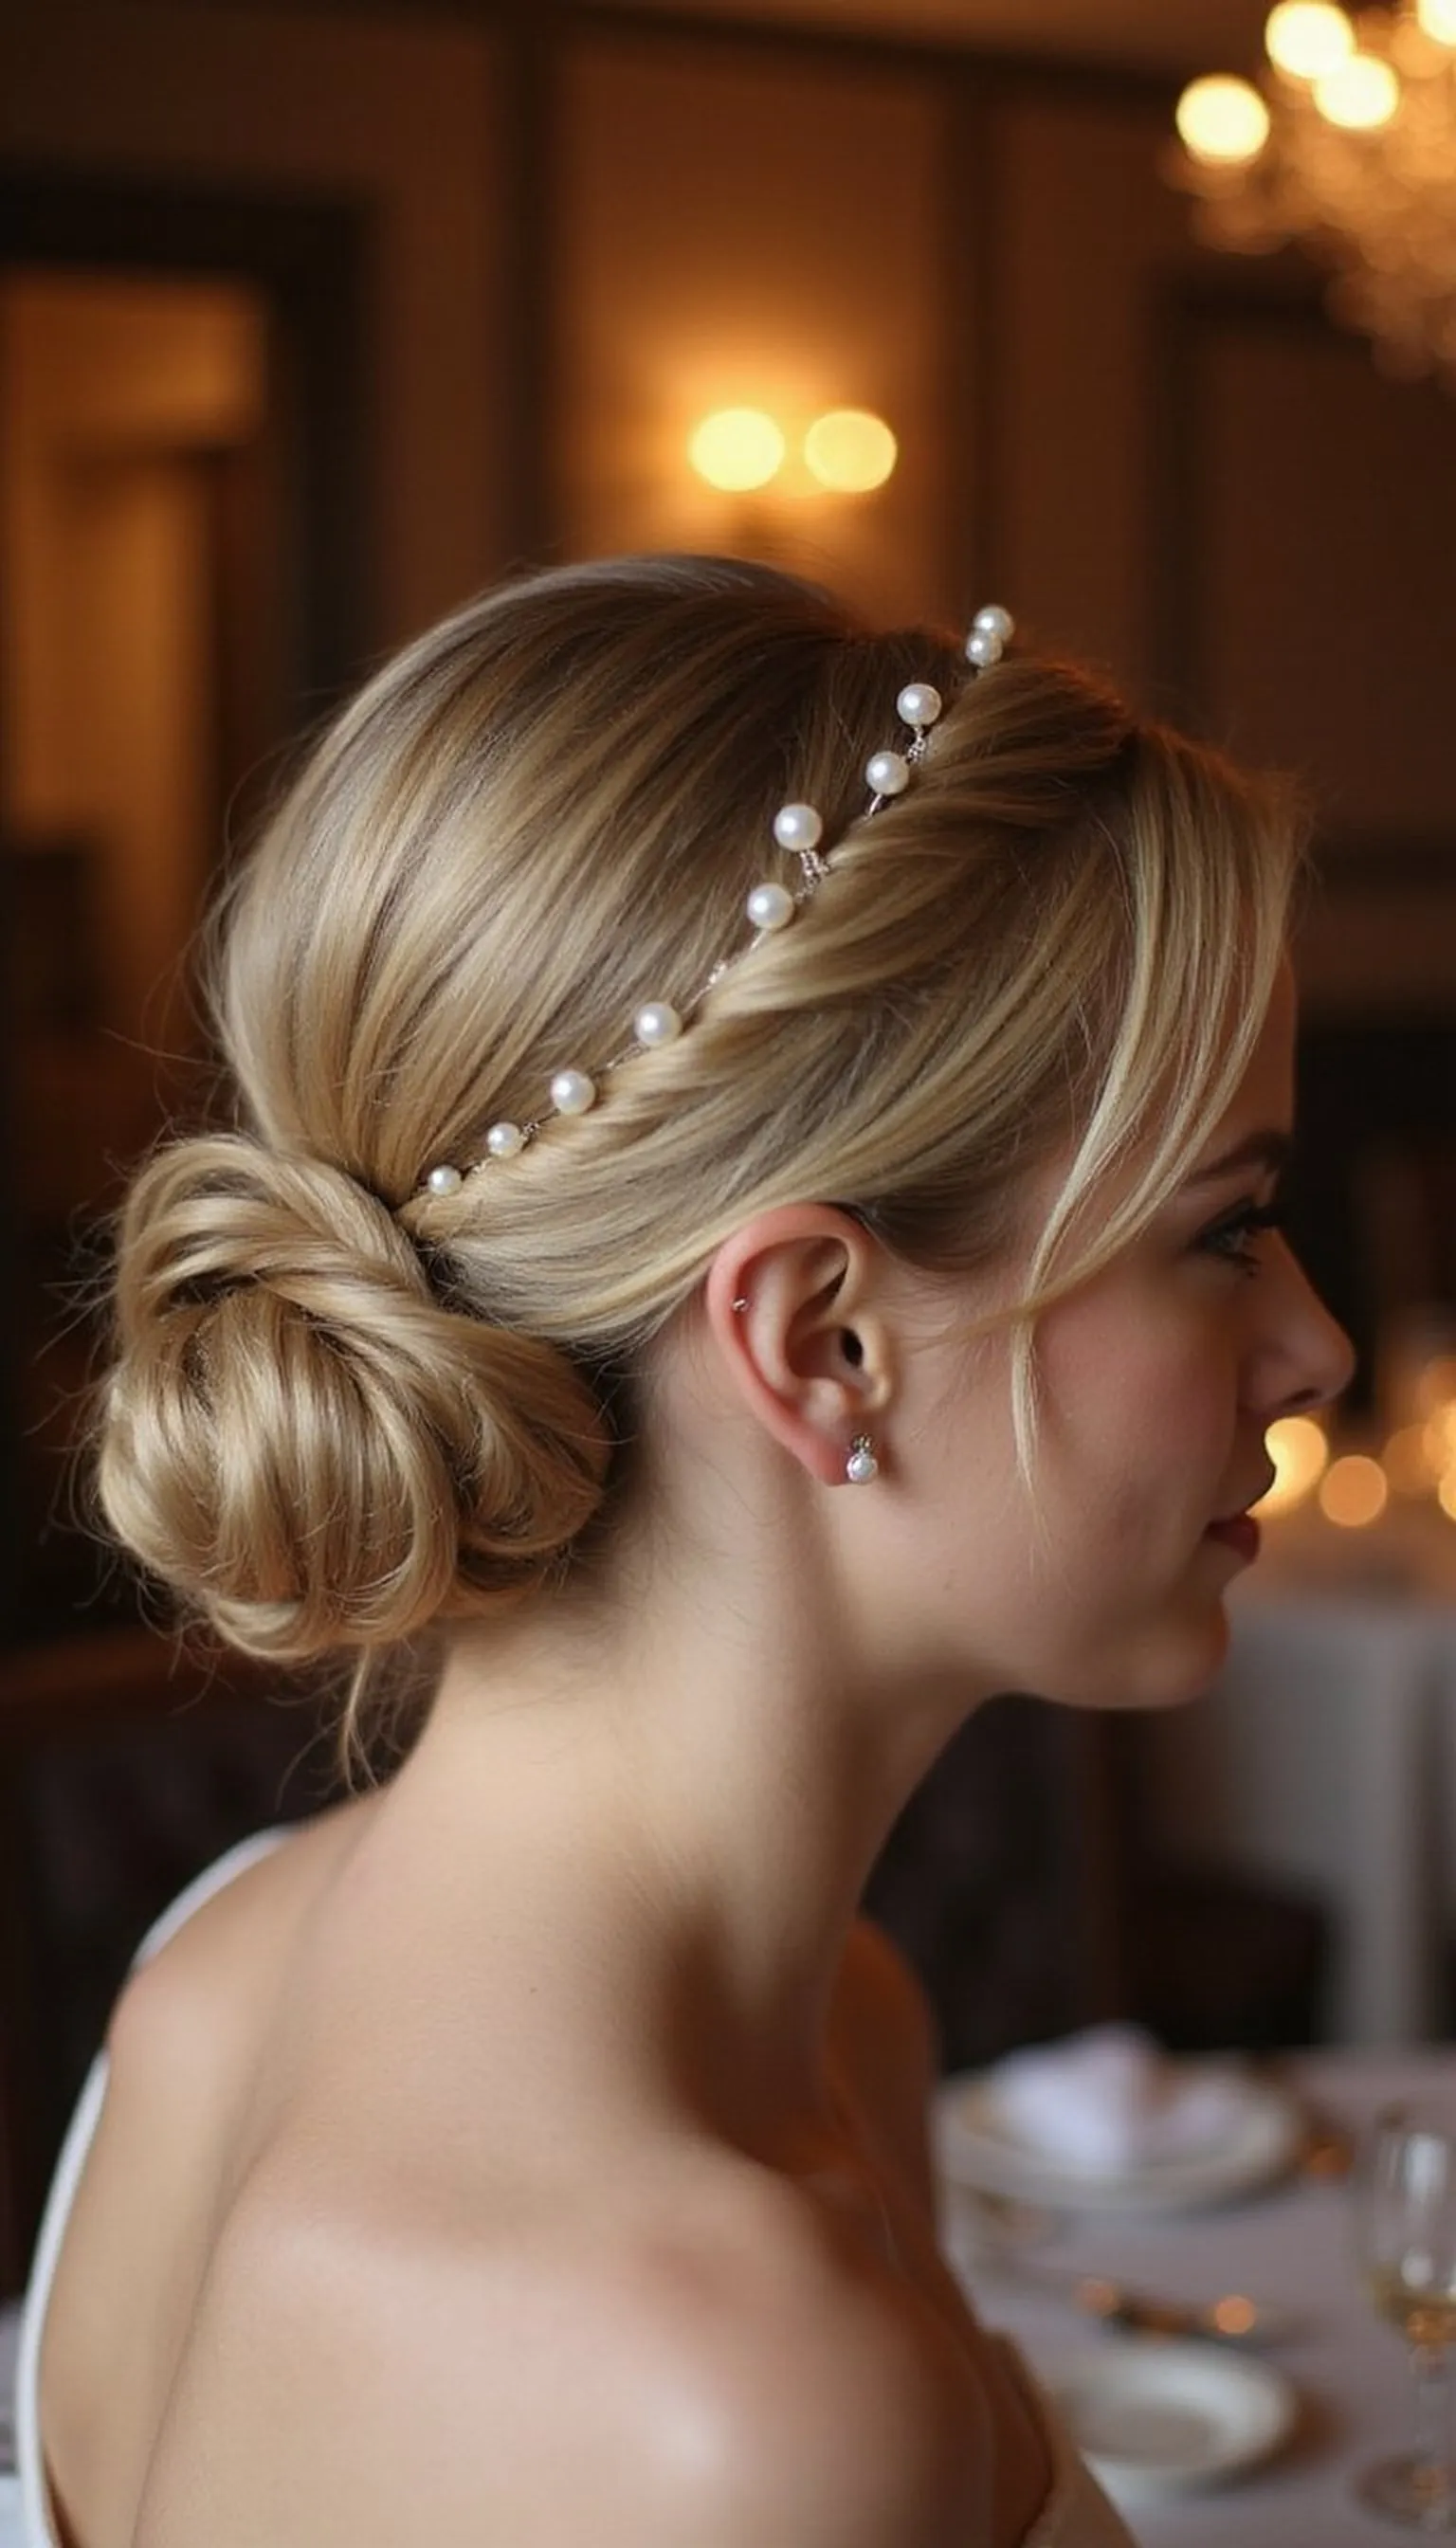
A low chignon pinned with pearl pins reads refined and stays comfortable through long dinners. The placement of pearl pins elevates a simple knot into a dressy centerpiece for evening looks.
Create a neat low knot at the nape and secure with plain pins before adding pearl pins for decoration and extra hold. Smooth the crown gently and leave soft tendrils for a romantic frame if desired.
This style suits medium to long hair and pairs perfectly with off-shoulder dresses and classic jewelry. It looks polished in candlelit photos and holds up against evening breezes.
Styling Tips
- Loosely tease the crown if you want more lift before forming the chignon.
- Place pearl pins asymmetrically for a modern twist on a classic look.
- Use plain pins hidden beneath the pearls to secure the base invisibly.
Pro Tip: Anchor the chignon with an internal elastic or donut before pinning to create a stable foundation for decorative pins.
Avoid: Using only decorative pins to hold the bun risks slippage. Always use hidden pins for support first.
Try Also: Try a twisted low chignon with the same pearls or add a thin jeweled headband for more drama. Tuck in a silk ribbon for extra softness.
Products & Materials
Items Used
“Elegant low chignon accented with pearl pins for cruise formal nights.”
Bubble Ponytail With Bright Scrunchies For Excursion Days
⏱️ 12 min · 🟢 Beginner
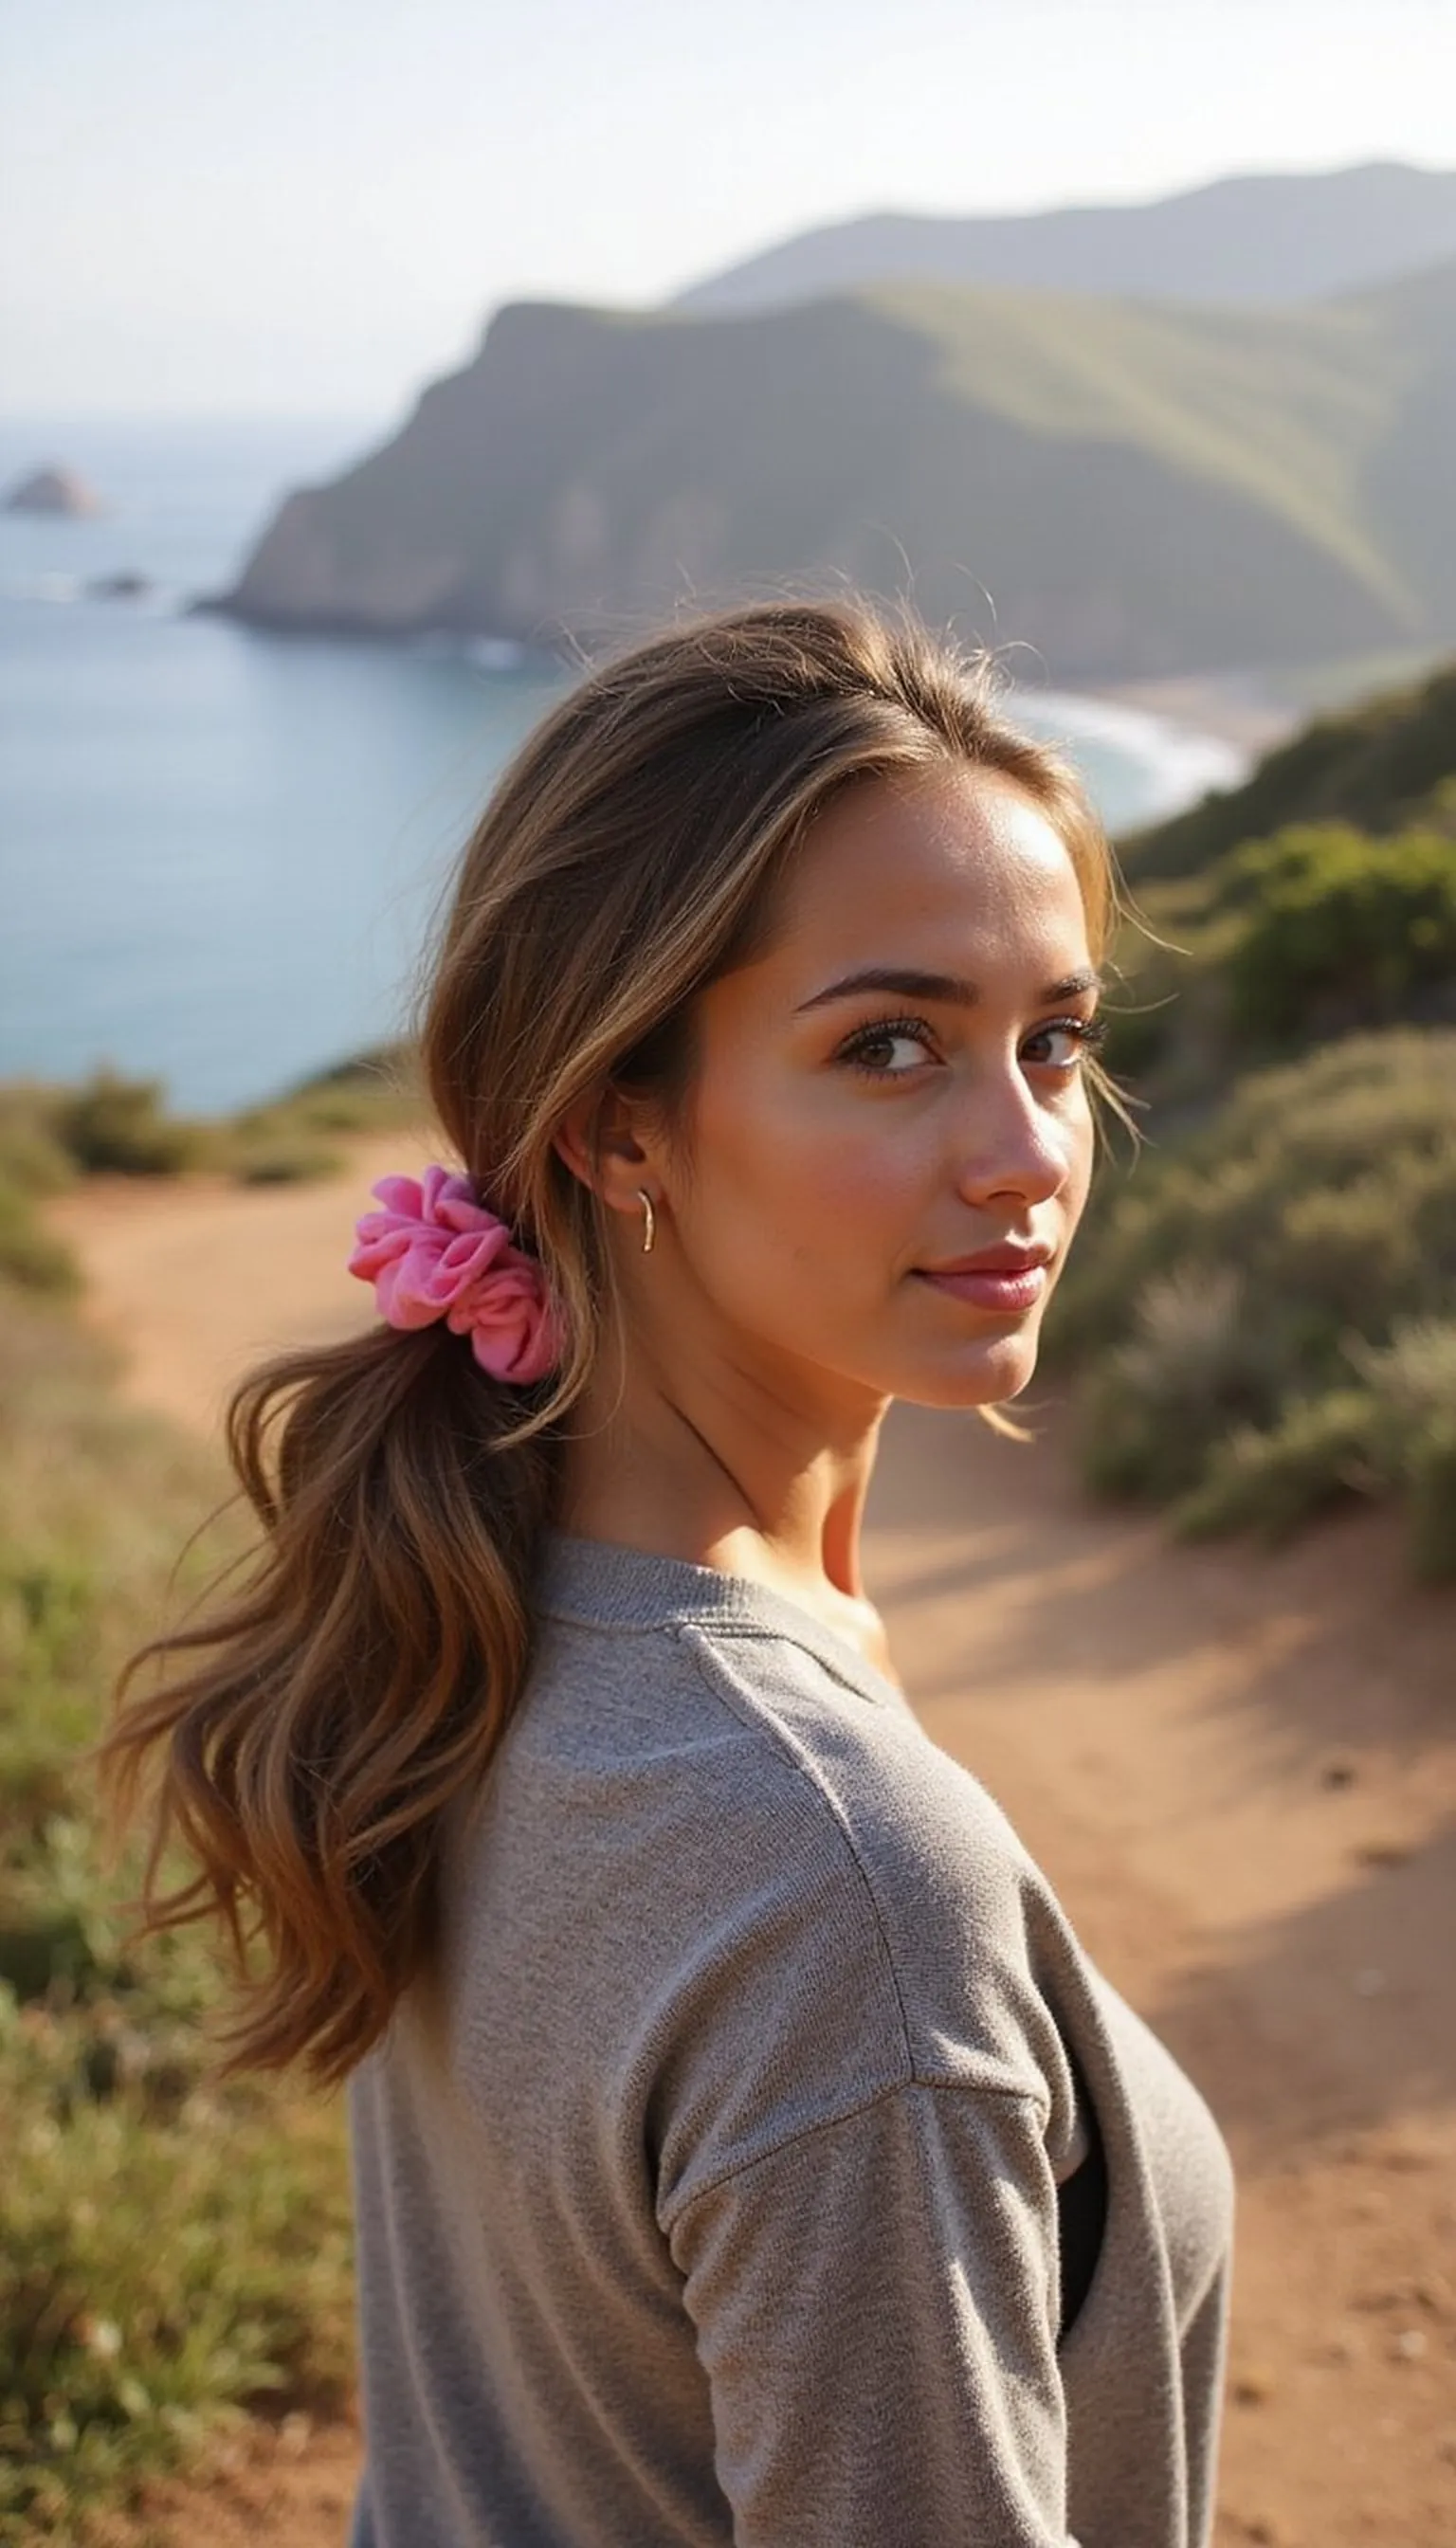
A bubble ponytail is playful and keeps hair controlled during busy excursion days. Using bright scrunchies between sections gives instant volume and a fun, youthful silhouette.
Create a high ponytail, then add scrunchies or elastics every few inches, pulling each section slightly to form bubbles. This look holds under backpacks and stays lively during long walks or photo stops.
It’s great for medium to long hair and brightly colored scrunchies add a vacation-ready vibe. Swap scrunchie patterns to match swimwear or casual daytime looks for cohesive styling.
Styling Tips
- Start with a smooth, high ponytail base to make the bubbles appear uniform.
- Space scrunchies evenly for balanced bubbles down the length.
- Pancake each bubble gently to increase volume and create rounded shapes.
Pro Tip: Use lightweight scrunchies to avoid weighing down the ponytail while still creating bold bubble shapes.
Avoid: Spacing elastics too close makes bubbles look cramped instead of voluminous. Keep consistent gaps for an even result.
Try Also: Try a low bubble ponytail for a relaxed feel or add a scarf wrapped around the top scrunchie for color. Use clear elastics with scrunchies for extra hold.
Products & Materials
Items Used
“Fun bubble ponytail with bright scrunchies for active cruise days.”
