
As an Amazon Associate I earn from qualifying purchases.
Easy-Grip Clay Hand-Building Crafts for Seniors with Arthritis brings low-stress, tactile projects that honor gentle movement and sensory delight.
These clay hand-building activities focus on comfort, soft materials, and adaptive handles to keep joints comfortable while remaining creative.
Seniors with arthritis can enjoy short sessions of shaping, texturing, and finishing that prioritize relaxed grip and satisfying results.
Easy two-finger pinch pot for relaxed hands
⏱️ 30 min · 🟢 Beginner
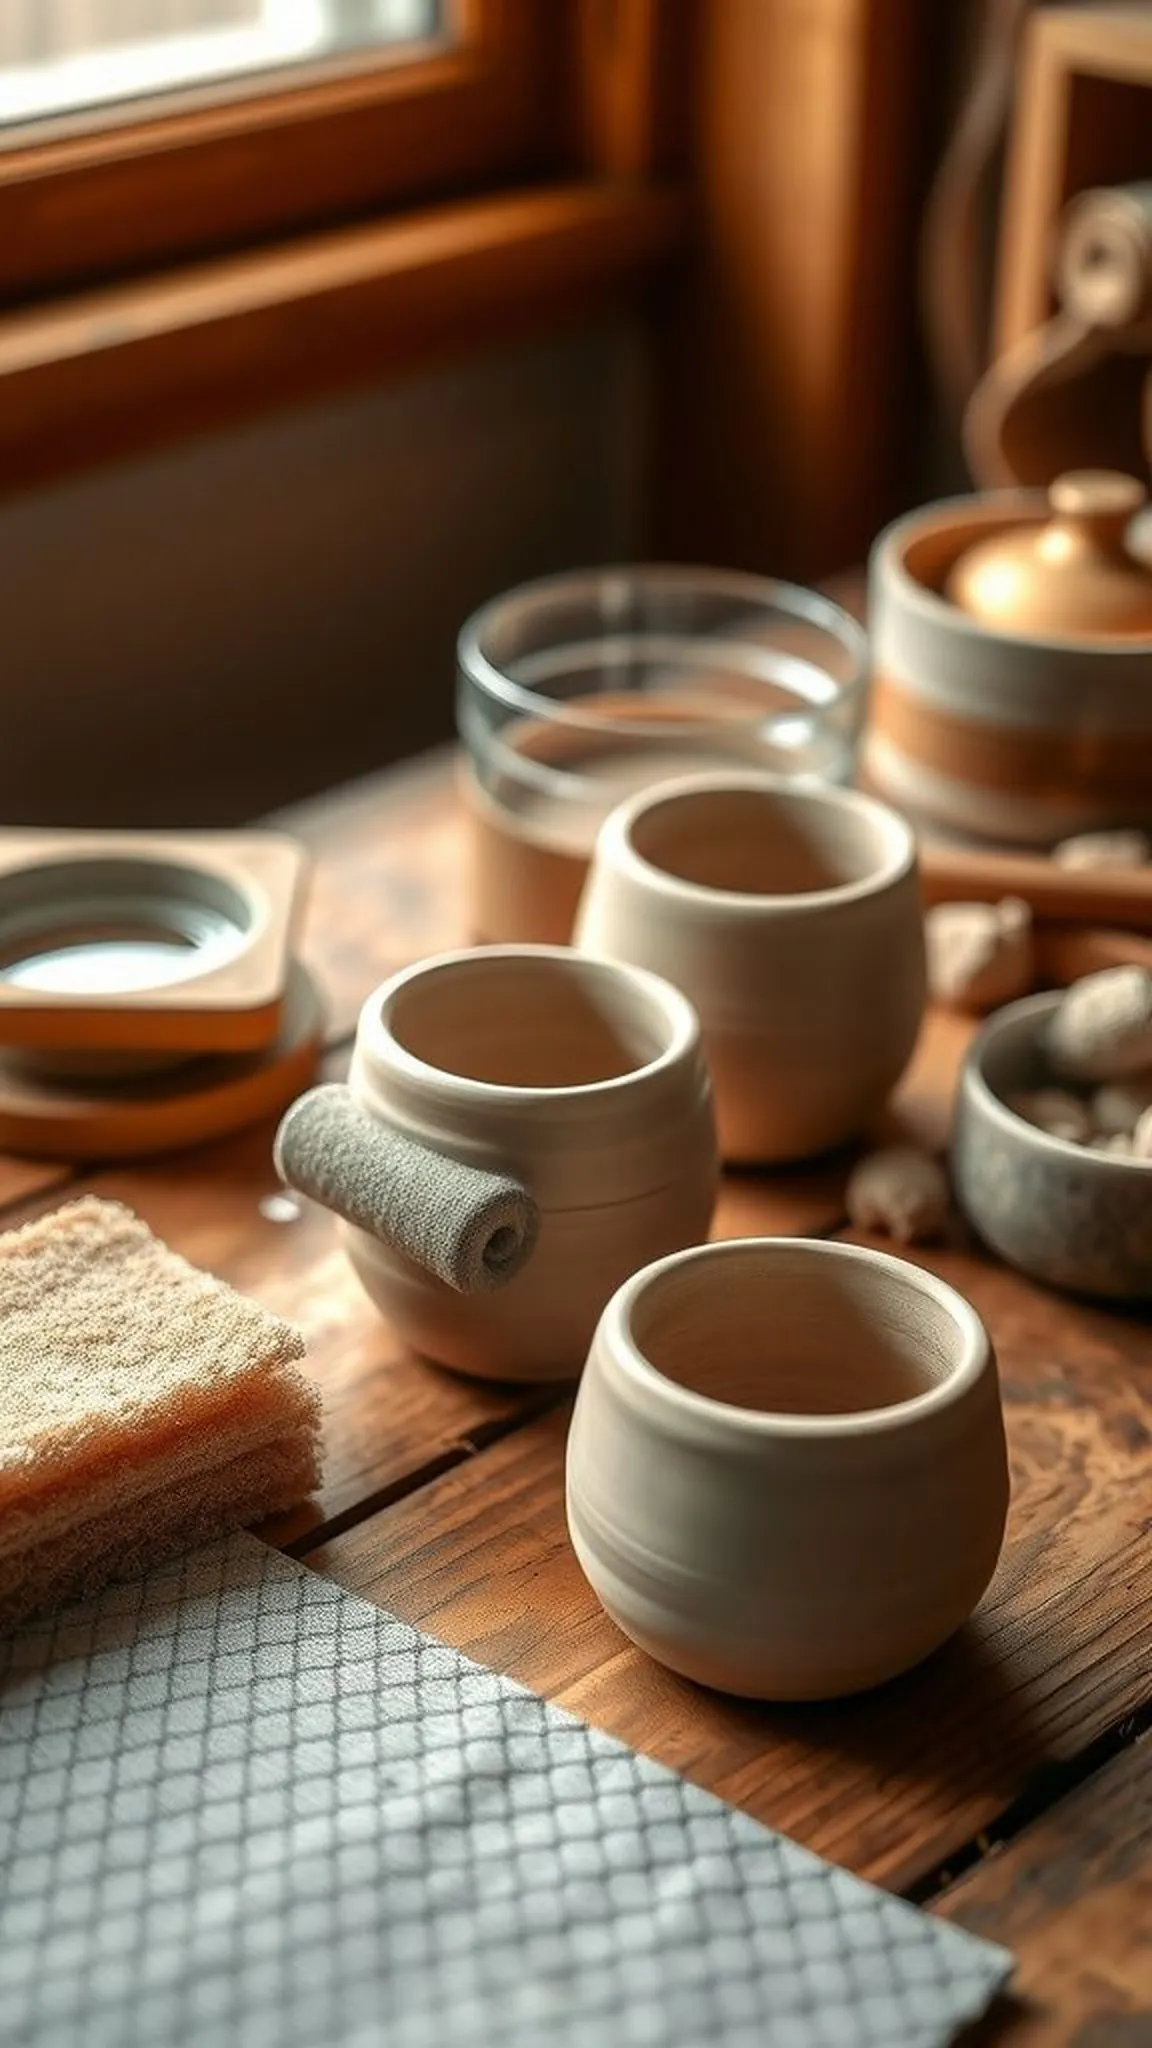
This gentle two-finger pinch pot favors a compact, soothing motion that keeps wrist strain low.
The clay feels cool and slightly springy against the fingertips, and a soft matte finish appears as it dries.
Adaptive padding under the palm creates a restful contact point while thumb marks add warm, tactile character to the rim.
Pro Tip: Keep clay slightly damp and rest hands between short sessions to reduce joint fatigue and soreness.
How to Make This
- Soften a small amount of air-dry clay until it is workable and smooth in the fingers.
- Place the adaptive grip ring in the palm and press a thumb into the clay center to start a hollow.
- Pinch gently and evenly around the clay to build up walls until a shallow pot shape forms.
- Smooth the rim with a damp sponge and let the piece dry on a non-slip mat.
Avoid: Many beginners squeeze too tightly, creating uneven walls and extra joint strain. Allow the clay to relax between gentle pinches to keep thickness even.
Try Also: A shallow dish can be made by widening the opening, or textures can be added with a soft brush or a simple stamp. Different colors of air-dry clay give a layered look.
Products & Materials
Items Used
- air-dry clay 1 lb
- adaptive foam grip ring
- small soft sponge
- non-slip craft mat
“Tiny pinch pots made gentle with cushioned easy-grip tools.”
Textured tile with gentle stamp impressions
⏱️ 45 min · 🟢 Beginner
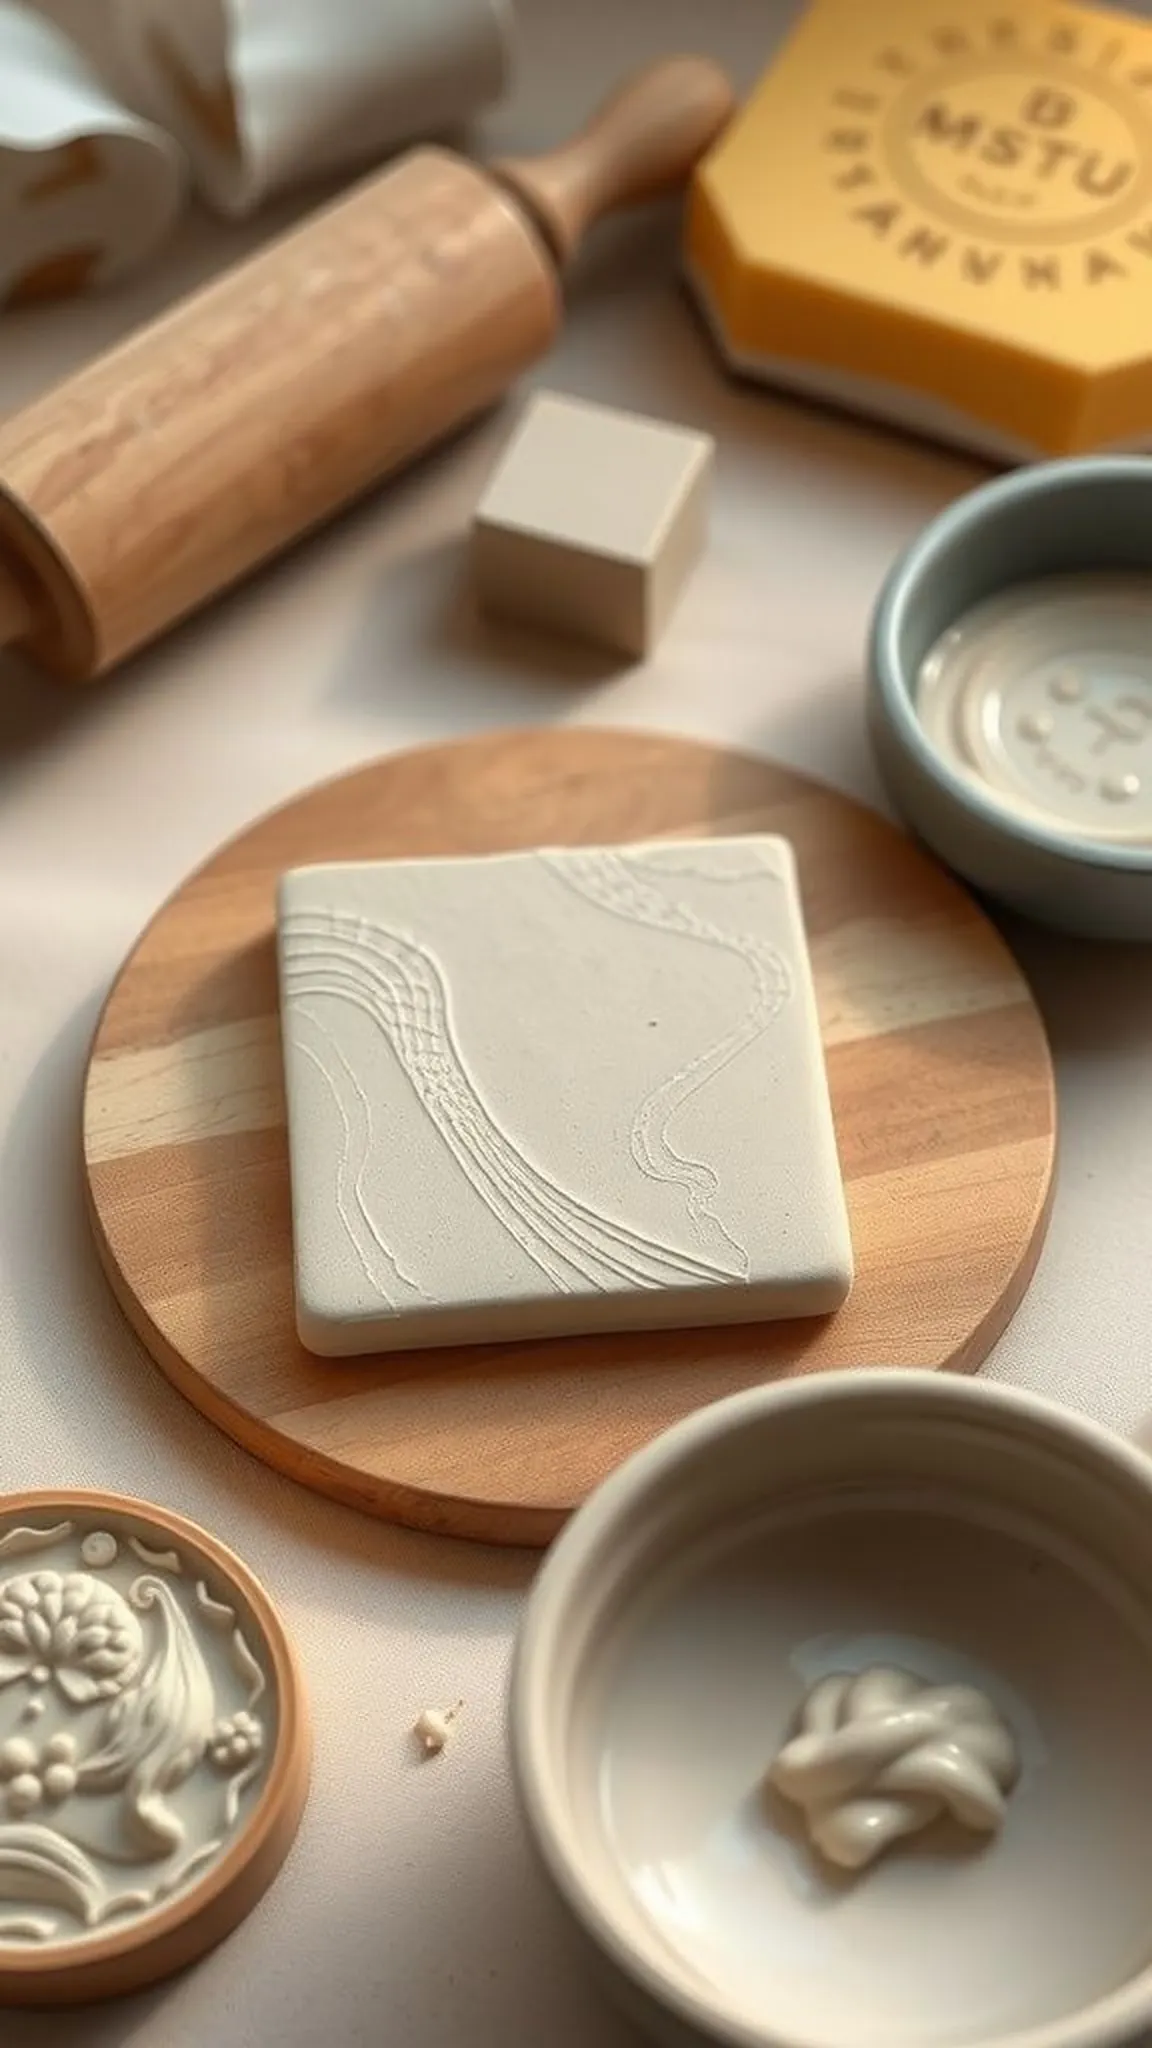
This textured clay tile showcases repeating motifs created with low-pressure stamps for a calm making rhythm.
The surface reads as tactile and layered, with soft relief that invites fingertips to linger over ridges and valleys.
A matte, earthy tone lets light skim across shallow patterns, and the edges remain slightly rounded for a cozy finish.
Pro Tip: Choose foam-backed stamps and press lightly to protect joints while getting clear, pleasing impressions in the clay.
How to Make This
- Flatten a slab of air-dry clay on a non-slip mat to an even thickness using a soft roller with padded handles.
- Position foam-backed texture stamps and press each gently to create a repeating pattern across the tile.
- Smooth the outer edges with a damp sponge and transfer the tile to a flat board for drying.
- Optionally rub a subtle dry wash of pigment after drying to highlight low relief.
Avoid: Applying too much pressure with stamps can cause finger strain and overly deep impressions. Light, steady contacts produce clearer, more comfortable texture.
Try Also: Tiles can become wall hangings with a simple hole at the top or be trimmed into coasters with rounded corners. Different stamp shapes create floral, geometric, or organic themes.
Products & Materials
Items Used
- air-dry clay slab
- foam-backed texture stamps
- padded rolling pin
- soft round sponge
“Calming textured clay tile with soft stamp details for relaxed hands.”
Low-strain coil pot with cushioned support
⏱️ 1 hour · 🟠 Intermediate
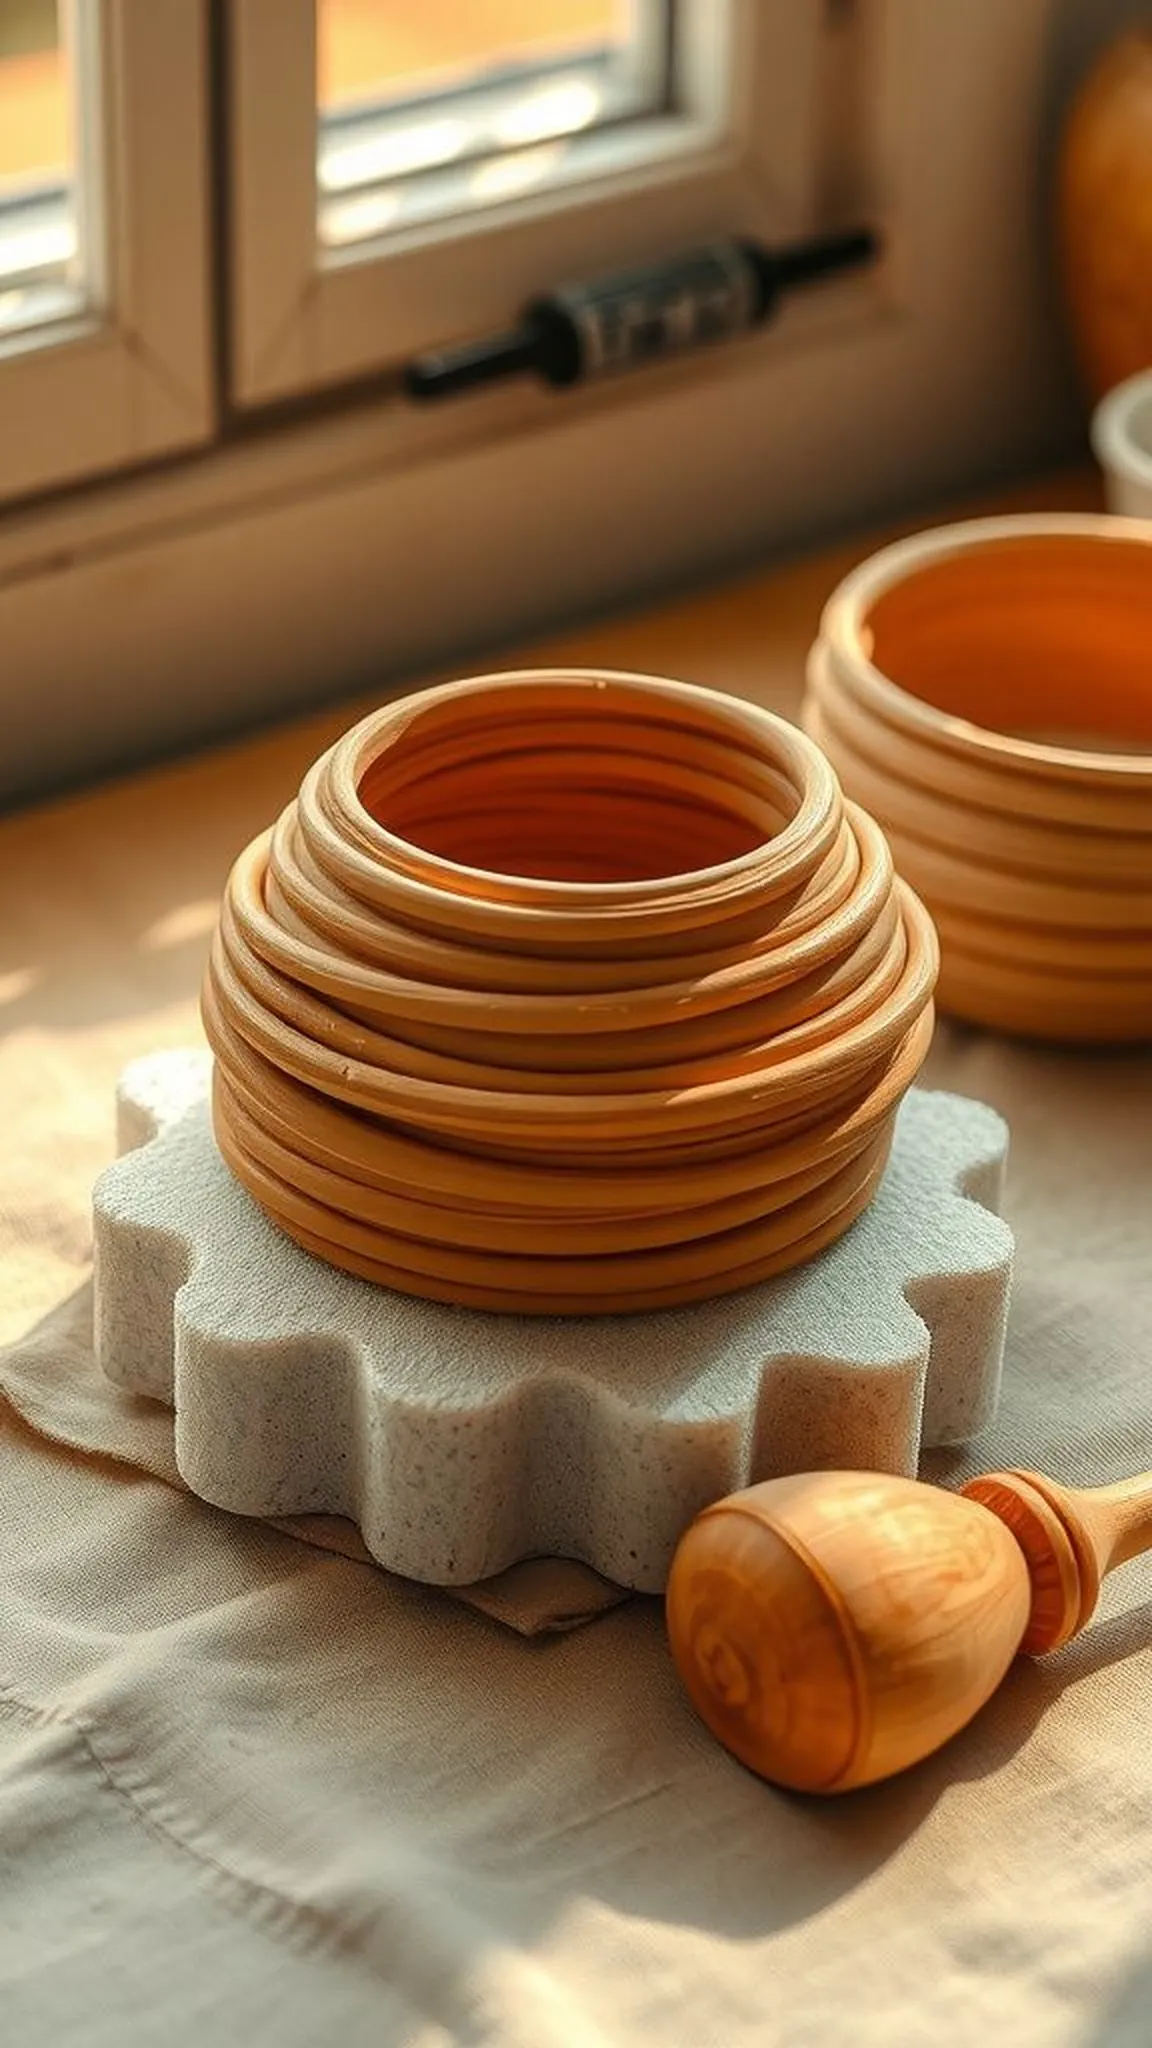
The coil pot blooms slowly with soft, layered rings that build gentle height without heavy grip demands.
The raised coils catch light and shadow, giving a tactile rhythm that is satisfying to trace with the fingertips.
A padded wrist rest keeps the lower hand comfortable while the pot gains a relaxed, slightly rustic silhouette.
Pro Tip: Work on a raised, cushioned surface and support the base with a foam pad to keep wrists aligned and relaxed during building.
How to Make This
- Roll low-resistance coils and place them around a supported base while keeping coils soft and pliable.
- Press coils together lightly with a rounded tool to fuse edges without force.
- Blend seams with a damp soft brush and smooth the inner wall for comfortable hand contact.
- Allow the pot to dry slowly under a breathable cover to reduce cracking.
Avoid: Forcing coils too firmly can flatten the lively texture and strain the hands. Gentle joining keeps the coil character and reduces effort.
Try Also: Higher stacks become vases with slightly tapered sides, or a wide, shallow bowl can be made from thicker coils. Alternate coil widths for a banded look.
Products & Materials
Items Used
- air-dry clay 2 lb
- foam wrist rest pad
- soft round wooden tool
“Layered coil pot built gently with padded wrist support for comfort.”
Save time and printer ink with 50+ printable templates and step-by-step instructions in one ad-free guide.

Just $19.99 — lifetime access
Leaf impression coaster set for easy pressing
⏱️ 40 min · 🟢 Beginner
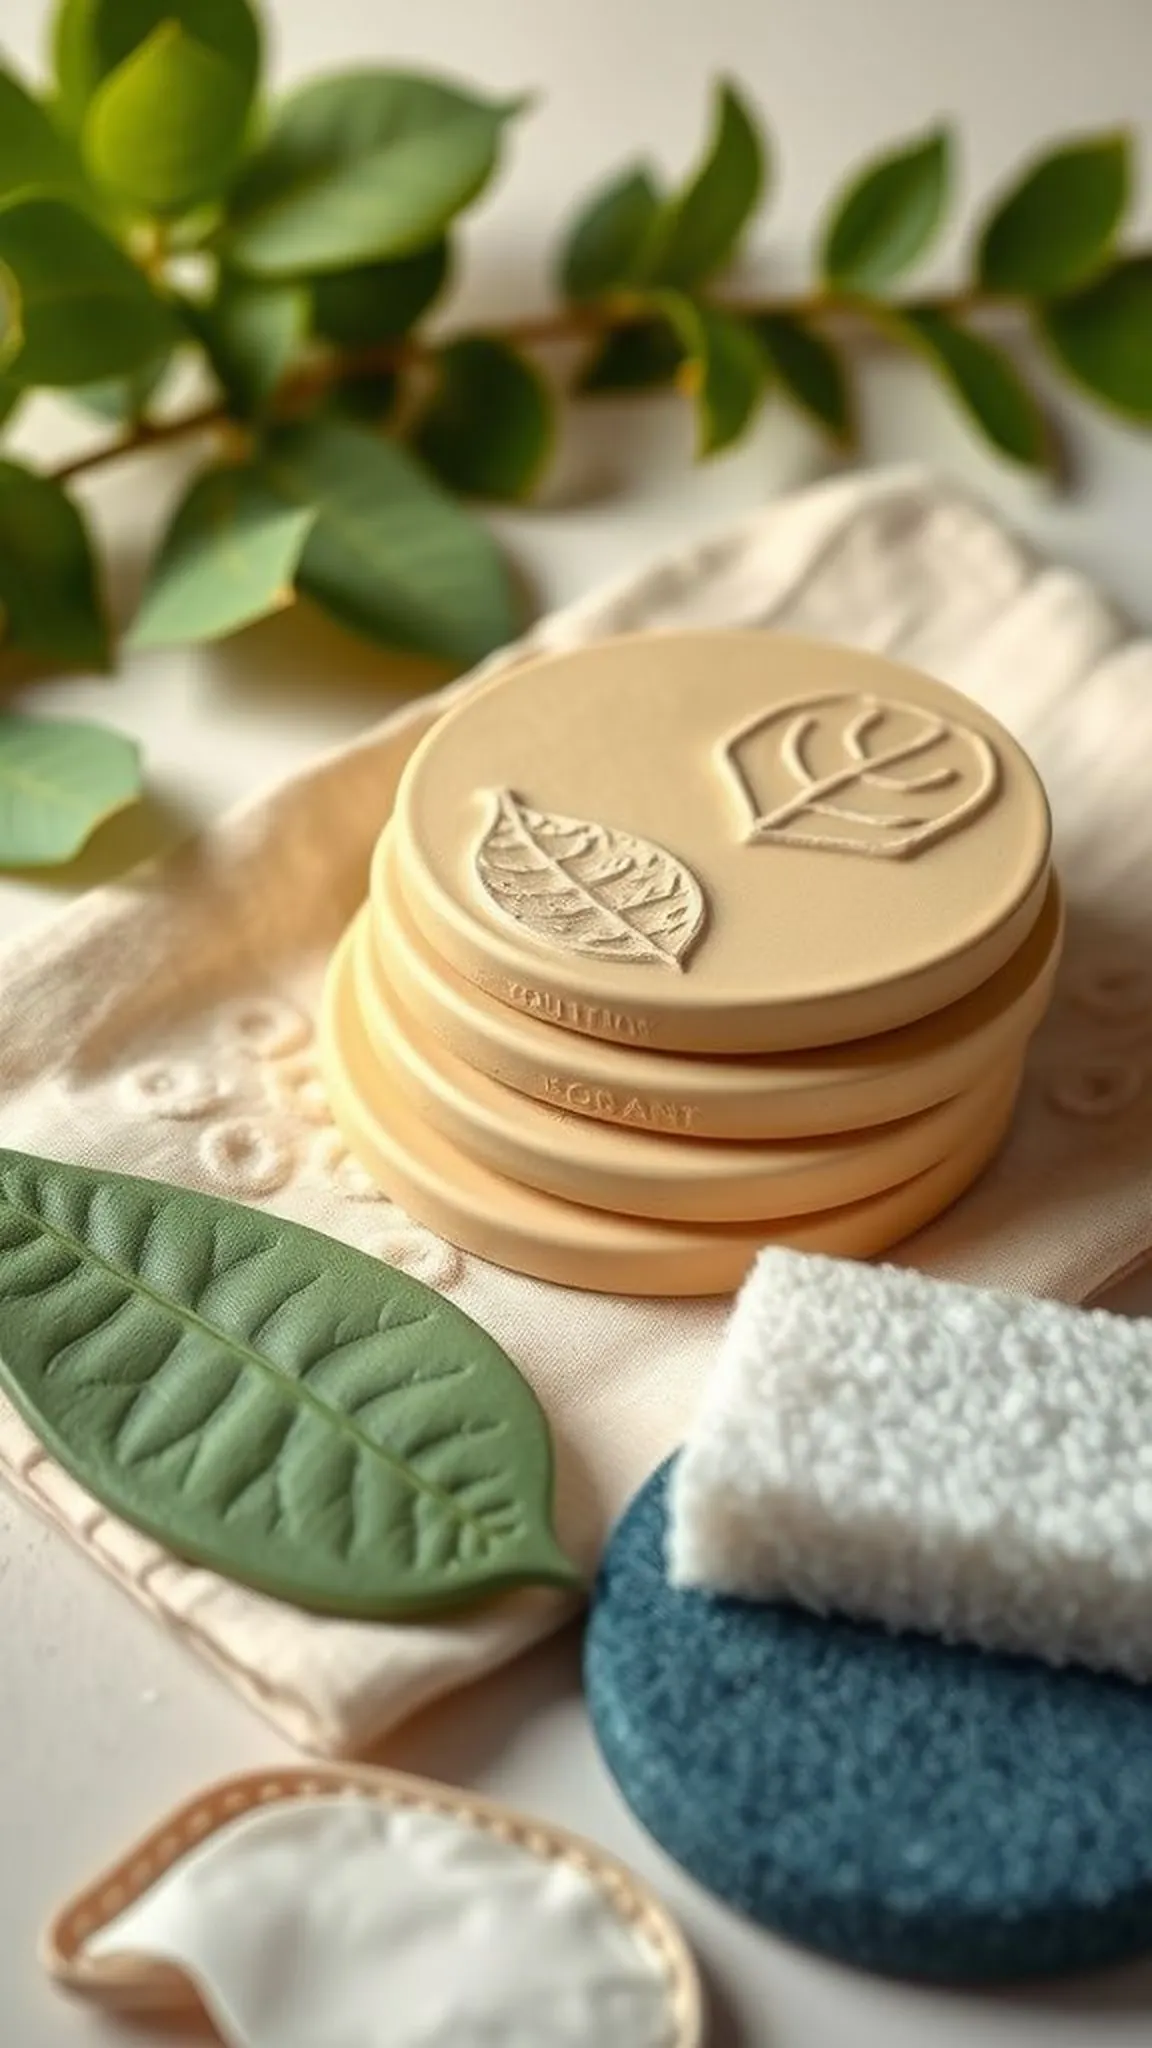
This set of coasters captures delicate leaf veins with a single, gentle contact that keeps strain minimal.
The impressions are crisp but shallow, letting the ceramic surface feel pleasantly textured under a cup.
Subtle variations in color and natural edges give each piece a handcrafted, restful presence on a tabletop.
Pro Tip: Select softer leaves and press with even, light pressure to get clear vein marks while protecting joints.
How to Make This
- Roll a small slab of clay to coaster thickness on a padded mat and trim to circular shapes.
- Lay a soft fresh leaf onto each circle and press gently with a flat foam tool to transfer veins.
- Remove the leaf and smooth the rim with a damp finger before drying on a flat board.
- After drying, buff edges slightly with fine sandpaper for a softer touch.
Avoid: Pressing too hard flattens natural texture and can tire the hands. Light, steady contact preserves leaf detail and comfort.
Try Also: Try different leaf sizes for varied patterns or add a shallow painted wash after drying for subtle contrast. Square or scalloped shapes change the look.
Products & Materials
Items Used
- air-dry clay slab
- flat foam pressing tool
- small sanding paper pack
“Nature-impressed coasters made with light, comfortable pressing motions.”
Large-hole clay beads for easy stringing
⏱️ 45 min · 🟢 Beginner
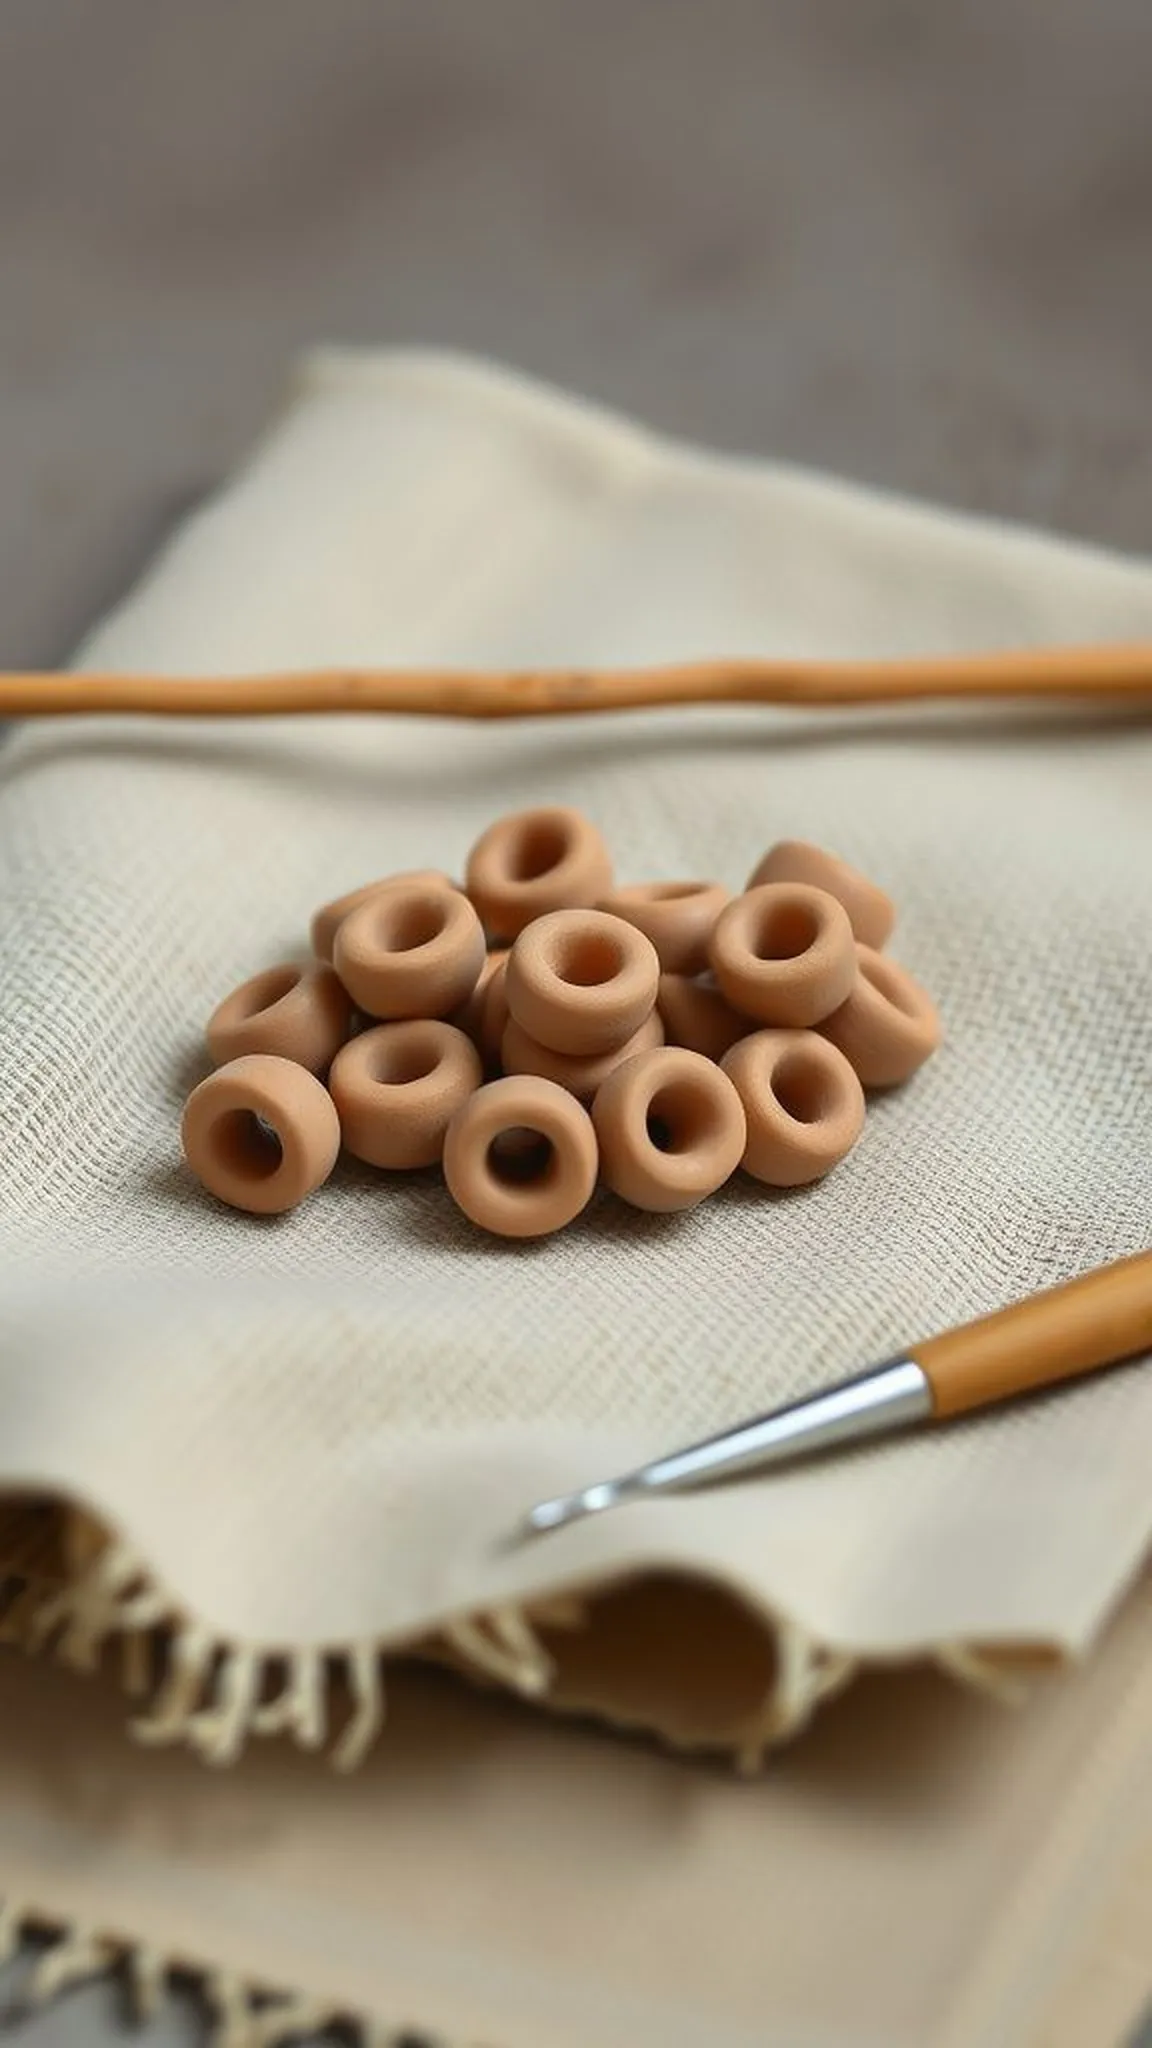
Fat, forgiving beads with wide centers make threading easy and prevent fumbling at the finish.
Rounded edges and warm matte surfaces feel pleasant against the skin and are easy to handle during assembly.
A simple color palette and soft textures create accessories that are both cheerful and manageable for shaky hands.
Pro Tip: Make bead holes noticeably wide and keep beads plump so a large cord passes through without force and frustration.
How to Make This
- Roll uniform balls of clay and compress gently to form slightly flattened beads.
- Create large center holes with a thick metal skewer held steady, ensuring a smooth bore.
- Let beads dry on a cushioned board and then thread onto a soft cord with a blunt needle.
Avoid: Holes that are too small make threading fiddly and stressful. Generous openings make the whole process more comfortable.
Try Also: Alternate bead sizes for a graduated necklace or make a set of matching bracelet beads. Add subtle painted dots after drying for visual interest.
Products & Materials
Items Used
- air-dry clay pearls
- thick metal skewer
- soft cotton cord
“Plump clay beads with big holes for easy, calm stringing.”
Wrist-friendly slab tray with cushioned rolling
⏱️ 1-2 hours · 🟠 Intermediate
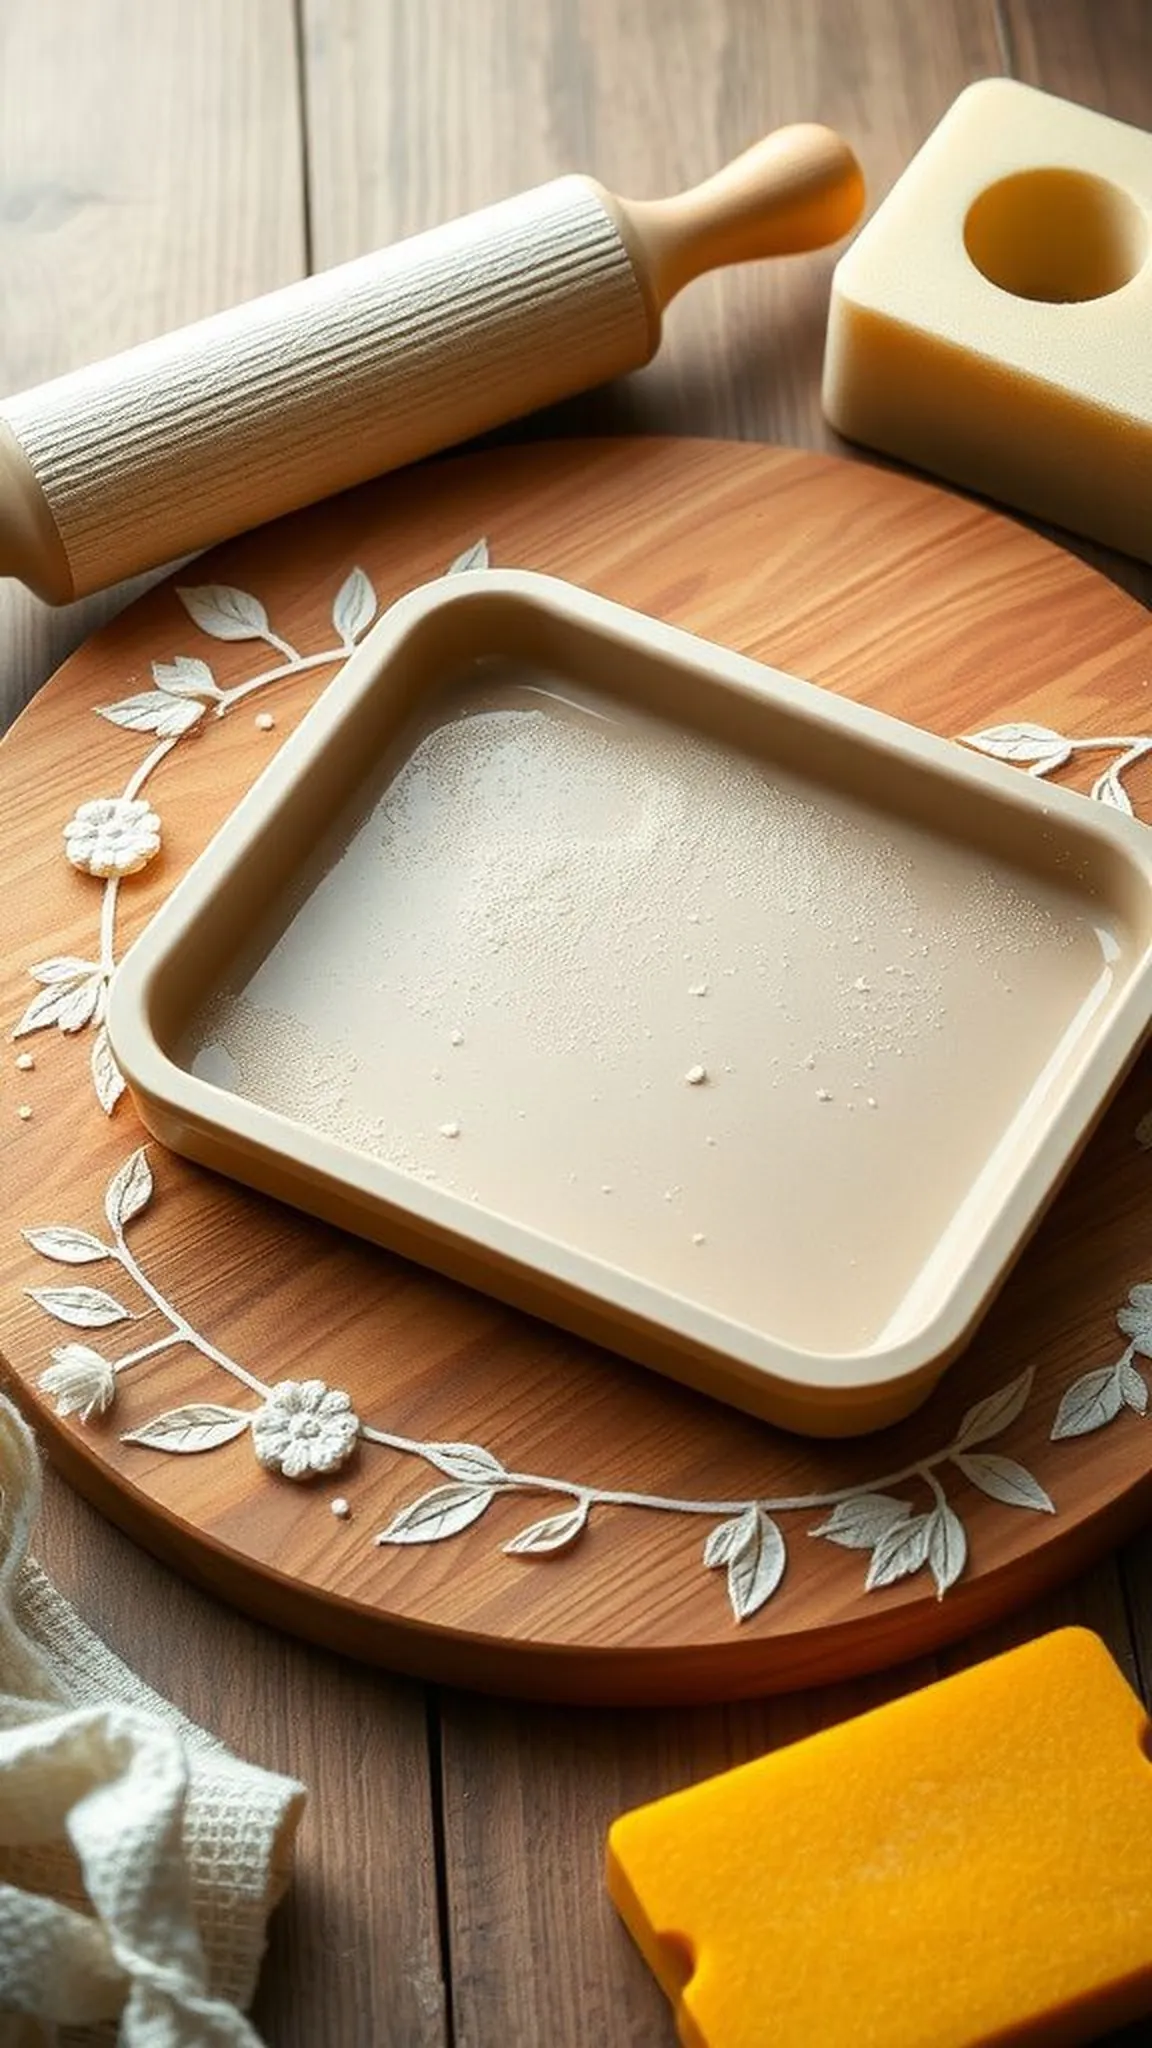
A shallow slab tray offers a broad surface and minimal repetitive motion, easing wear on joints while creating a useful object.
The edges are softly rounded and the base has a pleasing weight that invites casual handling without awkward gripping.
Lightly textured interiors give cups a gentle anchor while the muted finish soothes the eye on a crowded table.
Pro Tip: Work the slab on a low-friction mat and choose a padded roller to preserve comfortable wrist alignment during flattening.
How to Make This
- Press a slab of clay to an even thickness on a non-slip surface using a padded roller.
- Lift the slab onto a flat board and ease up the edges to form a shallow rim with a soft tool.
- Add a subtle interior texture with a foam stamp and smooth the outer edges with a damp sponge.
- Allow the tray to dry slowly for even results.
Avoid: Flattening with a hard roller can jar the wrists and create uneven thickness. A soft roller and gentle motions keep comfort and consistency.
Try Also: Make a divided server by adding low partitions or create a matching soap dish by trimming a smaller rectangle. Add a light wash for contrast.
Products & Materials
Items Used
- air-dry clay slab pack
- padded rolling pin for clay
- foam texture stamp
- non-slip board
“Shallow slab tray made gently with a cushioned roller for comfort.”
Thumbprint pendant with large bail for easy threading
⏱️ 35 min · 🟢 Beginner
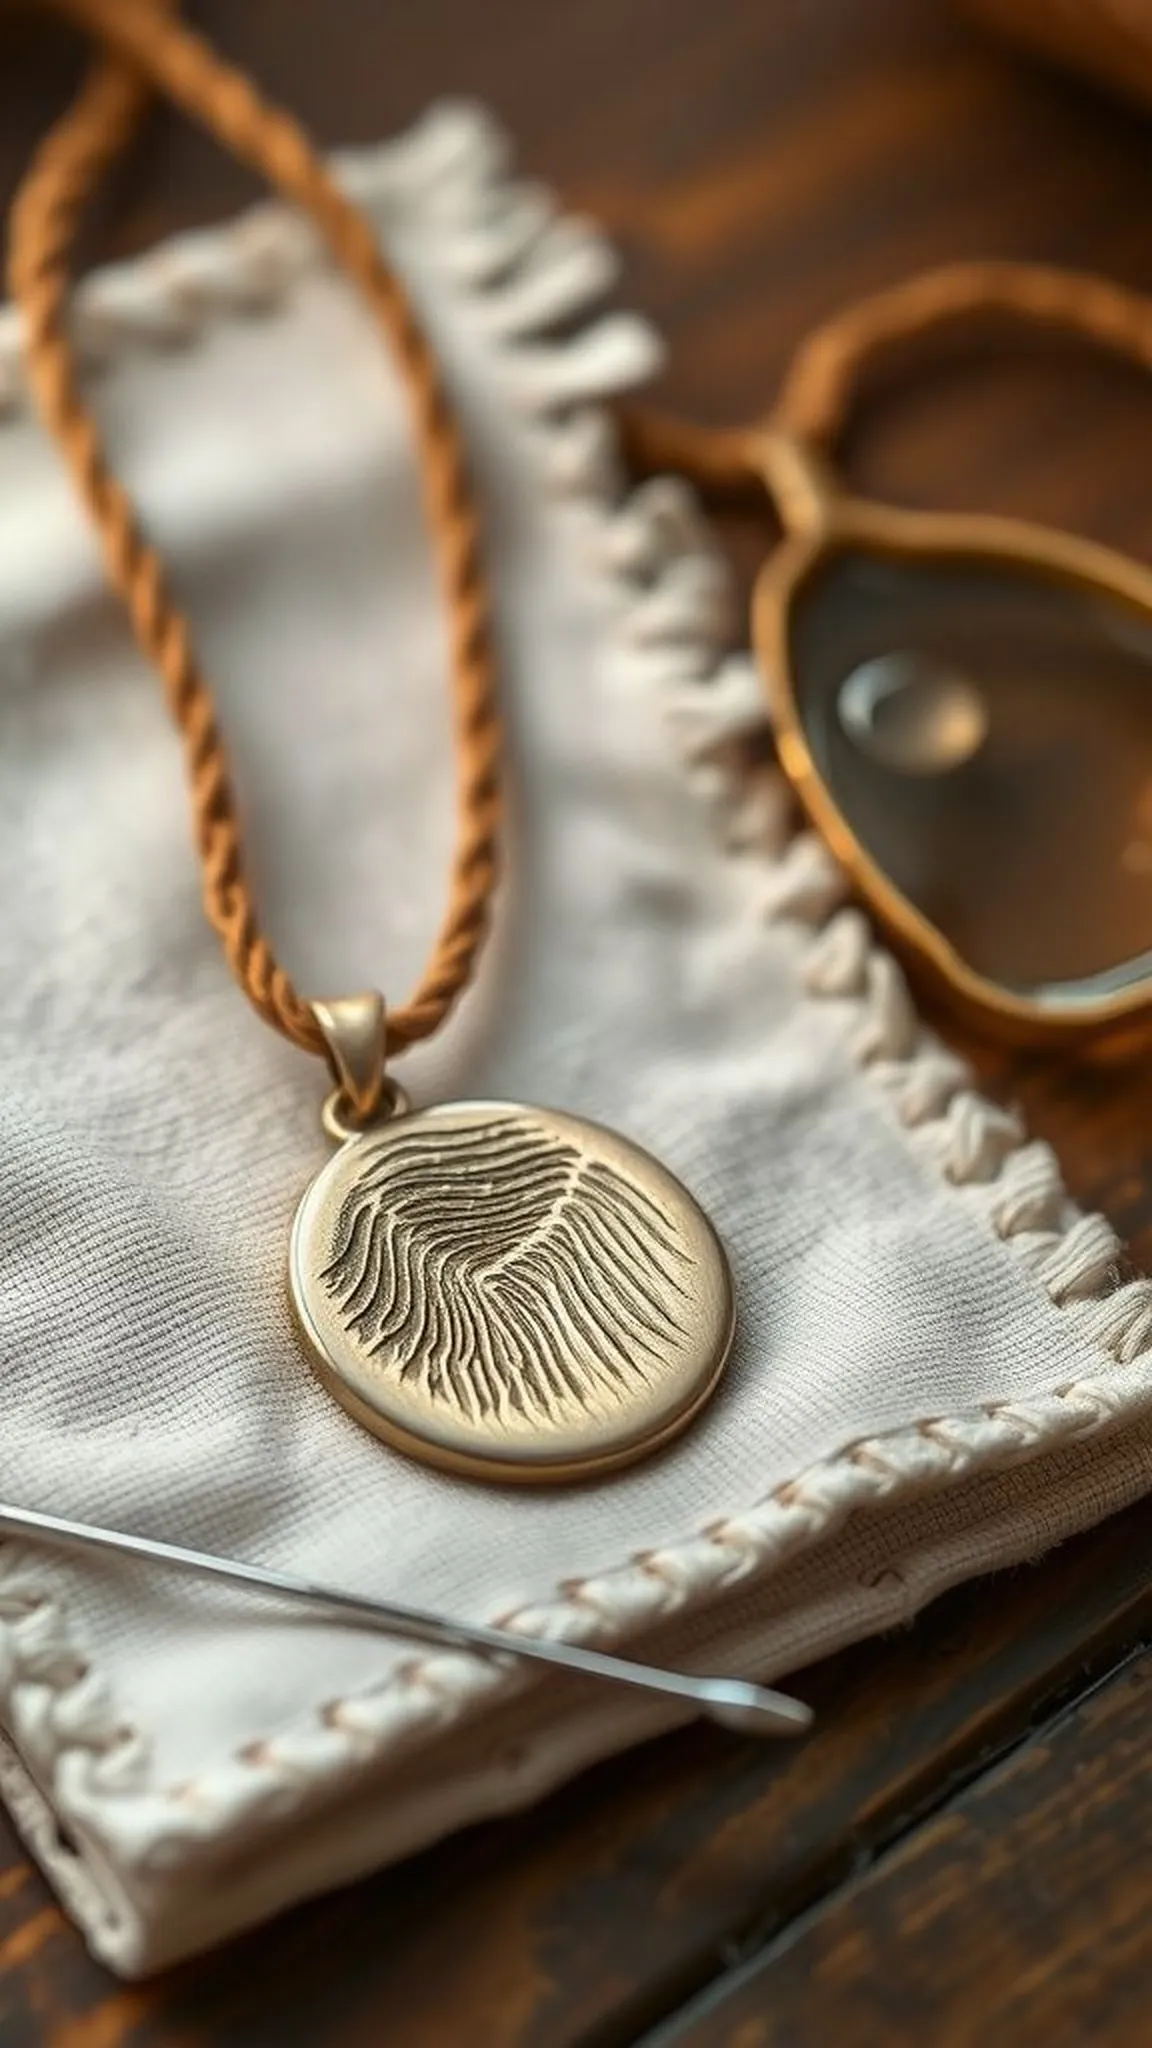
A petite pendant with a prominent thumbprint center offers a personal keepsake without awkward fiddling.
The jewelry piece feels reassuringly solid yet light, and the large bail makes cording simple for shaky hands.
A soft patina or muted glaze brings out the impressed mark and gives a calm, wearable finish.
Pro Tip: Make the bail hole generously wide and keep the pendant thin enough to remain light but sturdy for everyday wear.
How to Make This
- Press a flattened disc of clay to a comfortable thickness and create a large bail hole near the top.
- Impress a thumb into the center to form a clear, shallow mark and smooth the rim gently.
- Dry the pendant flat and then thread a soft cord through the large bail for immediate wearing.
Avoid: A bail that is too small leads to frustration when threading. Oversizing the opening preserves ease and keeps the process calm.
Try Also: Make a matching pair for earrings with smaller bails or create a set with different thumb impressions for family members. Try a subtle metallic wash after drying.
Products & Materials
Items Used
- air-dry clay small pack
- blunt crafting needle
- soft waxed cord
“Personal thumbprint pendant with a roomy bail for easy threading.”
Cupped soap dish with padded base for stability
⏱️ 40 min · 🟢 Beginner
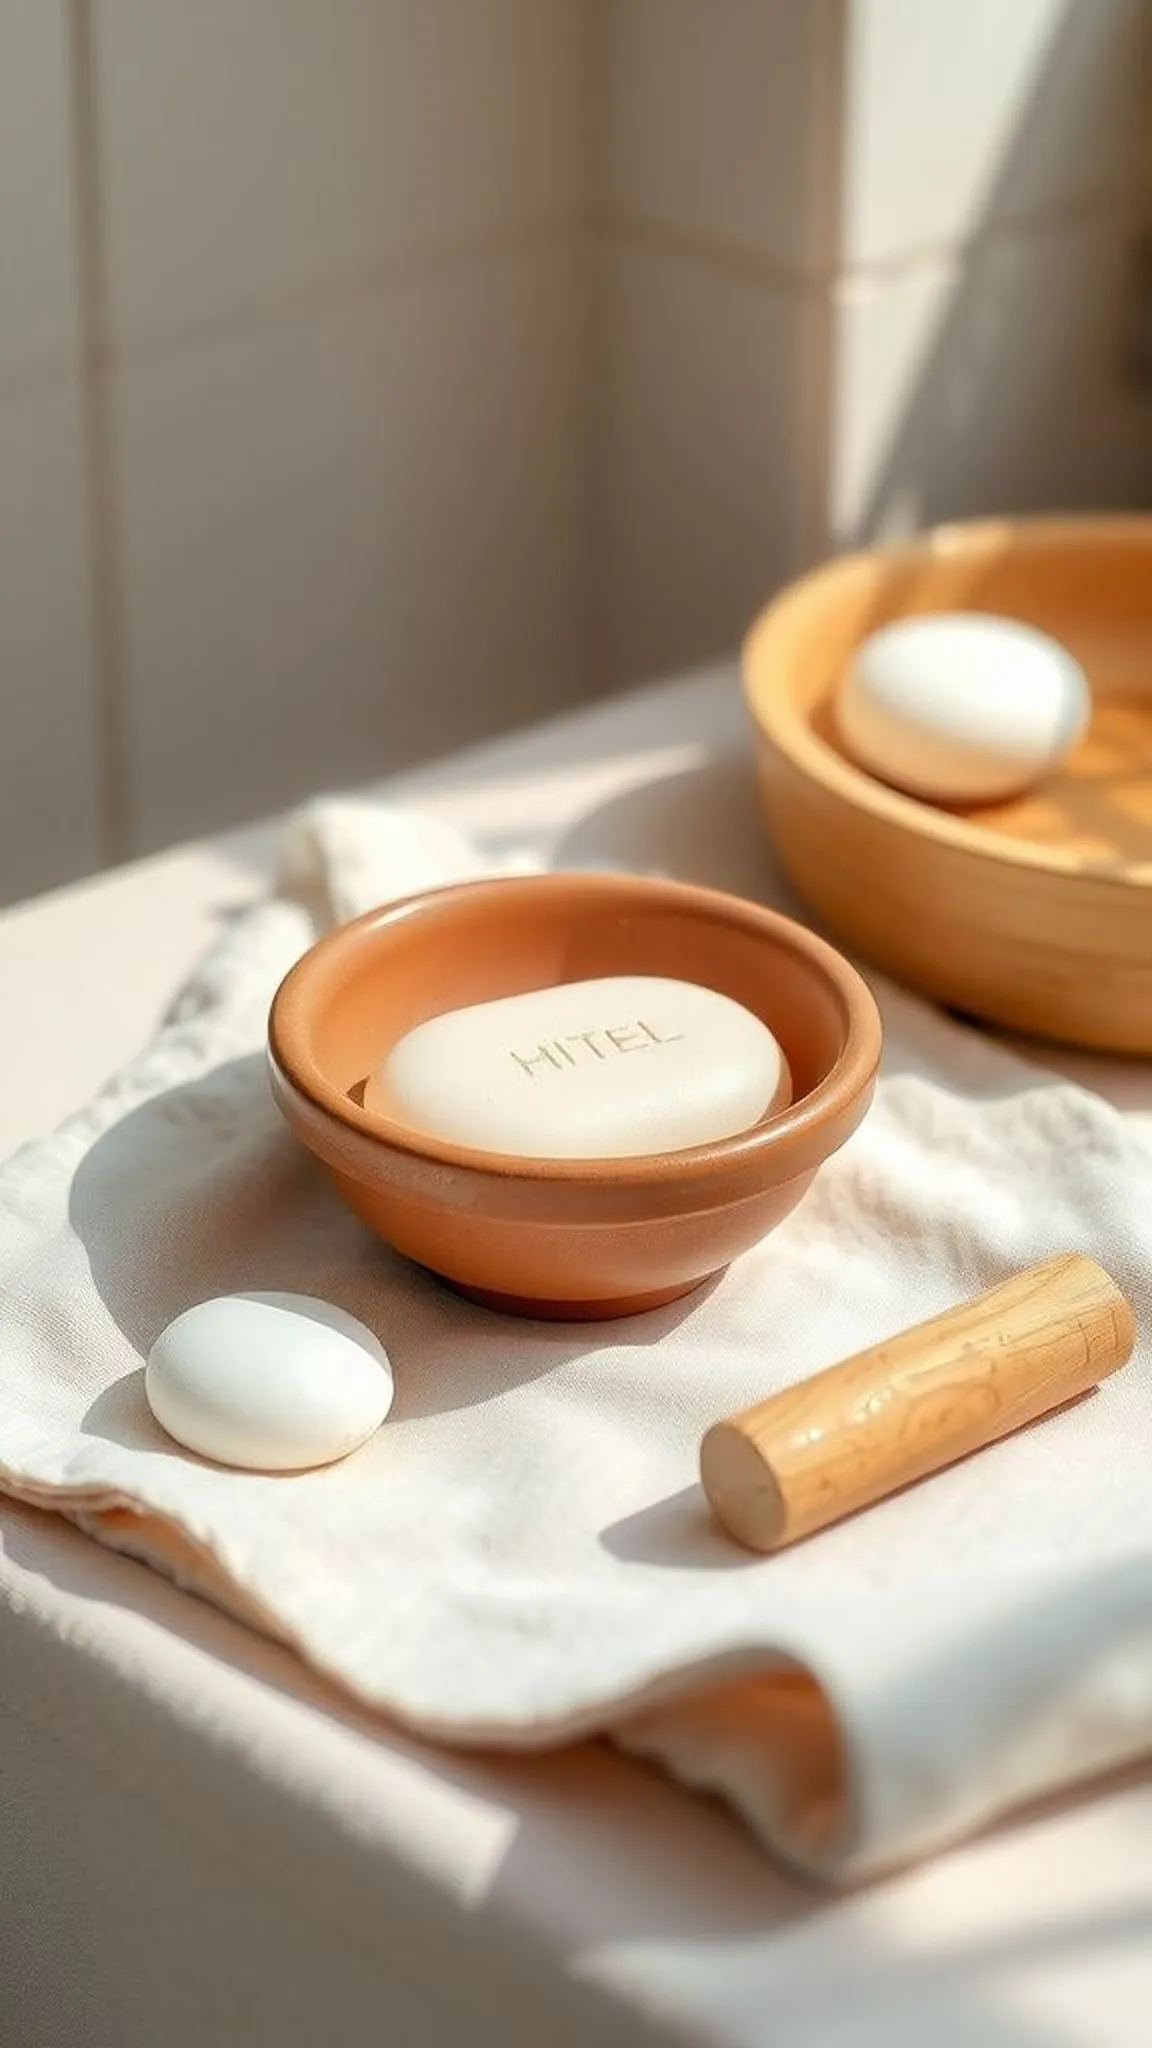
This cupped soap dish has a shallow well and cushioned base that keeps items stable and easy to reach.
The interior shows faint ridges that let water collect while remaining simple to clean by hand.
The finished piece has a calming silhouette and a soft matte surface that feels pleasant when touched.
Pro Tip: Include a soft foam insert under the dish during building to maintain a steady surface and protect the wrist from bending awkwardly.
How to Make This
- Form a shallow oval from a flattened slab and press gently to create a smooth concave well.
- Add a thin foam layer beneath while it firms to keep the base level and cushioned.
- Create low drainage ridges across the bottom with a rounded tool and smooth the rim with a damp sponge.
- Allow to dry on a flat, supported surface.
Avoid: Making the dish too deep can make reaching bars awkward for arthritic hands. A shallow, wide well keeps access easy and comfortable.
Try Also: Turn the design into a jewelry tray by adding a small divider or make a matching toothbrush holder with slightly higher walls. Try two-tone clay for contrast.
Products & Materials
Items Used
- air-dry clay oval slab
- thin foam pad
- rounded smoothing tool
“Shallow soap dish with cushioned base for steady, gentle use.”
Press-molded spoon rest with wide lip
⏱️ 1 hour · 🟠 Intermediate
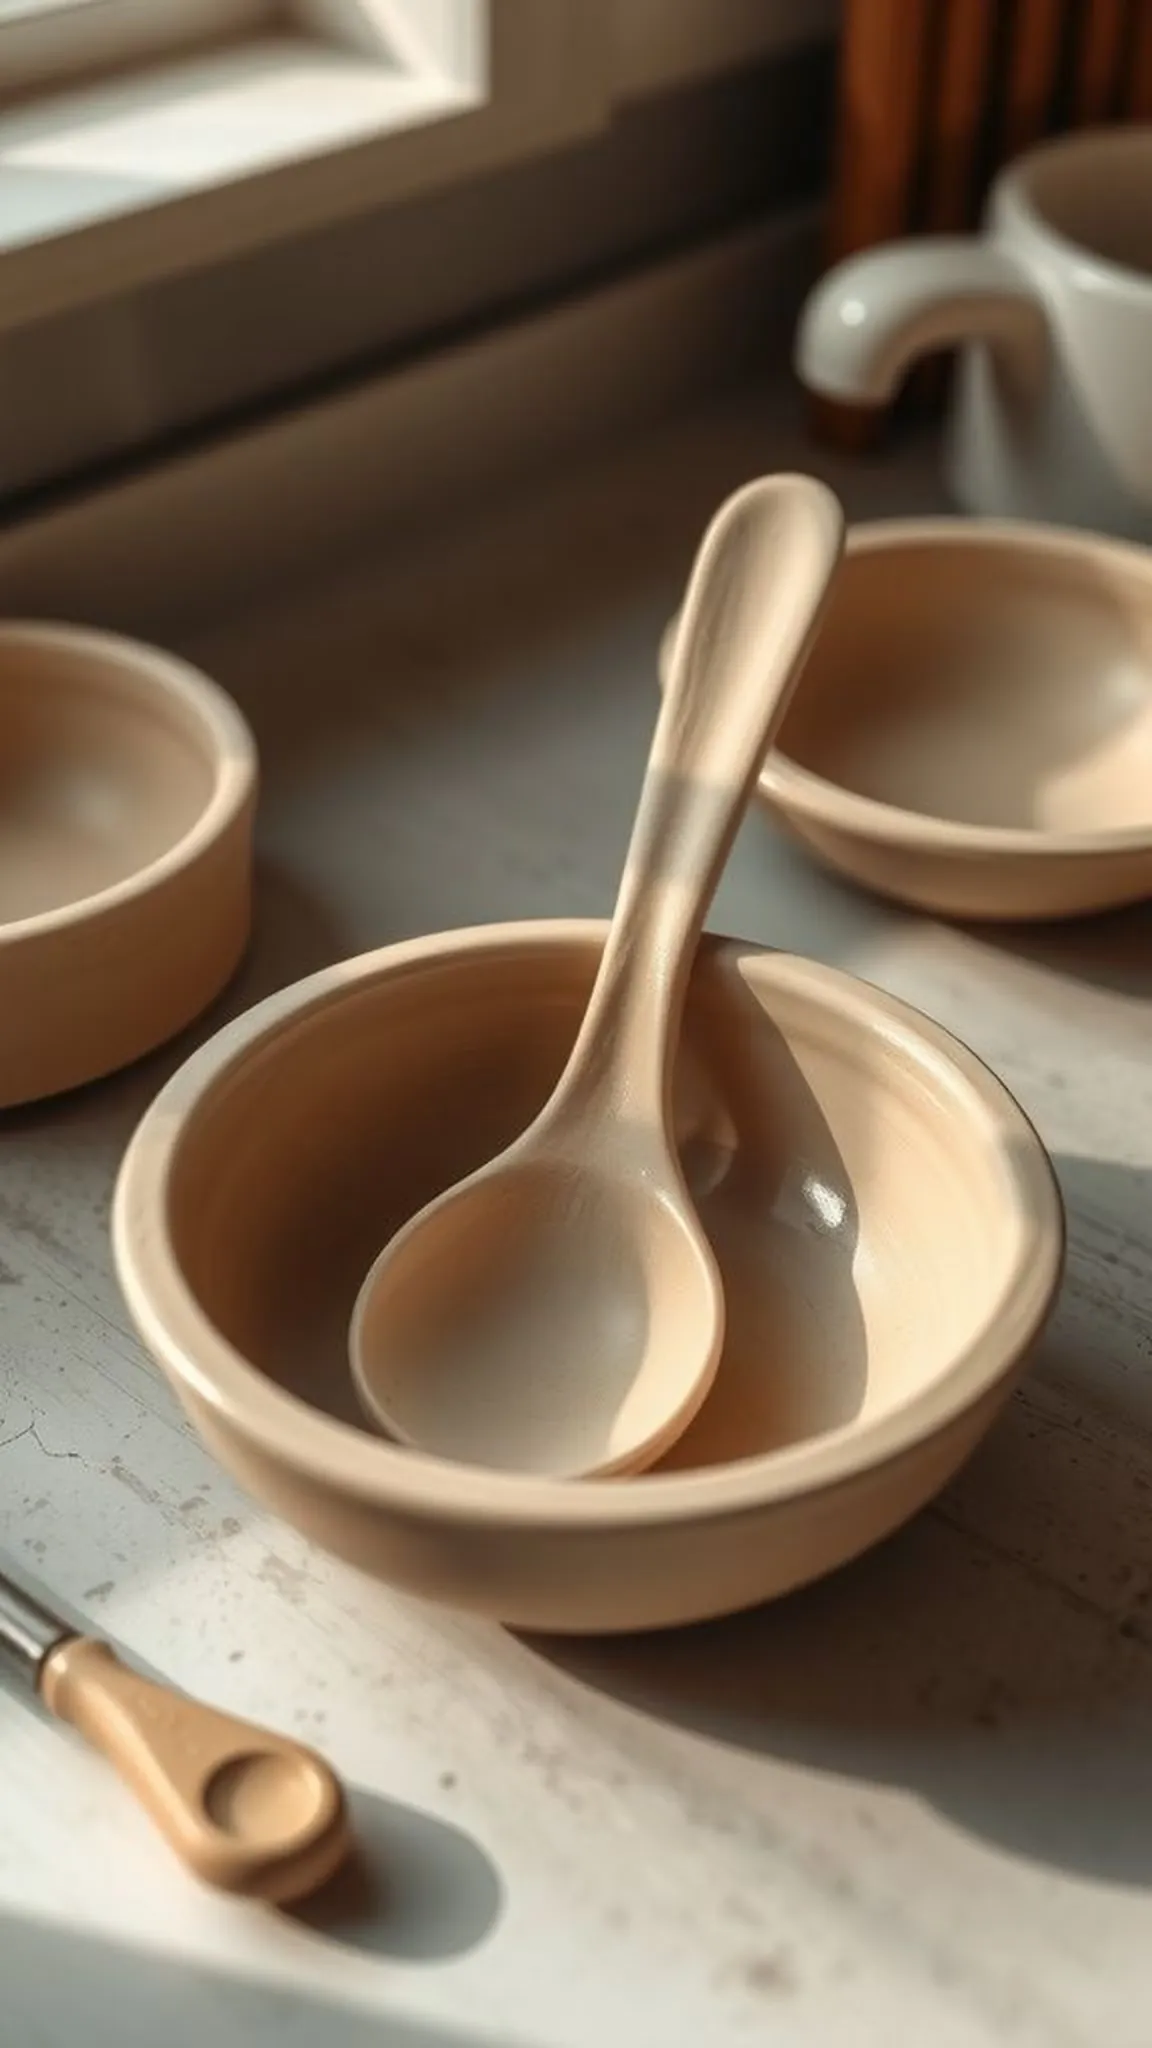
A spoon rest made with a press mold highlights a shallow basin and a wide, comfortable lip that supports utensils without fussy balance.
The texture inside can be softly stippled so items rest without sliding and the rim offers a smooth feel under the palm.
Neutral tones and organic contours keep the piece visually calm and practical on a busy counter.
Pro Tip: Choose a shallow mold and press with steady, gentle pressure to create a supportive lip that needs little adjustment later.
How to Make This
- Lay a slab of clay into a shallow press mold and press evenly until the form is seated.
- Trim excess clay from the mold edge and smooth the external rim with a soft tool.
- Add a subtle interior texture with a foam pad and move the piece to a flat board to dry.
- After drying, buff the lip for a silky finish.
Avoid: Overpressing into the mold can create thin sections that crack when drying. Gentle, even pressure keeps walls sturdy and comfortable to handle.
Try Also: Try a matching utensil holder with a higher back, or press smaller molds for a tea bag rest. A light glaze accent brings subtle sheen.
Products & Materials
Items Used
“Shallow press-mold spoon rest with a supportive wide lip for easy use.”
Rounded worry stones that fit the palm
⏱️ 25 min · 🟢 Beginner
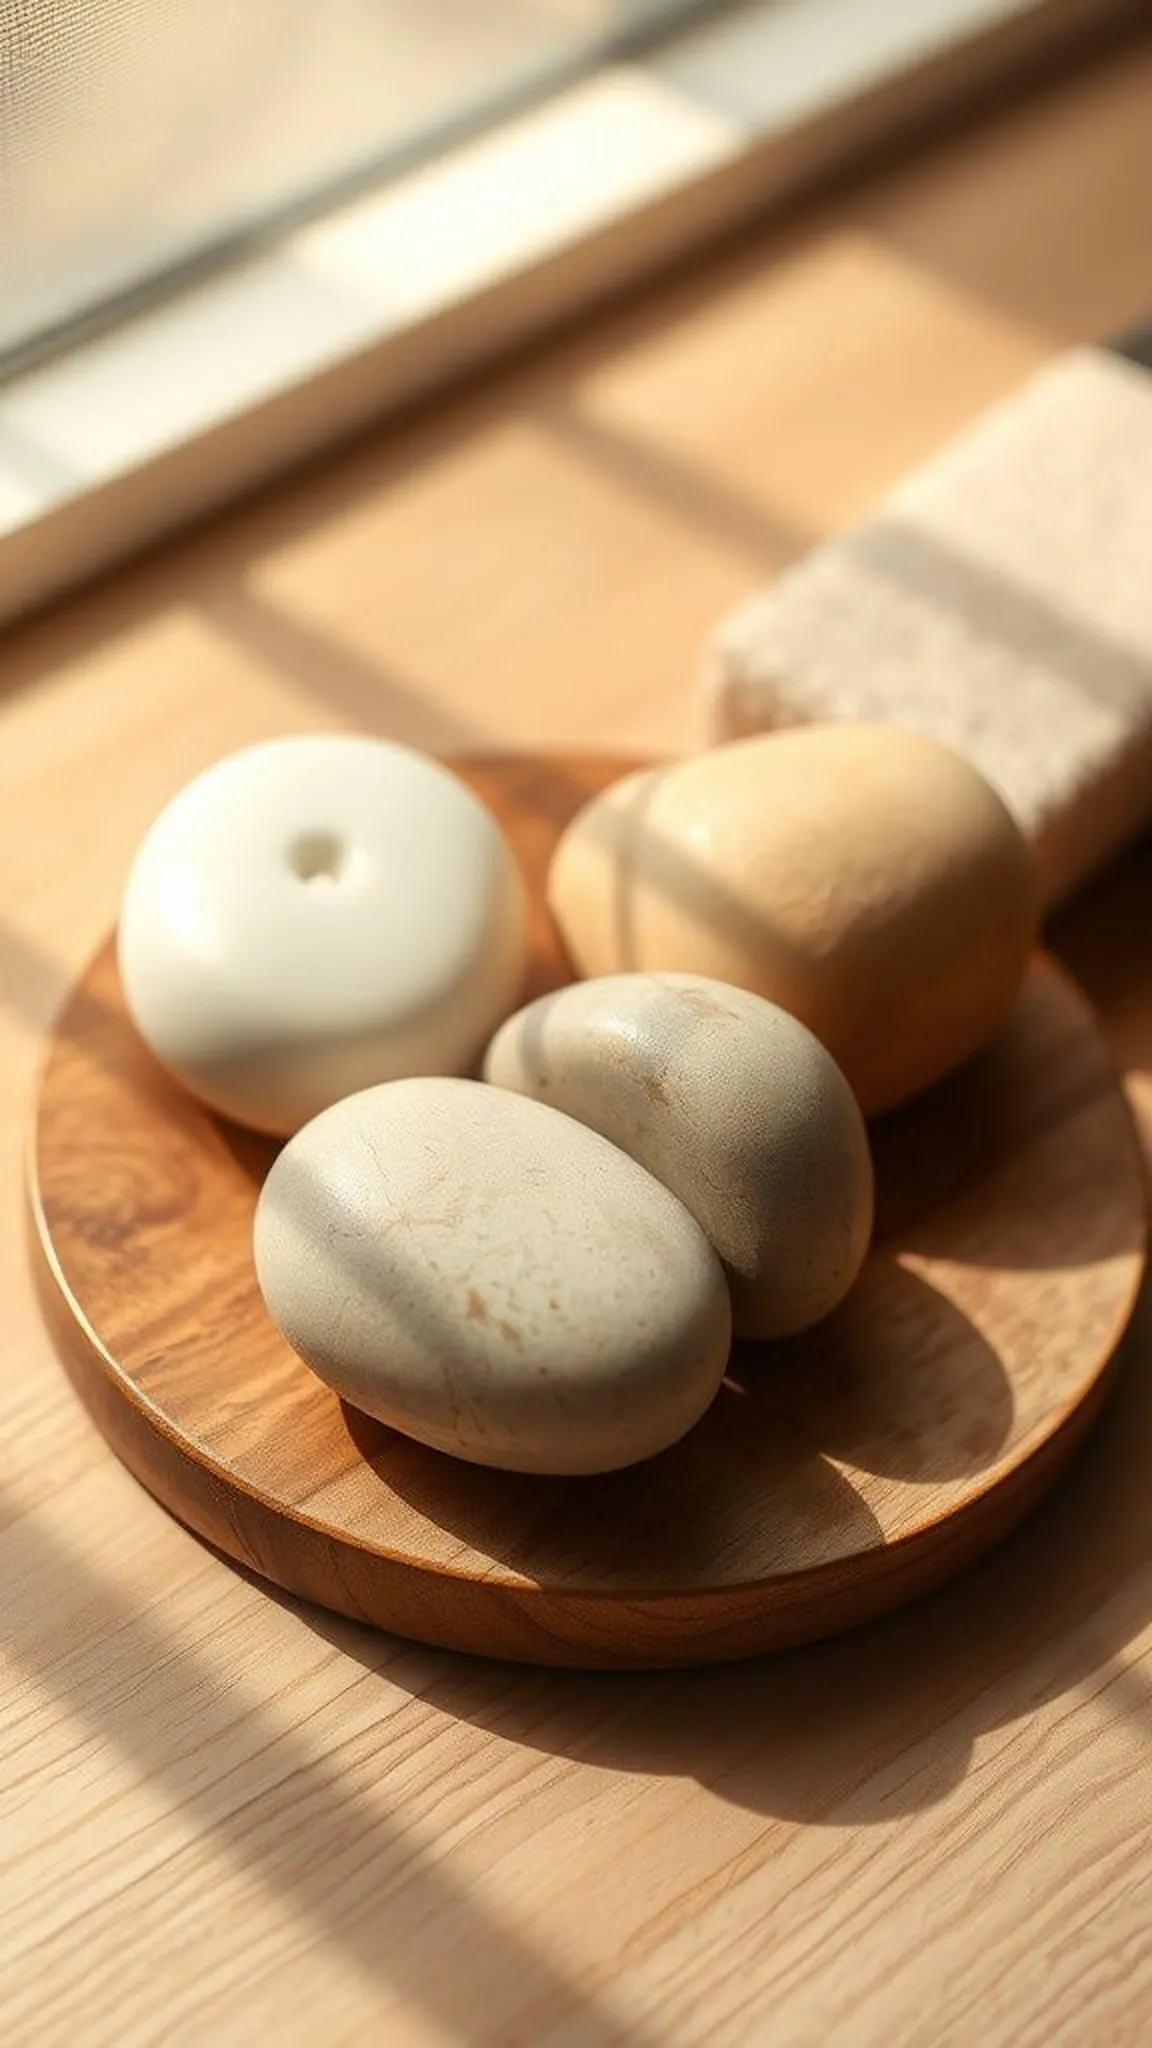
Small, rounded worry stones are made to nestle in the palm and offer a calming tactile surface for restless fingers.
The clay finishes with a smooth, almost silky feel that invites repeated rubbing without strain.
A selection of muted colors and soft weight gives each stone a reassuring presence in a pocket or on a bedside table.
Pro Tip: Keep stones slightly larger than the thumb pad so fingers can move across the surface without overworking small joints.
How to Make This
- Shape small teardrop or oval forms from clay and smooth with a damp sponge until the surface is velvety.
- Slightly compress the center to create a comfortable indentation for the thumb.
- Dry the stones flat and then buff with fine sandpaper for a polished hand feel.
Avoid: Making stones too small can make them fiddly and hard to grip. A slightly larger size improves comfort and calming effect.
Try Also: Create a matching set in graduated sizes or embed a shallow charm for a textured focal point. Add a soft wash of color after drying.
Products & Materials
Items Used
- air-dry clay small pack
- soft sanding paper
- soft round sponge
“Soothing rounded worry stones sized for comfortable palm rubbing.”
Adaptive-handled texture roller for subtle patterns
⏱️ 2-3 hours · 🔴 Advanced
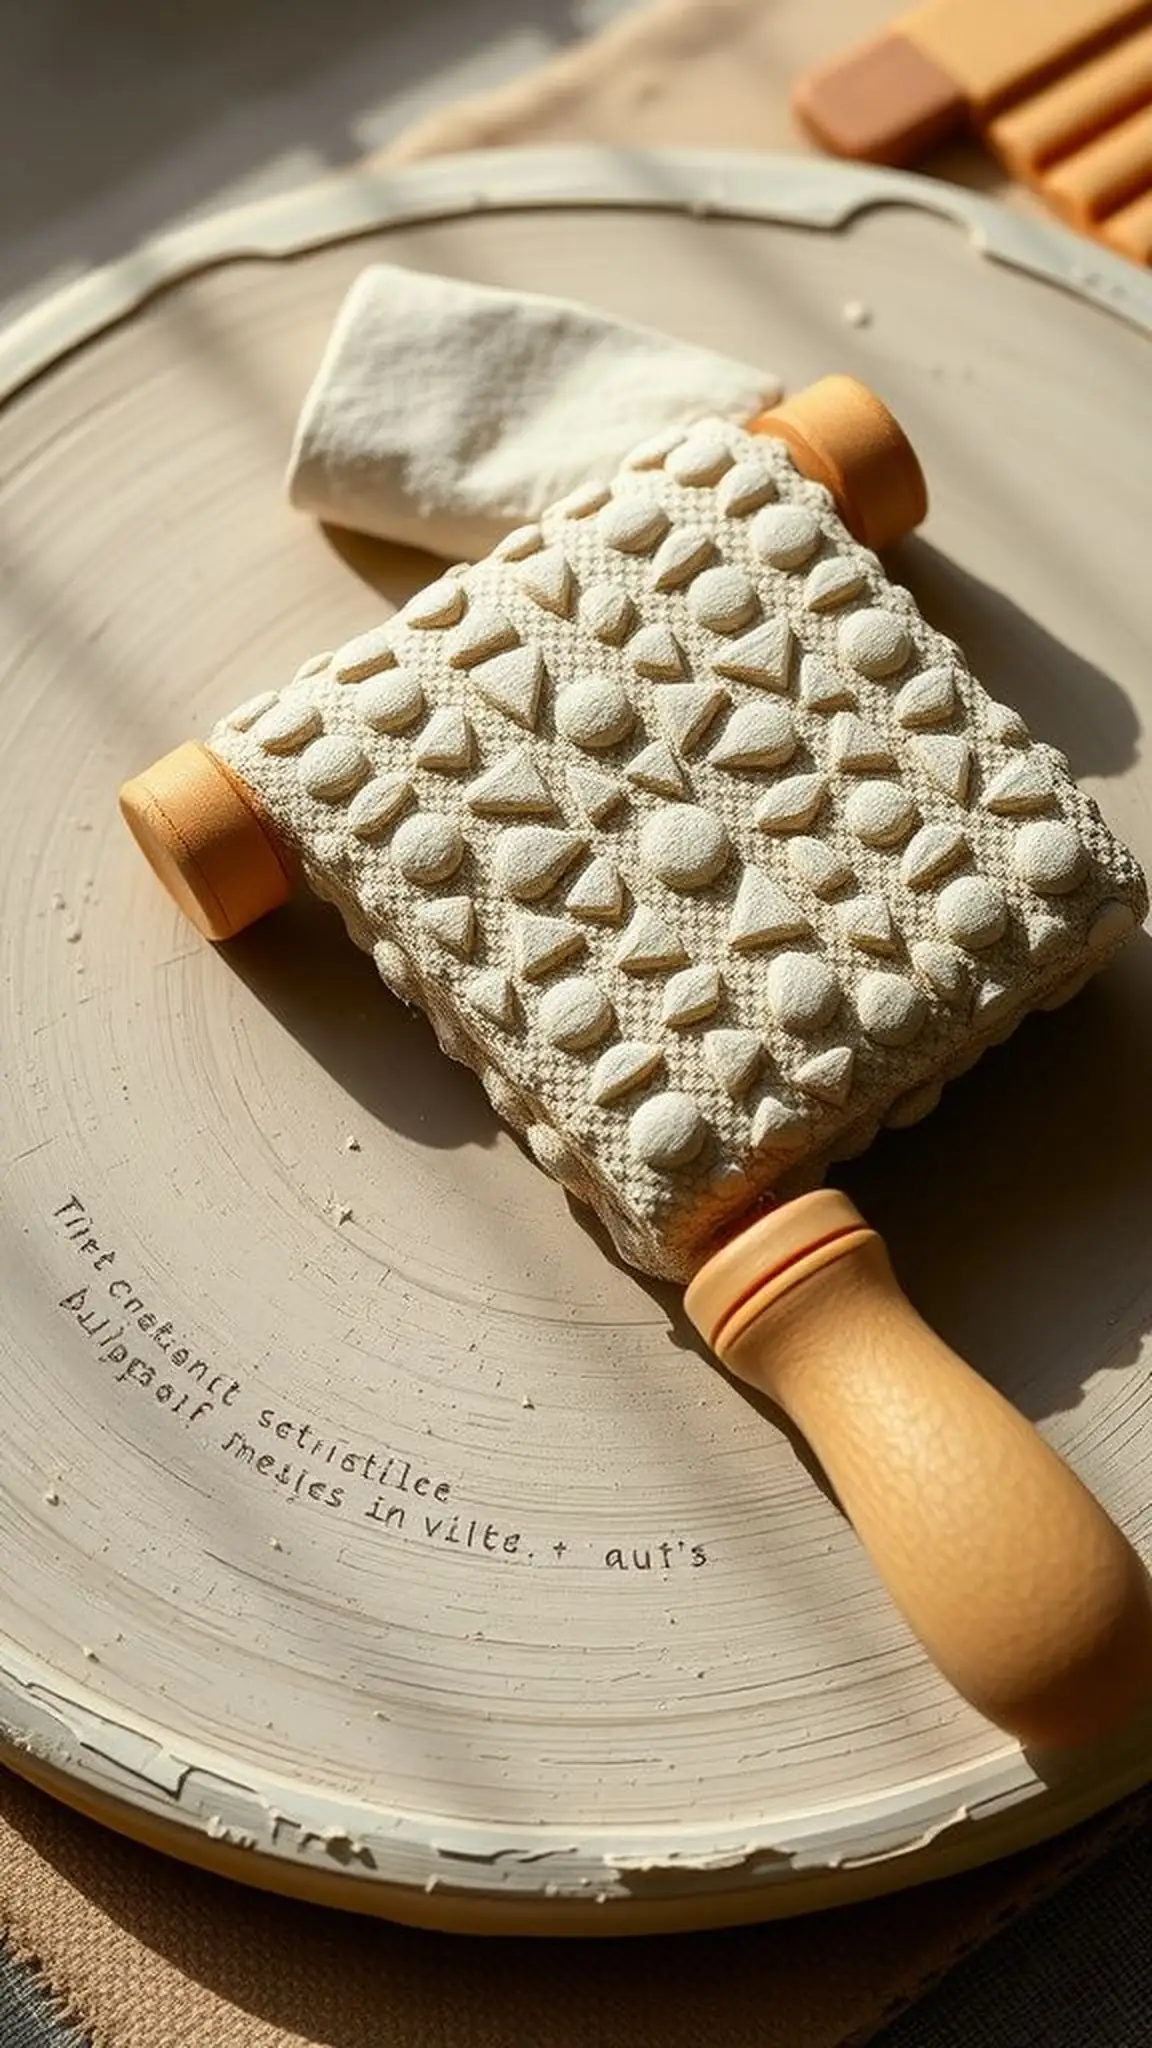
An adaptive-handled texture roller creates consistent, low-effort patterns across slabs without demanding strong grip strength.
The roller leaves gentle, repeatable marks that feel pleasant to the touch and catch light in thin highlights.
Padded handles and a balanced weight make long passes across clay comfortable and calming for aching hands.
Pro Tip: Select a roller with a broad handle and light core so long, steady strokes stay comfortable and require minimal grip force.
How to Make This
- Attach soft-topped handles to the roller shaft for a cushioned grip and test on a scrap slab.
- Position the roller on a padded mat and roll gently but steadily to transfer the texture.
- Trim slab edges and smooth the outer rim with a damp sponge, then place on a drying board.
Avoid: Using a heavy roller forces the hands to compensate and can increase fatigue. A lightweight, balanced roller keeps motion smooth and relaxed.
Try Also: Swap patterned sleeves for floral, geometric, or wave motifs, or roll only part of a slab for a mixed-texture piece. Try different clays for varied surface effects.
Products & Materials
Items Used
“Adaptive texture roller with cushioned handles for low-effort patterning.”
Soft-edged magnet buttons for fridges and doors
⏱️ 30 min · 🟢 Beginner
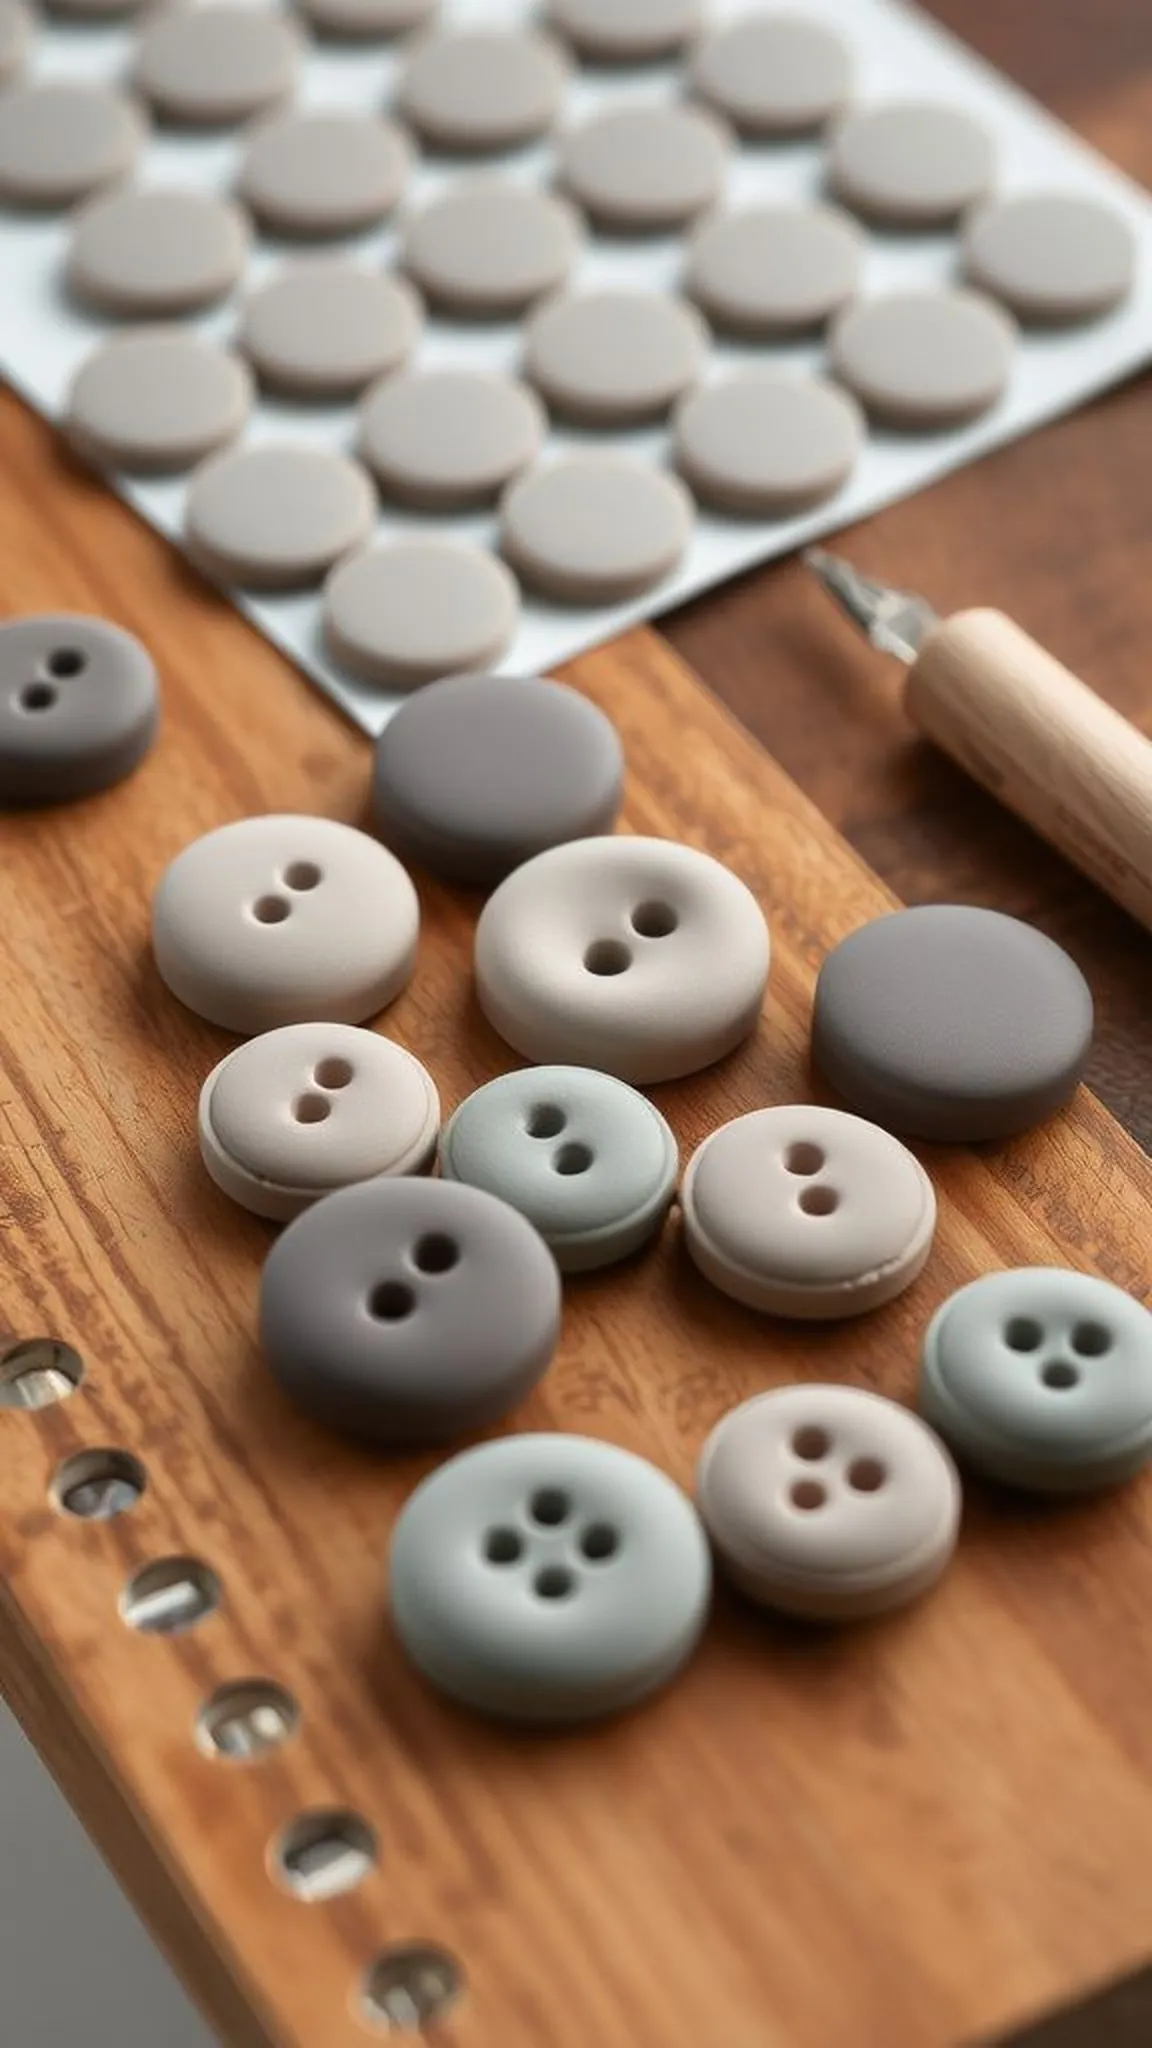
Plump magnet buttons have rounded edges and a gentle profile that is easy to pick up and reposition on magnetic surfaces.
Their soft matte finishes and small surface decorations invite tactile play and are pleasant to hold between fingers.
A set in calm colors looks tidy on a fridge and offers an accessible way to display notes without fussy handling.
Pro Tip: Embed strong, flat disc magnets flush into the back while the clay is still pliable to keep the profile smooth and easy to grasp.
How to Make This
- Form small round buttons from clay and flatten slightly for a comfortable grip profile.
- Press a flat disc magnet gently into the back so it sits flush with the surface.
- Add subtle surface details with a soft tool, dry flat, and then attach to magnetic boards.
Avoid: Setting magnets too proud creates snag points and makes the buttons awkward to pick up. Keeping them flush preserves a smooth, easy-to-handle shape.
Try Also: Make themed sets with tiny inlaid shapes or keep them monochrome for a minimalist look. Vary sizes for visual interest.
Products & Materials
Items Used
“Soft-edged clay magnet buttons that are easy to handle and rearrange.”
Raised-relief house tile with padded bench support
⏱️ 1 hour · 🟠 Intermediate
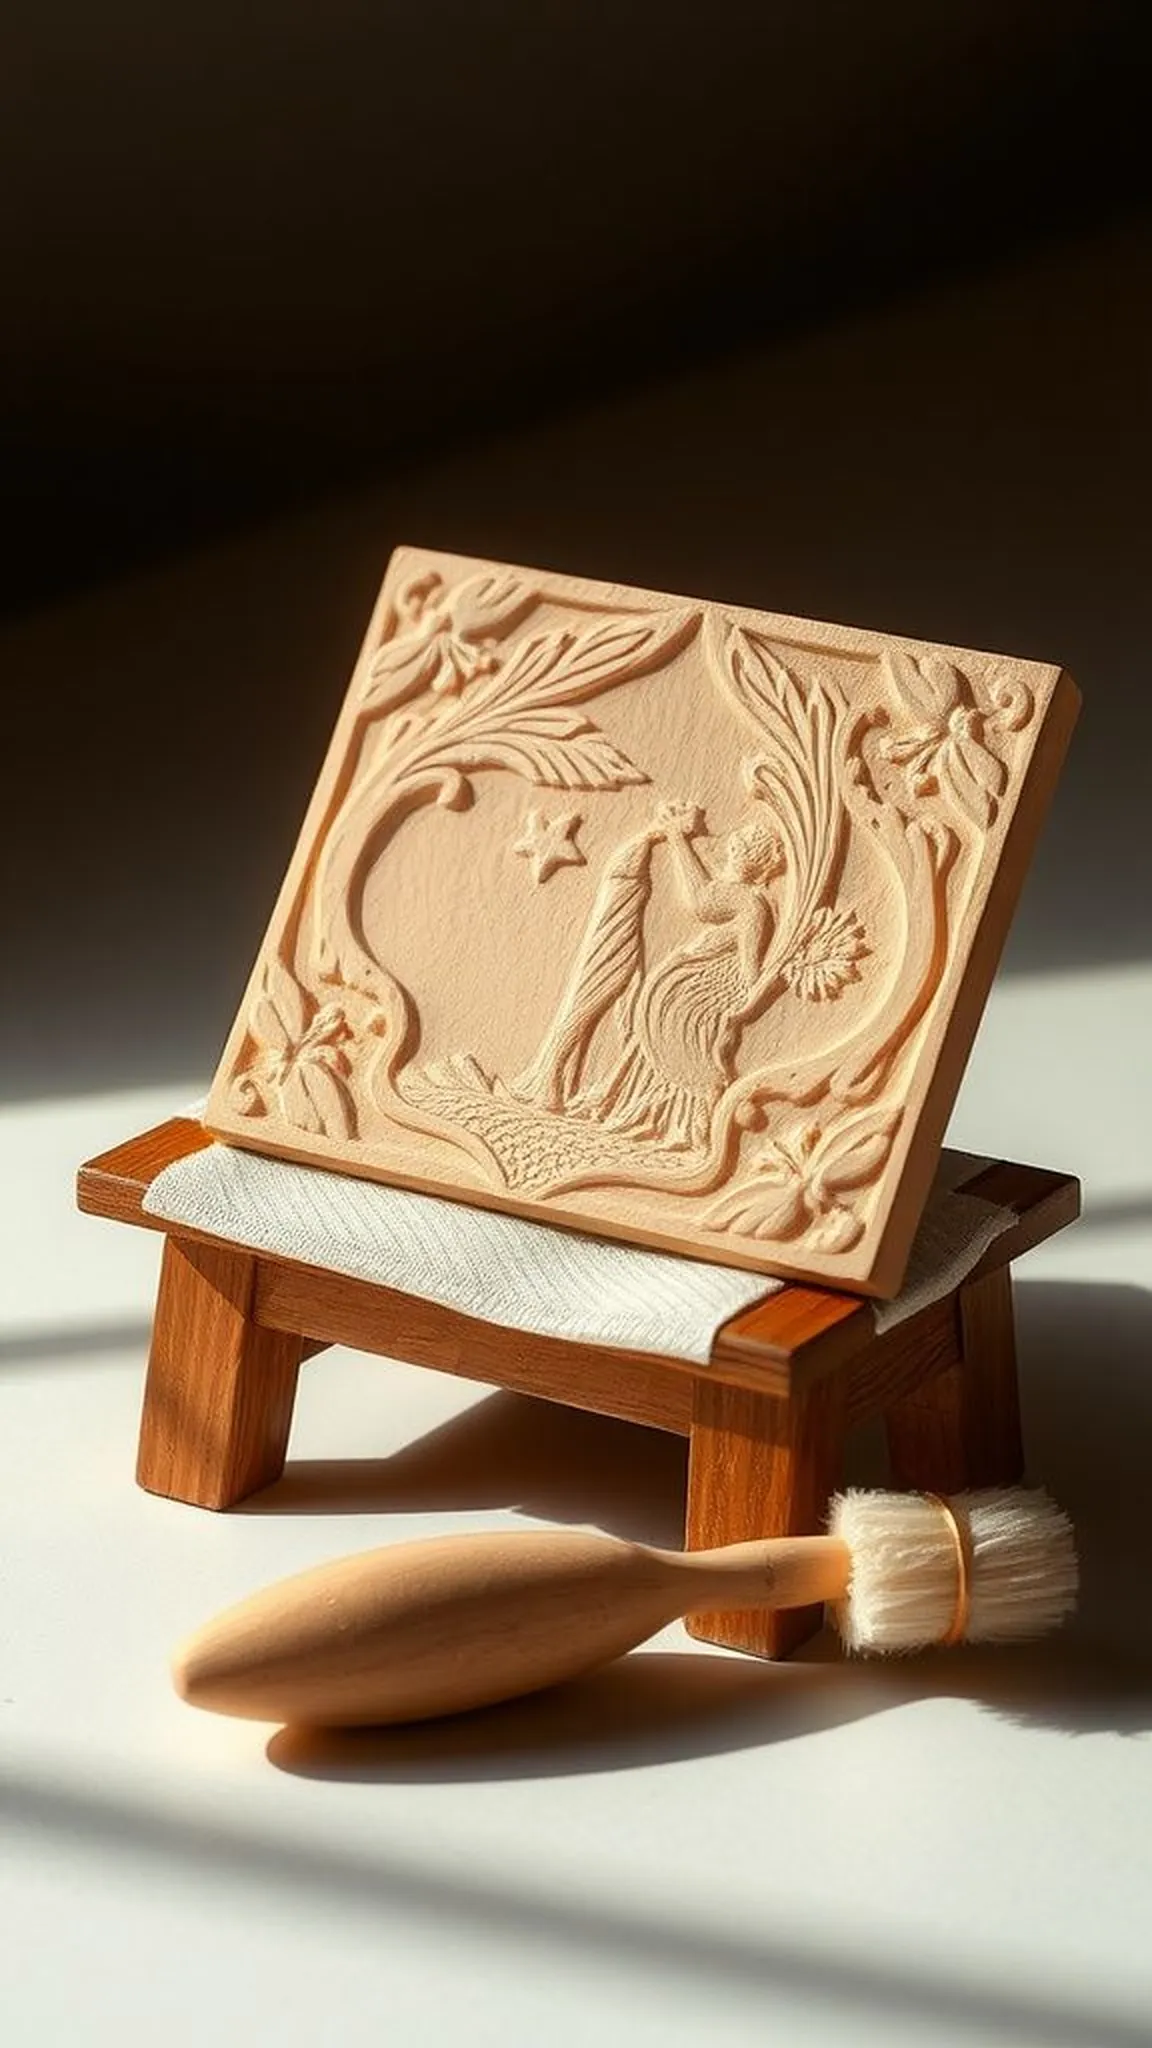
A small relief tile depicting a simple house combines low-relief carving with padded support for comfortable carving angles.
The design uses gentle heights so the scene reads clearly without demanding forceful tool work.
Warm earthy tones bring depth to the relief while the soft edges keep the piece comforting to handle.
Pro Tip: Elevate the tile on a small padded bench to maintain a neutral wrist angle while carving and refining the relief.
How to Make This
- Roll a slab to even thickness and lay it on a cushioned bench to keep the wrist level.
- Draw a simple house outline on the slab and remove shallow areas to create low relief with a rounded tool.
- Refine lines with a soft brush and allow the tile to dry on the cushioned surface to prevent warping.
Avoid: Carving too deeply can thin the tile and increase the chance of cracking. Keeping relief low preserves strength and reduces strain.
Try Also: Create a series of small house tiles to form a village wall display or swap designs for trees and boats. Subtle color washes enhance depth.
Products & Materials
Items Used
“Gentle low-relief house tile carved on a padded bench for comfort.”
Comfort-grip cookie-cutter ornaments for hanging
⏱️ 40 min · 🟢 Beginner
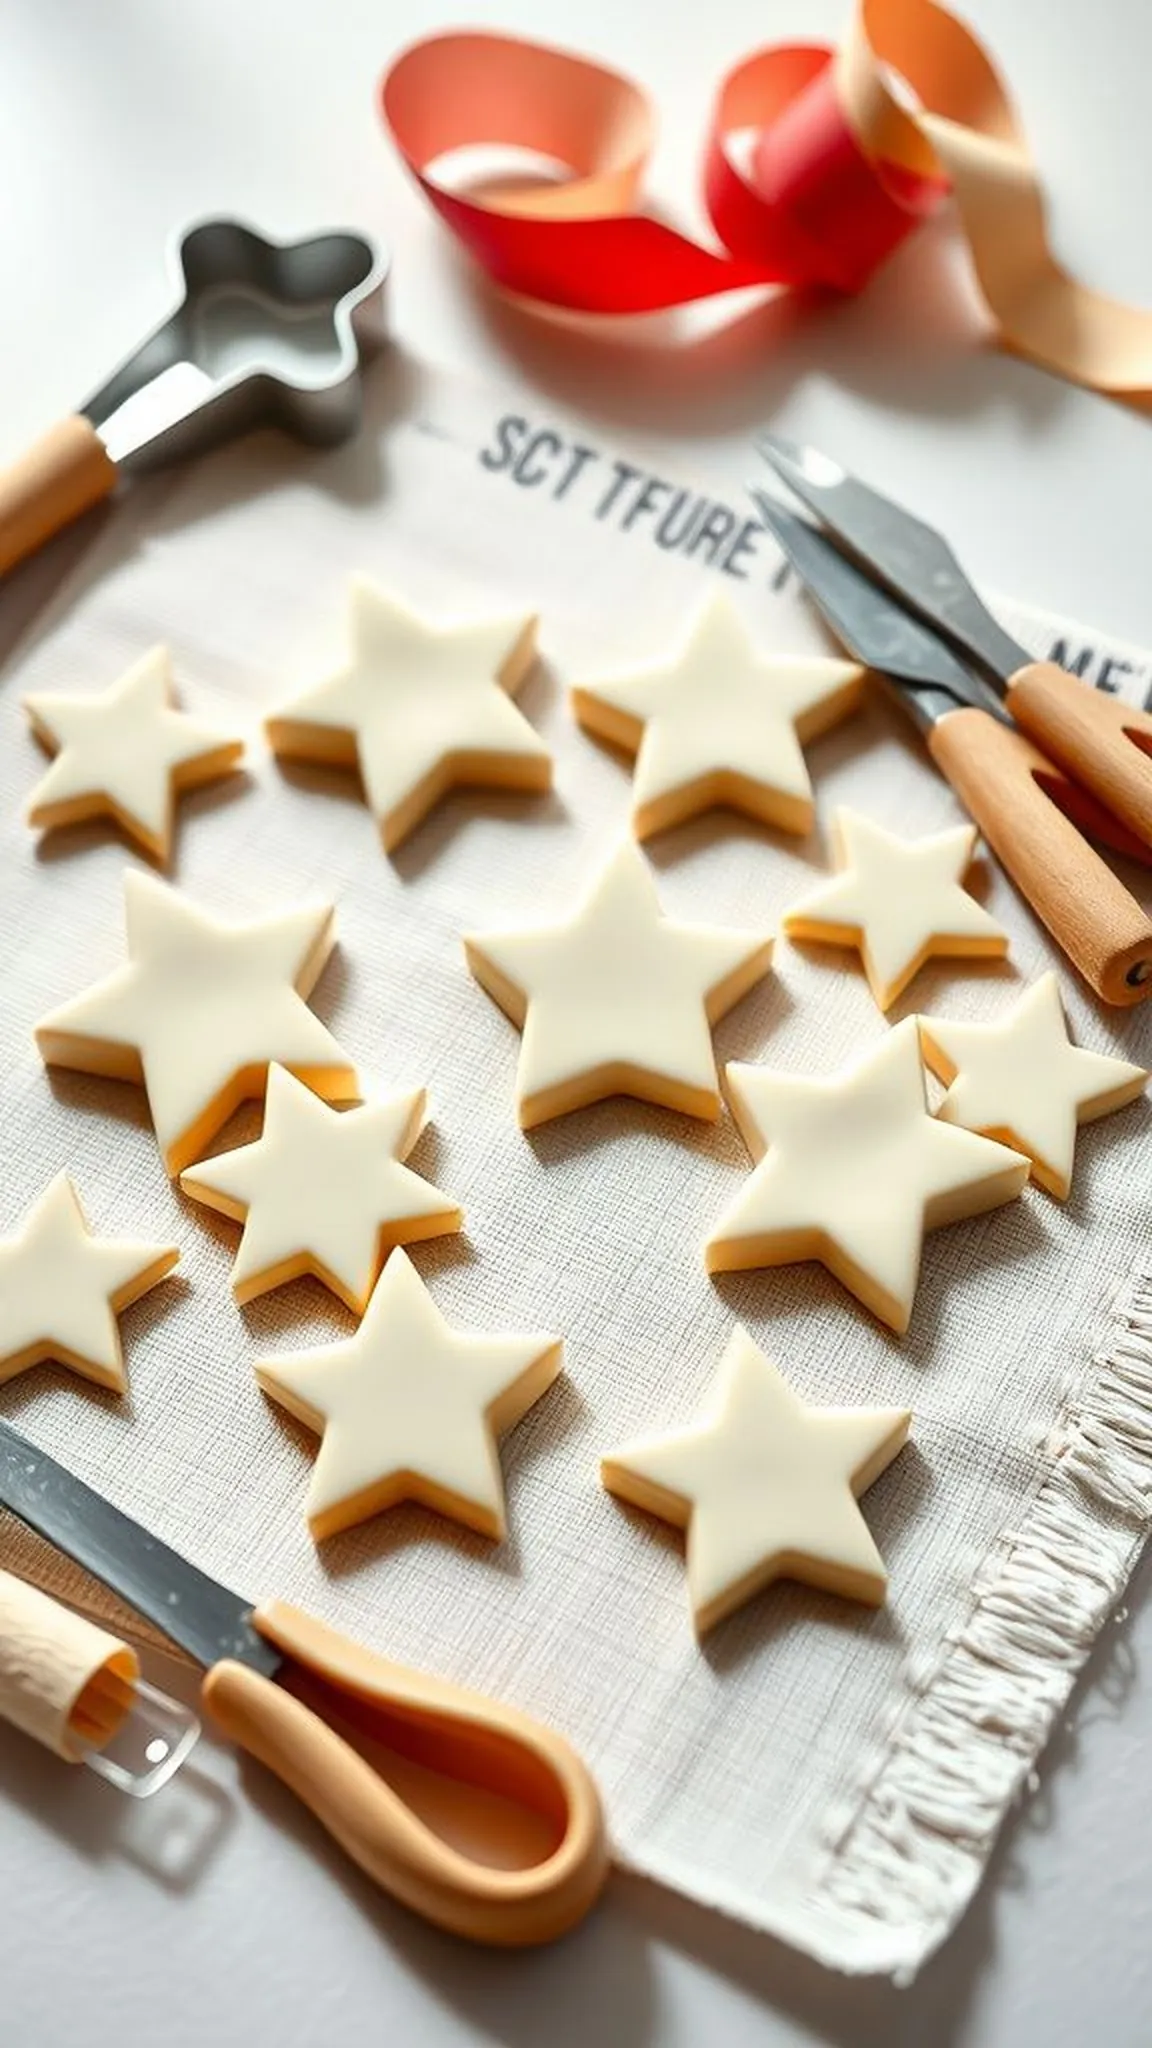
Ornaments cut with comfort-grip handles have wide grips and soft edges that simplify the motion of pressing out shapes.
The cut forms dry into light, decorative pieces that feel friendly to touch and easy to hang.
A soft ribbon threaded through a large hole completes a charming, approachable ornament set.
Pro Tip: Choose cutters with broad, cushioned handles and keep hanging holes generously large for effortless threading later.
How to Make This
- Roll the clay to an even thickness and press cookie cutters with comfort-grip handles to cut shapes.
- Create a large hanging hole near the top of each ornament with a thick skewer.
- Smooth edges with a damp sponge and dry the ornaments flat before adding ribbons.
Avoid: Too small hanging holes cause frustration when threading ribbons. Oversize the hole slightly to keep the process simple and calm.
Try Also: Make seasonal sets like stars or hearts, or add low-relief stamps for texture. Different ribbon colors change the mood.
Products & Materials
Items Used
- comfort-grip cookie cutters
- air-dry clay rolled slab
- thick wooden skewer
“Cushioned-handle cutters produce easy-to-hang clay ornaments for gentle crafting.”
Wide-rim stacking bowls with soft rims
⏱️ 1-2 hours · 🟠 Intermediate
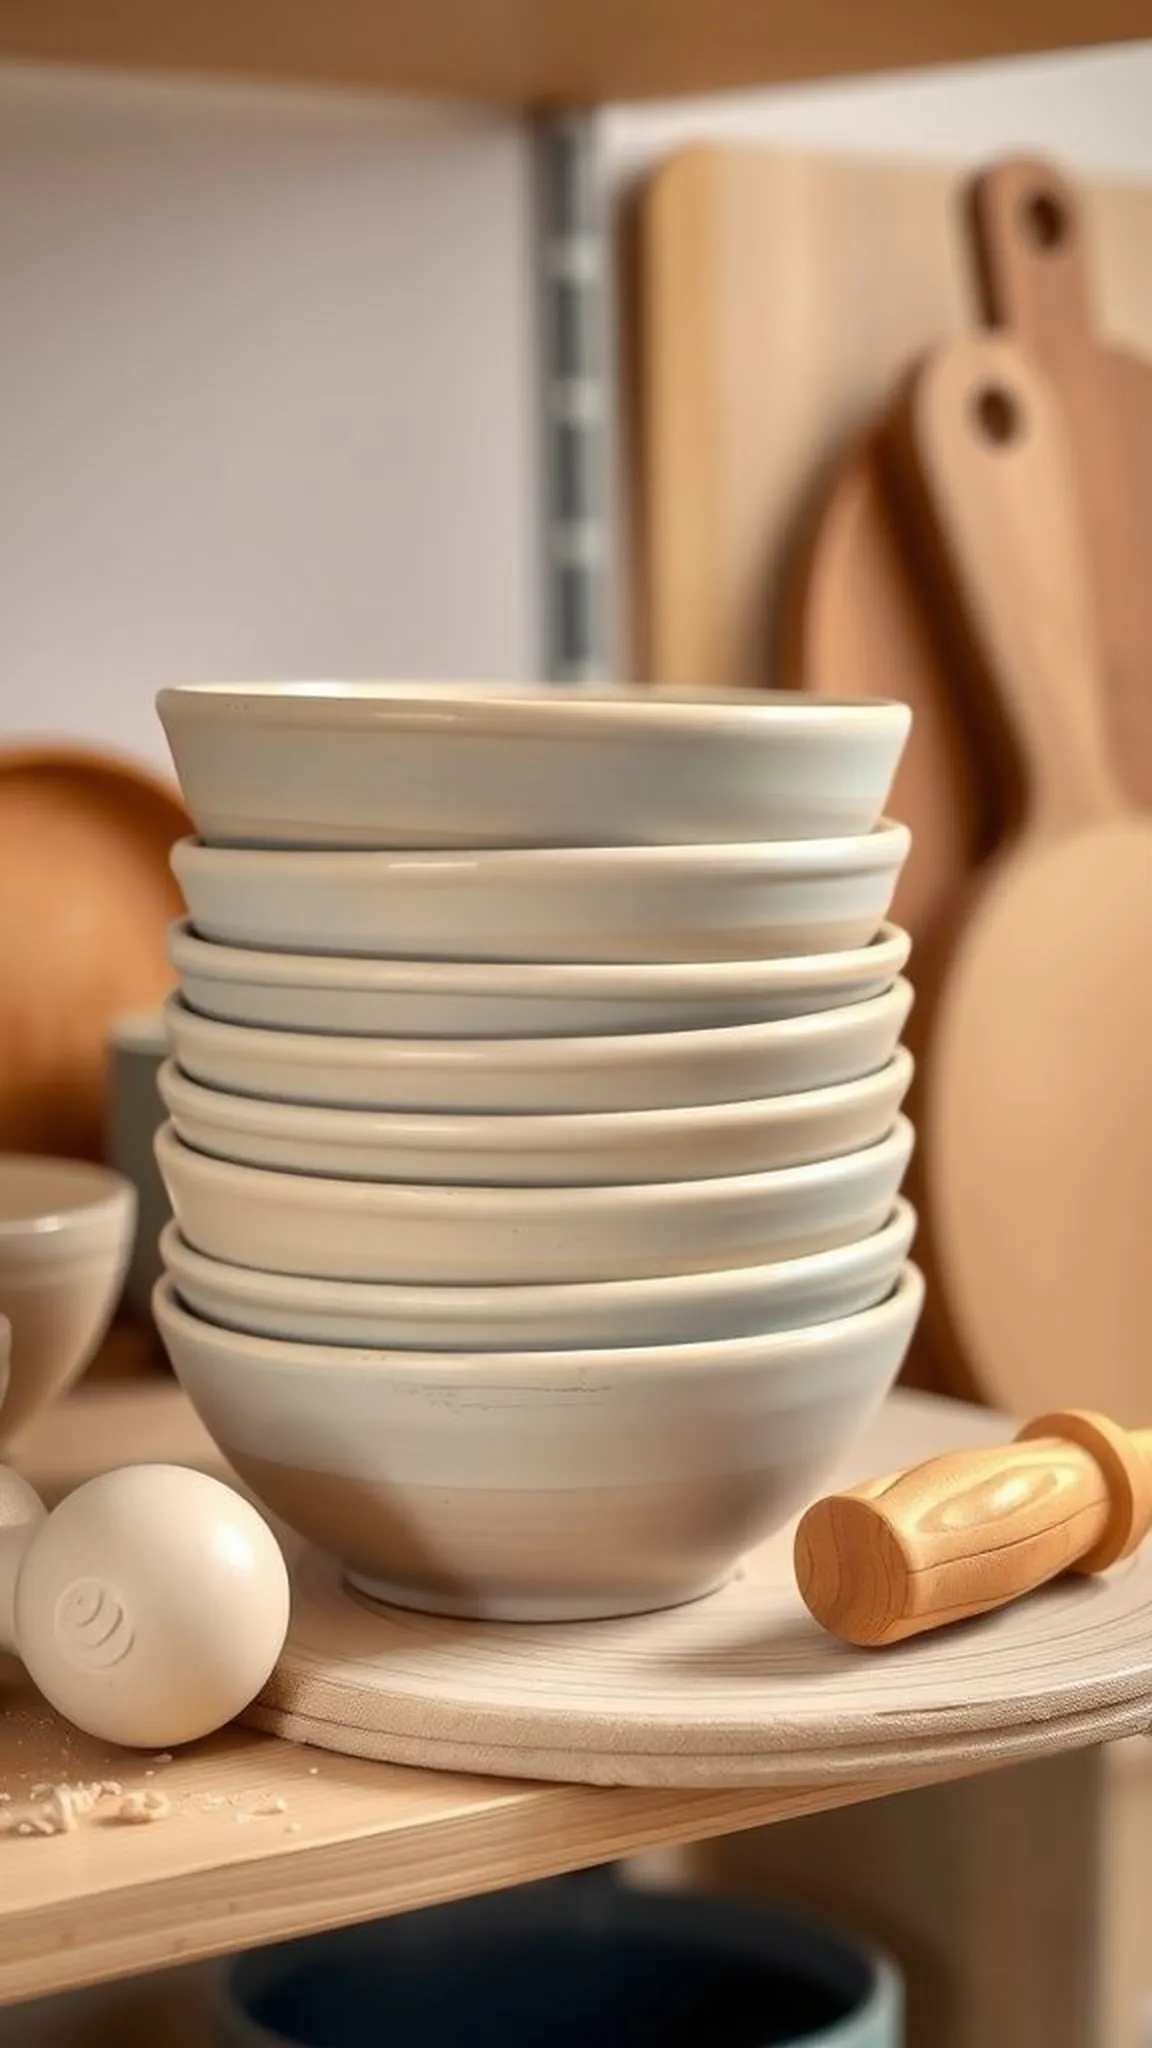
Stacking bowls built with wide rims make lifting and nesting comfortable for hands that need a secure edge to grasp.
The rims are gently rounded so fingers have a forgiving surface rather than a sharp lip to hold.
A matte finish and subtle glaze details help bowls feel warm and tactile when used daily.
Pro Tip: Keep rim widths generous and round them slightly for an easy, confident grip when lifting stacked bowls from a shelf.
How to Make This
- Form shallow bowl shapes from slabs or coils and ensure rim thickness is wide and even.
- Round rim edges with a soft tool and test the nesting fit between pieces while leather-hard.
- Smooth interiors with a damp sponge and allow the bowls to dry fully before stacking.
Avoid: Rims that are too thin can chip and cause awkward gripping. A broader, rounded rim stays comfortable and durable.
Try Also: Make a set of three graduated bowls for light serving or storage, or add mild surface texture to the exterior for visual interest. Soft two-tone glazing highlights rims.
Products & Materials
Items Used
- air-dry clay pack 2 lb
- soft rounding tool
- non-slip drying board
“Stacking bowls with wide, rounded rims for easy, confident handling.”
