
As an Amazon Associate I earn from qualifying purchases.
Cold Porcelain Clay Crafts for Budget Crafters Using Pantry Items offers a gentle route to charming ornaments and tiny sculptures made from everyday kitchen staples.
This pantry-based cold porcelain approach leans on cornstarch and white glue to create a satiny, tactile dough that accepts fine impressions and soft color.
Budget clay crafts like small charms, floral cabochons, and fridge magnets brighten shelves and gifts while staying frugal and playful for makers of all experience levels.
Tiny citrus slice charms for bright keychains
⏱️ 30 min · 🟢 Beginner
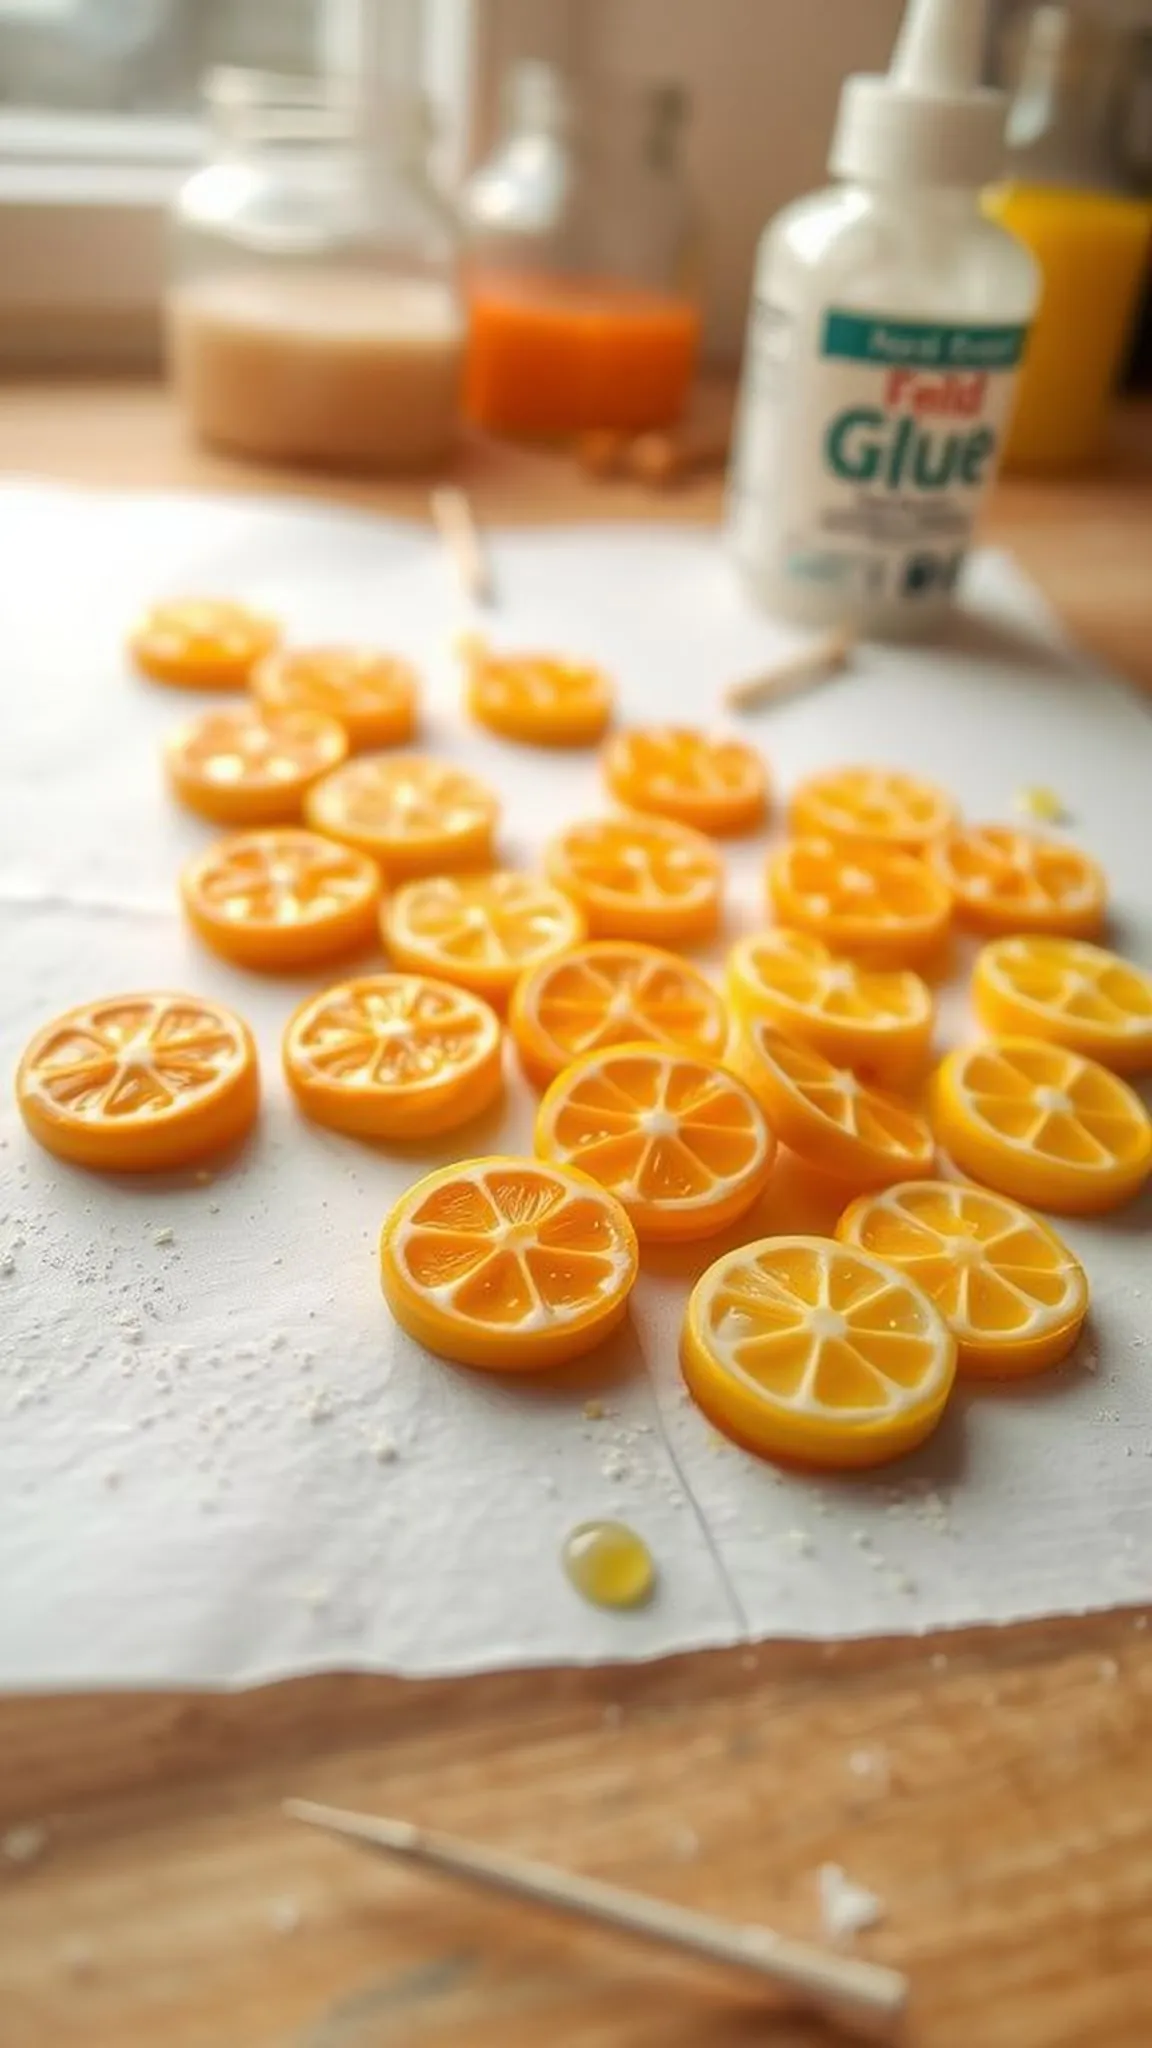
Little citrus slices glow with translucent centers and a slightly matte rind that catches light like tiny candy. The texture suggests soft sugar crystals while the scent of vanilla or lemon lingers faintly around the work surface.
Colors range from pale lemon to deep tangerine, each miniature disc reflecting gentle finger impressions and tiny pithy details. A soft satiny sheen at the edges gives the slices a delicate, edible look that begs a second glance.
These charms sit neatly on a parchment sheet with scattered cornstarch dust and a dab of food coloring nearby. The scene feels cozy and low fuss, as if a small kitchen craft spilled into a sunny corner.
Pro Tip: Allow pieces to rest on nonstick paper for a few hours to reduce surface tack and retain fine rim details.
How to Make This
- Combine cornstarch and white glue until a pliable, satin dough forms, adjusting with a touch of water if needed.
- Tint small portions with food coloring, flatten gently, and cut thin rounds with a small circular cutter.
- Press a toothpick through the rim for hanging and texturize the rind with the blunt end of a tool.
- Dry the slices on parchment until firm and finish with a light sheen of clear sealer if desired.
Avoid: A frequent beginner mistake is leaving pieces too thick, which prolongs drying and risks cracking. Thinner slices dry more evenly and keep their delicate translucence.
Try Also: Make lime and grapefruit hues by adjusting food coloring, or press tiny seed impressions for a realistic touch. Alternate by adding a whisper of powdered pigment for muted tones.
Products & Materials
Items Used
- Cornstarch
- White craft glue (PVA)
- Liquid food coloring
- Parchment paper
- Toothpicks
“Sunlit miniature citrus charms made from pantry clay.”
Mini rose cabochons with petal detail
⏱️ 1-2 hours · 🟠 Intermediate
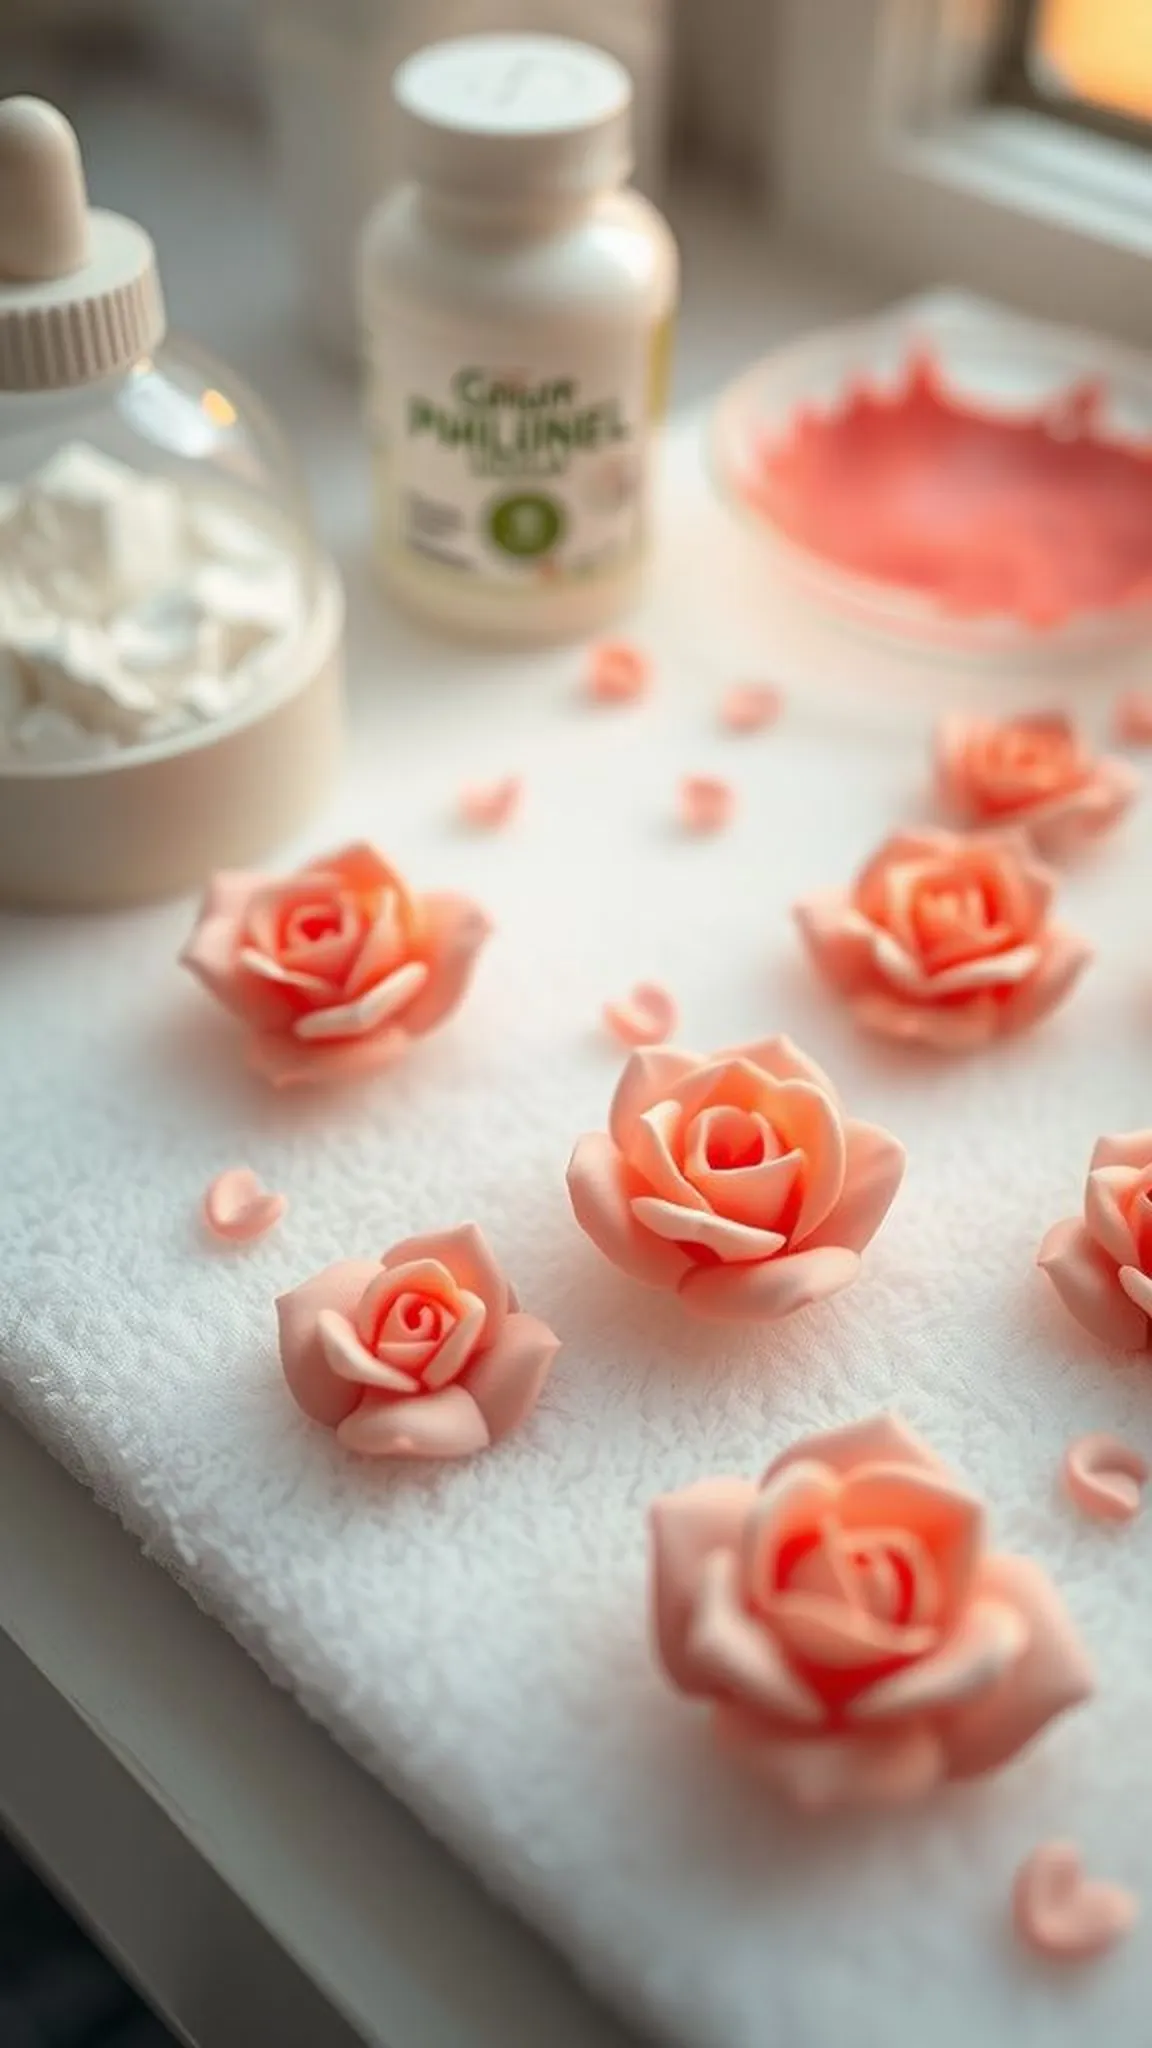
Small rose cabochons show layered petals that catch shadow and light like miniature blooms. The clay holds soft ridges where petals overlap, and the surface keeps a subtle satiny finish that feels almost like porcelain to the fingertips.
Tones shift from blush pink to deep coral, with faint vanilla notes in the air from kitchen extracts. Each bud nests on a tiny foam pad, suggesting careful, patient shaping and gentle drying.
The palette of hues and the slight warmth of the clay create a cozy, floral vignette on the work table. A few stray cornstarch specks add a home-made authenticity to the display.
Pro Tip: Work with small amounts of dough at a time to maintain soft petal edges and prevent the clay from becoming overly dry while shaping.
How to Make This
- Prepare a smooth batch of cold porcelain using cornstarch and white glue, kneading until satiny.
- Tint tiny portions to desired rose shades and form miniature tear-shaped petals between the fingers.
- Layer the petals around a small central cone, pressing gently to join edges and create a bud.
- Allow the cabochons to dry fully on a soft surface before lightly buffing with a dry brush for a gentle sheen.
Avoid: Beginners often handle too much dough at once, which cools and stiffens quickly during shaping. Small batches help sustain pliability and delicate edges.
Try Also: Form half-bud shapes for cabochon beads or flatten a few petals to make floral embellishments for magnets. Try mixing a touch of powdered pigment for vintage tones.
Products & Materials
Items Used
- Cornstarch
- White craft glue (PVA)
- Powdered pigment
- Soft foam pad
“Delicate miniature rose cabochons made from pantry clay.”
Faux porcelain beads for simple necklaces
⏱️ 1 hour · 🟢 Beginner
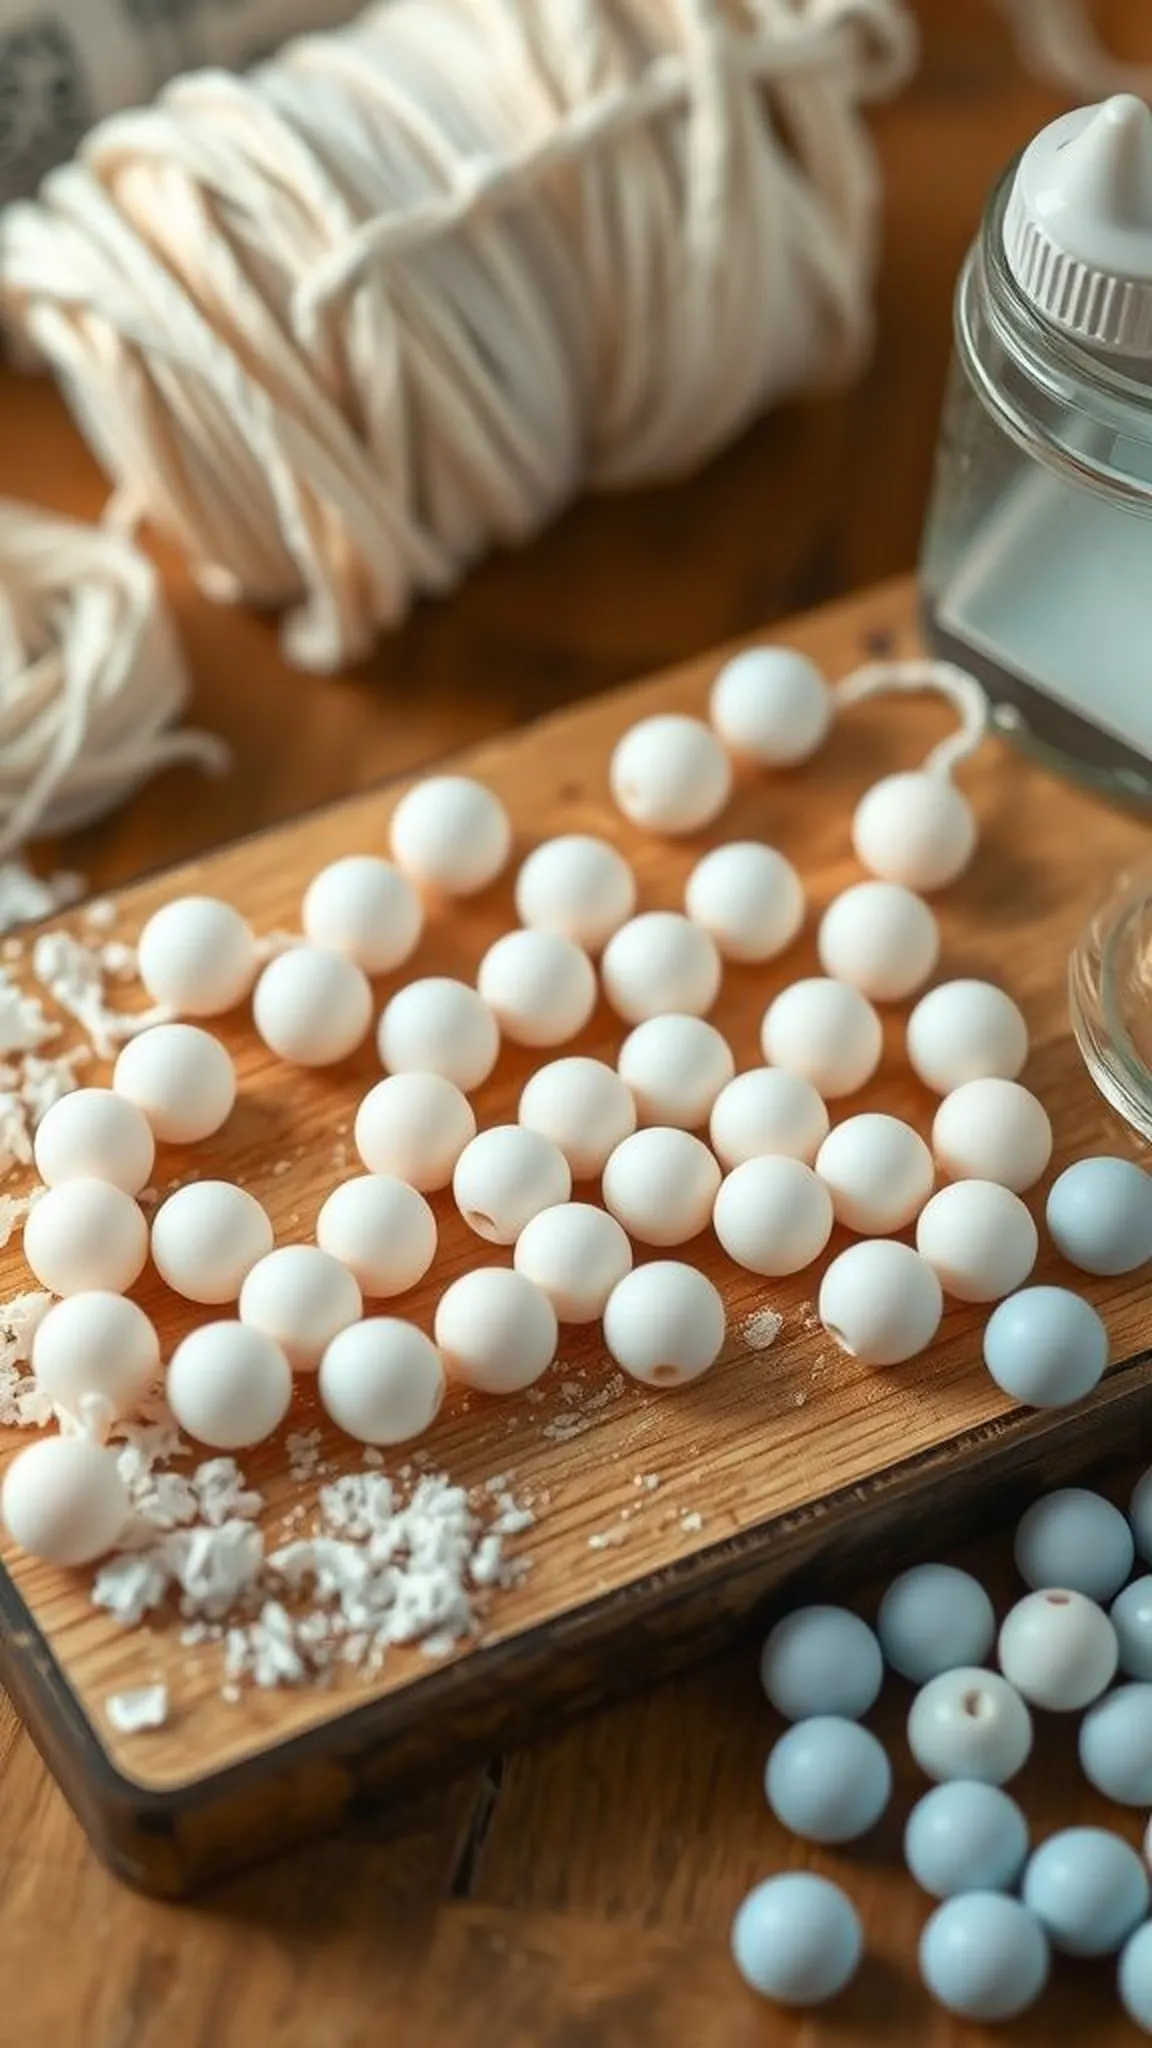
Round beads carry a soft, chalky look that recalls old porcelain, yet remain lightweight and warm in the hand. Each bead shows subtle fingerprints or faint marbling when blended with tiny amounts of pigment, creating an honest, handmade feel.
A muted palette of creams and pale blues soothes the eye and pairs well with natural twine or thin cord. The tabletop scene includes a length of cord and a scattering of dry cornstarch that hints at a slow, careful making process.
Once dry, the beads take on a delicate weight and a satin surface that invites gentle stroking. Their small scale suggests wearable comfort and quiet charm in everyday accessories.
Pro Tip: Roll beads between palms on a lightly dusted surface for even spheres, then re-smooth seams with a damp fingertip for a polished look.
How to Make This
- Knead cold porcelain until smooth and divide into small equal portions for beads.
- Gently roll each portion between palms to form spheres, dusting with cornstarch to prevent sticking.
- Pierce center holes using a toothpick, keeping the holes straight for easy stringing later.
- Dry beads on a nonstick surface and thread onto cord once fully firm.
Avoid: A frequent pitfall is making holes too close to the edges, which can cause cracking during drying. Centering the hole preserves bead strength.
Try Also: Create marbled beads by slightly twisting two tinted doughs together, or press tiny textures for a rustic look. Try pairing with wooden spacers for contrast.
Products & Materials
Items Used
- Cornstarch
- White craft glue (PVA)
- Cotton cord
- Toothpicks
“Lightweight, hand-rolled porcelain-look beads from pantry clay.”
Save time and printer ink with 50+ printable templates and step-by-step instructions in one ad-free guide.

Just $19.99 — lifetime access
Leaf imprint magnets with seasonal textures
⏱️ 45 min · 🟢 Beginner
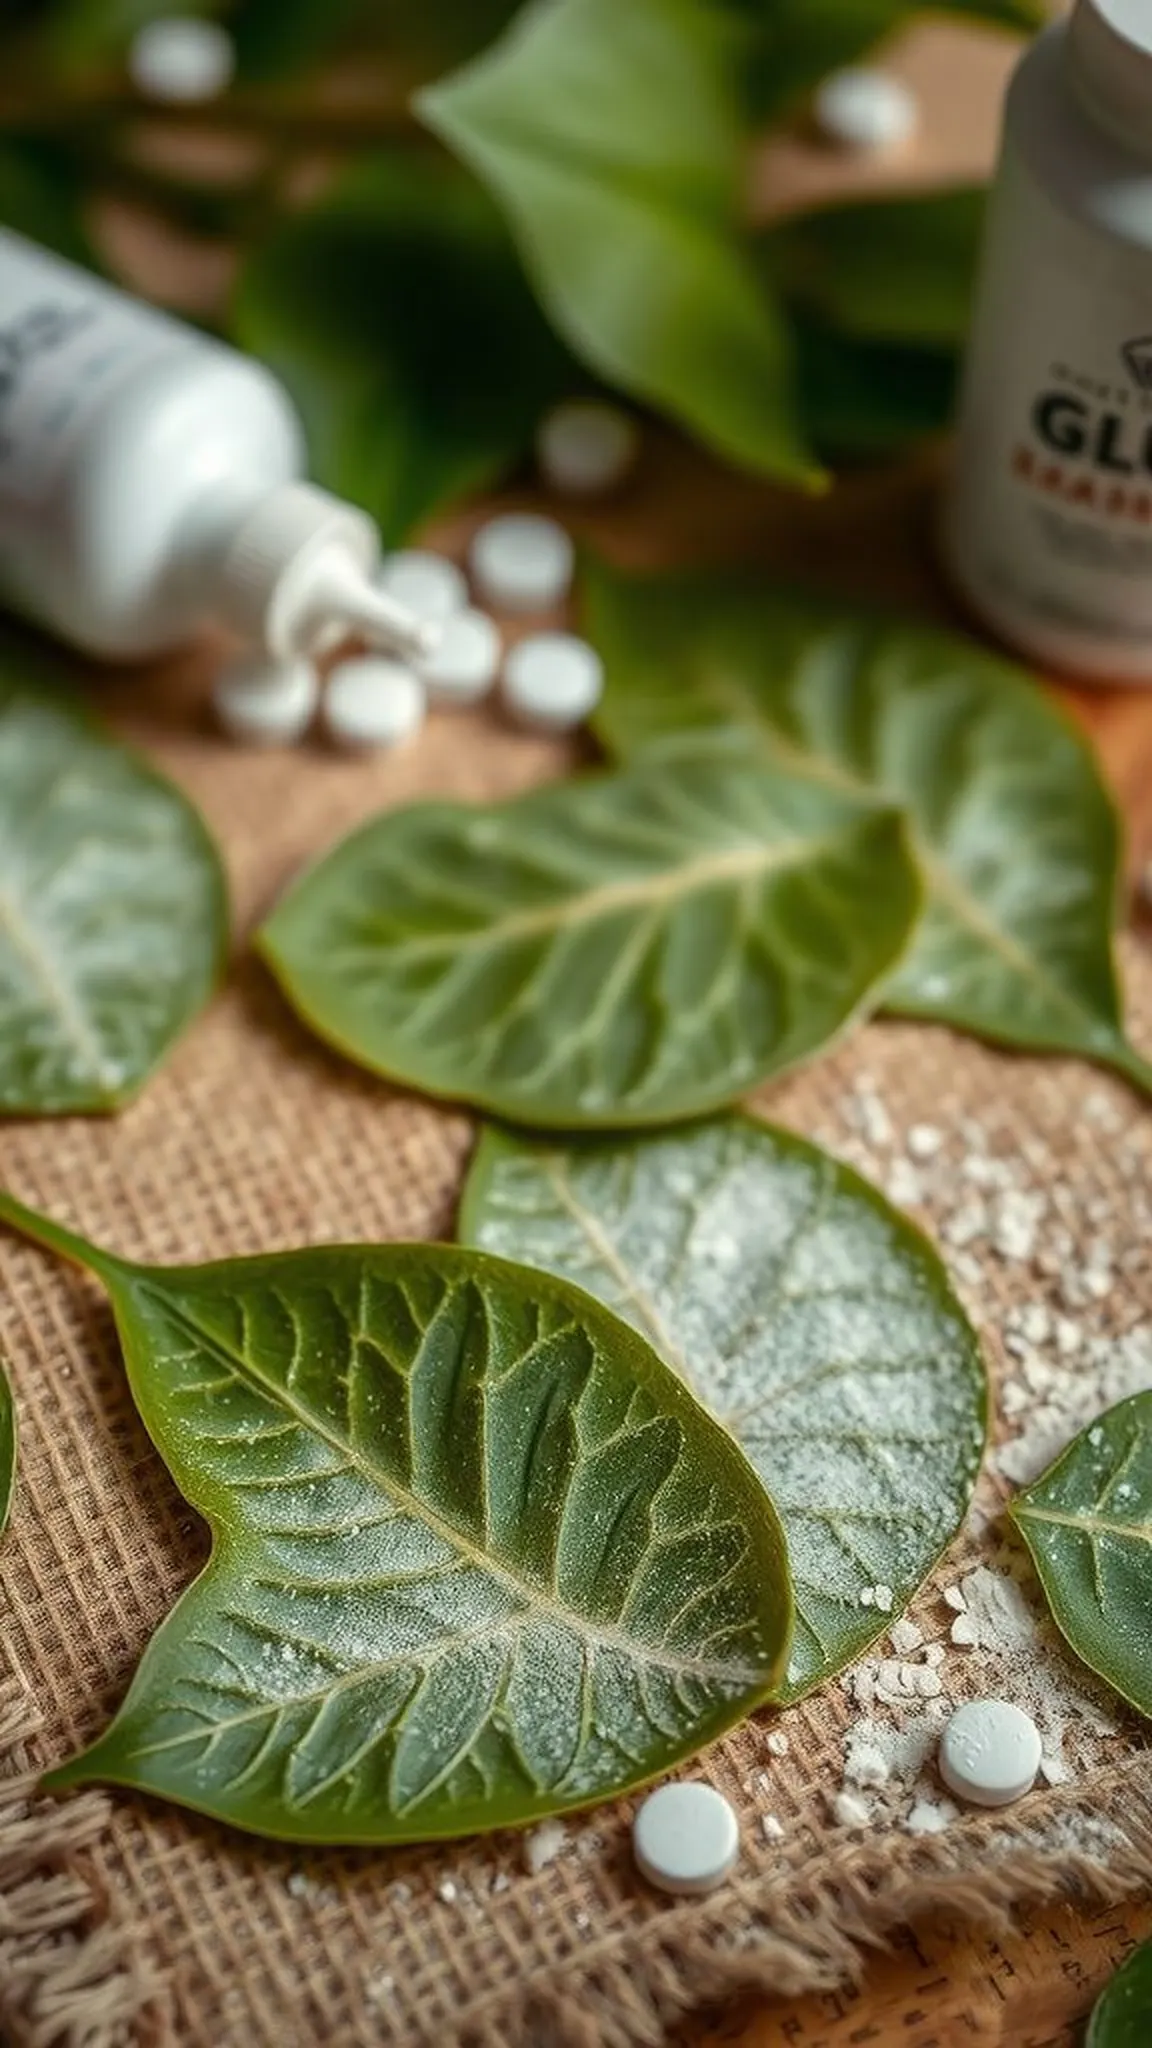
Leaf imprint magnets show delicate vein patterns that read like tiny botanical prints against a softly satiny background. The impressions catch shadows in the grooves and leave the raised parts luminous under mood lighting.
Earthy tones and a whisper of powdered pigment bring out the vein details while the work area smells faintly of cornstarch and citrus extract. Finished magnets rest on a burlap swatch, where their natural shapes complement rustic decor.
Edges may have a slightly feathered look that enhances the organic vibe of each piece. The small scale makes them useful accents on fridge doors or memo boards.
Pro Tip: Press leaves onto the dough while they are slightly fresh to get crisp vein definition, then lift carefully to retain delicate texture.
How to Make This
- Flatten a small portion of dough on parchment to an even thickness, dusting lightly with cornstarch.
- Lay a leaf onto the dough and press gently with a soft tool to transfer veins and contours.
- Remove the leaf, cut around the impression, and smooth the edges with a slightly damp fingertip.
- Once dry, adhere small magnet discs to the back with a dab of white glue and let set.
Avoid: A frequent error is pressing so hard that the dough tears around the leaf, losing definition. Gentle, even pressure gives the best vein impressions.
Try Also: Try fern fronds for feathery textures or small herb leaves for finer veins; paint highlights into the grooves for contrast. Make sets in autumnal or spring palettes.
Products & Materials
Items Used
- Cornstarch
- White craft glue (PVA)
- Small magnet discs
- Fresh leaves
- Parchment paper
“Botanical leaf magnets with crisp pantry-clay textures.”
Tiny fruit bowl trio for shelf displays
⏱️ 2-3 hours · 🟠 Intermediate
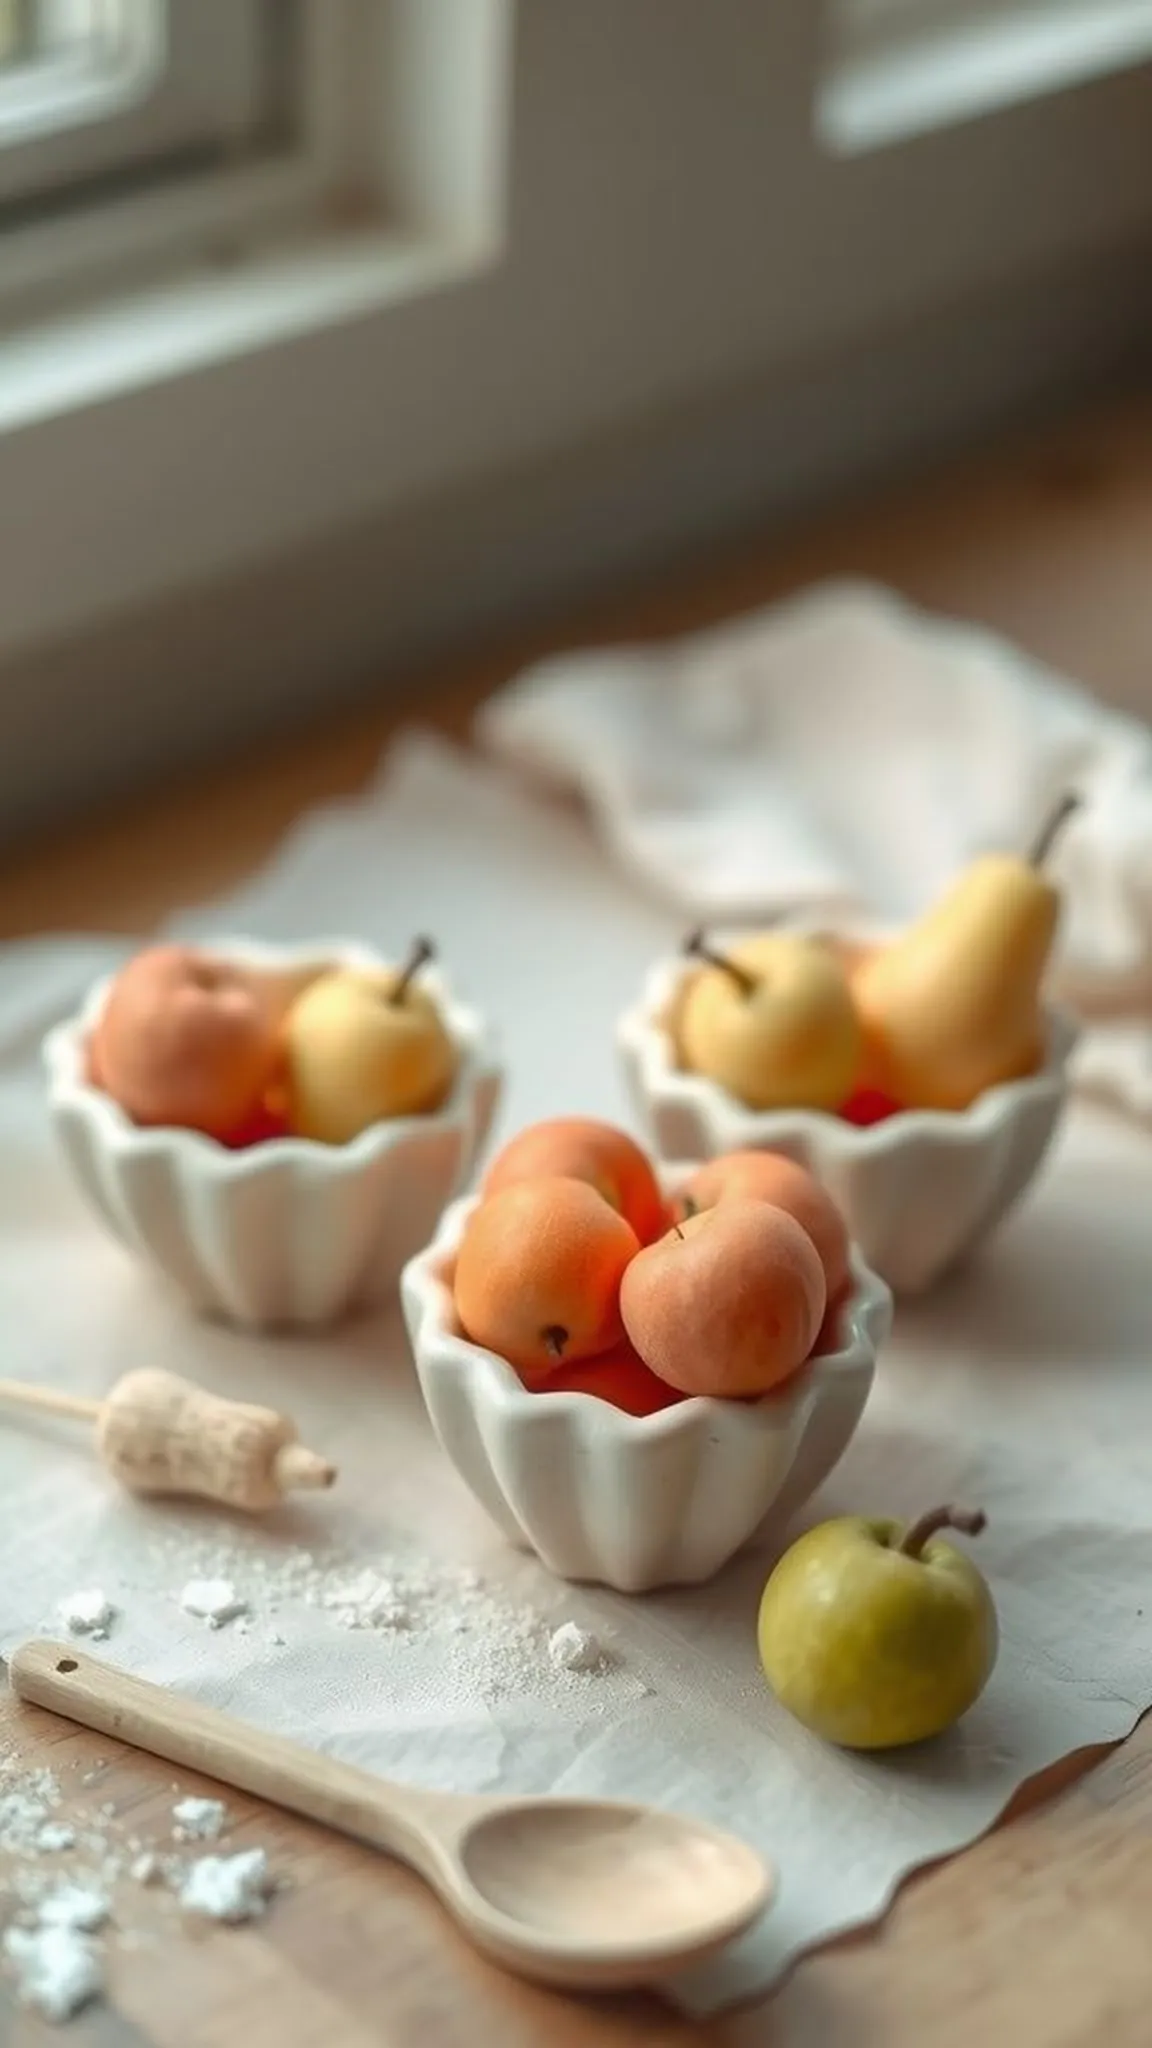
A trio of tiny fruit bowls reads like a miniature still life, each holding a cluster of small clay pears and apples. The bowls have a faintly irregular rim and a sanded, matte surface that contrasts with the slightly glossy fruit.
Colors are saturated but soft, suggesting hand-tinted dough blended from food coloring and powdered pigment. The scene includes a scattered spoon and a smudge of cornstarch, evoking a patient, domestic making session.
Tiny shadows pool inside the bowls and around the fruit, adding depth despite the small scale. The overall effect is quietly domestic, inviting closer attention to tiny imperfections and texture.
Pro Tip: Dry the smallest fruits on a slightly raised rack to allow air circulation and prevent flat spots on the undersides.
How to Make This
- Prepare a batch of cold porcelain and tint separate portions for bowls and fruit.
- Form small hollow bowls by pressing dough into shallow indentations or molds, smoothing rims carefully.
- Shape miniature apples and pears by pinching and refining with a toothpick, adding tiny stem impressions.
- Arrange fruit in the bowls and allow everything to dry fully before optional sealing.
Avoid: A frequent issue is making the bowls too thick, which slows drying and can trap moisture. Thin, even walls dry more reliably and feel more delicate.
Try Also: Create a dessert trio with tiny slices of cake or make a seasonal set with winter berries and muted glazes. Try a monochrome collection for a sculptural look.
Products & Materials
Items Used
- Cornstarch
- White craft glue (PVA)
- Powdered pigment
- Toothpicks
- Small drying rack
“Miniature fruit bowls bring tiny shelf displays to life.”
Decorative gift tags with pressed letters
⏱️ 40 min · 🟢 Beginner
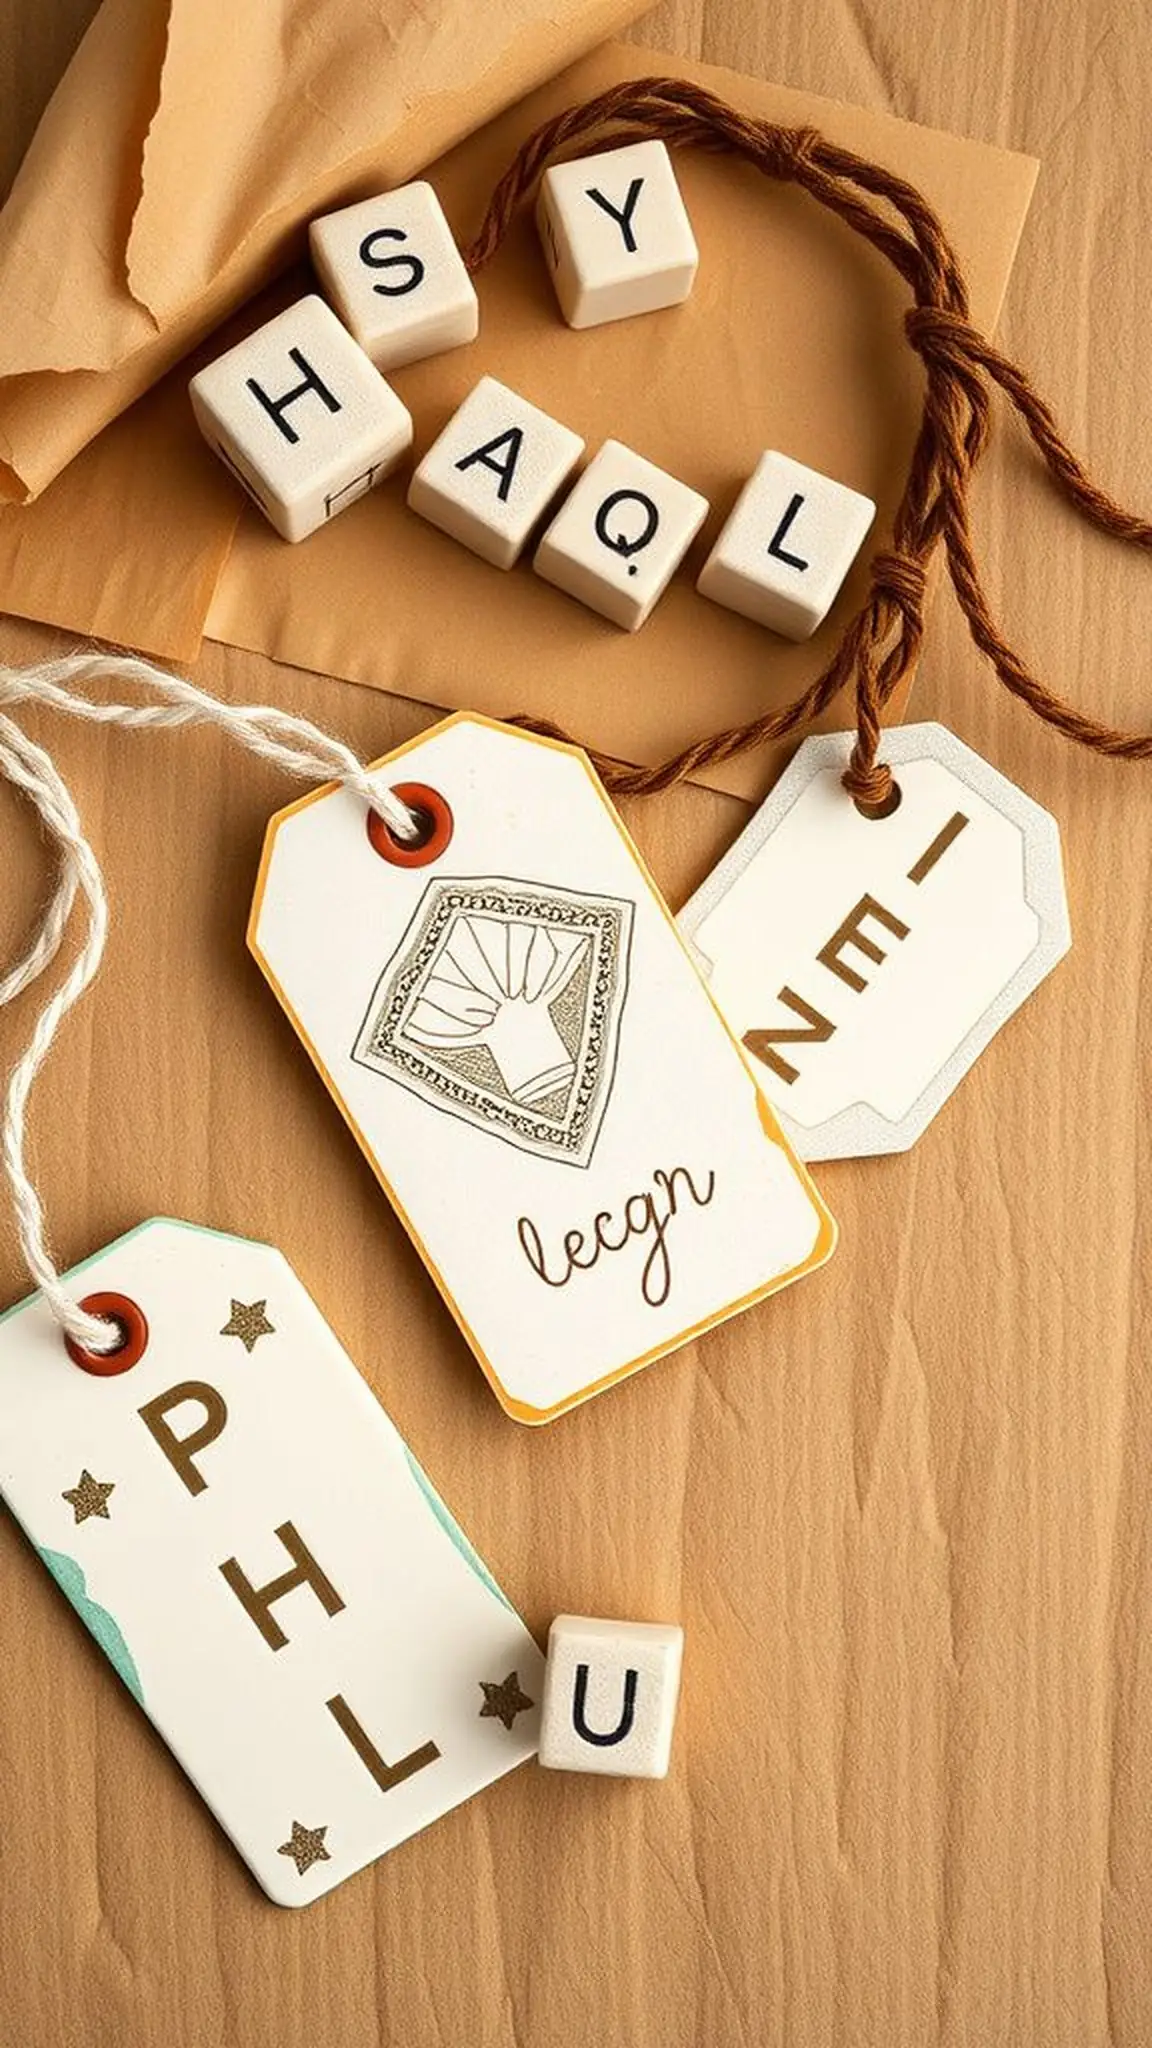
Gift tags made from pantry clay carry crisp pressed letters and a soft, tactile surface that feels soothing to touch. The tags lie on kraft paper with twine, their pale tones offsetting darker ribbon and the warm brown of the table.
Edges may show tiny irregularities that read as handmade character, and powdered pigment can add subtle antiquing to letter grooves. The air carries a faint scent of cornstarch and vanilla, connecting craft and kitchen memories.
These tags feel personal yet understated, a small moment of care tucked into a parcel. Their size makes them ideal for tying onto jars, boxes, and bottles with simple twine.
Pro Tip: Press letters into dough while it is slightly tacky to capture sharp impressions without tearing the edges of the tag.
How to Make This
- Roll dough to a thin, even sheet and cut out tag shapes with a small rectangular cutter.
- Press alphabet stamps gently into each tag to create names or messages, keeping impressions consistent.
- Pierce a hanging hole at the top and smooth edges with a damp fingertip for a finished look.
- Dry on parchment and thread twine through the hole once fully firm.
Avoid: A frequent slip is pressing stamps too forcefully, which can cause the dough to tear or leave holes. Gentle, steady pressure yields cleaner lettering.
Try Also: Try scalloped edges, embossed floral borders, or tiny painted highlights in the letter grooves. Make matching sets in coordinating colors for bulk gift wrapping.
Products & Materials
Items Used
- Cornstarch
- White craft glue (PVA)
- Alphabet stamp set
- Twine
- Parchment paper
“Hand-pressed clay gift tags for heartfelt packaging.”
Mini animal figurines for shelf displays
⏱️ 2-4 hours · 🔴 Advanced
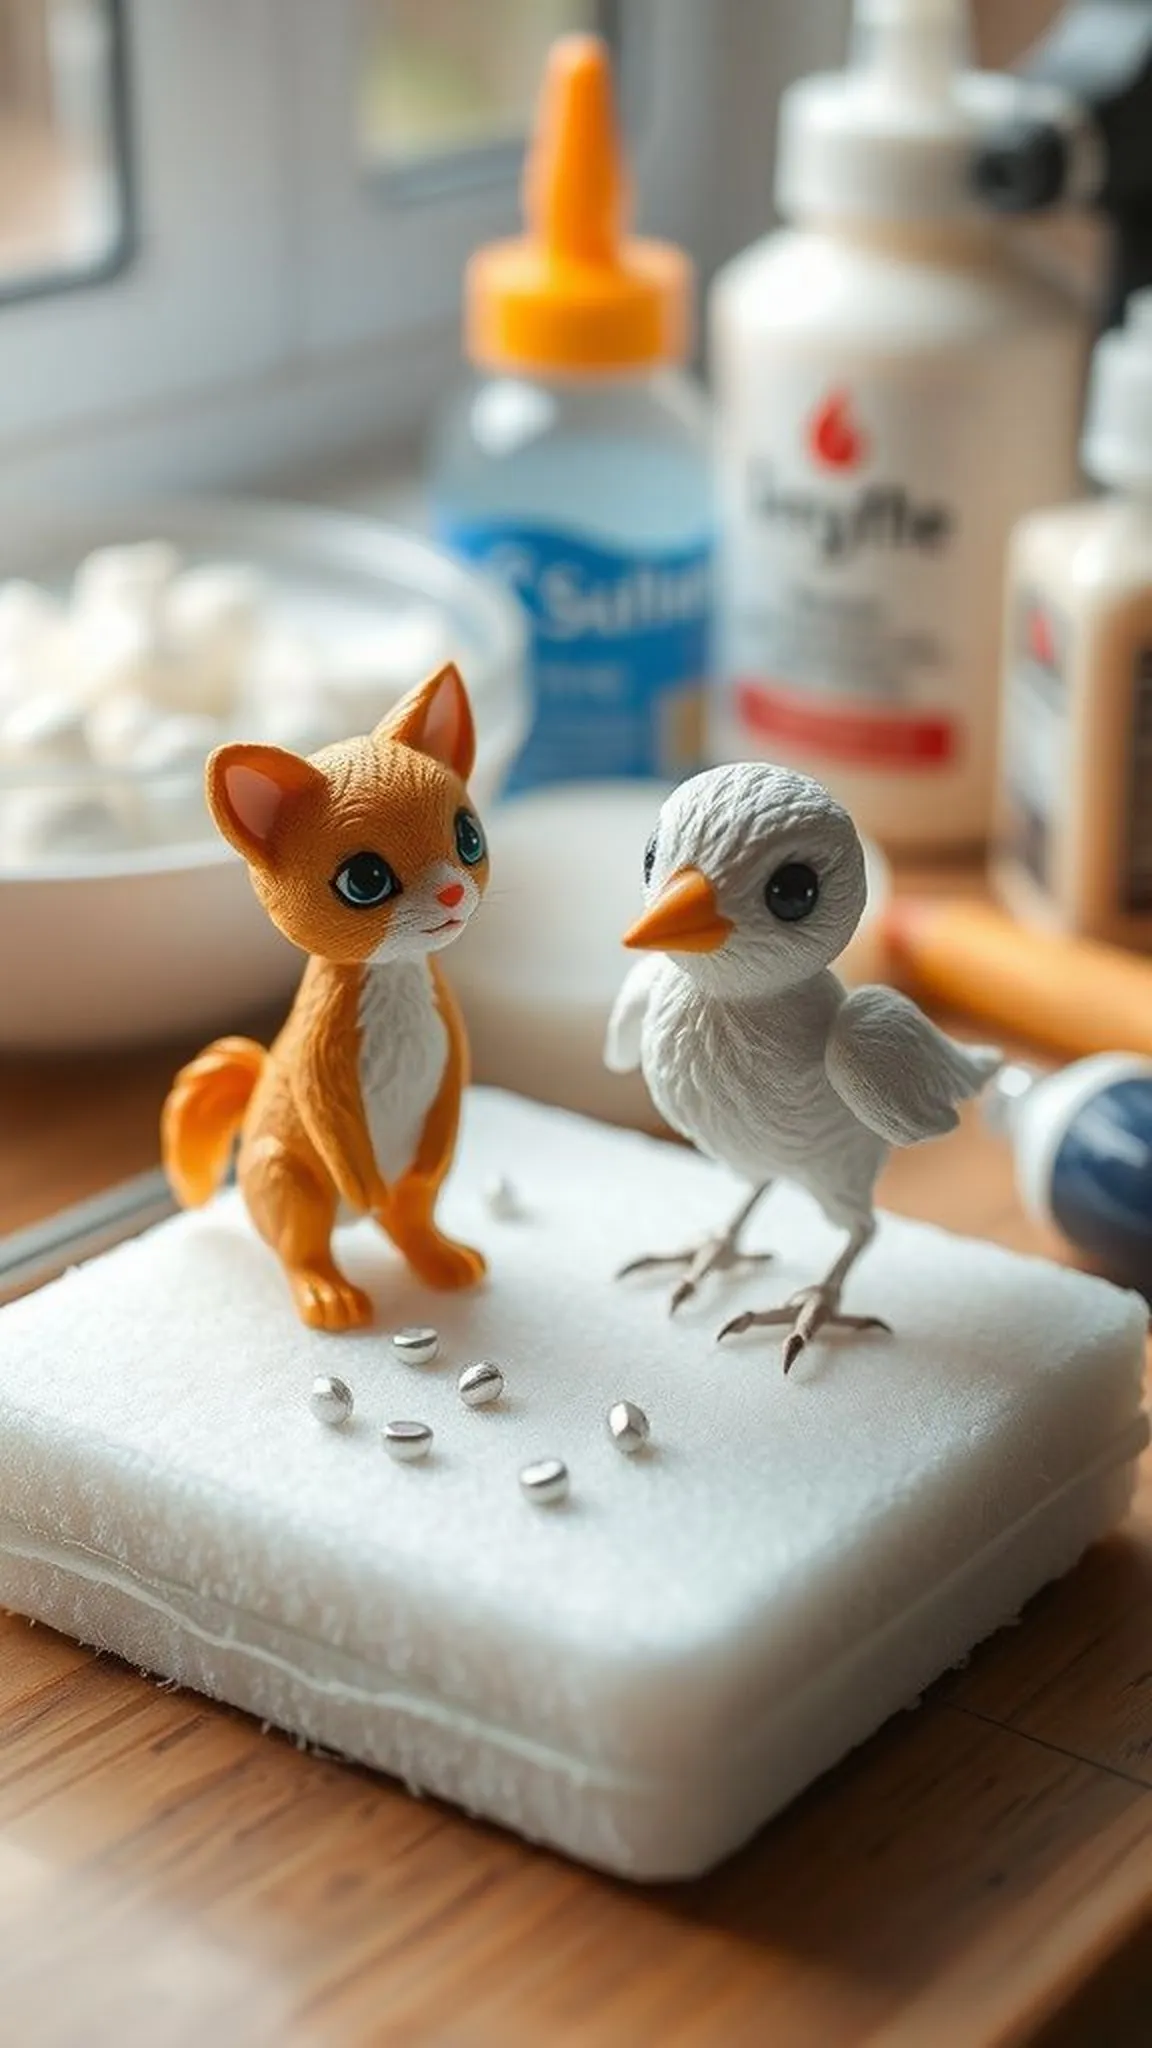
Mini animal figurines show expressive silhouettes and tiny facial details that reward careful attention. Fur and feather textures catch light in subtle ways, while delicate joints and paws suggest quiet movement frozen in place.
The scene around them includes a small knife-like tool and soft foam, with a faint scent of citrus from extracts used in the dough. A few stray fingerprints add an intimate, hand-crafted quality to each creature.
Colors remain soft and muted, lending an almost storybook quality to the menagerie. These small sculptures invite lingering looks and casual handling on a shelf or mantel.
Pro Tip: Build small armatures from aluminum foil for larger pieces to cut weight and speed drying while keeping controlled proportions.
How to Make This
- Form a simple foil armature for the base shape and wrap in a thin layer of cold porcelain to block out volumes.
- Model major shapes first, then add smaller details like ears, tails, and facial features using fine tools.
- Texture fur or feathers with a needle tool and smooth seams with a damp brush for cohesion.
- Allow the figurine to dry slowly on a padded surface, turning occasionally for even drying before optional finishing.
Avoid: A frequent issue is skipping a lightweight armature, which leads to heavy pieces that crack while drying. Thin foil cores keep forms stable and lighter.
Try Also: Try a sleepy cat, tiny fox, or a rounded bird silhouette for sibling pieces; scale up or down for variety. Add painted eyes for extra personality after drying.
Products & Materials
Items Used
“Charming tiny animal sculptures from pantry clay and foil armatures.”
Textured button set for handmade garments
⏱️ 45 min · 🟢 Beginner
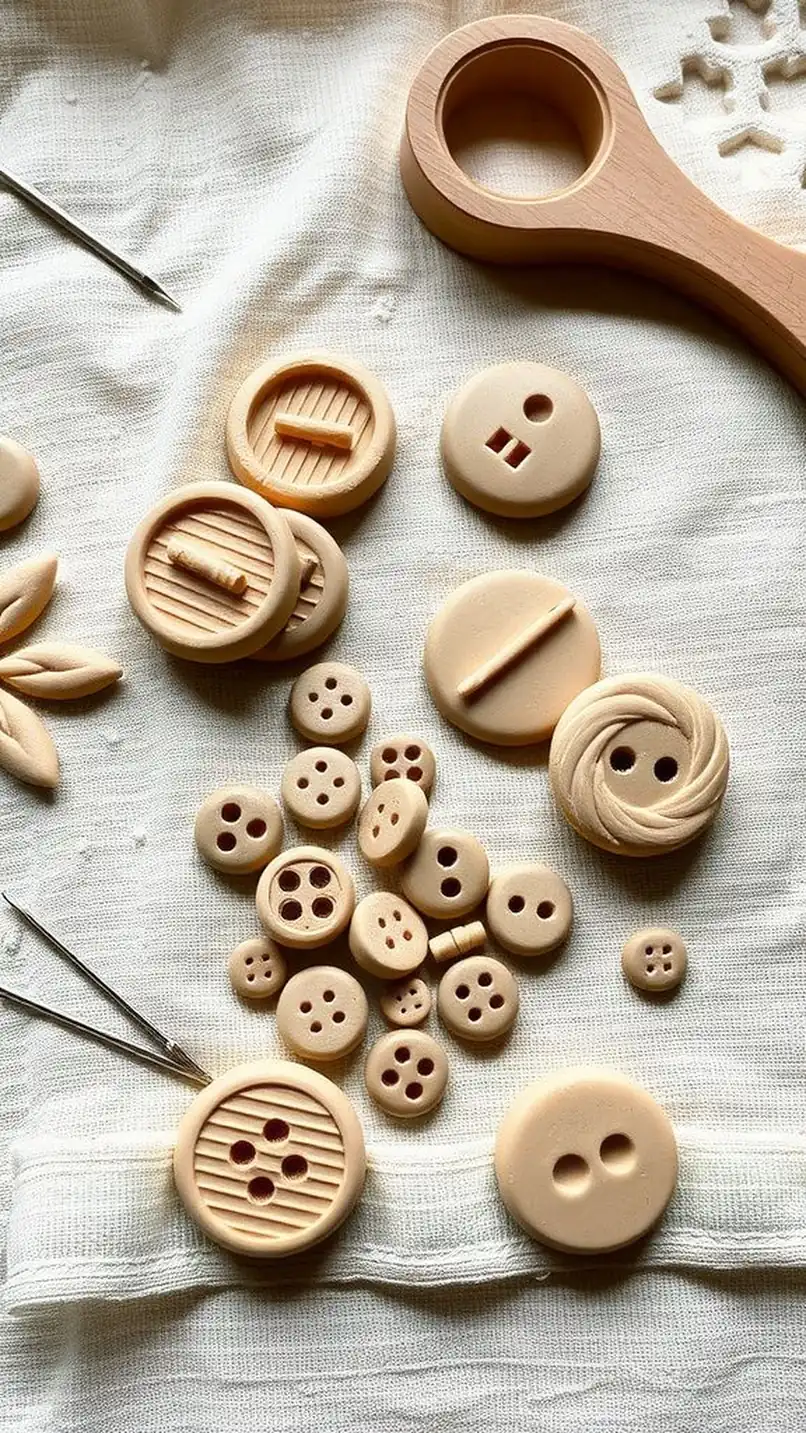
Textured buttons present tactile surfaces with pressed pattern centers and smooth rims that catch a bit of shine. The assortment includes floral, geometric, and pebble motifs that feel pleasant against fingertips.
A palette of neutral creams and muted pastels makes the buttons versatile for clothing or bags, while the workspace shows a scattering of cornstarch and a small cutter. The finish looks gentle and handcrafted, fitting naturally with woven fabrics.
Each button sits on a linen swatch, where the contrast of fabric and clay highlights their small scale. The collection suggests quiet coordination rather than loud embellishment.
Pro Tip: Ensure holes are clean and centered while the clay is still pliable to keep button holes neat and prevent tearing during drying.
How to Make This
- Press dough to a consistent thickness and cut circles with a button-sized cutter.
- Create patterns with textured stamps or simple tools, then make evenly spaced holes using a needle.
- Smooth edges with a barely damp fingertip and dry the buttons flat on parchment.
- Pair buttons with fabric swatches to check scale before finishing.
Avoid: A frequent misstep is punching holes that are too small or off-center, which makes sewing difficult. Uniform, centered holes allow easy stitching.
Try Also: Make sets in monochrome, two-tone marbled buttons, or metallic-washed finishes. Try tiny rimmed buttons for a vintage look.
Products & Materials
Items Used
- Cornstarch
- White craft glue (PVA)
- Textured stamps
- Needle
- Parchment paper
“Handmade textured buttons add subtle charm to garments.”
Mini ring dish with marbled finish
⏱️ 1-2 hours · 🟠 Intermediate
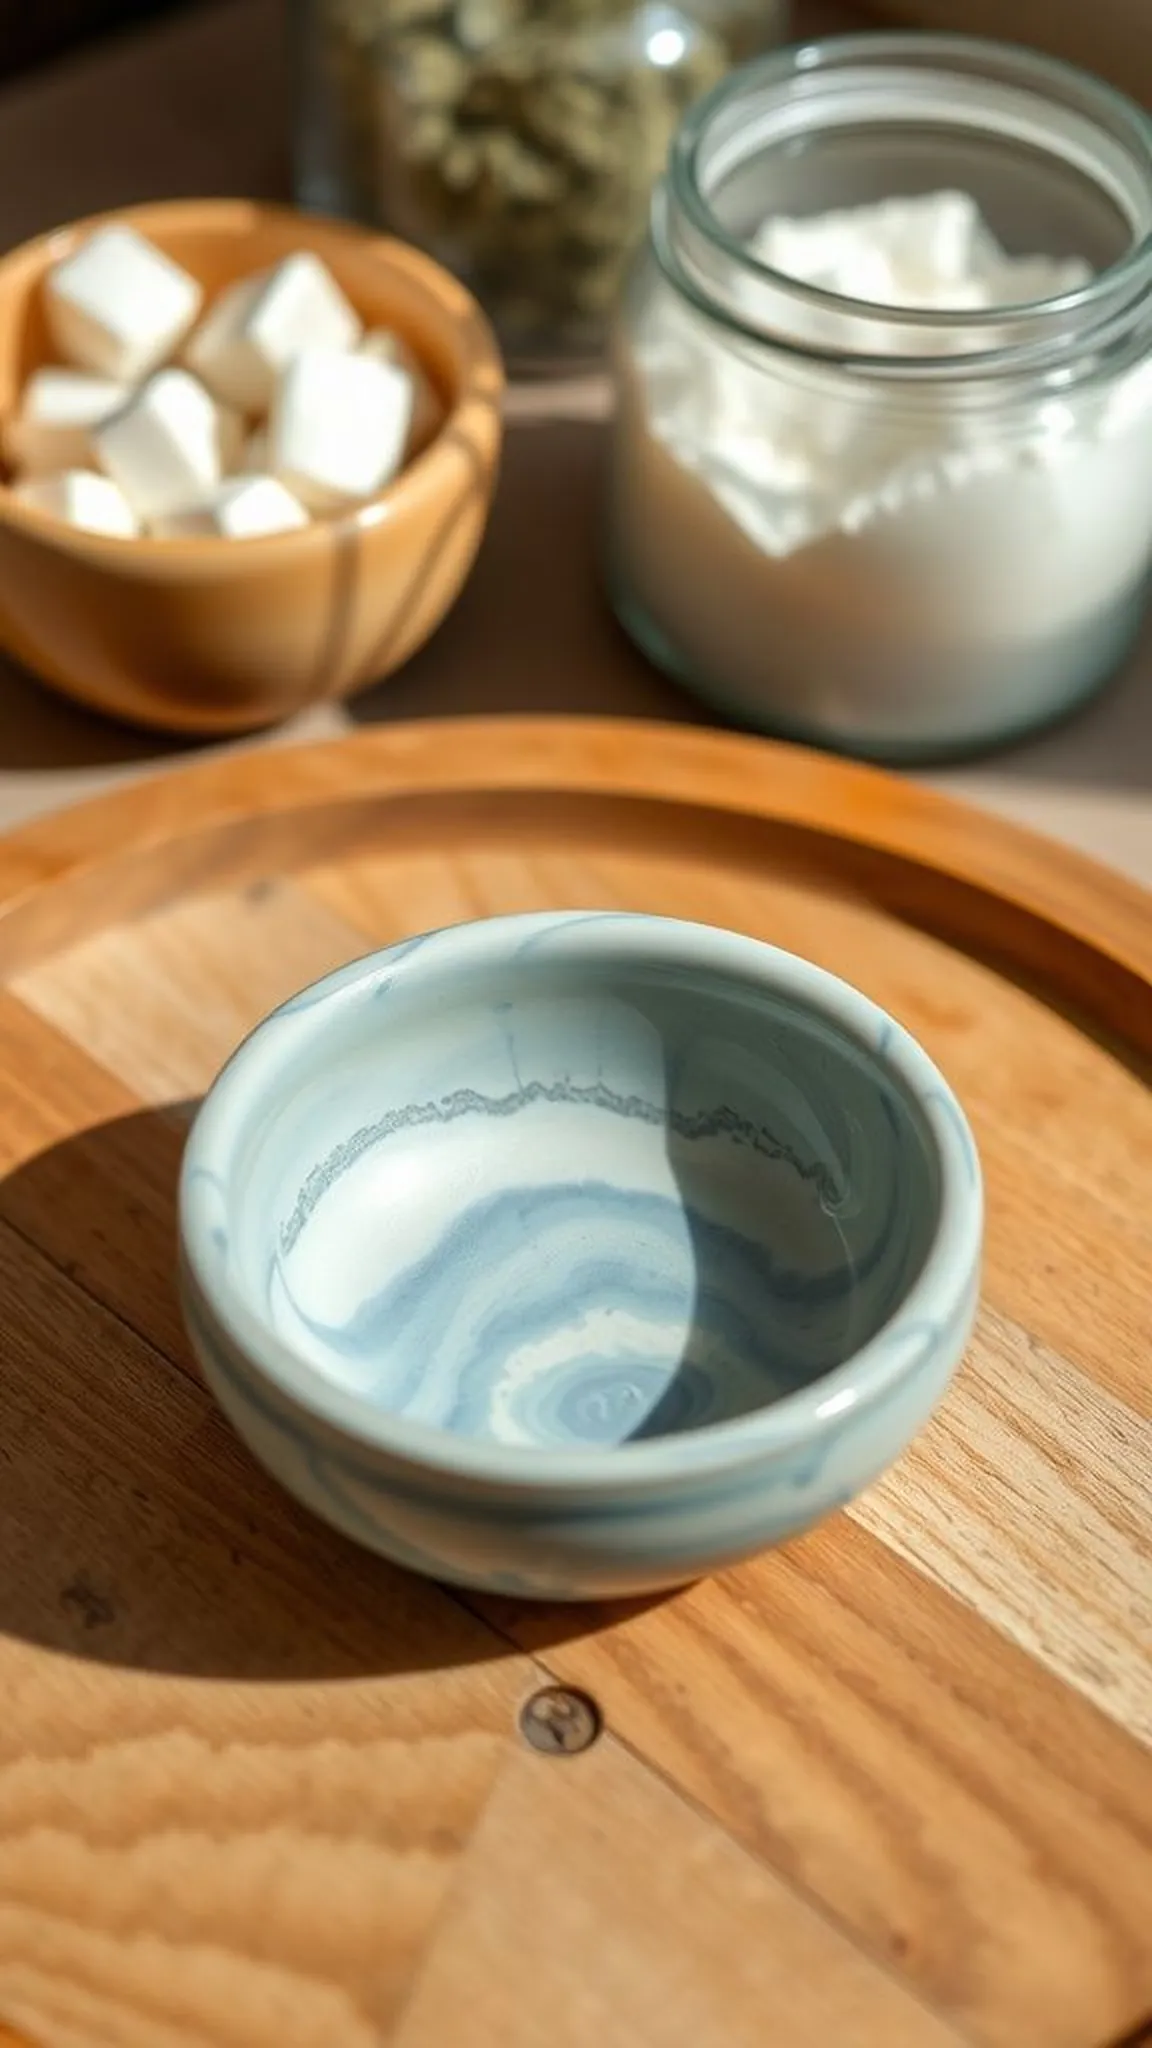
A tiny ring dish collects jewelry on a bedside table with a quiet, hand-formed appeal. The marbled surface swirls pale pigment through cream clay, catching highlights in soft waves that suggest movement.
Edges show gentle undulations from the maker’s touch, and a faint scent of citrus lingers nearby from extracts added to the dough. The dish sits on a wooden tray, pairing natural grain with clay’s matte skin.
Little shadows and warm light create a calm vignette, making the dish feel like a restful resting place for small treasures. Its modest scale invites daily interaction and gentle handling.
Pro Tip: Blend pigments lightly for soft marbling and avoid overworking to keep distinct veins of color visible in the finished dish.
How to Make This
- Prepare two or three tinted portions of dough and roll each into ropes for marbling.
- Loosely twist the ropes together and flatten into a small disk, curving the rim slightly upward.
- Refine the edge with a damp fingertip and smooth the interior surface before drying on a padded surface.
- Once firm, buff the dish gently with a soft cloth for a subtle sheen.
Avoid: A frequent issue is over-mixing marbled dough, which removes the vein contrasts and creates a uniform color. Gentle twisting preserves the marbled effect.
Try Also: Make oval, heart-shaped, or scalloped dishes; try adding a tiny gold-washed rim for a touch of contrast. Use darker pigments for bolder veining.
Products & Materials
Items Used
- Cornstarch
- White craft glue (PVA)
- Powdered pigment
- Soft cloth
- Parchment paper
“Marbled mini ring dish with soft hand-formed edges.”
Hand-lettered fridge poetry magnets
⏱️ 1 hour · 🟢 Beginner
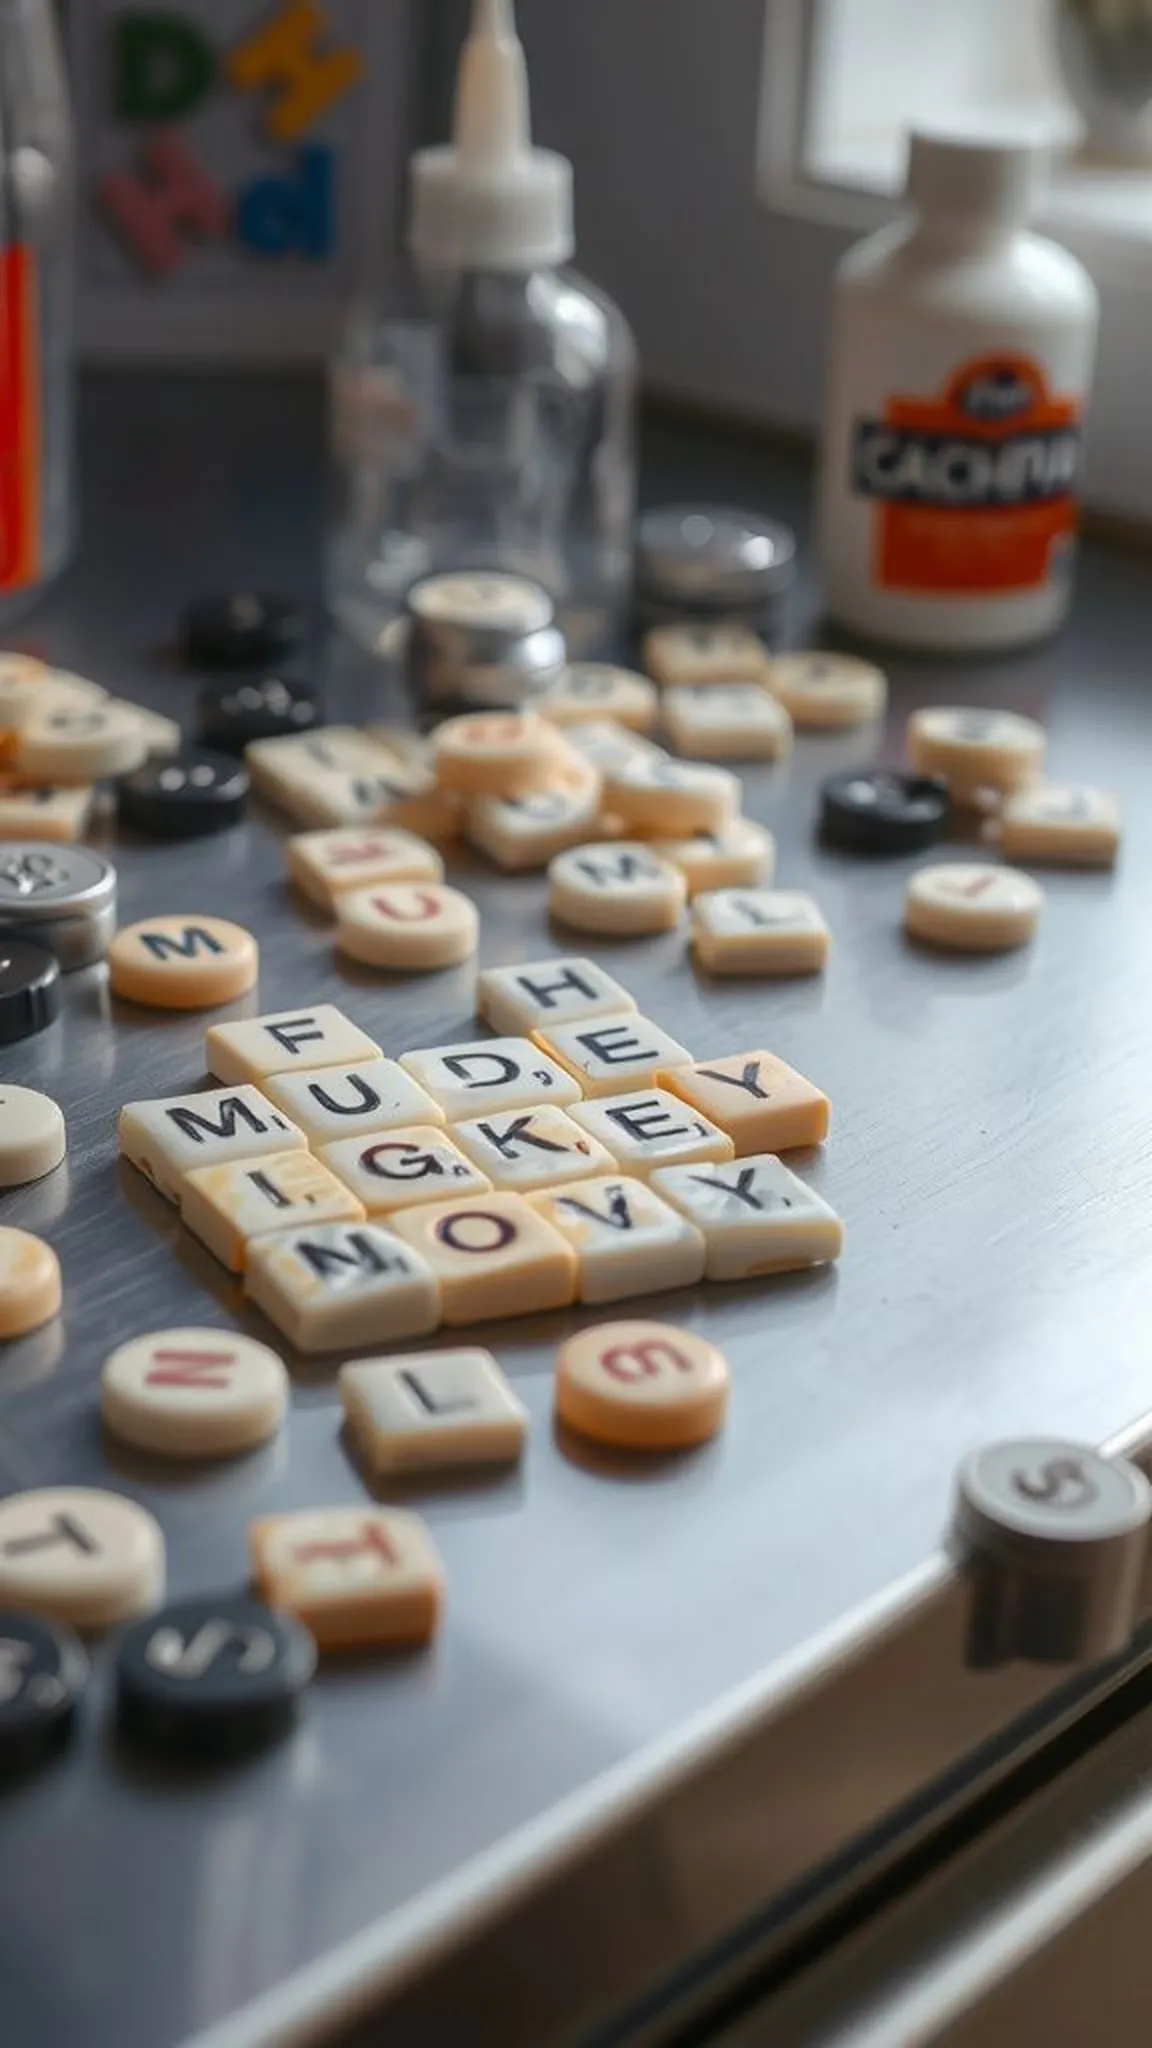
Tiny word magnets carry hand-punched letters with charming irregularities that make each magnet feel personal. The clay letters sit on a small grid, their surfaces slightly matte and begging a brief polish for a soft glow.
A range of short words and punctuation creates playful combinations on a magnetic surface, and a faint scent of cornstarch hovers in the workspace. The overall impression is cheerful and slightly nostalgic, like snippets of a remembered phrase.
Colors are simple and low contrast so the words remain readable from a short distance. These magnets invite playful rearrangement and casual conversations at the fridge door.
Pro Tip: Keep letter pieces thin and uniform in height to ensure they dry quickly and line up neatly when placed on a magnetic sheet.
How to Make This
- Roll out dough thinly and cut small rectangles sized for single letters.
- Press letter stamps into each rectangle to form words and remove excess crumbs from the impressions.
- Attach small magnet discs to the backs with a thin dab of white glue once the letters are fully dry.
- Arrange the finished magnets on a metal surface to test spacing and readability.
Avoid: A frequent problem is making letters too thick, which causes slow drying and uneven magnet adhesion. Thin, flat tiles give crisp impressions and steady adherence.
Try Also: Make themed sets like kitchen verbs, love notes, or seasonal words; try punctuation-only kits for playful layouts. Tint tiles in subtle shades for color grouping.
Products & Materials
Items Used
- Cornstarch
- White craft glue (PVA)
- Alphabet stamps
- Small magnet discs
- Parchment paper
“Playful hand-lettered magnets made from pantry clay.”
Pressed herb pendants with rustic charm
⏱️ 1-2 hours · 🟠 Intermediate
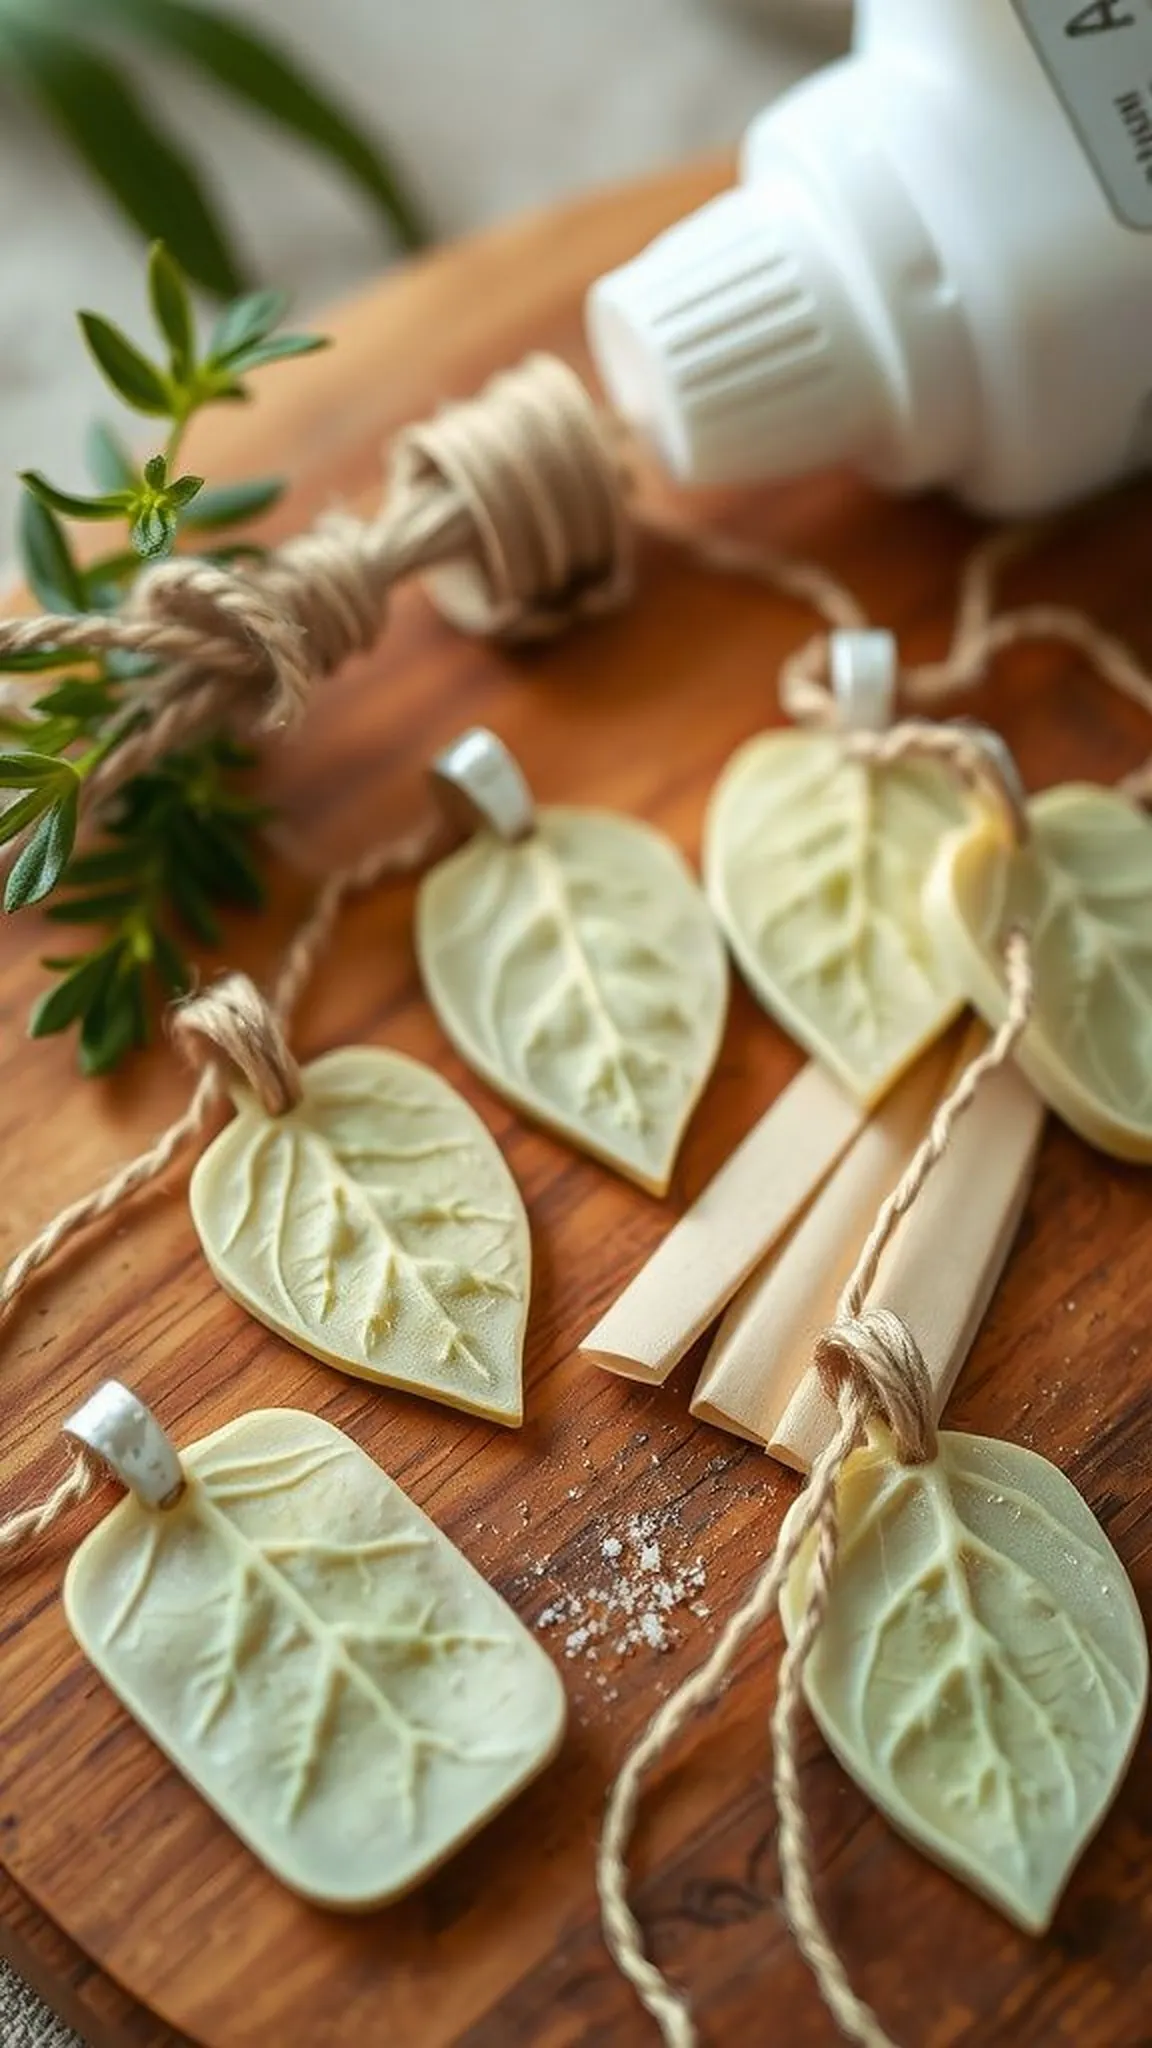
Herb pendants carry crisp botanical silhouettes, each leaf imprint framed within a small round or teardrop pendant. The texture picks up vein networks in delicate relief as though a garden pressed into soft dough.
Muted green washes or powdered pigments deepen the grooves while the pendant rims retain a soft, natural edge. The scene suggests a small herb collection on a cutting board, and a gentle citrus scent hints at the dough’s kitchen roots.
Fine twine threaded through the top adds to the rustic mood, making each pendant feel like a pocket-sized keepsake. The pieces work well as gifts or as personal accents on casual necklaces.
Pro Tip: Press herb leaves onto slightly tacky dough for sharp definition and lift them straight off to avoid tearing delicate impressions.
How to Make This
- Roll dough to a thin sheet and cut pendant shapes, keeping thickness even across pieces.
- Place a fresh herb leaf onto each shape and press gently to transfer the vein pattern.
- Remove leaves carefully, pierce a hanging hole at the top, and smooth edges with a damp fingertip.
- Dry pendants flat and thread twine through the holes once firm.
Avoid: A frequent slip is waiting until leaves dry slightly, which yields faint or incomplete impressions. Fresher leaves tend to produce the clearest vein detail.
Try Also: Use small flowers, fern fronds, or even lace for varied textures; try oval or geometric shapes for different aesthetics. Add tiny pigment washes to emphasize veins.
Products & Materials
Items Used
“Rustic herb pendants with crisp botanical impressions.”
Faux ceramic spoon rests in neutral tones
⏱️ 2 hours · 🟠 Intermediate
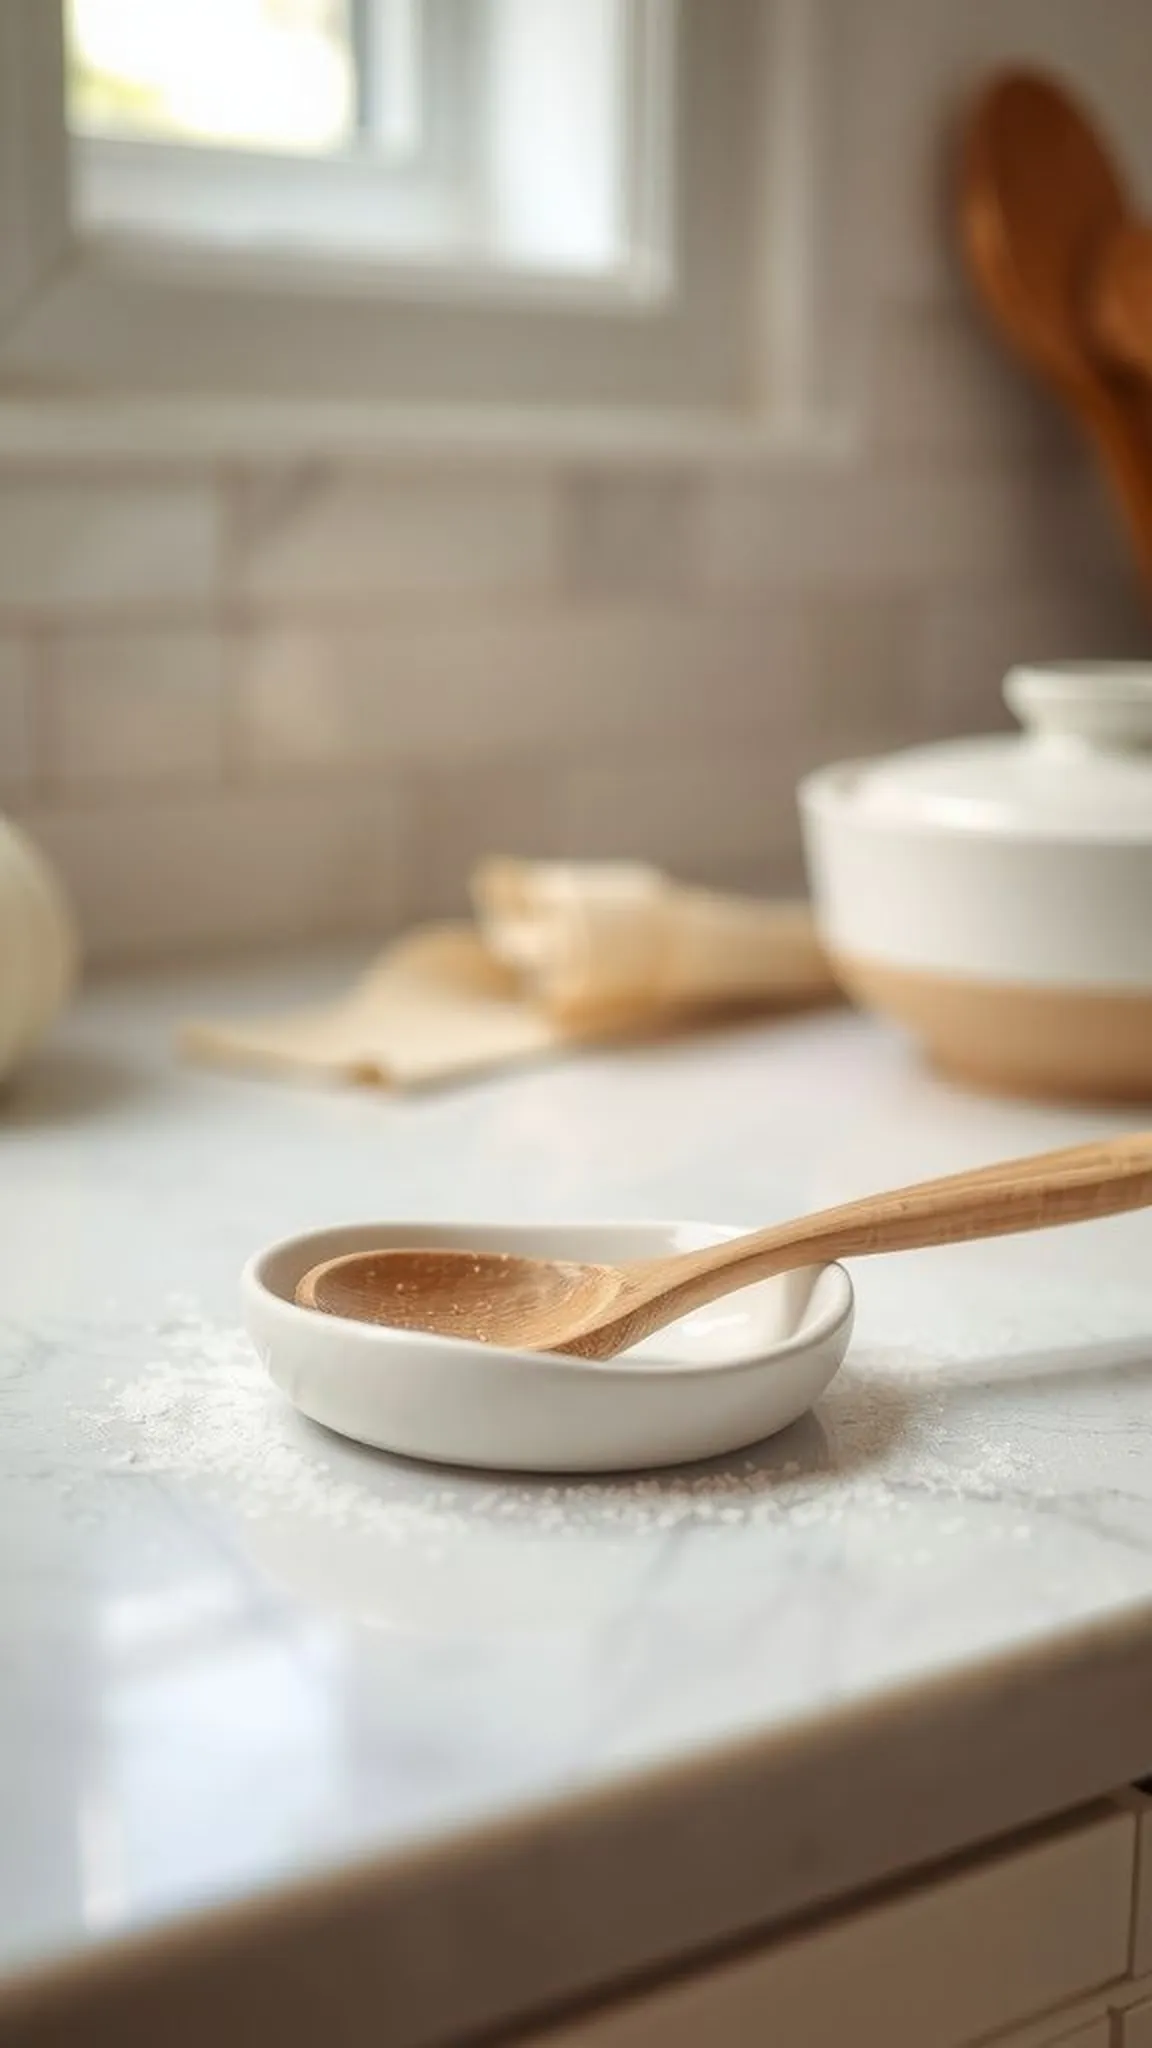
Small spoon rests mimic ceramic with soft ridges and a slightly matte finish that reads as handcrafted tableware. Neutral creams and warm greys harmonize with kitchen surfaces and reveal gentle tool marks along the rim.
The work area includes a wooden spoon and a scattering of cornstarch, suggesting practical use and domestic warmth. Light pools in the shallow dish area, making highlights along curved edges inviting and calm.
These spoon rests fit neatly beside a stove or teapot and carry a quiet, utilitarian elegance. Their modest scale and subtle textures make them approachable gifts for cooks and makers alike.
Pro Tip: Keep rim thickness even to avoid warping during drying and weight imbalance when a spoon rests on the piece.
How to Make This
- Form a shallow oval dish from an even slab of dough, smoothing surfaces and raising a low rim.
- Refine the interior curve with a damp fingertip and texture the rim lightly for grip.
- Let the spoon rest dry slowly on a flat, padded surface to preserve shape.
- Optionally buff with a soft cloth for a gentle sheen once fully cured.
Avoid: A frequent problem is uneven rims that cause the piece to tilt as it dries. Even wall thickness prevents warping.
Try Also: Make elongated rests for cooking spoons, square versions for modern counters, or add a subtle stamped motif at the base. Try a speckled pigment mix for stone-like character.
Products & Materials
Items Used
- Cornstarch
- White craft glue (PVA)
- Wooden spoon
- Soft cloth
“Neutral faux ceramic spoon rests from pantry clay.”
Mini holiday ornaments with embossed motifs
⏱️ 1 hour · 🟢 Beginner
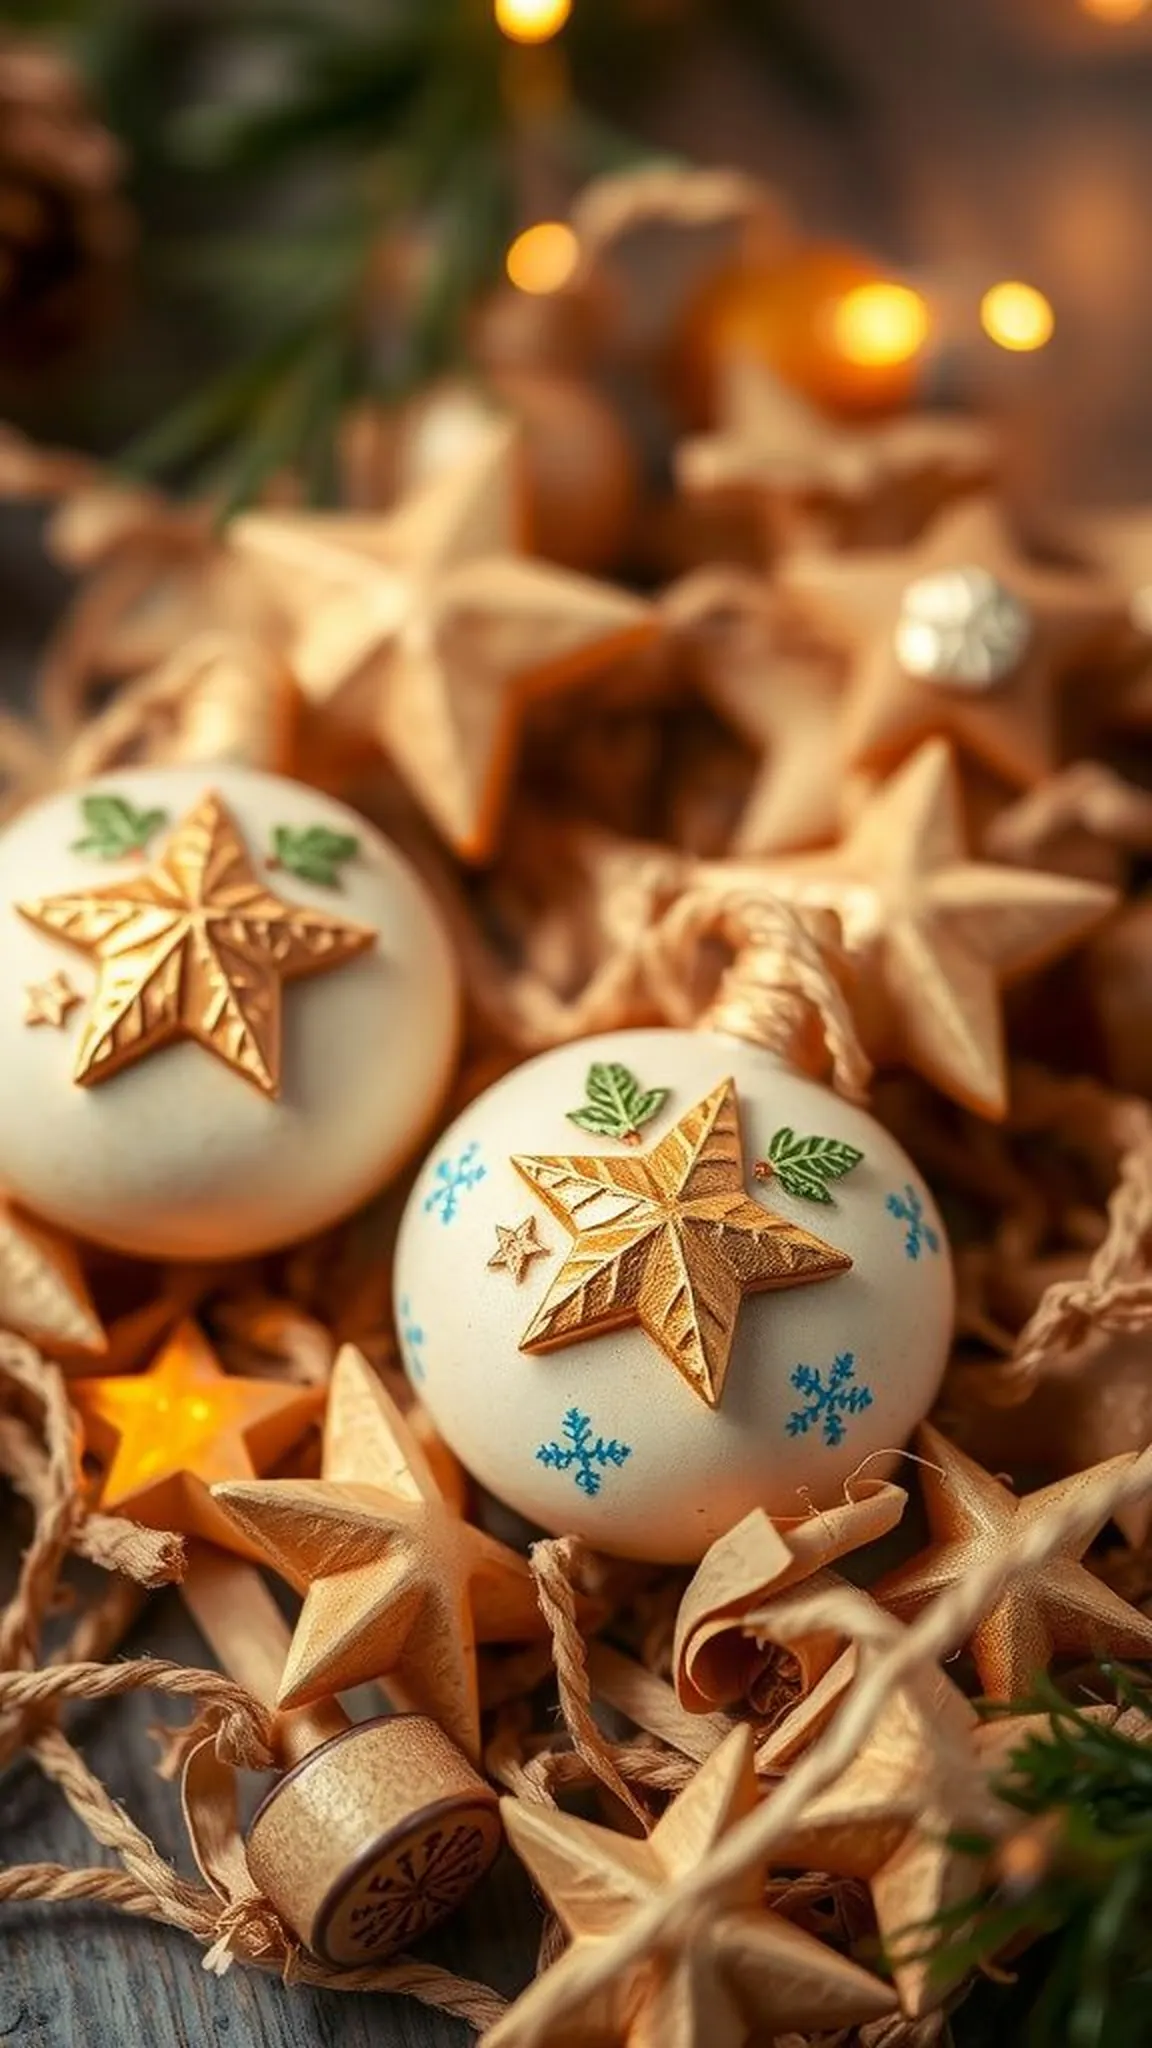
Tiny holiday ornaments show embossed motifs like stars, holly, and tiny trees with crisp edges that catch ambient glow. The ornaments rest on a bed of shredded kraft paper, while faint scent notes from pantry extracts linger nearby.
Shades of winter white, soft red, and evergreen create a gentle seasonal palette that pairs well with natural twine hangers. The surface textures are tactile, inviting a soft brush or fingertip to follow the embossed lines.
These ornaments feel delicate yet sturdy enough to hang on a small branch or be tied to a gift. Their handcrafted nature is visible in slight rim variations and hand-pressed details.
Pro Tip: Dry ornaments on a flat, padded surface to prevent flattening of embossed details and maintain crisp motifs.
How to Make This
- Roll dough to an even thinness and cut shapes with small festive cutters.
- Press embossing stamps or textured tools to imprint motifs and pierce a hanging hole near the top.
- Smooth edges gently with a fingertip and dry ornaments flat on parchment.
- Thread twine through holes once dry for hanging.
Avoid: A frequent mistake is making ornaments too thick, which softens embossed detail and slows drying. Thin, even pieces produce the best impressions.
Try Also: Create mini garlands by stringing several ornaments, make gift-tag hybrids, or experiment with metallic highlights in the grooves. Try pastel palettes for a modern twist.
Products & Materials
Items Used
- Cornstarch
- White craft glue (PVA)
- Embossing stamps
- Natural twine
- Parchment paper
“Hand-pressed mini holiday ornaments from pantry clay.”
Faux milk glass tiles as tiny coasters
⏱️ 1-2 hours · 🟠 Intermediate
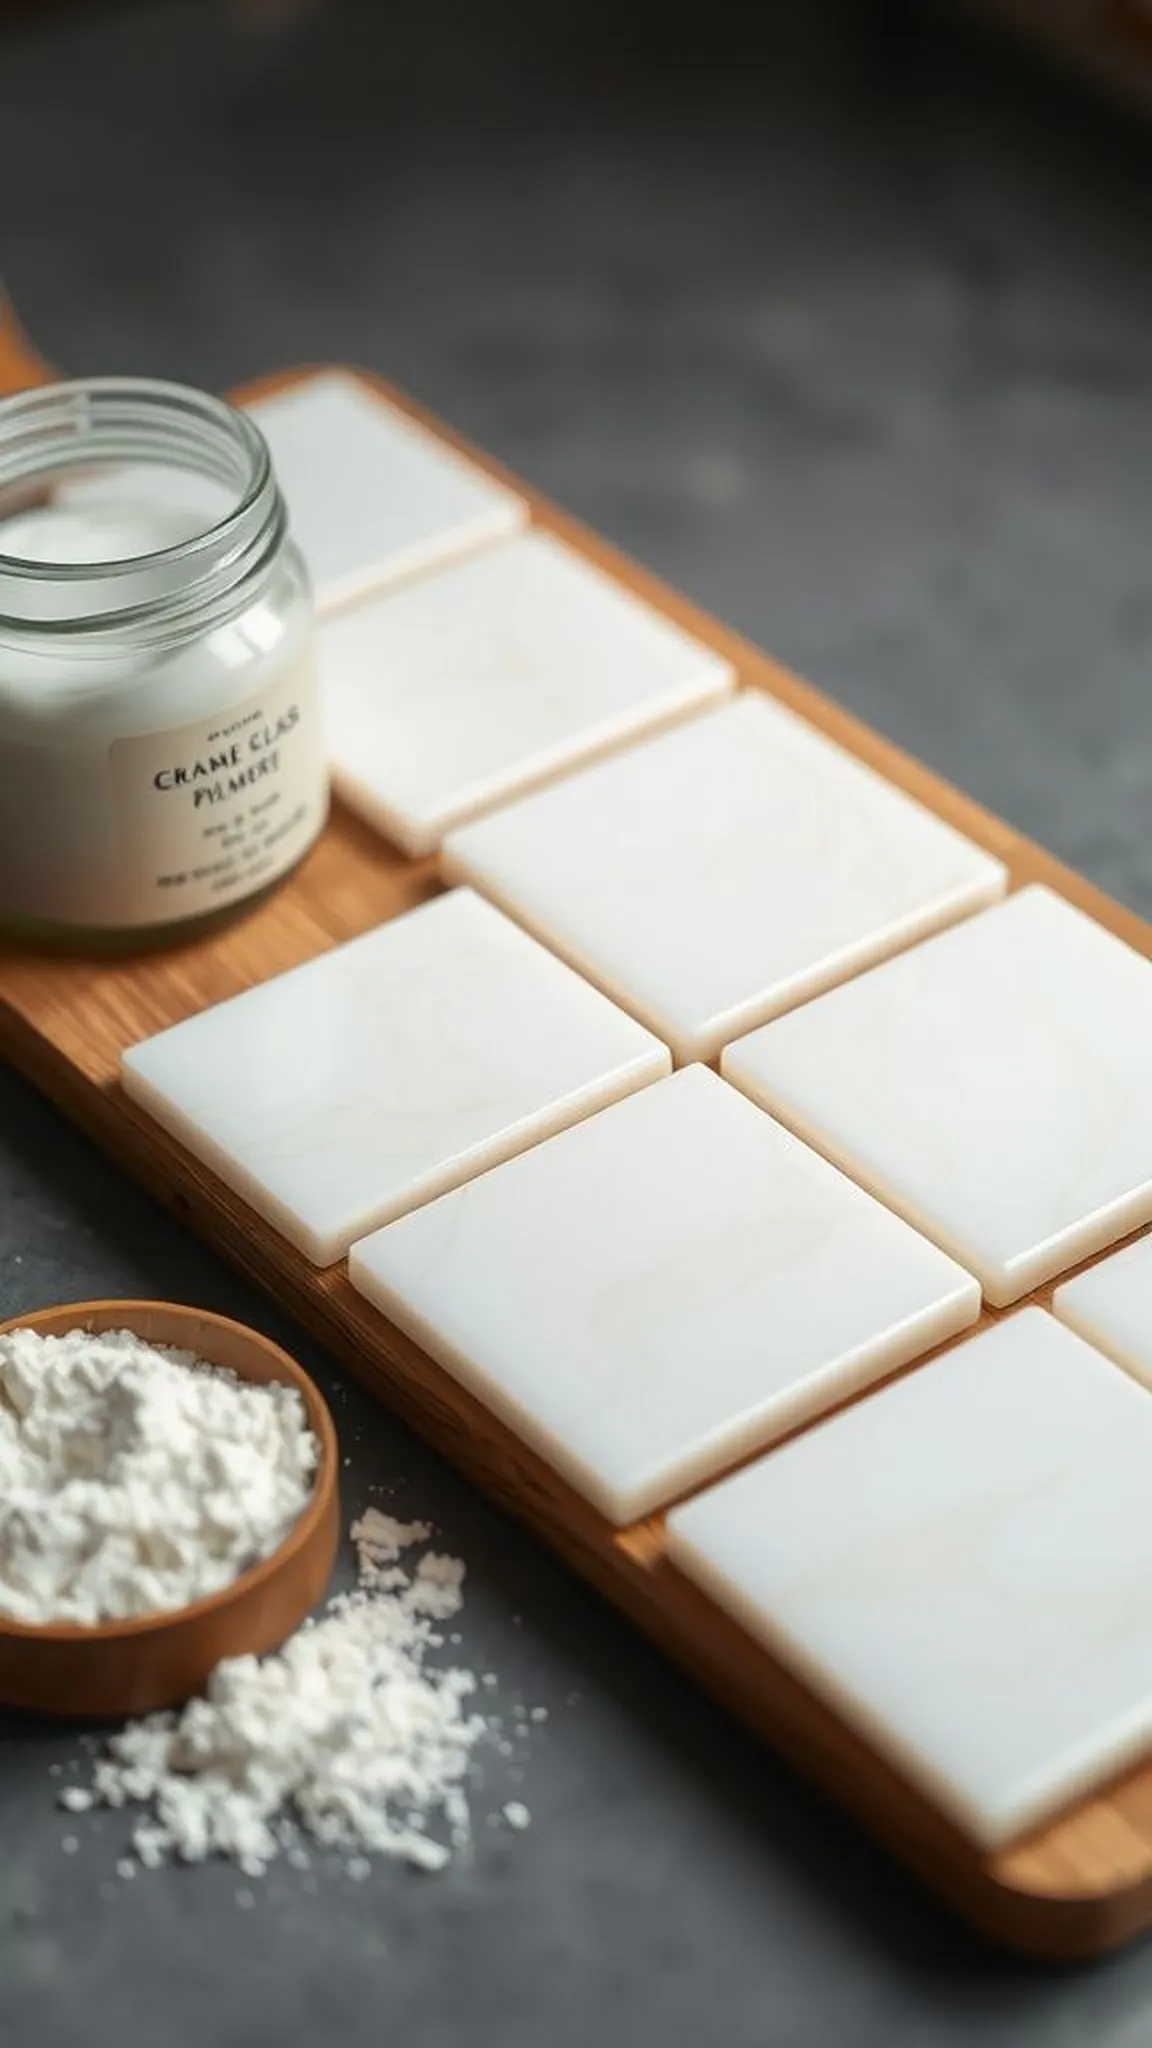
Small faux milk glass tiles present a smooth, milky surface with subtle variations that emulate vintage glass. Soft highlights and slightly rounded edges give each tile a calm, tactile quality that suits delicate cups and decor.
The palette stays in opaline whites and creams, with a few tiles showing faint marbling for character. The tiles rest on a wooden board with a small jar of powdered pigment nearby, suggesting a slow, mindful process.
These tiles feel elegant in their restraint, offering a quiet base for tiny vessels or trinkets. Their modest scale invites collections in trays or staggered tabletop displays.
Pro Tip: Allow tiles to dry thoroughly on a flat surface to develop a stable, even sheen that mimics milk glass without cracking.
How to Make This
- Press dough into thin, even squares and smooth surfaces with a damp sponge for a glassy finish.
- Round corners gently and add faint ripples or marbling with a tiny amount of pigment.
- Leave tiles to dry flat on parchment to retain smooth surfaces and prevent warping.
- Optionally buff with a soft cloth for a soft gleam once cured.
Avoid: A frequent error is leaving uneven thickness, which leads to warping as pieces dry. Uniform slabs produce the smoothest tile surfaces.
Try Also: Make sets in pale blues or soft greys for coastal tones; add tiny gold specks for a luxe accent. Use different shapes like circles or hexagons for variety.
Products & Materials
Items Used
- Cornstarch
- White craft glue (PVA)
- Powdered pigment
- Soft sponge
- Parchment paper
“Milk-glass inspired tiny tiles for delicate displays.”
Faux stoneware pendants with speckled texture
⏱️ 1 hour · 🟠 Intermediate
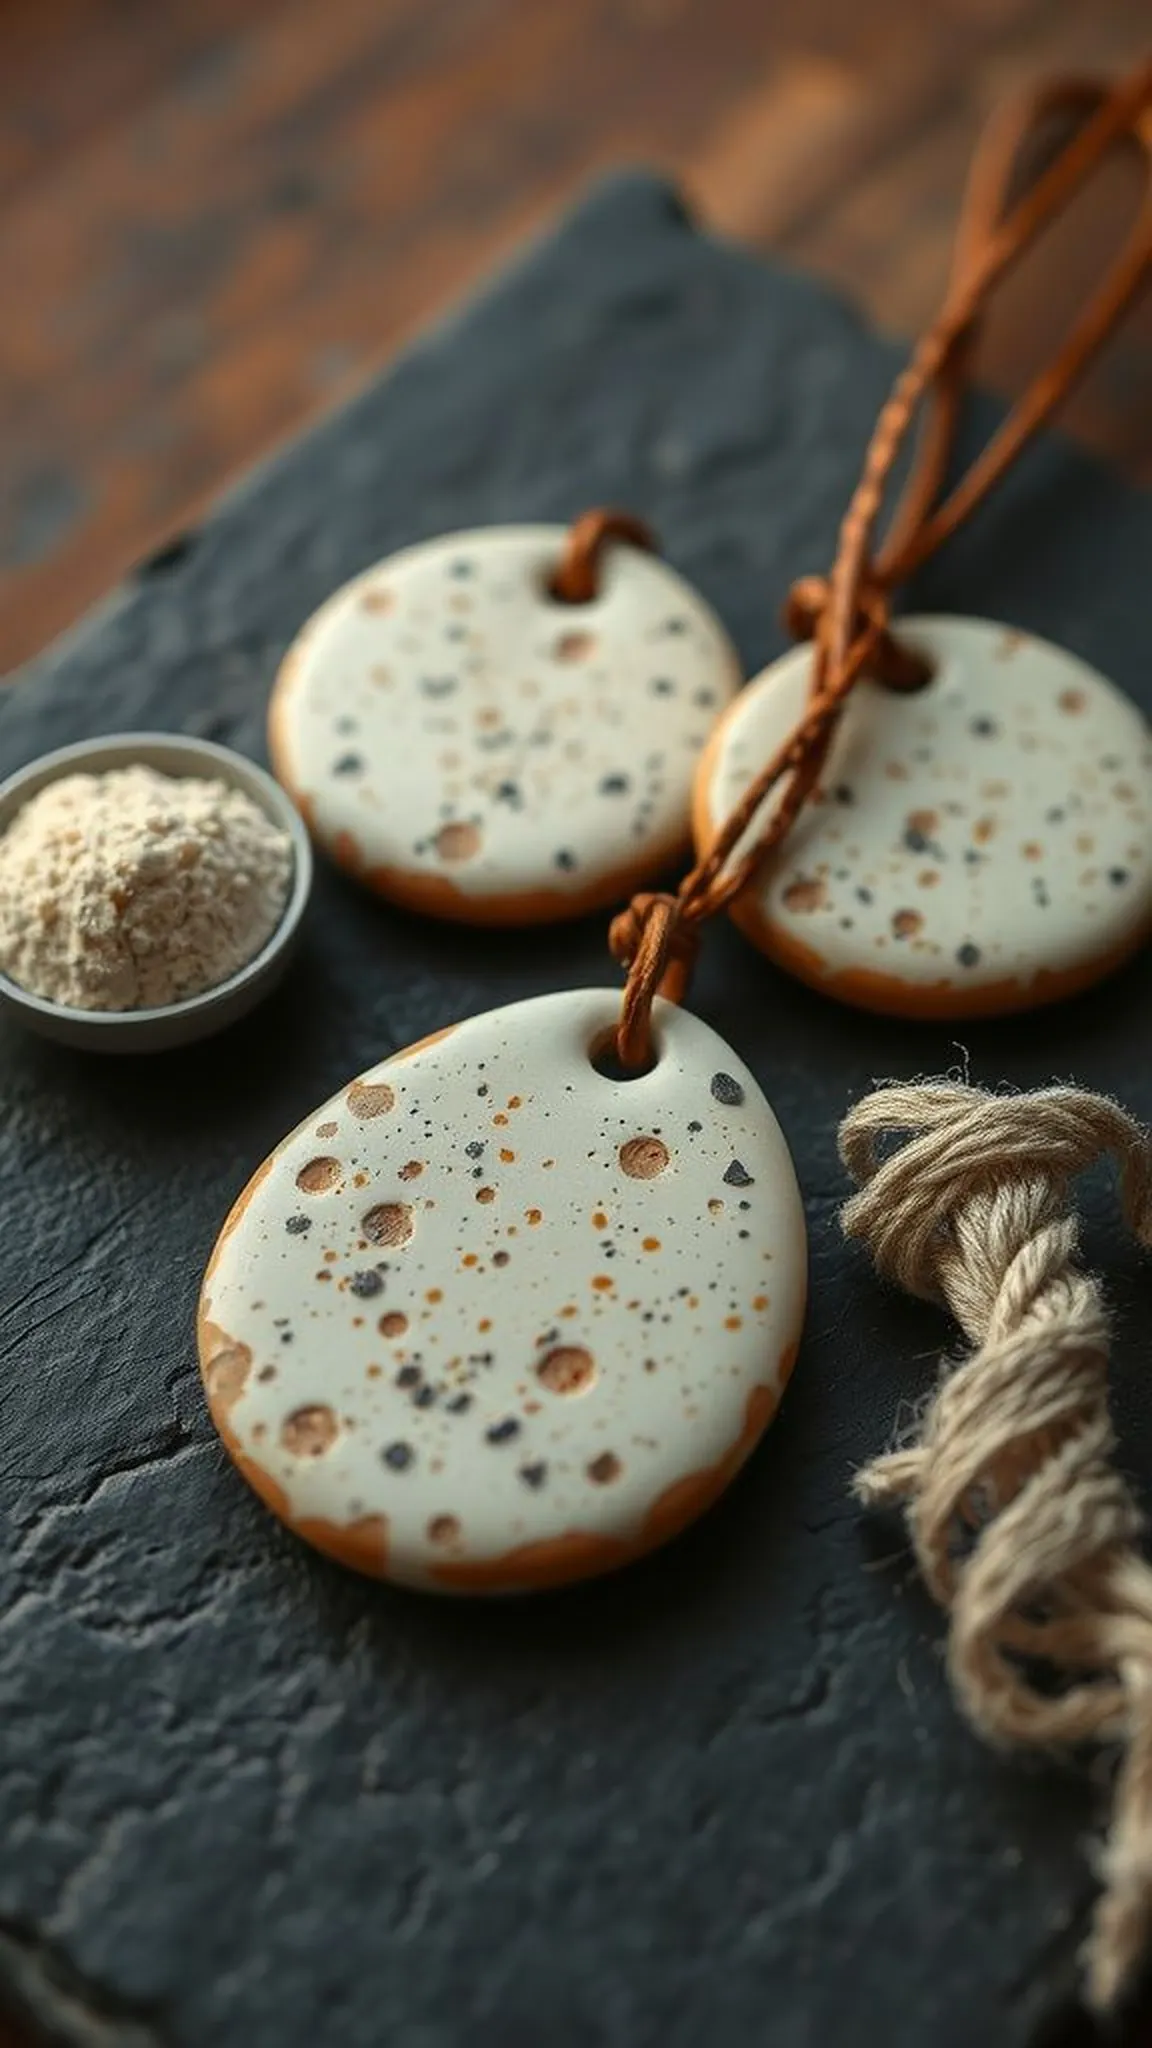
Speckled stoneware pendants show a tactile grain and gentle earth tones that suggest hand-thrown ceramics. Tiny pits and flecks scatter across the surface, offering a rustic, organic impression while the edges remain softly refined.
The pendants rest on a slate tile with a small spoon of powdered pigment and cornstarch dust nearby, creating a studio-like still life. The colors feel grounded and warm, pairing naturally with leather cords or simple chains.
Each pendant has a quietly strong presence, suggesting both durability and softness at once. The texture invites light rubbing and close inspection of the speckled pattern.
Pro Tip: Add a pinch of fine sand or powdered pigment into the dough for authentic speckle and texture without compromising pliability.
How to Make This
- Incorporate a small amount of powdered pigment or fine sand into the dough for speckling.
- Roll out and cut desired pendant shapes, then smooth rim edges with a damp fingertip.
- Pierce a clean hole for hanging and texture the surface lightly with a brush or sponge.
- Dry flat and thread cord once fully cured.
Avoid: A frequent issue is adding too much grit, which can weaken the dough and cause crumbling. Small amounts maintain integrity and create subtle speckle.
Try Also: Make teardrop, disc, or geometric pendants; vary speckle intensity for contrast. Pair with dark leather cord or brass findings for warm combinations.
Products & Materials
Items Used
- Cornstarch
- White craft glue (PVA)
- Powdered pigment
- Fine sand (optional)
- Leather cord
“Speckled stoneware-look pendants from pantry clay.”
