
As an Amazon Associate I earn from qualifying purchases.
Lake Day Hairstyles are designed for warm, breezy afternoons by the water where style meets comfort. These easy lake hairstyles help keep hair off the face while staying loose, sun-ready, and photogenic.
Braids and buns plus beachy waves move well from dock to picnic without extra fuss. A few simple tools like a scrunchie, claw clip, and bobby pins make hair water-friendly and quick to finish.
Try low messy buns, braided crowns, or slicked-back wet looks to match length and texture. Small finishing products tame flyaways and keep texture intact after a dip in the lake.
Effortless Beachy Waves With Salt Spray
⏱️ 15 min · 🟢 Beginner
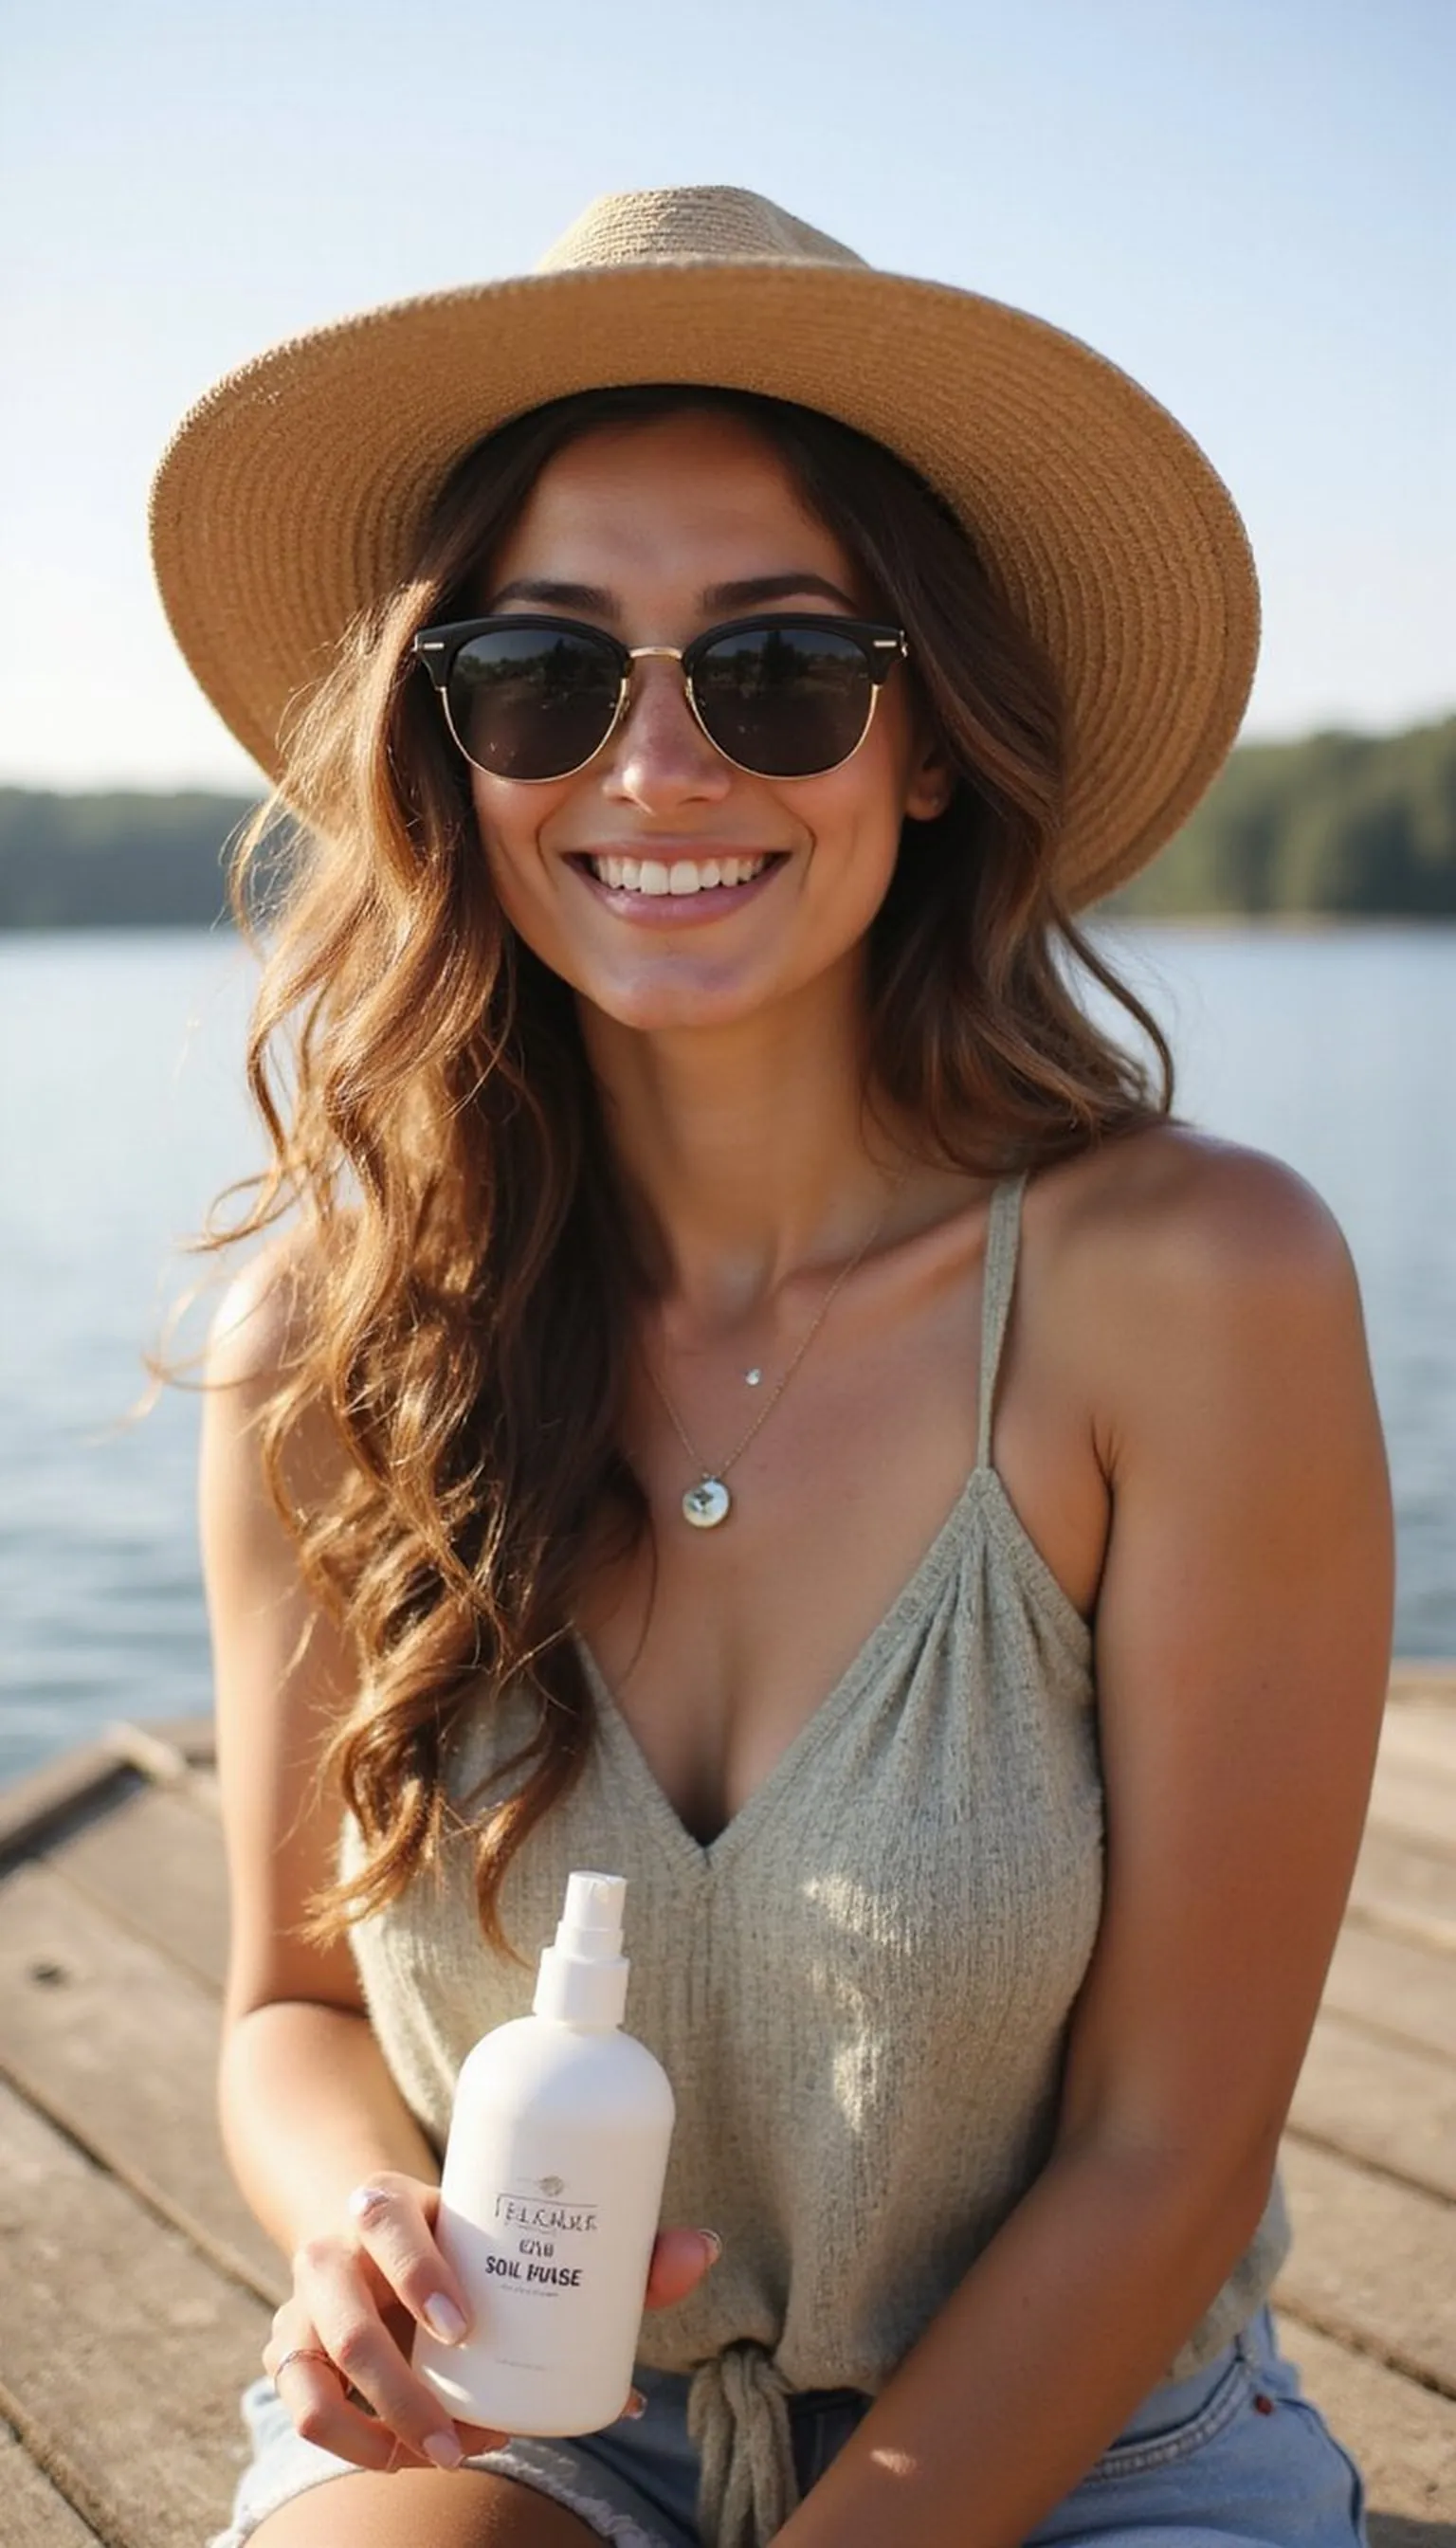
Beachy waves are a classic lake day look that stays relaxed and camera-ready. Loose, undone waves have a slightly gritty texture that pairs perfectly with sun hats and sunglasses.
Start on damp hair and scrunch in a sea salt spray, then let air-dry or diffuse to encourage soft bends. The result looks lived-in and tolerates humidity and quick swims without losing shape.
Finish by separating waves with fingertips and a light texture mist for movement without stiffness. Tuck one side behind the ear or add a small clip for instant polish.
Styling Tips
- Apply salt spray from mid-lengths to ends, not roots.
- Use a diffuser on low heat to speed drying without frizz.
- Finger-comb instead of brushing to keep texture.
Pro Tip: Apply sea salt spray lightly and scrunch while hair is damp for best natural texture and hold.
Avoid: Using too much product creates crunch and stiffness that ruins the soft lake-ready look. Over-brushing also separates waves and creates frizz.
Try Also: Try adding a small braid at the temple for a lived-in twist or pair waves with a low pony secured by a scrunchie. Swap sea salt spray for a light curl cream for more defined texture.
Products & Materials
Items Used
- sea salt spray
- sunglasses
- wide-brim straw hat
“Soft beachy waves perfect for a relaxed lake afternoon.”
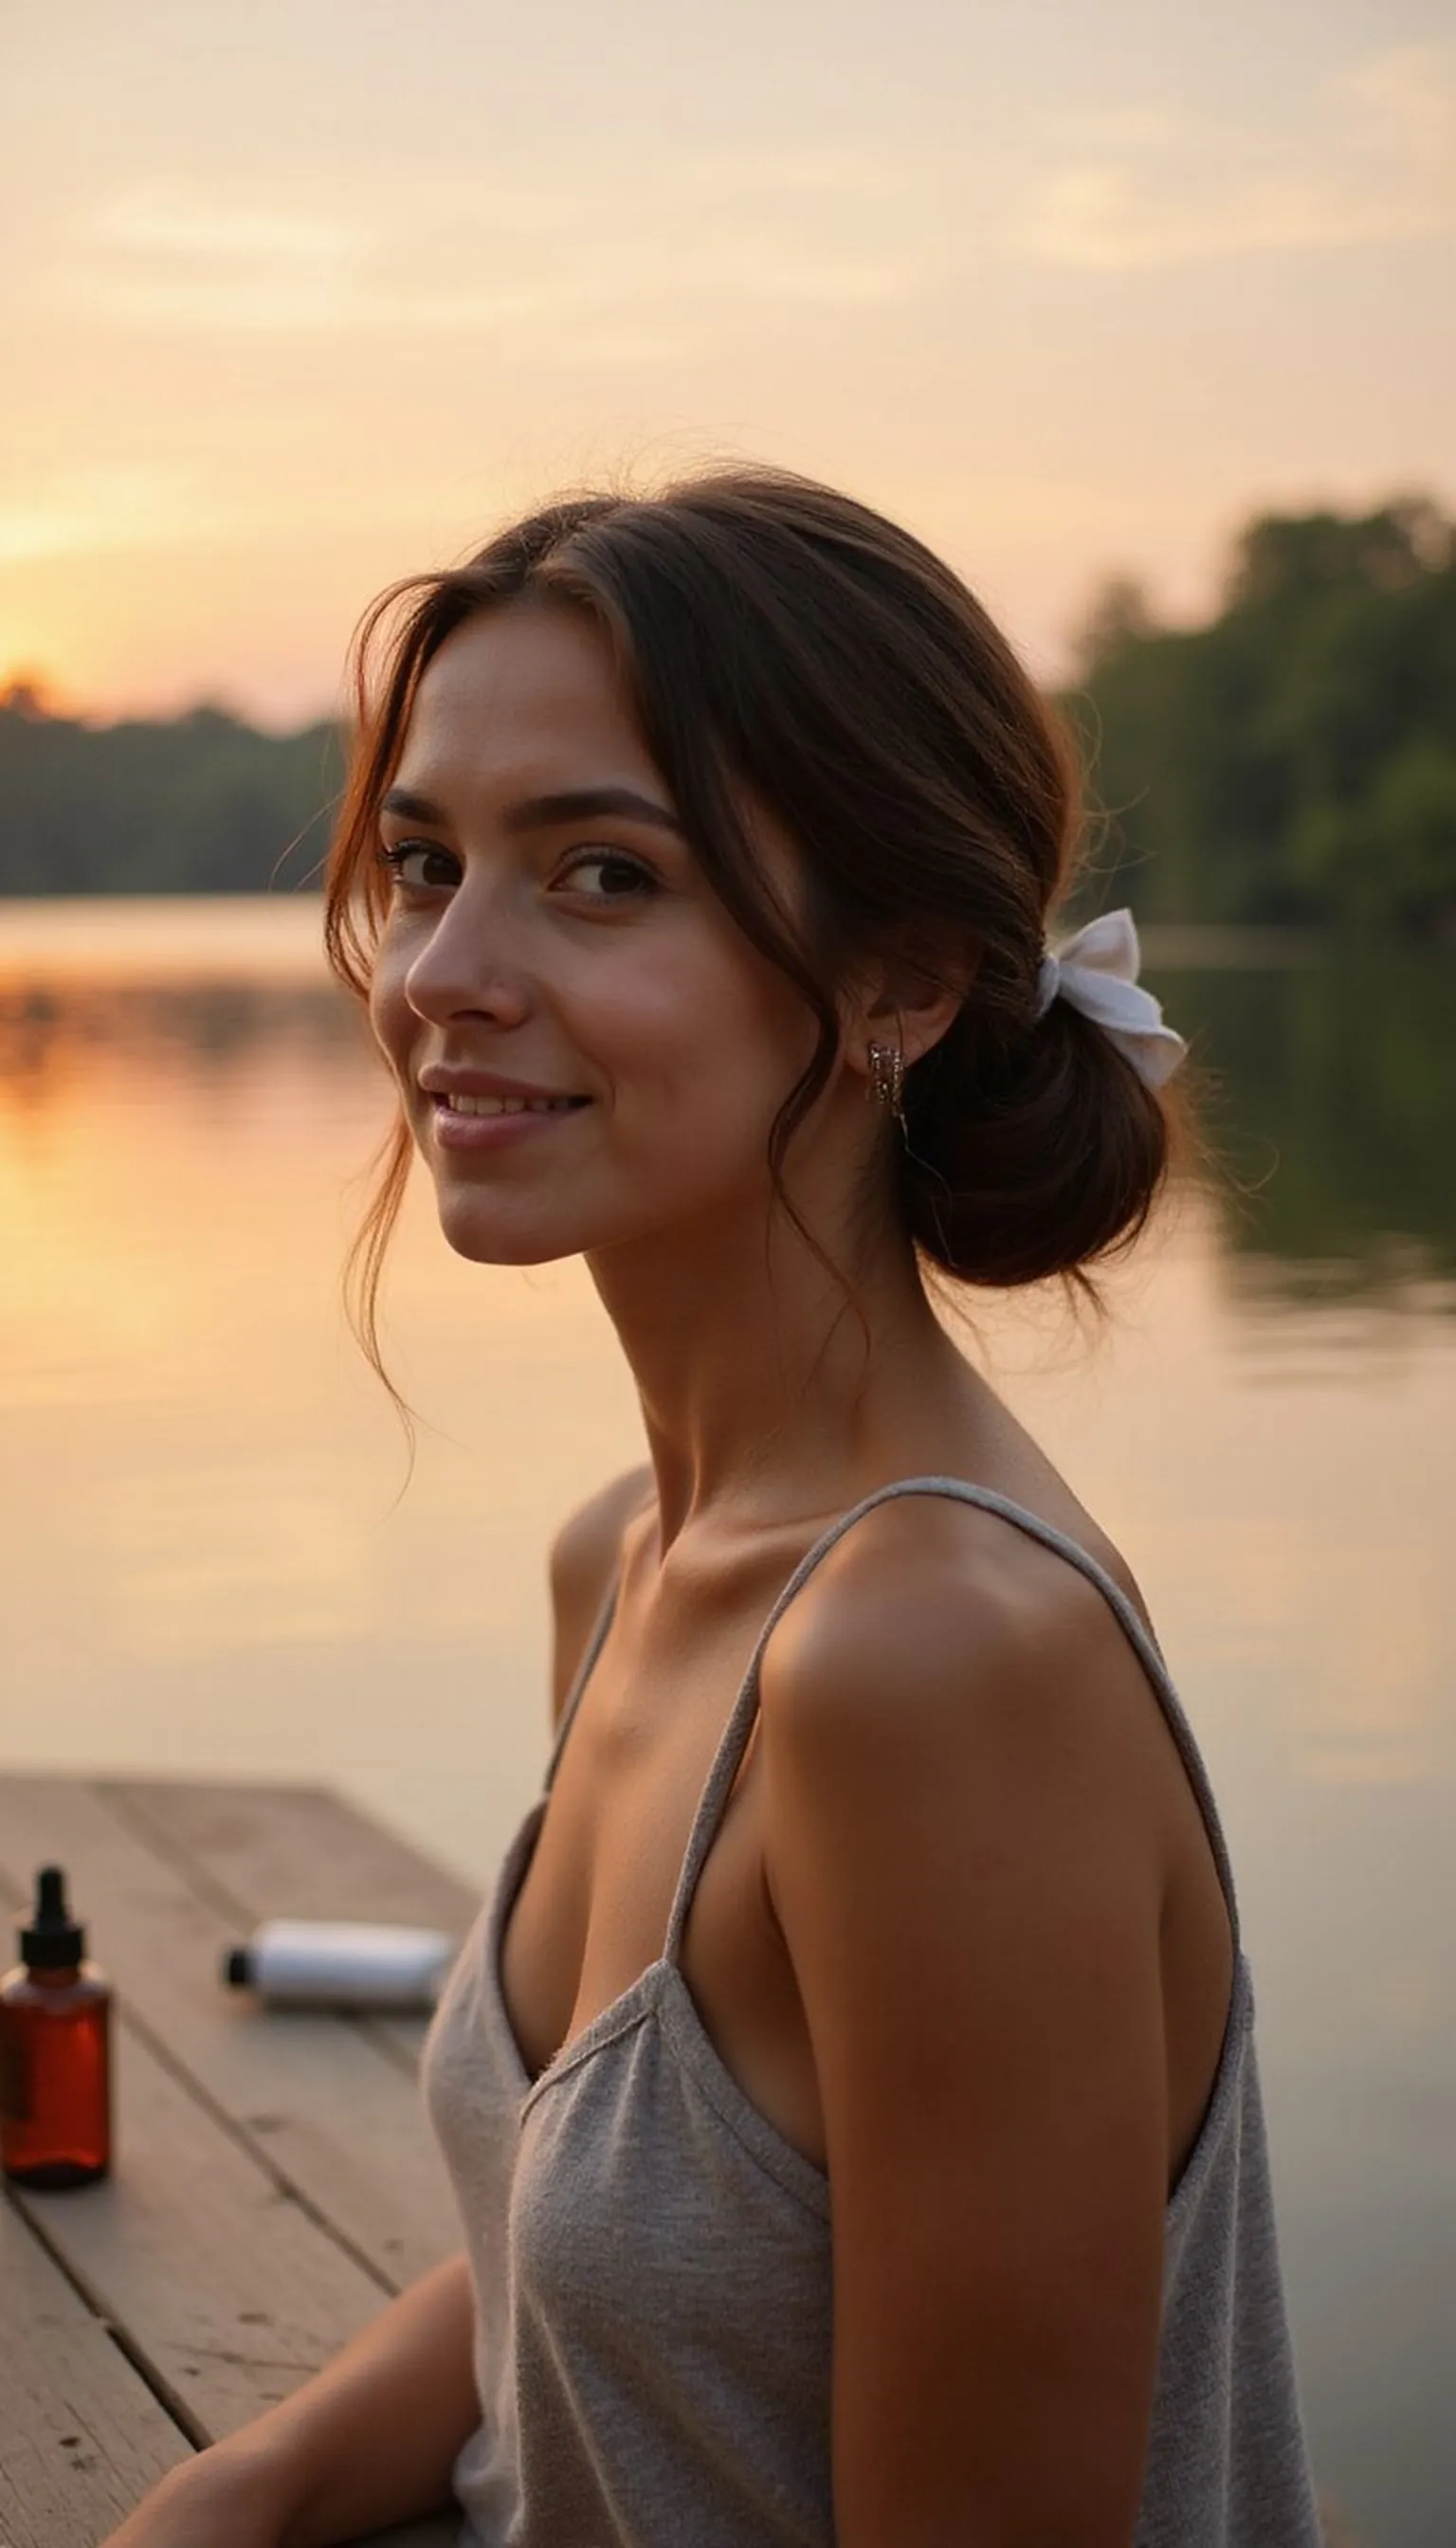
Low Messy Bun Secured With Scrunchie
⏱️ 10 min · 🟢 Beginner
The low messy bun is a breezy option that keeps hair off the neck while staying easy to remake after a swim. A soft scrunchie gives hold without denting strands and adds a playful lake feel.
Create a loose low pony, twist the lengths into a bun, and secure with a scrunchie, allowing face-framing bits to fall free. Pull gently at the bun to loosen and add volume for a lived-in finish.
Spritz very lightly with a flexible hold spray to control flyaways without stiffness. Tuck stray pieces behind one ear or slide in a decorative clip for extra charm.
Styling Tips
- Choose a velvet or cotton scrunchie to avoid creases.
- Loosen the bun after securing for a relaxed silhouette.
- Use hair pins to anchor slippery sections if needed.
Pro Tip: Wrap the scrunchie twice for better hold and pull a few face-framing strands for a softer, undone look.
Avoid: Tying the bun too tight makes it uncomfortable and creates dents in the hair. Not loosening the bun removes the casual, breezy vibe that works best lakeside.
Try Also: Make it a low twisted bun by twisting two sections before pinning, or place the bun slightly to the side for an asymmetrical touch. Swap the scrunchie for a decorative claw clip for faster styling.
Products & Materials
Items Used
- scrunchie
- bobby pins
“Quick low messy bun with a scrunchie for easy lakeside style.”
Braided Crown For Windy Lake Afternoons
⏱️ 25 min · 🟠 Intermediate
The braided crown wraps hair away from the face and looks polished yet relaxed for photos on the water. This halo braid keeps flyaways contained and holds up through breezy boat rides.
Create two Dutch braids from the hairline, then wrap them into a crown and secure with bobby pins tucked discreetly. Pull gently on braid loops to soften the shape and add fullness without bulk.
A light mist of flexible hairspray keeps the crown neat without stiffness. Add tiny wildflower clips or a headband for a bohemian lakeside finish.
Styling Tips
- Start with slightly textured hair for stronger braids.
- Pin under the braid for a seamless crown edge.
- Loosen braid strands to make the crown look fuller.
Pro Tip: Prep hair with a light texturizing spray before braiding to improve grip and fuller-looking braids.
Avoid: Braiding too tightly creates a rigid look that feels uncomfortable and shows scalp lines. Skipping pins under sections can let the crown slip out during activity.
Try Also: Try one long braid wrapped low for a simpler crown, or braid only the front sections and leave the rest down for a half-crown. Add small decorative pins or a thin ribbon woven into the braid.
Products & Materials
Items Used
- bobby pins
- flexible hairspray
“A romantic braided crown that withstands wind and water.”
Get 75+ ad-free, high-resolution printable tutorials for salon-quality results every single morning.
One printable guide · $19.99 · yours forever
Side Fishtail Braid That Stays Put
⏱️ 20 min · 🟠 Intermediate
The side fishtail braid looks intricate but sits comfortably under a shoulder during long lake days. Its tighter weave helps hair survive swims and wind better than loose braids do.
Gather hair to one side and create a fishtail, pulling small sections for a neat finish or tugging loops for a chunkier look. Secure the end with a low-profile elastic and hide it with a wrapped piece of hair if desired.
A dab of smoothing cream on ends prevents frizz and keeps the weave defined. Add a small elastic wrapped with ribbon or a decorative hair tie for a pretty final touch.
Styling Tips
- Work with slightly damp or textured hair for cleaner strands.
- Use a small elastic that matches hair color to hide the end.
- Loosen just a few sections for a softly undone finish.
Pro Tip: Start the fishtail braid lower than expected to make it sit comfortably over one shoulder and avoid tugging at the scalp.
Avoid: Using too-large sections at the start gives a messy, undefined fishtail. Not securing the base can let the braid loosen after activity.
Try Also: Make two fishtail braids for pigtail style, or combine a fishtail into a low bun for a romantic lakeside look. Add a thin scarf tied around the elastic for color.
Products & Materials
Items Used
“Tidy side fishtail braid that holds through waves and wind.”
Claw Clip Half-Up For Quick Lake Glam
⏱️ 5 min · 🟢 Beginner
The claw clip half-up is the fastest route to neat, stylish hair for lakeside adventures. It keeps face-framing pieces loose while securing the top for shade and activity.
Gather the top section, twist lightly, and clamp with a medium-to-large claw clip for instant polish. Allow ends to spill out for a casual, effortless vibe that hides sweat or dampness after a dip.
Match the clip finish to your outfit — tortoiseshell or bright colors both work at the lake. Add a few soft waves or leave hair straight depending on how easy you want the style to be.
Styling Tips
- Gather hair at the crown for more lift before clipping.
- Use a claw clip with strong teeth to hold thicker hair.
- Loosen strands at the temples for a softer frame.
Pro Tip: Twist the top section once before clipping to create instant texture and added grip under the claw clip.
Avoid: Clipping too many layers at once can cause the clip to slip or damage hair. Using a tiny clip for heavy hair will not hold through movement.
Try Also: Try a low half-up secured with a decorative claw clip or pair the half-up with a small braid at the front. Swap to a clear clip for a minimal, modern look.
Products & Materials
Items Used
- claw clip
- texturizing spray
“Fast claw clip half-up for instant lakeside chic.”
High Ponytail With Scarf Wrap Accent
⏱️ 12 min · 🟠 Intermediate
A high ponytail keeps hair out of the way while a silk scarf wrap adds color and sun-safe style. The scarf also helps hide a plain elastic and keeps the pony looking intentional.
Smooth hair into a high ponytail and secure with an elastic, then wrap the scarf around the base and knot it or let tails flutter. Leave some texture in the lengths so the pony reads playful rather than severe.
Lightly spritz for flyaway control and tie the scarf securely to avoid slipping after a swim. Swap to a thin fabric for quick drying when the scarf gets damp.
Styling Tips
- Use a gel-free smoothing balm to tame frizz without heavy residue.
- Tuck the scarf tails under the knot for a neat finish in active settings.
- Loosen a few face-framing strands for softness.
Pro Tip: Tie the scarf off-center for a breezier, editorial look that still feels secure during movement.
Avoid: Wrapping the scarf too tightly can cause headaches and flatten the ponytail. Using a heavy scarf will stay wet and weigh the hair down after swimming.
Try Also: Swap the scarf for a colorful ribbon or wrap a thin bandana for retro vibes. Try two scarves braided into the ponytail for extra interest.
Products & Materials
Items Used
“Bright scarf-wrapped high ponytail that stays stylish by the water.”
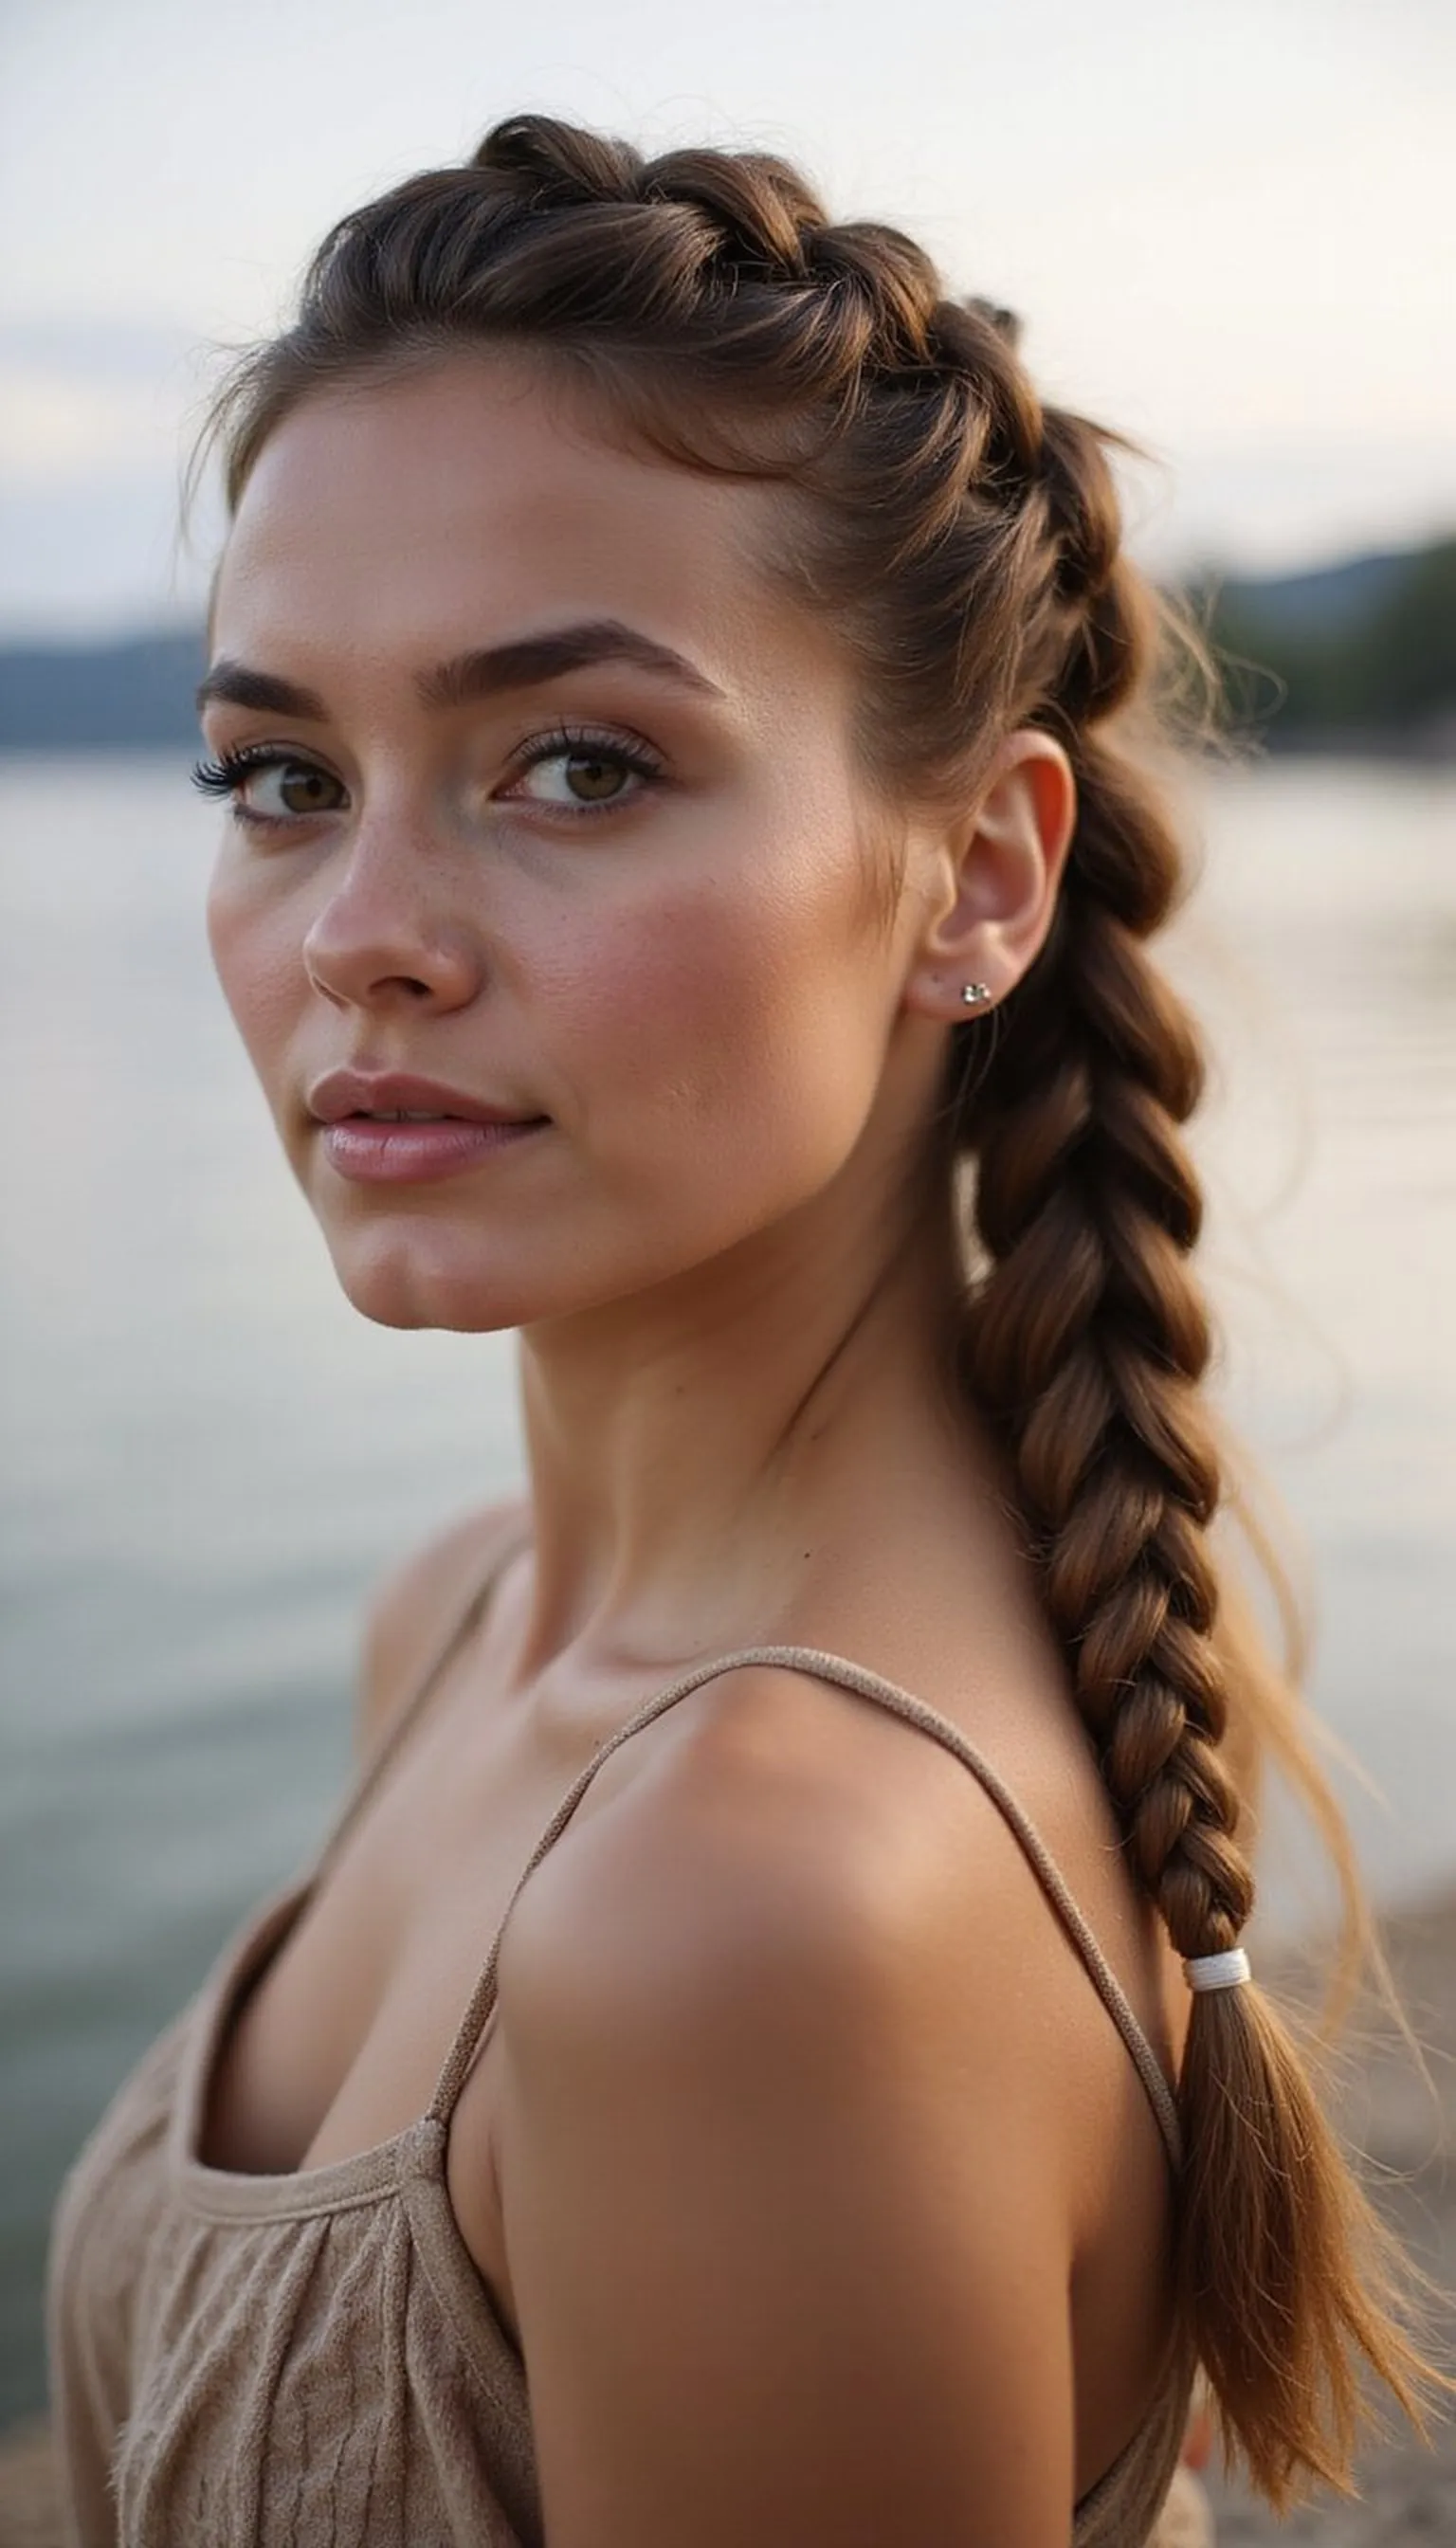
Double Dutch Braids For Active Water Play
⏱️ 20 min · 🟠 Intermediate
Double Dutch braids lock hair close to the head and handle vigorous lake activities without falling apart. The sporty look also keeps hair out of the face for paddling, swimming, and games.
Start two tight Dutch braids at the hairline and continue to the ends, securing each with a small elastic. Pull slightly at braid edges only if some softness is desired, otherwise keep tension for longer wear.
Add a dab of smoothing balm at the hairline to prevent flyaways. For kids or longer days, tuck the braids into a low bun and pin for extra security.
Styling Tips
- Work with damp hair for easier braiding and cleaner sections.
- Secure ends with clear elastics to keep them low-profile.
- Apply a small amount of cream at the hairline to tame baby hairs.
Pro Tip: Braid over slightly damp hair to create neat sections and stronger hold during active lake time.
Avoid: Starting the braids too far back reduces face coverage during activity. Letting the sections be uneven causes the braids to look lopsided quickly.
Try Also: Turn the double braids into a braided crown by wrapping each braid up and pinning them across the head. Or braid only halfway and tie into a ponytail for a hybrid look.
Products & Materials
Items Used
“Secure double Dutch braids built for play and lake adventures.”
Wet-Look Slicked Back Swim-Ready Style
⏱️ 8 min · 🔴 Advanced
The wet-look slicked back style is chic and practical for lake days when short drying time is needed. It creates a modern, polished silhouette that holds through a quick dip.
Work a gel or strong cream through damp hair and brush straight back from the hairline, securing with a low elastic if desired. Smooth any flyaways with a bit more product for long-lasting shine and control.
Pair with simple studs or a small hoop for an elevated lakeside outfit. Reapply a tiny amount of product after swimming to reinforce the sleek finish if needed.
Styling Tips
- Start with damp hair for the most even application of gel.
- Use a medium-to-strong gel to maintain shape without stiffness.
- Comb back in sections for a smooth, glossy finish.
Pro Tip: Work product through hair in sections from roots to ends, then brush back to lock in a smooth, swim-ready finish.
Avoid: Using too little product causes patchy hold and frizz after a swim. Applying product only at the roots can leave the lengths looking dry and mismatched.
Try Also: Sweep into a low ponytail after slicking for extra hold, or try a half slick by only smoothing the front and letting lengths stay textured. Add a decorative hair cuff at the base for detail.
Products & Materials
Items Used
“Slick wet-look style that’s stylish and swim-ready.”
Top Knot With Wide Headband Detail
⏱️ 7 min · 🟢 Beginner
The top knot is a classic for hot lake afternoons and a wide headband adds both sun protection and style. The headband also conceals hairline sweat and keeps baby hairs tamed.
Create a high ponytail, twist into a knot, and secure with pins or a small elastic; then slide a wide headband over the hairline to finish. The contrast between the knot and headband reads polished and relaxed simultaneously.
Choose a moisture-wicking headband for hot days to stay comfortable. Add a bit of light spray for humidity resistance if needed.
Styling Tips
- Place the headband slightly behind the hairline for a lifted look.
- Use a soft, wide headband to avoid head pressure.
- Loosen the knot a touch for volume and texture.
Pro Tip: Place the headband after forming the knot to help keep flyaways contained and the hairline looking neat.
Avoid: Tight headbands can leave marks and cause discomfort during active days. Making the knot too small gives a tight, severe silhouette rather than a relaxed top knot.
Try Also: Swap the wide headband for a sporty terry cloth band for workouts, or choose a colorful patterned band for a playful lakeside look. Try a low top knot for less lift.
Products & Materials
Items Used
“Top knot plus wide headband for comfy lakeside chic.”
Twisted Low Ponytail With Bobby Pins
⏱️ 12 min · 🟢 Beginner

A twisted low ponytail looks polished yet stays relaxed for a lakeside luncheon. The twist adds interest while keeping hair contained low at the nape, out of the wind.
Create two twists from each temple, bring them to the back, and secure with an elastic before tucking and pinning any loose ends under with bobby pins. Adjust tension for a sleek or softer finish depending on how windproof the style needs to be.
Add a few face-framing tendrils for a softer shape that still keeps hair off the neck. Use a flexible hold spray to lock the twists without stiffness.
Styling Tips
- Twist toward the center for a clean, balanced look.
- Hide the elastic with a wrapped strand for a seamless finish.
- Pin the twists under the ponytail to keep them secure.
Pro Tip: Wrap a small strand of hair around the elastic and secure with a bobby pin to hide the band and elevate the look.
Avoid: Pinning twists too far forward can make the ponytail look uneven. Not securing the ends under the ponytail allows pieces to come loose during movement.
Try Also: Turn the low ponytail into a low bun by coiling the lengths and pinning, or remove the twist and do a sleek low pony for a cleaner look. Add a ribbon around the elastic for color.
Products & Materials
Items Used
- bobby pins
- hair elastic
- flexible hairspray
“Pretty twisted low ponytail with hidden bobby pins for lakeside polish.”
Halo Braid For Effortless Boho Lakeside Vibes
⏱️ 30 min · 🔴 Advanced
The halo braid creates a romantic, boho silhouette that’s ideal for scenic lake photos. It frames the face and keeps hair secure for long stretches of outdoor time.
Begin a long braid at one ear, braid around the head, and pin the end under the starting point to form a continuous crown. Loosen select sections for a soft, airy look while maintaining overall structure with pins underneath.
Use tiny decorative pins or small flowers to enhance the boho feel without weighing the braid down. A finishing mist keeps the style in place while preserving natural movement.
Styling Tips
- Braid on slightly textured hair for improved grip and fullness.
- Pin the braid end beneath the starting point for a seamless finish.
- Loosen braid strands strategically to create a soft halo effect.
Pro Tip: Add a little texturizing spray before braiding to make the halo look fuller and easier to manipulate without slipping.
Avoid: Braiding too tightly creates a stiff crown that looks strained. Not pinning the end securely can let the halo unravel after activity.
Try Also: Make two smaller halo braids for a more playful take, or braid only the front hairline and leave the back loose for a half-halo. Weave a ribbon through the braid for subtle color.
Products & Materials
Items Used
- bobby pins
- texturizing spray
“Romantic halo braid for dreamy lakeside photos and comfort.”
Fishtail Pigtails With Decorative Hair Ties
⏱️ 18 min · 🟢 Beginner
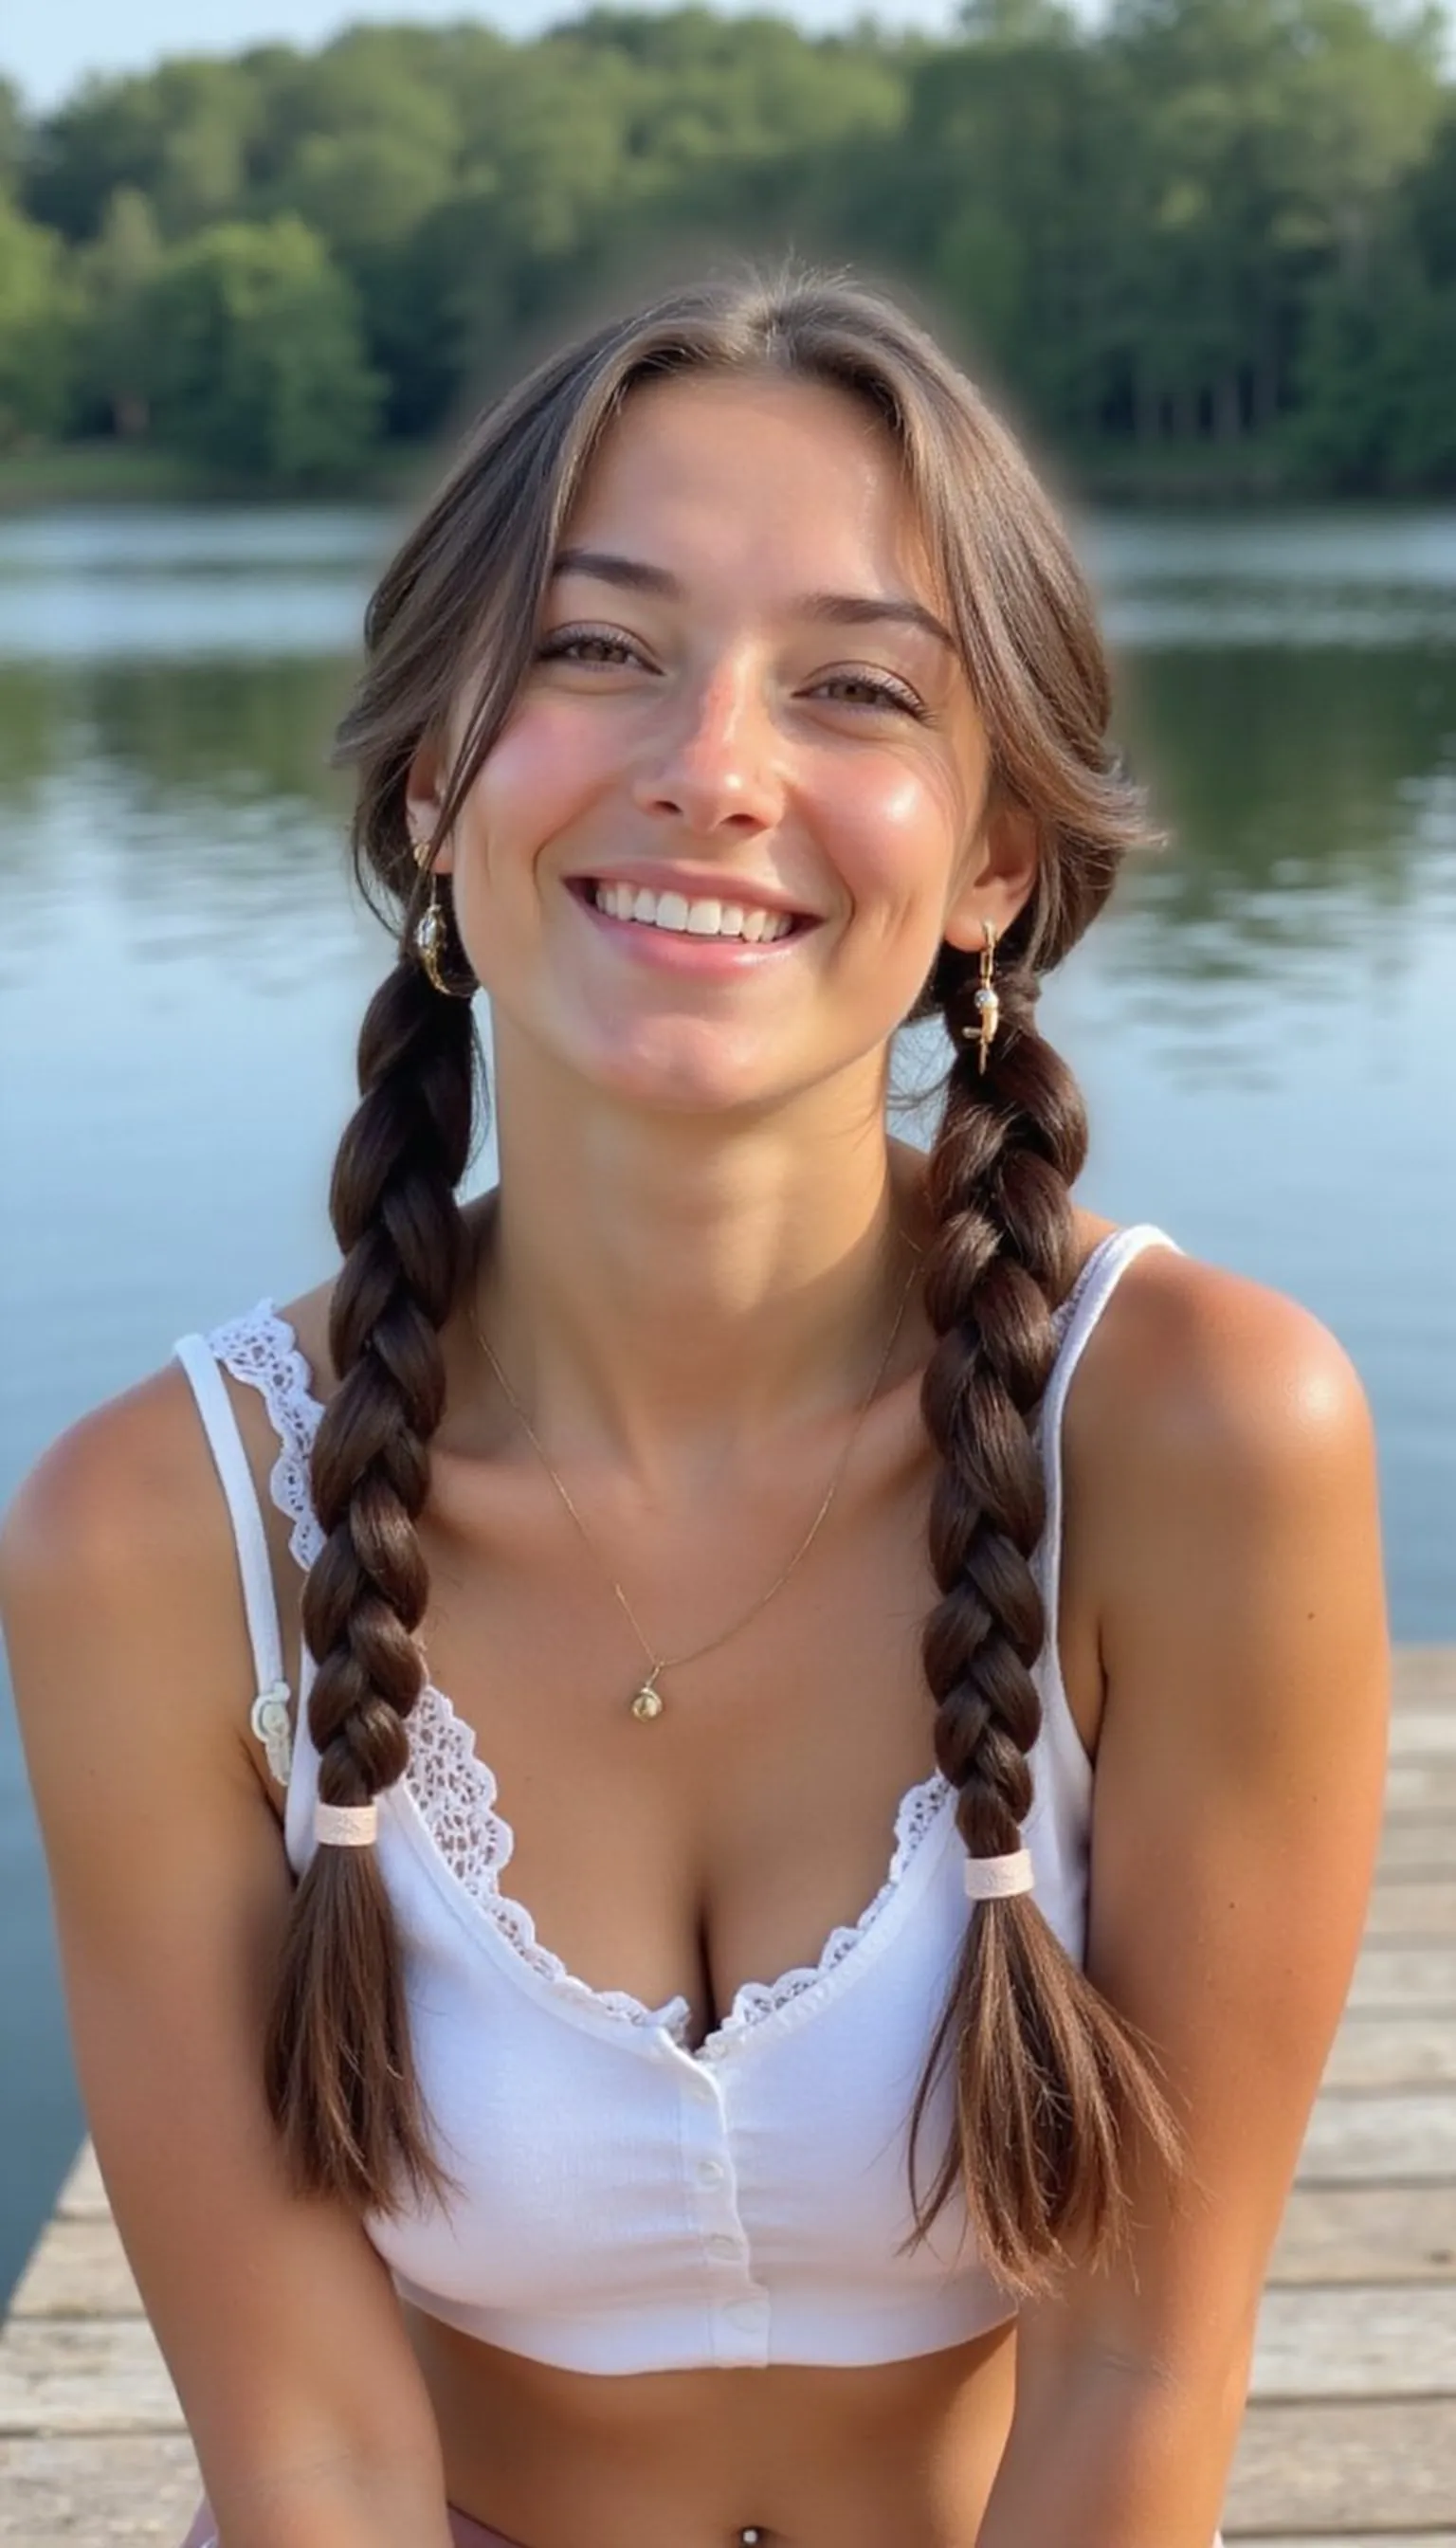
Fishtail pigtails are playful and keep hair contained for swimming and games near the water. Decorative hair ties add charm and hold without heavy hardware.
Divide hair into two even sections and fishtail each down to the ends, securing with fun hair ties or elastics. Tug gently on each braid to open up the weave for a chunkier, relaxed look that reads casual and durable.
Place the braids over the shoulders for a cute lakeside aesthetic or leave them down the back for added protection during activity. Add small bead or ribbon accents to the ties for extra personality.
Styling Tips
- Use small elastics to secure each braid quietly and effectively.
- Work with slightly damp hair for better control when braiding.
- Loosen sections only after both braids are finished for balance.
Pro Tip: Secure the ends with small elastics and then cover them with decorative hair ties for a polished, water-friendly finish.
Avoid: Making sections uneven causes one braid to look thicker than the other. Using large elastics at the ends can create an awkward finish and weigh down the braid.
Try Also: Create high pigtails for a sportier vibe, or braid only halfway and leave the ends curly for softness. Swap hair ties for ribbon bows to dress up the look.
Products & Materials
Items Used
“Playful fishtail pigtails finished with decorative hair ties.”
Low Sleek Bun With Hair Stick Accent
⏱️ 15 min · 🟠 Intermediate
The low sleek bun reads elegant while staying practical for lake dinners and evening breezes. A hair stick slides through the bun for both function and a refined finishing touch.
Smooth hair into a low ponytail, twist into a tight bun, and secure with an elastic before inserting a decorative hair stick to anchor the shape. Keep the finish smooth with a tiny dab of smoothing serum at the hairline for a clean silhouette.
Choose a water-safe hair stick that won’t warp if it gets damp. This look pairs well with light earrings and a linen outfit for a lakeside meal.
Styling Tips
- Use a boar-bristle brush for a sleek, even finish at the roots.
- Insert the hair stick diagonally for stronger hold.
- Apply a small amount of smoothing serum only where needed to avoid greasiness.
Pro Tip: Twist the ponytail tightly before coiling into a bun to create a secure base that the hair stick can grip easily.
Avoid: Leaving the bun loose without anchoring it invites slippage during movement. Using too much smoothing serum can make hair look oily rather than sleek.
Try Also: Make a low messy bun and slide the hair stick in for a more relaxed version, or use two sticks crossed for a bolder statement. Swap the stick for a decorative comb for different texture.
Products & Materials
Items Used
“Polished low sleek bun accented with a chic hair stick.”
Braided Ponytail With Elastic Wrap Detail
⏱️ 15 min · 🟠 Intermediate
The braided ponytail keeps hair tidy while the elastic wrap hides hardware and adds a polished finish. This style stays comfortable for long lake strolls and casual activities.
Create a mid ponytail, braid the lengths, and secure with an elastic, then wrap a small strand of hair around the elastic and pin it in place. Lightly tug the braid for volume and shape while keeping the base neat.
Finish with a touch of flexible spray for hold that still feels natural. Swap to a textured braid for a more relaxed lakeside energy if desired.
Styling Tips
- Wrap the hair strand tightly around the elastic for a seamless look.
- Use pins that match hair color so they stay invisible.
- Loosen the braid gradually to maintain balance along its length.
Pro Tip: Wrap a small strand of hair around the elastic and secure with a pin to conceal the band and elevate the ponytail finish.
Avoid: Not pinning the wrapped strand securely can let it unravel later. Tightening the braid too much can cause tension at the scalp and discomfort.
Try Also: Try a fishtail braid instead of a classic three-strand braid, or braid two sections and combine into one ponytail for extra texture. Add a ribbon at the base for color.
Products & Materials
Items Used
“Neat braided ponytail with a hidden elastic wrap for lakeside polish.”
Textured Side Bun With Flower Clip
⏱️ 20 min · 🟠 Intermediate
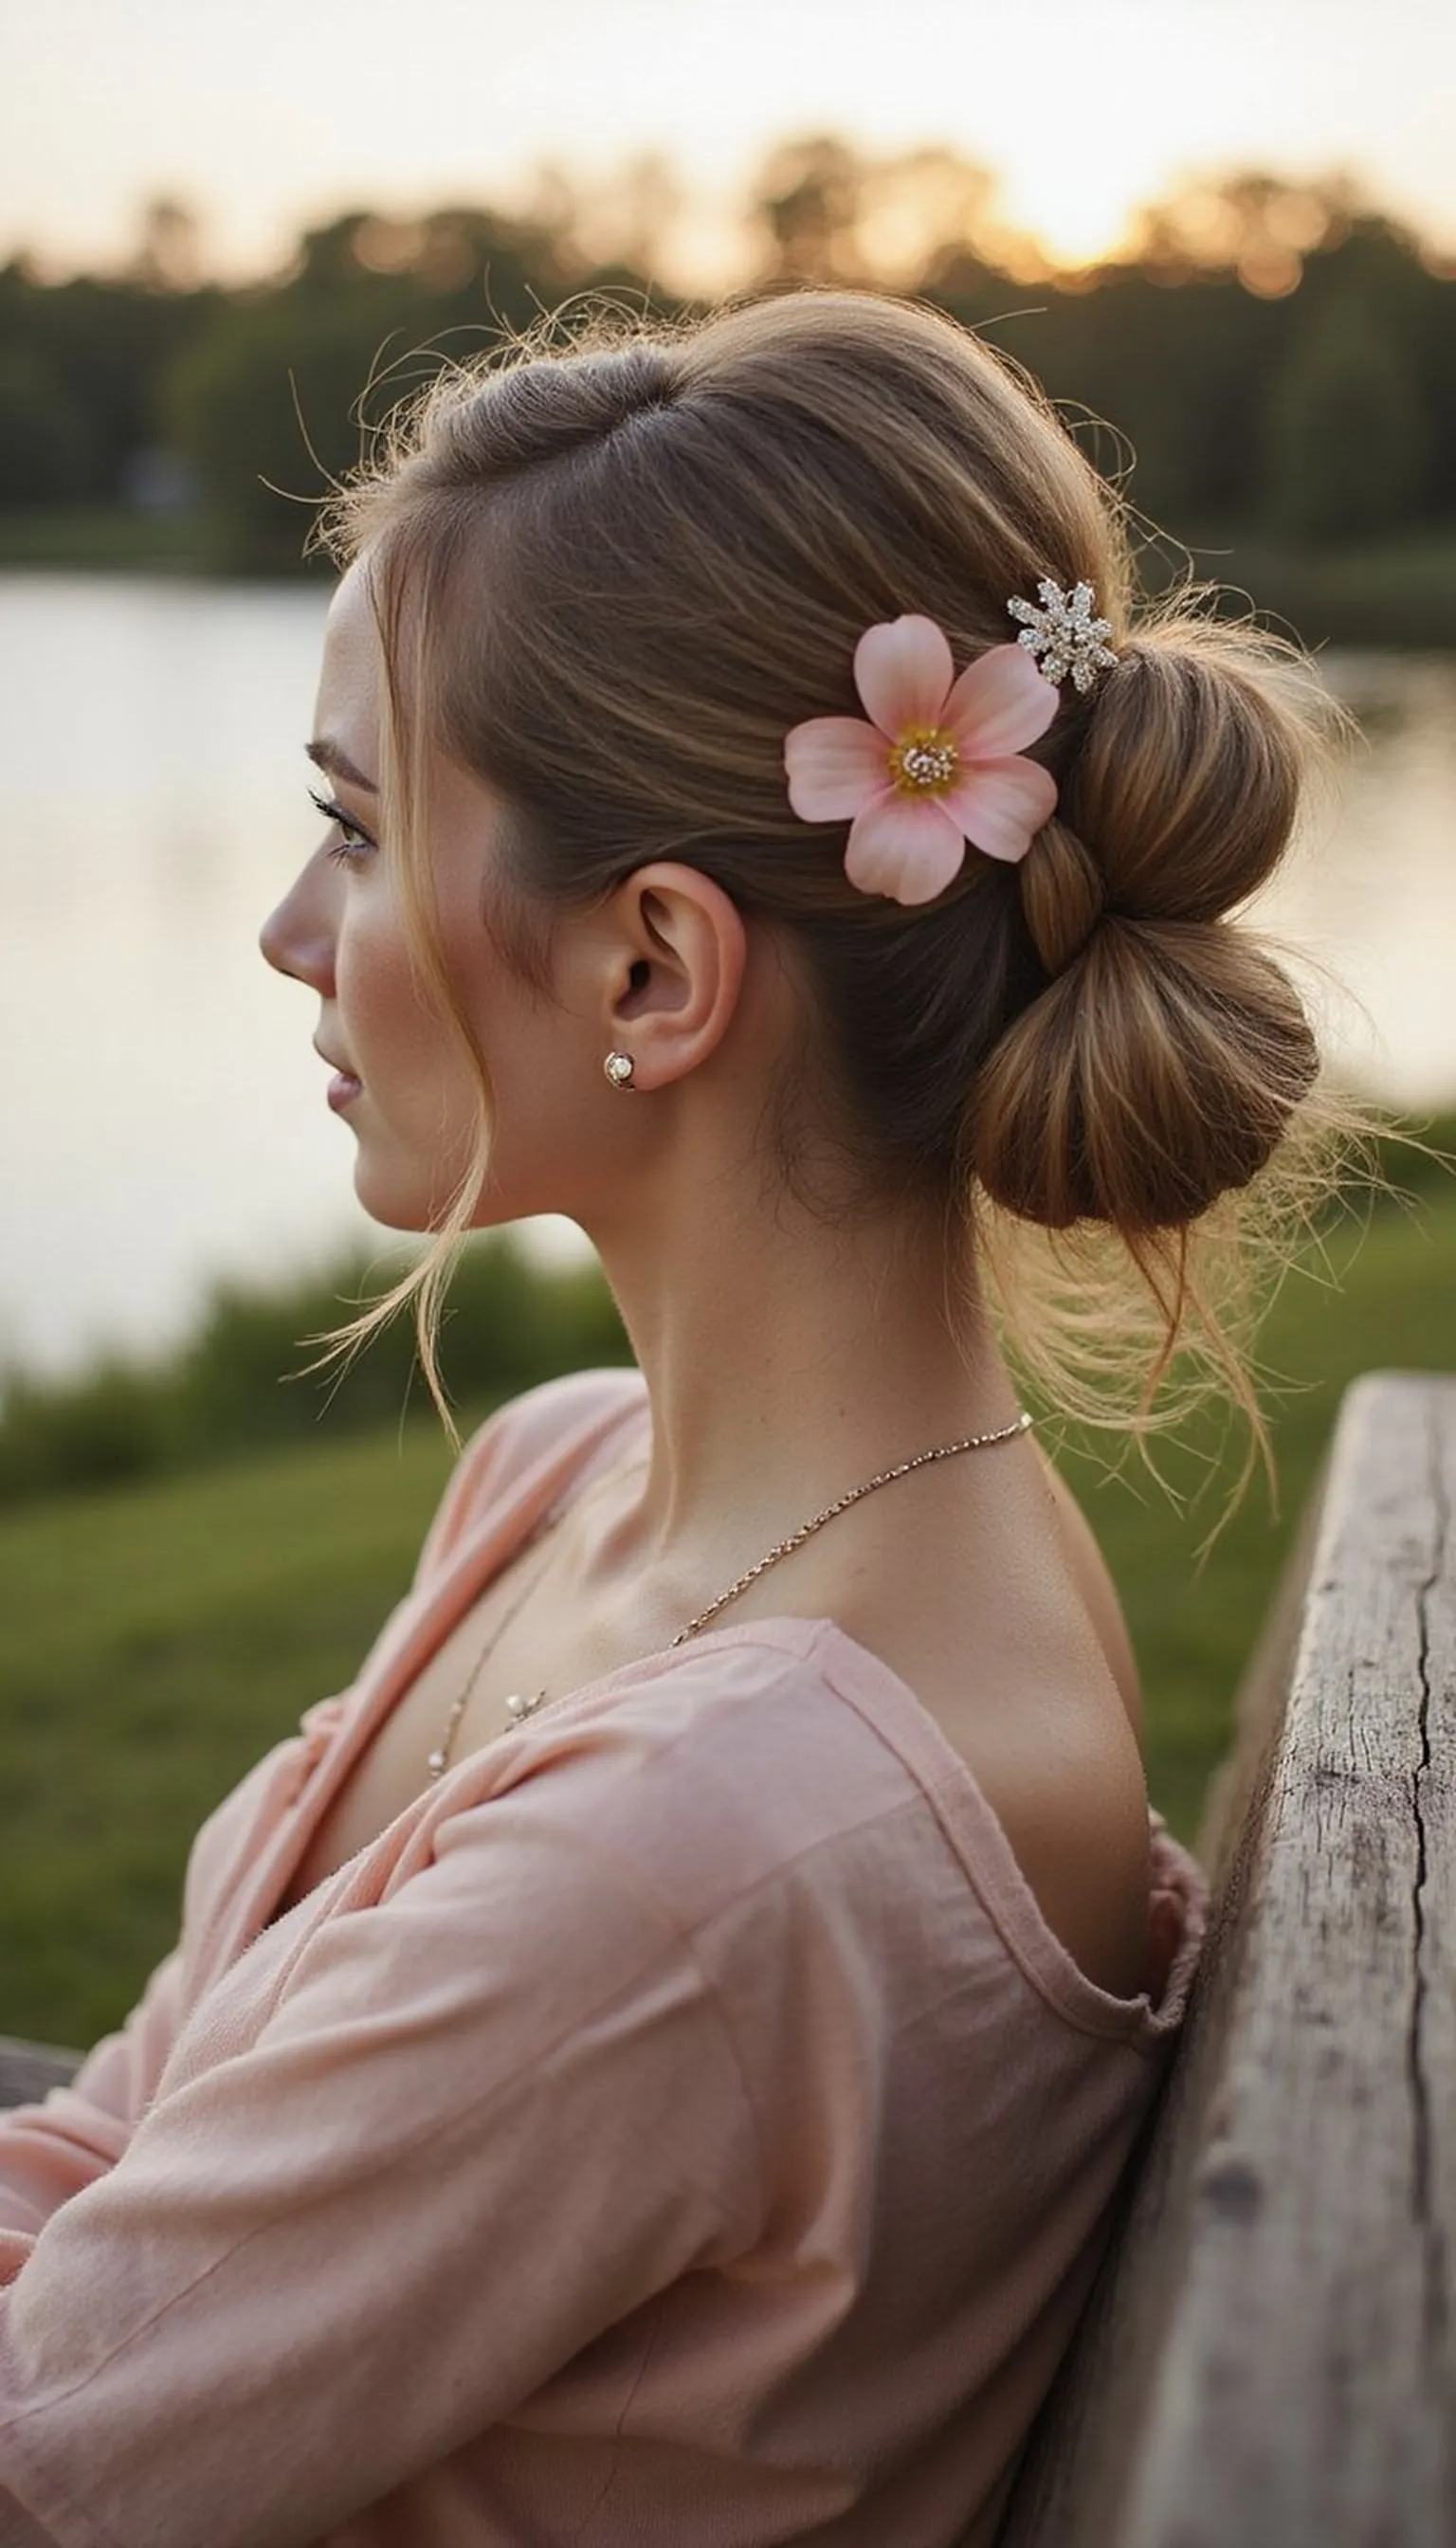
The textured side bun feels romantic and beachy while a flower clip gives a whimsical lakeside accent. The off-center placement is flattering and stays comfortable under sun hats.
Create loose waves, sweep hair to one side, and form a relaxed bun, securing with pins and adding a flower clip to the outer edge. Leave a few tendrils to frame the face for a soft, wearable silhouette.
Choose a faux flower clip for durability near water and humidity. Lightly mist the style to maintain texture without weighing down the waves.
Styling Tips
- Use a curling wand for loose waves before pinning the bun.
- Secure the flower clip after pins to ensure it sits nicely on top.
- Keep the bun slightly loose for a natural, textured look.
Pro Tip: Place the flower clip at the outer edge of the bun to draw attention while keeping the shape balanced and secure.
Avoid: Pinning the bun too tightly removes the soft, textured look and can feel stiff. Placing the clip before securing the bun may shift its position as pins are added.
Try Also: Replace the flower clip with a jeweled barrette for evening lakeside dinners, or make the bun higher for a different silhouette. Try two small clips stacked for a boho twist.
Products & Materials
Items Used
“Romantic textured side bun finished with a pretty flower clip.”
