
As an Amazon Associate I earn from qualifying purchases.
Airport Security Line Hacks are small moves that shave minutes off travel time and ease the stress of crowded checkpoints. Every thoughtful swap, like reorganizing a carry-on or choosing slip-on shoes, can change how smoothly a traveler moves through security.
These airport security hacks help with handling liquids and electronics while improving timing so the whole process feels calmer and more predictable. Short prep routines and knowing what agents expect remove surprises and keep onward plans on track.
Use practical security line tips to pass through checkpoints with less fumbling and less rush. The following ideas present packing swaps, outfit choices, and small rituals that fit into any travel routine.
Slip-on shoes for a faster security exit
⏱️ 2 min · 🟢 Beginner
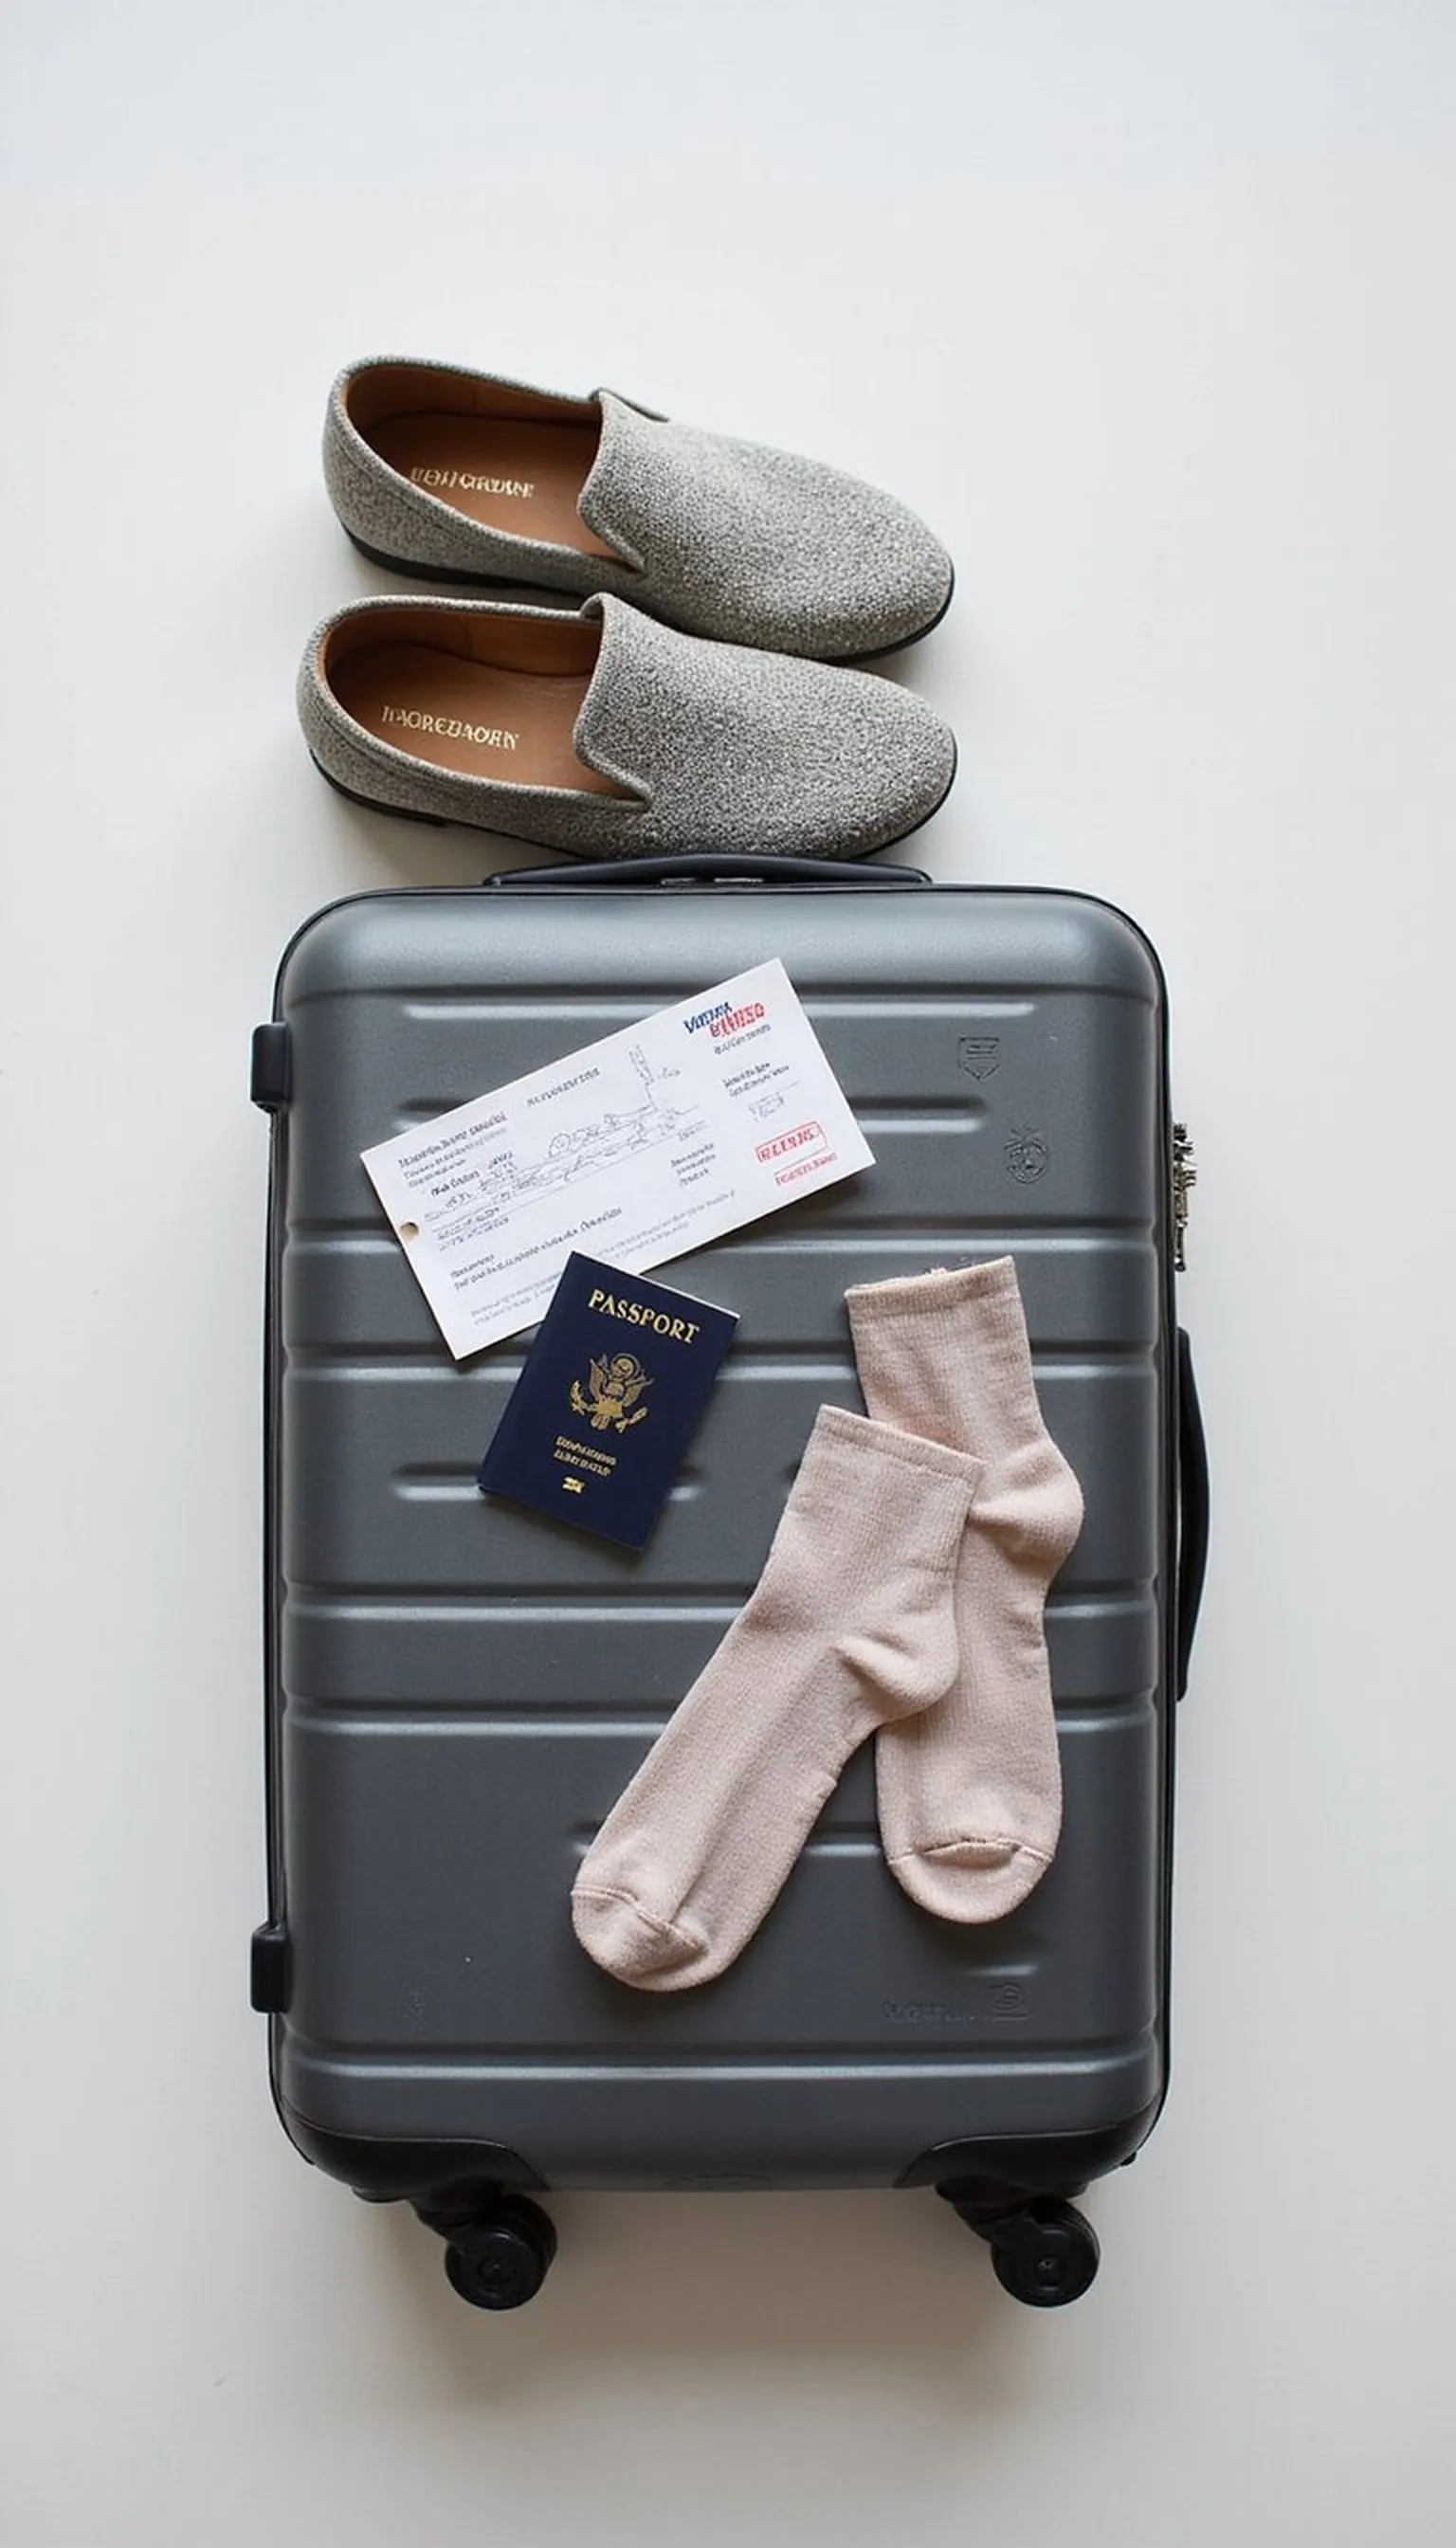
Slip-on shoes shave time at airport security because they remove the shoe-changing step at checkpoints. Choosing footwear that slides on and off keeps lines moving and reduces fiddling with laces while officers request removal.
Pack thin travel socks in a pocket so bare feet stay comfortable during screening and walking the terminal. Lightweight, snug-fitting slip-ons stop socks from bunching and avoid awkward pauses when stepping up to the conveyor belt.
This small swap helps when flights are tight or terminals are crowded, and it pairs well with pants that lift easily. Try pairing slip-ons with ankle pants to save seconds and maintain comfort.
Travel Tips
- Wear socks that lay flat and won’t bunch when removed.
- Keep shoes easy to reach, not trapped at the bottom of a bag.
- Practice slipping them on with carry-on in hand.
Pro Tip: Put slip-on shoes on last while boarding and first when leaving security to speed transitions between checkpoints and gates.
Avoid: Buying brand-new shoes right before travel often causes blisters and slows walking between gates. Choosing complicated buckles or high-top designs creates unnecessary delays at the scanner.
Try Also: If slip-ons feel uncomfortable, try lightweight sneakers with elastic laces or sandals that have a secure heel strap. Foldable flats packed in an outer pocket offer a backup without taking much space.
Products & Materials
Items Used
“Slip-on shoes shave minutes at security and simplify airport movement.”
Layer up: outerwear that speeds through security
⏱️ 3 min · 🟠 Intermediate
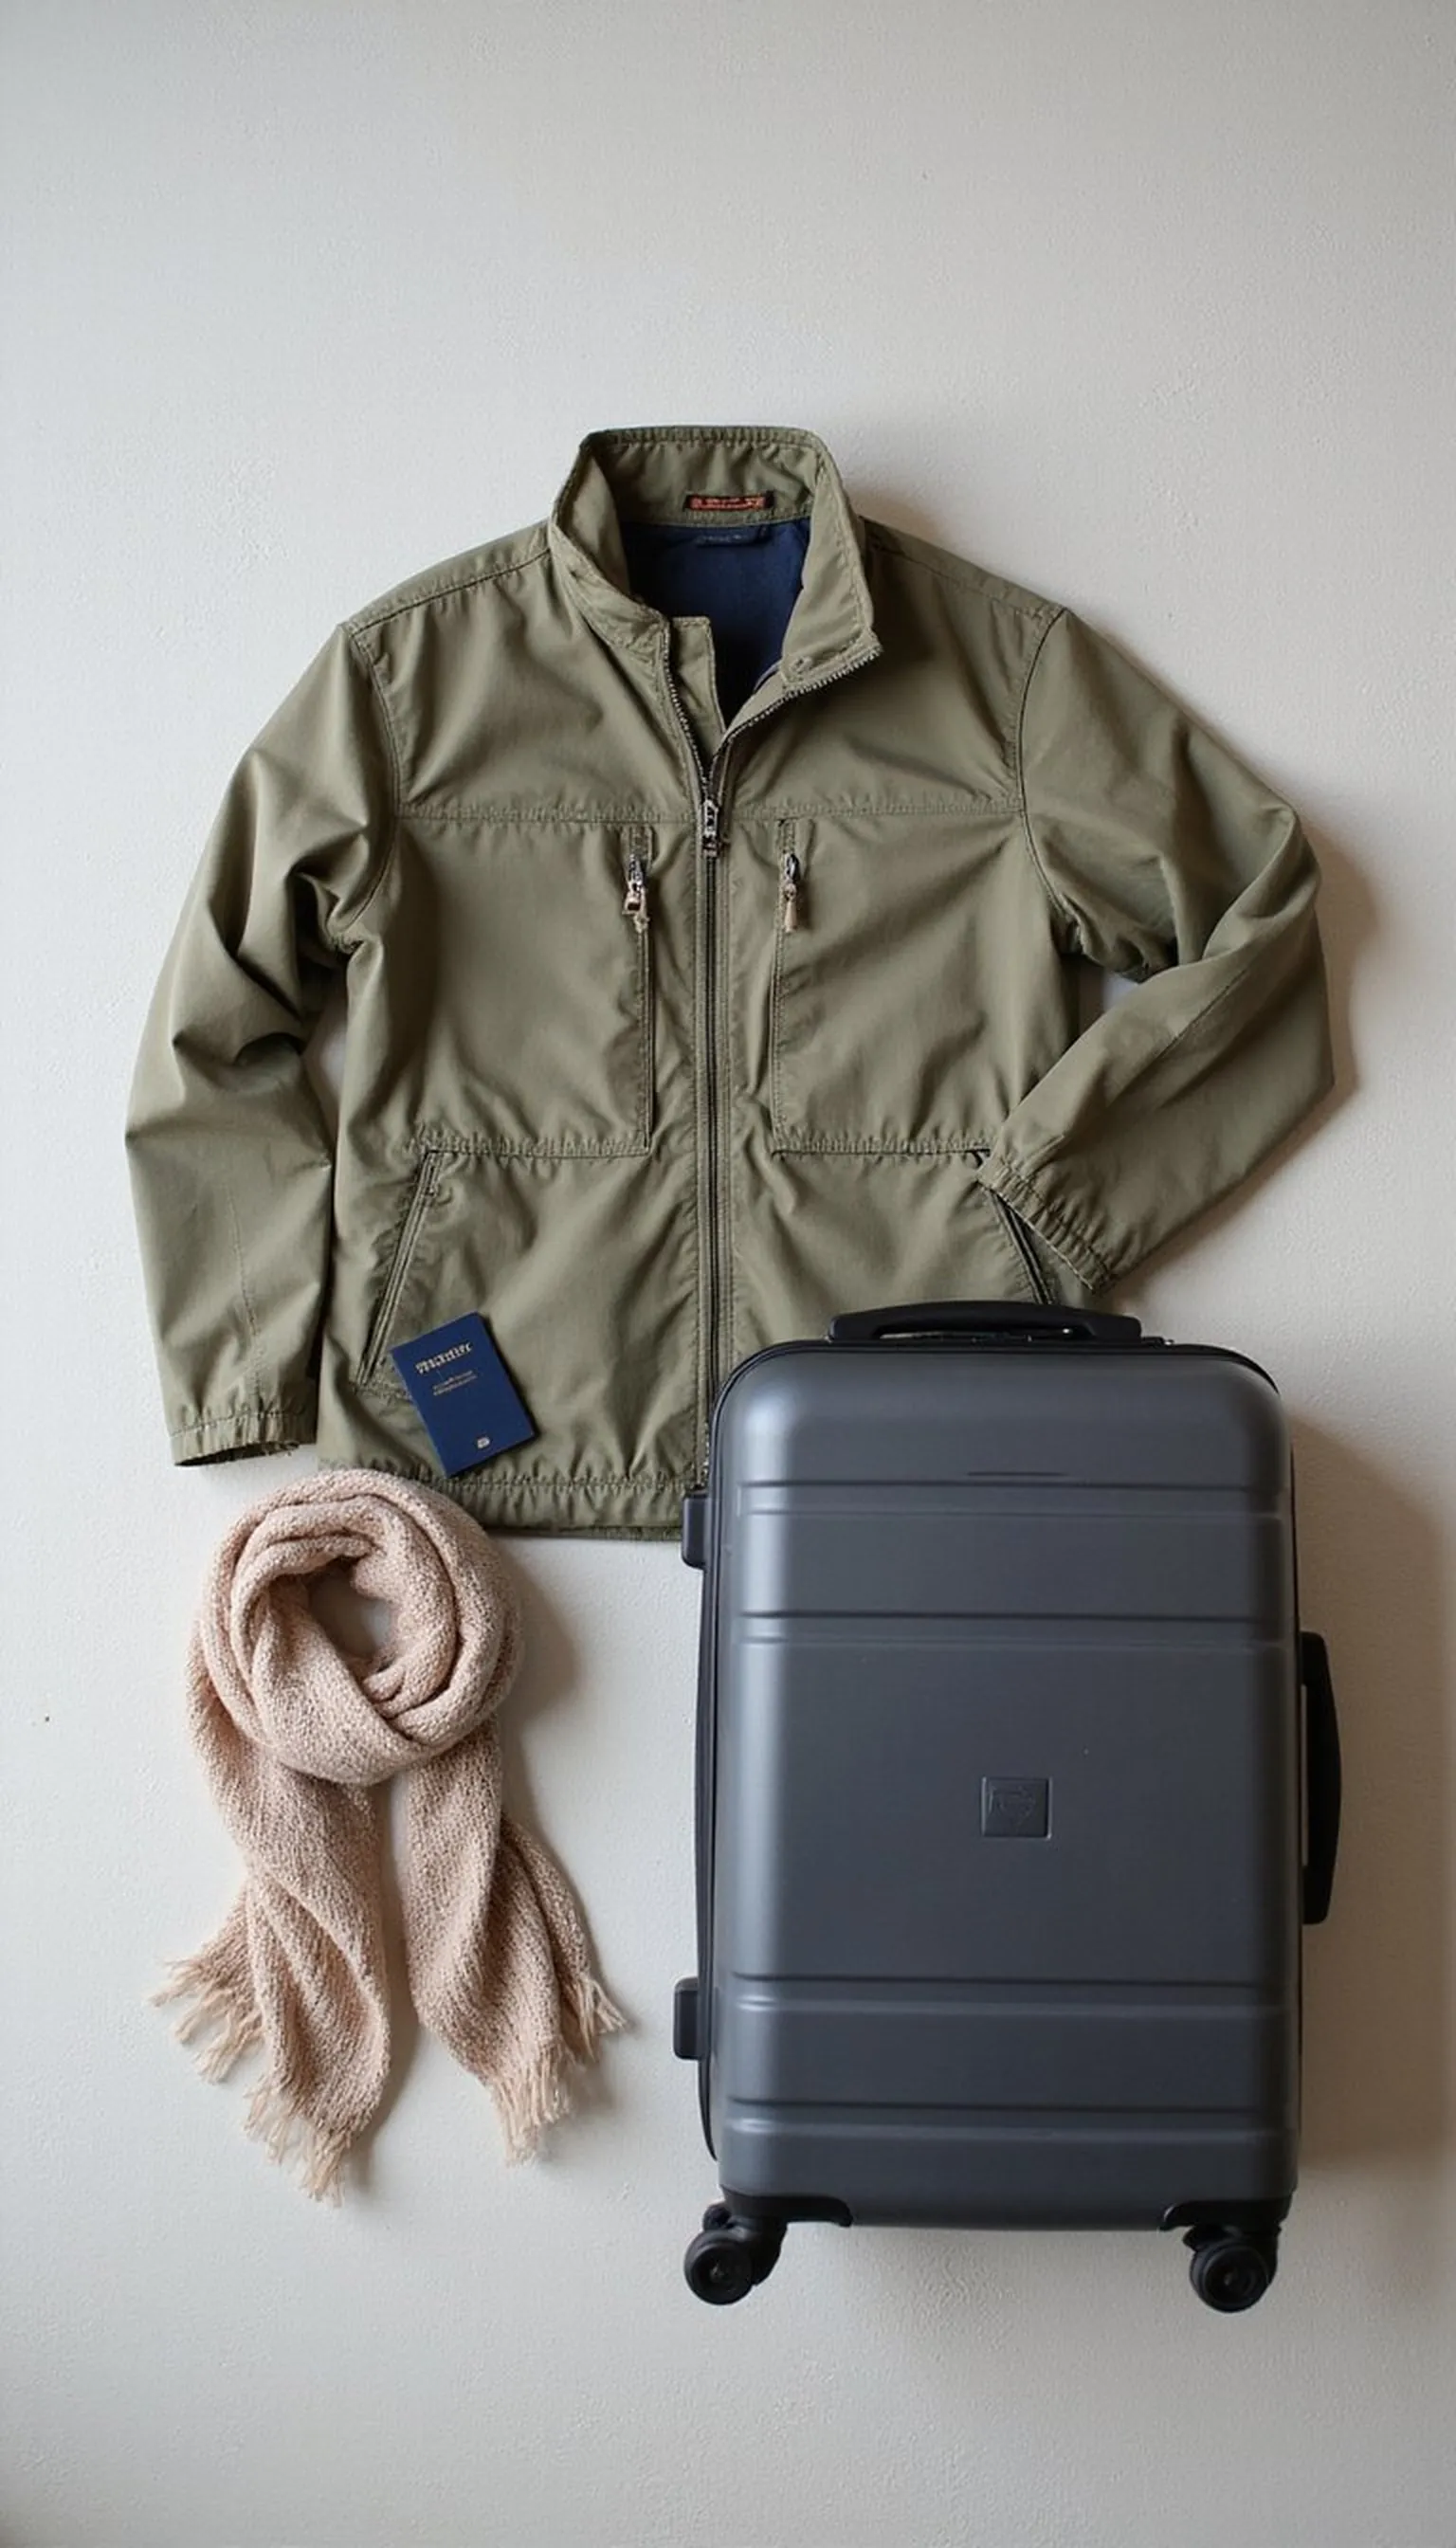
Wearing easy-to-remove outer layers saves time at checkpoints where coats and bulky jackets often need screening. Lightweight jackets with simple zippers and minimal hardware stop the pile-up at the conveyor belt.
Choose fabrics that fold into a pocket or crossbody bag instead of heavy knits that take forever to remove. A thin scarf can be left on in many lanes and still provide warmth without extra handling.
When flights are cold on board, layer under the jacket so removing the top layer keeps you comfy without exposing the whole outfit. Stash the jacket in an outer compartment of the carry-on to avoid searching for it mid-line.
Travel Tips
- Prefer zip closures over many buttons for quicker removal.
- Wear a single warm layer under your jacket for cabin comfort.
- Store outerwear in an easily accessed pocket if the line is long.
Pro Tip: Pick a lightweight jacket with a single zipper and stash it near the carry-on handle for instant access when reaching security.
Avoid: Bringing multiple heavy layers that all need removal creates bottlenecks and adds time at security. Trying to juggle coats while holding electronics and documents increases the chance of leaving something behind.
Try Also: Swap a bulky coat for a packable down vest or a sweater that compresses into a packing cube. A travel scarf with a hidden pocket can hold small items and stay on during screening.
Products & Materials
Items Used
“Layer smart with zippered outerwear for quick checkpoint moves.”
Keep boarding pass and ID ready at all times
⏱️ 30 sec · 🟢 Beginner
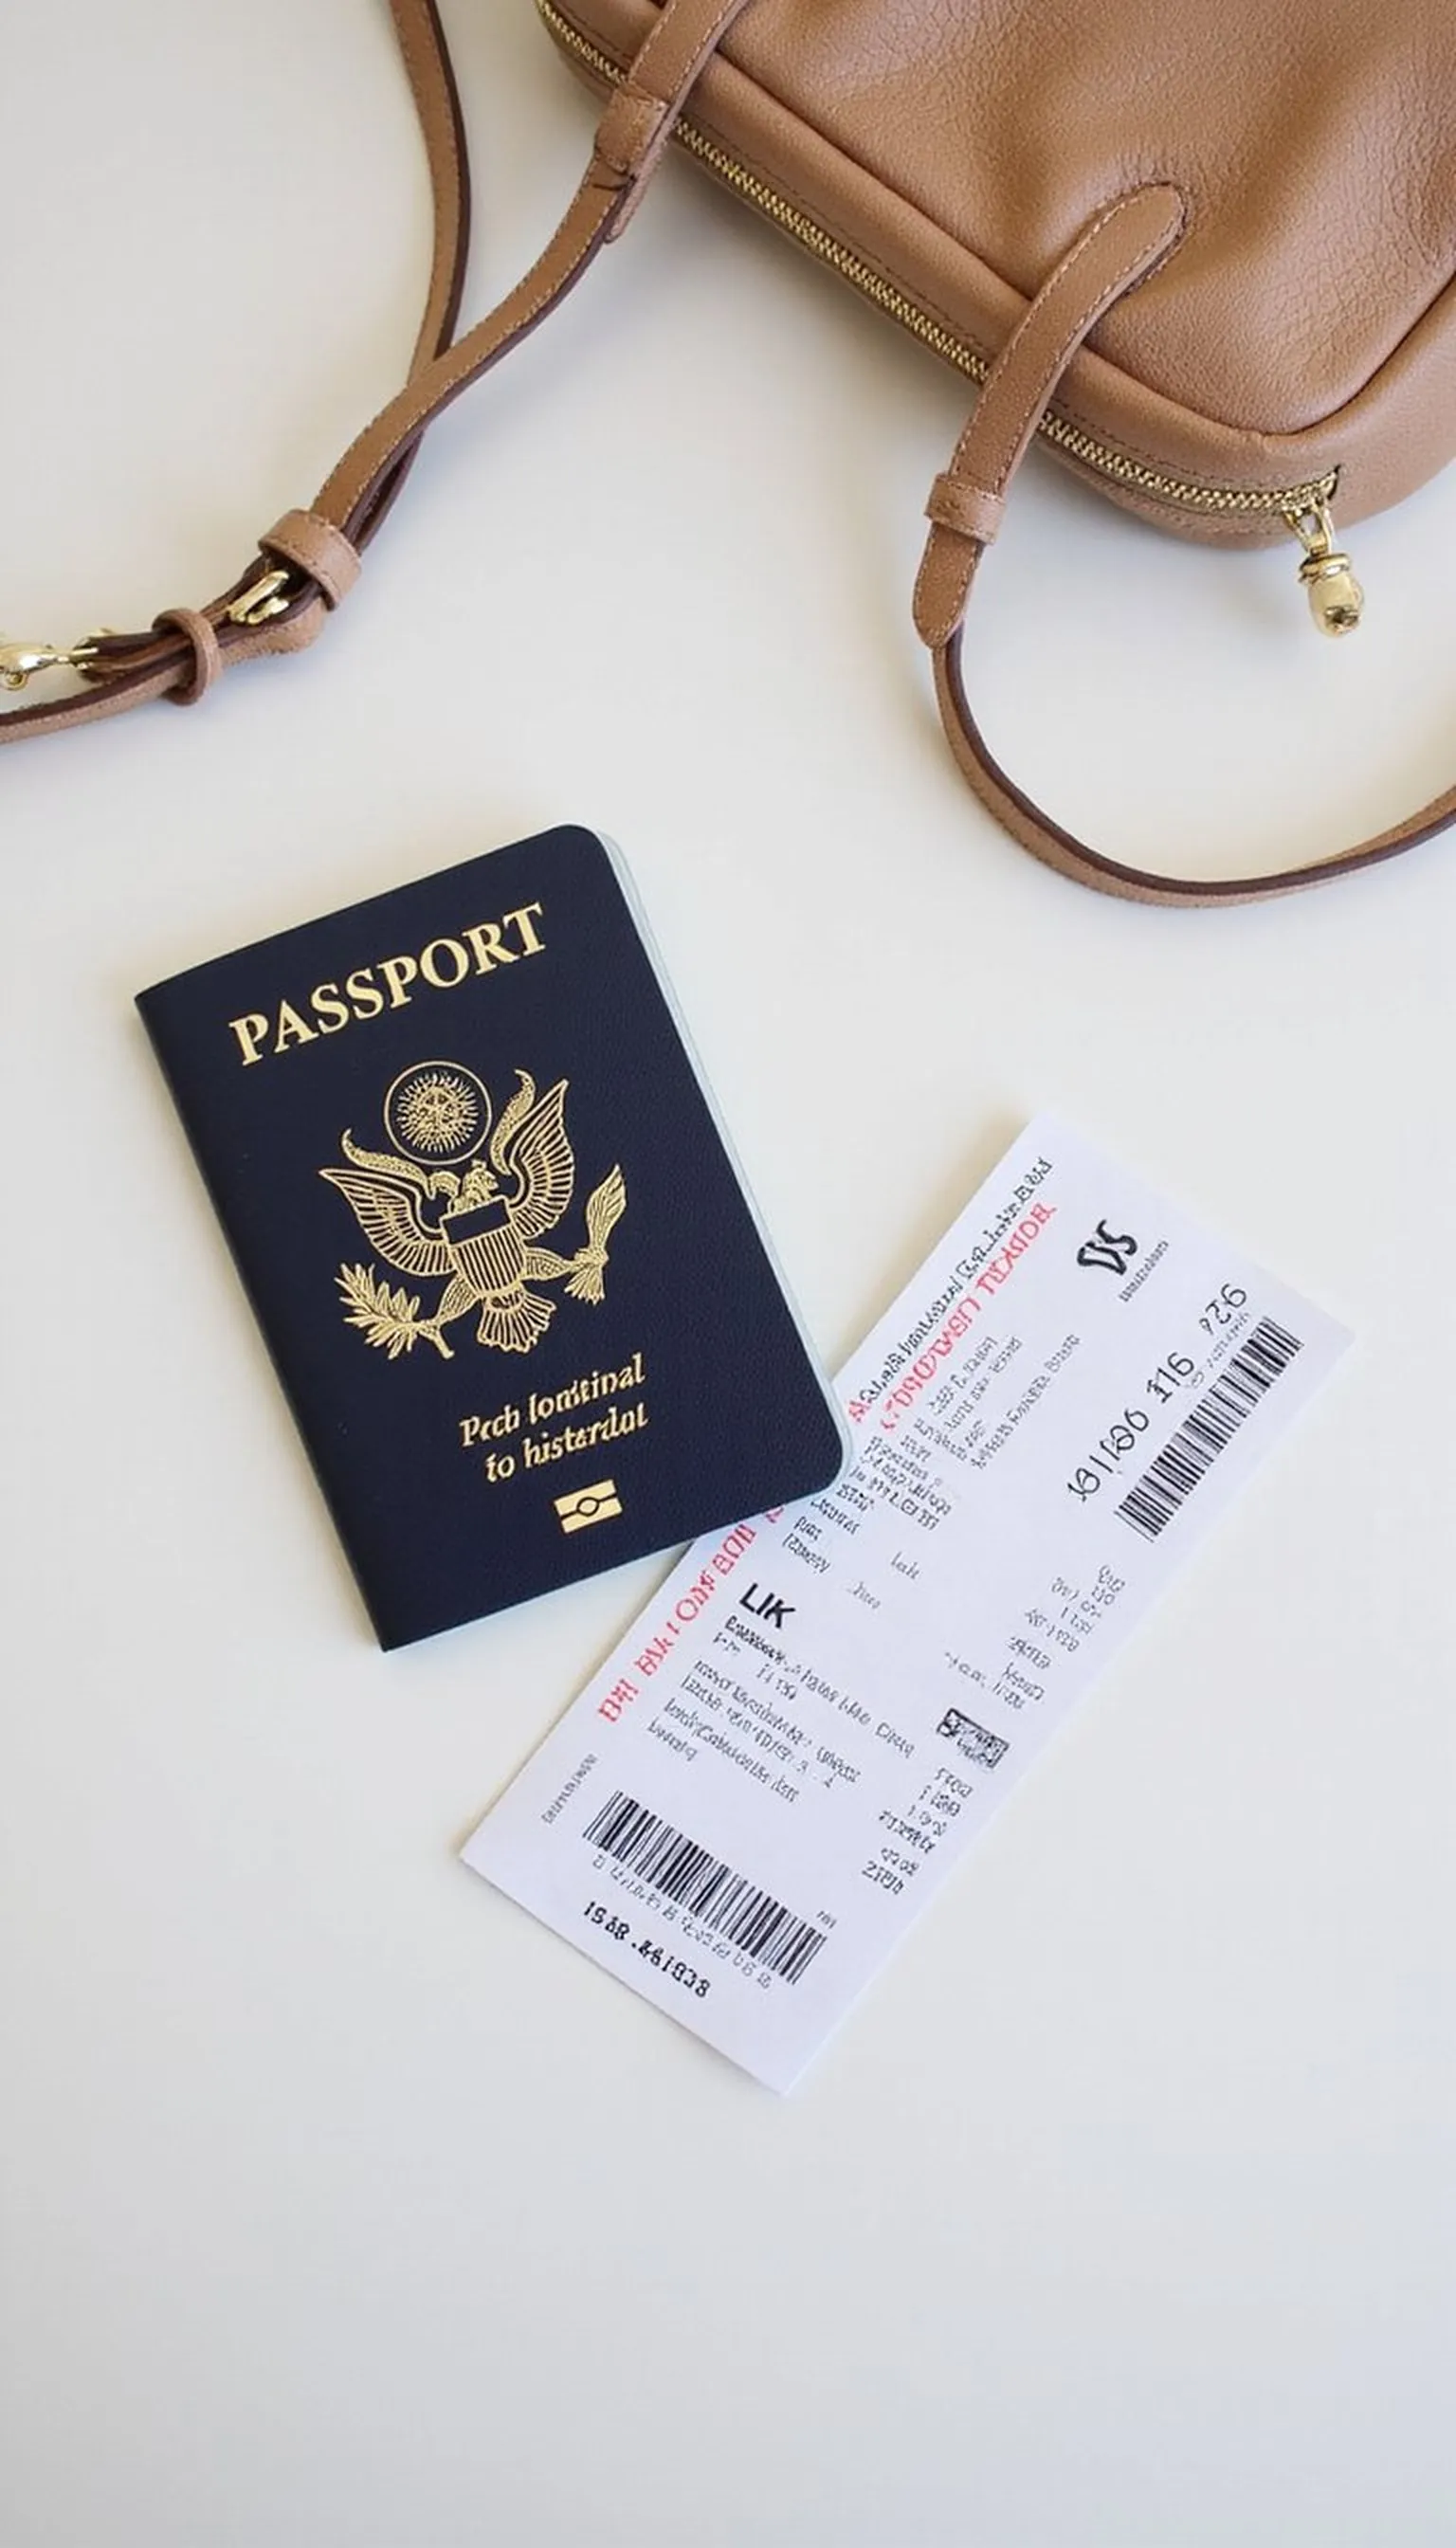
Having a passport or ID plus the boarding pass accessible avoids the frantic fumbling that slows everyone in line. A slim passport holder or top-pocket wallet keeps essentials within reach without digging through a bag.
Pull the documents out before joining the queue so hands are free when the agent asks for them. A clear routine—passport in one hand, boarding pass in the other—means fewer pauses and smoother interactions.
This habit is especially helpful during peak hours when agents move quickly and expect prompt responses. It also reduces the chances of being asked to step aside for a bag search while others move ahead.
Travel Tips
- Slide passport and pass into the same pocket of a passport holder for quick access.
- Use a crossbody or neck pouch to keep everything handy and visible.
- Check documents once before leaving security to avoid mid-terminal searches.
Pro Tip: Store passport and mobile boarding pass in the front compartment of a crossbody or passport holder for instant access at checkpoints.
Avoid: Tucking documents deep inside a backpack causes long delays when agents ask for ID. Waiting until the front of the line to search raises stress and slows others down.
Try Also: Use a slim travel wallet, a neck pouch, or a front-pocket passport holder depending on comfort and outfit. For mobile boarding passes, screenshot and save offline to avoid connectivity issues.
Products & Materials
Items Used
- passport holder
- crossbody bag
- boarding pass
“Keep ID and boarding pass handy to glide through security lines.”
Download printable itineraries, packing lists, and travel guides with high-resolution maps sent to your email immediately for your next trip.
One printable guide · $19.99 · yours forever
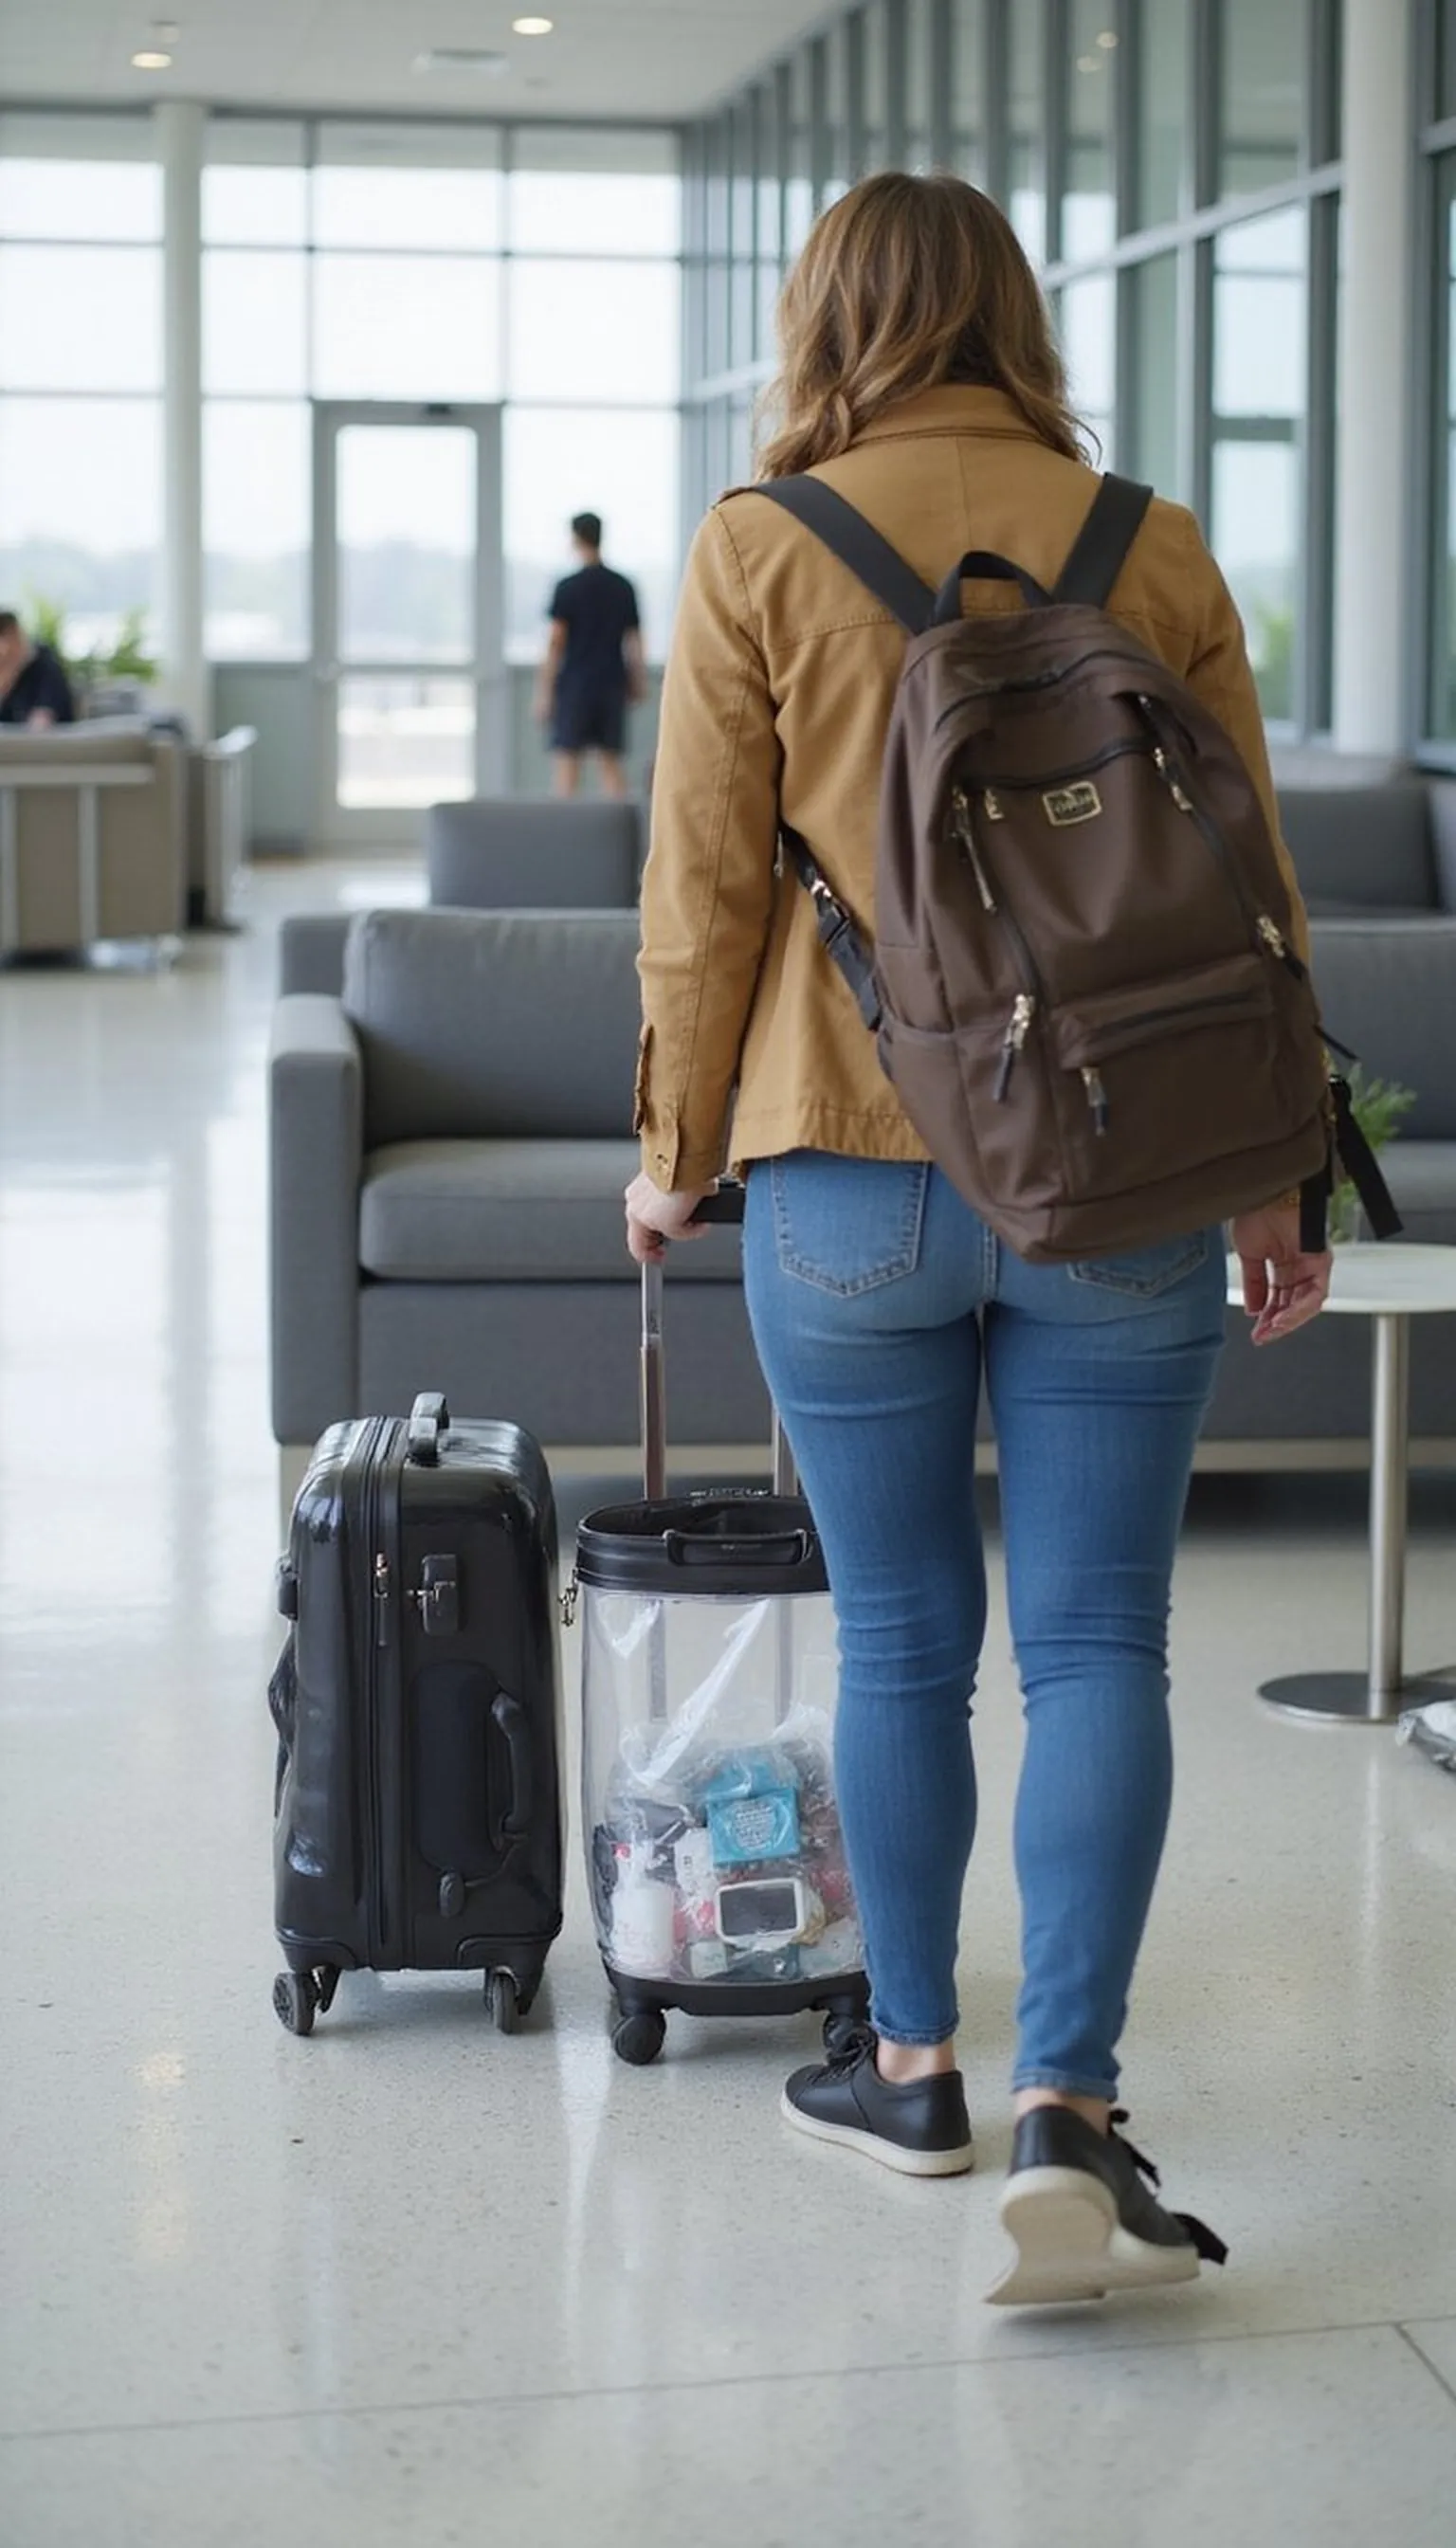
Pack liquids in a clear quart bag for fast screening
⏱️ 5 min · 🟢 Beginner
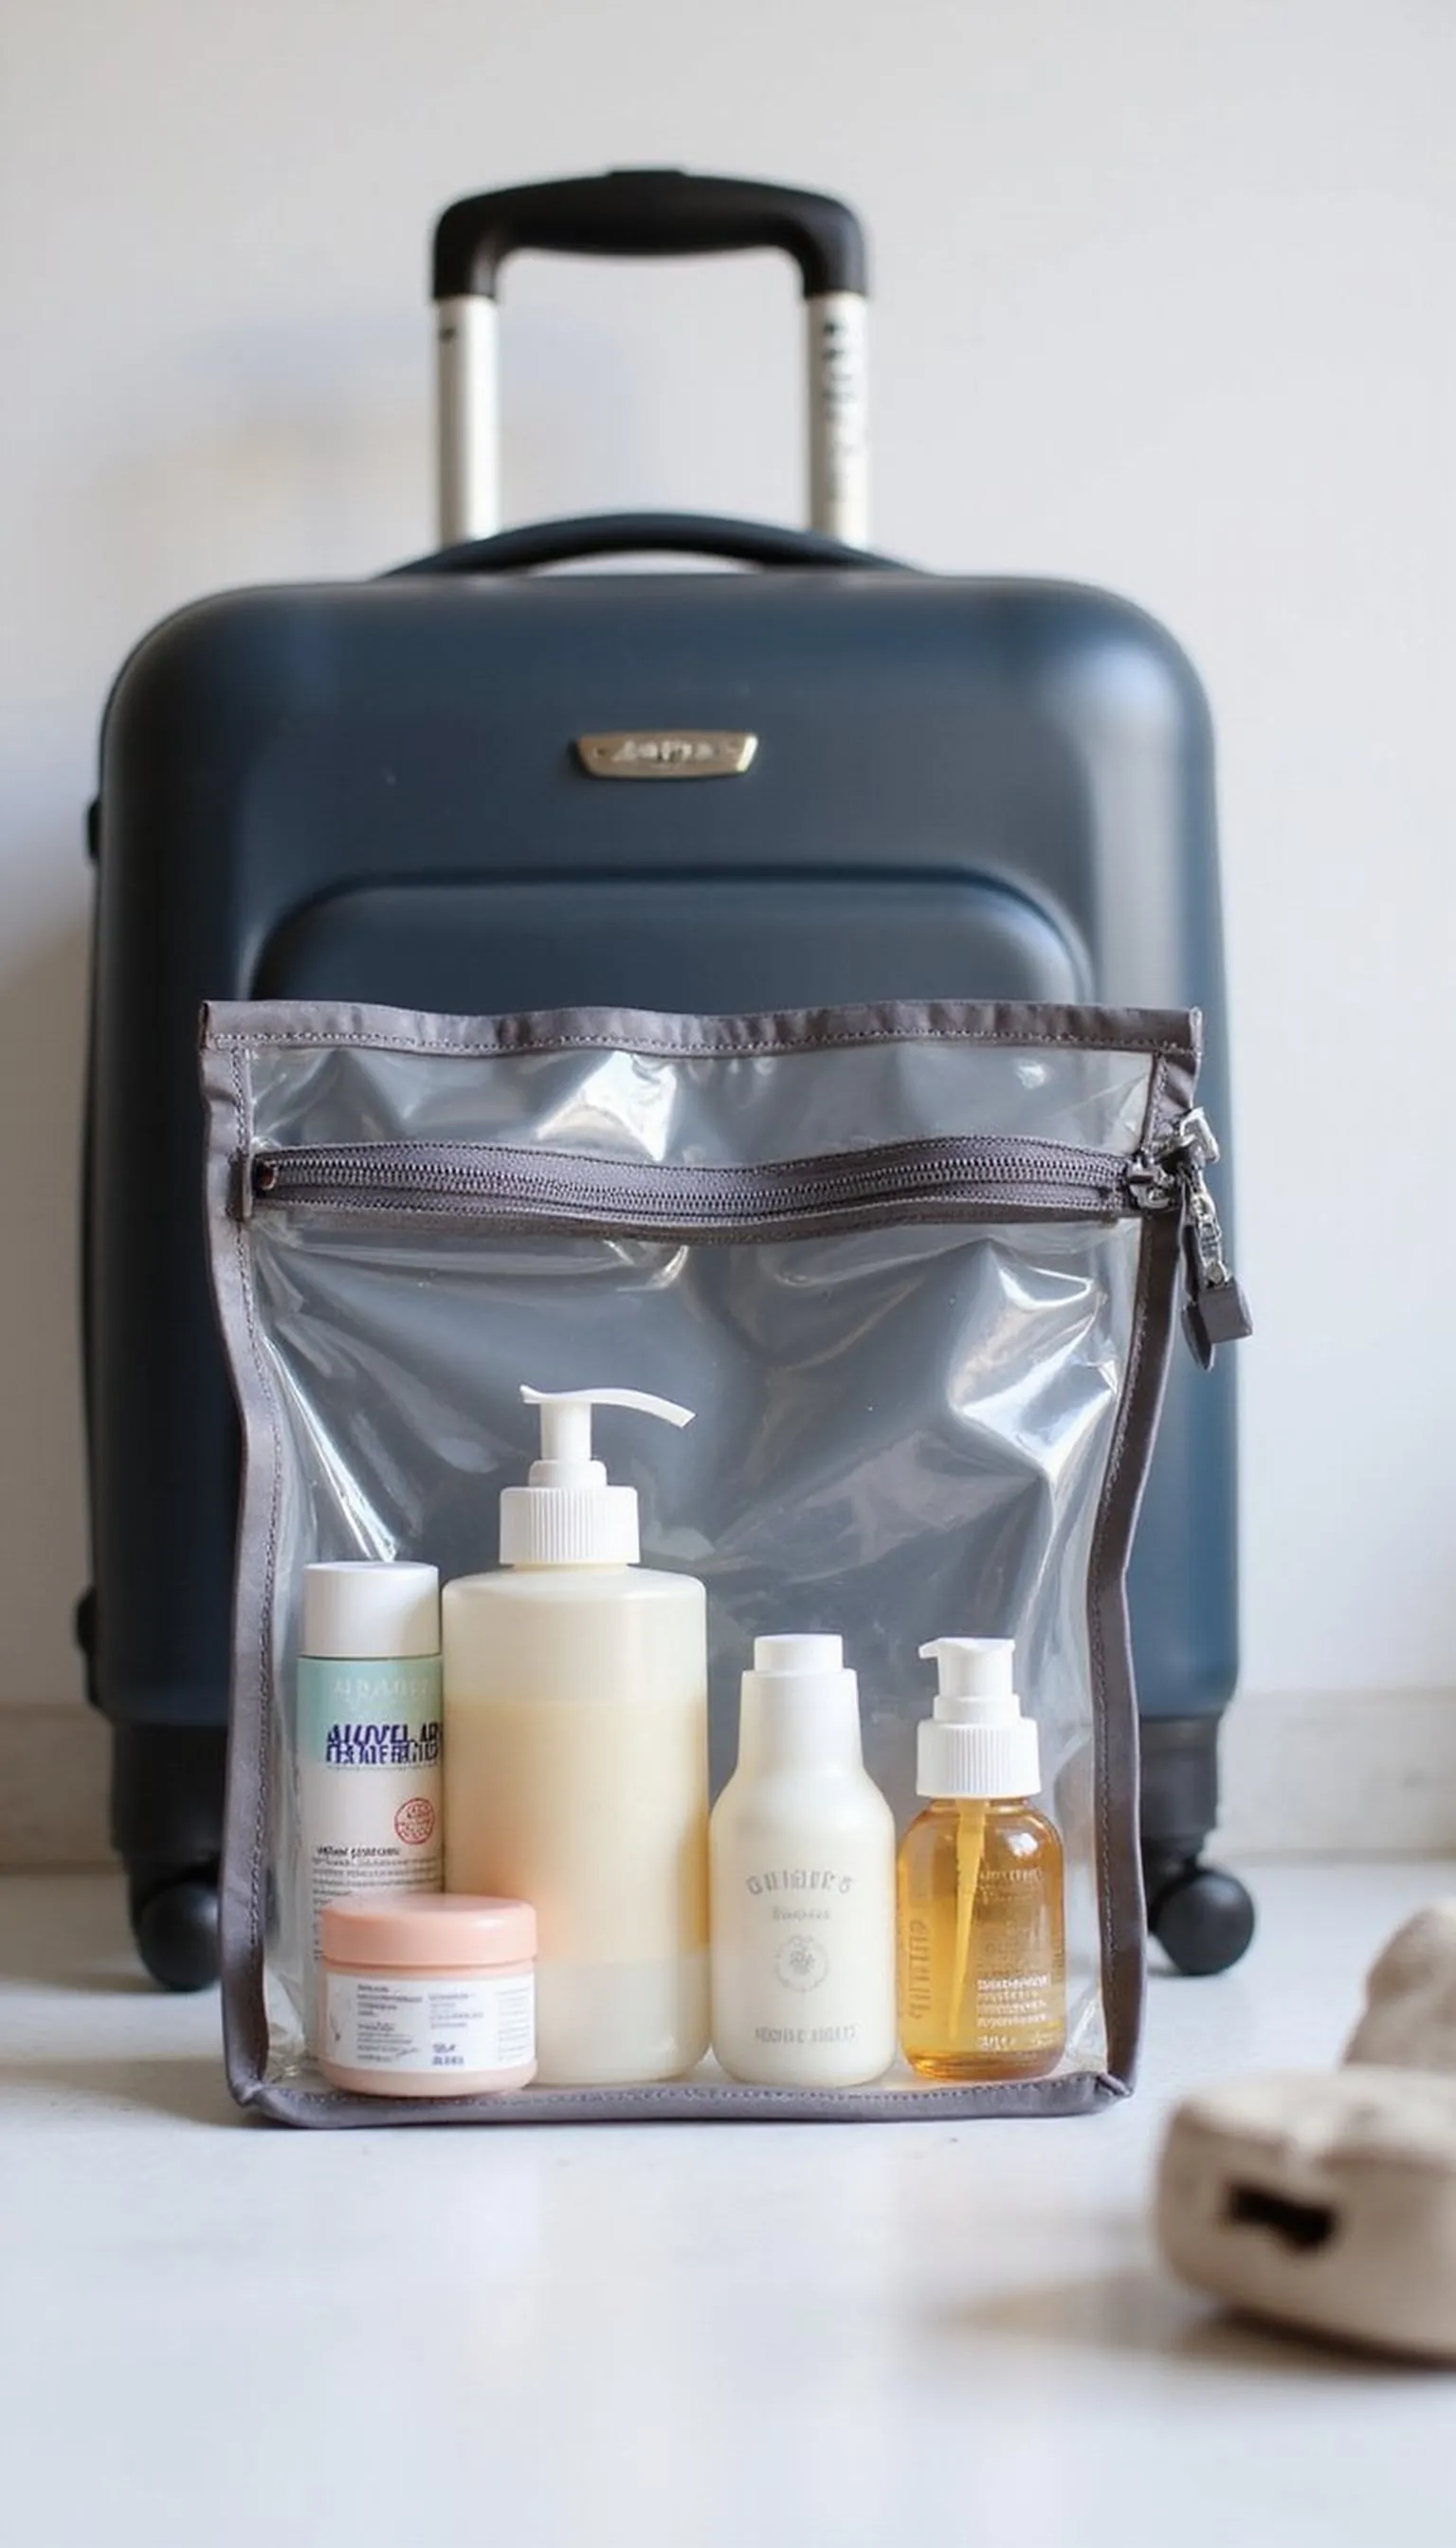
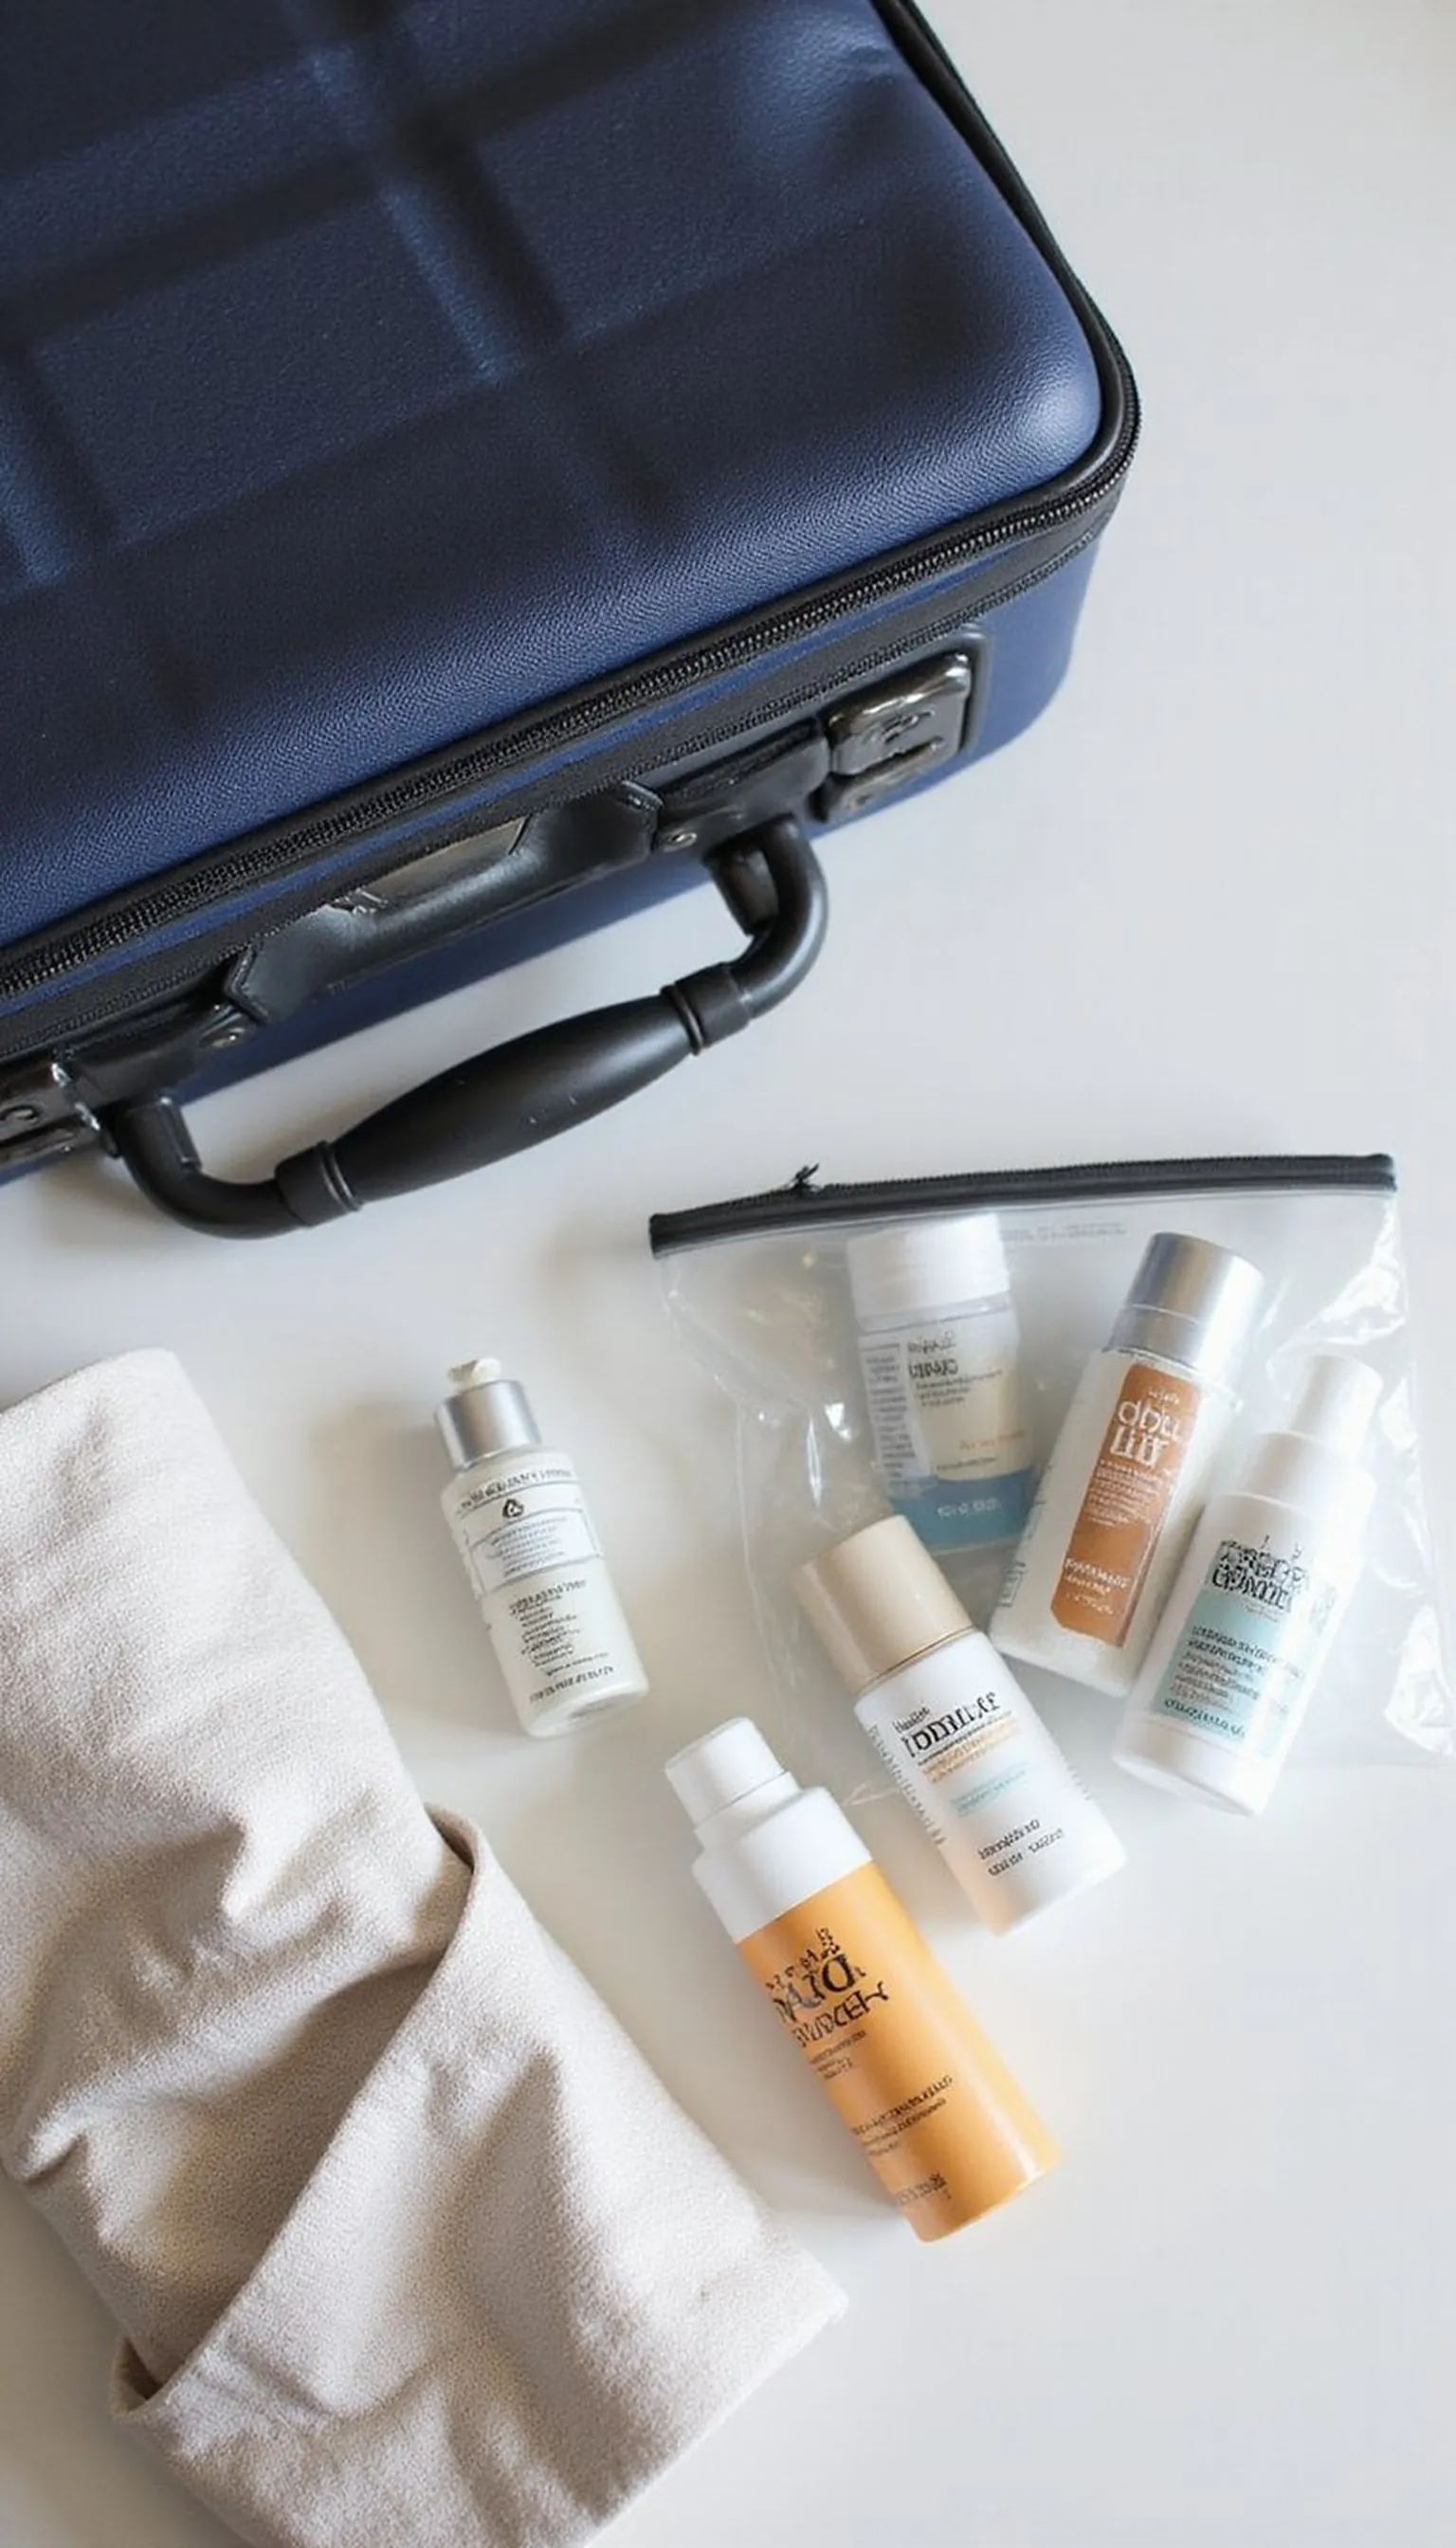
Packing liquids into a clear quart-sized bag keeps those bottles organized and clearly visible to agents, speeding up the inspection. Using spill-proof travel bottles and sealing caps prevents messy surprises when zipping into the scanner tray.
Place the quart bag at the top of the carry-on or in an outer pocket so it can be grabbed quickly. If travelling with multiple people, separate each person’s bag to avoid slow, mixed unpacking at the belt.
Pre-filling and labeling bottles with contents like shampoo or lotion saves decision time while in line. A spare empty quart bag tucked in the carry-on acts as backup for last-minute purchases at airport shops.
Travel Tips
- Use clear, resealable quart bags designed for travel liquids.
- Fill bottles to slightly below the neck to avoid leaks under pressure.
- Label bottles with a marker for quick identification at security.
Pro Tip: Keep one pre-filled quart bag in an outer pocket and a spare empty quart bag rolled flat inside your carry-on for purchases after security.
Avoid: Stashing loose toiletry bottles in pockets or inner compartments forces full bag searches and wasting time. Buying new travel bottles at the airport adds extra steps and cost when minutes count.
Try Also: Use reusable travel bottles, pre-purchased travel-sized toiletries, or liquid solid replacements like bar shampoo and conditioner. For long trips, consolidate less-used items into checked luggage.
Products & Materials
Items Used
- clear quart bag
- travel toiletry bottles
- carry-on suitcase
“Clear quart bags make liquids visible and screening quicker.”
Laptop out? Use a dedicated laptop sleeve
⏱️ 1 min · 🟠 Intermediate
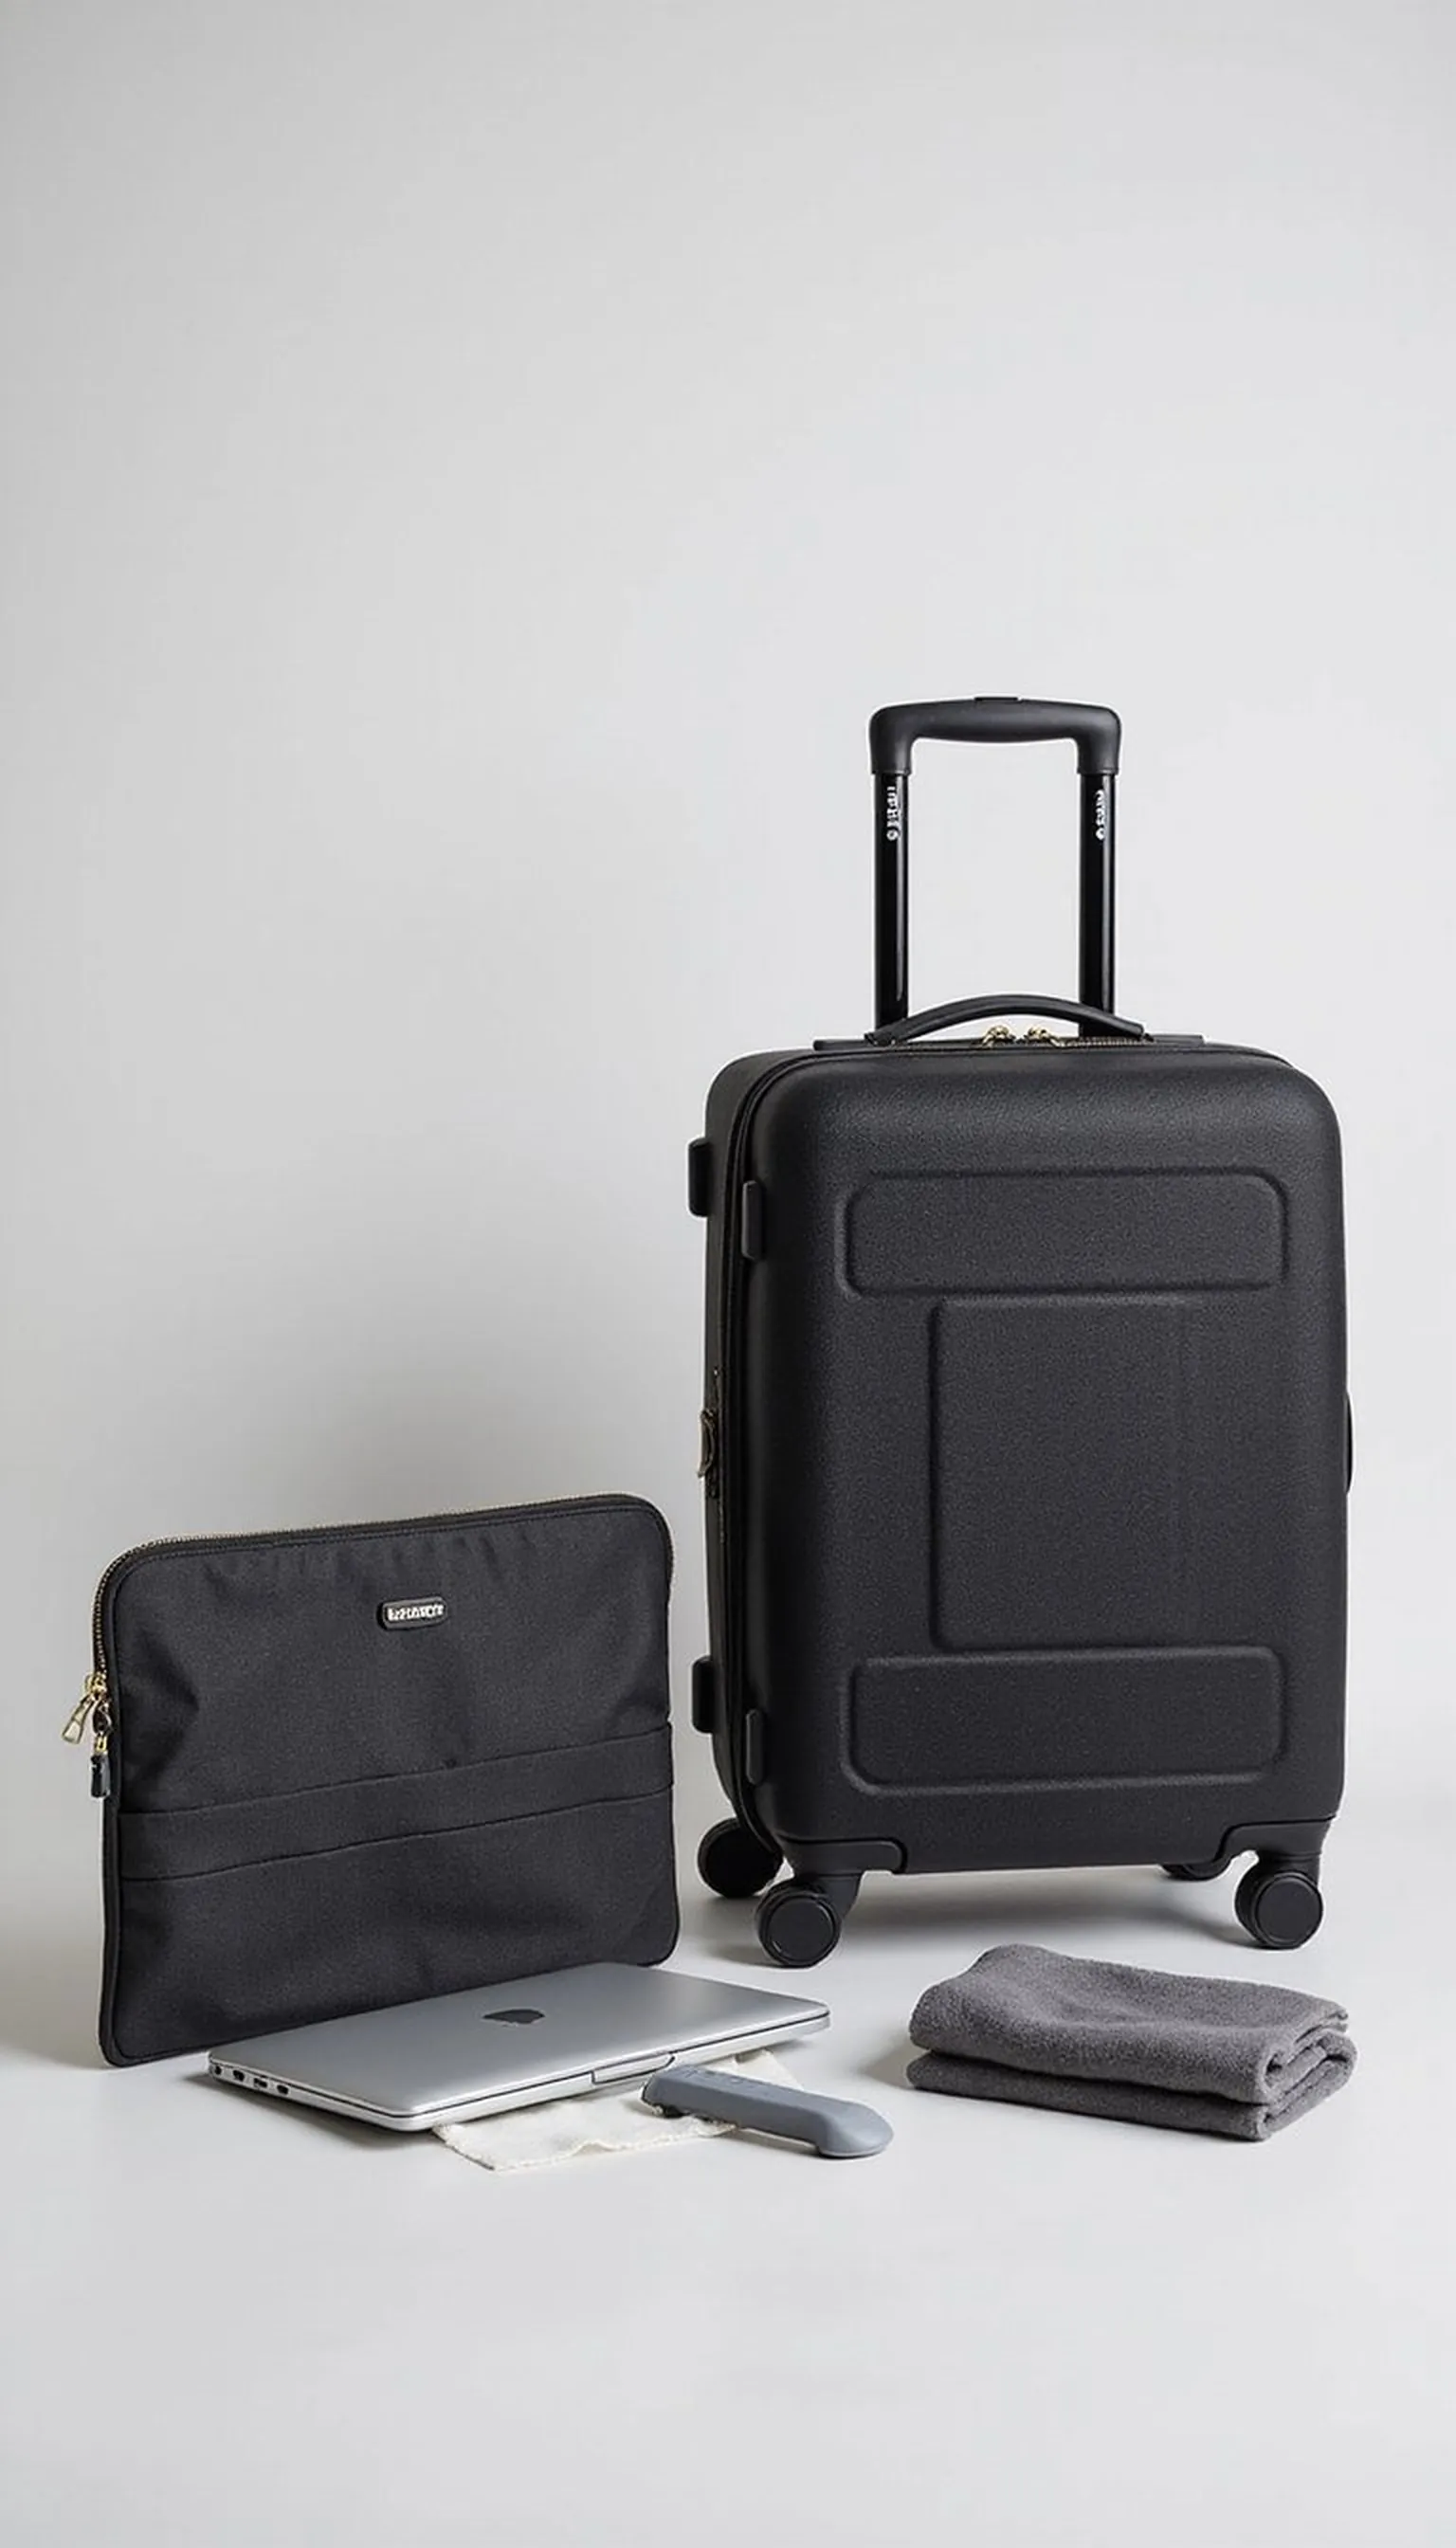
Stashing a laptop in a slim sleeve makes the removal step at security fast and protects the device during transit. A padded sleeve that slides free from the bag means the laptop can go on the conveyor alone without the rest of the bag.
Place the sleeve near the top of the carry-on or in a front compartment so it can be grabbed in one motion. If the sleeve has a handle, it can be placed directly into the bin without awkward handoffs.
For smaller airports or busy times, using a sleeve that matches the tray size minimizes bending and swapping. Keep a microfiber cloth in the sleeve to quickly clean fingerprints before placing the device on the belt.
Travel Tips
- Use a slim, padded laptop sleeve that slides out easily from your bag.
- Place the laptop in the sleeve upside down if the ports are fragile.
- Keep a cloth inside the sleeve for quick screen wipes before scanning.
Pro Tip: Store the laptop in a slim sleeve with a short handle and place it in an outer pocket for one-handed removal at the security line.
Avoid: Leaving a laptop loosely at the bottom of a packed bag causes long rummaging and potential damage. Trying to cram it out without a sleeve increases the risk of drops and scratches.
Try Also: Use a sleeve with a carry handle, a dedicated tech compartment in the carry-on, or a hard-shell case for extra protection if the journey includes rough handling. For tablets, a sleeve with elastic corners works well.
Products & Materials
Items Used
- laptop sleeve
- laptop
- carry-on suitcase
“A laptop sleeve saves time and protects your device during security checks.”
Use packing cubes to find items quickly
⏱️ 10 min · 🟠 Intermediate
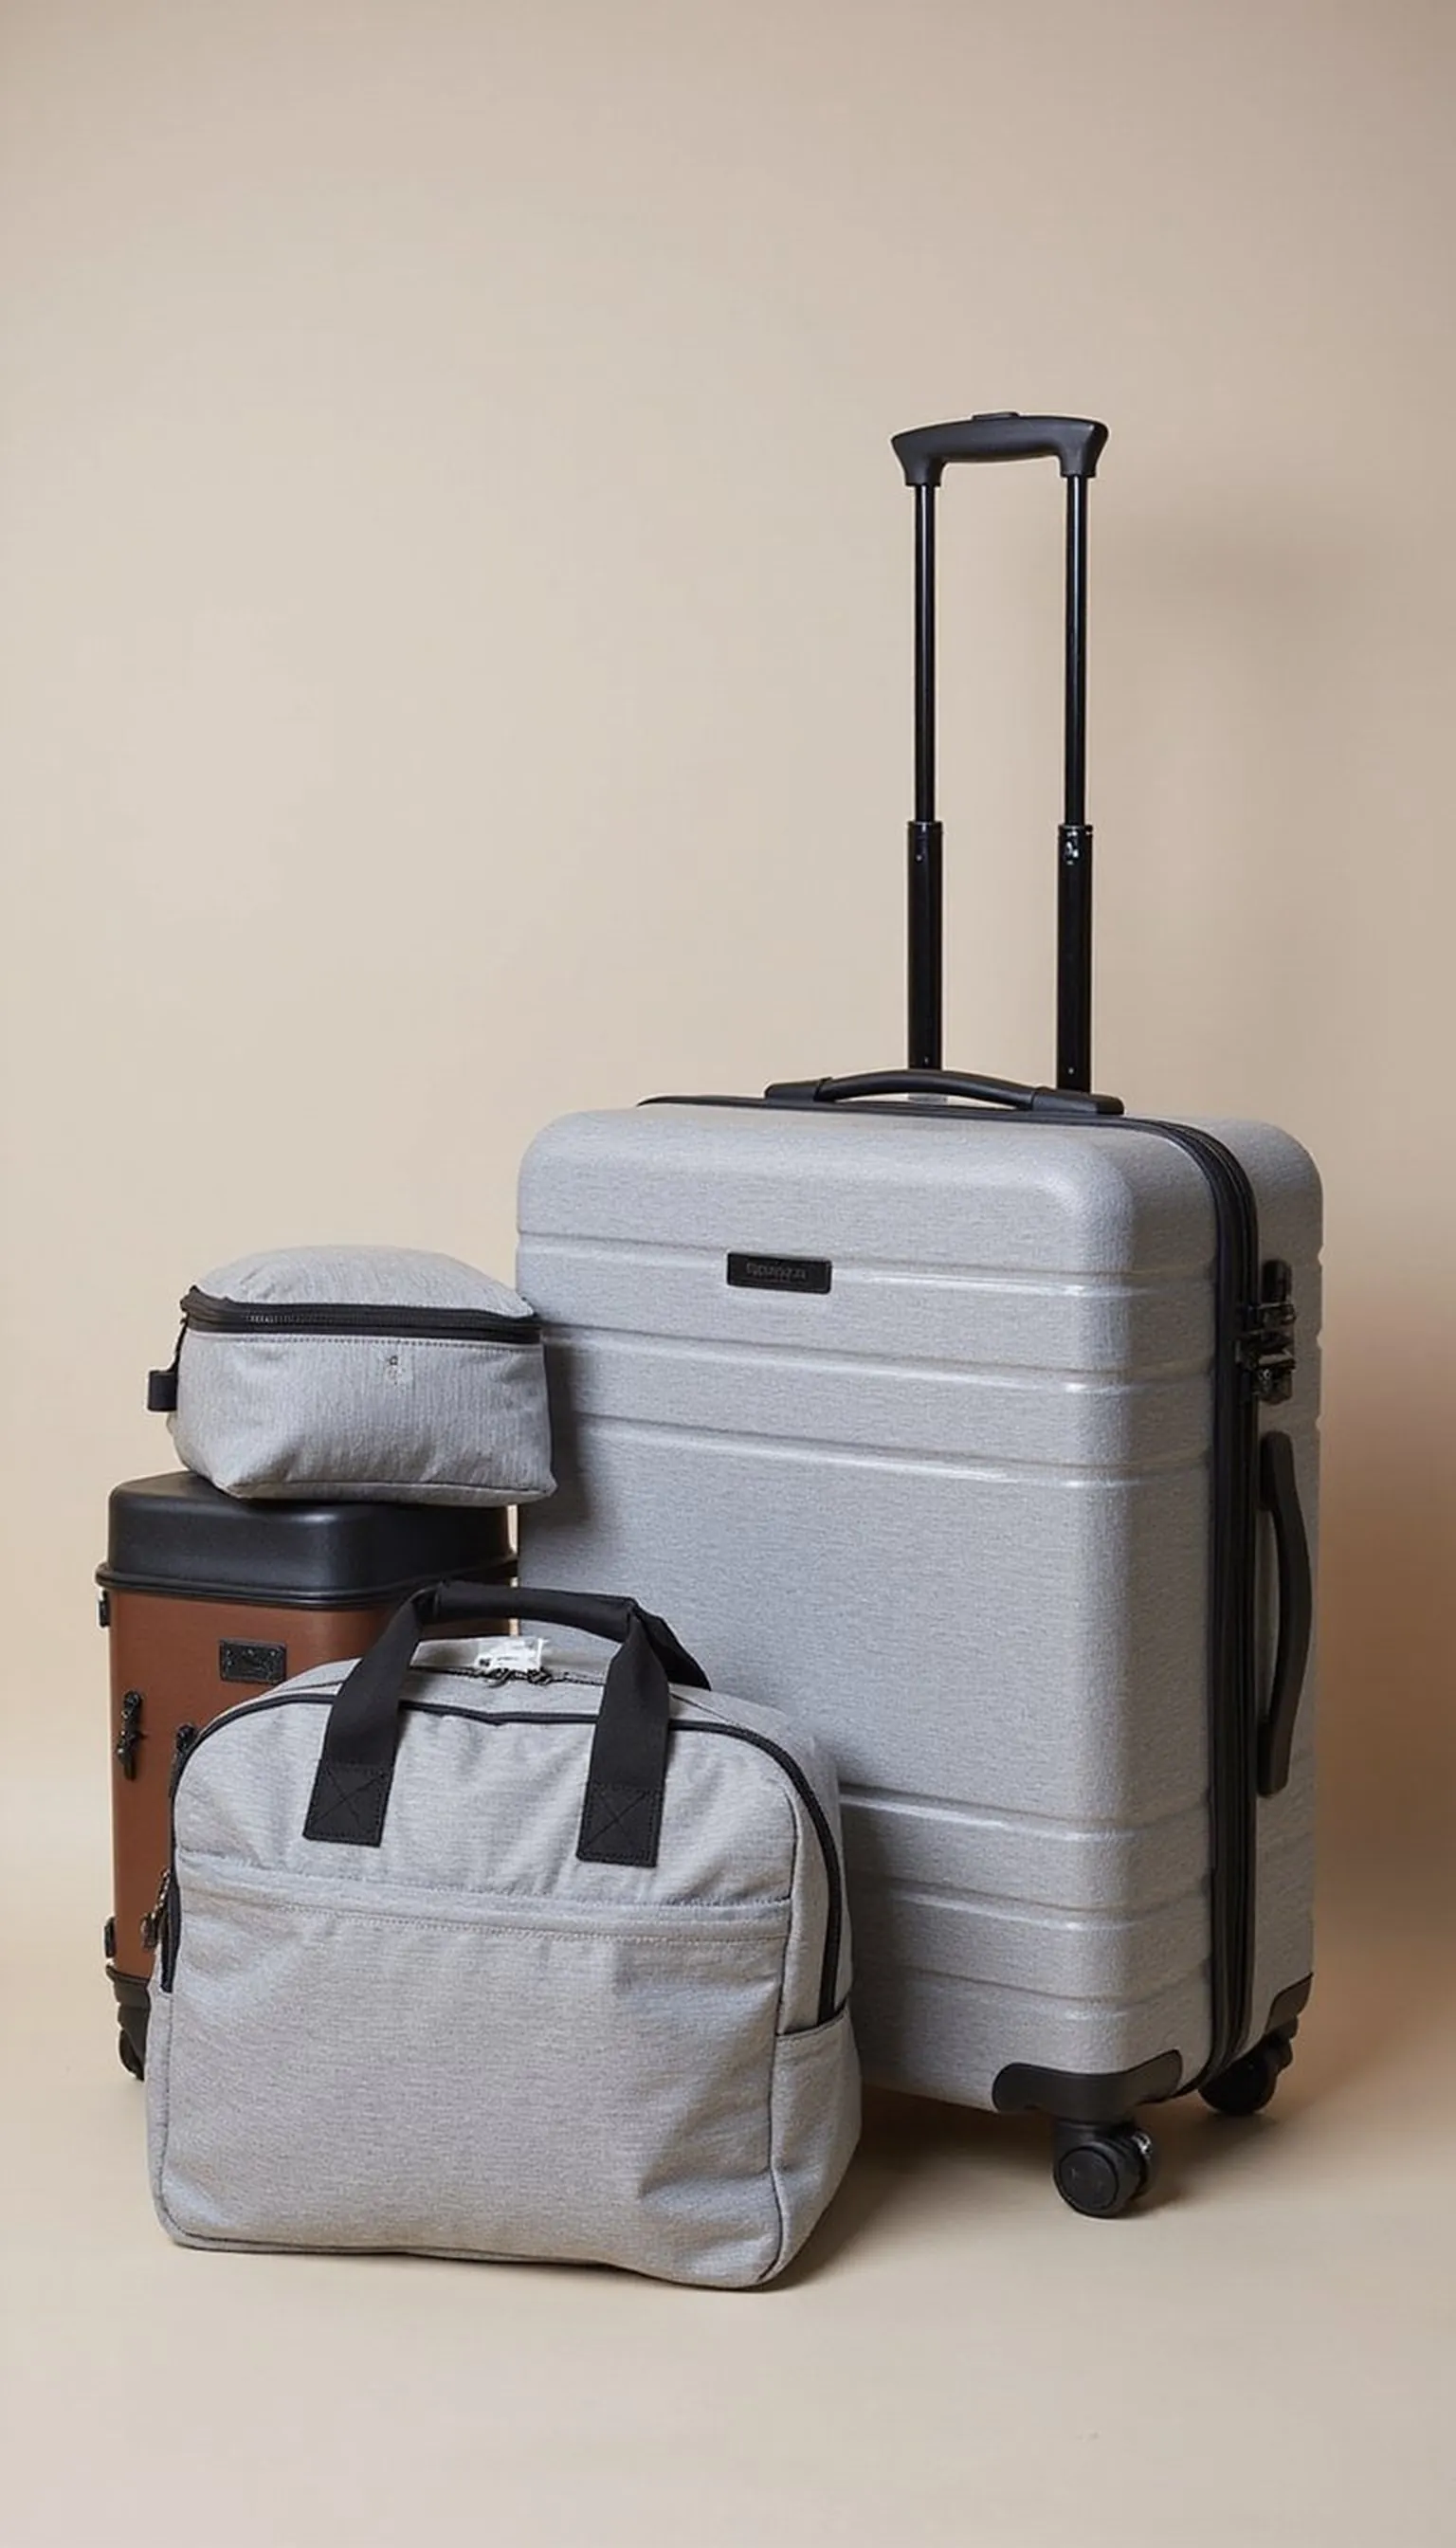
Packing cubes keep clothing grouped so it’s easy to pull out just what’s needed without base-layer excavations. Color-coded or labeled cubes help separate electronics, garments, and toiletries for rapid retrieval at a checkpoint or gate.
Place frequently needed items in the outermost cube so they don’t get buried when the bag opens on the belt. Soft cubes compress well and can be slipped out in one motion if a bag inspection is requested.
Using a small cube for undergarments and a slim cube for toiletries makes single-item access fast and neat. When a gate agent asks for an item, being able to extract a single cube saves minutes and a lot of stress.
Travel Tips
- Use different colored cubes for electronics, clothes, and toiletries.
- Put commonly used items in the top cube for quick access.
- Compress cubes slightly to fit trays comfortably if needed.
Pro Tip: Organize one packing cube for items you often need in security and keep it at the top of the carry-on for instant access.
Avoid: Shoving everything loose into a carry-on makes single-item searches take forever and causes pileups. Using unclear or identical bags means hunting through multiple compartments under pressure.
Try Also: Try mesh cubes for breathability, compression cubes for extra room, or a slim toiletry cube for liquids and adapters. Use small cubes as removable pouches for last-minute items.
Products & Materials
Items Used
“Packing cubes make finding essentials fast during security checks.”
Empty pockets before reaching the scanner
⏱️ 1 min · 🟢 Beginner
Emptying pockets before the security line prevents that last-second scramble to remove keys, coins, and phones. Keeping a small tray or a designated pocket in a jacket or bag helps collect those items ahead of time.
Put loose items into a clear pouch or your passport holder so they’re gathered in one place and not scattered across bins. This keeps the conveyor moving and reduces the chance of items slipping between trays or onto the floor.
Make the pocket-emptying step part of the pre-line routine to save time for everyone behind you. It also reduces stress and keeps attention on the process rather than on lost items.
Travel Tips
- Create a habit of emptying pockets before stepping into the line.
- Carry a small pouch for keys, coins, and earbuds to avoid loose items.
- Place phone and wallet in one spot to prevent scatter during screening.
Pro Tip: Designate one pocket or a small pouch for loose items and empty it into your passport holder before joining the security queue.
Avoid: Waiting until the front of the line to empty pockets causes long pauses and can lead to lost items. Tossing keys or coins loosely into bins increases the chance of them falling out or getting scratched.
Try Also: Use a small zip pouch, a phone sleeve, or a front-pocket wallet to gather loose items. For longer trips, an organizer with labeled compartments works well.
Products & Materials
Items Used
“Empty pockets ahead of time to breeze through security lines.”
Choose a quick-release travel belt for efficiency
⏱️ 30 sec · 🟢 Beginner
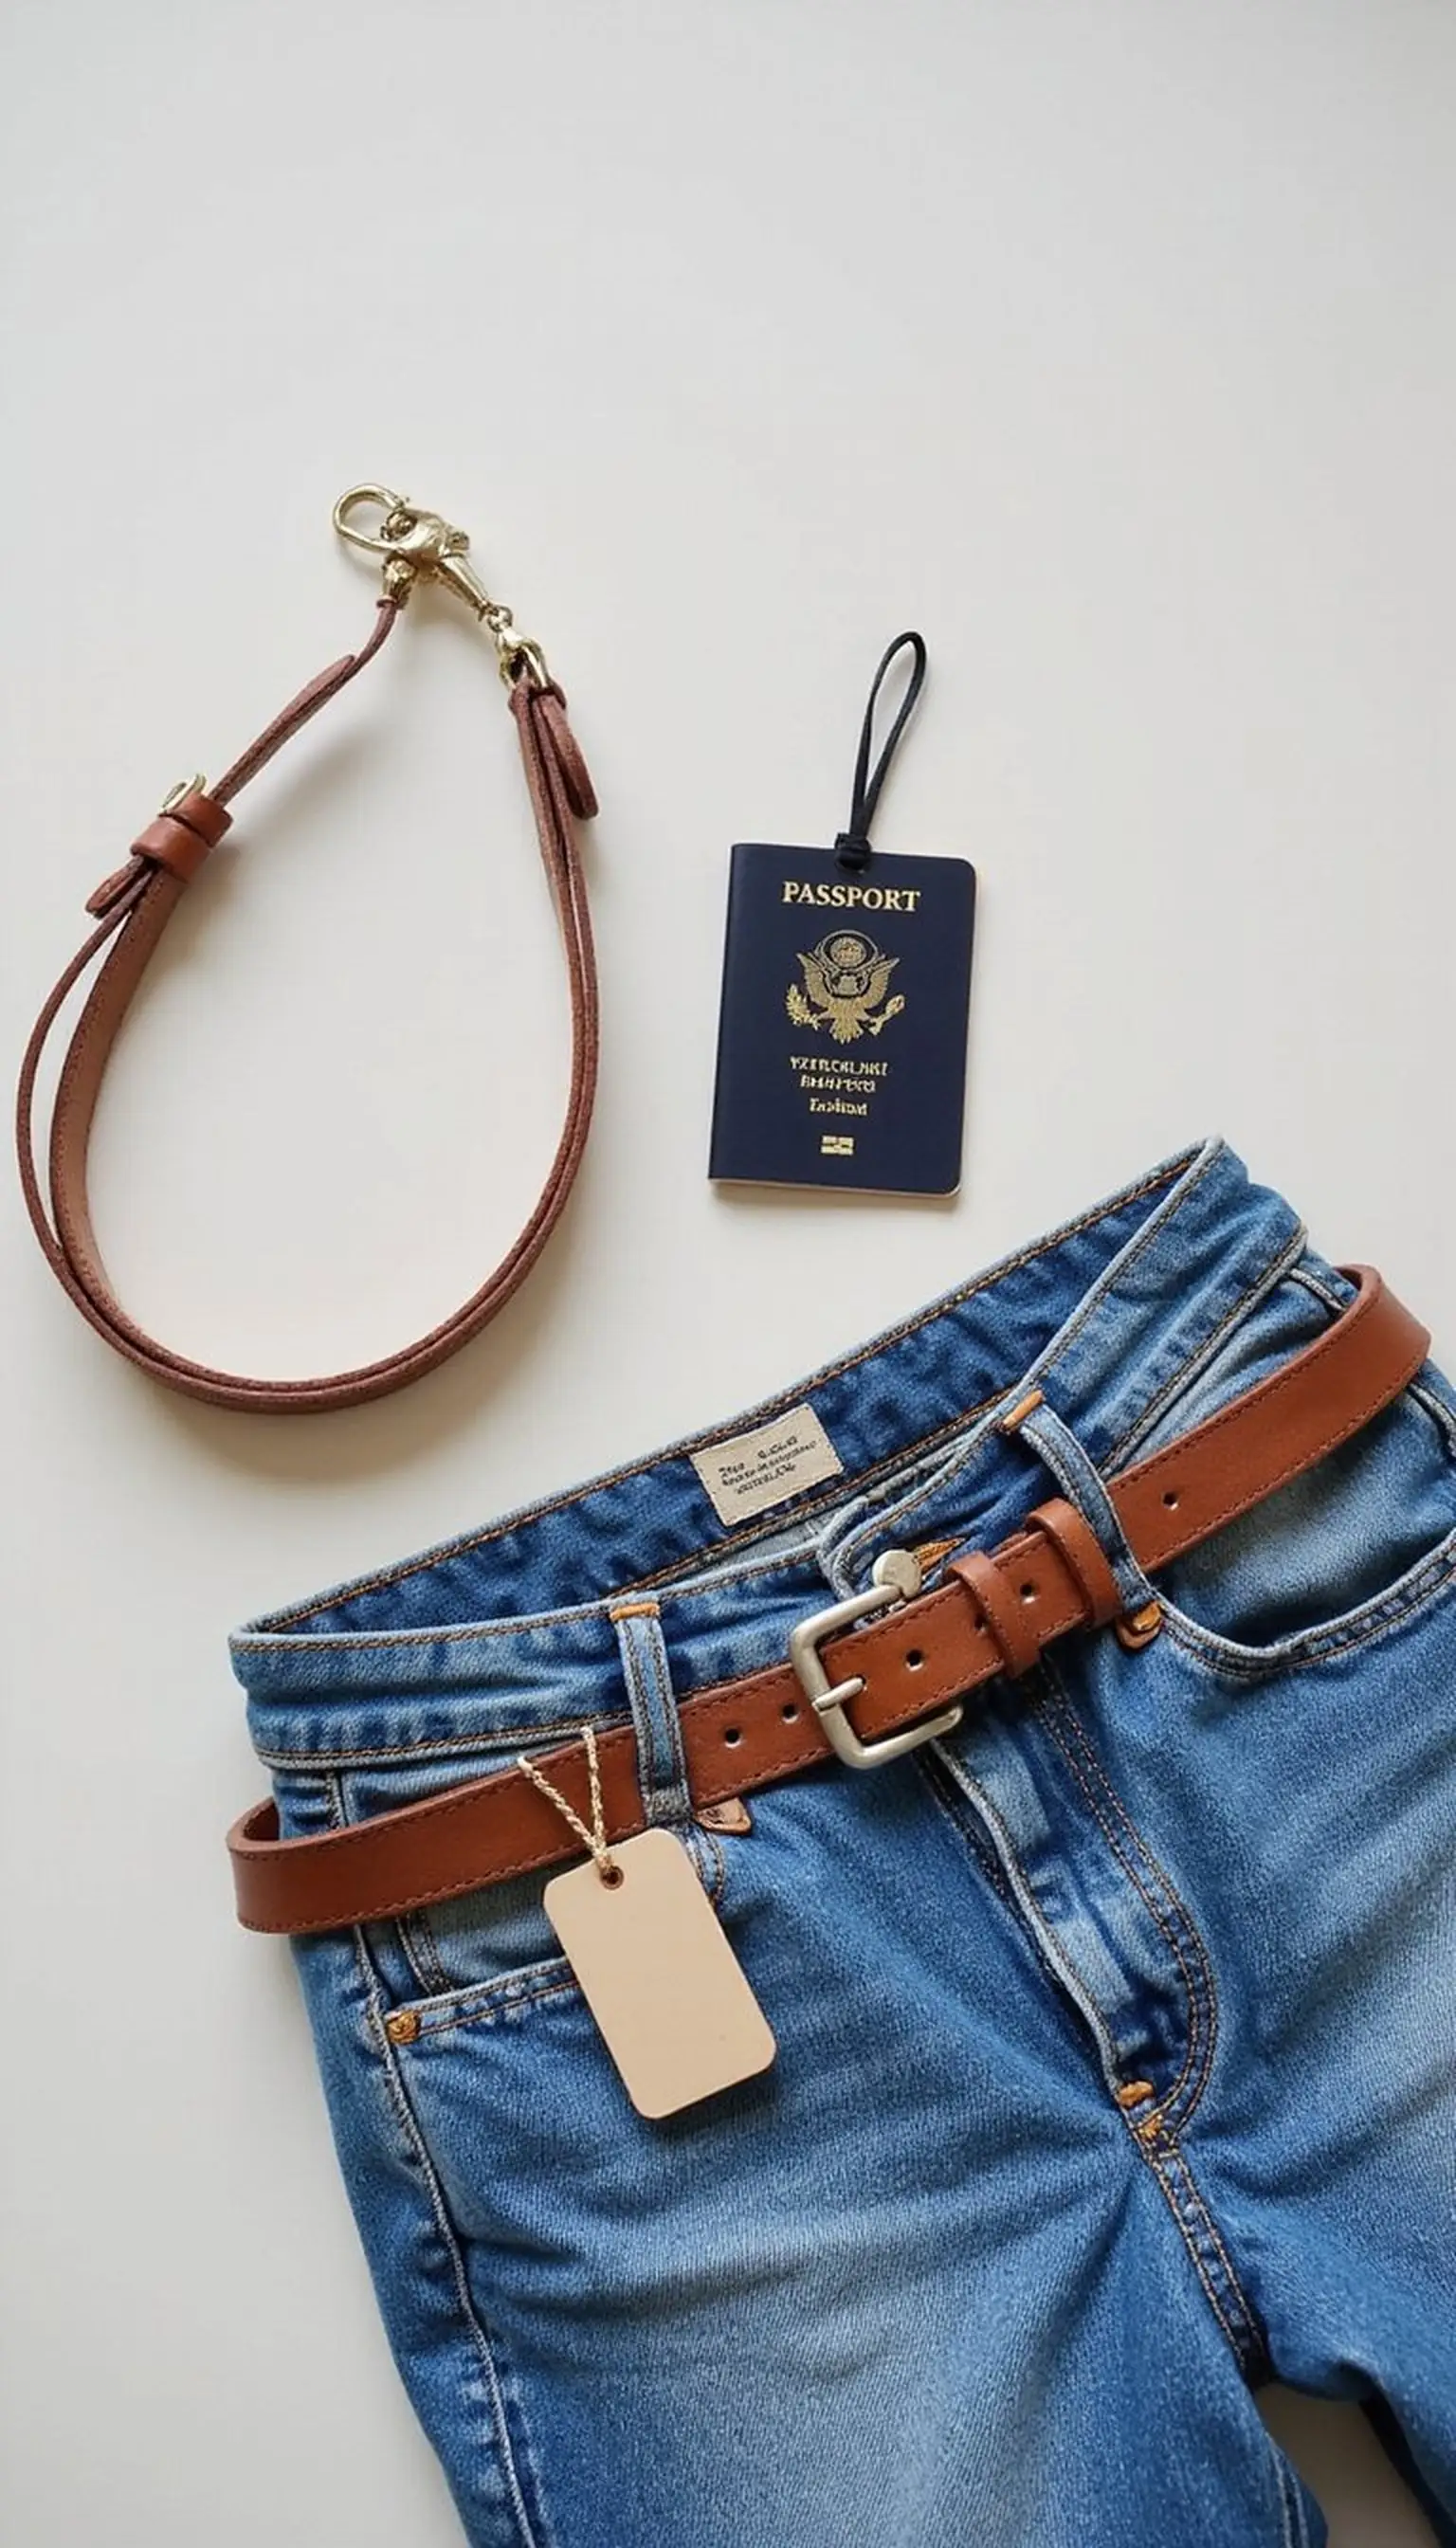
A simple belt with a single-release buckle slips off in seconds and avoids the hassle of complicated hardware at checkpoints. Thin, flexible belts are easier to handle and fit comfortably through scanners without snagging.
Store the belt in an outer pocket if the outfit will require removal, or wear a no-buckle elastic belt that agents usually ask to step aside for less often. Avoid heavy metal buckles that set off alarms and slow down the line.
Pair this choice with pants that lift easily to reduce time standing in slippers while removing layers. The goal is a smooth, one-step belt removal that doesn’t require tools or extra fiddling.
Travel Tips
- Pick a slim belt with a simple single-release buckle for security.
- Avoid ornate metalwork that could trigger alarms.
- Keep the belt in an easy pocket if planning to remove it before screening.
Pro Tip: Wear a low-profile belt that removes in one motion and stash it in a front pocket if screening looks busy ahead.
Avoid: Wearing a belt with a heavy metal buckle can trigger alarms and force additional screening. Trying to unbuckle while holding a child, bag, or device delays everyone behind you.
Try Also: Try an elastic travel belt, a magnetic quick-release belt, or pants with a built-in drawcord to avoid buckles entirely. A slim belt tucked into a pocket works well for quick removal.
Products & Materials
Items Used
- travel belt
- jeans
- carry-on suitcase
“A quick-release belt removes fast and keeps security moving smoothly.”
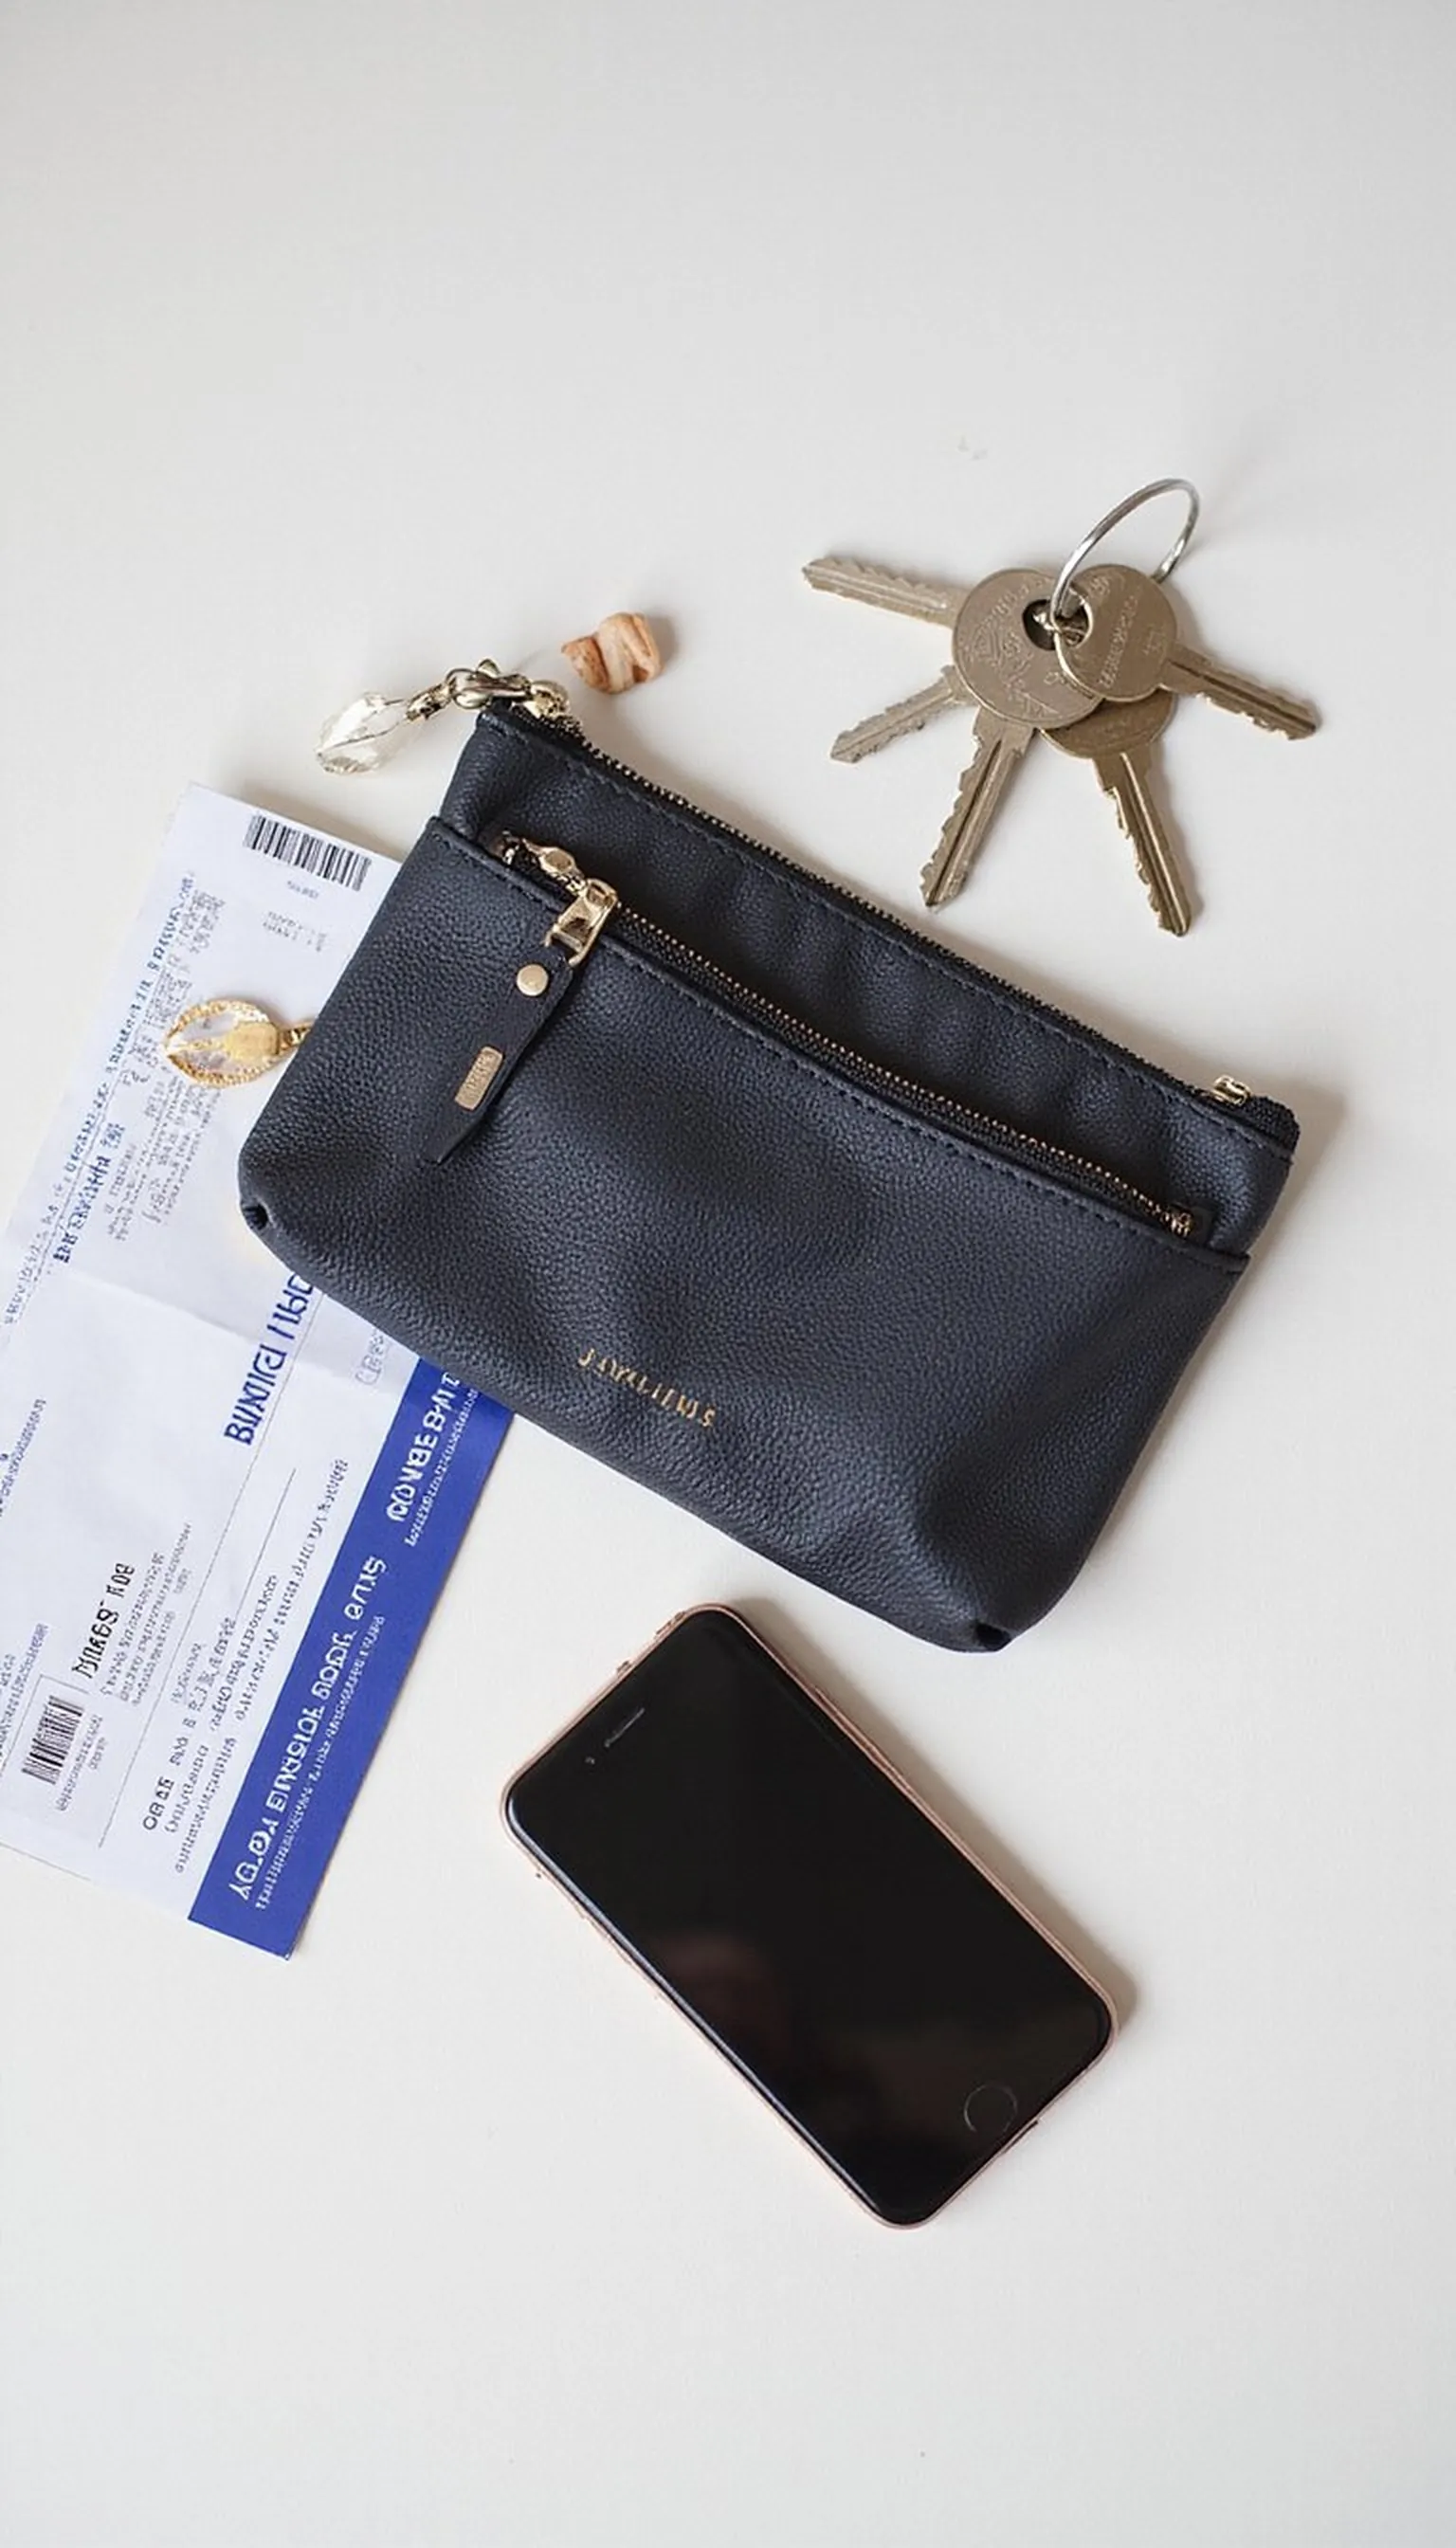
Use a neck pouch or travel wallet for valuables
⏱️ 1 min · 🟢 Beginner
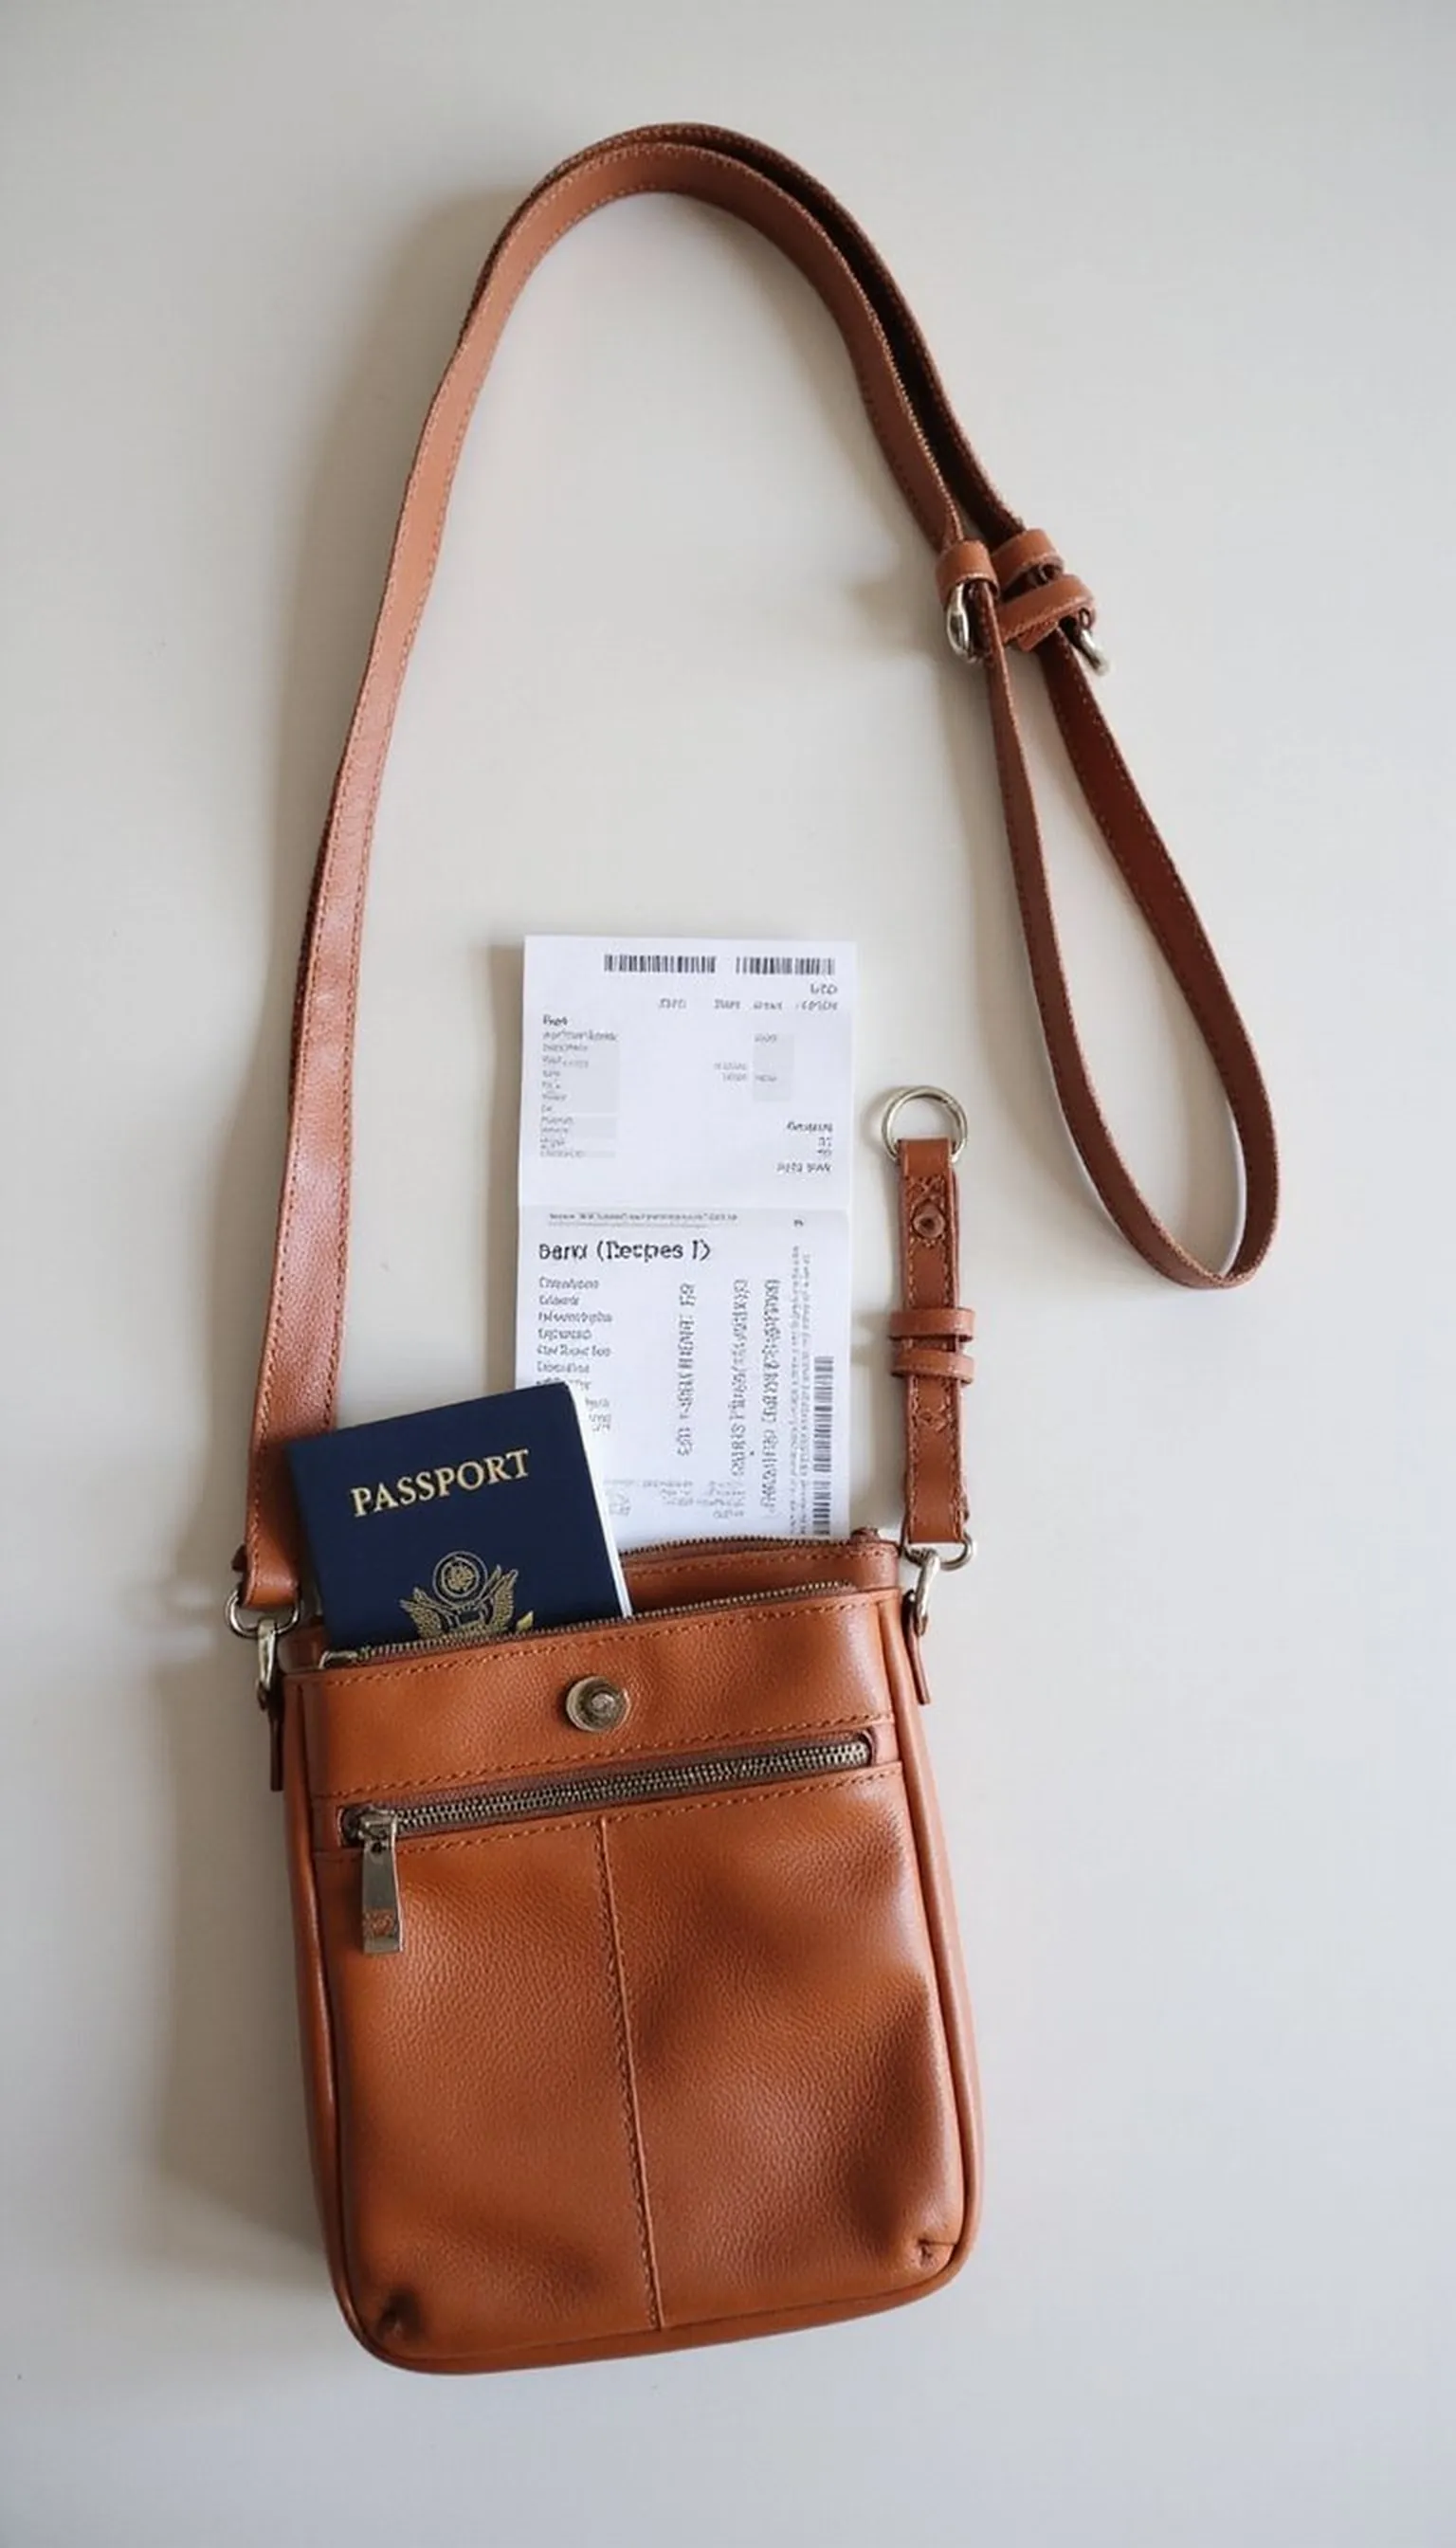
A neck pouch or travel wallet keeps passport, ID, and boarding cards in one place and easily visible to agents. Wearing one under a shirt or over clothing depending on comfort removes the need to scramble through bags at the belt.
Choose a thin pouch that sits flat and won’t bulk under jackets, making it comfortable while walking and fast to access. Placing small valuables in this pouch reduces the number of items placed in trays during screening.
Keep only what’s essential in the pouch to prevent it from looking like a packed bag at the checkpoint. This reduces the likelihood of additional inspection and speeds movement through crowded lanes.
Travel Tips
- Use a thin neck pouch to store passport, ID, and a boarding pass.
- Wear it over or under clothing depending on comfort and airport security rules.
- Keep only essentials inside to avoid extra inspection.
Pro Tip: Wear a flat neck pouch with essential documents inside and tuck it under a light layer for instant, secure access at checkpoints.
Avoid: Filling a neck pouch with electronics or many cards makes it bulky and attracts more scrutiny. Stashing everything in pockets instead of one pouch leads to dropped items and slower lanes.
Try Also: Try a slim travel wallet, a belt pouch, or a passport holder with a strap for similar convenience. For short hops, a front-pocket phone wallet can substitute.
Products & Materials
Items Used
- neck pouch
- passport
- boarding pass
“A neck pouch keeps documents visible and speeds security checks.”
Prepare electronics in a single tray-ready pouch
⏱️ 3 min · 🟠 Intermediate
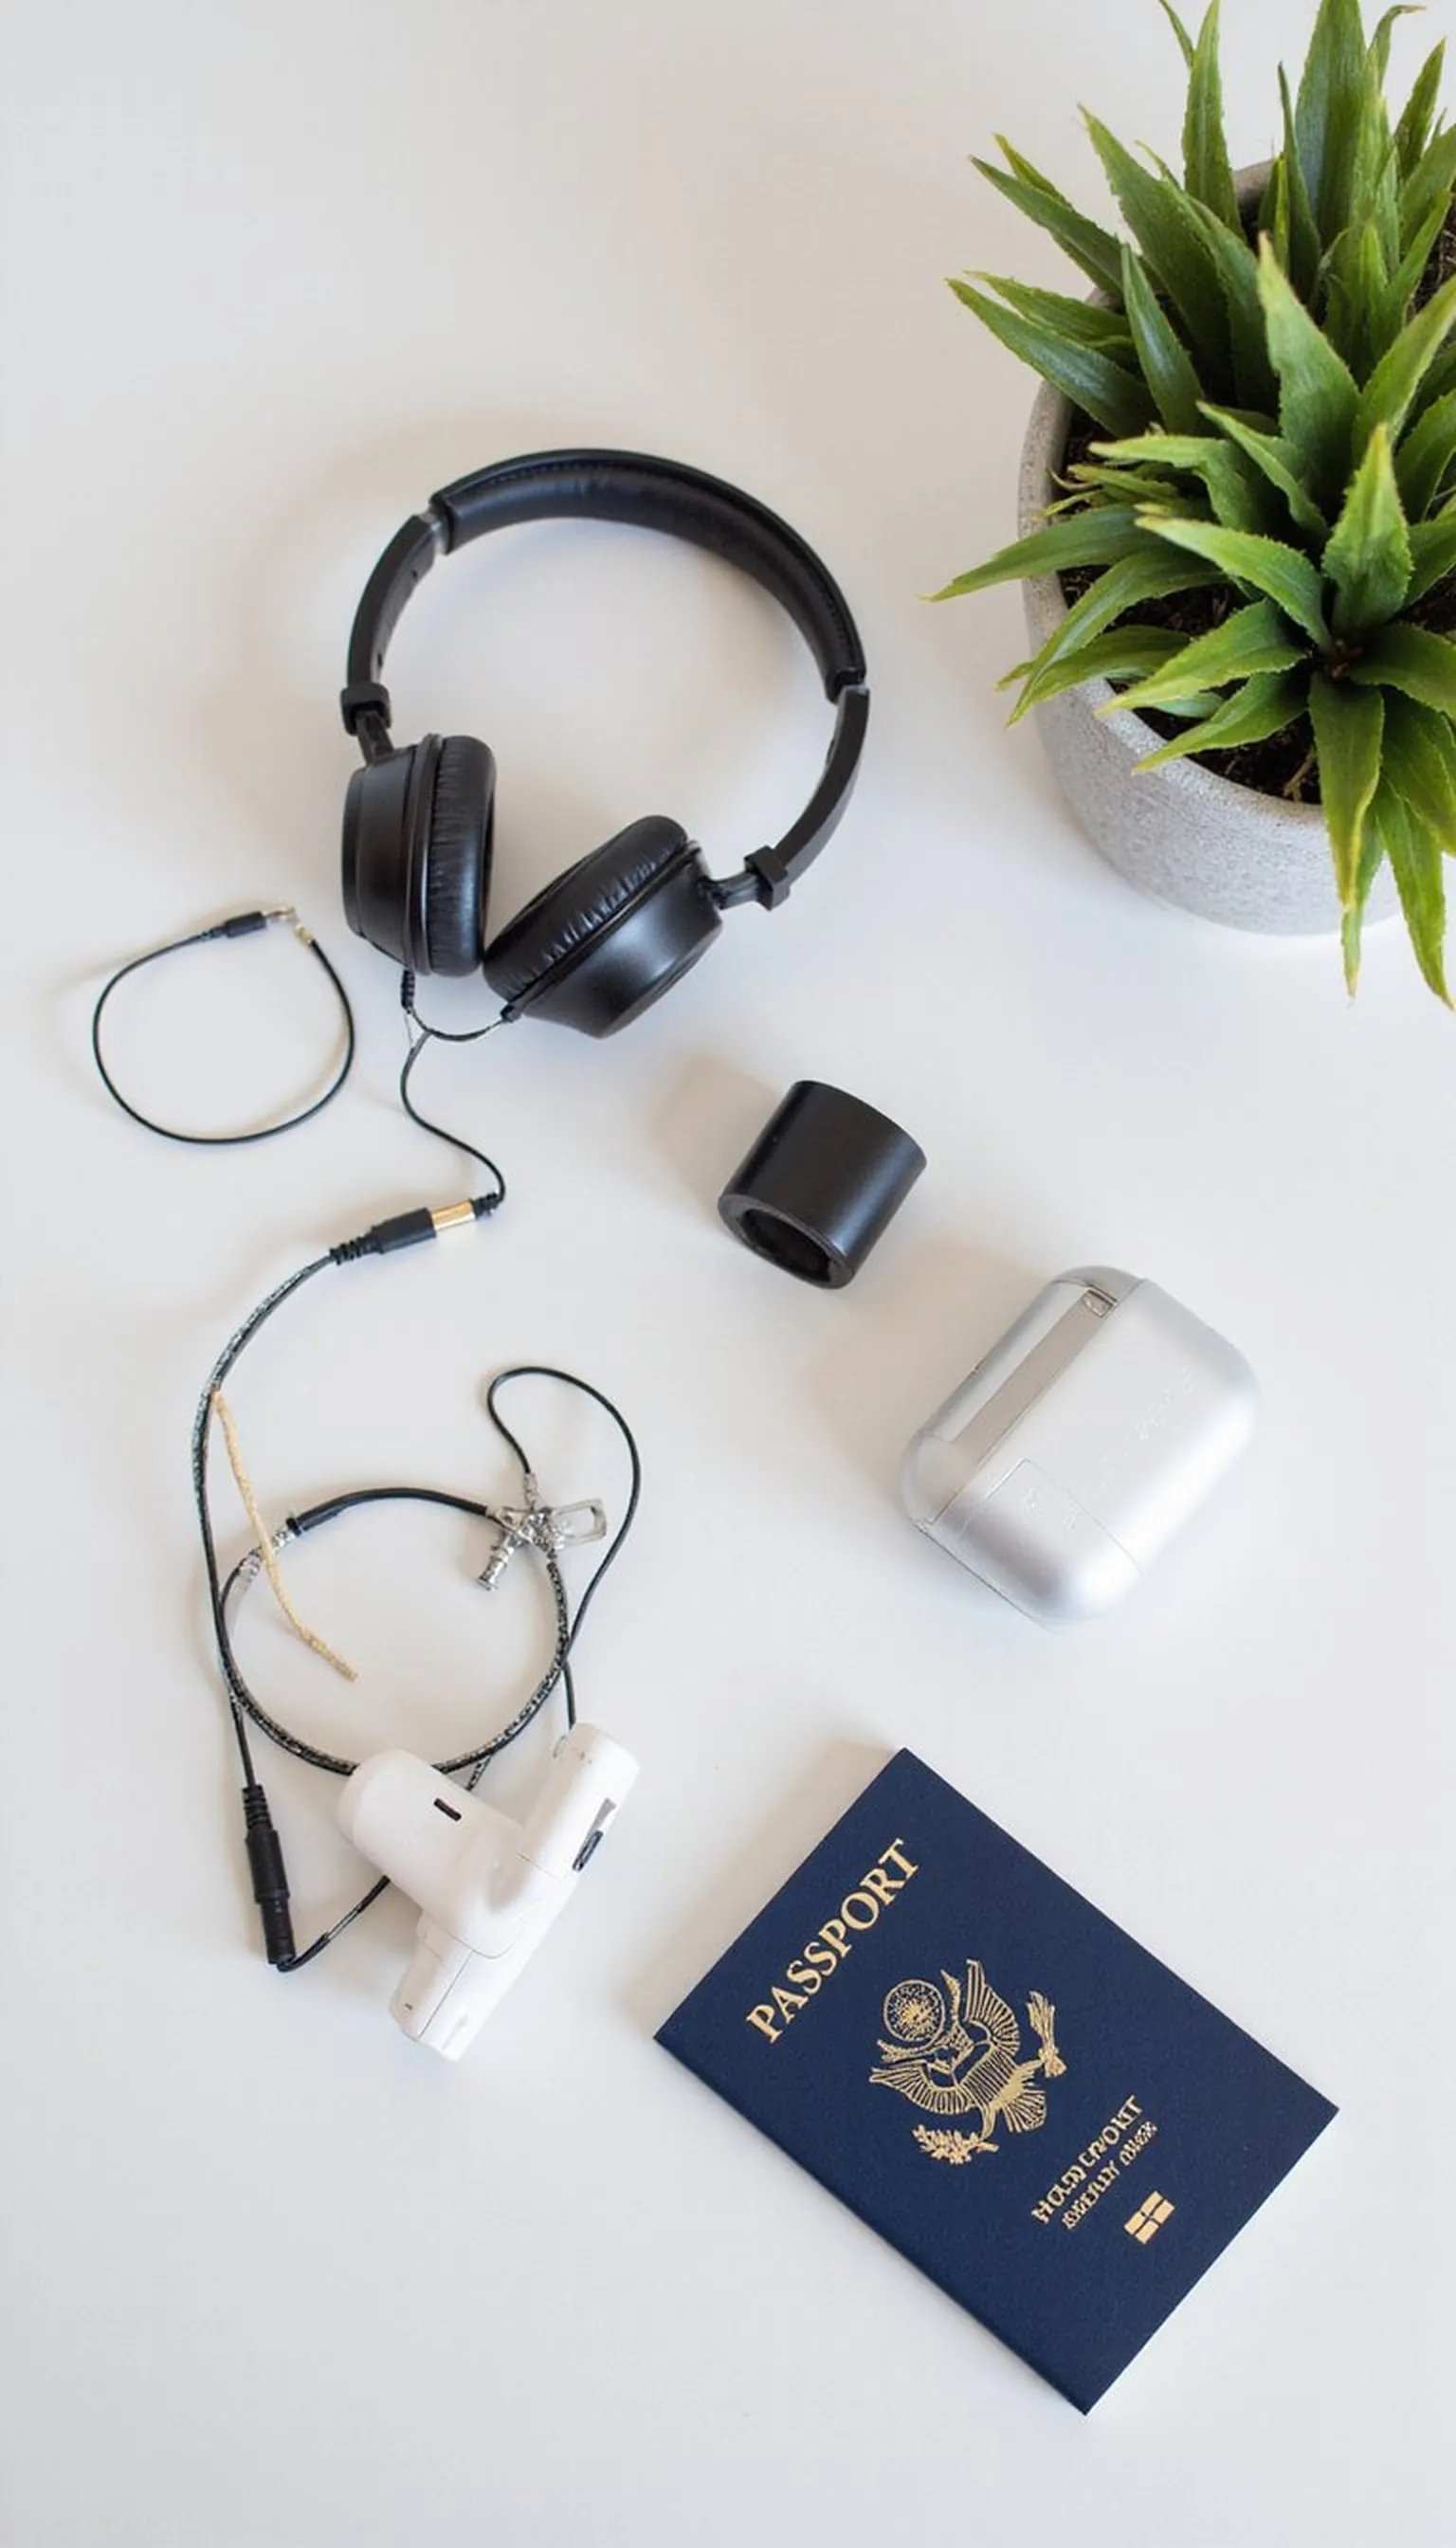
Keeping chargers, headphones, tablet, and phone in one small electronics pouch avoids last-minute cable tangles and tray shuffles. A pouch with organized compartments allows agents to see cords and devices at a glance without pulling items out individually.
Place the pouch near the top of the carry-on so it can be pulled out and placed in a bin in a single motion. Neatly coiling cables and using cable ties prevents mess and keeps the tray organized during inspection.
This setup reduces time spent rearranging cords and searching for tiny dongles at the belt. It also protects fragile adapters from getting crushed among clothes when a bag is opened for a glance.
Travel Tips
- Use an electronics organizer with small pockets for cables and adapters.
- Coil cables neatly and secure them with ties to avoid tangles.
- Place the pouch on top of the carry-on for one-handed removal.
Pro Tip: Pack all small electronics and cords into a single pouch and place it on top of your bag for quick removal and one-step screening.
Avoid: Tossing loose cables into the main compartment means spending minutes untangling at the belt. Packing adapters scattered across pockets risks losing tiny pieces during checks.
Try Also: Use a roll-up cable organizer, a small tech case with mesh pockets, or a clear pouch to make contents visible without opening. For simpler setups, keep the phone and one charger in a front pocket.
Products & Materials
Items Used
- electronics organizer
- headphones
- charger cables
“A single electronics pouch keeps gadgets tidy and speeds screening.”
Wear a watch you can remove quickly
⏱️ 10 sec · 🟢 Beginner

A watch that unclips easily or slips off without tools avoids extra moments at the security tray. Opting for a minimalist strap makes it quicker to remove and less likely to jingle in a bin while being scanned.
Keep the watch in an accessible pocket or the travel pouch so it can be placed in the same bin as small electronics. If it has a metal band, anticipate the need to place it separately to avoid alarms and checks.
For passengers who wear multiple bracelets, consider removing all wrist accessories before joining the queue to speed screening. Packing a tiny travel pouch keeps these small items together and prevents accidental loss.
Travel Tips
- Choose a simple strap watch that can be removed in one motion.
- Place removed watches and bracelets in a small pouch to avoid loss.
- Anticipate metal bands by placing them in a separate bin if needed.
Pro Tip: Put a thin travel pouch in your pocket and drop watch and bracelets inside before the security line to avoid last-minute fumbling.
Avoid: Leaving many bracelets and a heavy watch on increases alarm chances and delays. Trying to pry off a stubborn metal band while juggling documents slows everything down.
Try Also: Switch to a silicone strap, wear a single minimalist watch, or keep a watch in your carry-on for non-essential times. For short hops, a digital watch with a quick-release strap is handy.
Products & Materials
Items Used
- watch
- small travel pouch
- passport
“Remove watches quickly and keep them safe in a small pouch.”
Separate shoes in a dedicated shoe bag
⏱️ 1 min · 🟢 Beginner
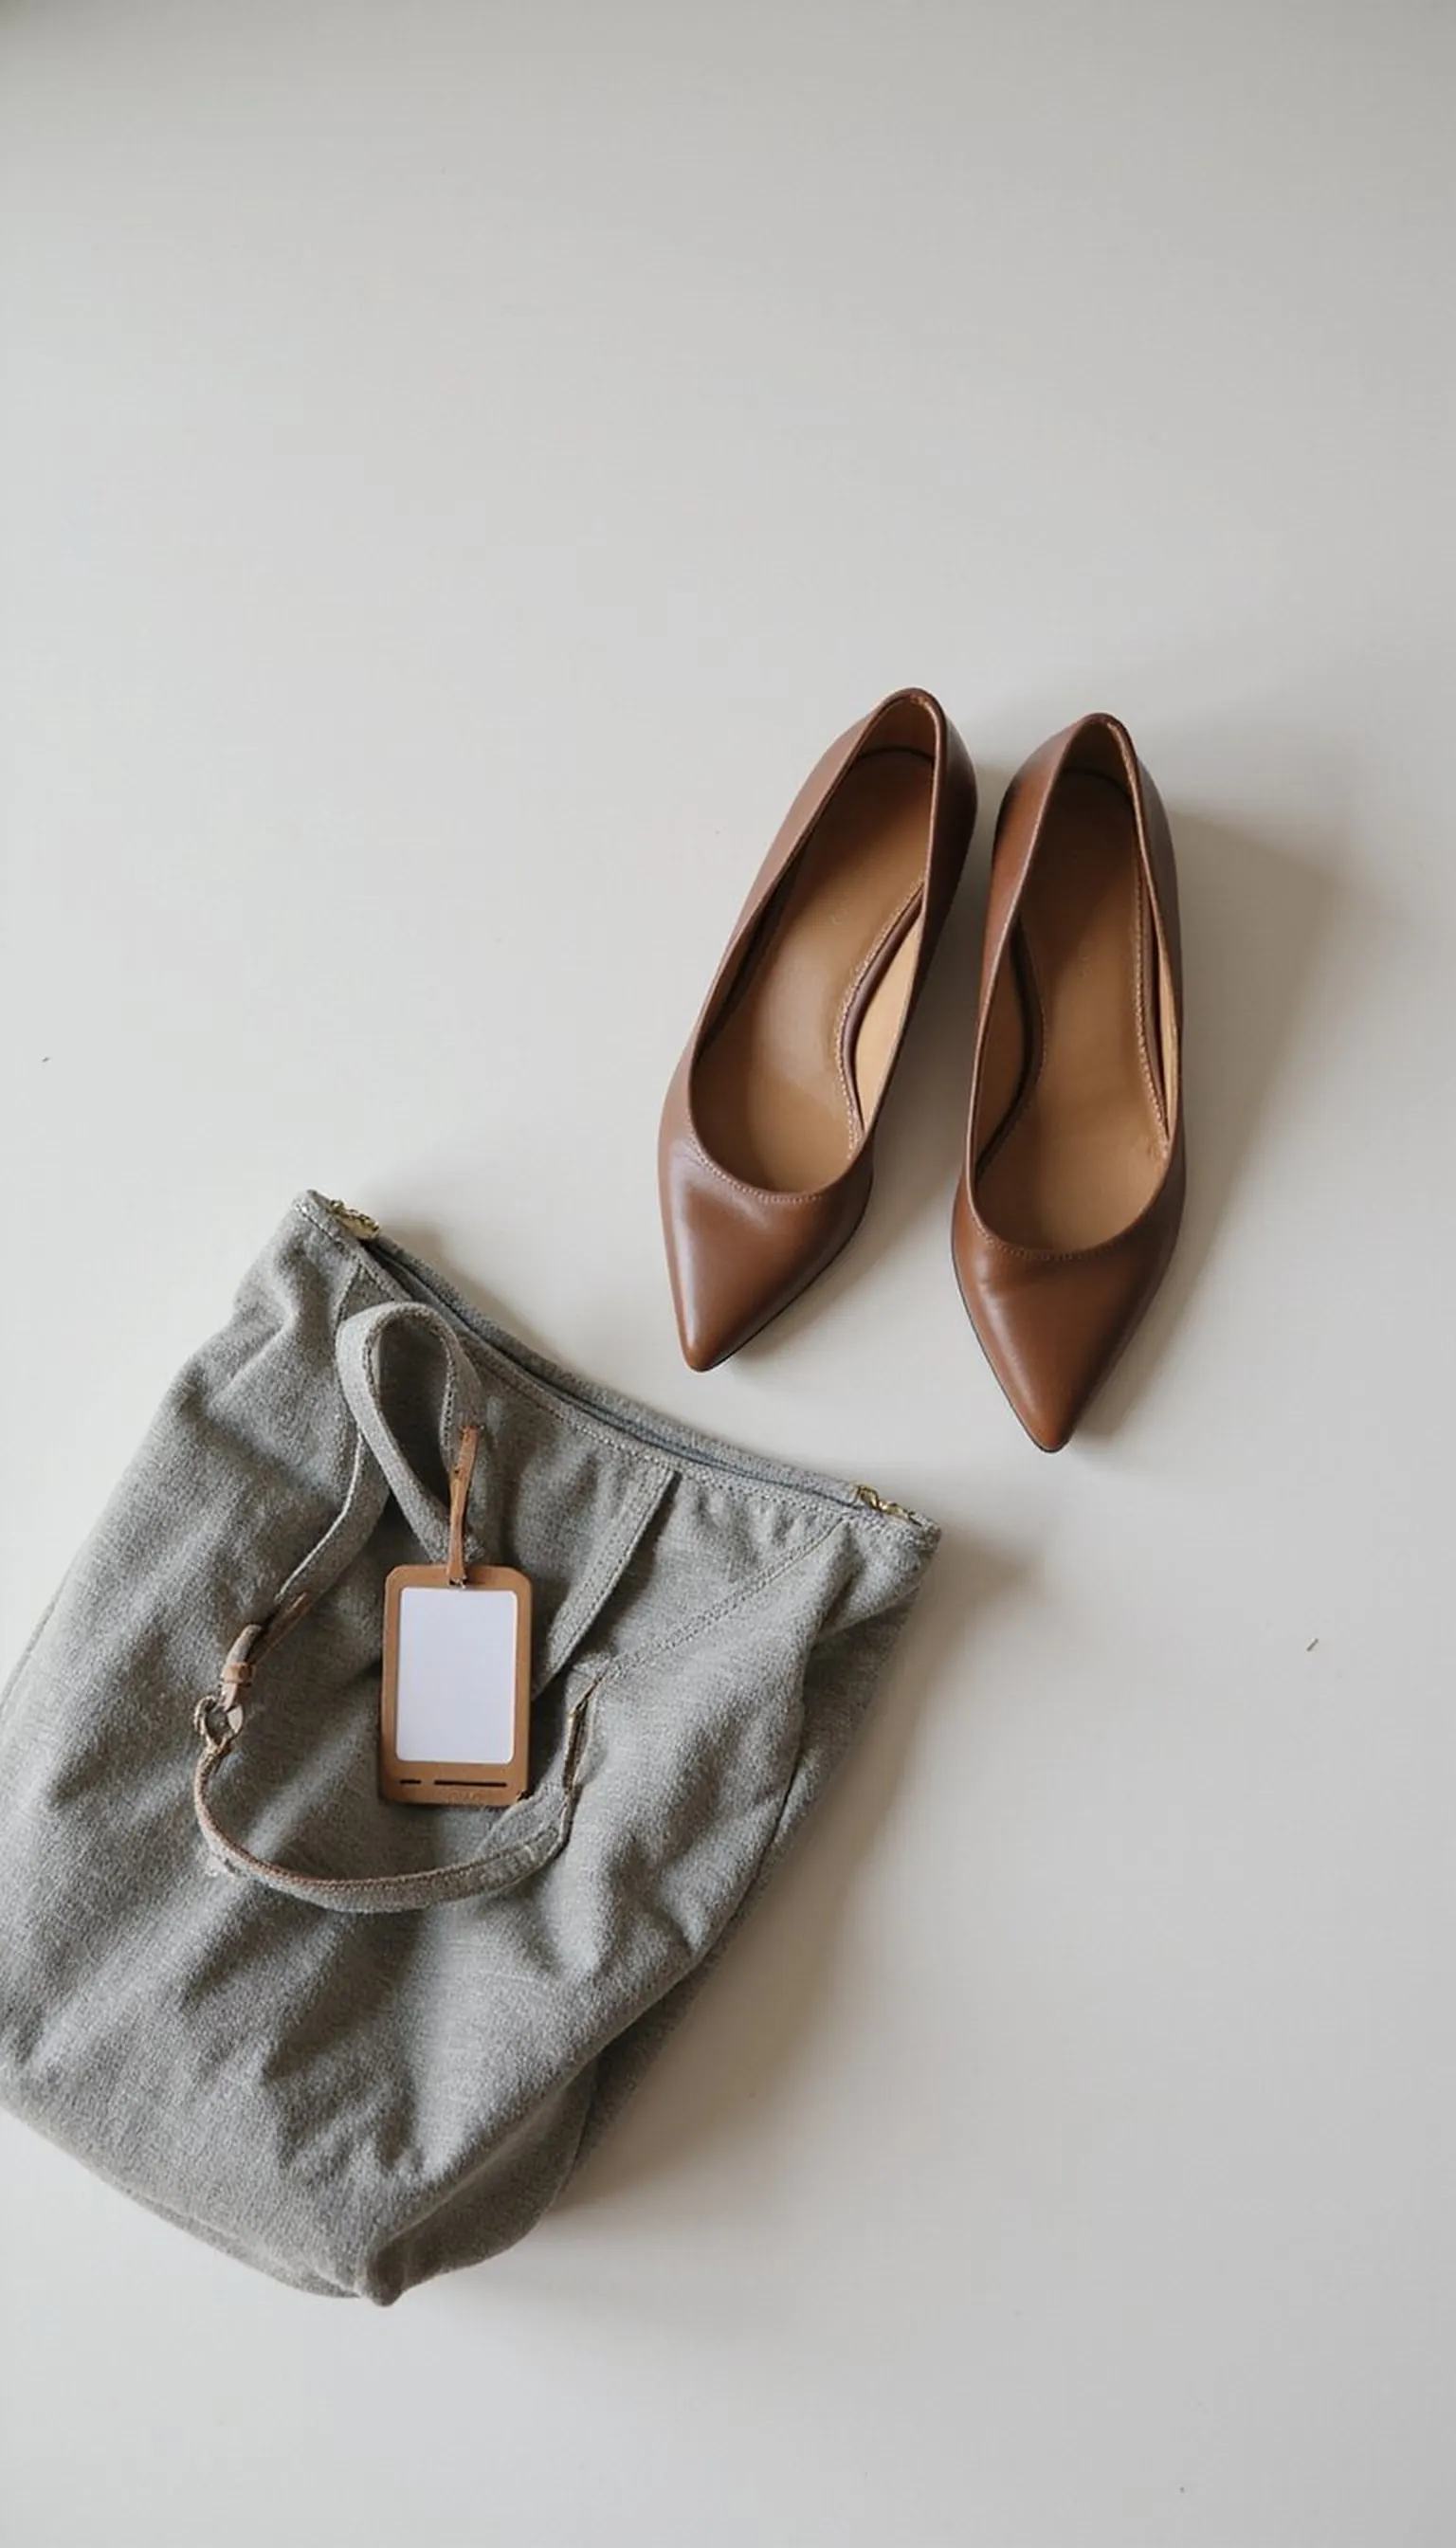
Keeping shoes in a separate shoe bag prevents dirty soles from touching clean clothes and makes them fast to remove if an agent asks. A single shoe bag per pair also creates a predictable shape and location when searching through luggage.
Choose a breathable shoe bag or a thin fabric tote that fits into the carry-on’s outer pocket for quick access. Slip the bagged shoes to the top of the carry-on so they can be pulled out in one motion if needed.
This method keeps the main packing cubes tidy and reduces the time spent rearranging clothes during a spot check. It also protects other items from unexpected scuffs and keeps the bag organized when placed on the belt.
Travel Tips
- Use a thin shoe bag for each pair and label if packing multiple sets.
- Keep shoe bags in an outer pocket for easy access during inspection.
- Choose breathable fabric to avoid trapped moisture in the bag.
Pro Tip: Slip shoes into a thin fabric shoe bag and stow them at the top of the carry-on for quick access during any bag checks.
Avoid: Tossing shoes loosely into the main compartment soils clothes and creates awkward rummaging during checks. Using bulky shoe boxes wastes space and makes removal harder.
Try Also: Use a mesh shoe bag, a reusable grocery-style tote, or compression shoe sacks that also save space. For sandals, a small pouch works fine.
Products & Materials
Items Used
- shoe bag
- pair of shoes
- carry-on suitcase
“Shoe bags protect clothes and make shoe removal quick at security.”
Bring an extra clear quart bag, pre-filled
⏱️ 2 min · 🟢 Beginner
Carrying an extra clear quart bag already pre-filled with approved liquids helps after duty-free purchases or accidental spills. Having a backup removes the scramble to repackage or buy new containers at the last minute.
Keep the spare bag rolled flat inside a thin pocket or side compartment so it’s easy to grab as you approach the conveyor. Labeling it or using a distinct color zipper avoids confusion with the main liquids bag during a stress moment.
This small redundancy is helpful for longer trips or family travel when multiple toiletry sets are needed. It also makes repacking after security faster because the spare is ready to slide into the bag and go.
Travel Tips
- Keep one pre-filled clear quart bag and one empty rolled spare in the carry-on.
- Label the spare bag or use a bright zipper to avoid mix-ups.
- Store the spare near the top pocket for instant access.
Pro Tip: Pack a pre-filled clear quart bag inside an outer pocket and carry a rolled empty quart bag for purchases or spills after security.
Avoid: Relying on a single quart bag can force last-minute re-bottling or buying small items at the airport. Mixing liquids in different containers without labeling causes slow identification at screening.
Try Also: Use one pre-filled bag for toiletries and one empty for duty-free alcohol, or use a small hard case for fragile liquids. For longer trips, consolidate less-needed items into checked luggage.
Products & Materials
Items Used
- clear quart bag
- travel toiletry bottles
- carry-on suitcase
“An extra pre-filled quart bag solves last-minute liquid headaches.”
Quick-run a security rehearsal at home
⏱️ 10 min · 🔴 Advanced
Running a timed security rehearsal at home helps identify slow steps and refine the order of actions to remove shoes, electronics, and liquids. Set up a mock belt area and practice extracting items and placing them in a single tray with a bag opener nearby.
Time the routine, note bottlenecks like tangled cables or hard-to-remove belts, and repeat until the sequence flows. This rehearsal helps build muscle memory so actions become automatic and calm when in a crowded airport.
Using a checklist during rehearsal highlights any missing travel tools like quart bags or tech pouches so they are packed before leaving. The small investment in practice often saves several minutes and a lot of stress during actual travel days.
Travel Tips
- Set up a mock belt and practice packing and removing items quickly.
- Time yourself and adjust the order of actions to create a smooth routine.
- Make a short checklist from the rehearsal to review before leaving home.
Pro Tip: Do one timed security run-through before travel, adjusting packing and outfit choices until the routine finishes in under two minutes.
Avoid: Skipping practice leads to improvisation and clumsy moves in the terminal that slow things down. Overpacking small items without a plan creates extra shuffling when under time pressure.
Try Also: Practice with family members, simulate with a carry-on packed, or role-play agent requests to increase confidence. Repeat the drill before long trips or complex itineraries.
Products & Materials
Items Used
- carry-on suitcase
- electronics organizer
- clear quart bag
“A quick at-home security rehearsal builds calm, fast airport routines.”
Wear pants that lift easily at checkpoints
⏱️ 10 sec · 🟢 Beginner
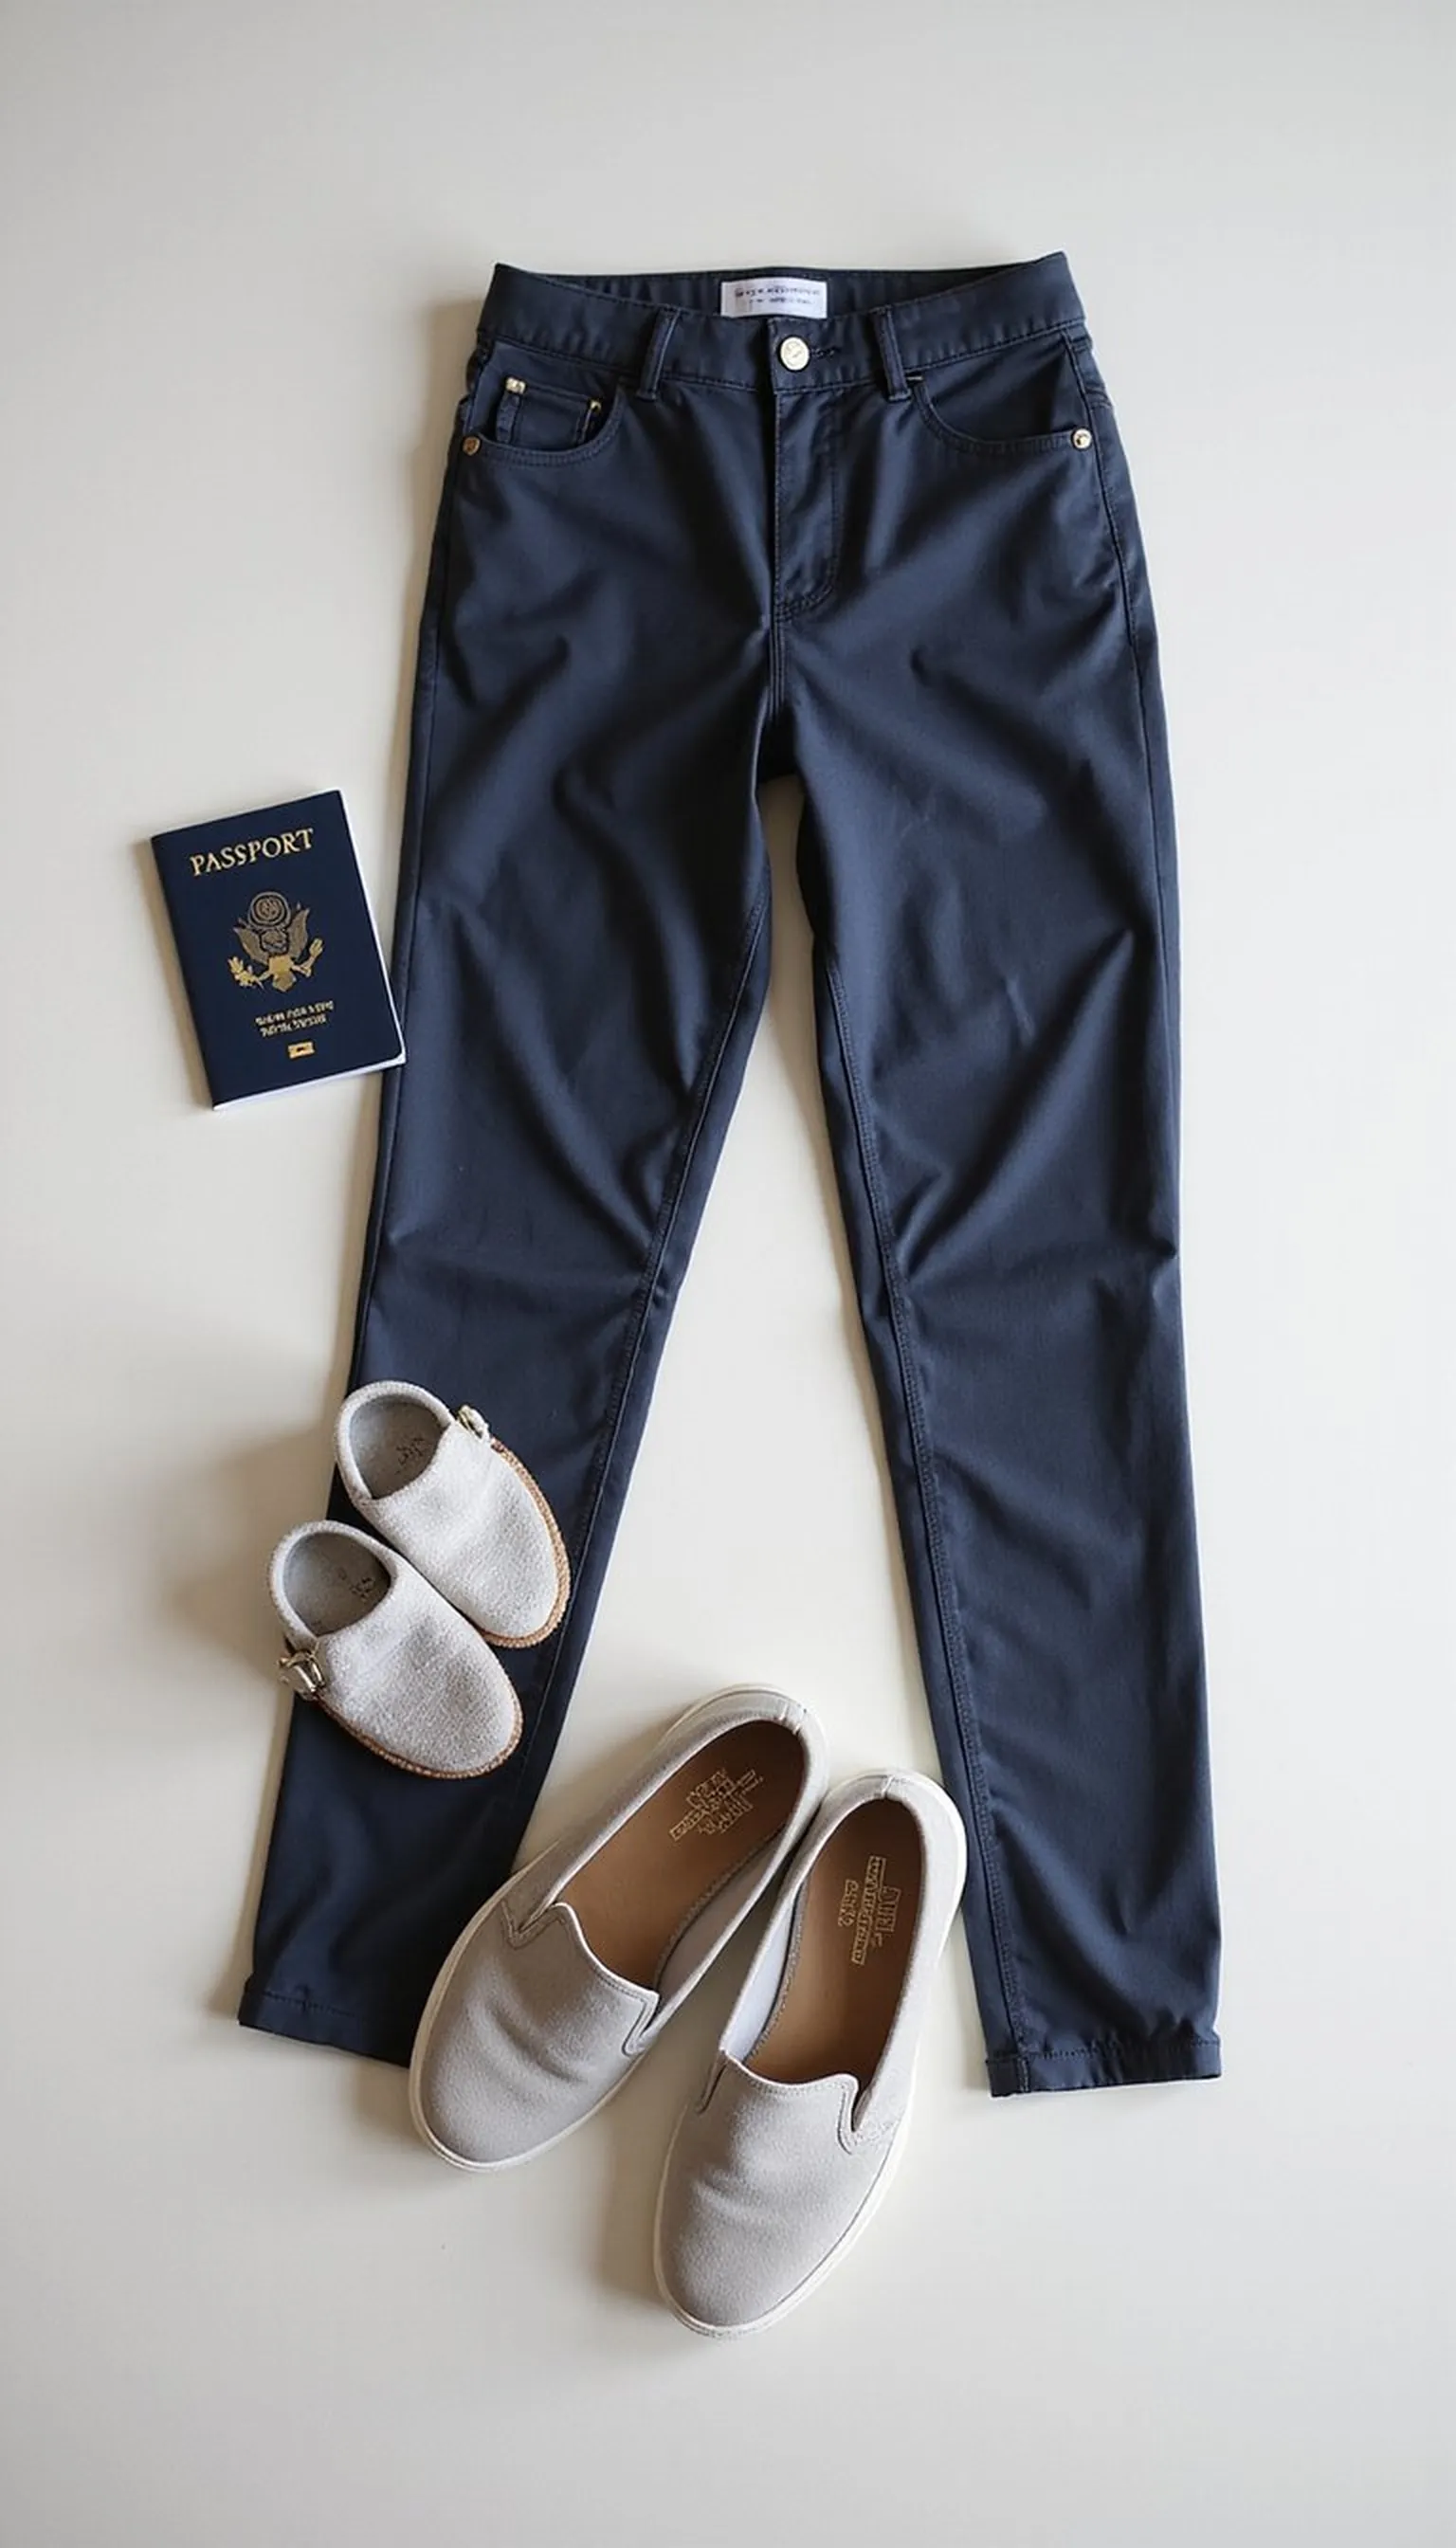
Pants with easy hems or ankle cuffs make shoe removal faster and avoid awkward tugging while standing at the scanner. Choosing trousers that slide up without bunching lets shoes come off and go back on without re-adjusting multiple layers.
Avoid overly long or tight hems that require extra fumbling, and favor breathable fabrics that move with you. This small outfit choice saves seconds that add up when lines are long or agents are moving quickly.
Pair ankle pants with slip-on shoes for maximum speed through the checkpoint and minimal wardrobe juggling. Keeping a thin pair of socks handy keeps feet comfortable when shoes are off briefly.
Travel Tips
- Choose ankle-length pants or those with simple cuffs for shoe removal.
- Avoid long, dragging hems that require adjusting when taking shoes off.
- Keep a pair of thin socks in an outer pocket for comfort.
Pro Tip: Wear ankle-length trousers and slip-on shoes together so shoes can be removed and replaced with minimal bending and fuss.
Avoid: Wearing long, stiff hems that need readjusting adds awkward moments while juggling shoes and documents. Trying to shuffle pants up over boots slows both removal and replacement.
Try Also: Try cropped trousers, travel leggings with ankle cuffs, or rollable hems if short on space. For chilly flights, layer thin thermal leggings under flexible pants.
Products & Materials
Items Used
- ankle pants
- slip-on shoes
- travel socks
“Ankle pants plus slip-ons make shoe removal seamless at security.”
