
As an Amazon Associate I earn from qualifying purchases.
Graduation Party DIY Crafts add playful personality to caps, tables, and doorways with approachable Graduation Party DIY Crafts that feel handmade and festive. Simple graduation party crafts and DIY graduation party crafts let school colors show through banners, table centerpieces, and favor ideas that become keepsake graduation crafts. Small grad party crafts and quick Graduation Party DIY Crafts stretch a few supplies into layered celebration details that guests notice and remember.
Photo memory banner that tugs at heartstrings
⏱️ 45 min · 🟢 Beginner

A string of candid prints felt like a slow, joyful rewind of the year. Photos dangled against soft ribbon, edges catching the light, and the cluster made the room feel like a tiny museum of late-night study sessions and cheering faces. The texture of glossy paper and the matte cardstock frames created a pleasant contrast, while school colors threaded through the ribbon kept everything tied together.
Guests paused beneath it, smiling and tracing small stories in each picture.
📋 How to Make This ▶
- Select favorite photos and trim prints to a unified size for consistent spacing.
- Punch holes or clip photos to lightweight cardstock pieces that hold them flat.
- String twine or ribbon across the display area and hang photos evenly along its span.
- Add small embellishments like school-colored ribbon or miniature tassels between images for rhythm.
⚠️ Avoid: A frequent beginner oversight is uneven spacing that makes the banner look cluttered instead of airy. Keeping consistent photo sizes prevents a chaotic feel.
🔄 Try Also: Swap glossy for vintage-toned prints for a nostalgic look, or mix in handwritten notes between photos for a more intimate display.
🛒 Products & Materials ▶
Items Used
- printed 4×6 photos
- twine or ribbon
- mini clothespins
- cardstock backing
📌 “A heartfelt photo banner that doubles as wall decor.”
• • •
DIY tassel garland for a festive backdrop
⏱️ 1 hour · 🟢 Beginner
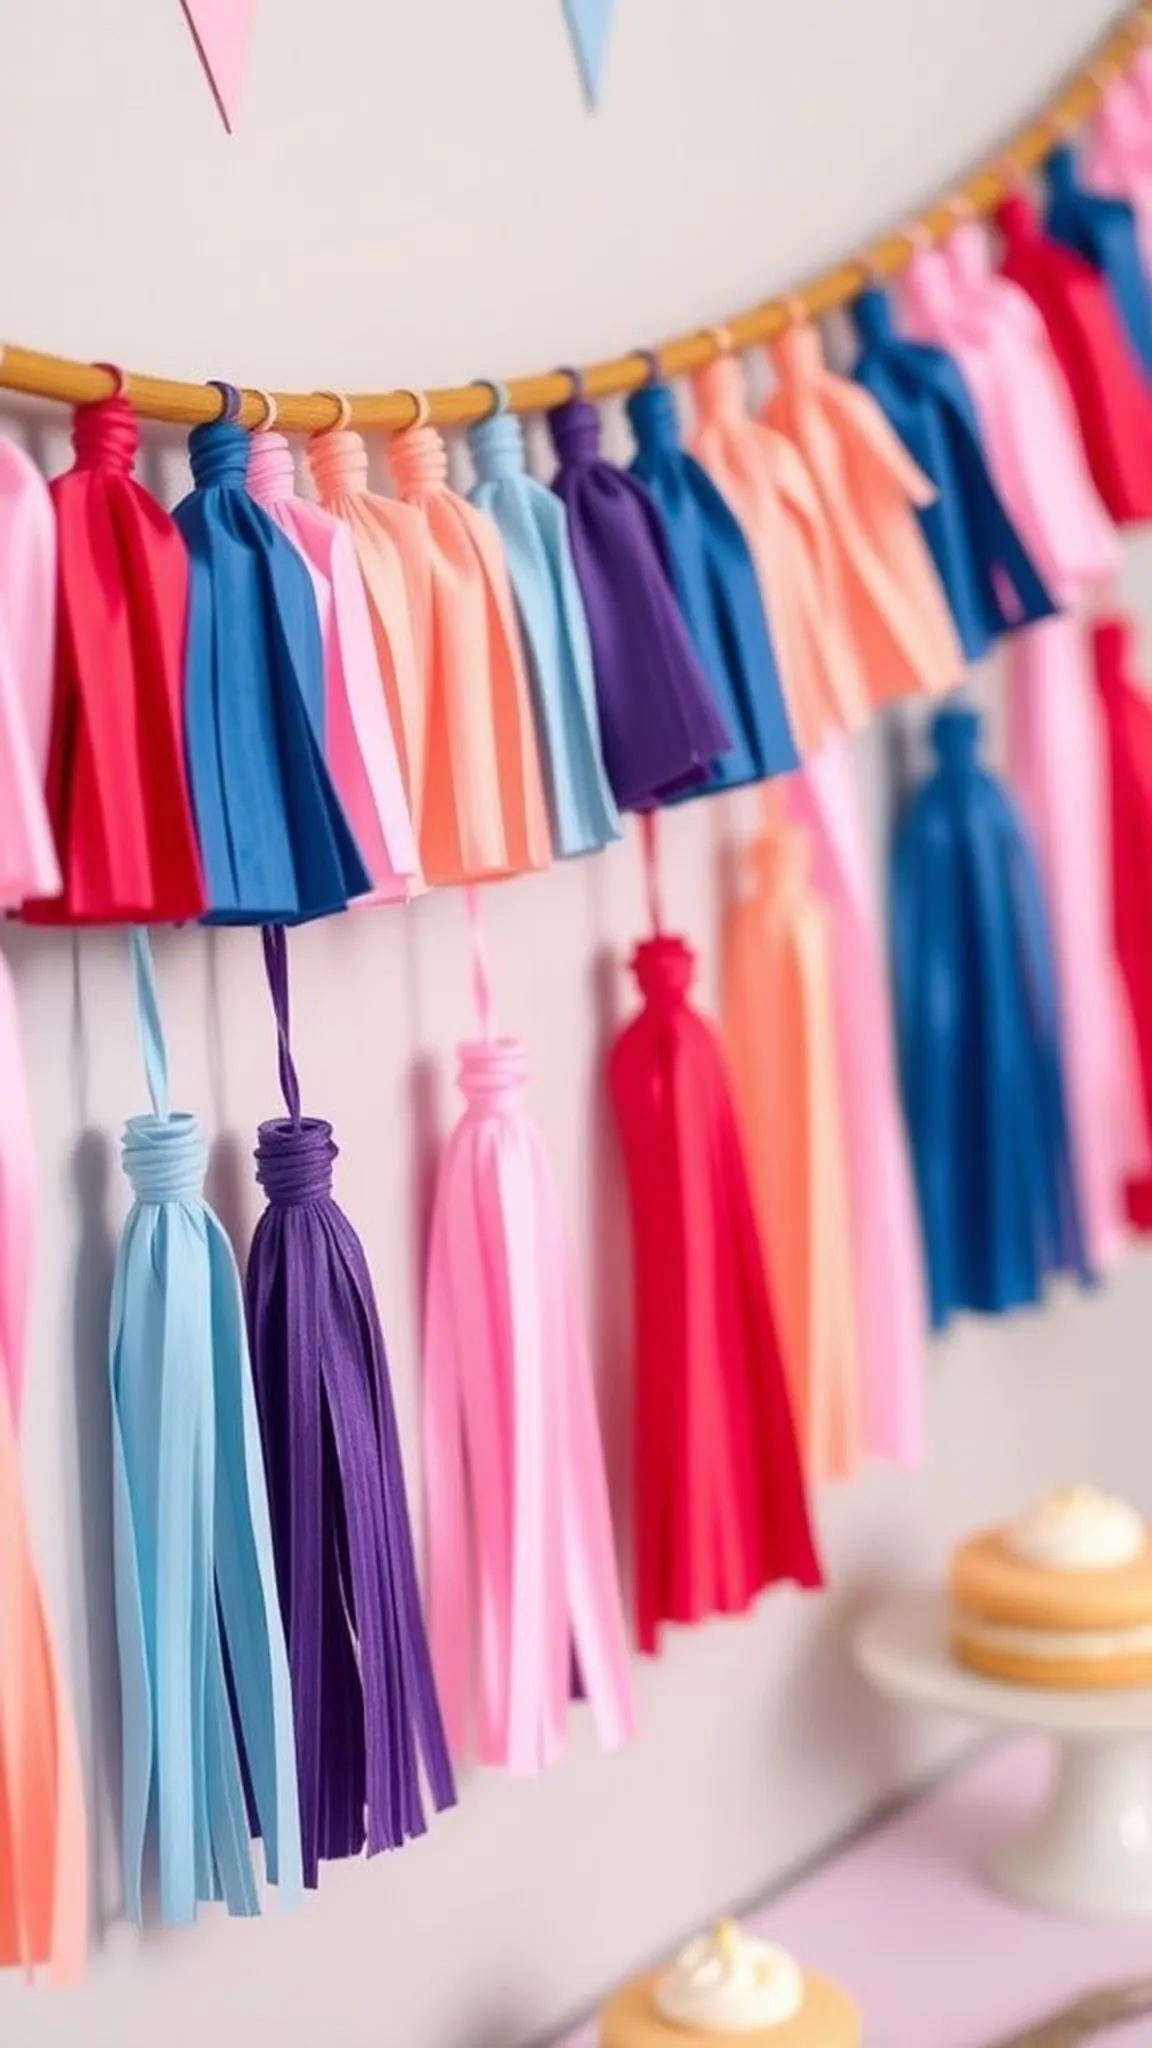
Tassels brought movement and color to the party corner, swinging slightly as guests passed. Each fringe had a soft papery rustle that felt celebratory without shouting, and the layered rows created a carnival-like depth. Combining matte and metallic tones made the garland catch different kinds of light, while the varying lengths added a casual, handcrafted vibe.
Hanging near the dessert table, the garland framed photos and plates with a playful energy, creating a focal point that invited selfies.
📋 How to Make This ▶
- Select tissue paper or thin metallic sheets in school colors and cut into long rectangles.
- Fringe each rectangle closely along one long edge and roll the unfringed portion tightly to form a tassel top.
- Secure tassel tops with twine or thin wire and string them along a long cord, spacing as desired.
- Hang the garland low enough for guests to notice the texture but high enough to avoid bumping.
⚠️ Avoid: A frequent oversight is making tassels all the same length, which flattens the display. Mixing lengths creates a more relaxed, handcrafted look.
🔄 Try Also: Create mini tassel clusters for napkin ties, or use fabric strips for a sturdier, reusable garland.
🛒 Products & Materials ▶
Items Used
- tissue paper sheets
- twine or cord
- scissors
📌 “Colorful tassel garland that livens any grad backdrop.”
• • •
Graduation cap cupcake toppers that charm
⏱️ 30 min · 🟢 Beginner

Tiny mortarboards perched on top of cupcakes created an instant nod to the ceremony. The crisp silhouette of the cap against fluffy frosting looked playful and refined, and the little tassel detail added a moment of movement even on still treats. A scatter of school-colored sprinkles echoed the topper palette, while the matte black cap offered contrast to glossy frosting.
The toppers were small, but their presence at the table made the spread feel coordinated and thoughtfully designed.
📋 How to Make This ▶
- Cut small square caps from black cardstock sized slightly bigger than cupcake domes.
- Create tiny tassels from embroidery floss and secure them to a button or small circle.
- Attach a short toothpick or skewer vertically under each cap for insertion.
- Place toppers gently into cupcakes just before serving to maintain structure.
⚠️ Avoid: A frequent beginner oversight is making toppers too heavy, which causes them to lean. Keeping materials lightweight preserves the clean look.
🔄 Try Also: Swap cardstock for felt for a softer look, or add metallic numbers for the graduation year on each cap.
🛒 Products & Materials ▶
Items Used
- black cardstock squares
- embroidery floss
- toothpicks
📌 “Adorable mortarboard cupcake toppers for grad celebrations.”
• • •
Save time and printer ink with 50+ printable templates and step-by-step instructions in one ad-free guide.

Just $19.99 — lifetime access
Keepsake diploma tubes for tiny favors
⏱️ 1-2 hours · 🟠 Intermediate
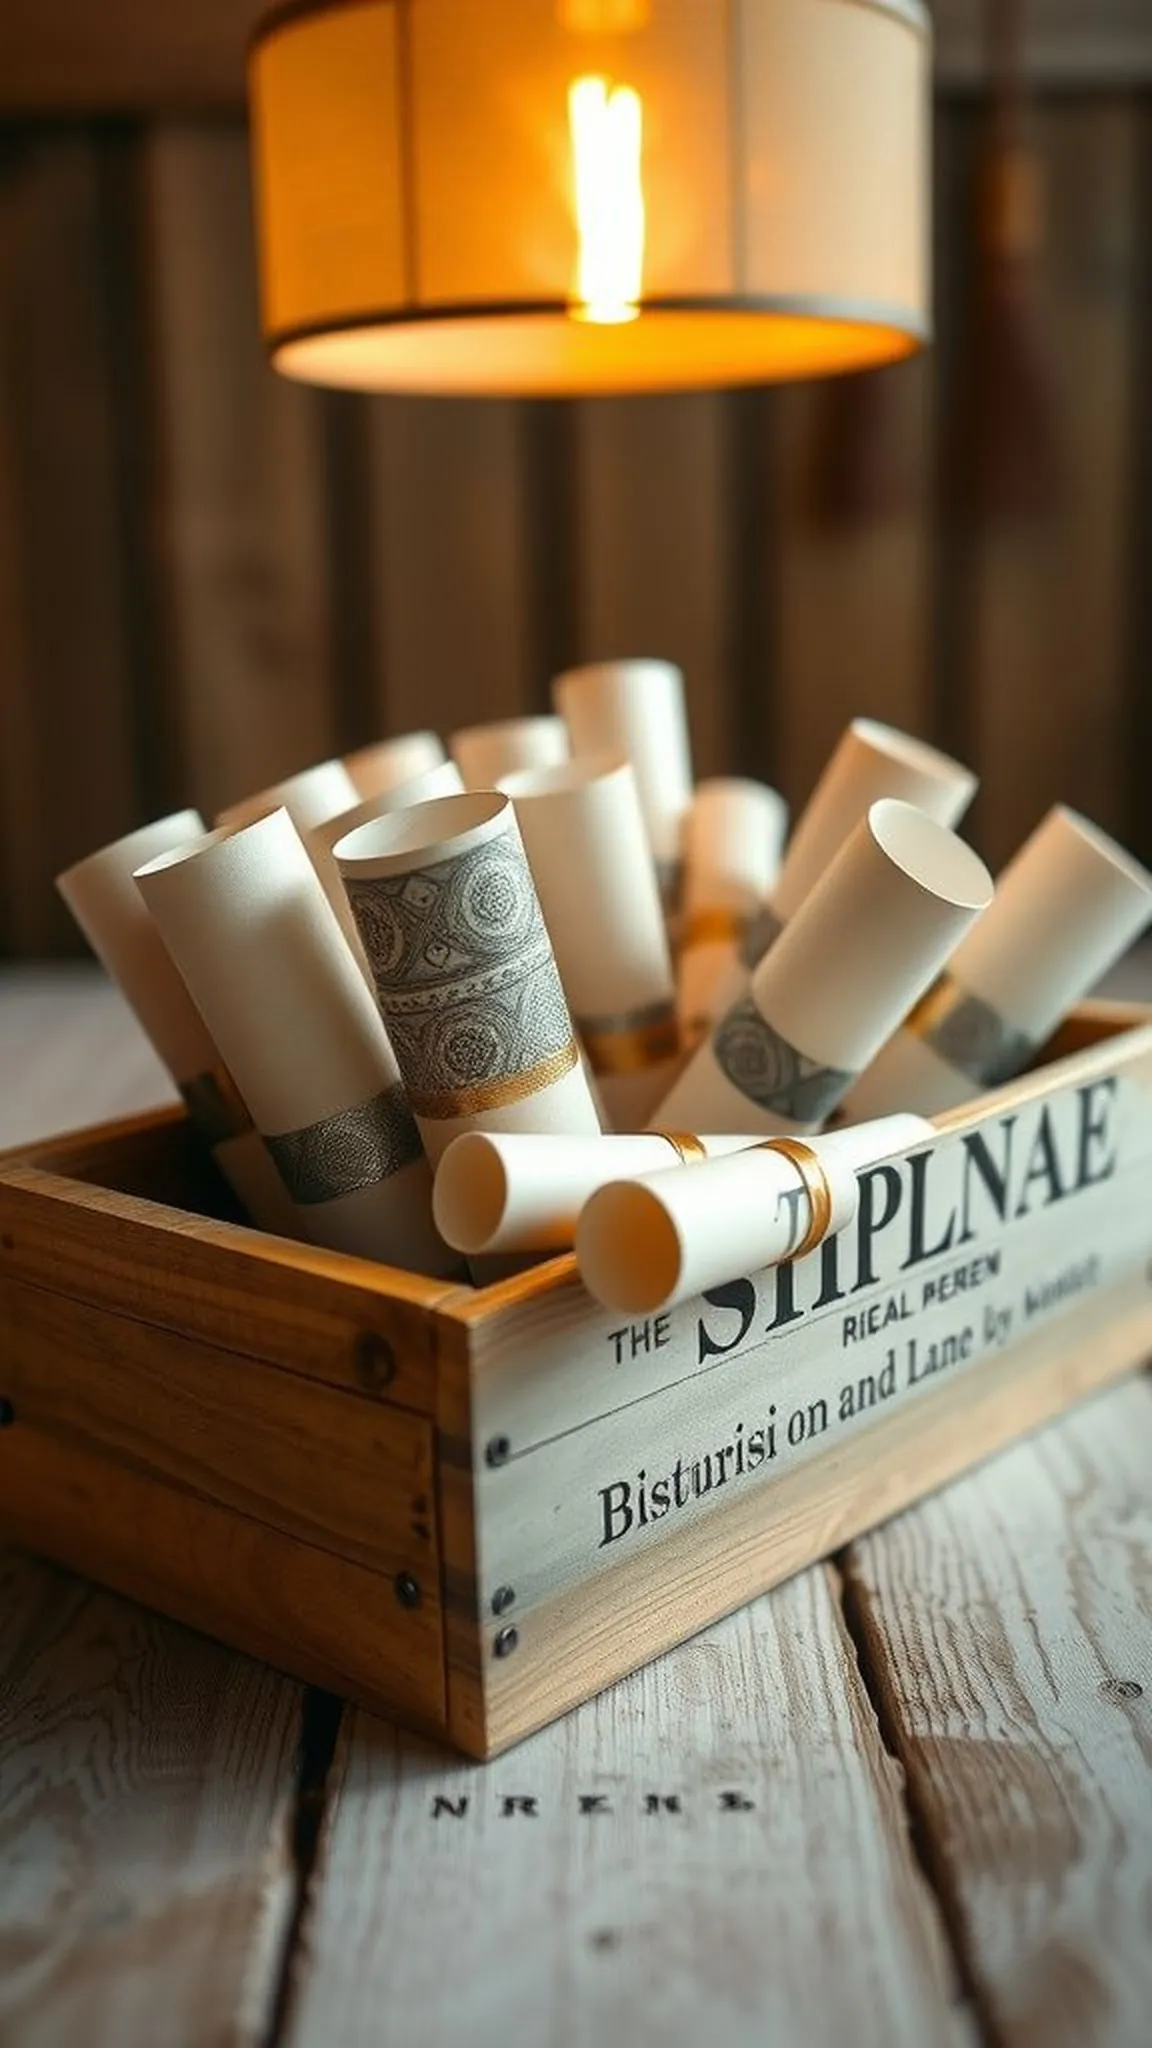
Slim tubes stood upright like miniature diplomas, their rolled paper interiors promising a small note or candy inside. The textured tube surfaces picked up the ambient light, and a crisp band around the middle gave each one a polished finish. Guests liked picking them up; the weight felt sturdy in hand, and the little scroll inside had a real presence.
Arranged in a wooden crate or scattered across a table, the tubes read as thoughtful tokens that matched the evening’s tone.
📋 How to Make This ▶
- Roll decorative paper tightly around a small cardboard tube blank and secure edges.
- Create a faux seal or band from metallic paper to encircle the center.
- Insert a rolled note or small treat into each tube and cap if desired.
- Arrange the finished tubes in a crate or tray for guests to take.
⚠️ Avoid: An early mistake is using flimsy paper that collapses when handled; choosing heavier decorative paper keeps tubes upright and tactile.
🔄 Try Also: Swap paper bands for wax seals for a vintage feel, or make mini tubes for candy versus larger ones for rolled notes.
🛒 Products & Materials ▶
Items Used
- cardboard tube blanks
- decorative paper rolls
- metallic paper strips
📌 “Elegant miniature diploma tubes as memorable favors.”
• • •
DIY photo booth props for instant silliness
⏱️ 45 min · 🟢 Beginner

A pile of oversized glasses, mini mortarboards, and speech bubbles sparked quick laughter and posed snapshots. The props had crisp edges and bold colors that popped against a neutral backdrop, and the variety encouraged spontaneous pairings. Holding a prop felt performative in the best way, turning shy guests into eager participants for a silly portrait.
The mix of glossy and matte finishes made each photo feel lively, and the props doubled as mementos when guests tucked one into a purse.
📋 How to Make This ▶
- Draw or print prop shapes onto sturdy cardstock and cut them out cleanly.
- Attach wooden dowel handles to the back of each prop for holding.
- Add accents like glitter or metallic stickers for extra pop.
- Display the props in a decorated bucket near the photo backdrop.
⚠️ Avoid: A frequent oversight is making handles too short, which forces awkward holds. Longer handles make posing more natural.
🔄 Try Also: Create school-spirited sets with mascots, or photo strips with different props for each table.
🛒 Products & Materials ▶
📌 “Playful photo booth props that get guests striking poses.”
• • •
Centerpiece jar with balloons and confetti pop
⏱️ 1 hour · 🟠 Intermediate
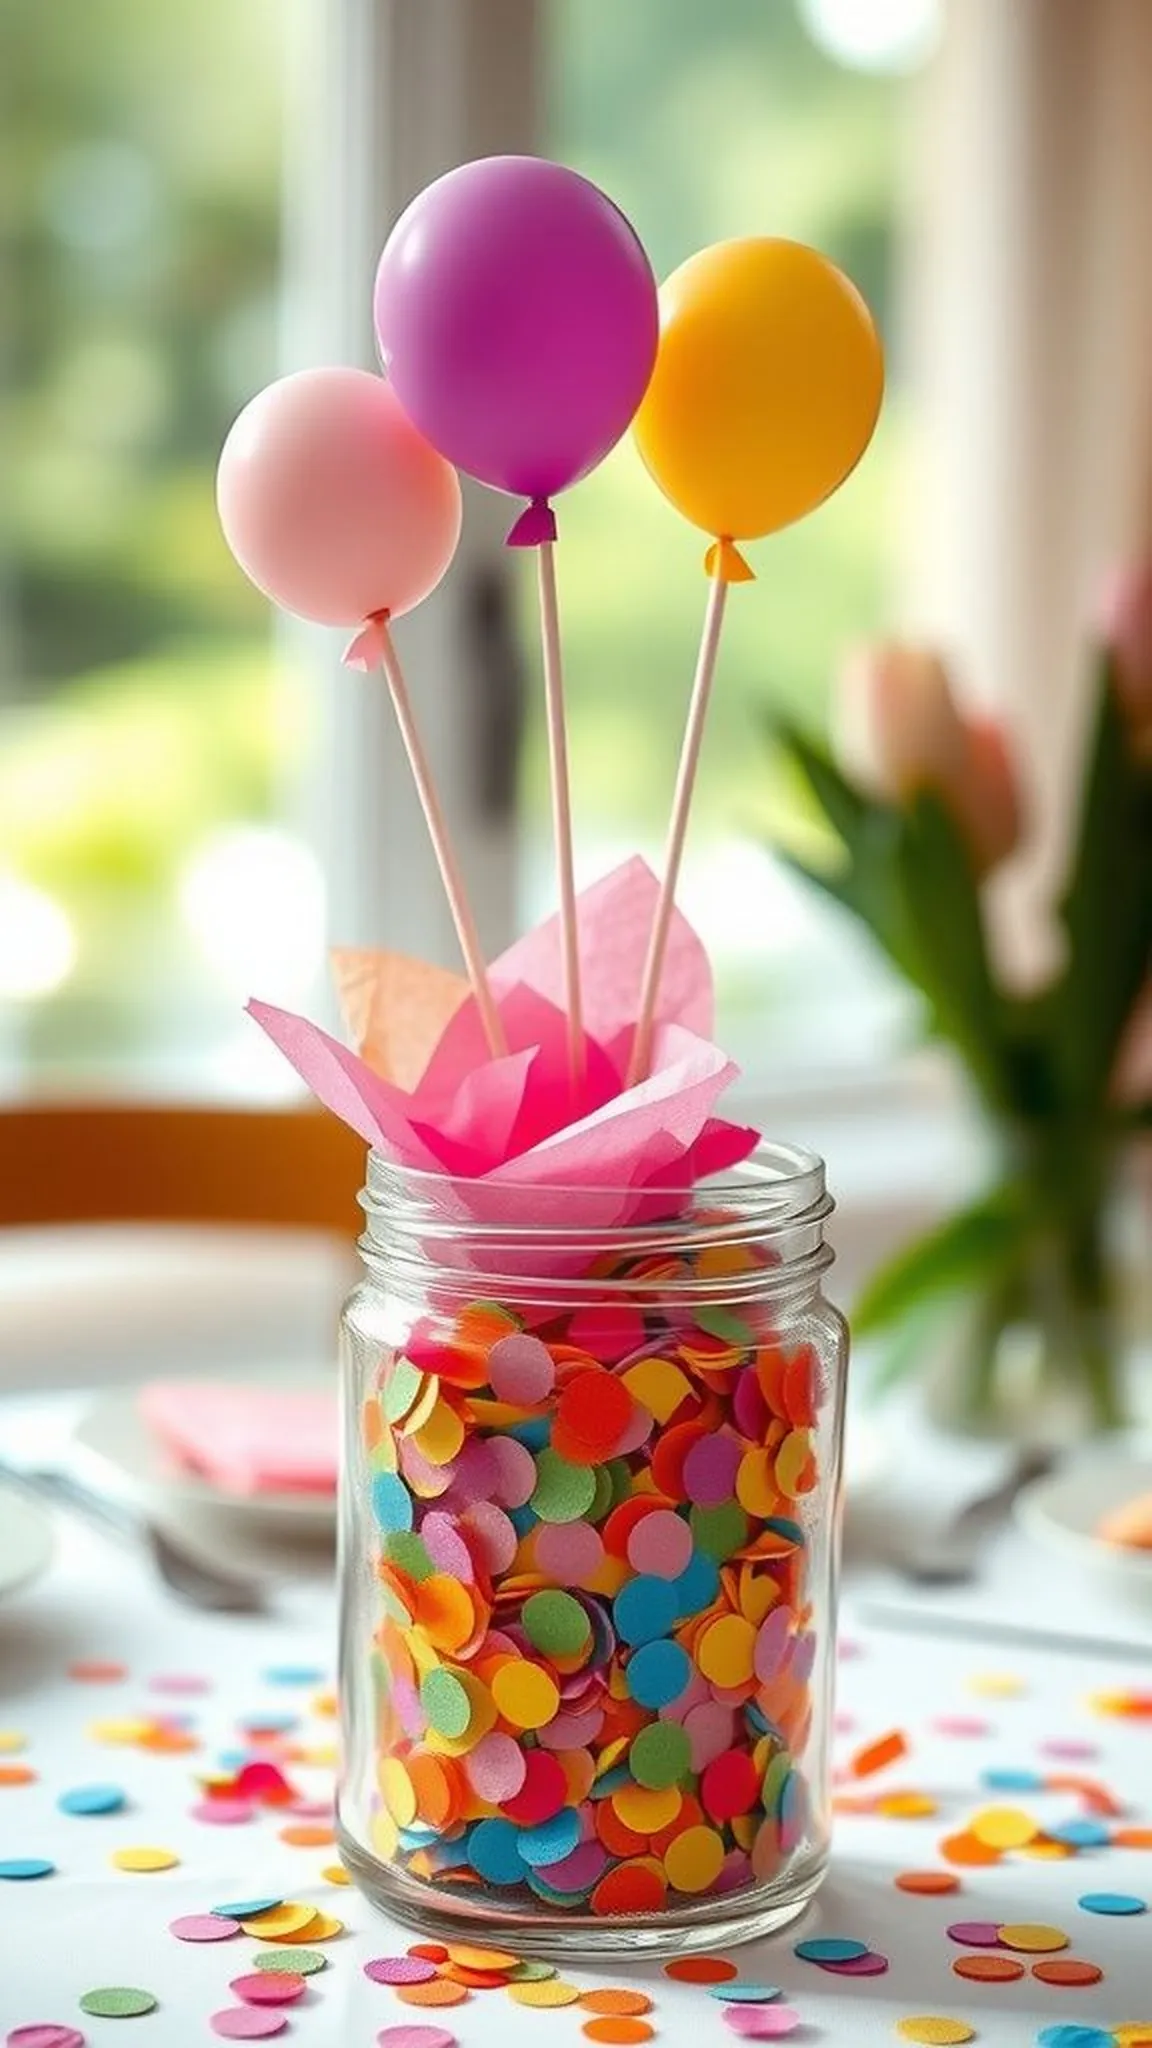
A tall jar anchored a cluster of small balloons, the clear glass offering a view into layered confetti and tissue paper folds. The balloons bobbed gently and picked up pinpricks of light, while the confetti inside added a playful texture that felt festive without taking over the table. The glass rim provided a clean contrast to the floating elements, and the overall silhouette read as modern but approachable.
Guests found the centerpieces cheerful and unobtrusive, giving tables a celebratory lift.
📋 How to Make This ▶
- Fill a clear jar partially with tissue paper or crumpled paper for base support.
- Sprinkle confetti or sequins on top of the base layer for visual interest.
- Anchor small inflated balloons to skewers and insert them into the jar so they stand upright.
- Add a ribbon or band around the jar neck for color coordination.
⚠️ Avoid: A frequent oversight is overfilling the jar, which hides the confetti and flattens the composition. Leaving some negative space preserves the airy feel.
🔄 Try Also: Use LED tea lights inside for evening events, or swap balloons for floral stems for a softer look.
🛒 Products & Materials ▶
Items Used
- clear glass jars
- confetti or sequins
- small latex balloons
- wooden skewers
📌 “Glass jar centerpiece with playful confetti and balloons.”
• • •
Year-of marquee sign with DIY flair
⏱️ 2-3 hours · 🔴 Advanced
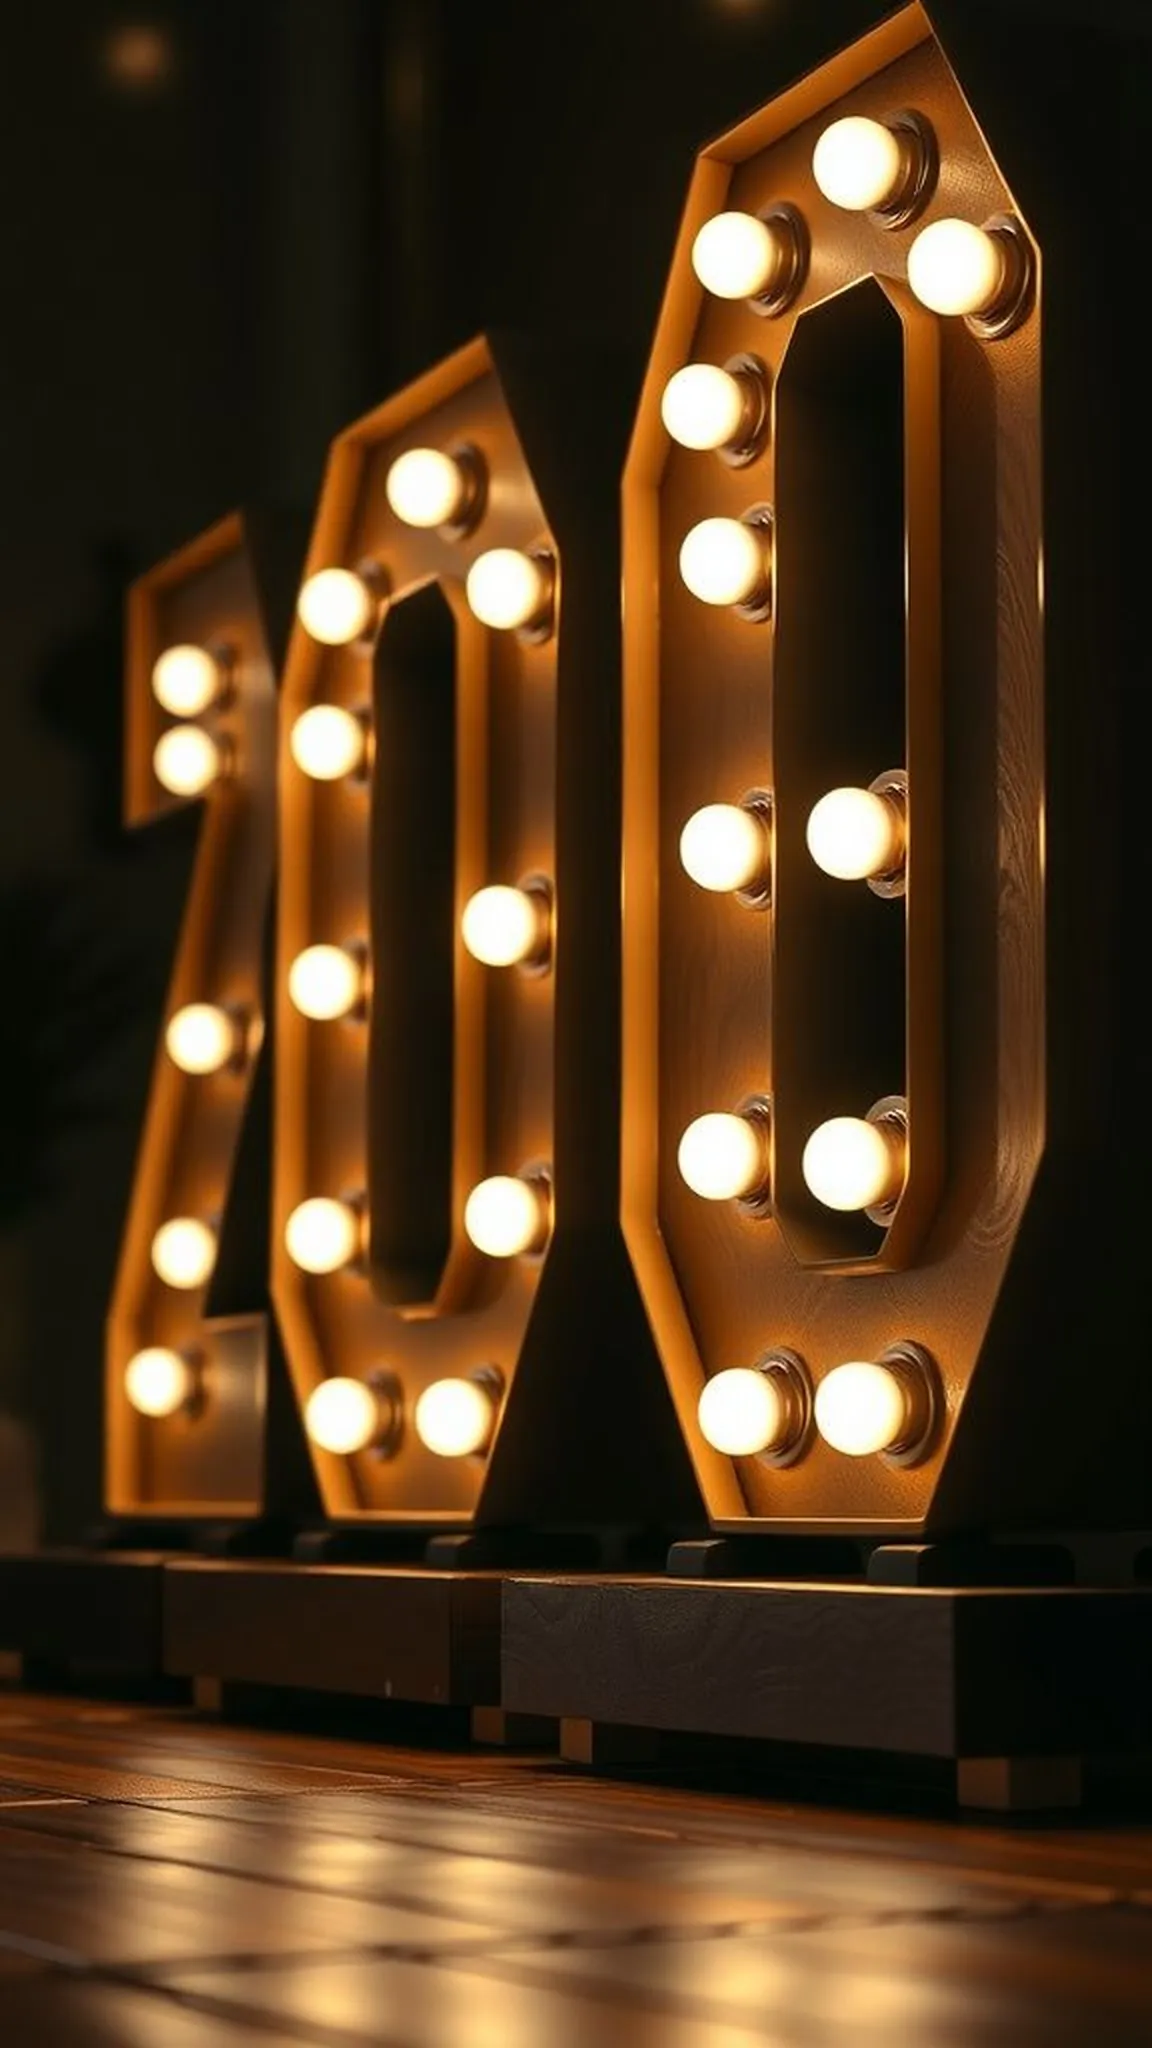
The illuminated year sign had a theatrical presence, casting a warm glow across the dessert table. Bulb edges threw tiny halos of light while the painted numbers carried texture from brushstrokes and subtle distressing. Standing on a low platform, the sign felt like a photo-ready prop that anchored the room.
The contrast between glowing bulbs and matte finish made the numbers legible from across the room, and the overall result read as intentional and celebratory, drawing eyes without overwhelming other decor.
📋 How to Make This ▶
- Trace number templates onto thick foam board and cut shapes carefully.
- Drill evenly spaced holes along the number faces for bulb placement.
- Insert low-heat marquee bulbs and wire them using a simple battery pack or plug-in cord.
- Paint or finish the number edges and mount the pieces on a low wooden base for stability.
⚠️ Avoid: A frequent oversight is uneven hole spacing which creates patchy illumination; marking placements with a ruler prevents that issue.
🔄 Try Also: Scale the sign down for table display, or make individual letter lights for a name instead of the year.
🛒 Products & Materials ▶
Items Used
- foam board numbers
- marquee light bulbs
- battery pack wiring
- drill
📌 “Bold illuminated year sign to headline the celebration.”
• • •
Graduation-themed favor boxes with flair
⏱️ 1 hour · 🟠 Intermediate
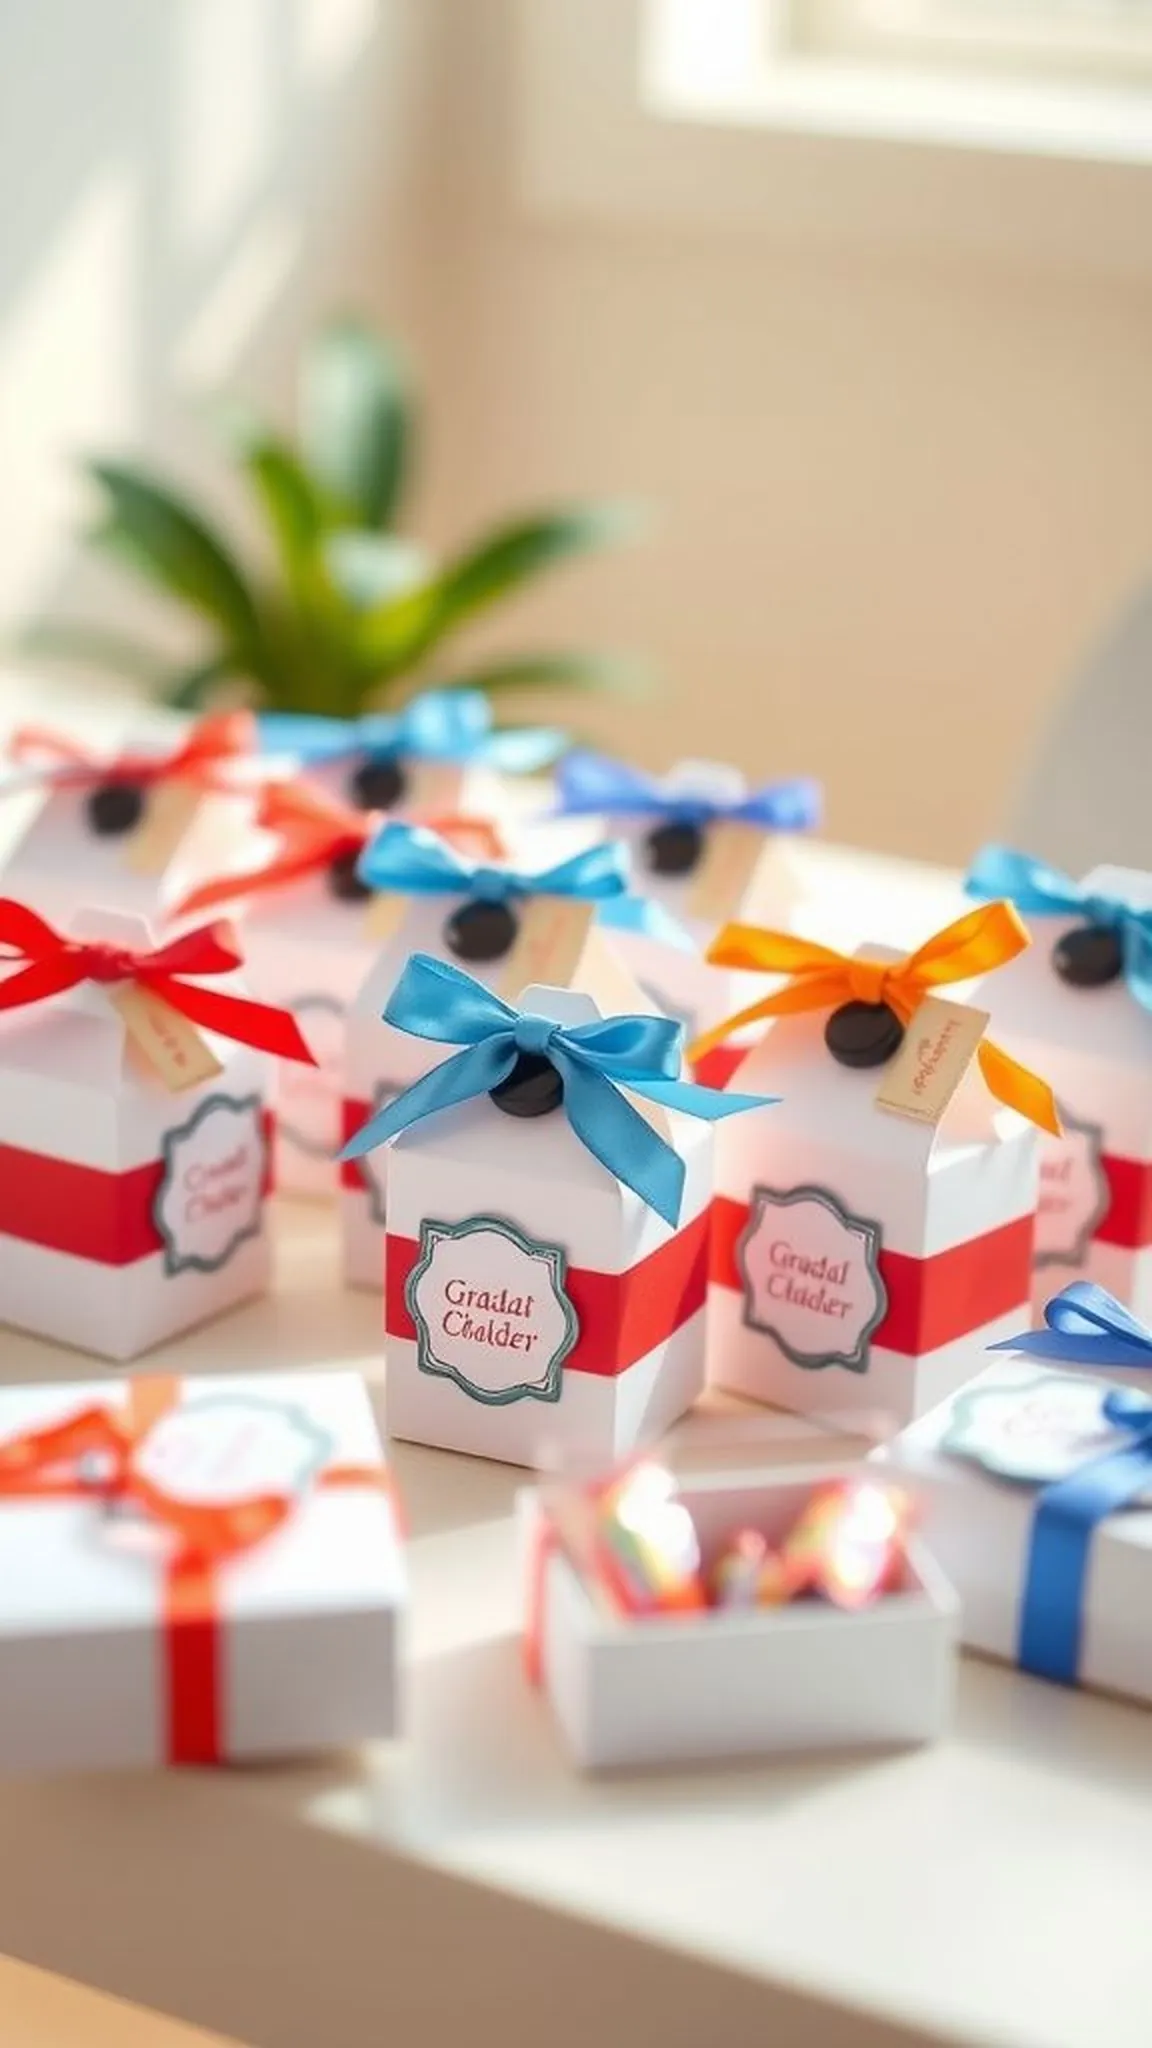
Small boxes lined up like little gifts made the favor table feel abundant and intentional. Each box had a crisp fold and a band of patterned paper that hinted at school colors, and the tactile ribbon tied everything together. Opening one revealed a neat arrangement of candy, a tiny keepsake, or a handwritten note, and that unwrapping felt like a brief ceremony.
The boxes carried a handmade quality without fussiness, and their uniformity across the table read as thoughtful and polished.
📋 How to Make This ▶
- Score and fold favor box templates from heavyweight cardstock for sturdy shapes.
- Slide a decorative paper band around each box and secure it discreetly.
- Fill boxes with small treats, notes, or tokens and close securely.
- Add a simple ribbon or sticker seal to keep boxes closed until picked up.
⚠️ Avoid: A frequent oversight is using thin cardstock that bows when filled; opting for heavyweight stock keeps boxes neat.
🔄 Try Also: Make open-top boxes for edible favors or add a clear window panel to showcase contents.
🛒 Products & Materials ▶
📌 “Chic favor boxes that feel personal and cohesive.”
• • •
Cap-themed place cards that welcome each guest
⏱️ 30 min · 🟢 Beginner
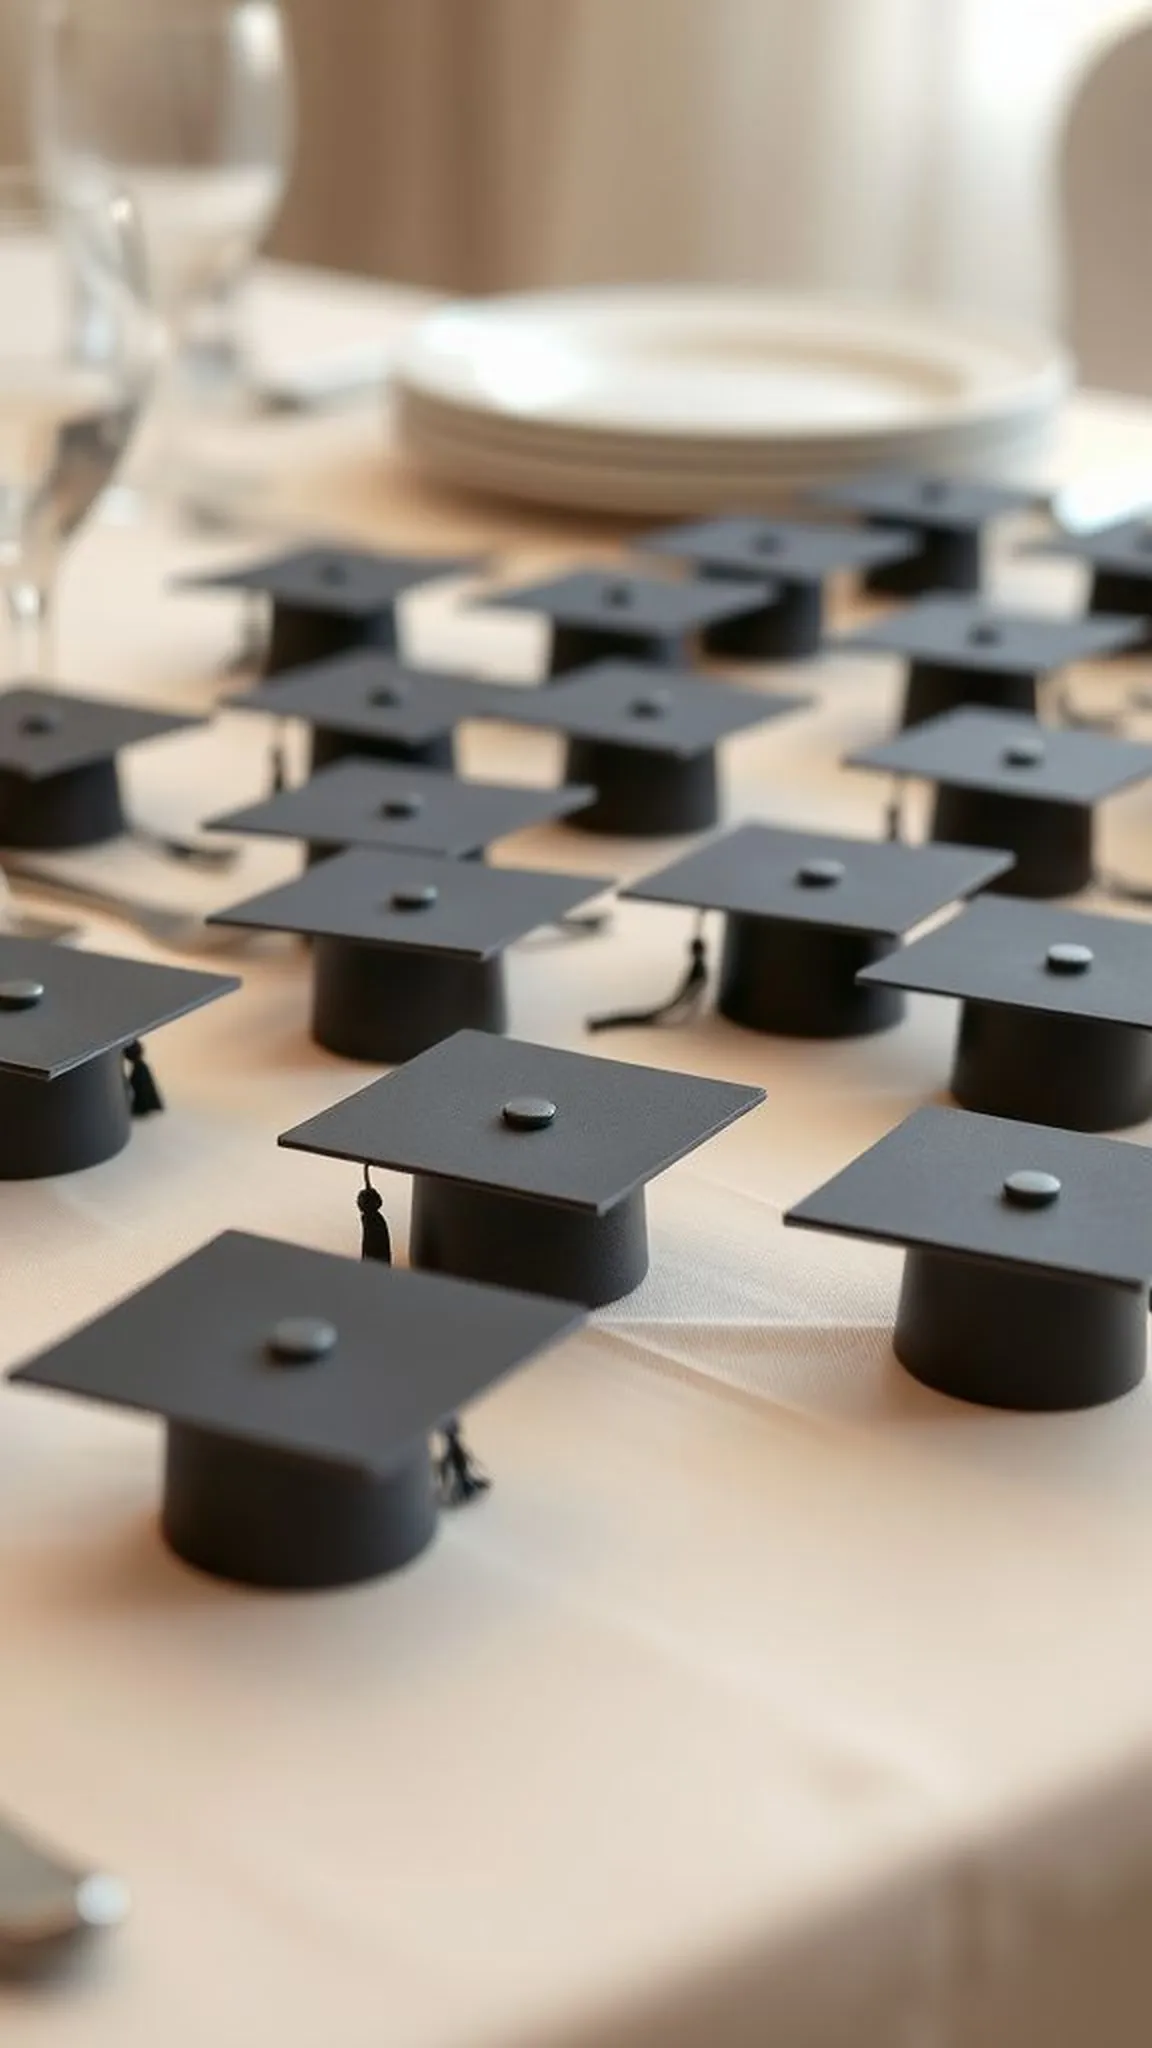
Tiny mortarboard place cards sat at each setting like a miniature nod to the day. They offered the right amount of whimsy without claiming too much space, and the black silhouette held little name tags in a balanced way. The texture of cardstock against linen napkins created a pleasant contrast, and when light hit the small tassels, they shimmered softly.
Guests appreciated the personalized touch, and the scattered caps across the table looked cohesive without feeling staged.
📋 How to Make This ▶
- Cut cap shapes from black cardstock sized for place settings.
- Add folded name tags to the cap center or glue a small name strip to the mortarboard face.
- Affix a tiny tassel detail and let all pieces dry before table placement.
- Align caps neatly beside each plate for consistent presentation.
⚠️ Avoid: A frequent oversight is placing names too close to the edge, which can tear when handled; keeping lettering centered prevents that.
🔄 Try Also: Swap black for school-colored caps, or make tiny caps sit atop napkin rings for layered styling.
🛒 Products & Materials ▶
📌 “Charming mortarboard place cards for every guest.”
• • •
Ribbon-wrapped candle jars for gentle ambiance
⏱️ 40 min · 🟢 Beginner
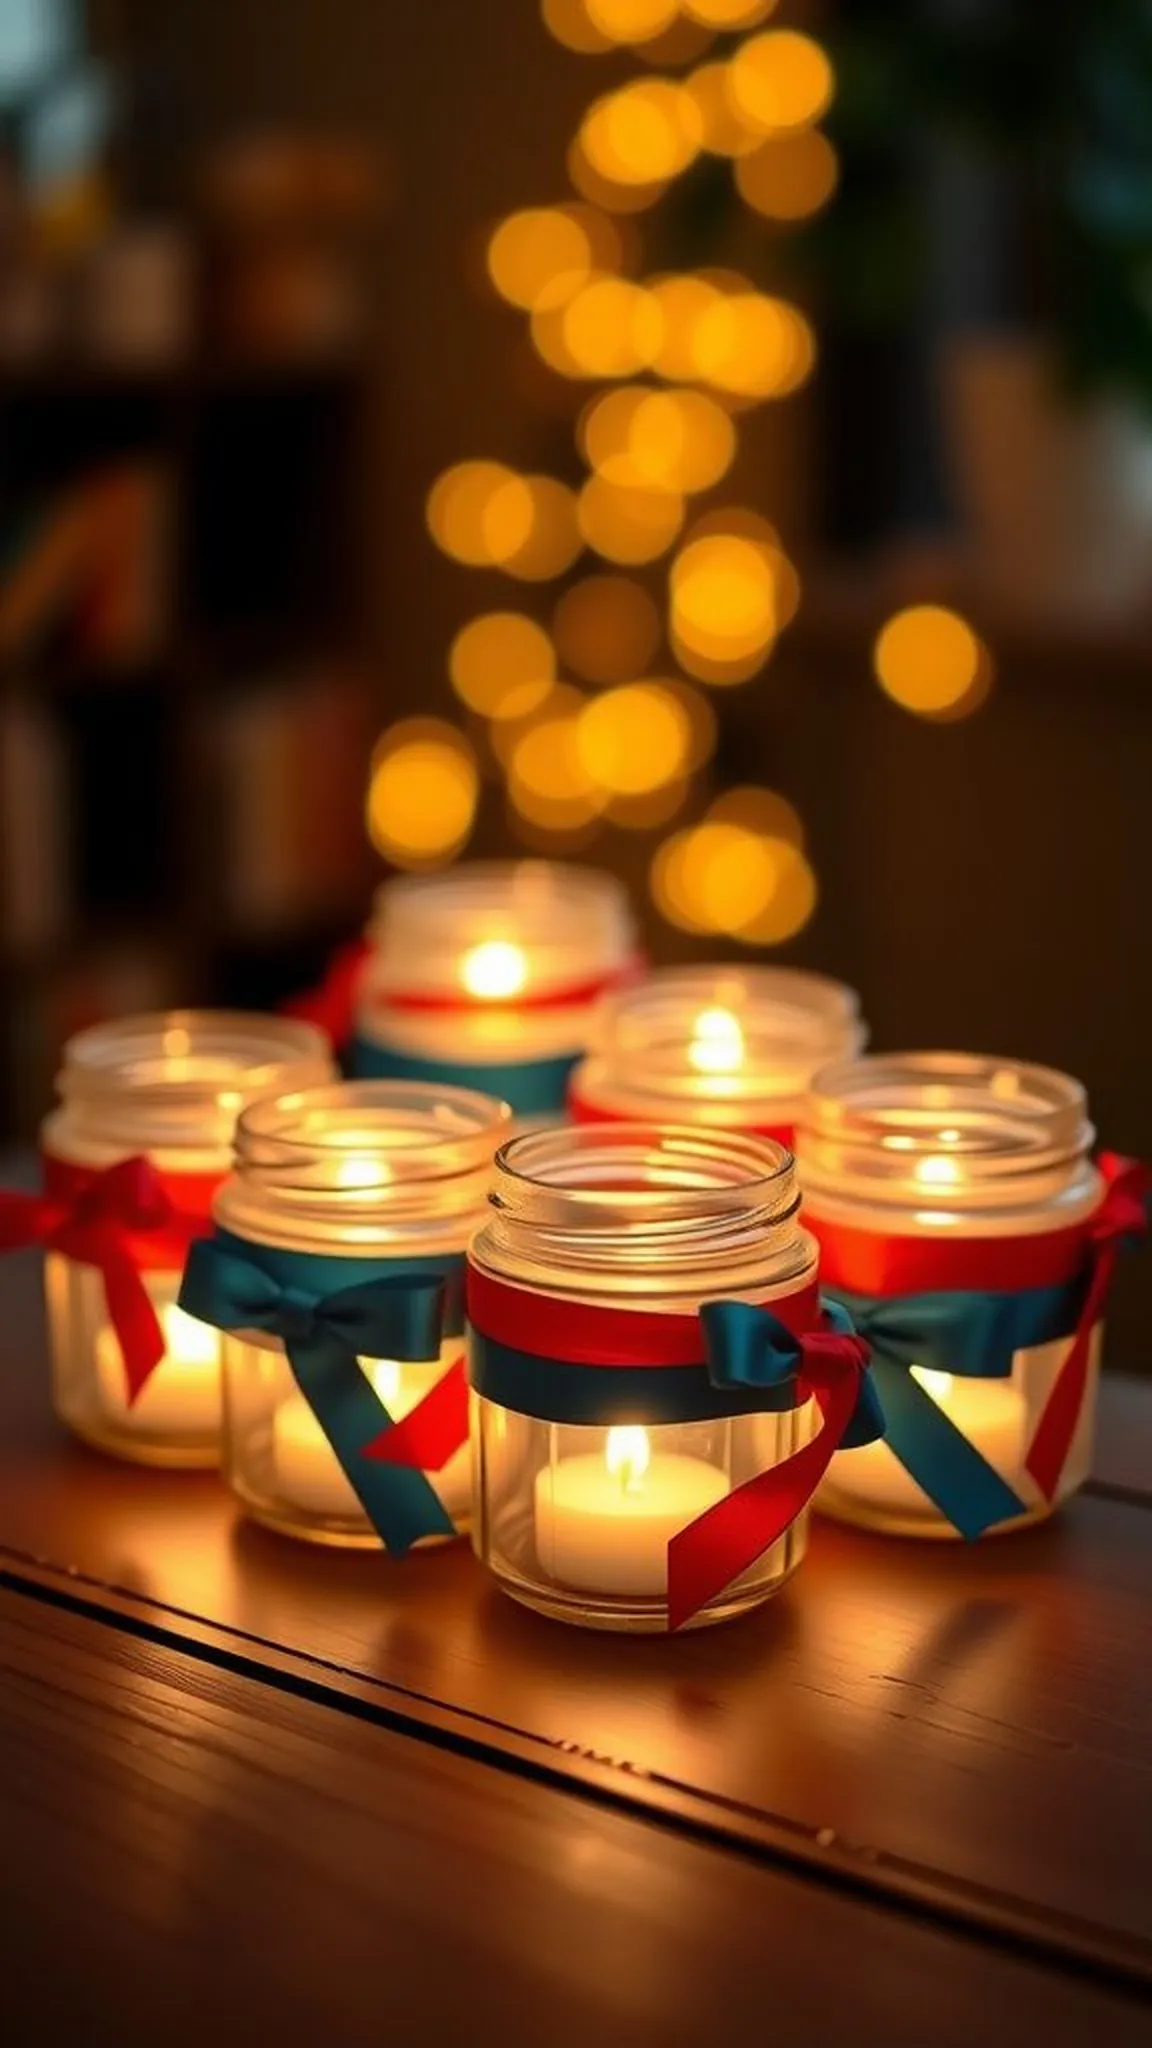
Candlelight filtered through ribbon bands, throwing soft color across tables. The jars had a tactile mix of glass and fabric, and the glow felt intimate without being overwhelming. Ribbons overlapped with slight texture shifts that caught ambient light, and the overall effect was cozy and restrained.
A few jars grouped together read as a vignette, while single jars at wider tables offered pockets of light. The warmth of the flame made decorations feel lived-in and welcoming.
📋 How to Make This ▶
- Clear glass jars are wrapped with ribbon or fabric bands sized to the jar circumference.
- Secure ribbon ends discreetly along the jar back for a smooth front presentation.
- Place a candle inside each jar and test glow levels at the venue lighting.
- Group jars in small clusters for table centers or spread them evenly for ambient light.
⚠️ Avoid: A frequent oversight is relying on open flames in windy outdoor spots; selecting sealed or LED candles prevents flicker issues.
🔄 Try Also: Use lace ribbon for a vintage look, or tie thin metallic wire for a modern touch.
🛒 Products & Materials ▶
Items Used
- clear glass jars
- satin ribbon
- LED tea candles
📌 “Warm candle jars wrapped in school colors for soft lighting.”
• • •
Hand-lettered chalkboard signs for personality
⏱️ 1 hour · 🟠 Intermediate
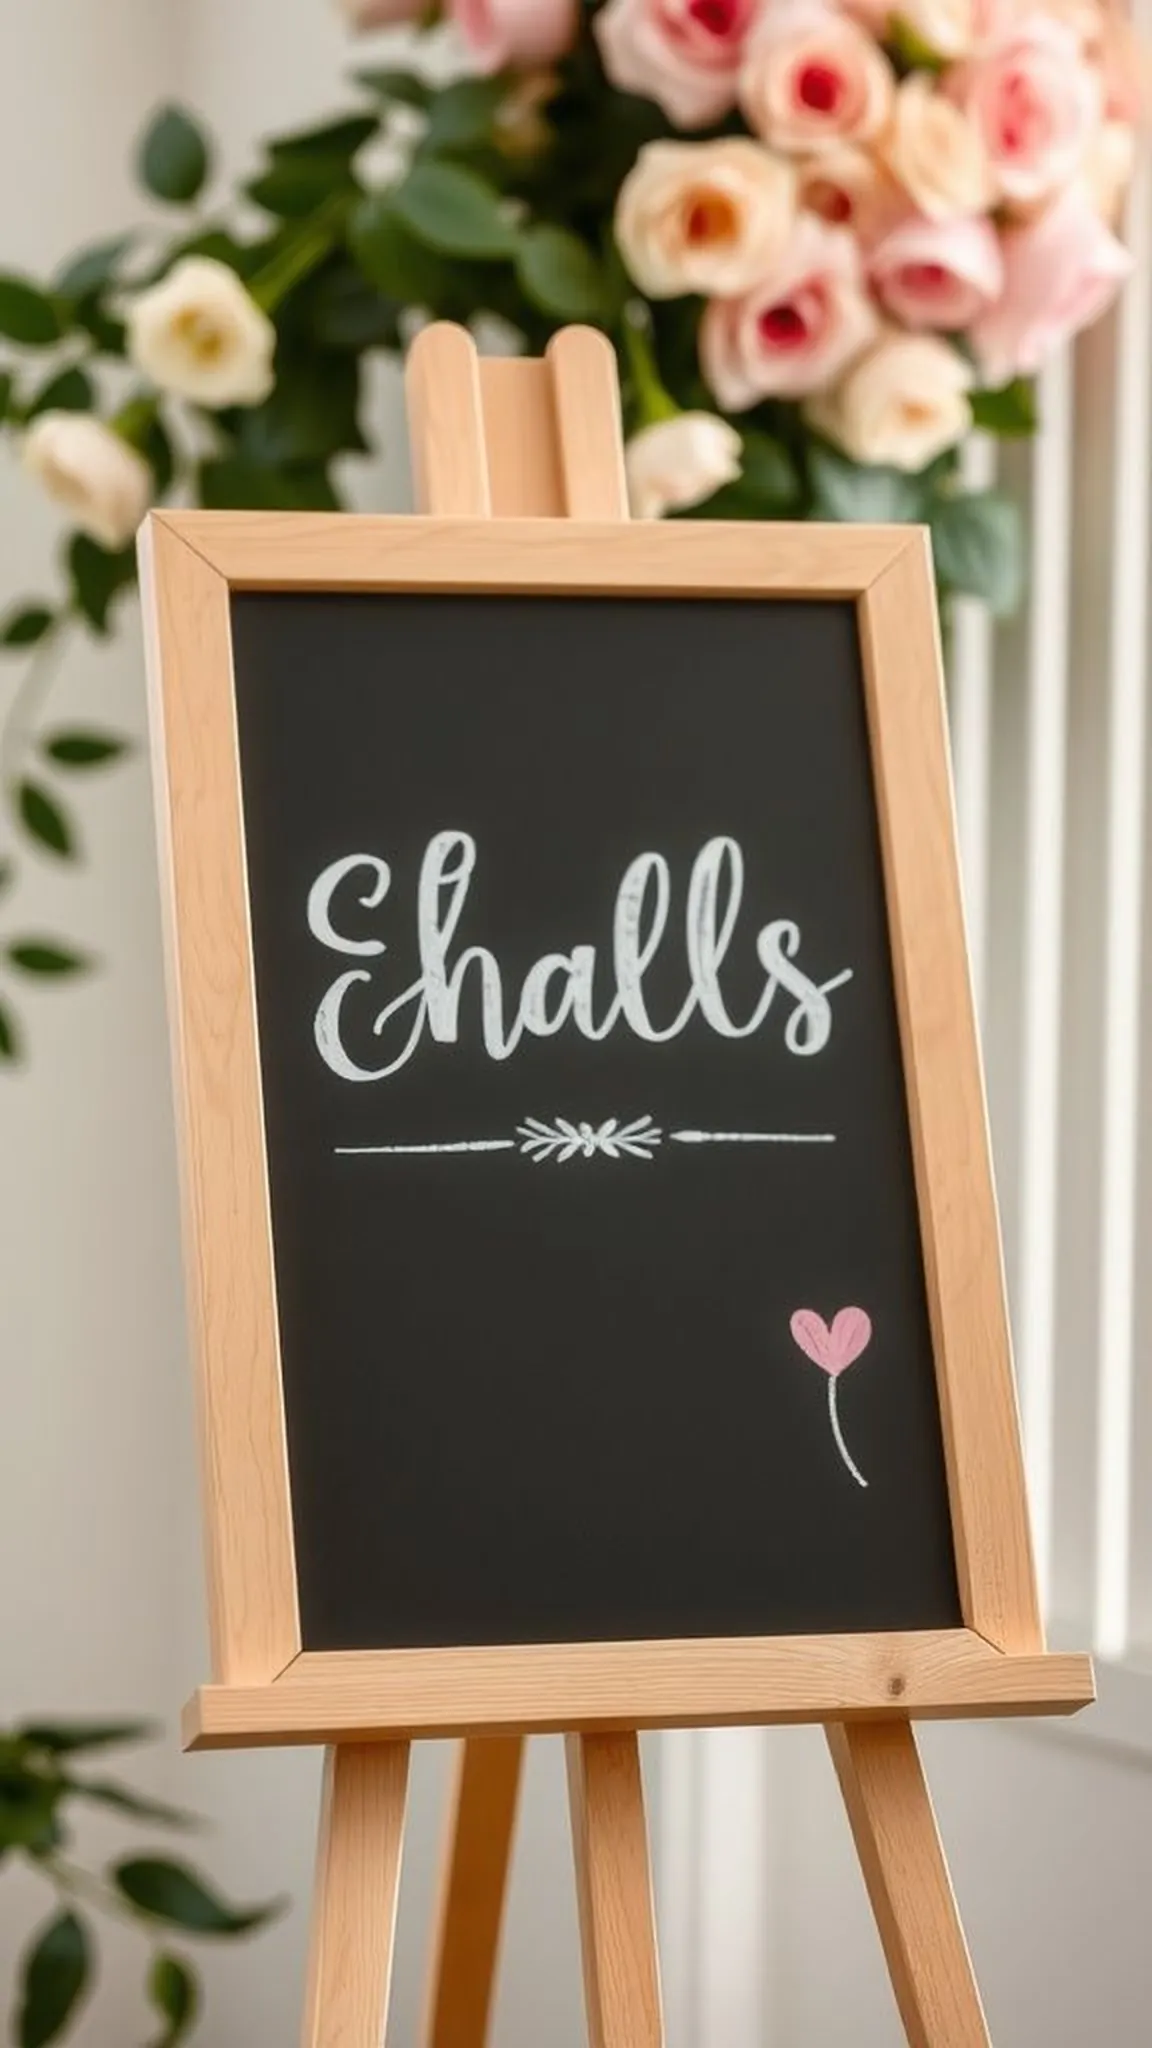
A swirled, hand-lettered sign felt personal and warm at the entrance, the chalk lines inviting guests to pause. Matte black paired with crisp white strokes and occasional school-colored accents, and the texture of chalk on slate added a handcrafted authenticity. The sign’s tone could be playful or refined depending on script style, and that flexibility made it a solid anchor at a beverage or dessert station.
Guests slowed down to read and often used it as a photo backdrop.
📋 How to Make This ▶
- Wipe the chalkboard clean and plan the layout lightly with a pencil or chalk marker.
- Sketch the main lettering first, filling in decorative flourishes afterward.
- Use a small brush or cloth to soften edges for a chalky finish if desired.
- Seal the board with a fixative spray if it needs to last beyond the event.
⚠️ Avoid: A frequent oversight is overcrowding the board with too many words; keeping text concise improves readability.
🔄 Try Also: Create small tabletop chalk signs for menus, or a tall welcome board with event details.
🛒 Products & Materials ▶
Items Used
- chalkboard sign
- chalk markers
- fixative spray
📌 “Hand-lettered chalkboards that add personality and warmth.”
• • •
Graduation garland of mini mortarboards
⏱️ 50 min · 🟢 Beginner
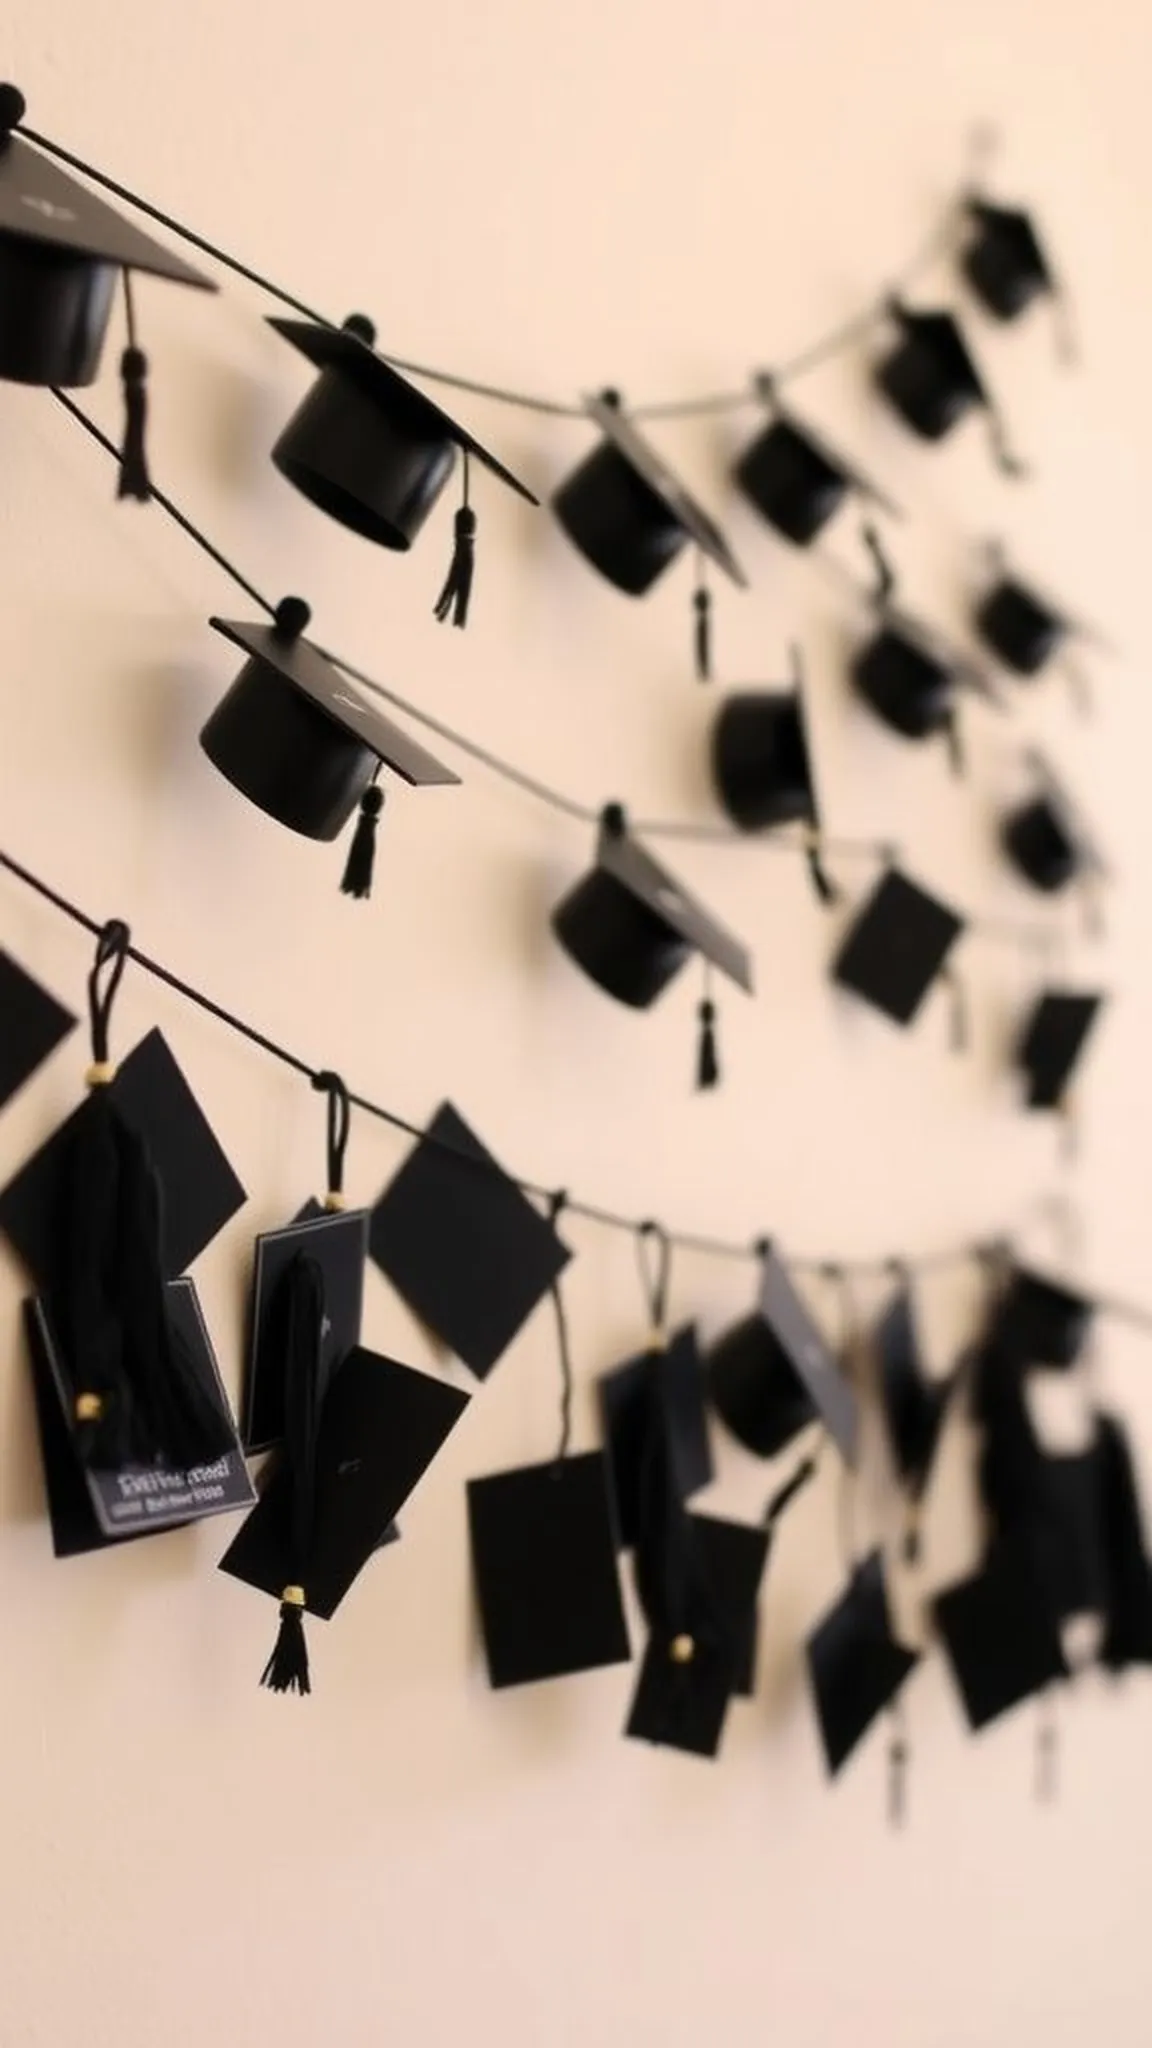
A string of tiny mortarboards created a repeating motif that felt celebratory without overstating the theme. The little caps had neat edges and a playful silhouette that looked charming against a plain wall. The mixture of matte black and the occasional metallic cap added visual interest, and when the garland swung slightly it caught light in small flashes.
Placing it above a food table or entryway framed the space and connected other decor elements through repetition.
📋 How to Make This ▶
- Cut small cap shapes from black cardstock and create square tops with a small circle base.
- Add miniature tassels to each cap and secure the base to a long cord or ribbon.
- Space caps evenly along the cord and knot ends for hanging.
- Drape the garland at desired height across a wall or table edge.
⚠️ Avoid: A frequent oversight is making the caps too heavy, which causes sagging; keeping materials light preserves a clean hang.
🔄 Try Also: Intermix small pompoms between caps for color bursts, or alternate cap sizes for a playful rhythm.
🛒 Products & Materials ▶
Items Used
- black cardstock
- thin ribbon or cord
- mini tassels
📌 “Mini mortarboard garland for a cohesive grad motif.”
• • •
Candy buffet jars with custom labels
⏱️ 1 hour · 🟢 Beginner
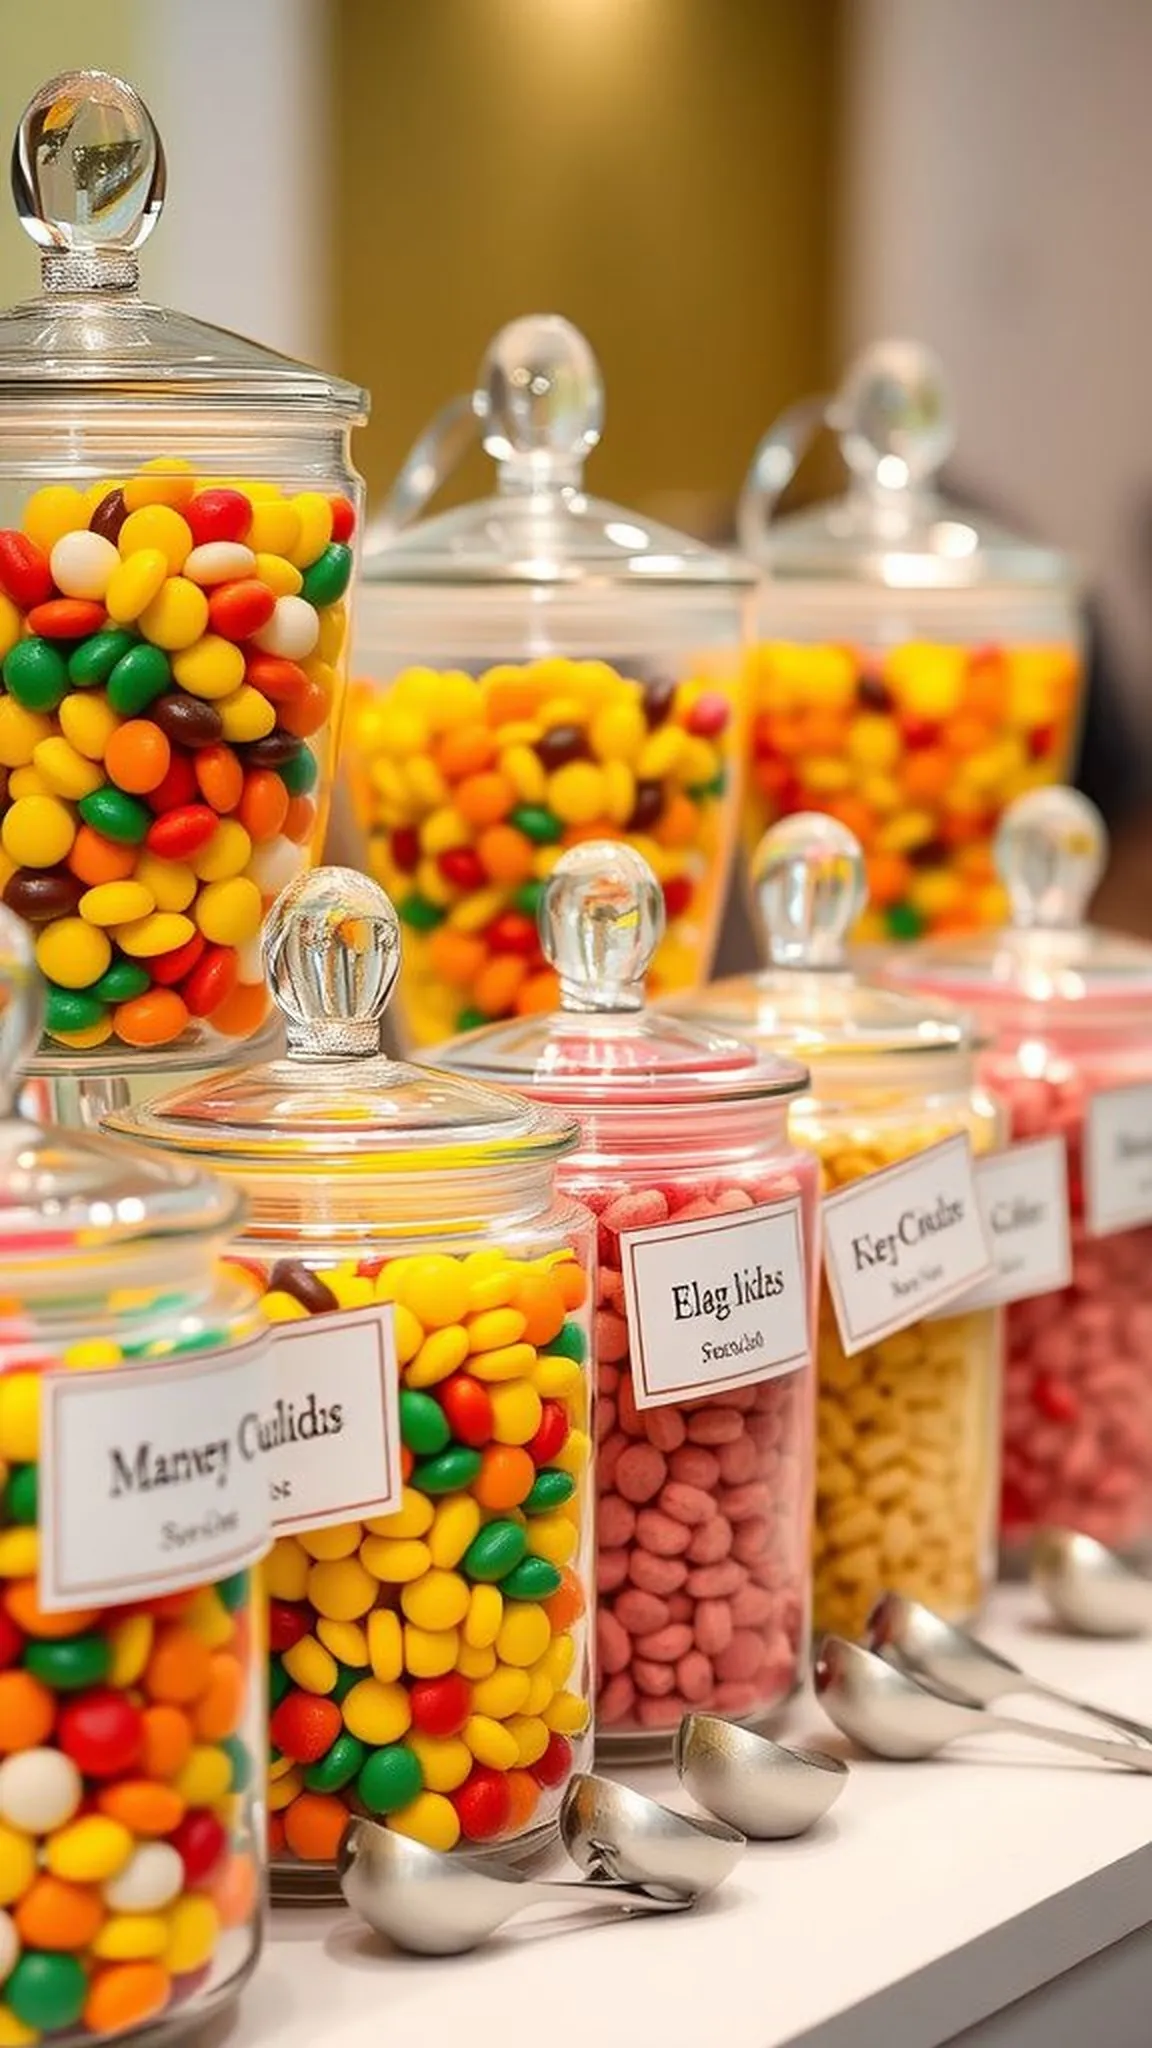
A row of glass jars filled with colorful sweets read like edible decor, each jar topped with a custom label that echoed the party palette. The candies sparkled under overhead lights, creating a joyful, playful focal point. Guests enjoyed mixing picks, and the jar arrangement felt generous and approachable.
Printed labels offered a polished touch, and small scoops added a tactile element that made selecting treats part of the experience. The whole spread invited nostalgic snacking and bright photos.
📋 How to Make This ▶
- Arrange clear glass jars and fill each with a single candy type for consistent color blocks.
- Print and affix custom labels to each jar indicating contents or a short message.
- Place scoops or tongs beside jars and provide small favor bags for guests.
- Add a backdrop or signage to frame the candy buffet table.
⚠️ Avoid: A frequent oversight is mixing too many candy types in one jar, which makes the display look messy; keeping single-type jars improves overall presentation.
🔄 Try Also: Focus on retro candies for a nostalgic theme, or stick to school colors for a coordinated palette.
🛒 Products & Materials ▶
Items Used
- clear apothecary jars
- printed labels
- small scoops
📌 “Colorful candy buffet jars with matching custom labels.”
• • •
Lei station for guests to celebrate graduates
⏱️ 1-2 hours · 🟠 Intermediate
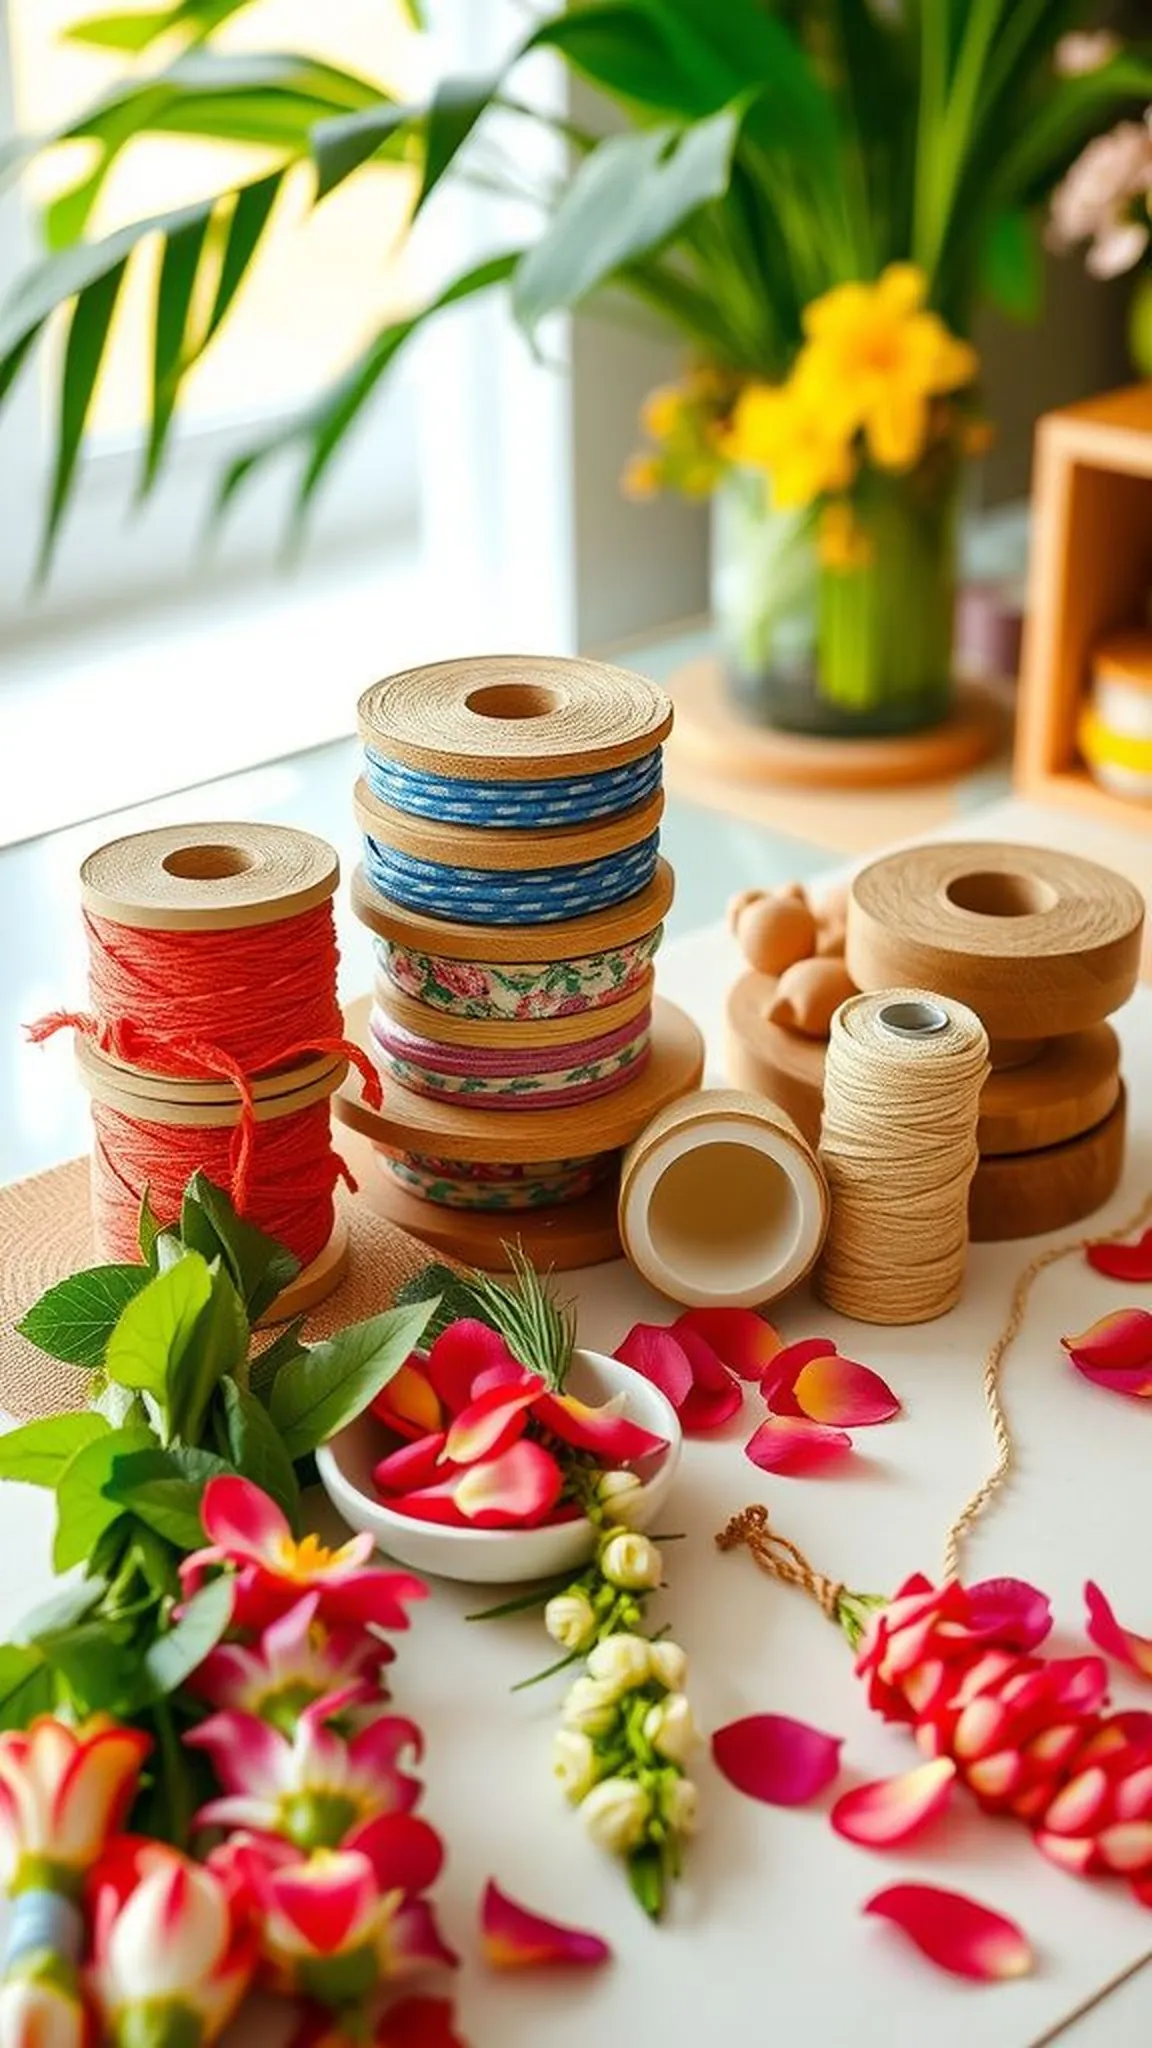
A table set up with supplies for making leis invited a slower, hands-on moment during the party. Fresh flowers and ribbon lay like a palette, their scents mingling into a gentle floral hum. Strung leis swung lightly from hooks, and guests enjoyed choosing color mixes that felt personal.
Watching a pile of stems transform into a wearable garland felt satisfying in a quiet way, and the finished leis added a celebratory, tropical note to the overall decor. The station encouraged mingling and thoughtful exchanges.
📋 How to Make This ▶
- Provide an assortment of fresh flower stems, ribbon, and string for station users.
- Demonstrate a simple threading pattern on a sample lei for reference.
- Offer scissors for trimming stems and small bowls of water to keep blooms hydrated.
- Designate a drying rack or hook area for finished leis to rest before wearing.
⚠️ Avoid: A frequent oversight is not prepping extra blooms; running out mid-event interrupts the flow and frustrates guests.
🔄 Try Also: Offer paper or fabric flower options for a longer-lasting keepsake, or provide charm beads for personalization.
🛒 Products & Materials ▶
Items Used
📌 “Interactive lei station for fragrant, wearable celebrations.”
• • •
Glow jar lanterns for after-dark charm
⏱️ 40 min · 🟢 Beginner
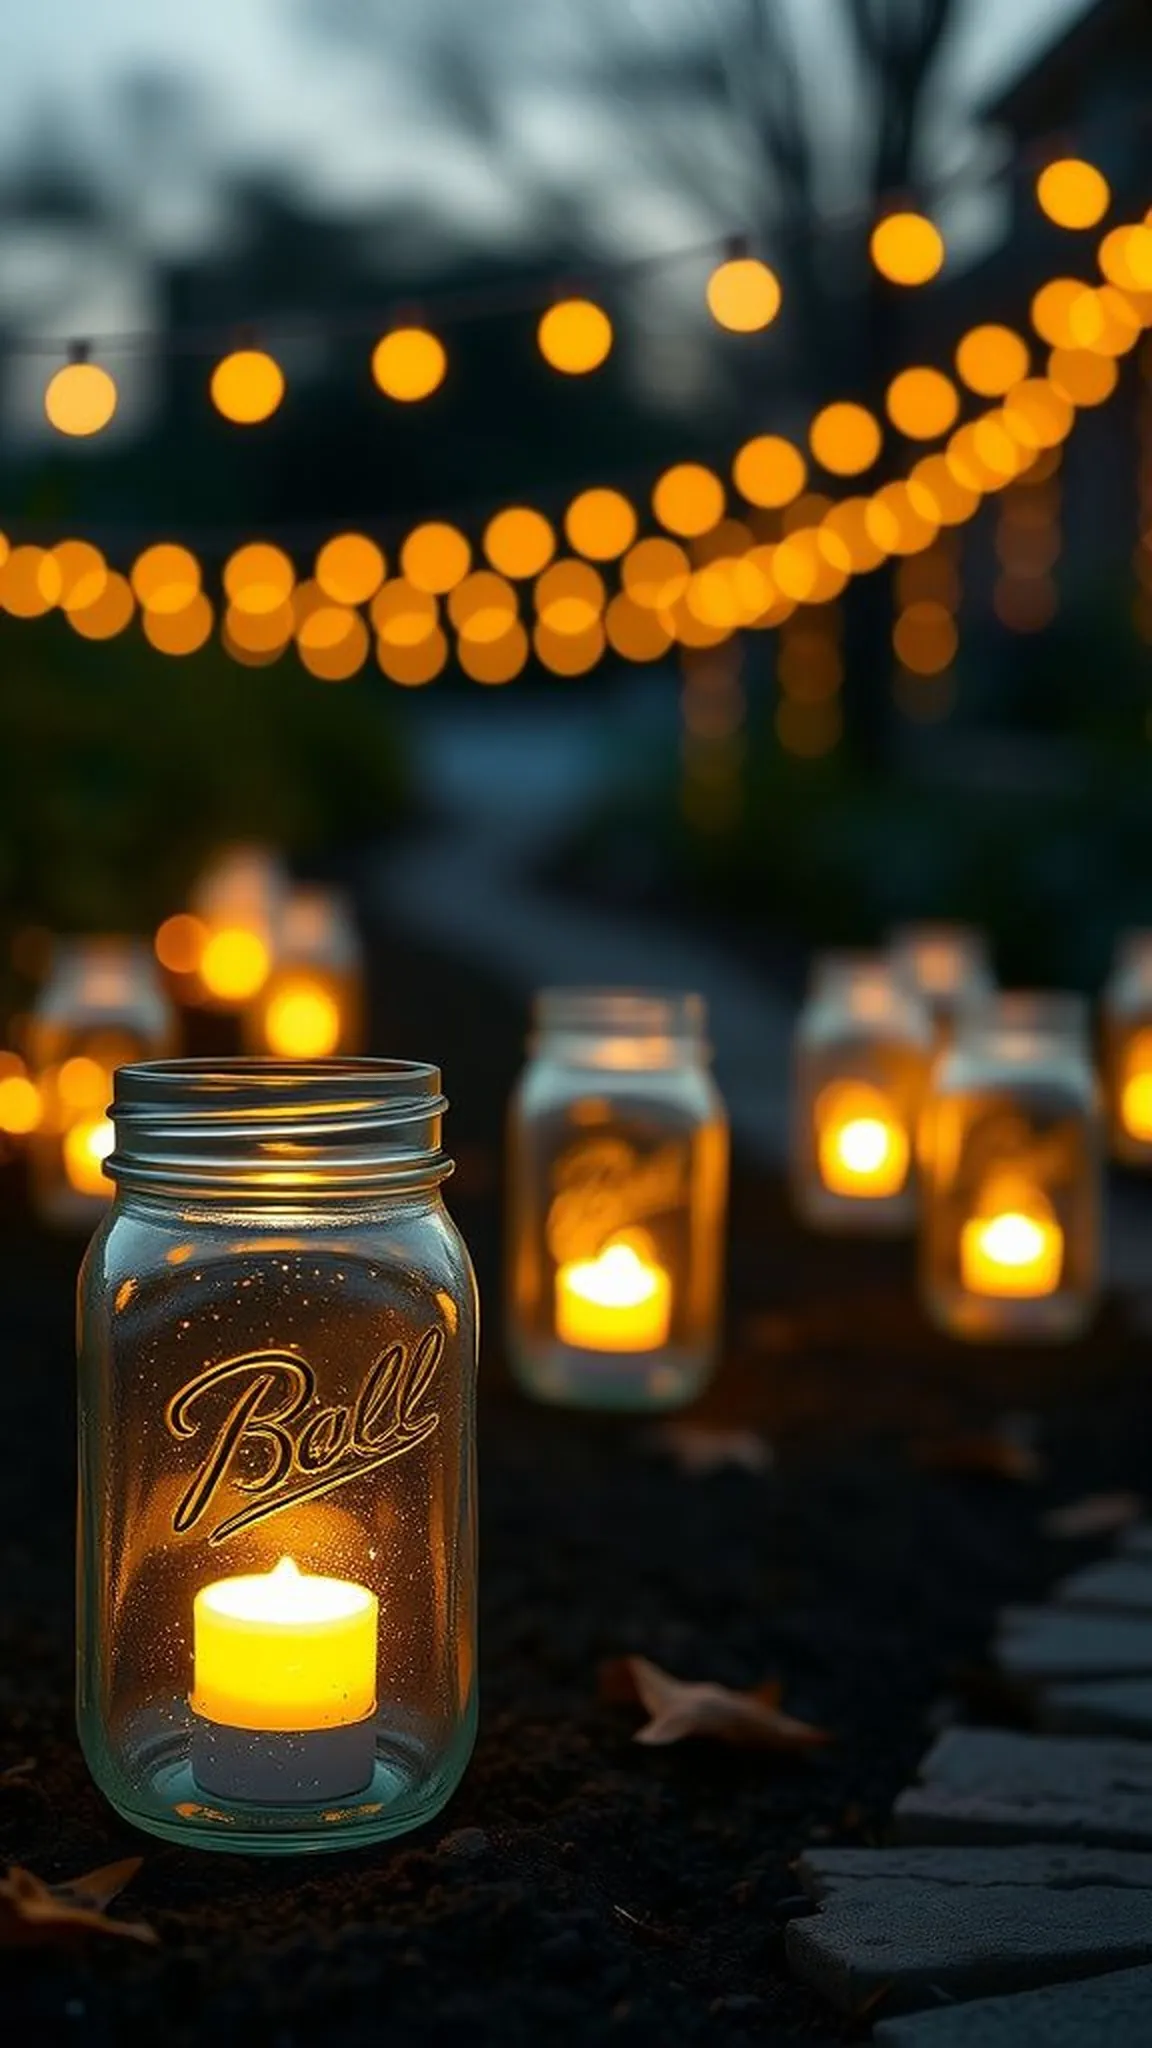
Softly glowing jars dotted the lawn, turning simple glass into glowing markers that guided footsteps and added ambiance. Subtle color choices created pools of warm light that felt cozy and unpretentious. The jars’ surfaces caught a little dew and the light shimmered against the rim, enhancing an intimate evening mood.
Lined along pathways or clustered near seating areas, the lanterns added safety and atmosphere. They read as thoughtful touches that extended the celebration into comfortable twilight hours.
📋 How to Make This ▶
- Place battery-operated LED candles or fairy lights inside clear jars.
- Add colored tissue or translucent vellum inside for gentle tone shifts.
- Arrange jars along walkways or group them near seating areas for ambient lighting.
- Turn lights on just before dusk and test glow levels for balance.
⚠️ Avoid: A frequent oversight is relying on fragile batteries for long events; choosing LED options with long runtimes prevents dimming.
🔄 Try Also: Suspend jars from shepherd hooks for floating lanterns, or cluster on steps for layered lighting.
🛒 Products & Materials ▶
Items Used
- clear mason jars
- battery LED tea lights
- translucent vellum sheets
📌 “Soft glow jar lanterns for magical evening ambiance.”
