
As an Amazon Associate I earn from qualifying purchases.
Mother’s Day Paper Flower Crafts bring handmade charm to celebrations, and Mother’s Day Paper Flower Crafts turn simple paper into lasting bouquets that feel thoughtful. These Mother’s Day Paper Flower Crafts range from tiny paper posies to oversized paper blossoms, and Mother’s Day Paper Flower Crafts pair well with cardstock, crepe sheets, wire stems, and ribbon. Quick Mother’s Day Paper Flower Crafts and delicate layered Mother’s Day Paper Flower Crafts both brighten a kitchen table and make keepsakes for years.
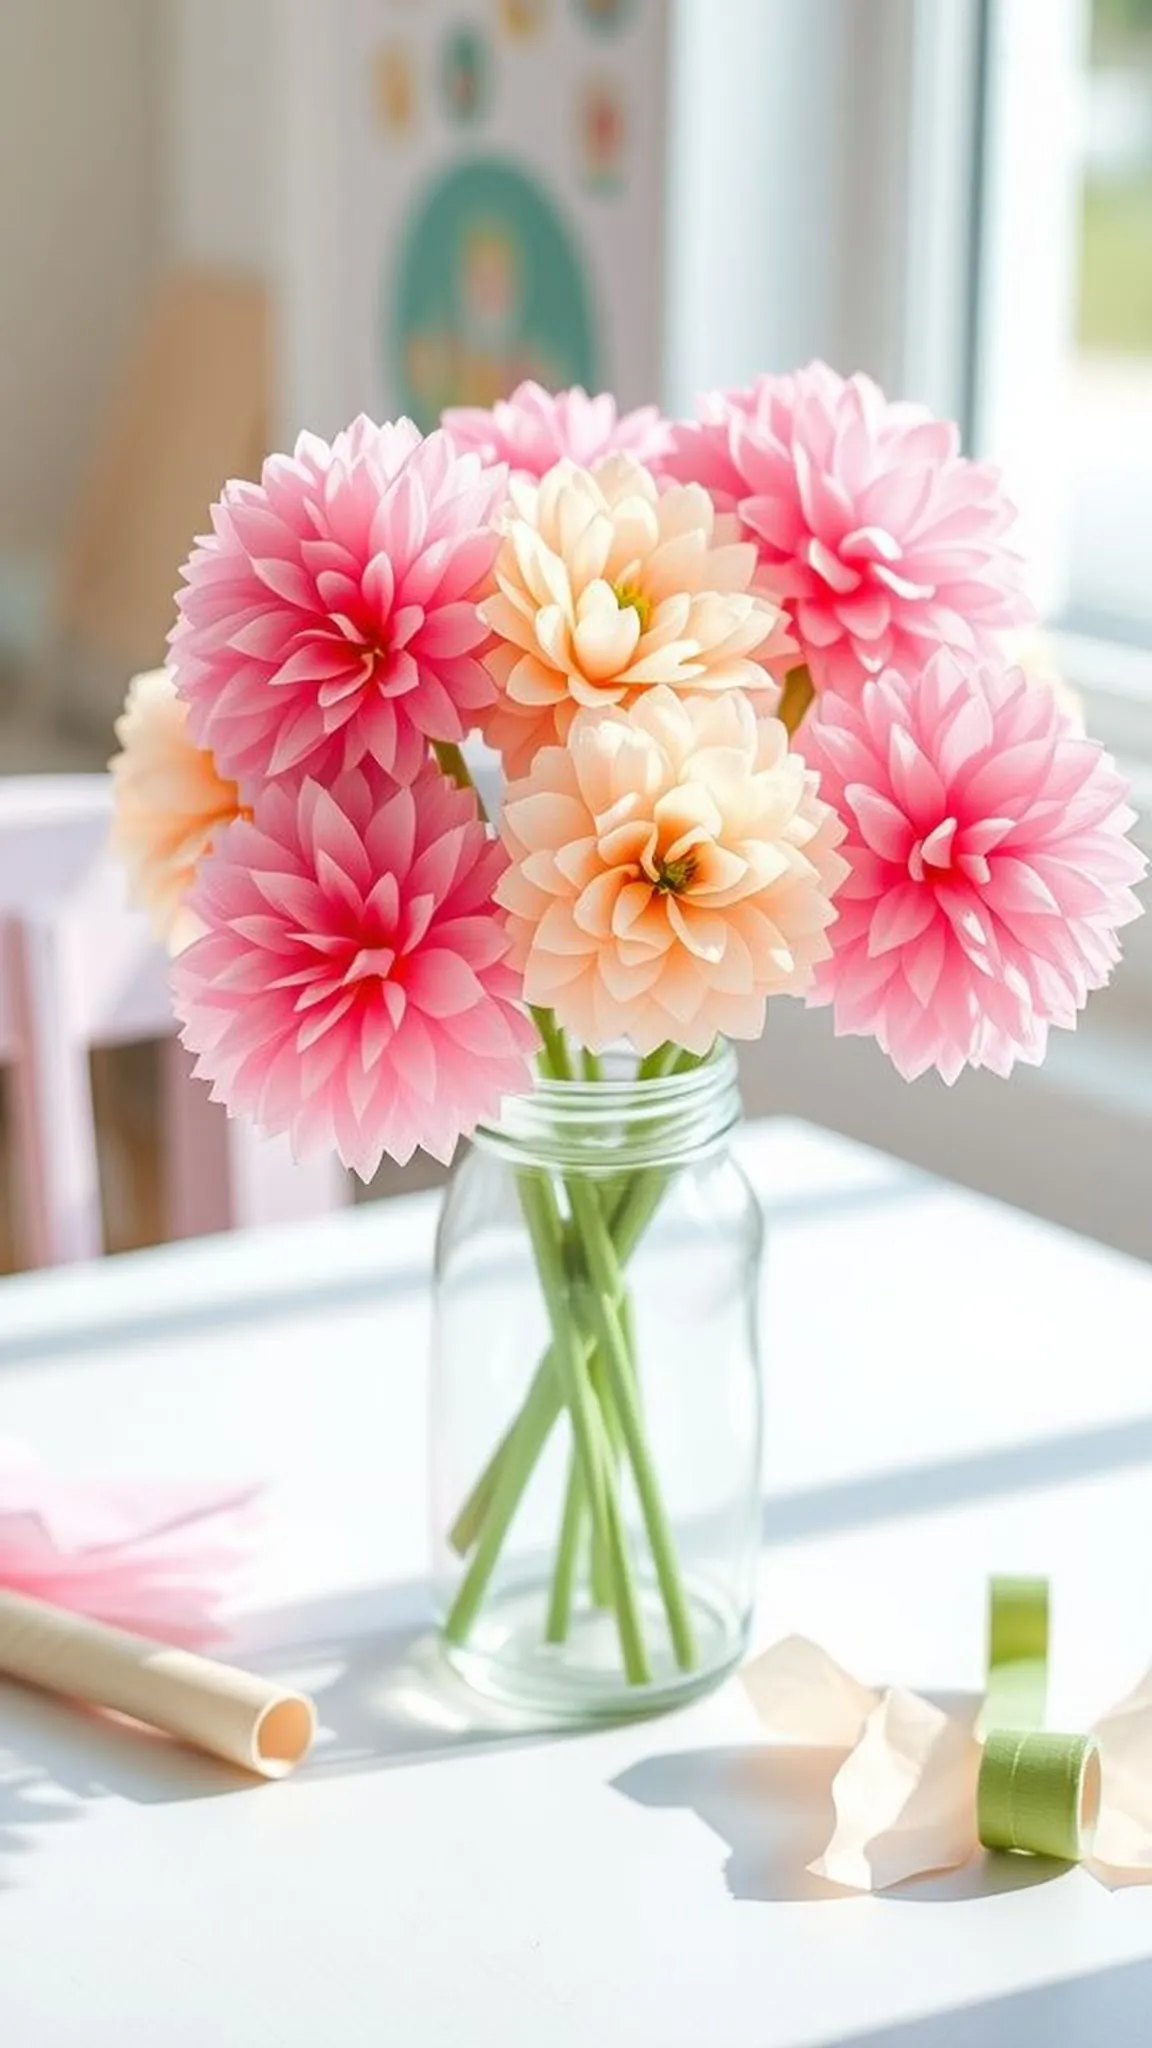
Classic rolled paper rose bouquet in a glass vase
⏱️ 45 min · 🟢 Beginner
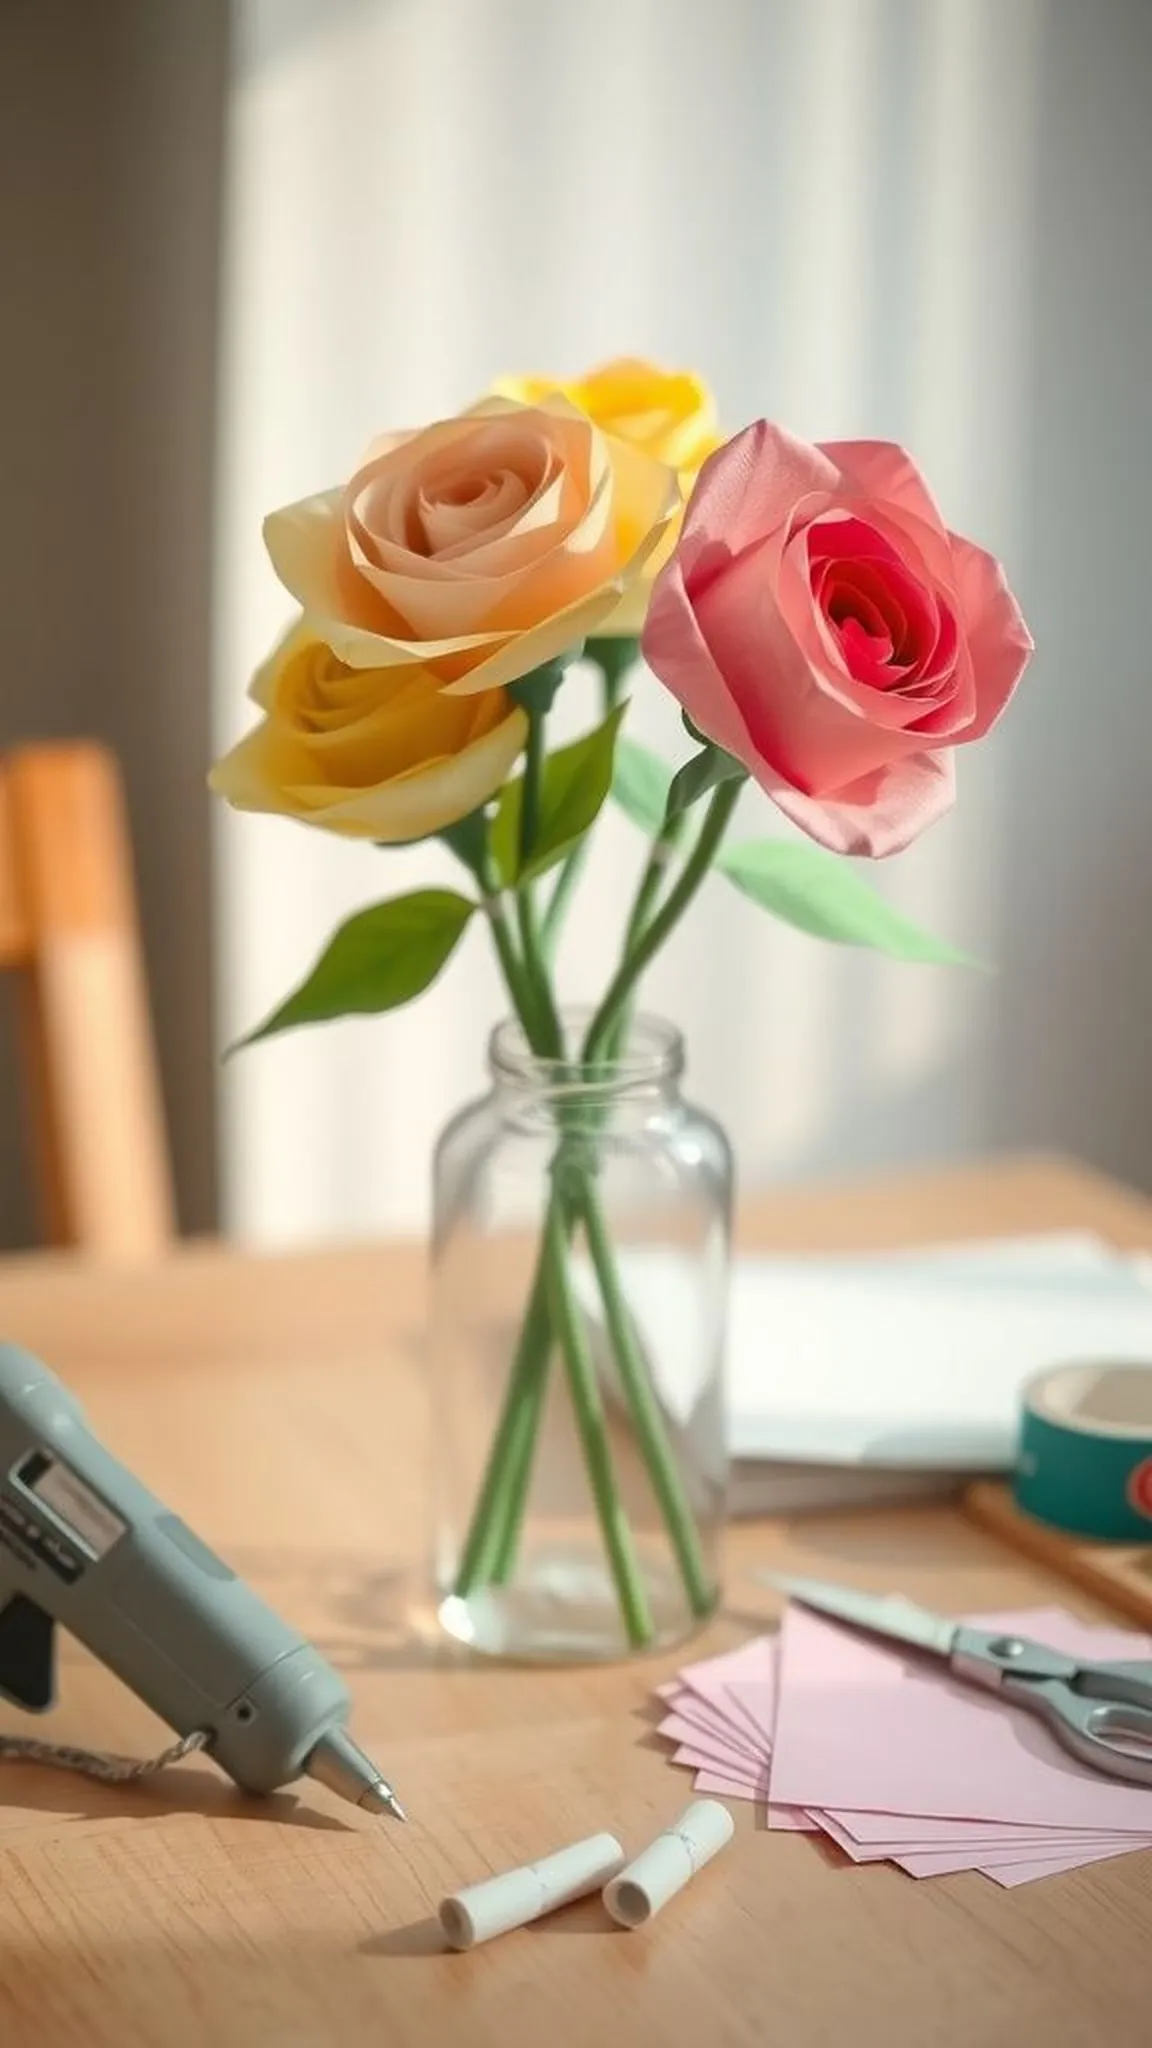
The rolled paper rose bouquet felt cozy on the kitchen table, with spiraled petals catching the light and thin paper edges casting soft shadows. The tactile curl of each petal created a gentle whisper beneath fingertips, while green stems added slender contrast. The glass vase amplified the assembled colors, reflecting tiny highlights.
There was a warm satisfaction in watching flat cardstock become voluminous blooms and a casual elegance that made the whole arrangement feel handwritten and intimate.
📋 How to Make This ▶
- Draw a spiral on a square of cardstock and cut along the spiral to the center.
- Starting from the outer edge, roll the spiral toward the center and secure the base with hot glue.
- Thread a length of floral wire into the base, reinforce with hot glue, and wrap the wire with floral tape.
- Arrange three to seven rolled roses in a clean glass vase with stems trimmed to match vase height.
⚠️ Avoid: A frequent beginner mistake is rolling too loosely, which causes petals to unwind and the bloom to lose shape.
🔄 Try Also: Color the center of each spiral with watercolor for a shaded effect, or make mini versions for a petite centerpiece.
🛒 Products & Materials ▶
📌 “Sweet rolled paper roses in a simple glass vase.”
• • •
Layered paper peony blooms in a gift box
⏱️ 1.5 hours · 🟠 Intermediate
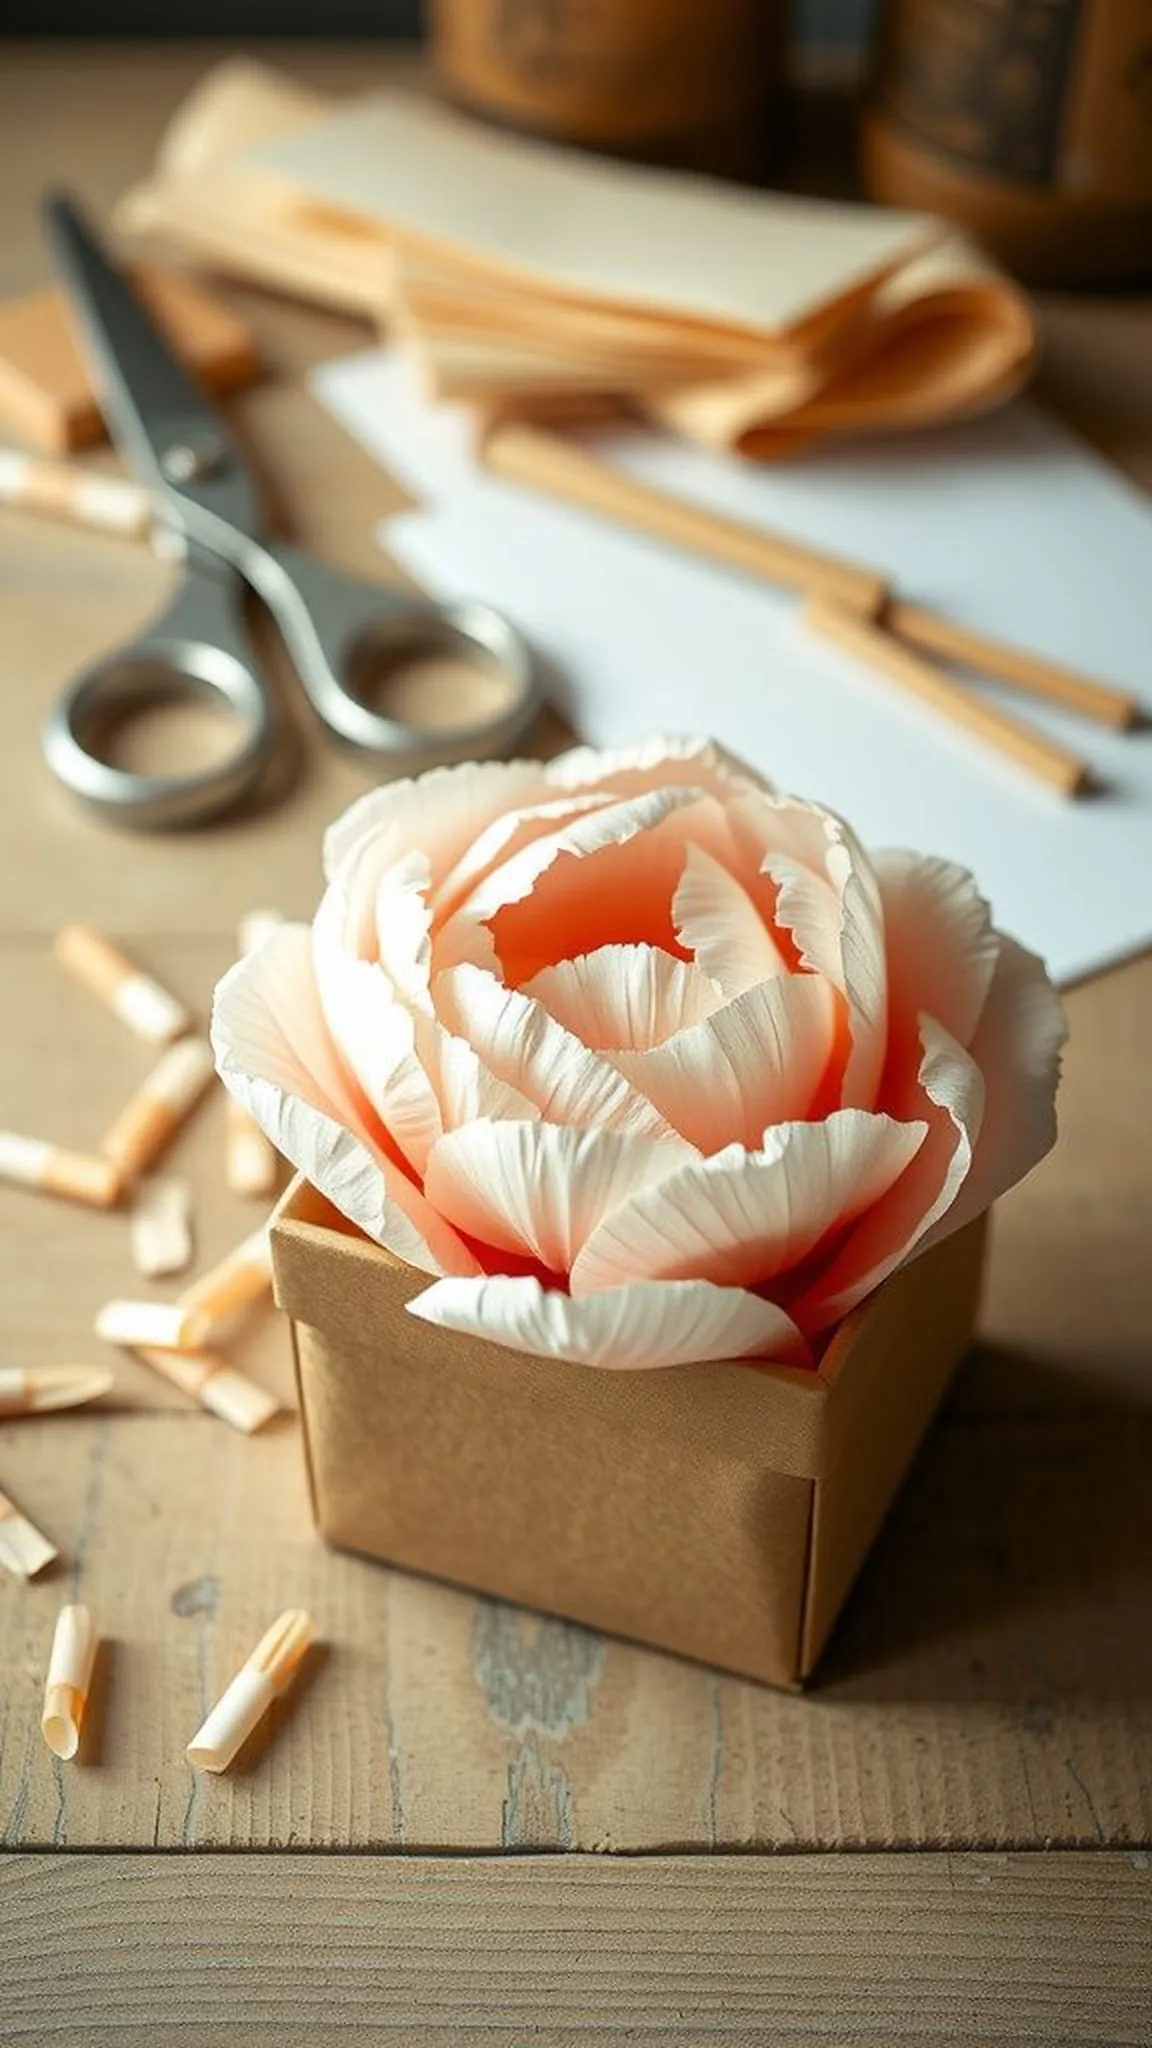
The layered paper peony in a small gift box carried the kind of visual drama that stops conversation. Delicate ruffled petals built soft domes that seemed to breathe, with inner layers appearing almost silk-like next to crisper outer petals. The box offered contrast: smooth kraft against textured paper.
The colors felt deliberately chosen, like a quiet promise, and when the lid lifted there was a satisfying reveal that made the whole gesture feel ceremonial and cozy.
📋 How to Make This ▶
- Trace concentric petal shapes onto crepe paper and cut sets of petals in graduated sizes.
- Soften petal edges by gently stretching crepe paper and assemble petals around a small rolled center with hot glue.
- Build the bloom by layering larger petals around the core, flaring outer petals for fullness.
- Nest the finished blossom into a square gift box lined with tissue paper for presentation.
⚠️ Avoid: A frequent mistake is making all petals the same size, which results in a flat looking bloom lacking depth.
🔄 Try Also: Mix two tones of crepe for an ombré peony, or add a small paper bud cluster to the box corner.
🛒 Products & Materials ▶
Items Used
- crepe paper sheets
- kraft gift box
- hot glue sticks
- scissors
📌 “A peony surprise tucked into a tiny gift box.”
• • •
Accordion tulip stems in a mason jar display
⏱️ 30 min · 🟢 Beginner
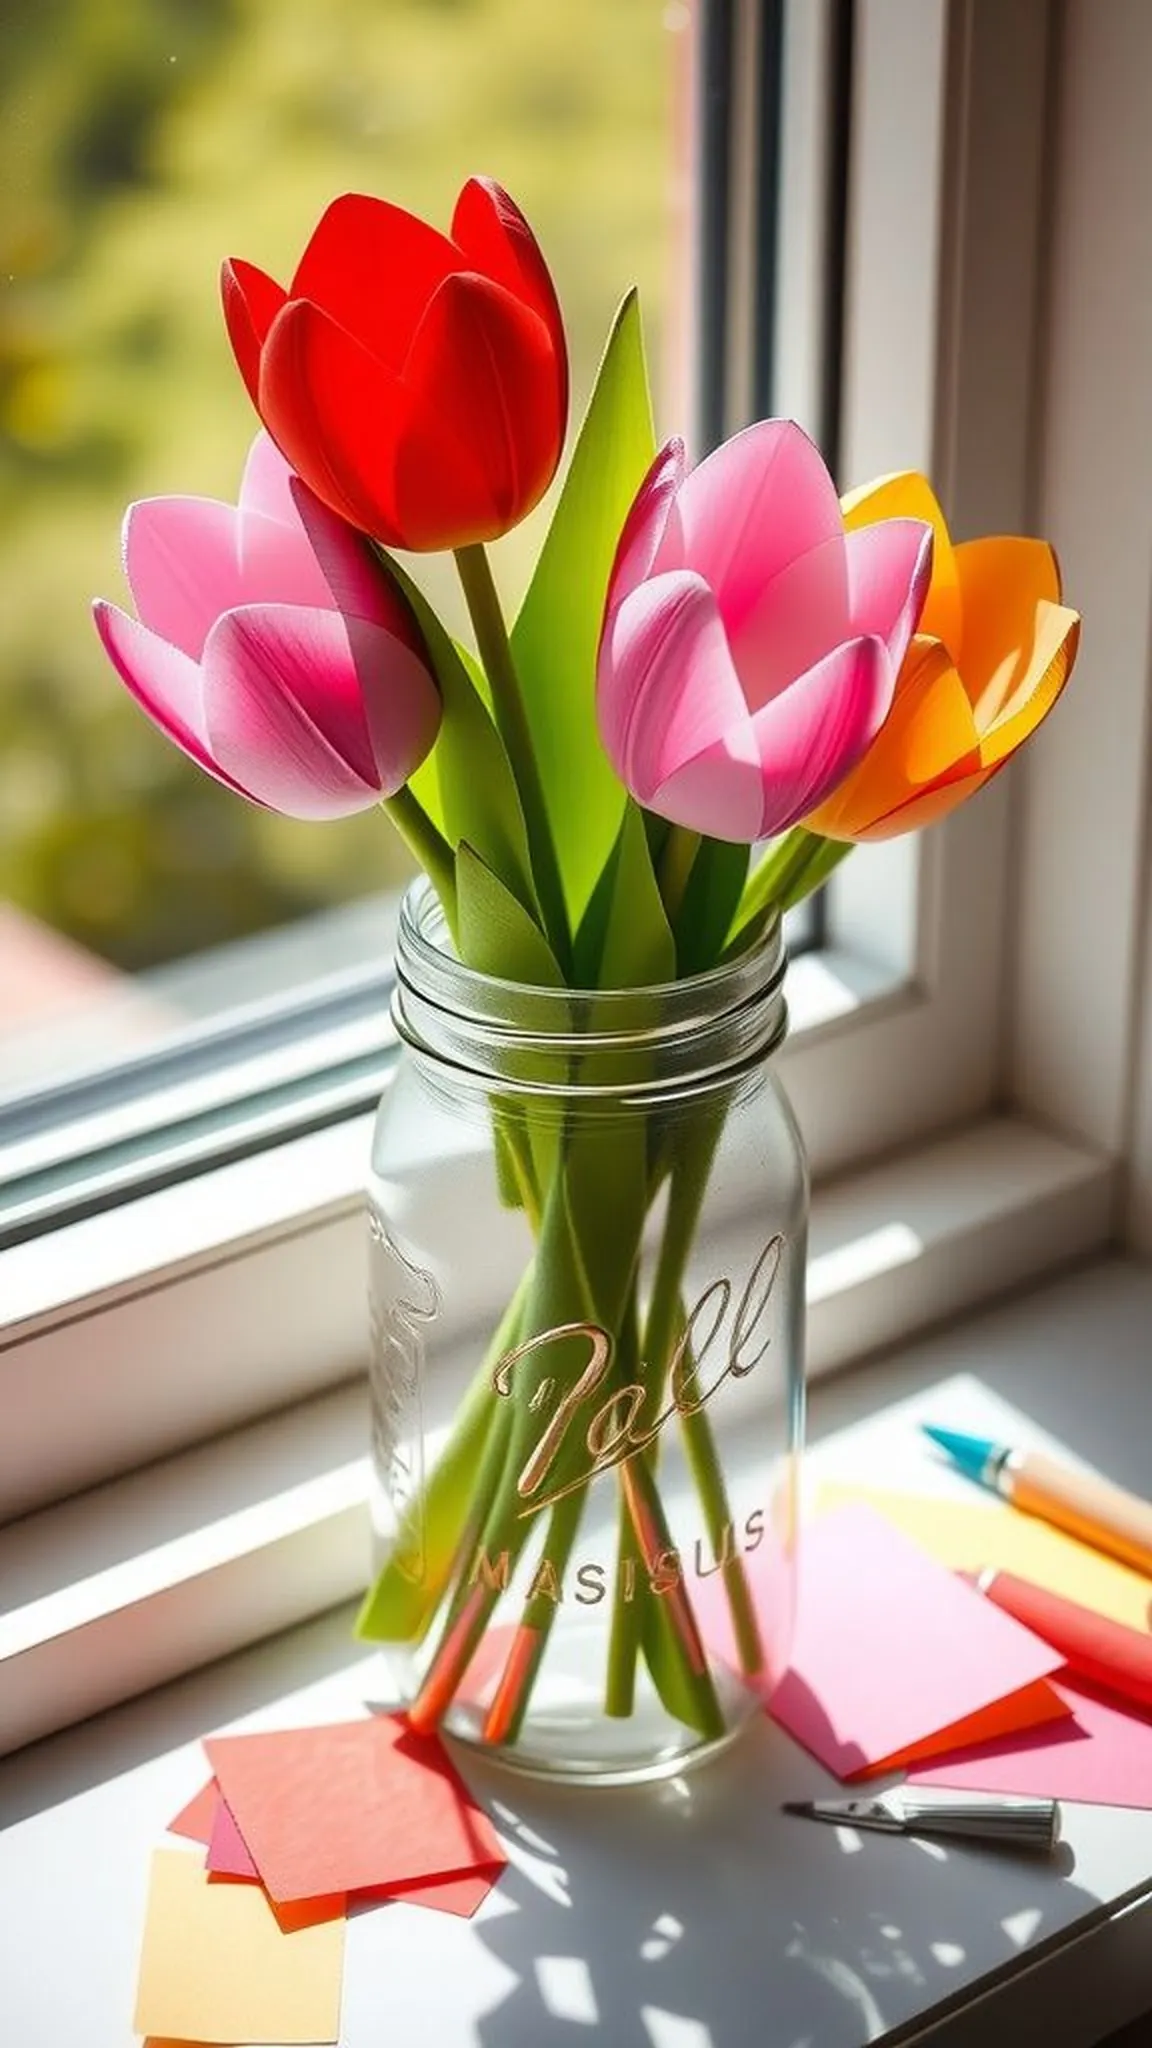
The accordion tulip stems brought a playful rhythm to the windowsill, with crisp folded petals standing upright like little flags. Paper edges created thin shadows that changed with the angle of light, adding a lively texture. The mason jar felt casual and welcoming, anchoring the bright colors.
There was a cheerful, slightly nostalgic vibe that made the arrangement feel like a handwritten note from childhood, and the light creased folds made each stem look sculptural.
📋 How to Make This ▶
- Cut tulip silhouettes from cardstock and score accordion lines across each petal section.
- Fold along the scored lines to create ridged petals and attach each tulip to a floral wire stem with hot glue.
- Group stems and place them in a mason jar, trimming wire lengths to achieve varied heights.
⚠️ Avoid: A frequent issue is overfolding thin paper, which can cause tearing at the scored lines and weaken the petal.
🔄 Try Also: Mix patterned napkin paper with solid cardstock for playful visuals, or create tiny bud versions for a bud vase.
🛒 Products & Materials ▶
Items Used
- cardstock sheets
- mason jar
- floral wire
- scoring tool
📌 “Bright accordion tulips in a casual mason jar.”
• • •
Save time and printer ink with 50+ printable templates and step-by-step instructions in one ad-free guide.

Just $19.99 — lifetime access
Petite rolled carnation corsage on a ribbon pin
⏱️ 40 min · 🟠 Intermediate
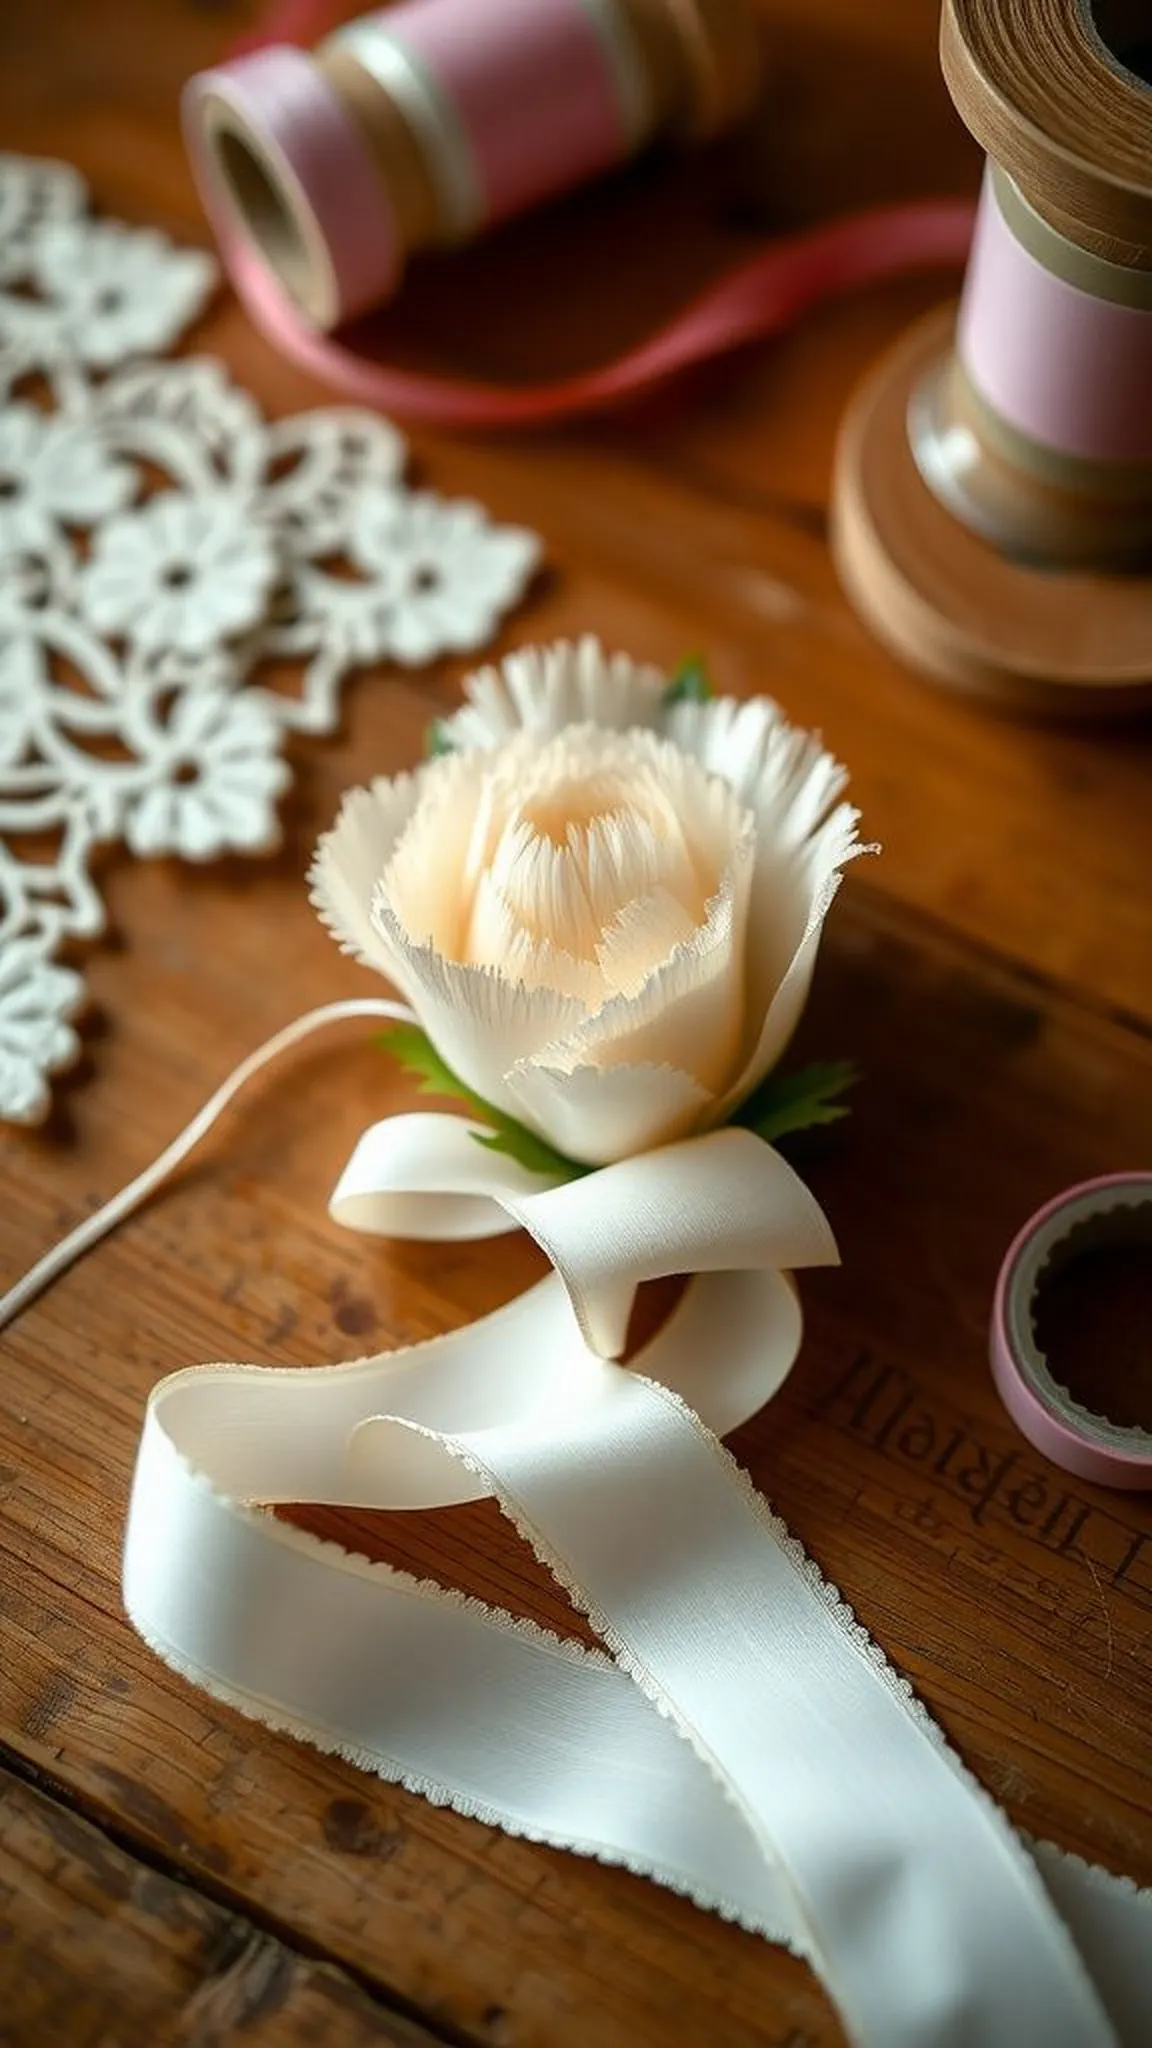
The petite rolled carnation corsage had a charming handmade quality that felt wearable and delicate. Frilly paper edges created a soft halo around a tight center, and the ribbon added a smooth satin contrast against the textured bloom. Wearing it felt nostalgic, like a small heirloom passed around at family gatherings.
Close inspection revealed tiny fringes and layered density that gave it visual weight without heaviness, and the pin back made it practical for jackets or a favorite bag.
📋 How to Make This ▶
- Cut a long strip of crepe paper and create small vertical cuts along one edge to form a fringe.
- Roll the fringed strip tightly into a small carnation head and secure the base with hot glue.
- Wrap floral wire through the base and bind with floral tape, then fasten a ribbon and brooch pin to the back.
⚠️ Avoid: A frequent mistake is making the fringes too deep, which can make the bloom look bulky and fragile.
🔄 Try Also: Create a matching mini boutonniere, or swap satin ribbon for lace for a vintage look.
🛒 Products & Materials ▶
Items Used
- crepe paper strip
- brooch pin back
- ribbon
- floral tape
📌 “Delicate carnation corsage with ribbon and pin back.”
• • •
Tissue paper pom-pom bouquet for a playful look
⏱️ 25 min · 🟢 Beginner
The tissue paper pom-pom bouquet felt lighthearted, with puffy spheres that bounced slightly when nudged. Each pom had a featherlike softness and whispered as the layers shifted, creating a cloudlike texture. The bunch came across as celebratory and unfussy, perfect for a sunlit breakfast table.
The stems gave a clean line beneath the airy tops, and the mix of pastel hues felt effortlessly festive, bringing a casual kind of joy that reads like confetti in bloom.
📋 How to Make This ▶
- Layer several sheets of tissue paper and accordion fold along the short side.
- Secure the center with floral wire, then trim the ends into rounded points and gently separate layers to form a pom.
- Wrap stems with floral tape and arrange multiple poms into a compact bouquet.
⚠️ Avoid: A frequent issue is using too few tissue layers, resulting in flat, wispy poms that lack presence.
🔄 Try Also: Mix pastel tones with metallic tissue for shimmer, or make miniature poms for a cake topper alternative.
🛒 Products & Materials ▶
Items Used
- tissue paper sheets
- floral wire
- floral tape
📌 “Bright, bouncy tissue pom-pom bouquet for Mom.”
• • •
Handmade paper flower greeting card with layered petals
⏱️ 30 min · 🟢 Beginner
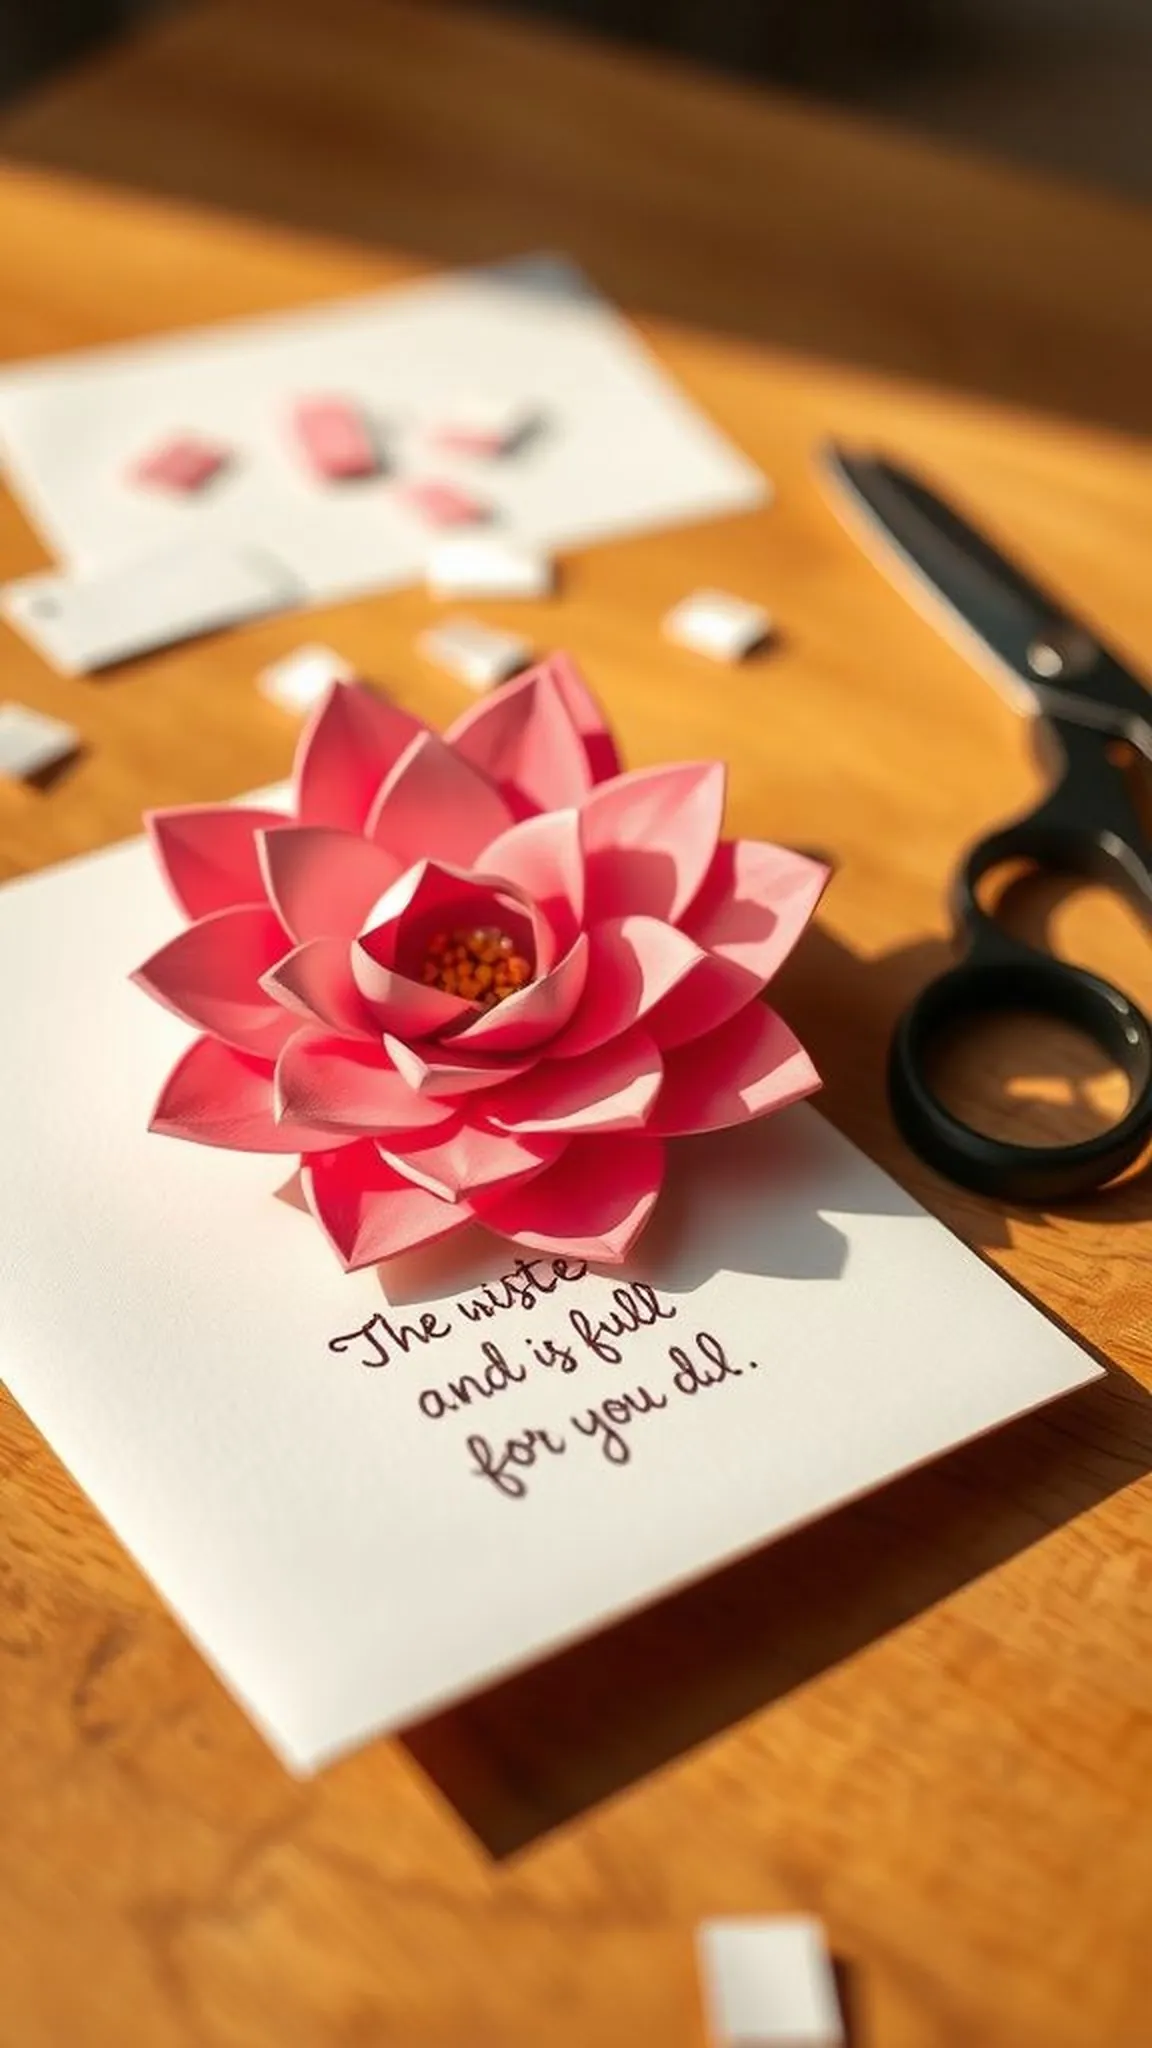
The handmade paper flower greeting card felt intimate, with layered petals rising gently from the card surface and catching the light at different angles. The textured cardstock provided a sturdy backdrop while the petals added a touch of relief, like a small sculpture. The contrast between flat hand lettering and dimensional blooms made the sentiment feel both crafted and sincere.
There was a quiet delight in closing the envelope knowing the card held something tactile and personal.
📋 How to Make This ▶
- Trace and cut several petal shapes from lightweight cardstock and layer them, starting with the largest petals at the base.
- Secure layers at the center and add a small rolled or fringed center piece for texture.
- Affix the finished flower to the front of a folded greeting card and add a short handwritten message inside.
⚠️ Avoid: A frequent mistake is gluing the flower flush to the card, which can make the piece feel flat and lose dimensional charm.
🔄 Try Also: Create a small bouquet on the card with paper leaves, or try metallic paper for a luxe version.
🛒 Products & Materials ▶
Items Used
- blank greeting cards
- lightweight cardstock
- foam mounting squares
- scissors
📌 “Dimensional paper flower greeting card with layered petals.”
• • •
Floral photo frame wreath for Mother’s Day memories
⏱️ 2-3 hours · 🔴 Advanced
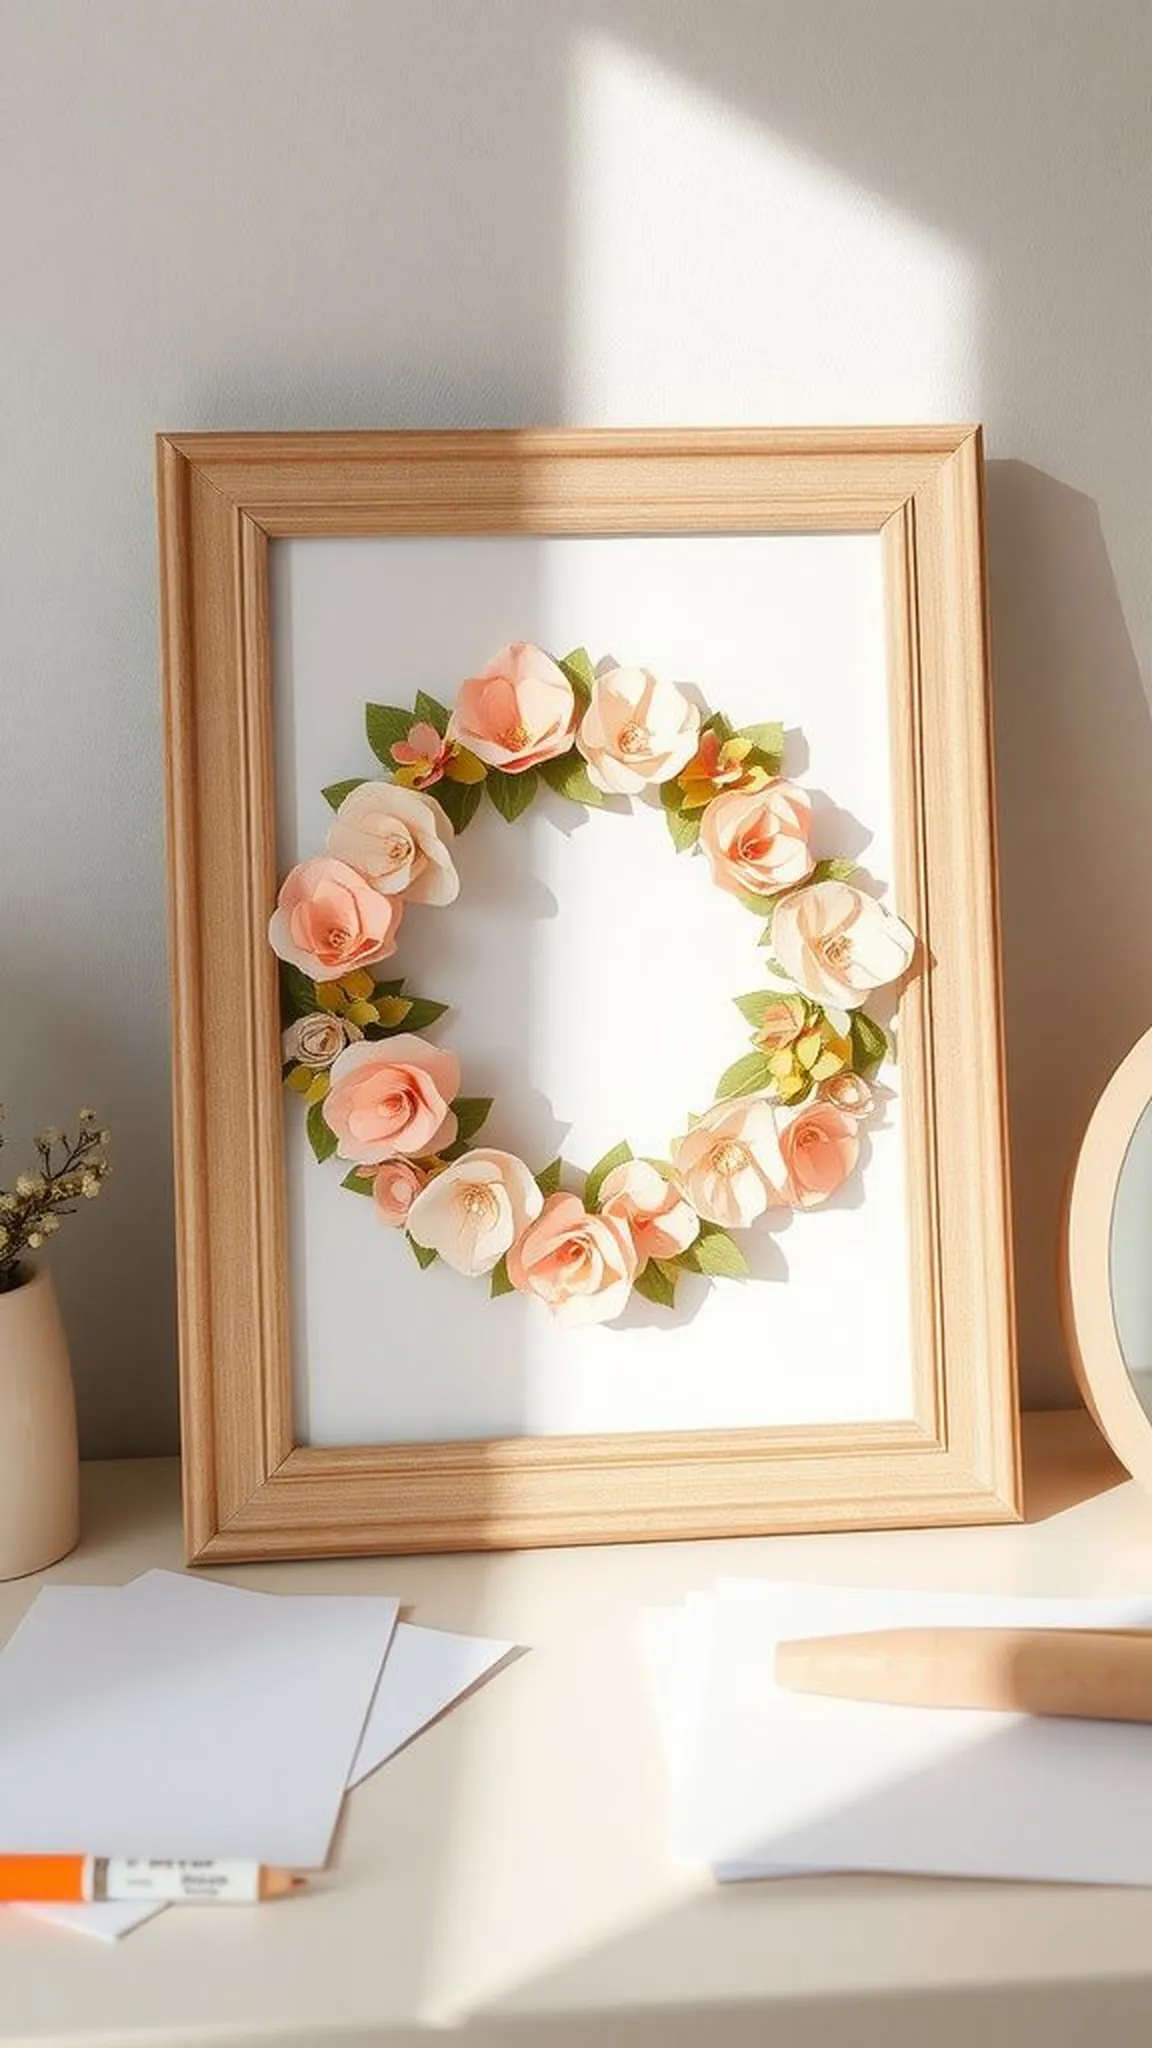
The floral photo frame wreath felt like a cozy invitation to linger, with clustered petals and leaves forming a soft halo around a cherished photo. Textures mixed from crisp cardstock to gently ruffled crepe, and the frame edge disappeared beneath blooms so the portrait became the focal point. Colors were chosen to complement skin tones in the photo, creating a tender mood.
The overall effect read as both decorative and personal, like a small gallery tribute that encouraged storytelling.
📋 How to Make This ▶
- Prepare a circular base from sturdy cardstock or thin chipboard sized to the photo frame opening.
- Create a mix of paper flowers and leaves in several sizes and attach them around the base, overlapping edges for fullness.
- Position the wreath within the frame, secure it behind the glass or frame backing, and close the frame for display.
⚠️ Avoid: A frequent error is overcrowding the frame edge, which can make the photo feel cramped rather than highlighted.
🔄 Try Also: Swap the frame for a shadowbox to add small memorabilia, or create a burst wreath instead of a full circle.
🛒 Products & Materials ▶
Items Used
📌 “A photo frame wreath blooming with paper flowers and memories.”
• • •
Paper flower hair clip for a special Mother’s Day look
⏱️ 35 min · 🟠 Intermediate
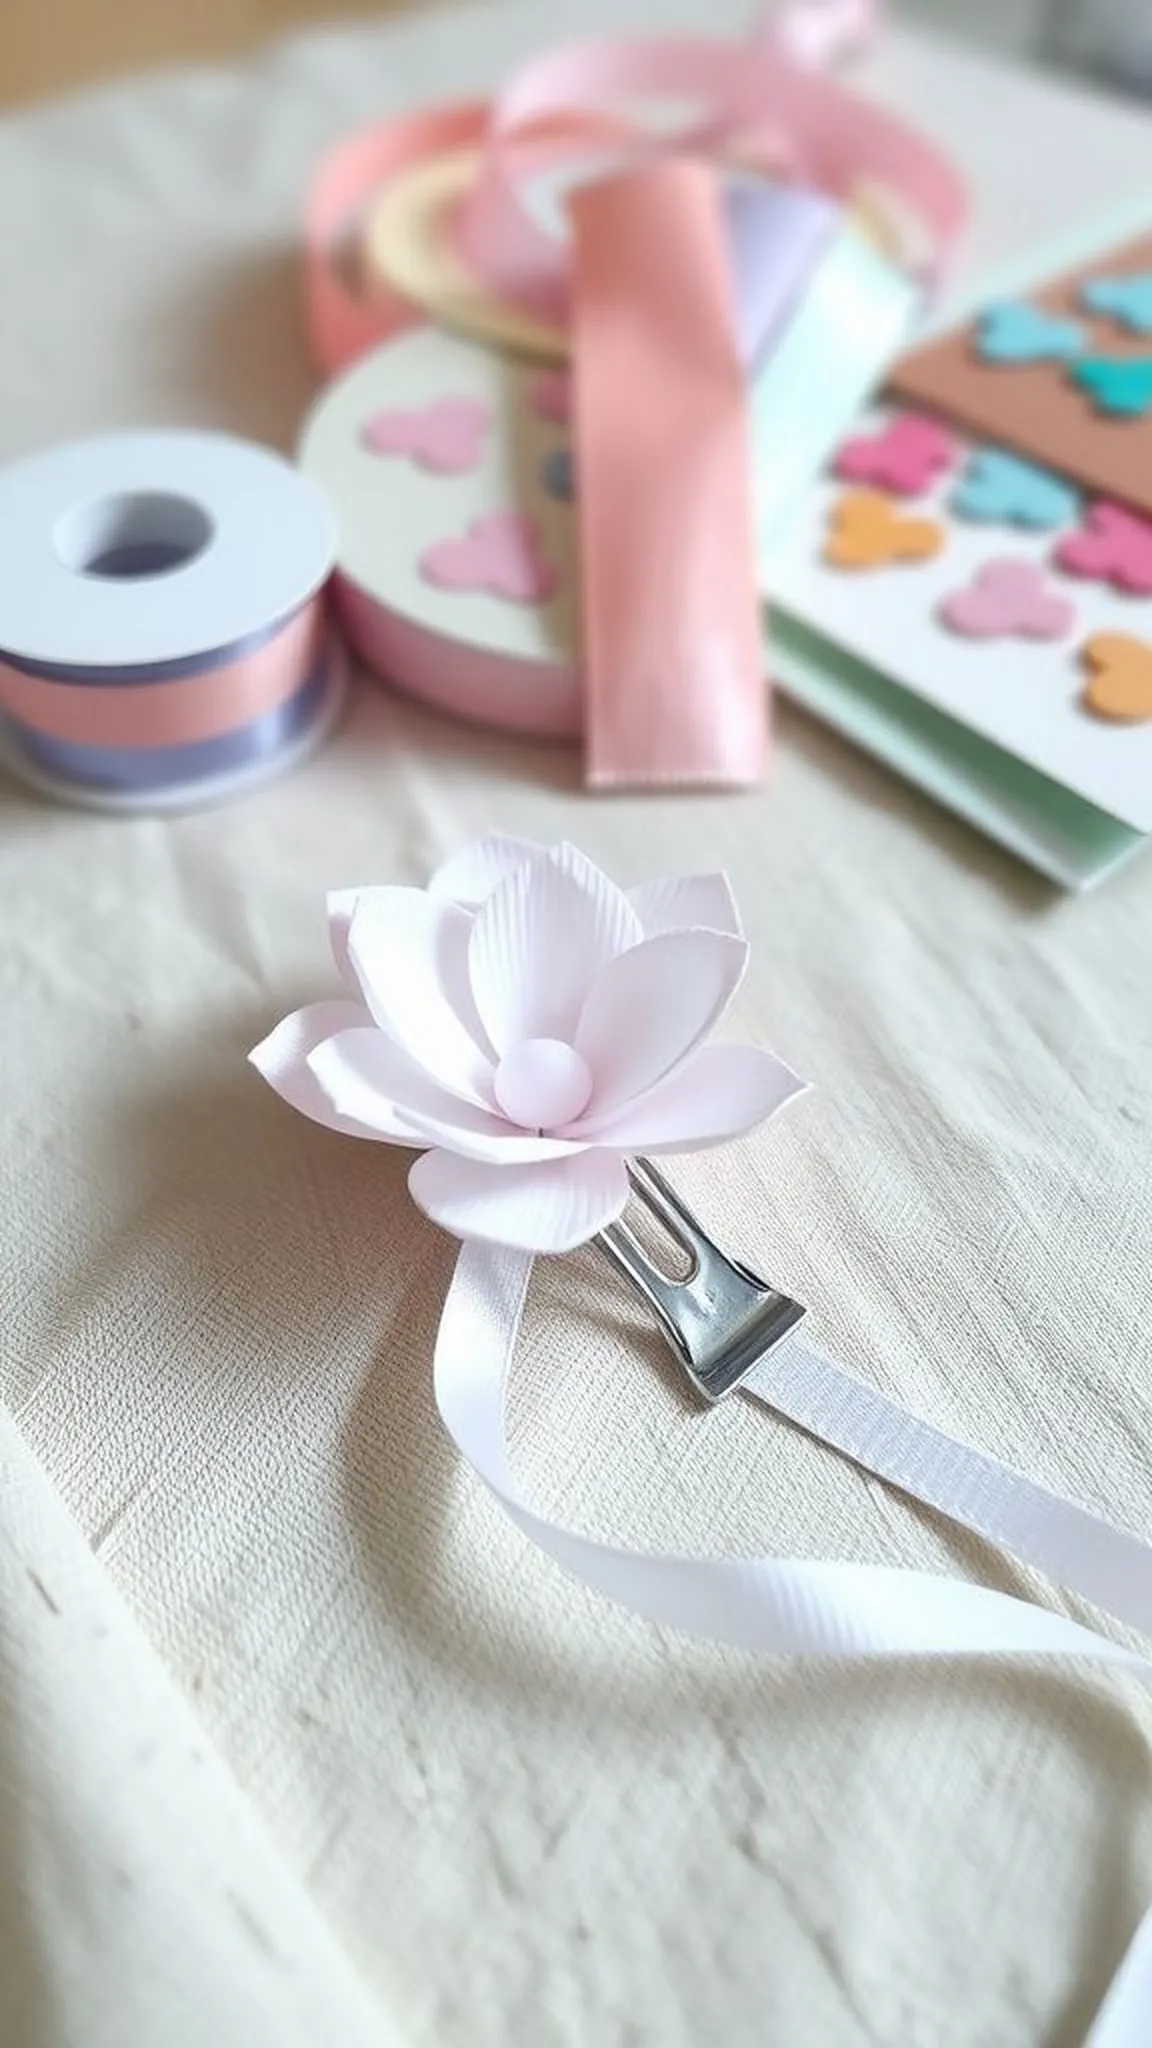
The paper flower hair clip felt like a tiny celebration when pinned to a favorite sweater or tucked into hair. Petals were compact yet airy, and the contrast between the matte paper and the glossy clip created a pleasant tactile duality. The ribbon added a trailing accent that moved gently with motion.
Wearing it suggested a thoughtful small flourish that brightened an ordinary outfit and invited compliments, making the gesture feel both playful and sweet.
📋 How to Make This ▶
- Layer small petal shapes in a circular layout and bind the center with a tiny dab of hot glue.
- Affix the base of the paper bloom to an alligator hair clip and wrap with ribbon to conceal the joint.
- Trim any excess ribbon and test the clip grip on a sample section of hair or fabric.
⚠️ Avoid: A frequent pitfall is using a weak clip, which causes the hairpiece to slip or tilt during wear.
🔄 Try Also: Make coordinating clips in multiple sizes, or swap ribbon for a velvet bow for a richer feel.
🛒 Products & Materials ▶
Items Used
- alligator hair clip
- satin ribbon
- lightweight cardstock
- hot glue gun
📌 “Pretty paper flower hair clip for Mother’s Day styling.”
• • •
Teacup paper succulent arrangement for a cozy gift
⏱️ 1 hour · 🟠 Intermediate

The teacup paper succulent arrangement offered a quiet, resilient charm with plump paper leaves that suggested life without the upkeep. Matte paper rosettes contrasted with the glossy porcelain rim, and the tiny composition felt like a sweet, low-key indulgence for a breakfast nook. Weight and balance mattered; the little rosettes sat snugly together, creating an illusion of a living cluster.
The color range from sage to deep green lent a calming presence that felt perfectly suited to a morning tea ritual.
📋 How to Make This ▶
- Cut concentric leaf layers from heavyweight cardstock and curl edges slightly for a fleshy look.
- Stack and secure layers to form rosette succulents, reinforcing bases with small blobs of hot glue.
- Place several rosettes into a shallow vintage teacup, arranging heights for a compact display.
⚠️ Avoid: A frequent mistake is choosing thin paper, which can droop and lose the succulent’s plump appearance.
🔄 Try Also: Pair with tiny pebbles for weight, or create a trio of teacup succulents in varying sizes.
🛒 Products & Materials ▶
Items Used
- heavyweight cardstock
- vintage teacup
- hot glue gun
- scissors
📌 “Paper succulents nestled in a vintage teacup—charming and low care.”
• • •
Brooch-style paper flower pin for jacket or bag
⏱️ 1 hour · 🔴 Advanced
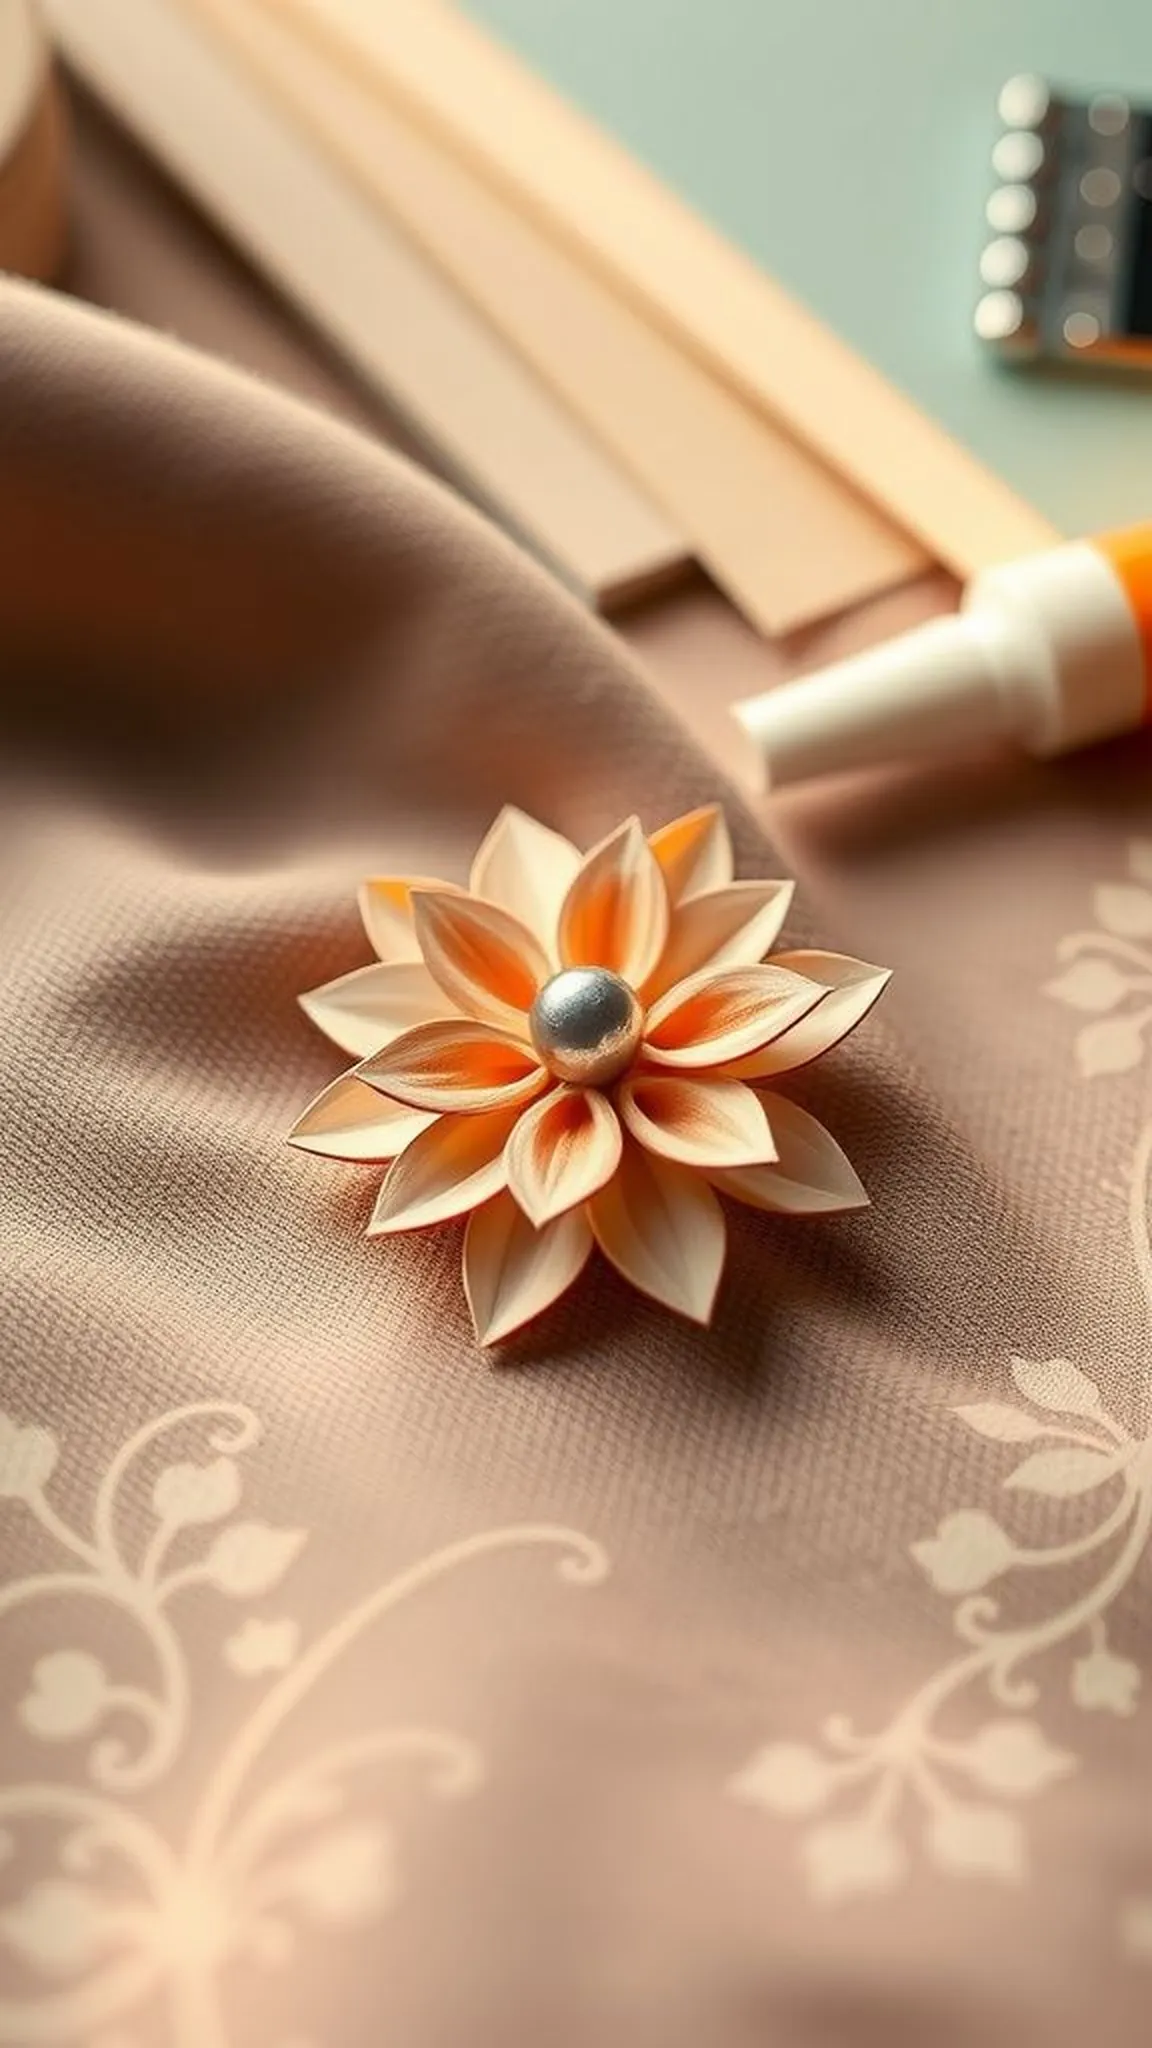
The brooch-style paper flower pin had a structured, almost architectural presence that made it feel like wearable art. Crisp petal layers folded into a defined silhouette, and a petite center bead added a quiet glint. The pin carried a confident weight on fabric, reading as intentional rather than fleeting.
There was an old-world charm to the piece, as if it belonged in a well-curated accessory box, and the interplay of matte and metallic accents created a balanced contrast.
📋 How to Make This ▶
- Build a structured flower from layered cardstock petals, gluing each layer at the center to hold shape.
- Add a decorative bead or button to the center for a focal point.
- Adhere a metal brooch pin back to a reinforced chipboard base and attach the flower to complete the pin.
⚠️ Avoid: A frequent error is skipping reinforcement at the base, which can let the pin come loose with wear.
🔄 Try Also: Swap the bead center for a tiny tassel, or make a cluster of mini blooms for a brooch bouquet.
🛒 Products & Materials ▶
Items Used
- chipboard circles
- brooch pin backs
- cardstock
- decorative beads
📌 “Structured brooch-style paper flower pin for jackets or bags.”
• • •
Pop-up paper flower card that unfolds in 3D
⏱️ 2 hours · 🔴 Advanced
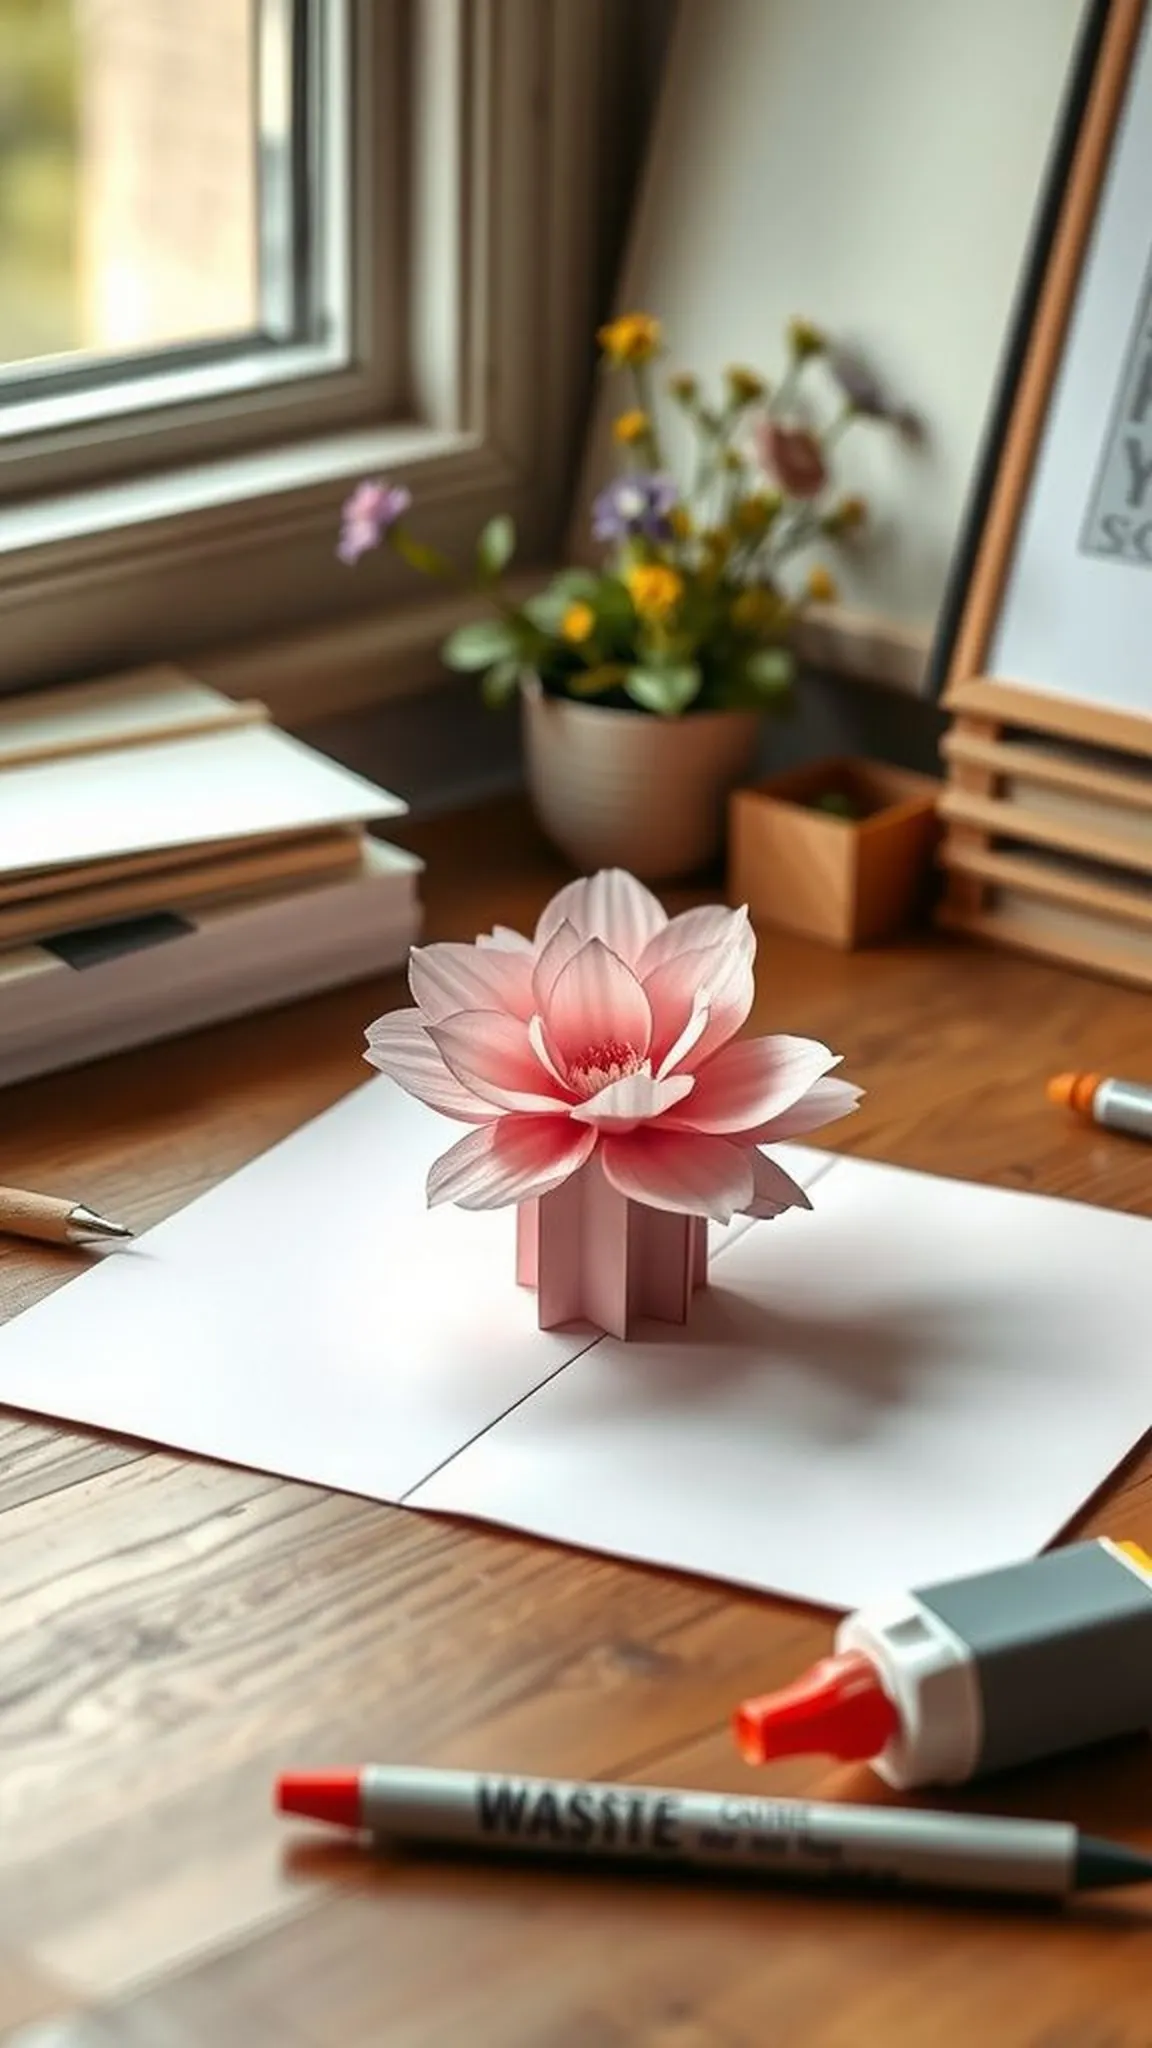
The pop-up paper flower card had a delightful reveal that felt theatrical in the best way, with petals rising into a small three-dimensional bouquet when opened. The interaction between the flat exterior and lively interior created playful tension, and the mechanisms were satisfying to manipulate. Textured paper edges and hidden tabs gave a sense of craftsmanship, and the whole piece felt like a miniature stage set for a loving message.
It invited both a slow smile and a careful handling.
📋 How to Make This ▶
- Plan the pop-up mechanism on scrap paper and mark hinge locations inside the folded card.
- Construct layered paper flowers with small tabs that sit on the pop-up platforms and secure them with glue.
- Test the card opening to ensure flowers fold flat and pop into place cleanly, then finish exterior decorations.
⚠️ Avoid: A frequent problem is misaligned hinge placement, which prevents a clean pop-up motion or causes tearing.
🔄 Try Also: Create a cascade of small pop-up flowers down the card center, or combine with a handwritten note tucked behind the blooms.
🛒 Products & Materials ▶
Items Used
- folding greeting card blanks
- lightweight cardstock
- scoring board
- craft glue
📌 “Surprising pop-up flower card that blooms in three dimensions.”
• • •
Giant single paper blossom wall art as a statement piece
⏱️ 3 hours · 🔴 Advanced
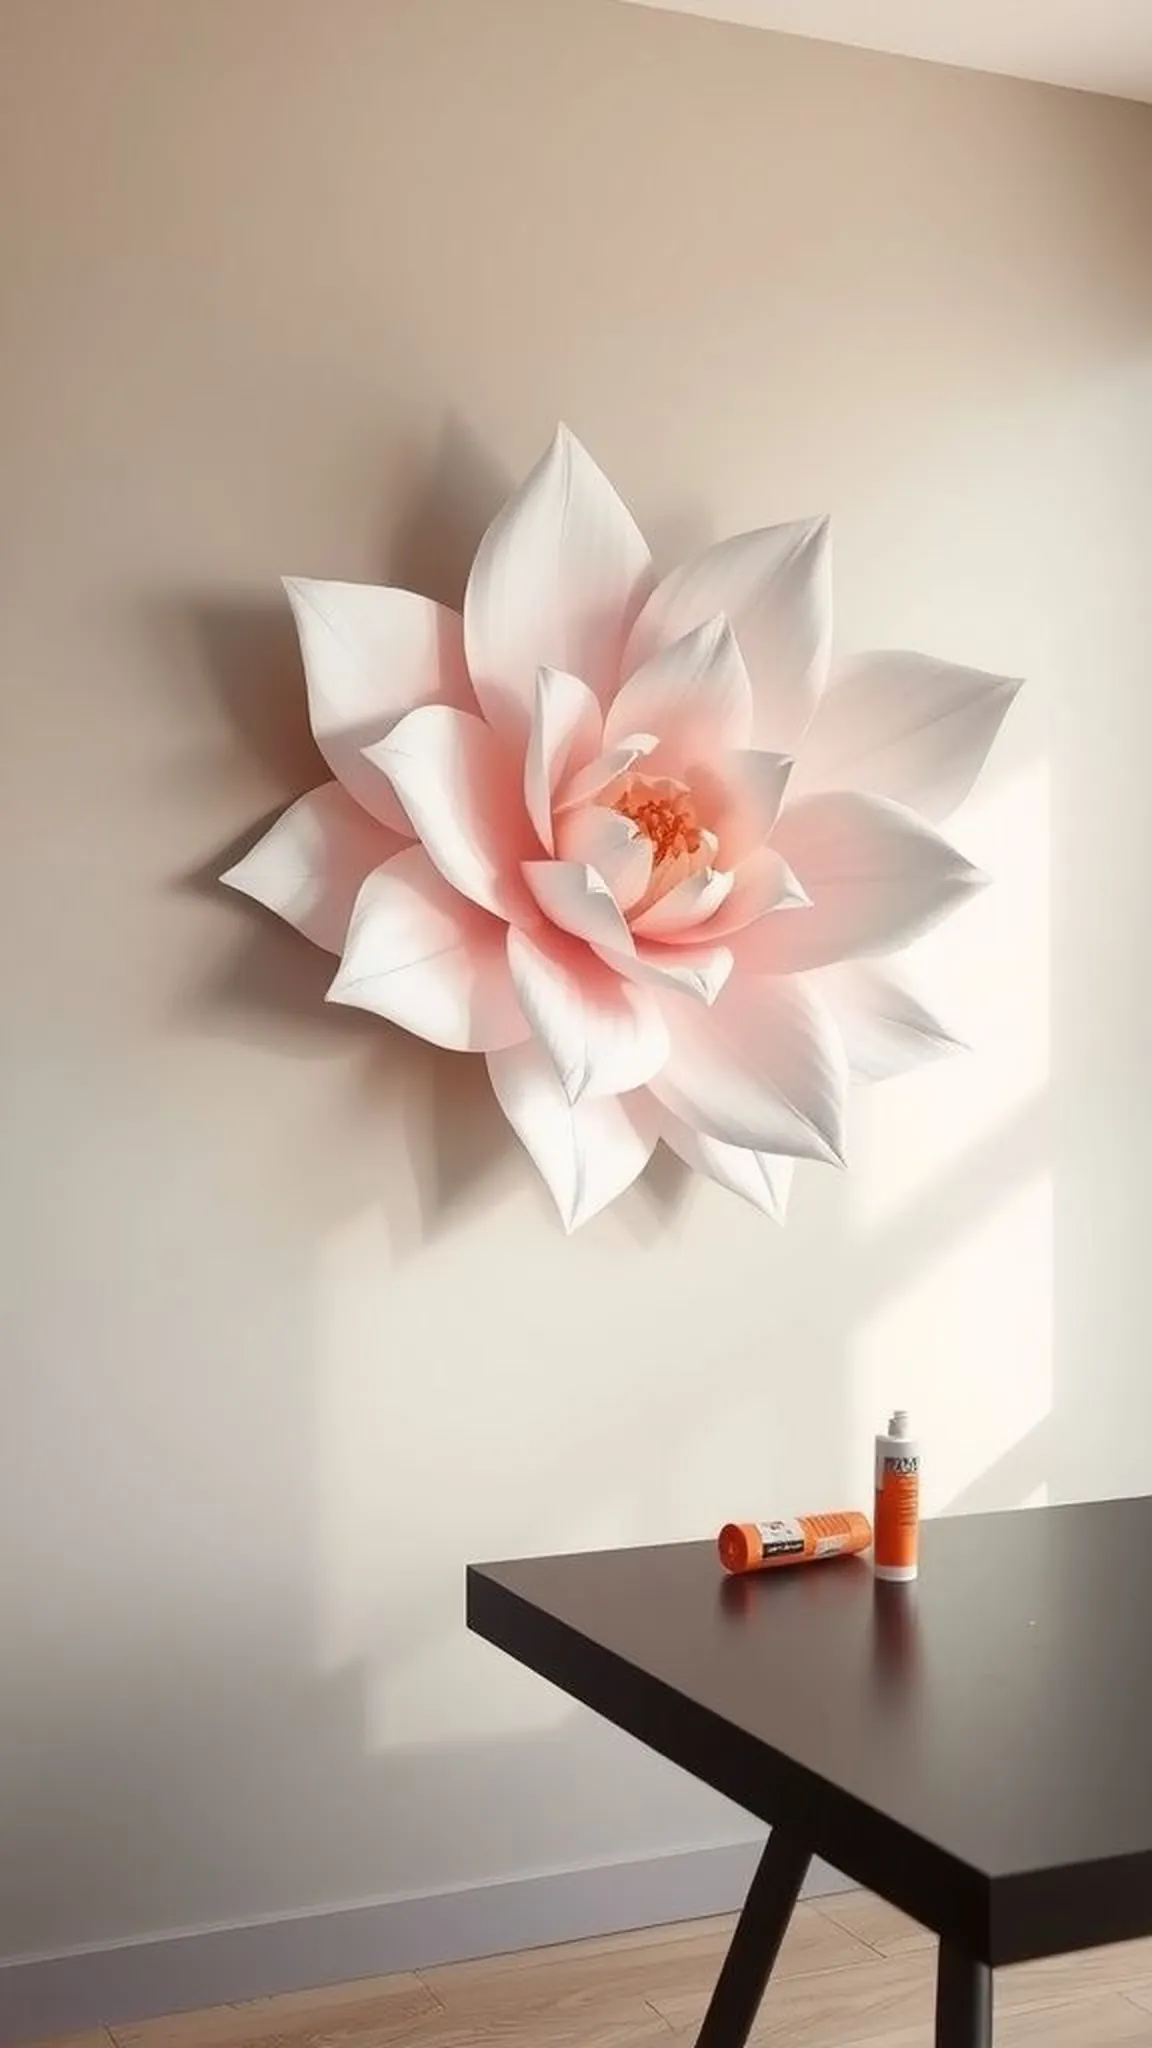
The giant single paper blossom served as an instant focal point, with oversized petals that created theatrical shadows on the wall. Each petal had a sculptural quality, curving outward to form a dramatic silhouette. The piece read like contemporary wall art rather than a craft, and the scale made a quiet statement without needing additional decoration.
Soft gradients of color and visible paper grain added depth, and the whole bloom transformed an ordinary wall into a tender backdrop for photos or celebrations.
📋 How to Make This ▶
- Cut large petal templates from heavyweight paper and score gentle curves to form dimensional petals.
- Assemble petals around a reinforced center using strong craft glue, overlapping for full coverage.
- Attach a sturdy mounting disk to the back and hang the blossom on a prepared wall hook.
⚠️ Avoid: A frequent oversight is under-reinforcing the center, which can lead to a floppy or uneven display once hung.
🔄 Try Also: Create a trio of smaller blossoms as a gallery cluster, or add metallic edges for subtle shimmer.
🛒 Products & Materials ▶
📌 “Oversized paper blossom wall art for a bold Mother’s Day display.”
• • •
Kraft-wrapped paper flower bouquet with handwritten tag
⏱️ 40 min · 🟢 Beginner
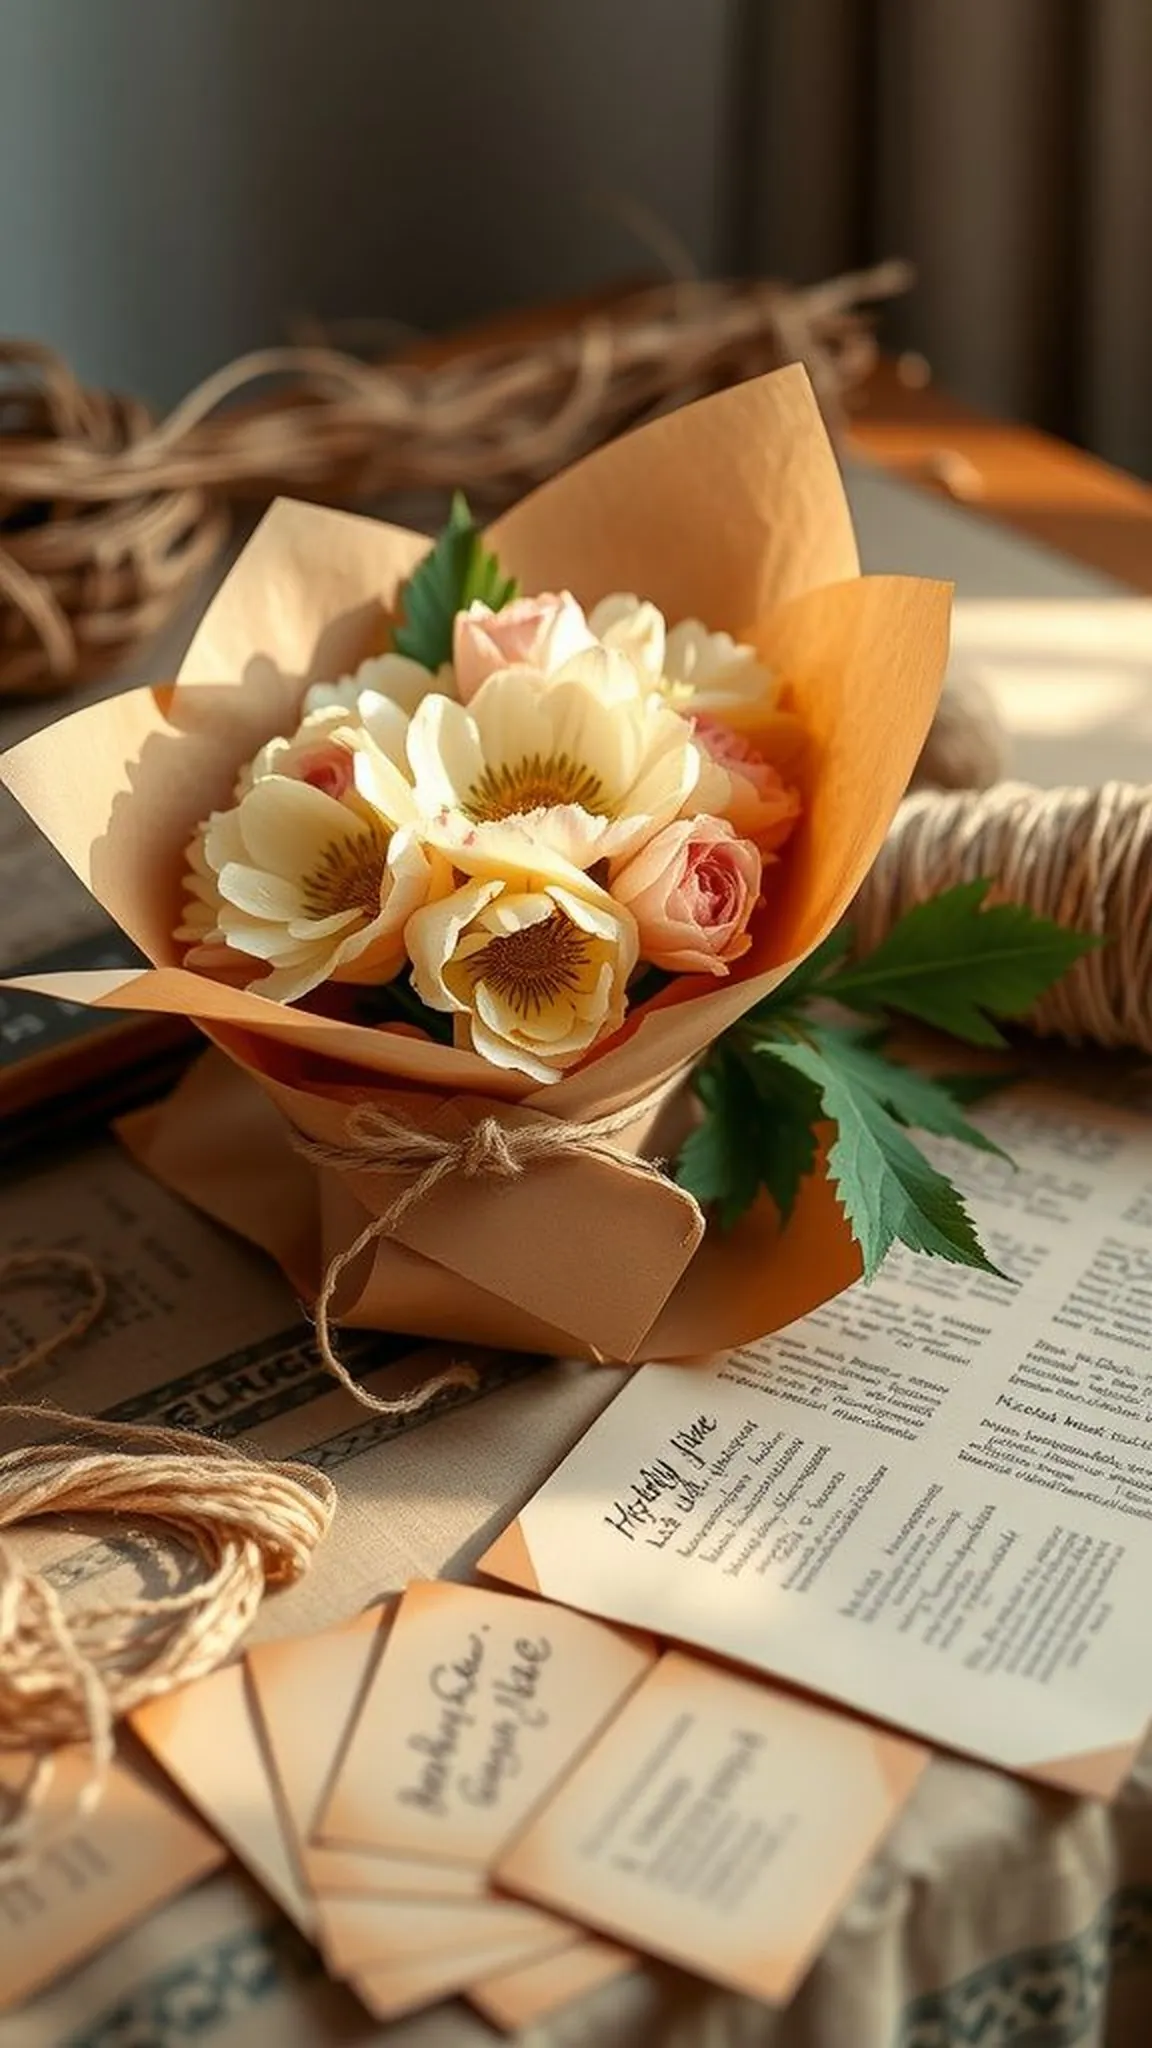
The kraft-wrapped paper flower bouquet had a rustic charm, with paper blooms peeking from natural brown wrapping and a small handwritten tag tied on with twine. The kraft provided an earthy backdrop that made colors pop while giving the whole package a warm, homespun look. The tag lent a human touch, and the bouquet felt like a thoughtful market find rather than a crafted item.
Textural contrasts between rough kraft and smooth petals made the gift feel lovingly bundled.
📋 How to Make This ▶
- Create a selection of small paper blooms and gather them into an attractive cluster with staggered heights.
- Wrap the cluster with a sheet of kraft paper, folding the paper base snugly and securing with twine.
- Add a handwritten tag tied to the twine for a personalized finishing touch.
⚠️ Avoid: A frequent mistake is wrapping too tightly, which can crush petals and reduce the arrangement’s natural movement.
🔄 Try Also: Swap twine for baker’s twine in bright colors, or tuck a small dried herb sprig into the wrap for scent.
🛒 Products & Materials ▶
📌 “Kraft-wrapped paper flower bouquet with a sweet handwritten tag.”
• • •
Centerpiece of paper blooms with twinkling LED lights
⏱️ 1.5 hours · 🟠 Intermediate
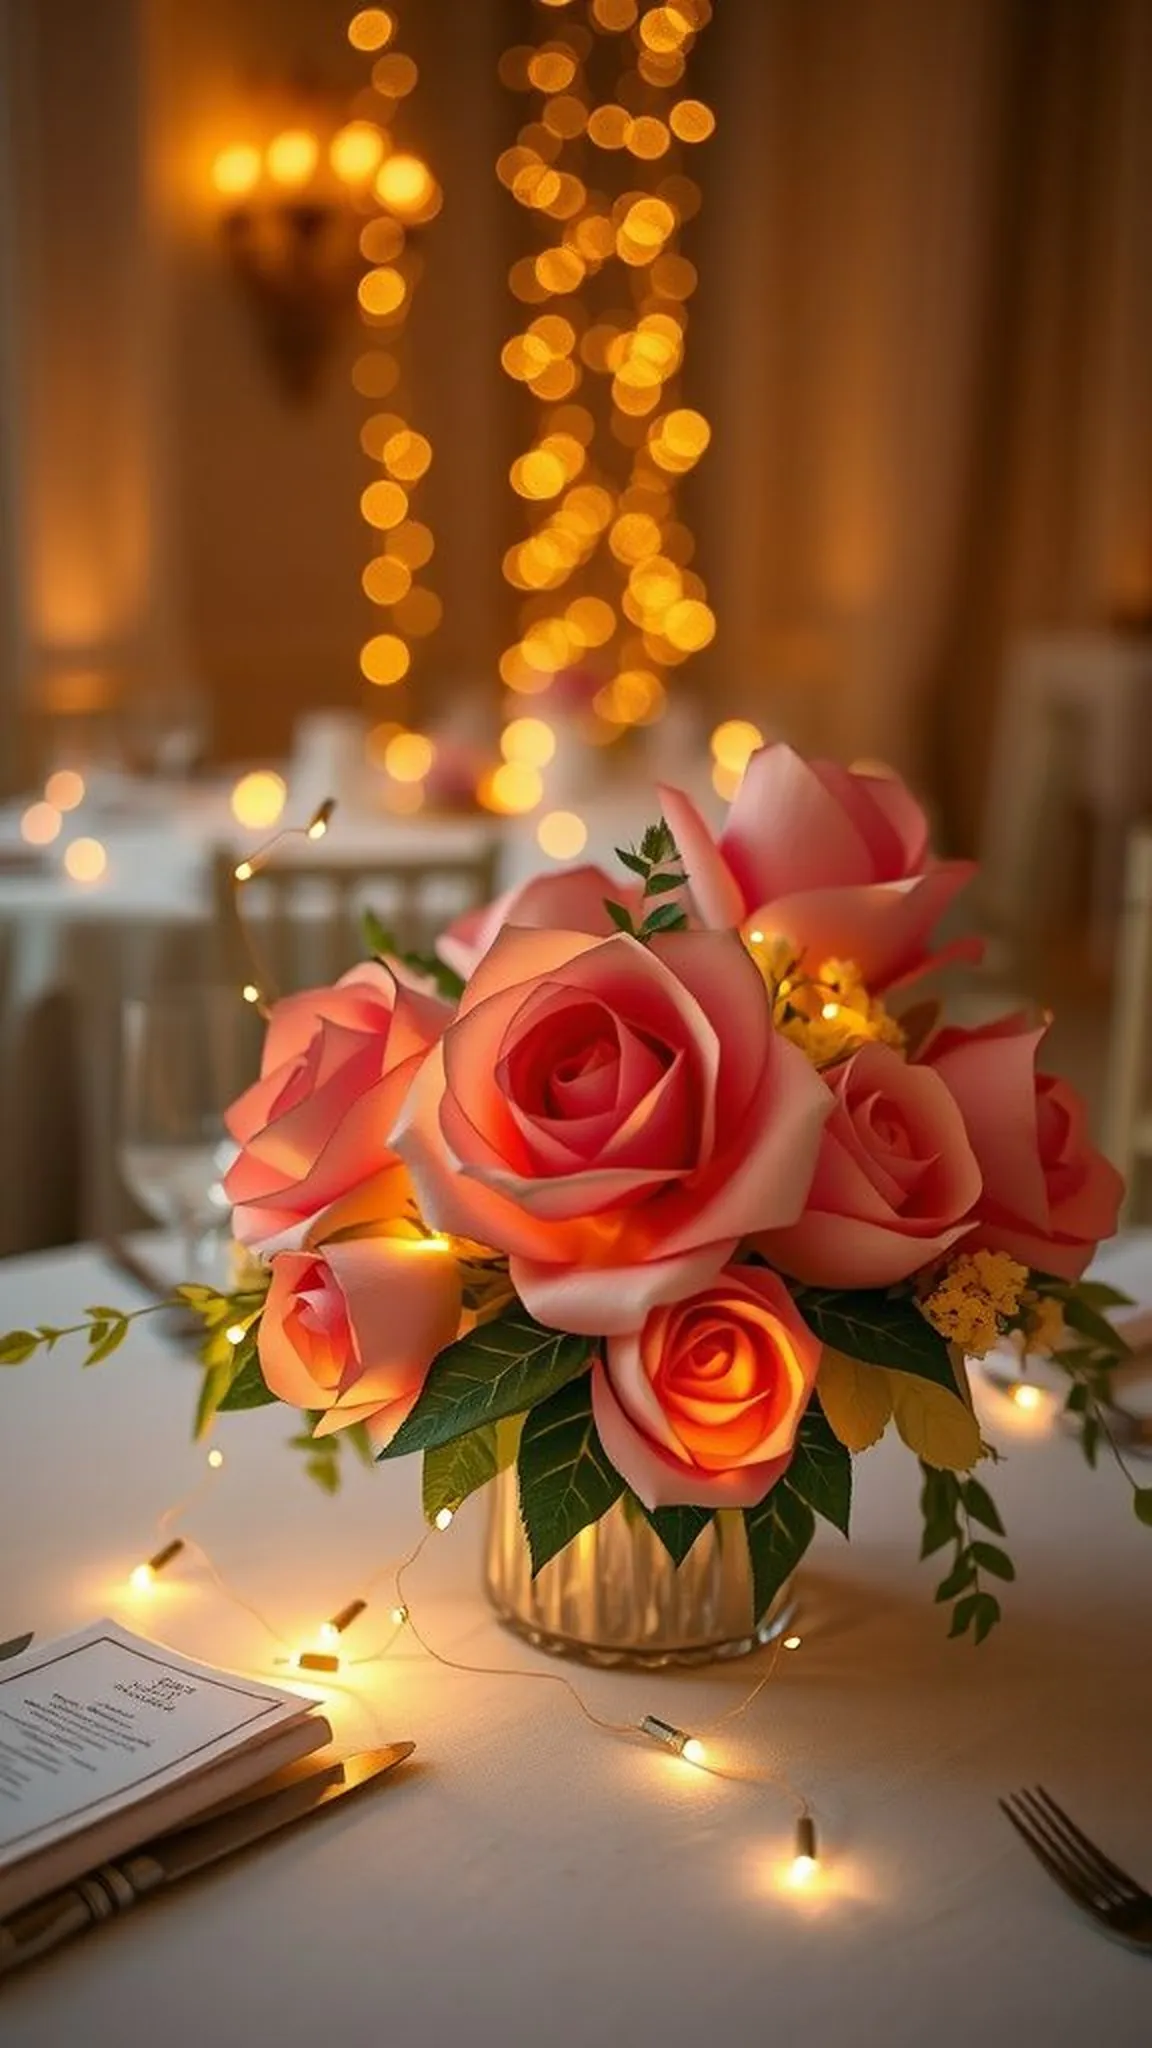
The centerpiece dotted with paper blooms and tiny LED lights felt quietly festive as twilight fell. Petals glowed softly where lights nestled among the flowers, creating pockets of warmth. The scentless composition offered a mood-setting element without fuss, and the interplay of paper texture and pin-prick light added depth to the table.
The arrangement felt intimate, suitable for a dinner with close family, and the little lights turned a daytime craft into an evening atmosphere enhancer.
📋 How to Make This ▶
- Arrange a collection of paper flowers on a low foam base or shallow bowl to form a dense cluster.
- Tuck a battery-operated LED fairy light string through the blooms so small bulbs sit beneath petals.
- Conceal the battery pack at the base and adjust light placement for even glow before setting on the table.
⚠️ Avoid: A frequent issue is exposing the battery pack, which distracts from the centerpiece’s clean look and may be awkward on the table.
🔄 Try Also: Use warm white LEDs for a cozy glow, or pick multicolor lights for a playful daytime celebration.
🛒 Products & Materials ▶
Items Used
- LED fairy lights
- floral foam base
- assorted paper flowers
📌 “Paper bloom centerpiece with soft twinkling LED lights.”
• • •
Mini bouquet of paper buds tied with twine
⏱️ 20 min · 🟢 Beginner
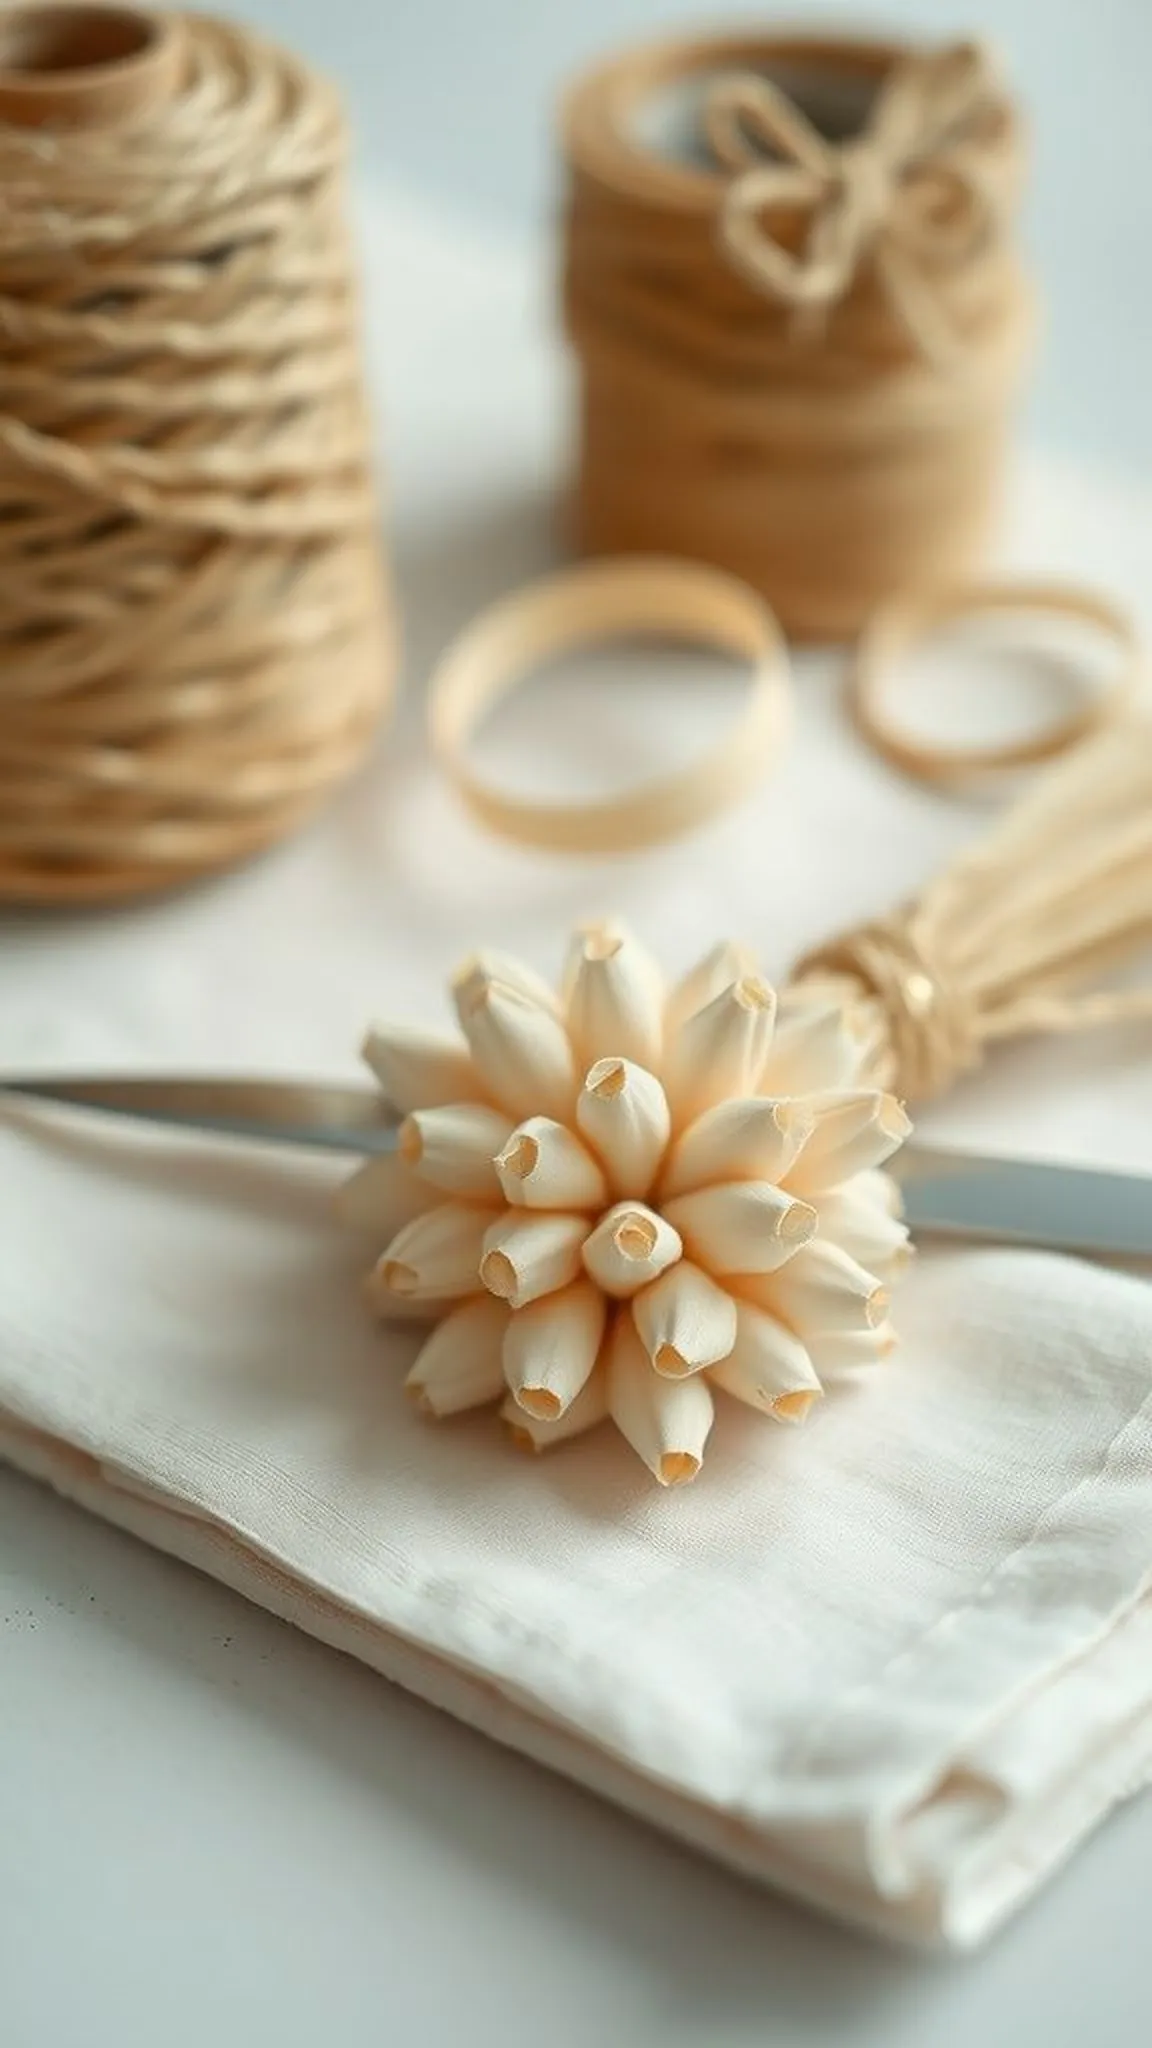
The mini bouquet of paper buds was disarmingly sweet, with small tight heads bunched into a tidy cluster and wrapped simply with twine. Each bud looked like a quiet wish, neat and compact, and the bundle had a pleasing weight when held. The natural twine contrasted with the paper heads, lending an artisanal feel as if picked from a tiny paper garden.
It felt like the kind of small gesture that slips easily into a pocket or card.
📋 How to Make This ▶
- Roll tiny strips of paper into small bud heads and secure each base with a dab of hot glue.
- Gather multiple buds into a compact bunch and wrap their stems tightly with twine.
- Trim any uneven stem ends and tuck a short ribbon tail under the twine for a neat finish.
⚠️ Avoid: A frequent problem is mixing too many bud sizes, which can make the bundle appear lopsided when tied.
🔄 Try Also: Create a tiny mixed-color bouquet for a mini posy, or attach a single bud to a gift tag for flair.
🛒 Products & Materials ▶
Items Used
- thin paper strips
- natural twine
- hot glue gun
📌 “Tiny paper bud bouquet wrapped with rustic twine.”
